The Final Pieces
The various structural tests had boiled down to these material combinations
- biocomposite hard pieces on flexible base
- biocomposite hard pieces on fabric
- thin ply pieces stitched on fabric
- thin ply pieces glued on fabric
- thin ply pieces on fabric encased in biopolymer/biocomposite
The biocomposite version was unreliable and iffy, while the wood textile version was complex to assemble but quite reliable otherwise.
I eventually attempted 5 and created 2-3 final pieces.
Of all the patterns I had tried out, I tried to choose different ones for each version so all of them were included in some form.
The BioComposite Pieces
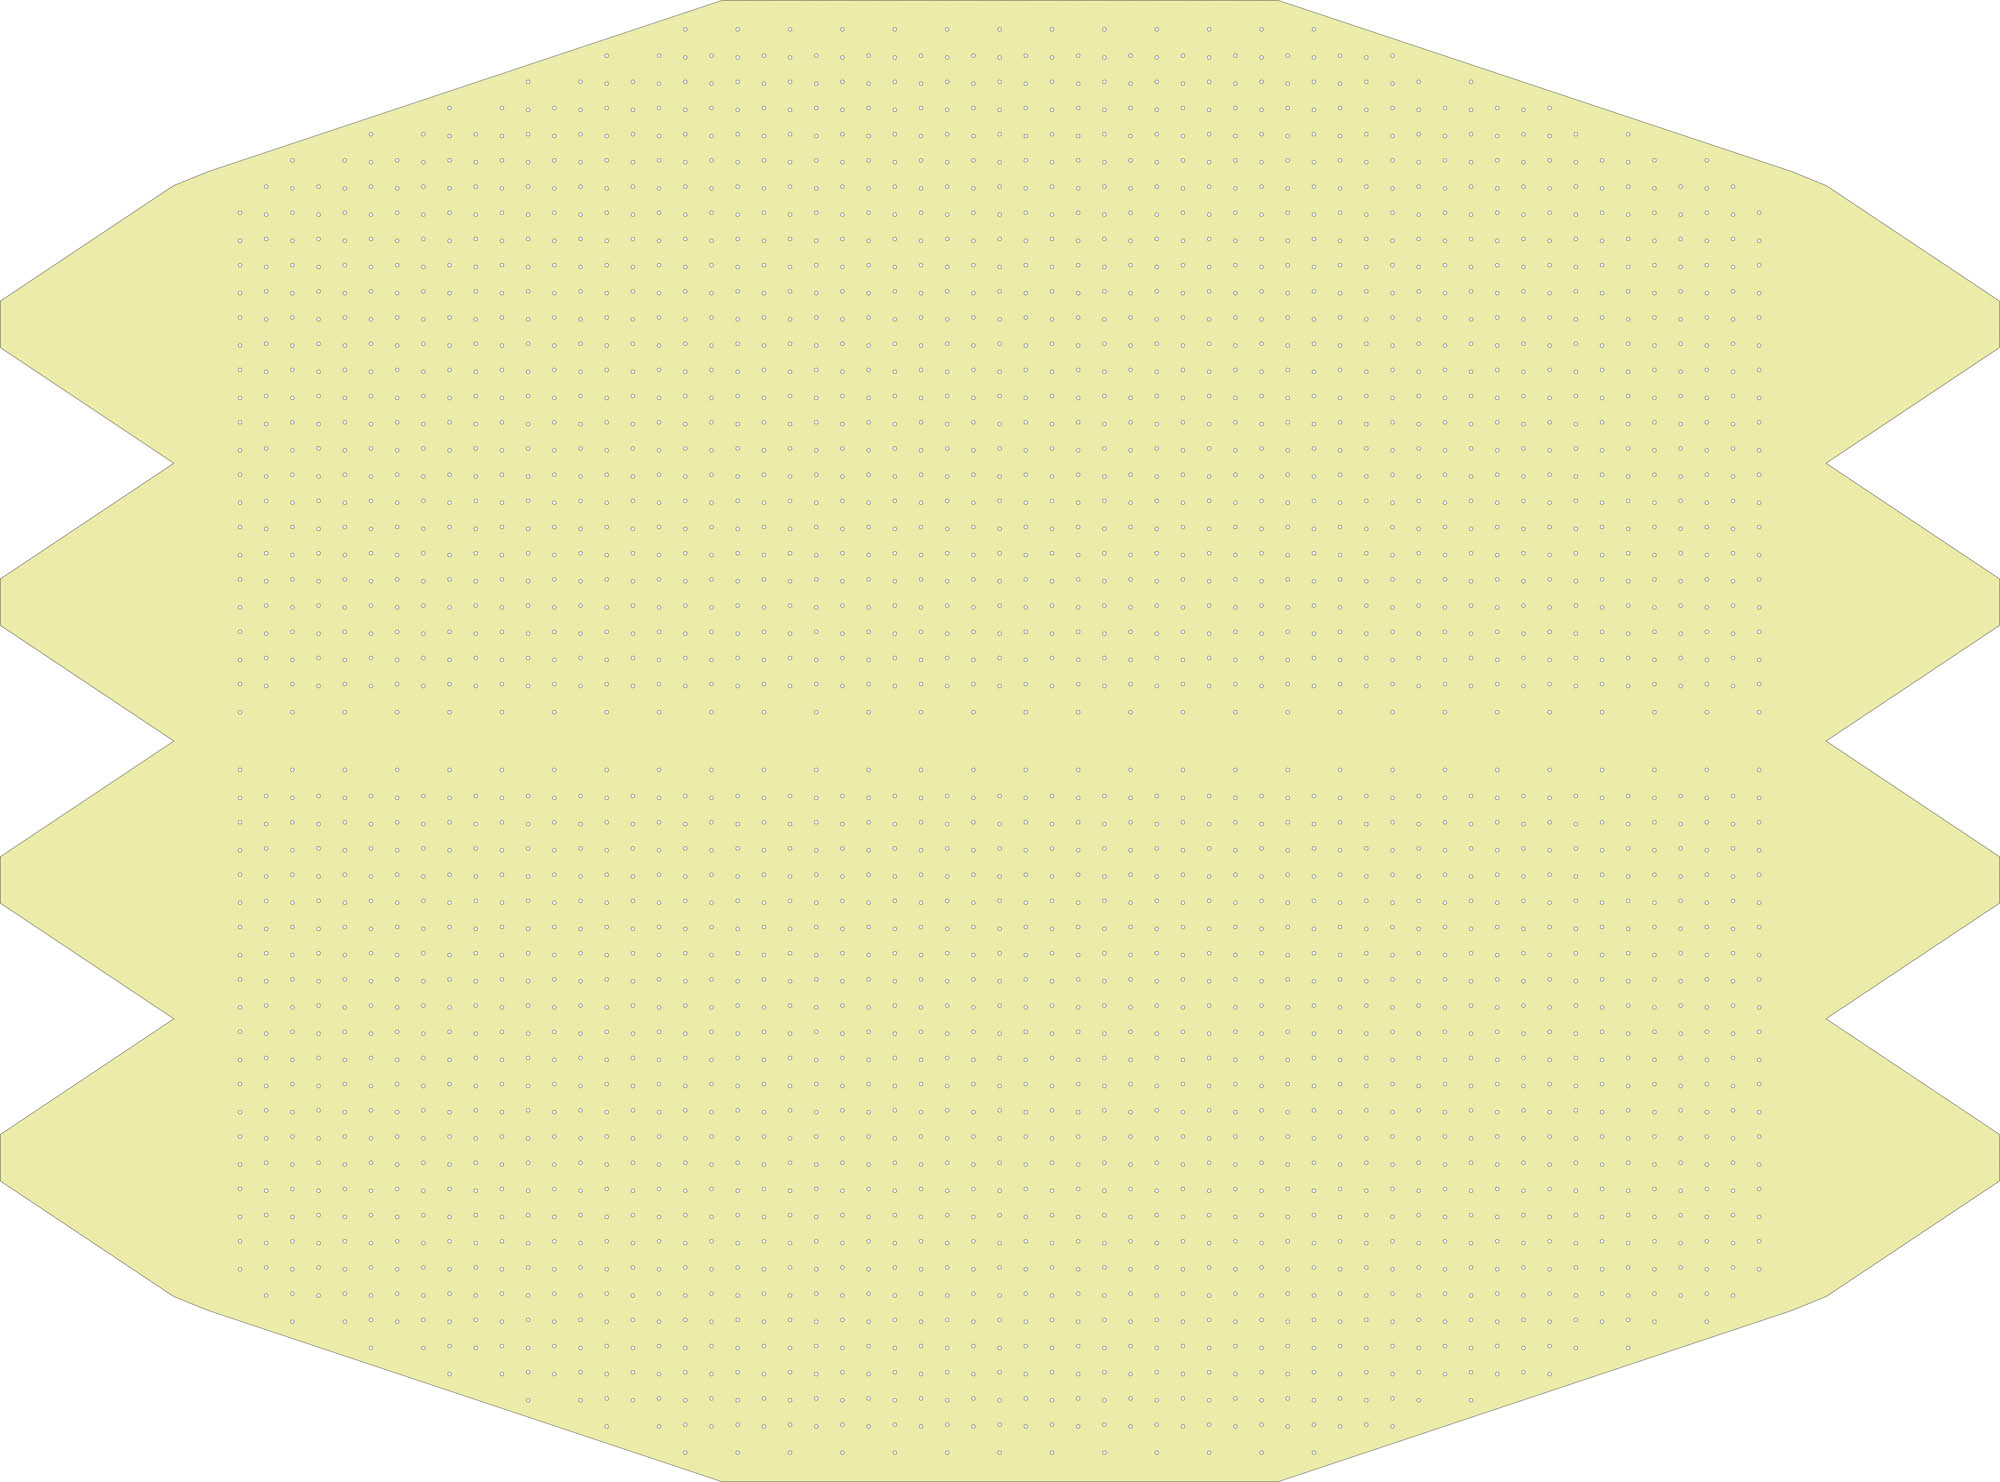
I chose the dumbell and hexagon patterns for the biocomposites.
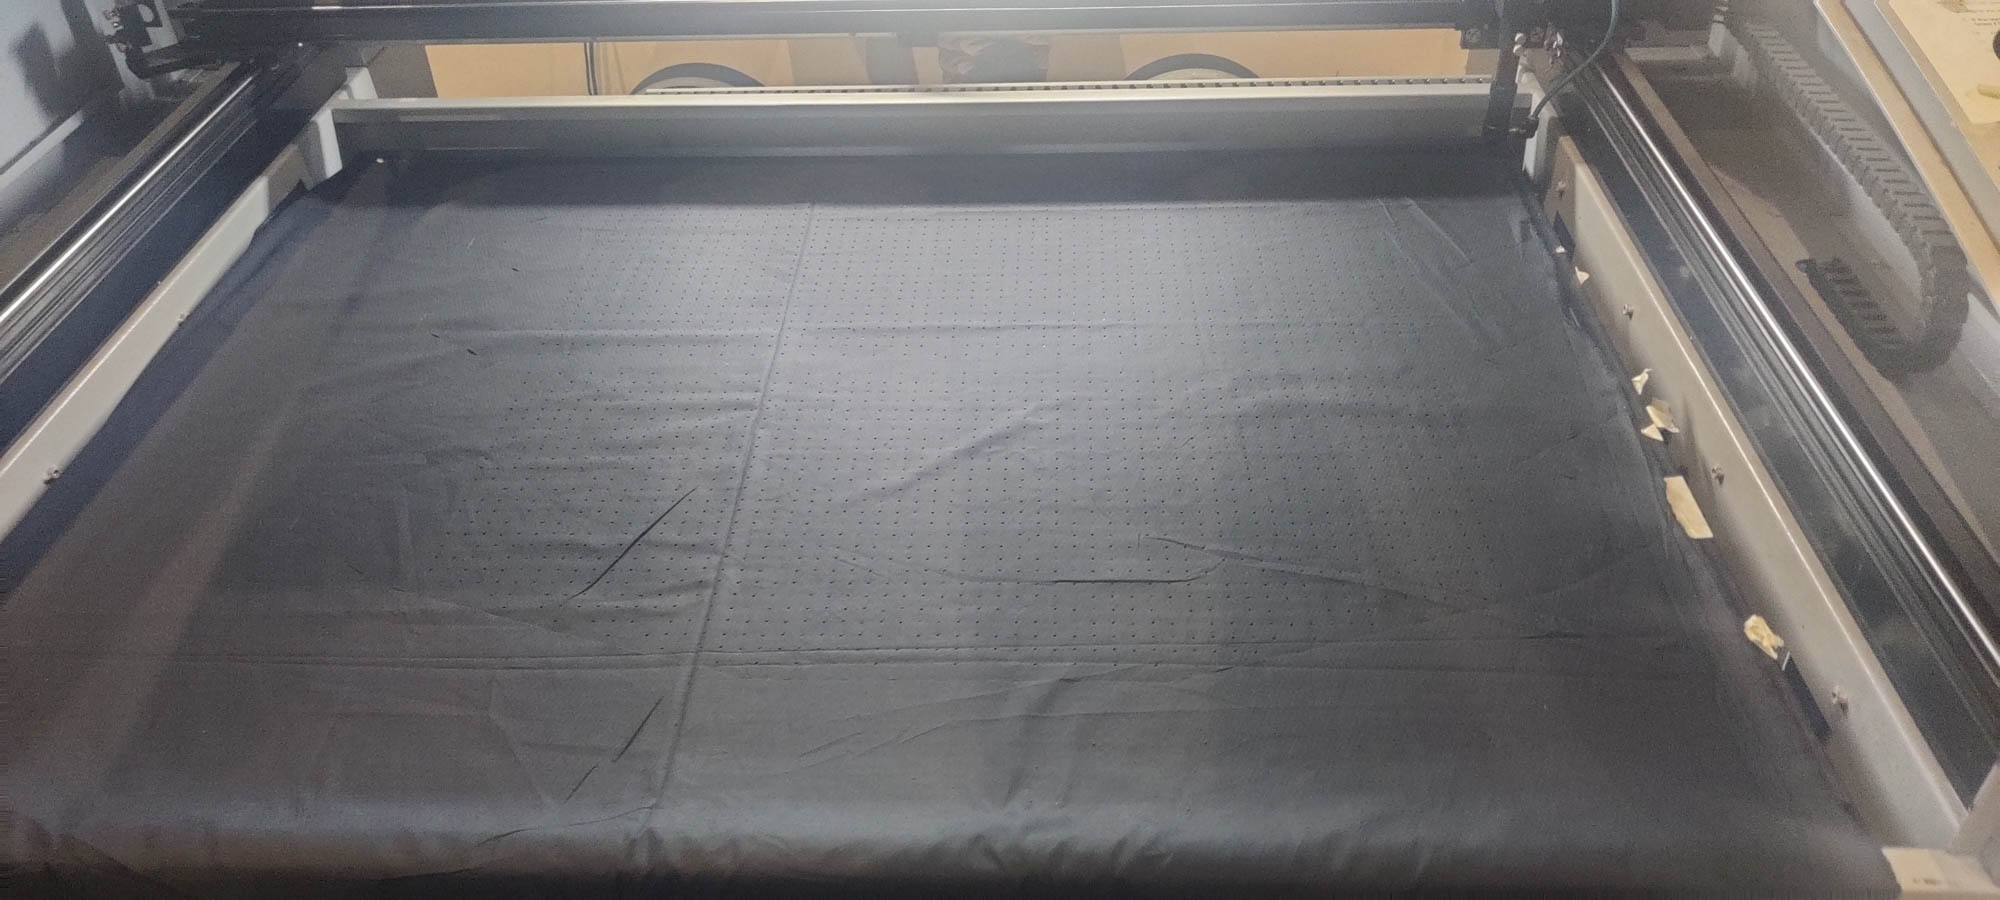
I first lasercut a large sheet of acrylic to make the mold for the pieces.
For the base, I used existing acrylic and polypropylene sheets I had lying around, without cutting them to size. I simply taped the edges of the mold cavity sheet firmly to the base sheet.
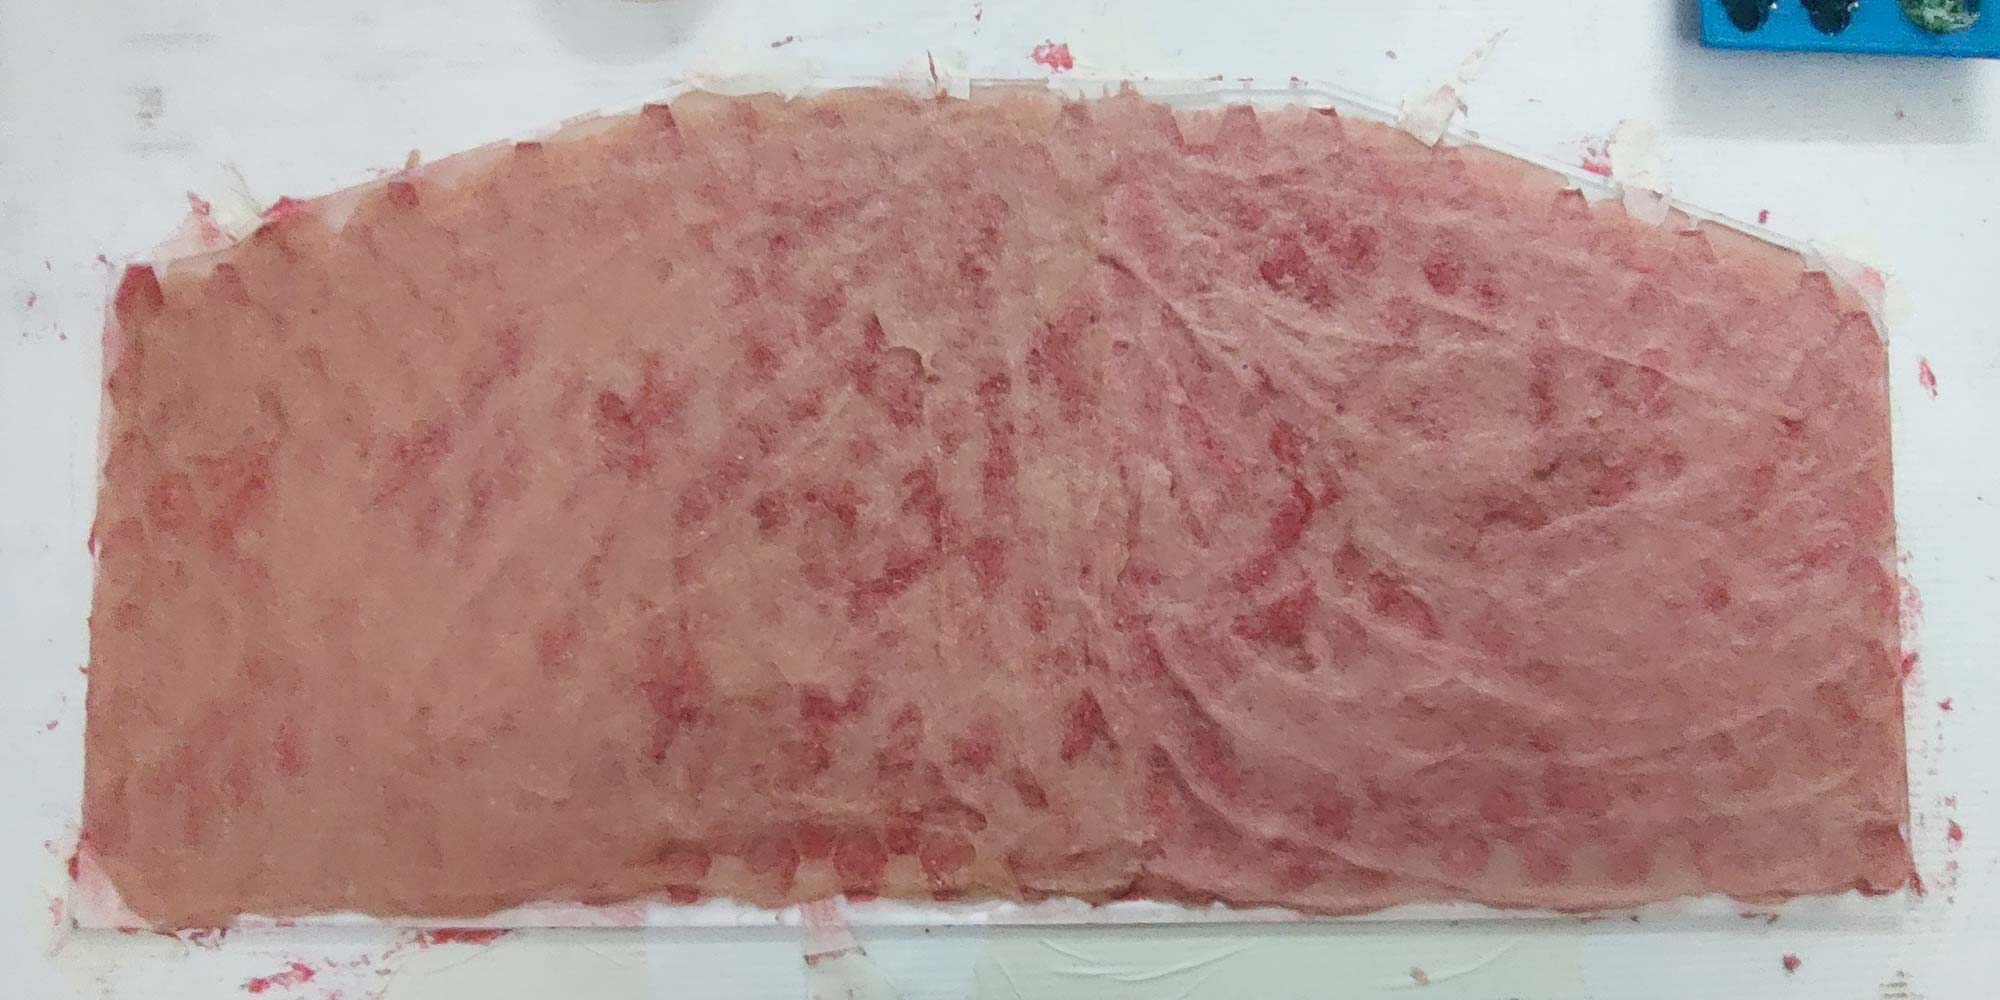
For the dumbell pattern, I tried to make a clear resin with no cellulose content. However, it was so sunny and liquid that it seeped into the layers between the mold sheet and the bottom sheet, and glued everything together as it cured. Also, acrylic is lighter than bioresin "syrup" so the central areas of the sheet started "floating above" as the liquid seeped underneath, making it a single unit instead of separate pieces.
This didn't happen in the swatches since they were small enough to be rigid. The large sheet meant there was some flexing over the longer length. Lesson learnt.
For the Hex pattern, I used 5 mm thick acrylic, and so mold volume was deeper, to allow for better pieces as well as any shrinkage that may happen. However, due to the high cellulose content, shrinkage was not too bad.
The recipe had to be scaled up, so the final combination used was :
| Layer | Water | Gelatin | Cellulose | Glycerin |
|---|---|---|---|---|
| Rigid pieces | 1000 ml | 200 g | 100 g | 10 g |
| Flexible layer | 500 ml | 100 g | 25 g | 100 g |
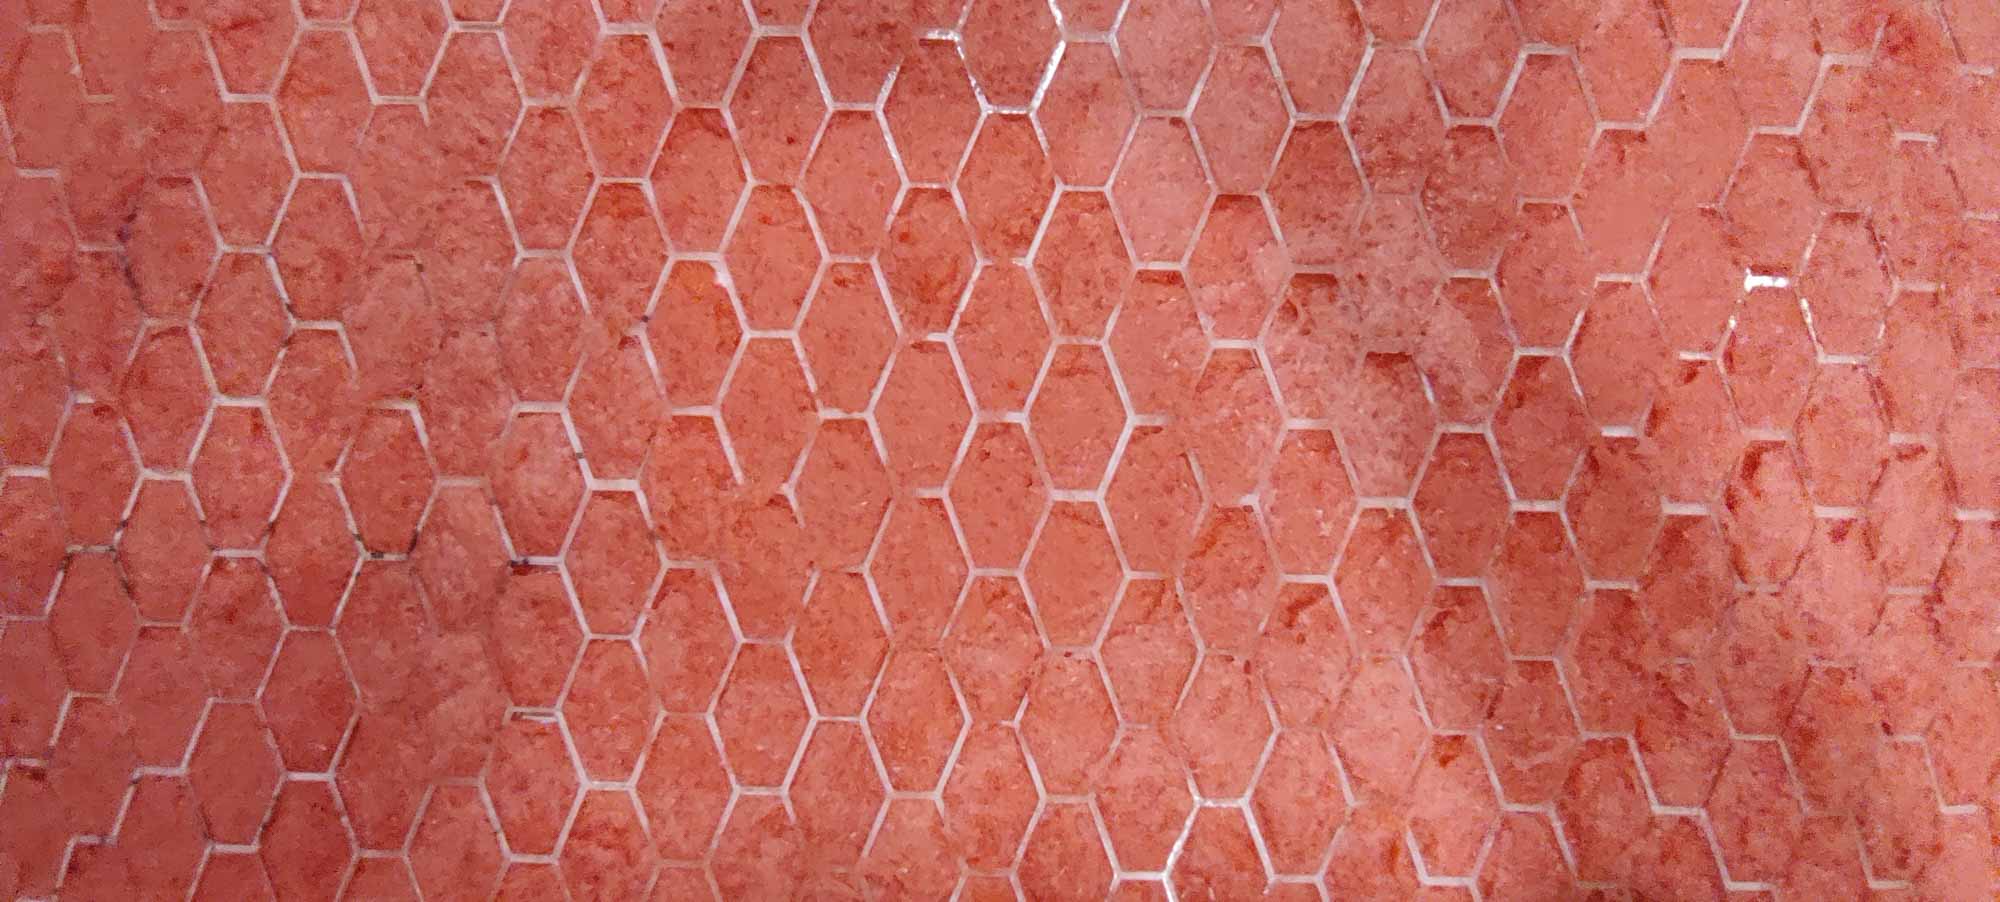
After letting the Rigid recipe set for a few days, I poured the flexible layer on top and let that set as well.
Eventually I demolded it, although in the meantime I had gone ahead with the wood scaffolding version and completed that since that was a faster cycle.
The Wood and Fabric versions
The wood swatches had been more promising, and I created 3 pieces with those.
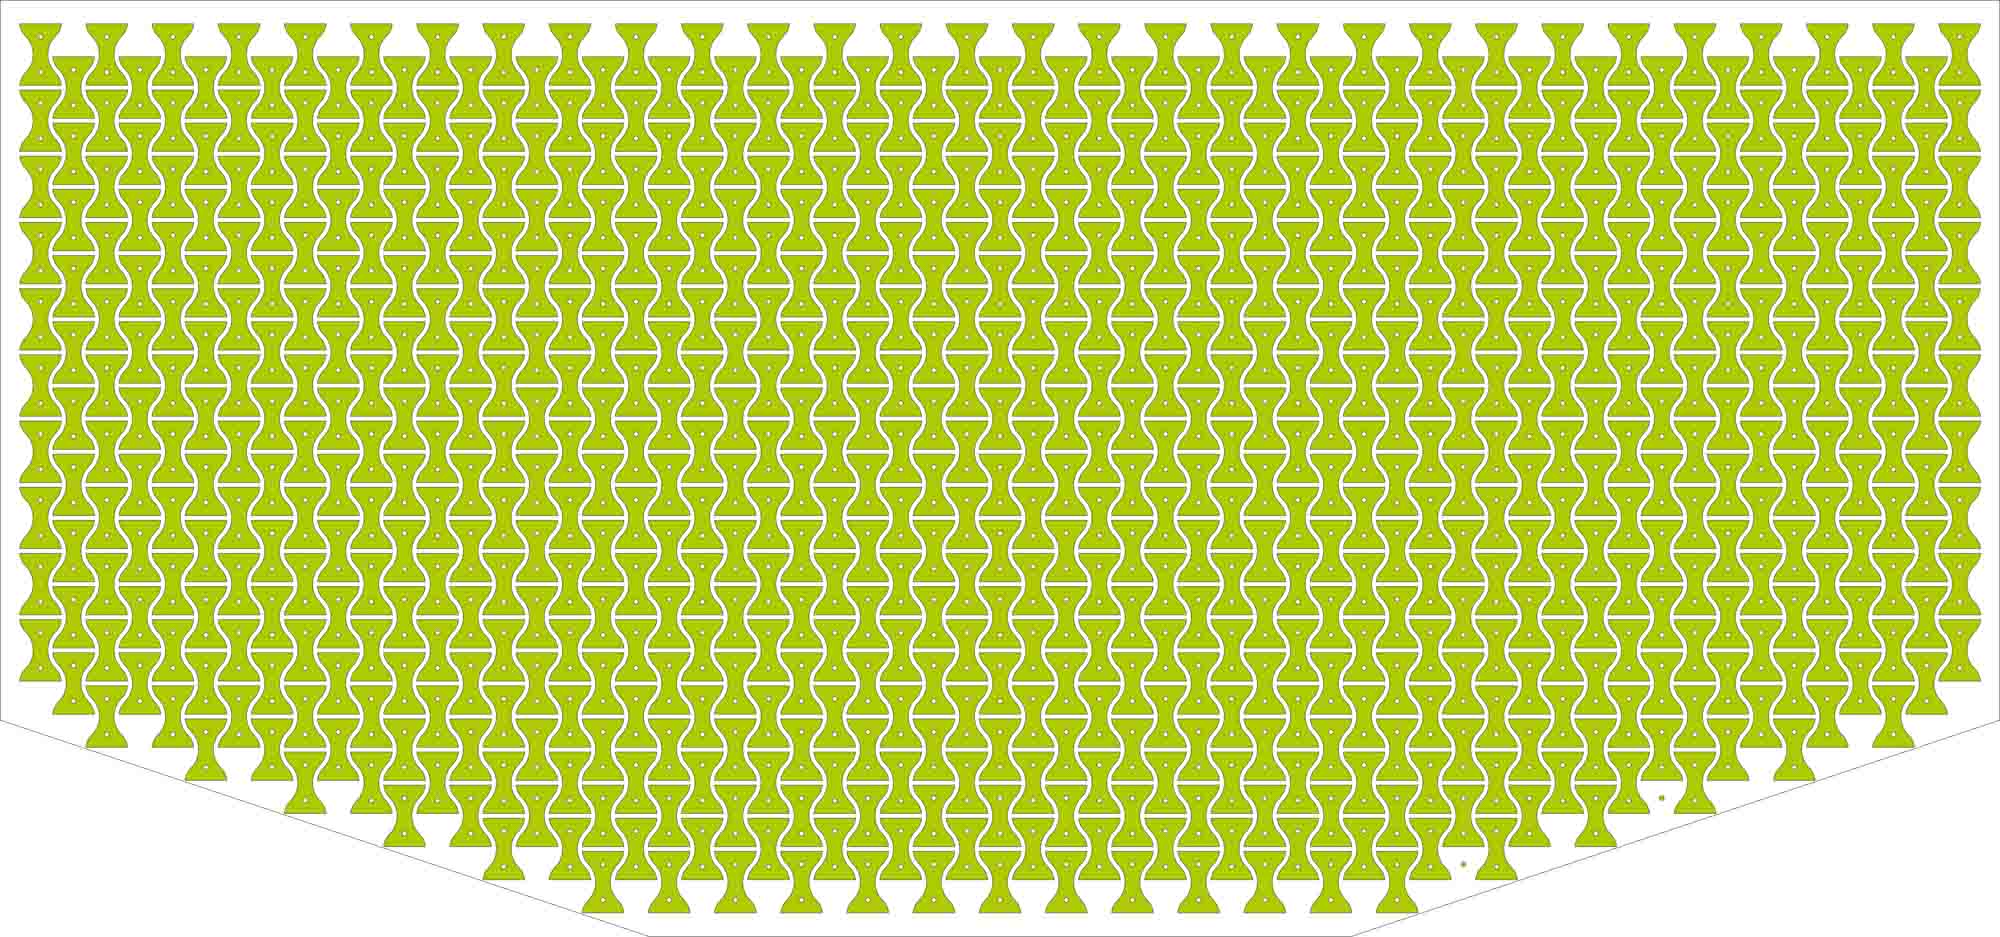
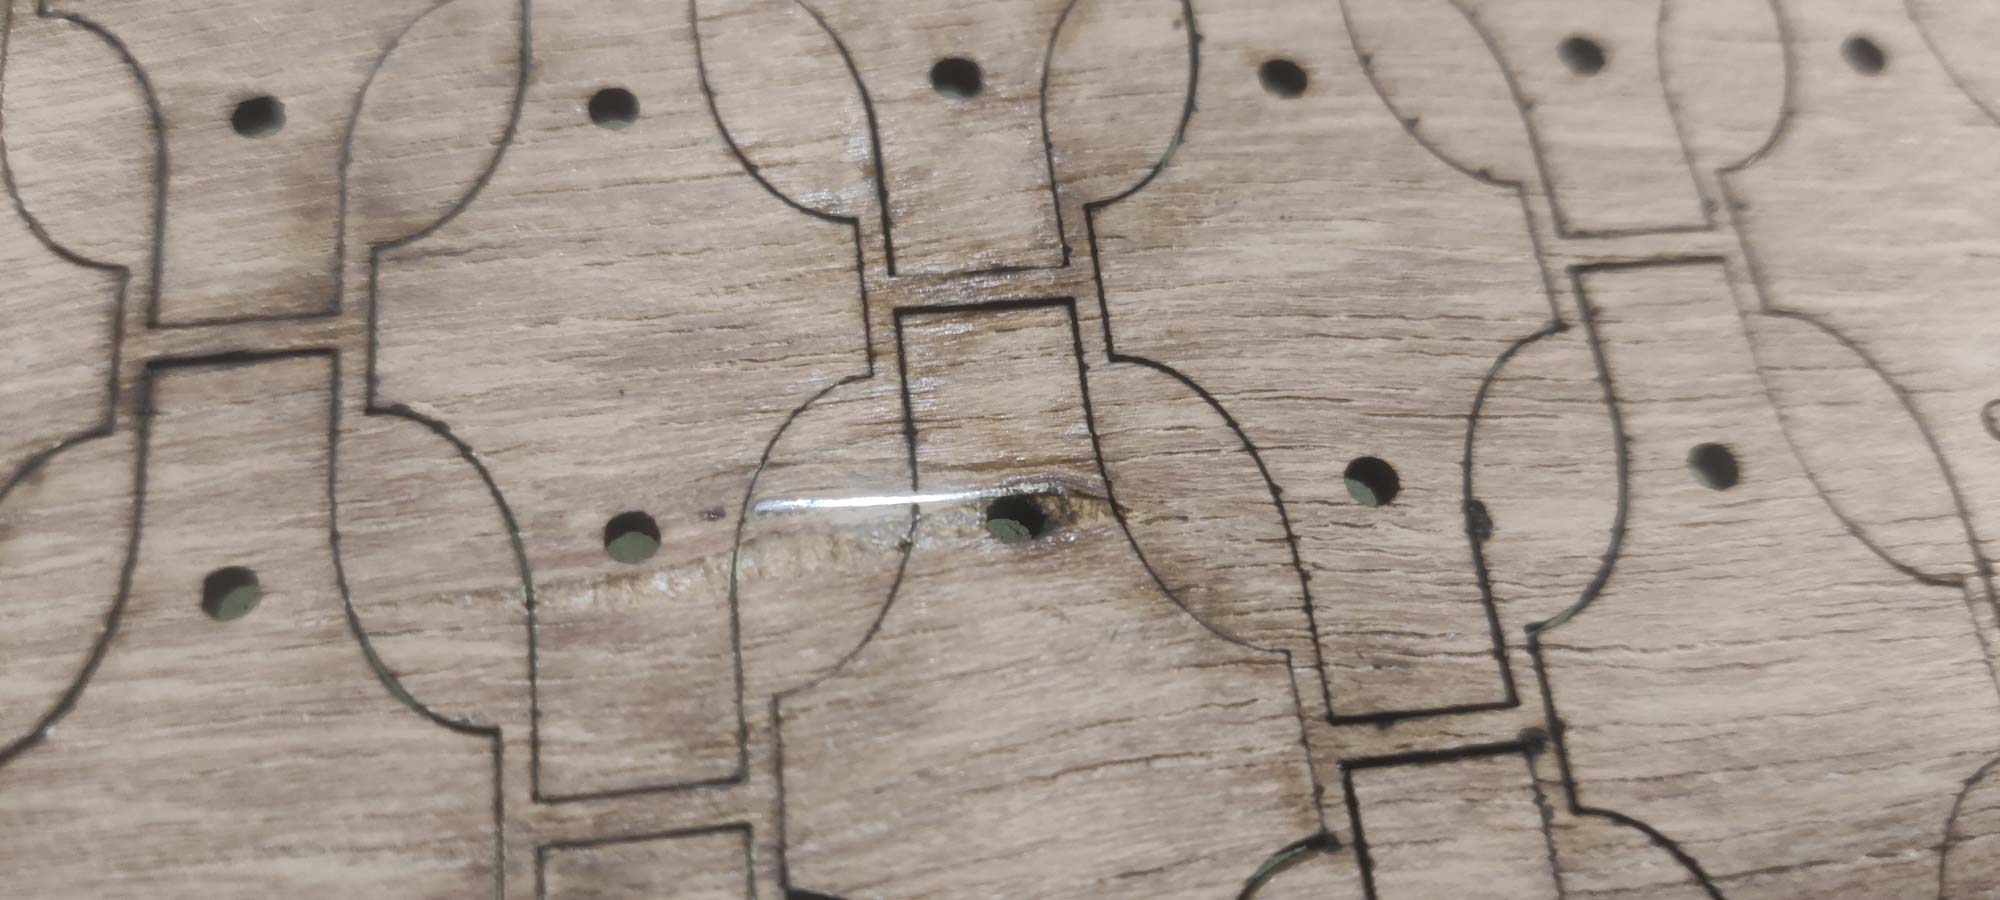
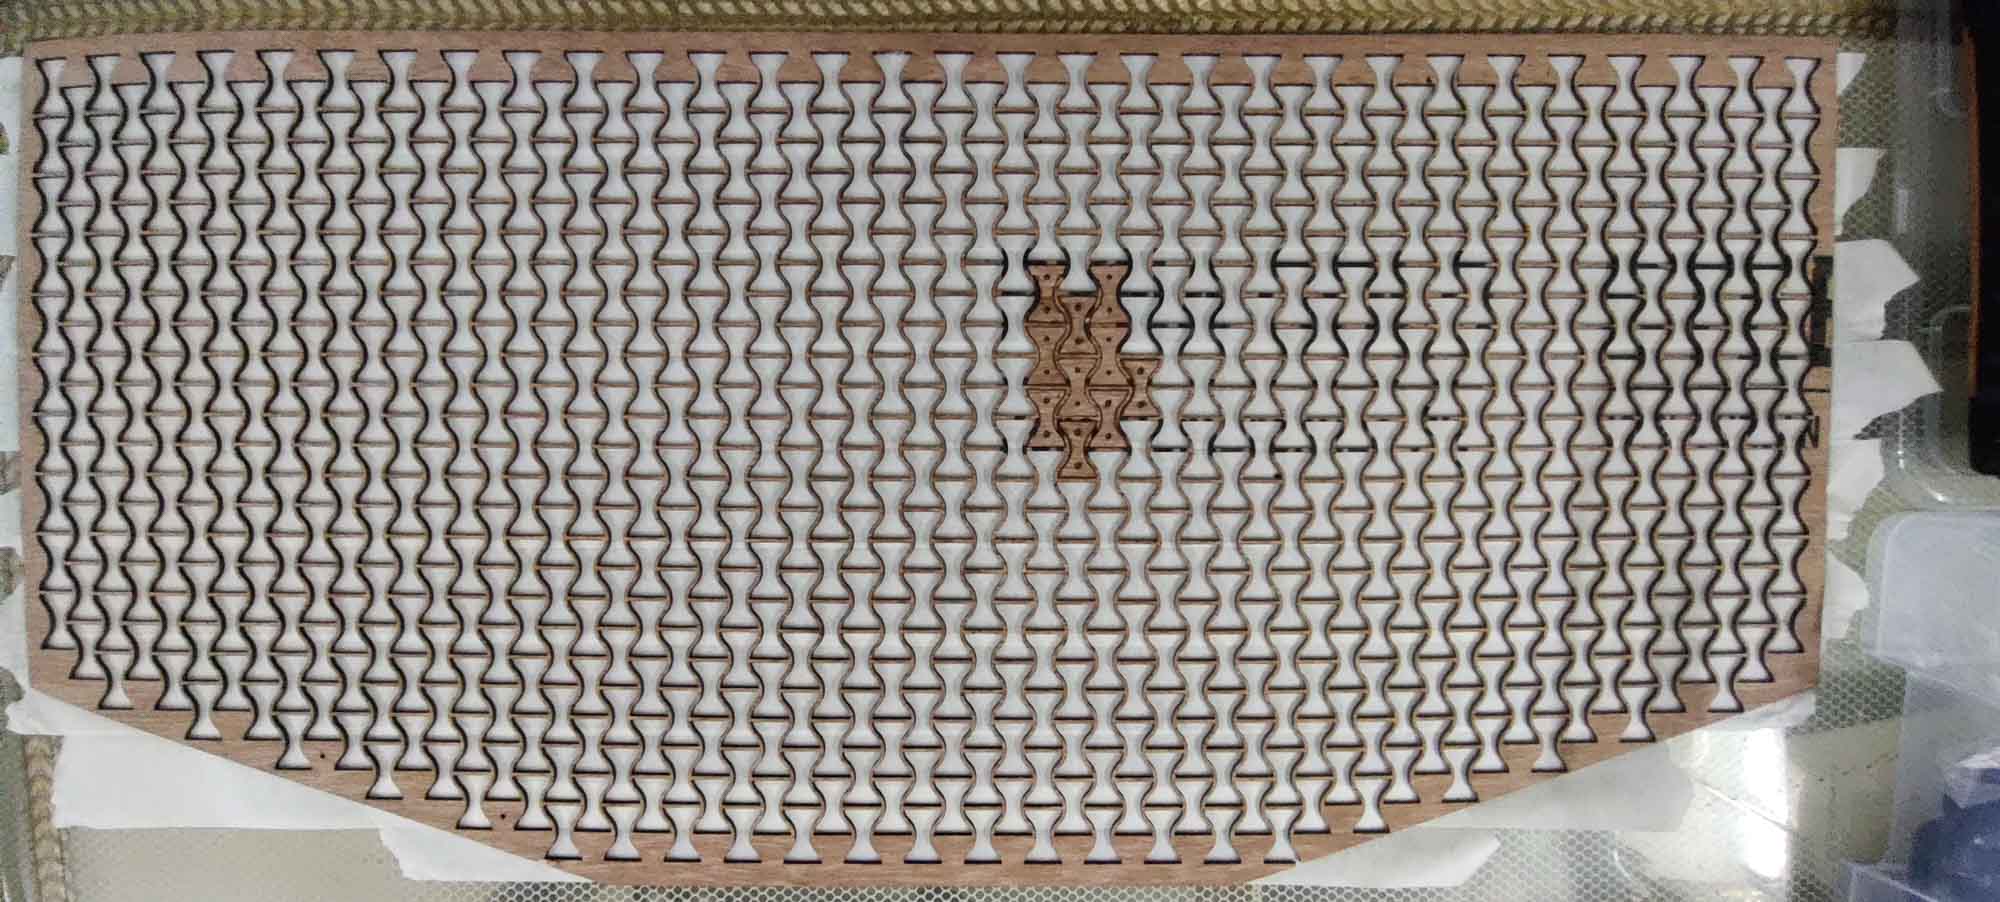
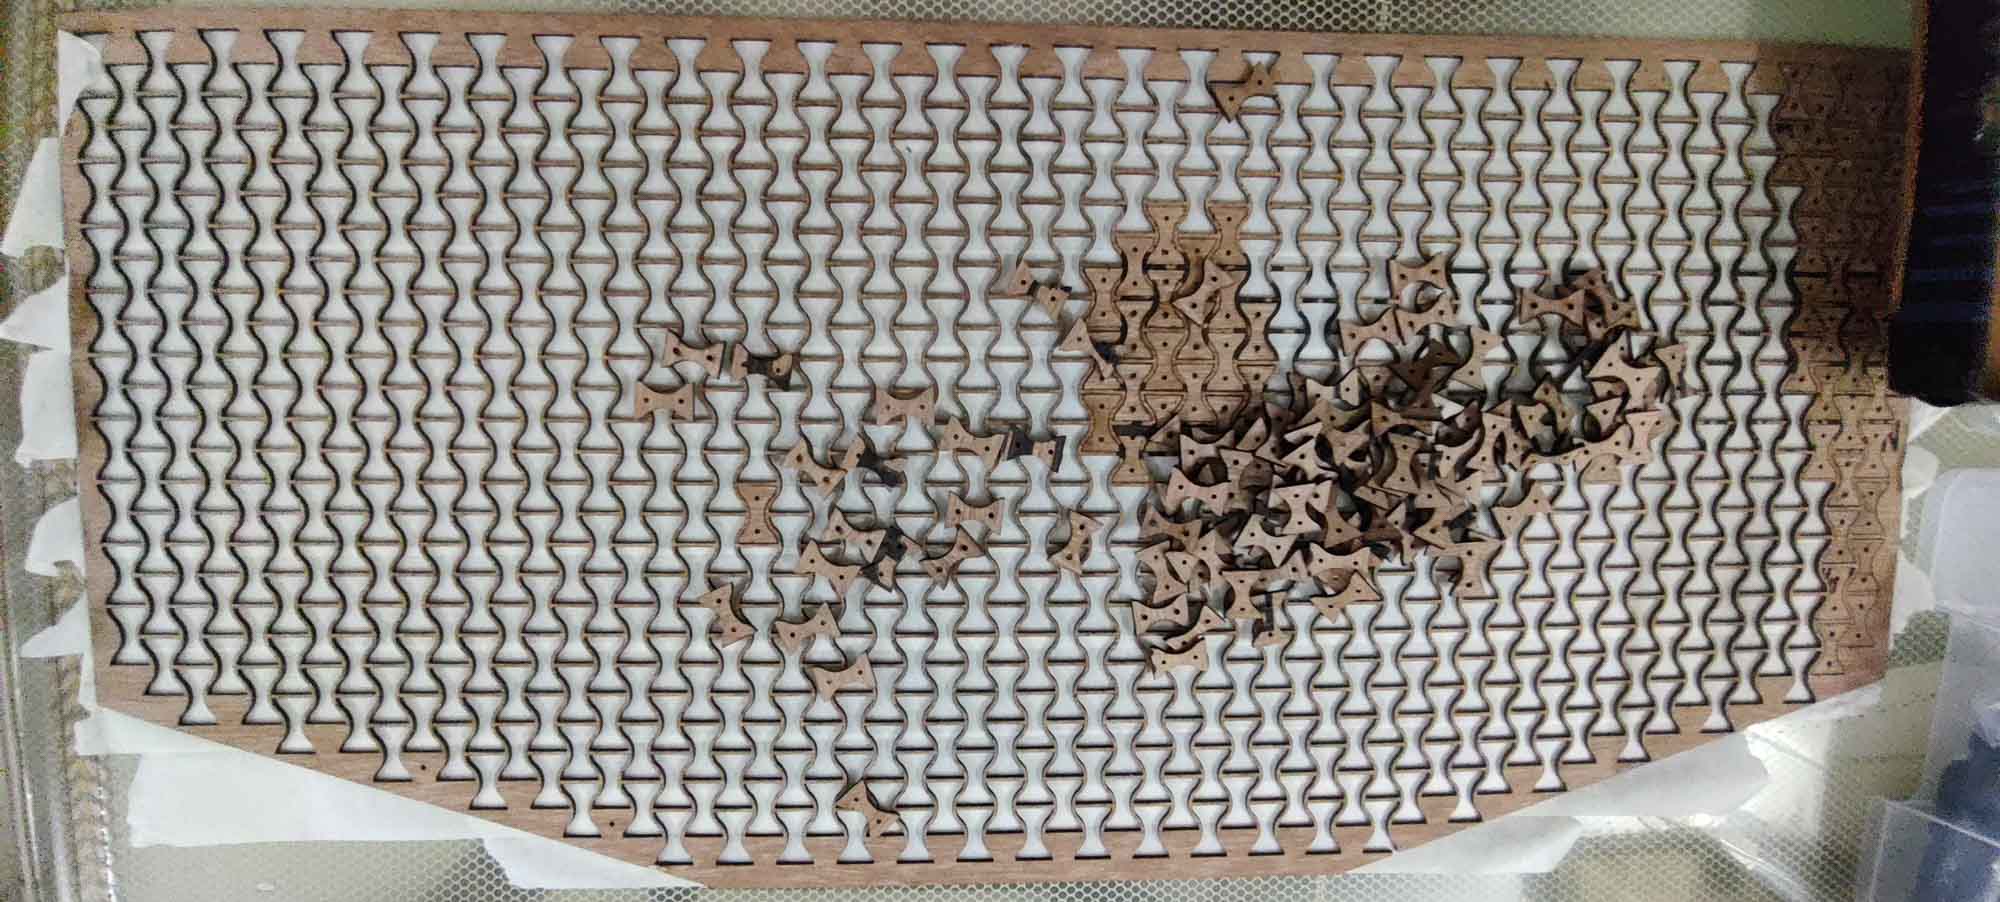
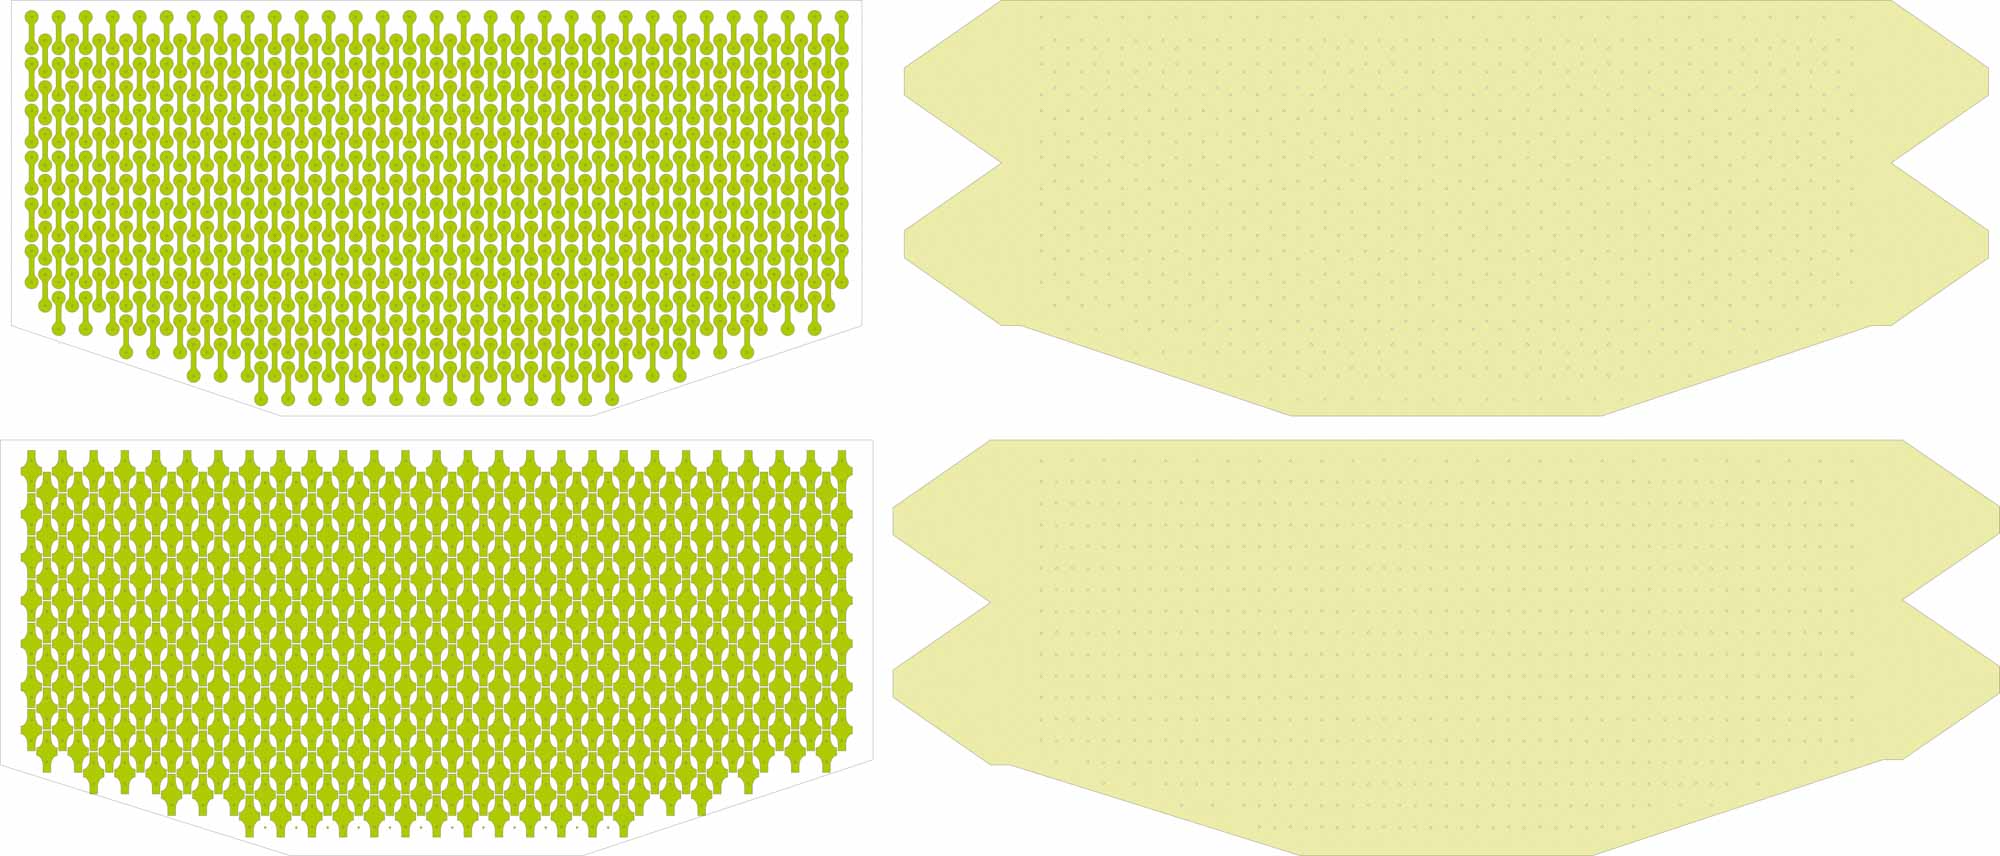
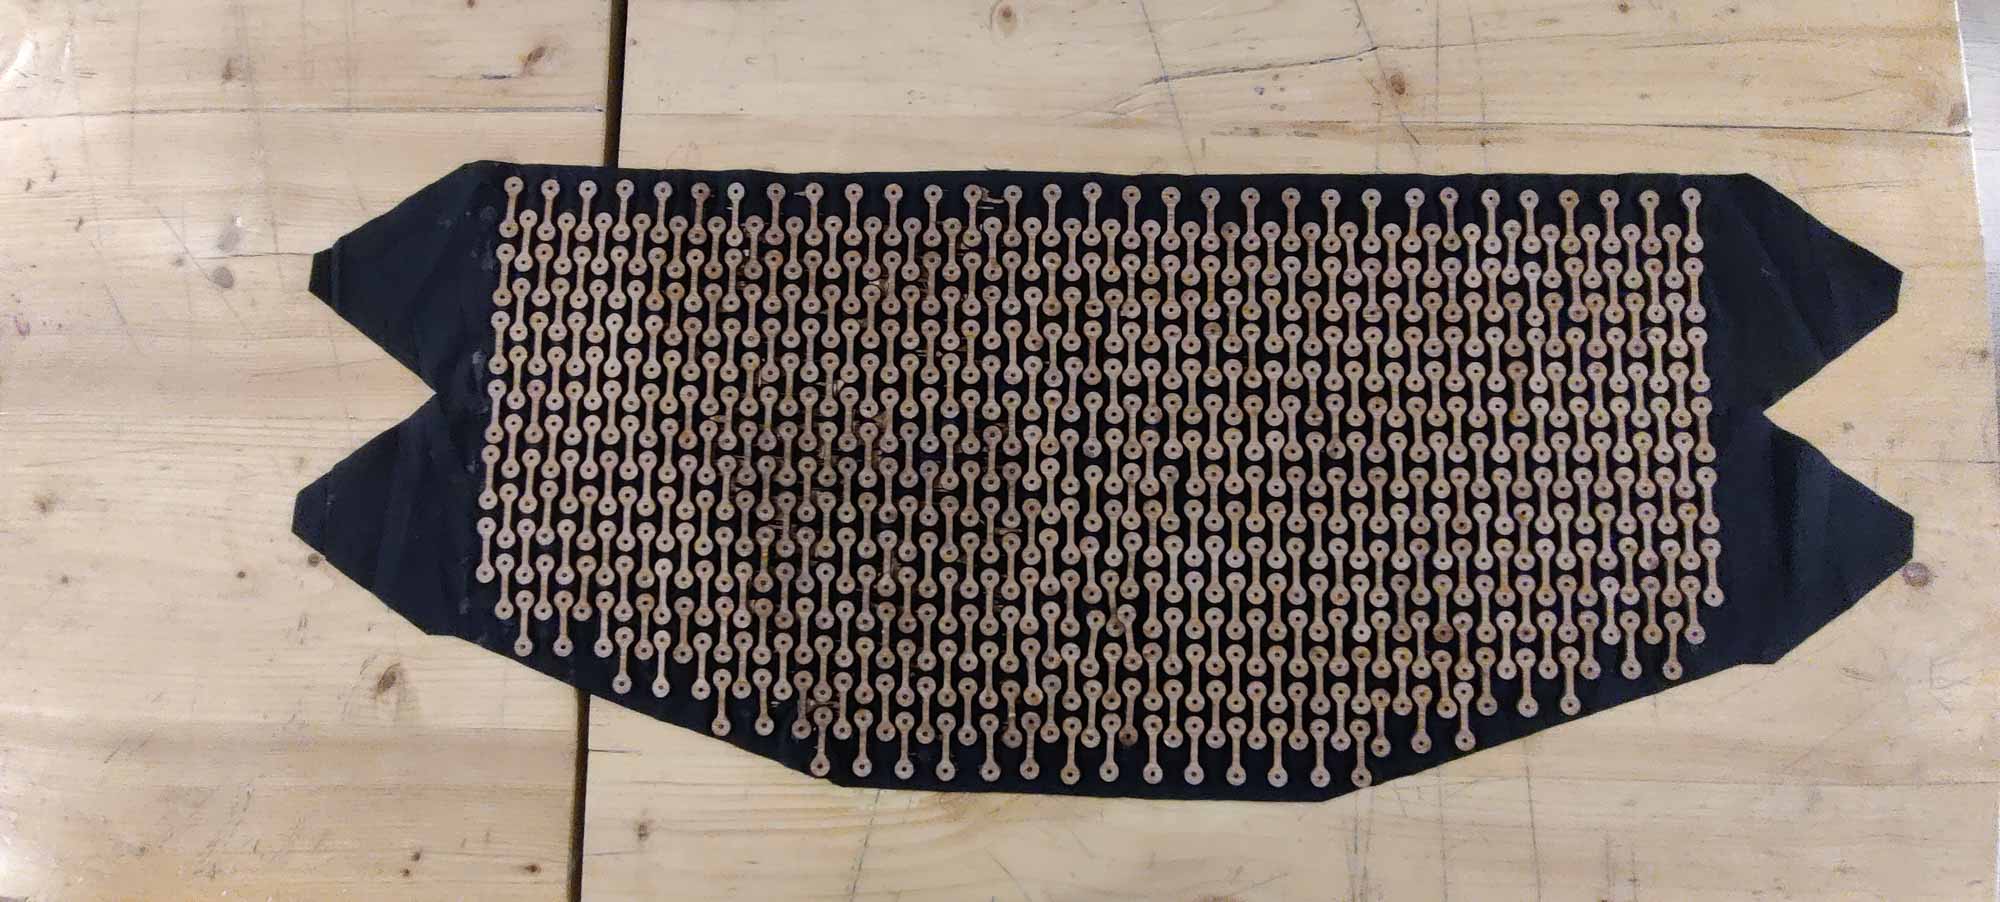
Thie first iteration was with the hourglass pattern. I replicated the pattern to fill the fabric measurements for the initial trials.
I also cut a double sided fabric backing that the pieces would be glued onto on one half and the other half would fold over and cover them.
The cut units were kept in the stock piece by applying masking tape across the ply. This was done so when gluing them on the fabric, the internal spacing and positioning would not need to be managed, since the stock would also act like a position/location jig.
I applied glue to the individual pieces, by hand and by stamps, then applied the fabric.
It wasn't bad for a first iteration of the production piece, however the following isues happened
- the pieces were not thoroughly cut and separate, due to there being staplers in the ply as well as the laser not cutting through the full thickness of the ply sheet. Dealing with this was rather frustrating. Eventually, we separated each piece to be sure, and then refit them into the grid with tape on the other side to hold it when flipped over. My eternal thanks to my sister who managed this task in under an hour while I got busy elsewhere.

- the glue at one end was quite dry by the time I finished gluing up the other end
- the glue, especially the stamped locations, would often smear over the edge ot the stock material, so in several place the fabric got glued to the base stock and had to be gently separated
However, after a few rounds of shake tests and regluing the miscreant modules, the entire sheet was sorted out and complete.
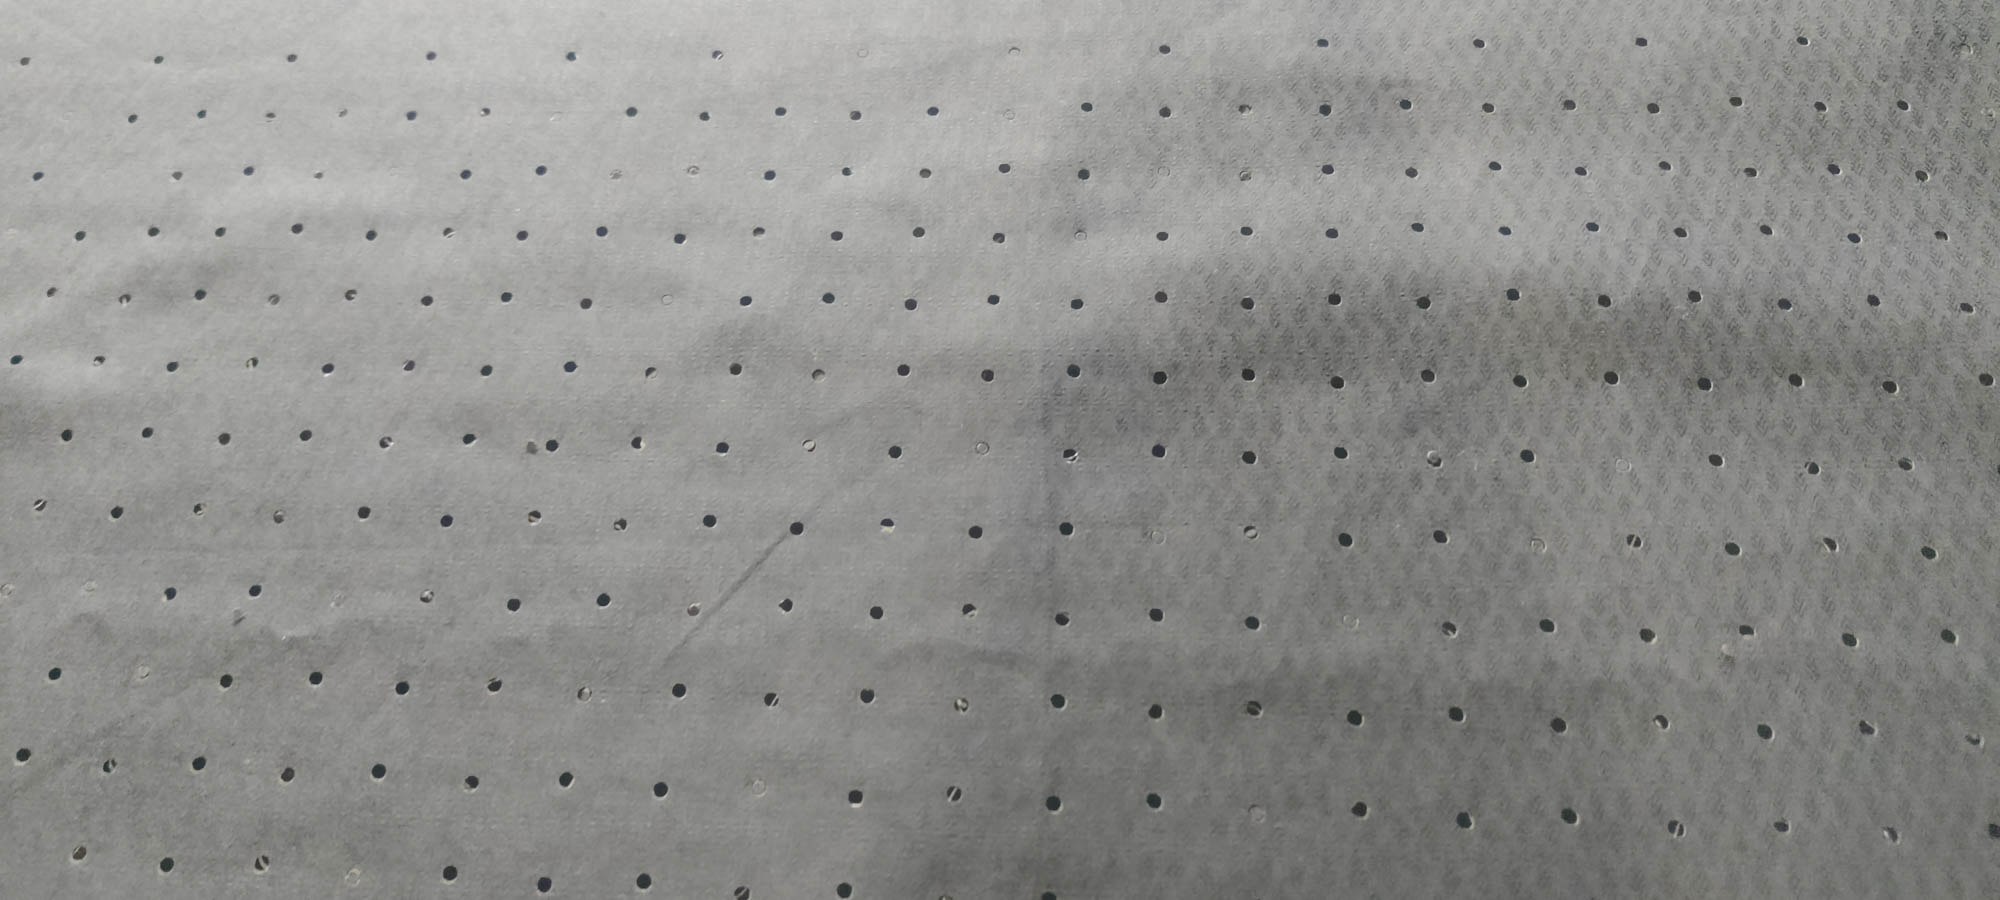
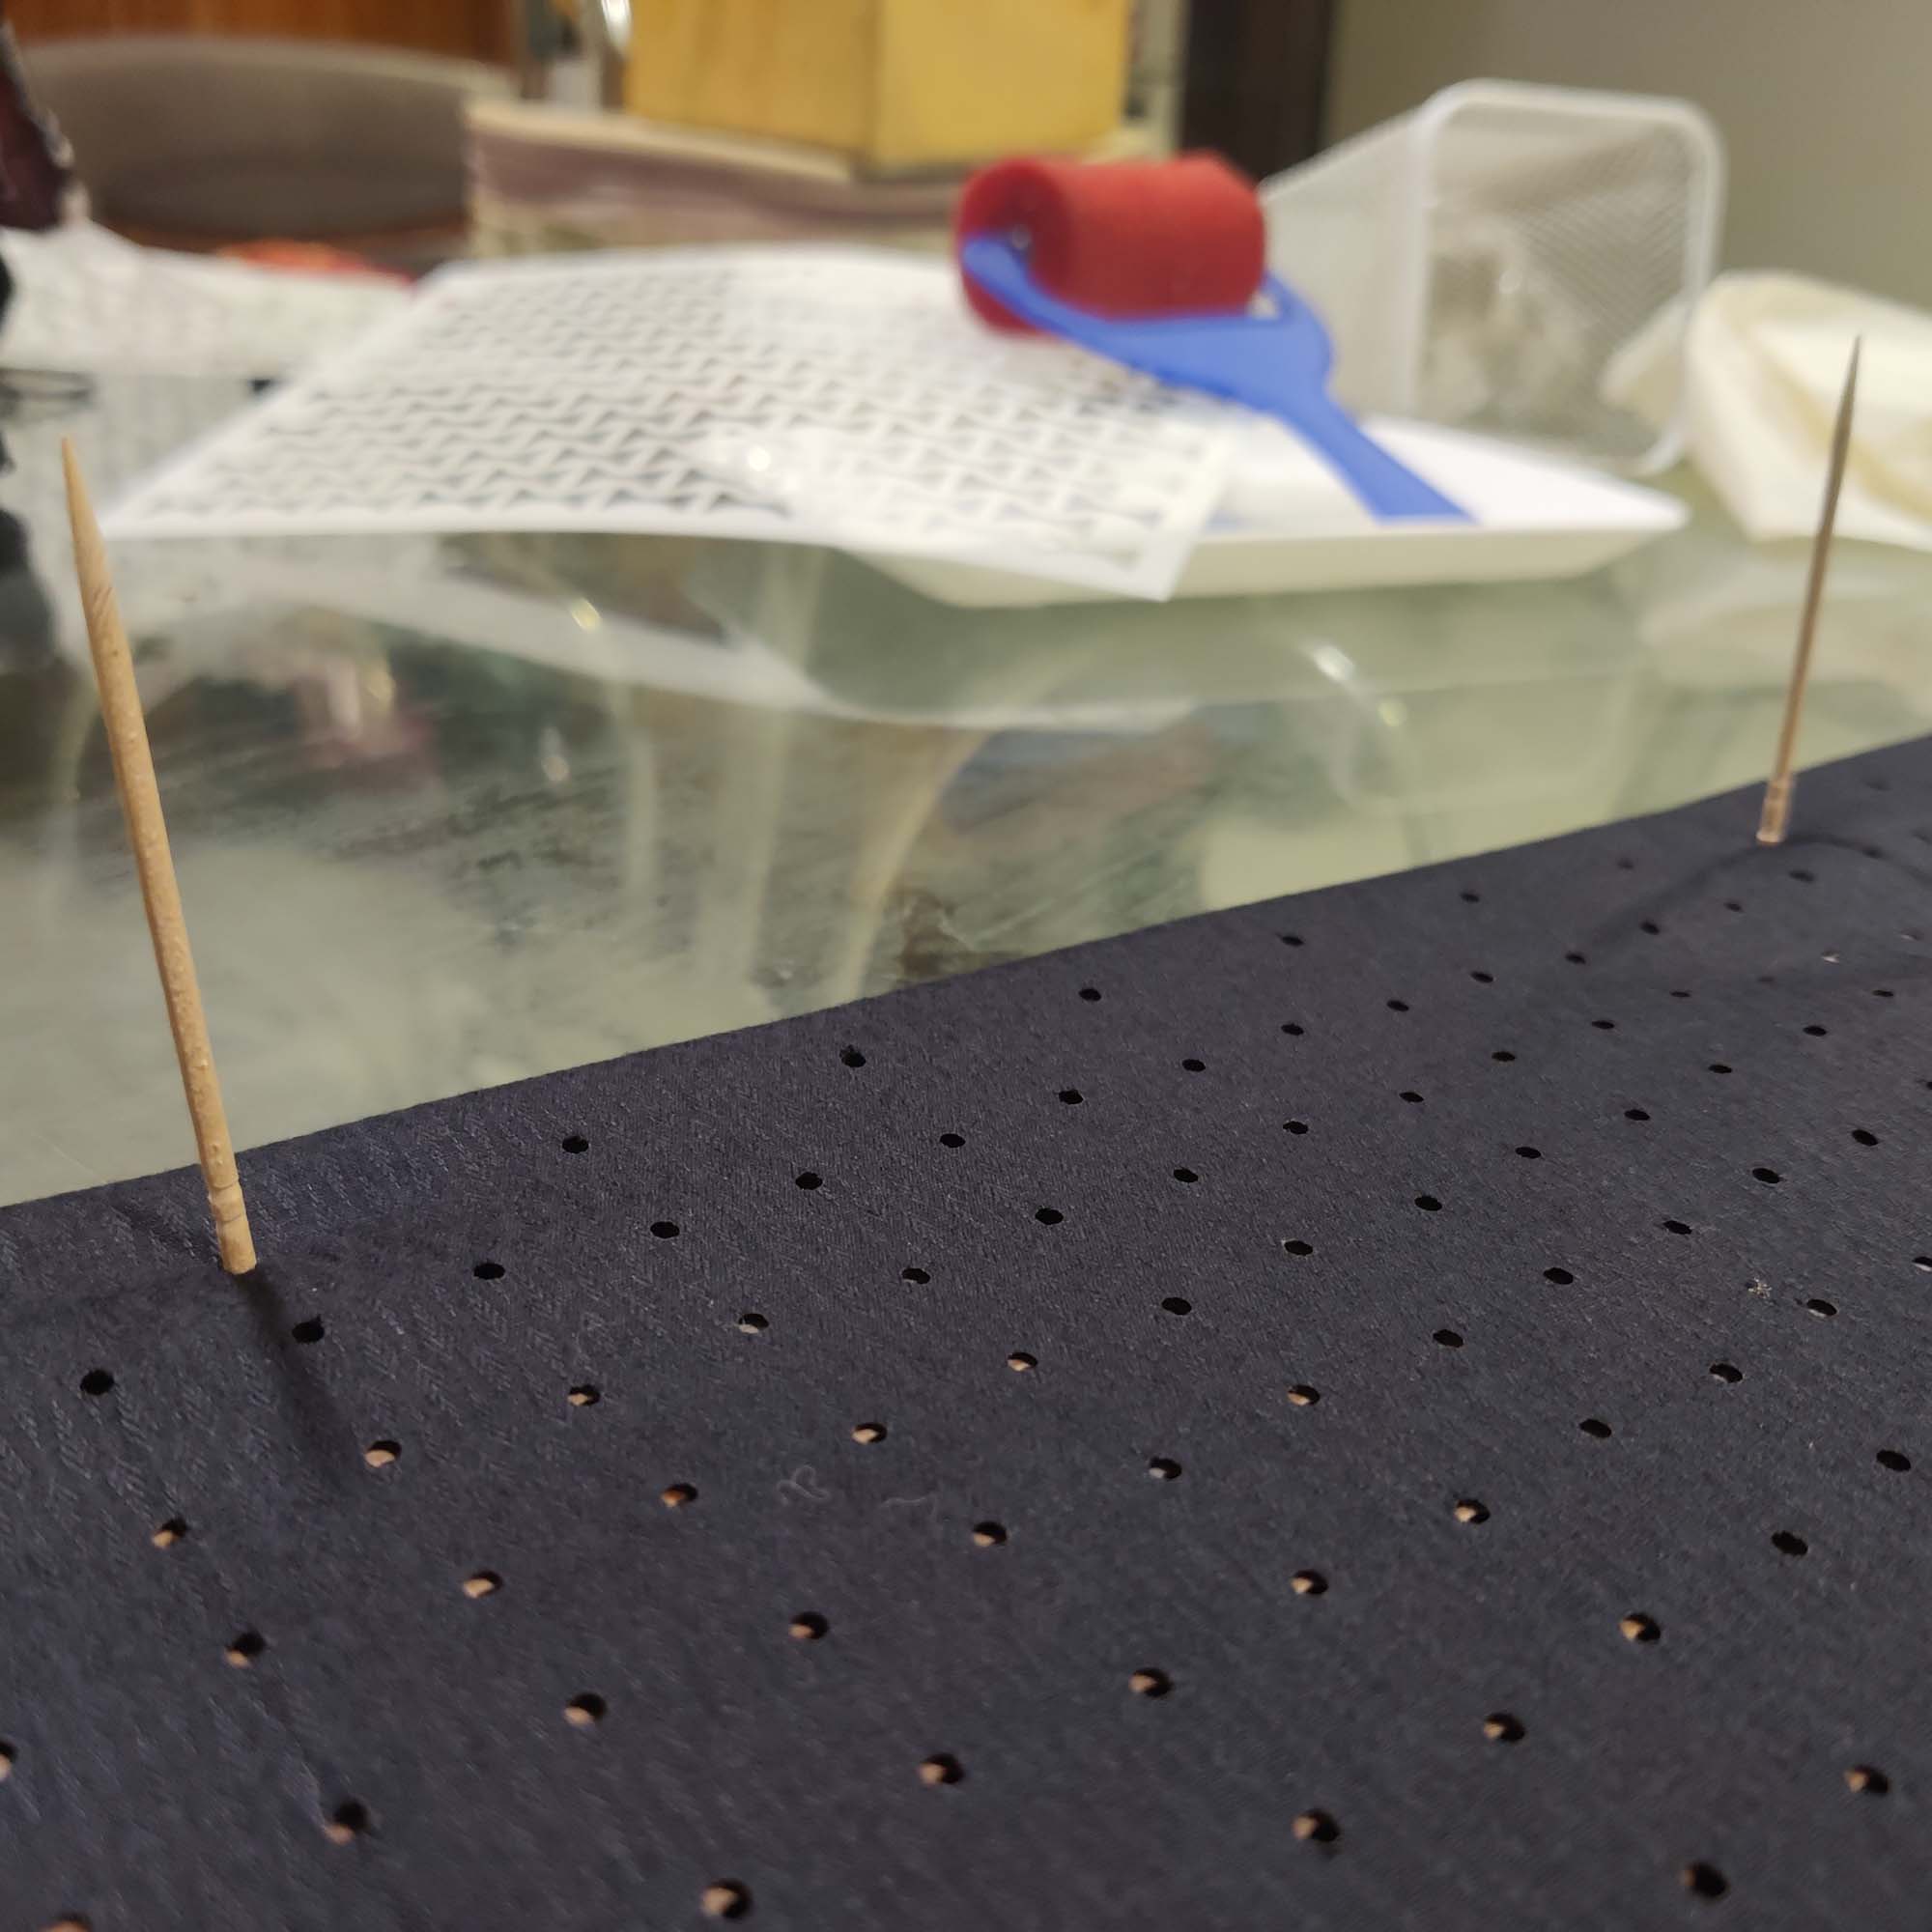
In a throwback to the stitched versions, my units also had stitching holes in them - just in case. I was not sure if they would be useful, or a hinderance, or were just a waste of cutting time. But I had kept them.
So the fabric was cut with holes in it as well. And the hole grid was dependent on the unit chosen, so each piece had a different hole grid.
However, eventually, this proved to be useful when gluing up, when I needed to keep the fabric in position as the glue dried.
Learning from the lessons of the first piece, I took up the next two pieces with better preparation.
- trimmed the fabric since I realised the first prototype was too big
- made sure the lasercuts were easily separable and fully cut
- made better stamps with more clearance
- made stencil masks as well for the gluing
Gluing speed was faster and more accurate due to these changes, and separation had been checked more thoroughly beforehand.
The Dumbell and Crossarm piece assemblies went considerably better.
Finishing touches
Belt and clasps
Given the overlapping structure of the fabric, I had decided to pass straps from within and use snap-fit buckles attached at the ends to wear the belt. Two belts were used, one at the upper margin, one at the lower.
In time, this can be a more elegant solution, and the nylon webbing straps replaced with canvas or fabrics ones. But for now, it is effective.
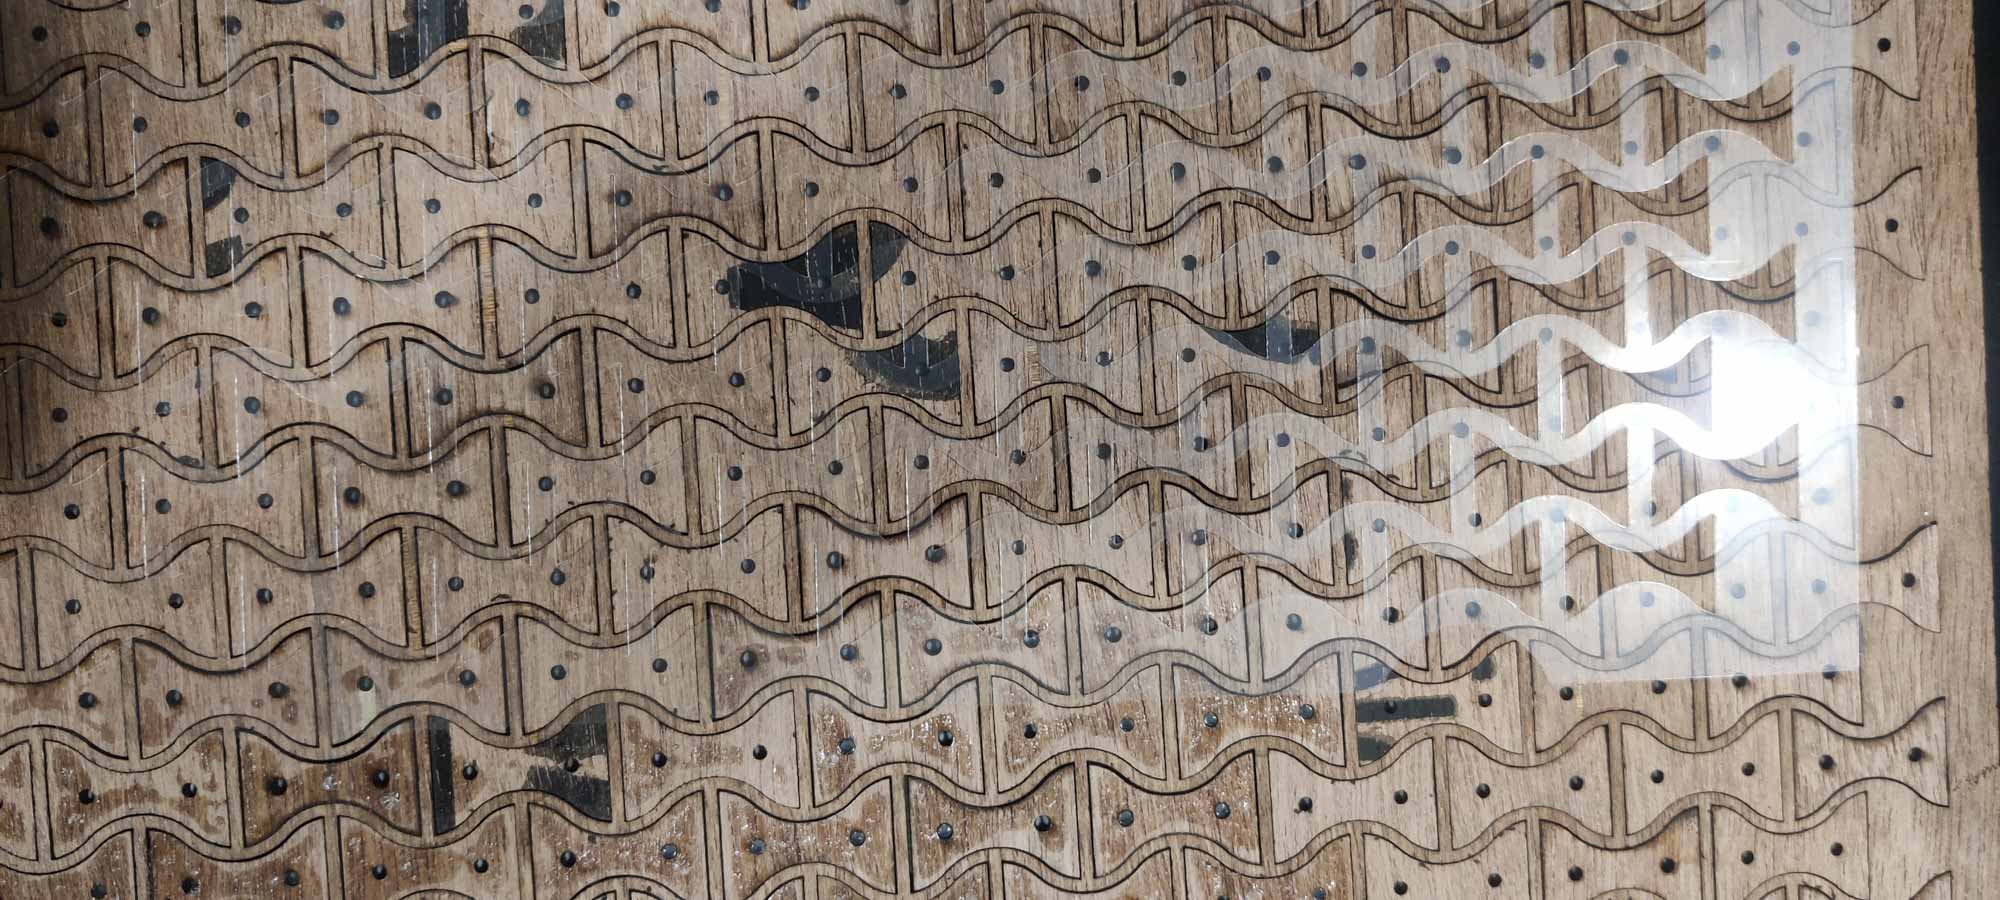
Stencilled patterns
This was a last minute but very relevant addition.
After finishing the first prototype, I realised that as lovely as the wood pattern looks, it is hidden by the upper layer of fabric - mostly for it's own protection from being snagged and ripped off, as well as aesthetic reasons when the wood may not be the best looking visual.
So I decided to replicate the same pattern in paint on the upper surface of the fabric. As such, any pattern would do, and a patterned and coloured fabric would not need this intervention. However, to do a callback to the pattern used underneath, I felt this was the right choice.

Here, instead of creating stamps or blocks, I lasercut some large stencils out of polypropylene sheets. The sheets covers a larger area so the stencilling was faster. However, I was also using 2 colours, so I had to wait in stages for the paint to dry before continuing.

Closure
Once these were done, shake tested again, and finally used for the photoshoot, with very little ceremony I folded them up in a box and put them away for the time being.
There is a whole list of things to improve, but for now this is a stable iteration.