04. Biochromes
INSPIRATION
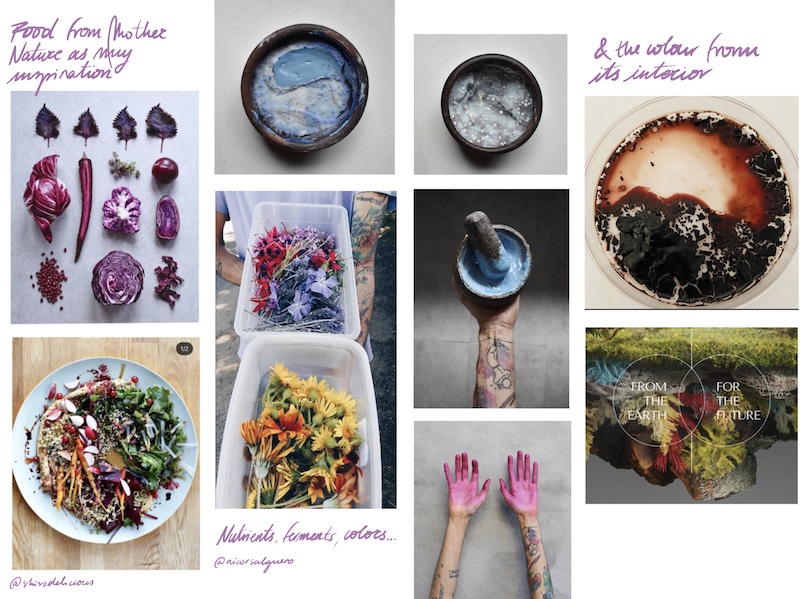
Recolecting our roots and nature
Looking for colors, textures, patterns, variety… Looking for all of this from Nature. She gives us too many opportunities and possibilities to reach beautiful and sustainable aesthetics, that not working for and with her is a crime. Colors are evolving all the time, so our products must do. We need to learn that evolution, change, adaptability is all part of the process: of life.
COLORFUL WEEK’S DIARY
We started with Cecilia’s lecture. Three hours of pure passion and knowledge. She taught us the history, the past of how human understood colors and how it evolved; how we can work with them and not harm the Earth while extracting its inner colors; how different components can alter the shade; why we should experiment and not follow just a recipe… It was so full of new information that the next day we were still processing it.
On Wednesday we organized our heads and thoughts about the topic. We stipulated which where the next steps and how we were going to organize as it was mostly team work this week. Although we struggled a little bit measuring the fabrics and making clear which ones needed different steps that the other we achieved preparing the fabrics for the dyes. We found very useful reviewing the information and work process from other students, apart from Cecilia’s slides. For example Sara Álvarez and Paulina Martina have a great documentation.
This was our to do list:
- Prepare ingredients
- Prepare fabrics
- Look for existent recipes with your ingredients
- Divide type of fabrics: plant (boil 30 min carbonato sodico) or animal based (rinse with soap and lukewarm water)
- Measure them: we did 460 gr of animal based fabric and 420 of plant based.
- Measure the mordant from this weight (WOF)
- Clean the animal ones: rinse with soap and lukewarm water
- Rinse them and put into the mordant (10-20% per 100 gr)
- Boile the plant ones for at least 1 hour with sodium carbonate (2 tbsp per 5L)
- Rinse them and add mordant (Alum: 10-15% per 100 gr)
- Let them dry overnight
On the afternoon we were given another tutorial on how we can make our own dyes and inks. First of all you need to decide with which ingredient you want to work with because there are many recipes. Our team gathered different food waste (and other not waste) and we divided them so each of us could work and explore different colors and share with the others. I brought a beetroot that wasn’t eatable, so I chose this one; and walnut shells as it is a huge waste in the industry.
DYES
All the lectures given made our week pretty intense: a lot of new information to process, a lot of steps to follow and many different ways of doing the same thing. . As I noticed this first steps were very tricky as there are a lot of information. I summarized them in a timeline along with my work flow that you can see below. Please notice that we skipped the step of tanning the plant fabrics as we didn’t have any tanin at our center yet. I hope it is helpful :)

I found very interesting what they are doing with walnut shells also: I wander if after boiling them >several times the biomaterial created would have the same properties.
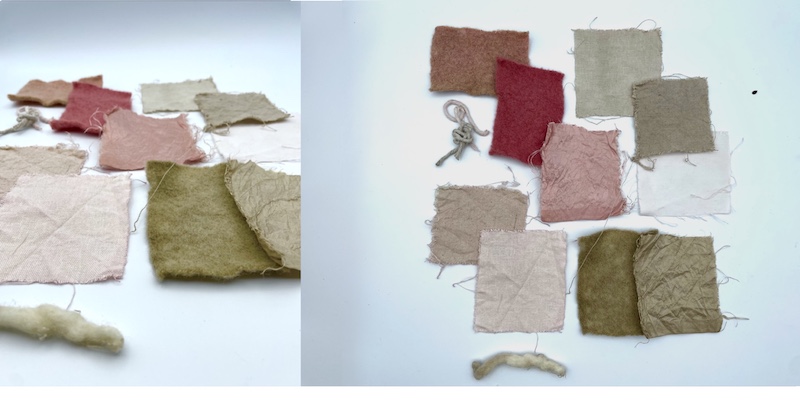
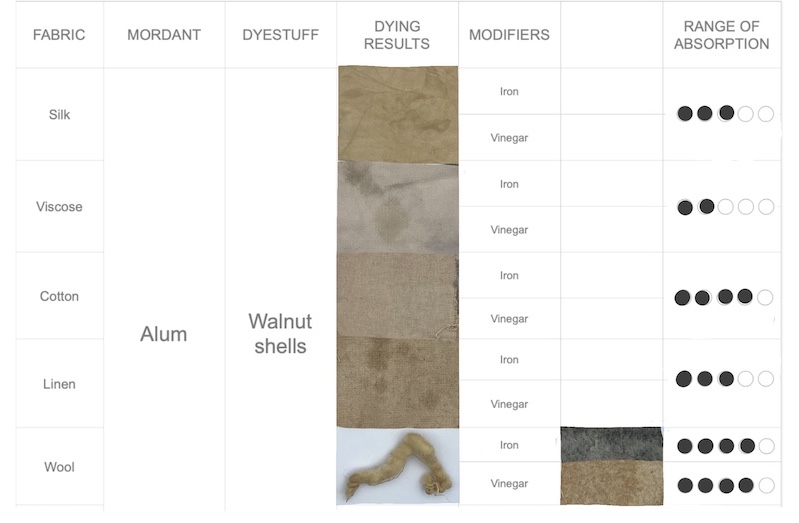
After the weekend I took off the little samples and after drying them, the fabrics looked like this:
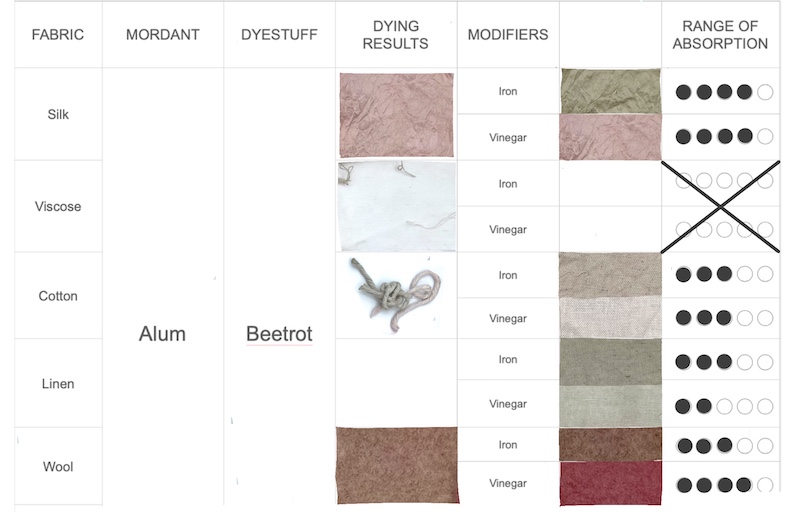
Beetroot samples:
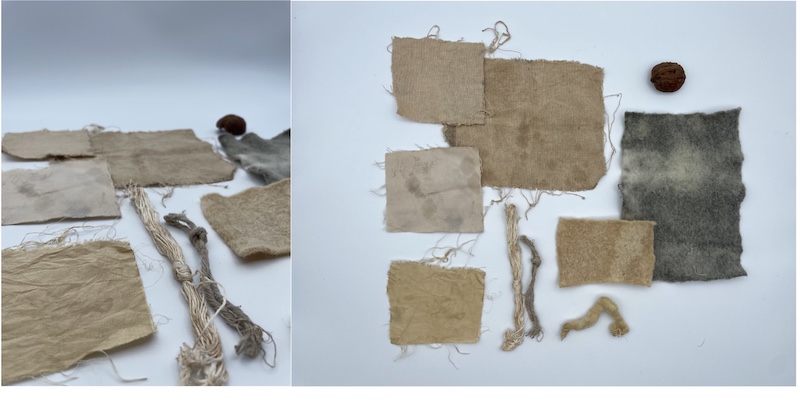
Walnut samples:
After seeing the interaction i decided to use the beetroot dye with vinegar as modifier to dye the piece of fabric that I want to use for making the seamless attachment system bag. Nevertheless my impatience didn't help: I let the fabric rest in the dye with vinegar for the night, but the next morning I heat it up... This can't be done once you've put the vinegar in it. The result was grey instead of red. You can see the result here:
TIE DYES
I wanted to experiment with the different patterns that we can do during the process. I decided to do dye some large fabrics in order to do a headscarf. I used my walnut shells dye and Arantza's onion dye. They stayed overnight.
Onion headscarf

RECYCLING MY MATE'S DYES
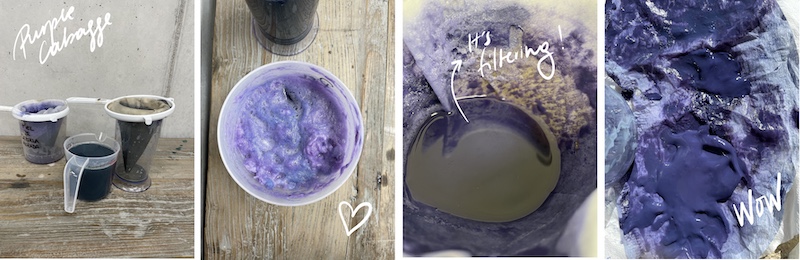
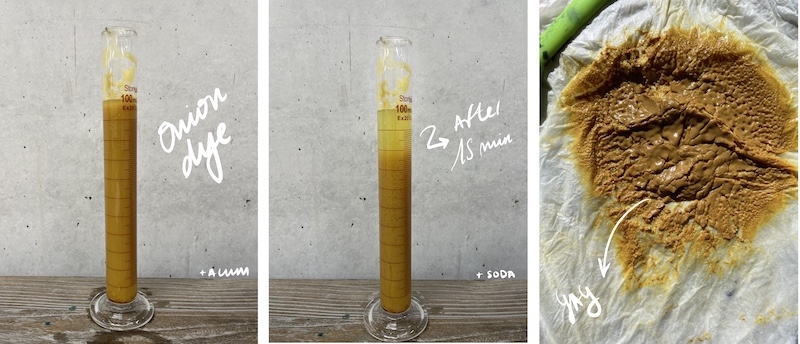
After we all used our dyes and finding Sodium Carbonate, I wanted to recycle our dyes. I just had a illtle bit of the Walnut dye so I took the ones from my mates. I precipitated Edu's red cabagge dye and Arantza's onion dye. I followed the instruction from Cecilia and accted very carefully while incorporating the sodium solution.
Red cabagge dye to pygment
Onon skins dye to pygment
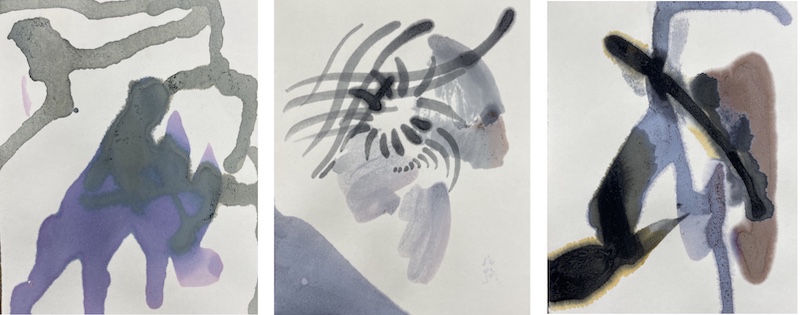
INKS
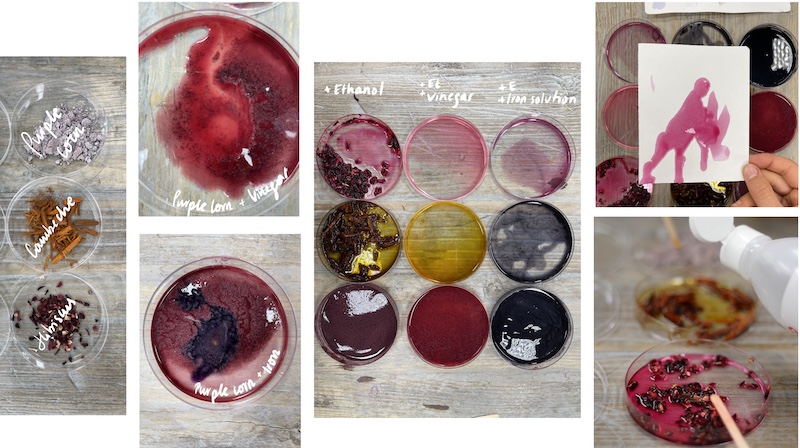
While we were waiting for the ingredients to be ready we tried making different inks. I used Campeche (?), purple corn and discus. All you need to do it apply ethanol over the ingredient and wait until they erase the color, it could be immediately as Campeche or it can take a little time as hibiscus. Later on they can be modified with vinegar (that increases the PH level) and iron solution. I really liked applying this modifier as you could see a huge difference between the shades of the original ink. After obtaining the ink from the beetroot and separate the liquid from the vegetable, I smashed some of it to make an ink. I wasn’t very sure if it was going to work as the beetroot lost all its color during the dying process, but it still had some color in it and the result was wonderful!
I loved creating inks and paint with them as the ones I regularly use are not very sustainable and have a lot os issues attached to their market.
This module allowed nature to show us its power, its own creativity and originality. But first we need to learn how to make it easier for her to show us her truest color potencial