2. Digital bodies
Week 2 Learnings
Day-1
Artist Research & Concepts
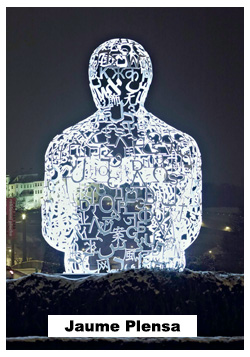
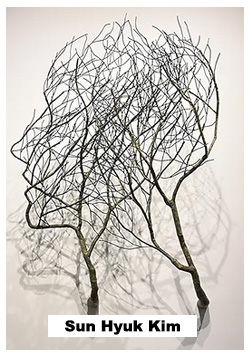
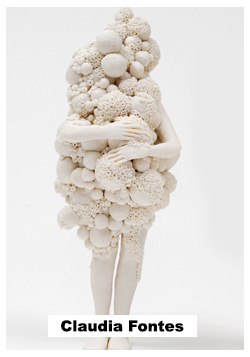
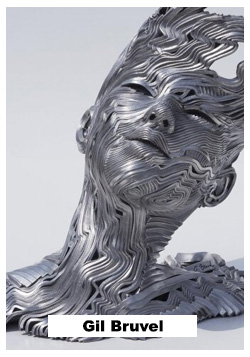
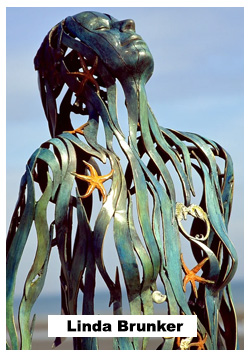
On this day, I learned about the evolution of human bodies in the digital world and understanding their structure. As part of the discussion, we also looked at some inspiring artist's work. The following are some artists who have inspired me greatly.
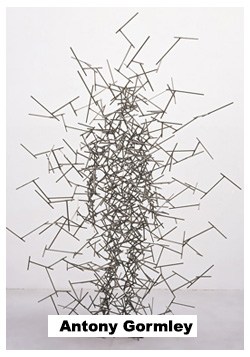
- Antony Gormley - About Antony Gormley
- Jaume Plensa - About Jaume Plensa
- David Creny - About David Creny
- Ron Mueck - About Ron Mueck
- willy verginer - About willy verginer
- Gehard Demetz - About Gehard Demetz
- Andres Krisar - About Andres Krisar
- Sun Hyuk Kim - About Sun Hyuk Kim
- Karie Grinnan - About Karie Grinnan
- claudia fontes - About claudia fontes
- Davide Quayola - About Davide Quayola
- xavier veilhan - About xavier veilhan
- Lucy Mcrae - About Lucy Mcrae
- Linda Brunker - About Linda Brunker
- Gil Bruvel - About Gil Bruvel
Taking Data references from painting Using Algorithms which is a new technology to create digital art, Animation and etc...
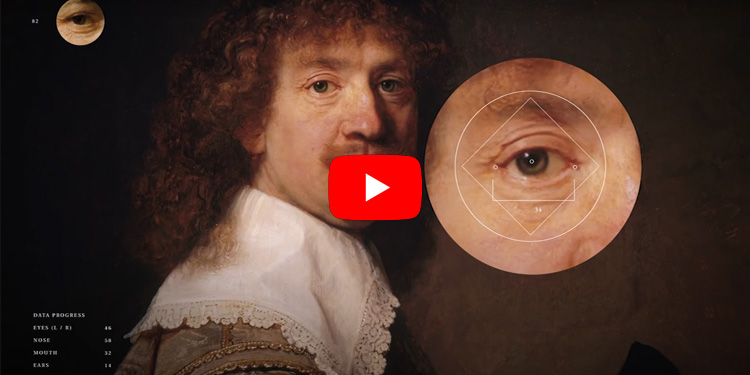
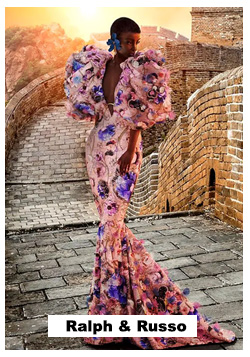
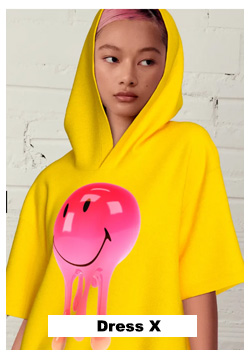
A few brands have already moved into the digital realm. Below are a few references

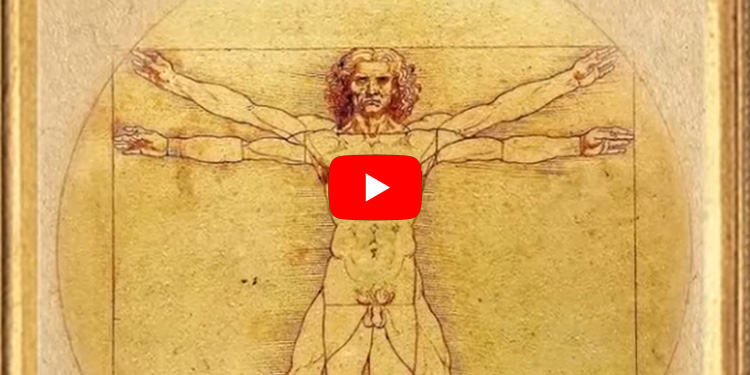
Self-learning about proportions by Leonardo da Vinci
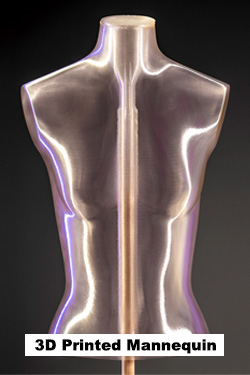
Sustainable Materiality
As I was quite interested in the Hans Boodt Mannequins sustainability process, I had done a few studies.
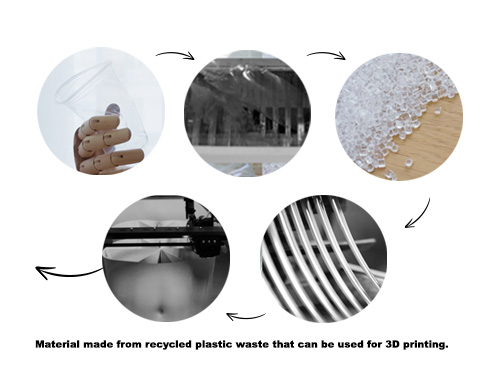
Material made from recycled plastic waste that can be used for 3D printing.
The process:
1- Collect the Plastic cups, plates, and cutlery sets that can use to convert into 3D printing materials.
2- Shred the collected plastics into pieces.
3- Break it up into small pieces so that they can run through the melting pipe.
4- The melted filament will be collected in the reel.
5- The finished filament reel can be connected to a 3D printer for printing.
3D Modeling - Digitization & Software
3D Modeling can be created from scratch / Scan / Download / Data
There are few recommended softwares and websites to Create / Scan / download the 3D model. Below are the few best ways that I prefer to work on the 3d model.
- Blender Free
- Make Human Free
- Rhino3D Paid
- Maya Paid


Day-2
3D Scanning - Softwares & Scanners
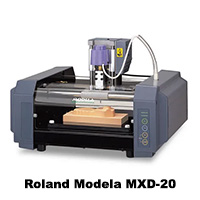
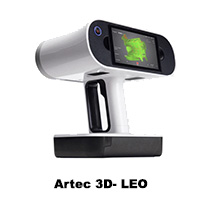
It is the process of analysing the real object's shape, form, and colour by collecting it's data by scanning. The following are a few software suggestions and 3D scanners discussed during the lecture.

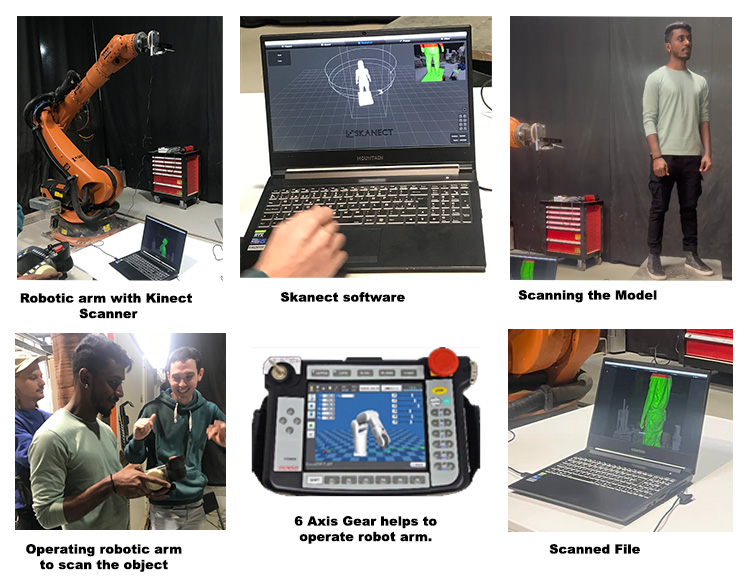
Scanning Process
MakeHuman - Process
Creating / Downloading the file.
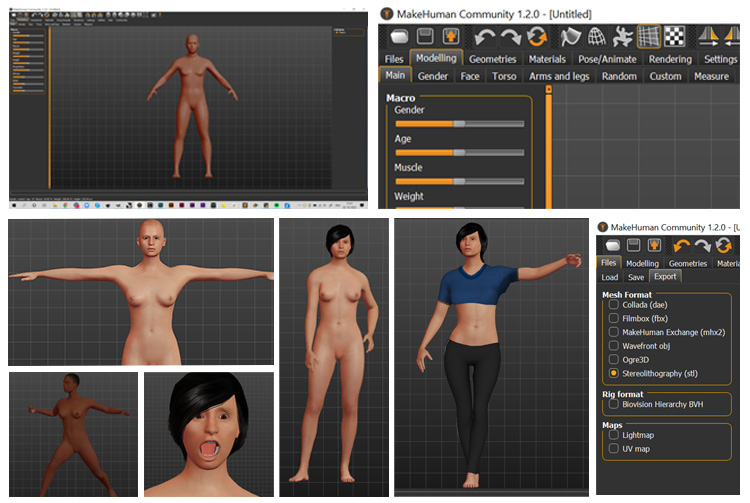
Slice for Fusion 360
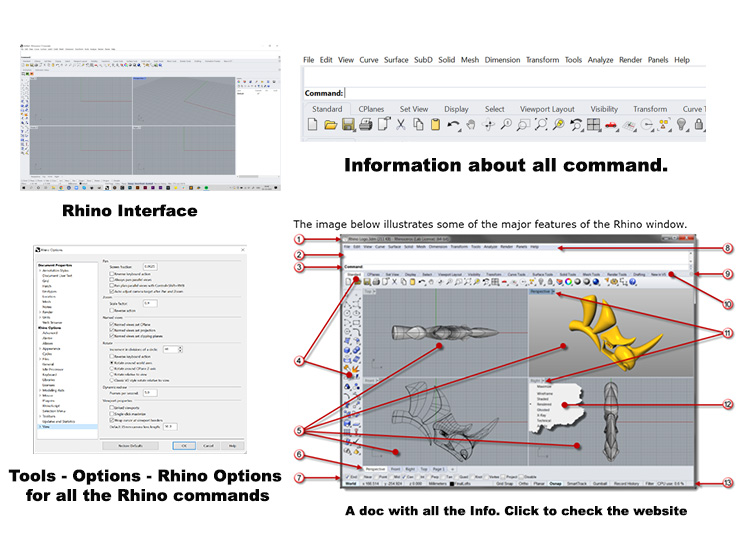
Rhinoceros Basics
In Rhino Basic-1, we learned how to use the interface, navigation settings, and basic commands.
Software- Rhino3D
Grasshopper Plugins- Food4Rhino
Day-3
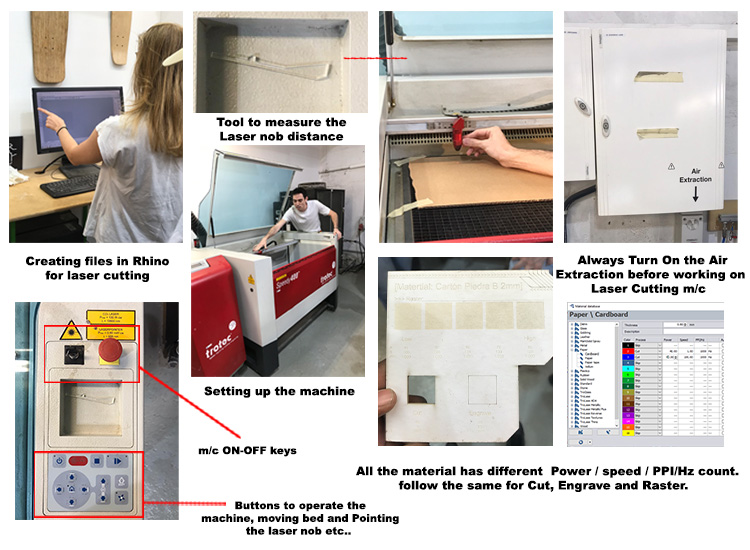
Laser Cutting Lab
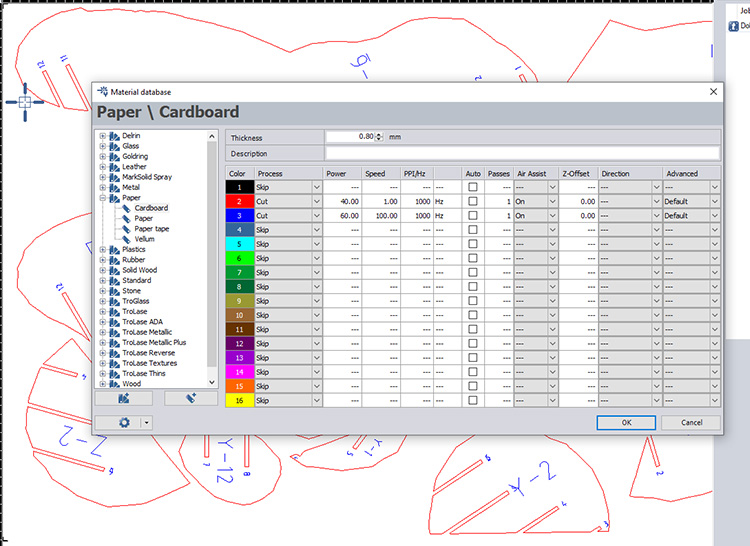
As part of our laser cutting lab lesson, we learned about file format for laser cutting, file colours for different commands, and points for speed, power, and PPI/Hz for cutting, engraving, and rastering.
Day-4
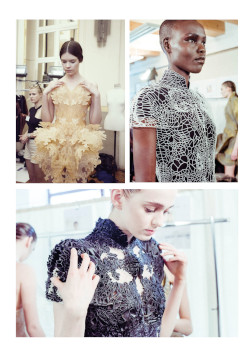
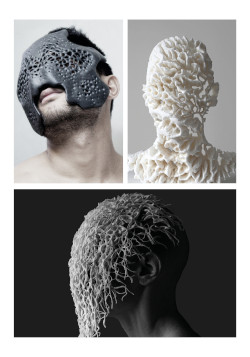
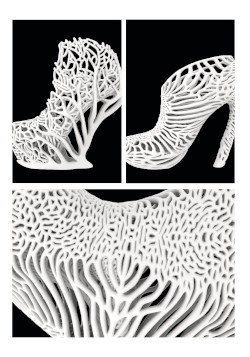
Research & Inspiration
The following designers and artists inspire me to work on my fabrication process. I would like to 3D print the model I created using Rhino and the Grasshopper plugin Parakeet.
3D Printing - Design & Process
I explored Rhino & Grasshopper models for 3D printing. Due to time constraints and 3D printing machine issues, I was unable to fabricate the models. Hopefully, I'll be able to make it in the next few weeks. I used the 3D human model that was derived from Makehuman to Rhino, as well as the Parakeet plugin to create these looks. you can find the grasshopper plugin attached below.
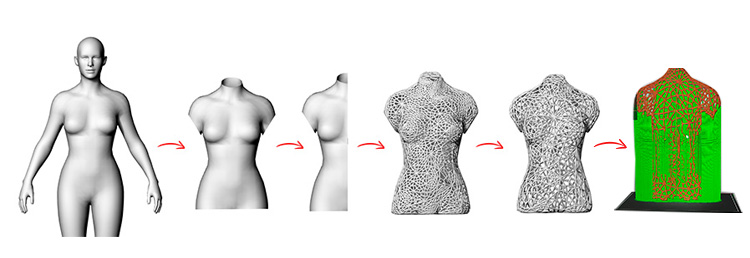
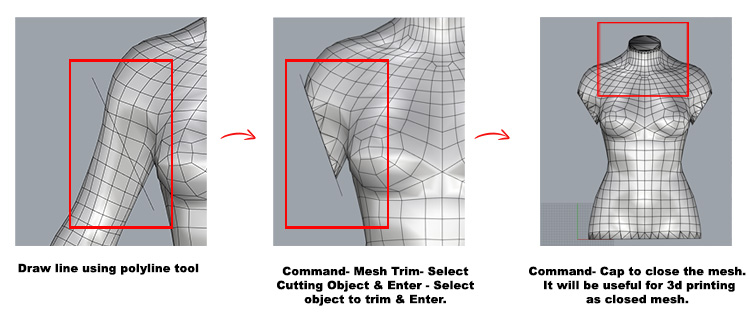
Rhino mesh to 3D printing process
Rhino3D process
To work on the torso, I trimmed the parts using Rhino software. The commands used are cutting objects as lines and command mesh trim to trim the object using the cutting object. To close the mesh, I used the command cap after trimming the object.
Rhino file - Torso File
Grasshopper Process
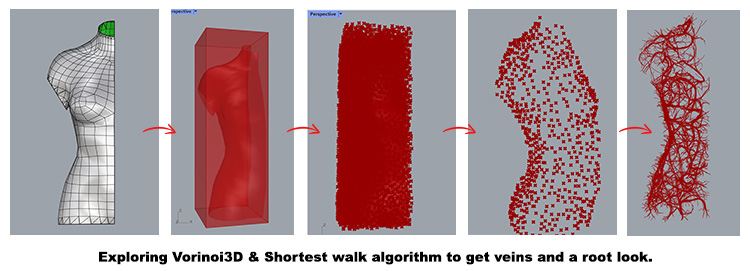
Exploration-1
My first attempt at modelling the human form in Rhino grasshopper exploration-1 used veins and roots as inspiration, but unfortunately, the system became very slow due to the large file size, and the complexity of fabricating it.
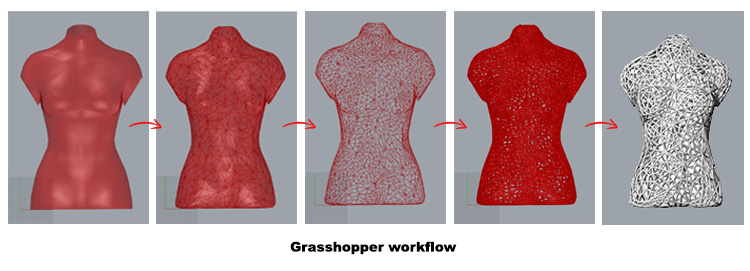
Exploration-2
As a second attempt, I used the Parakeet plugin to simplify the fabrication process.
Animated using Rhino Animation Tools
Script
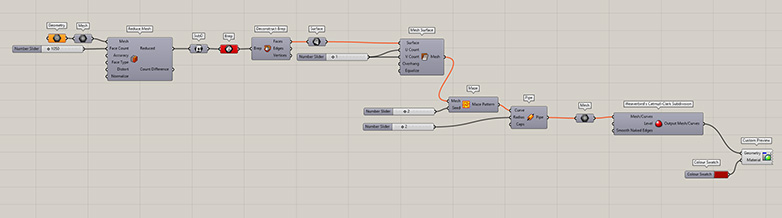
Grasshopper script - Script
Prusa Slicer working
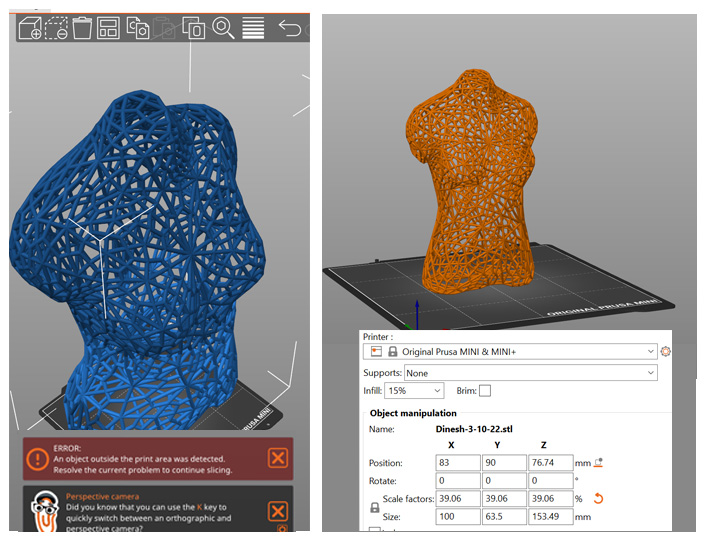
I learned how to use a Prusa slicer for the first time. When I imported rhino files into the Prusa slicer, there was an error because the model size was going out of the printer. When I calculated the material size and printing time, it showed 4 days and 5.4kg materials for 1819.57m, so I resized the file to fit in the printer. In order to reduce the size, I made it 15 cm, and it shows the timing as 11 hours which still possible to print with the timeline.

Conclusion
The following is my conclusion on the first 3D printing fabrication I tried myself. I have tried learning 3D printing before, but with generic objects. Now I am working on a fashion 3D print. Even though I know very basic Rhino and grasshopper, I planned to work on 3D printing human forms. Now that I know the process, I feel confident enough to explore more 3D printing fabrication. I would like to learn more in detail from rhino to grasshopper and fabricating and would like to continue doing so in the future.
Laser Cuting
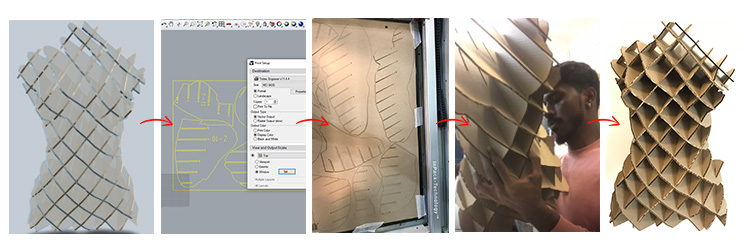
Process form Slicer to Final model
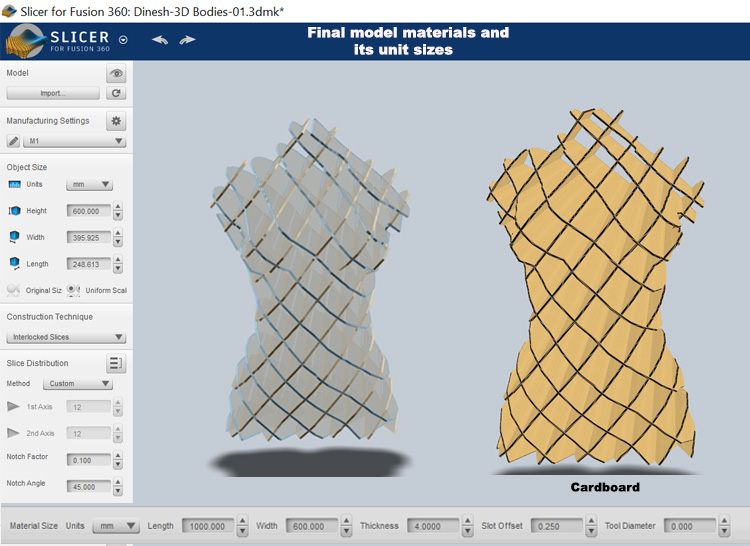
Slicer For Fusion 360 - Process

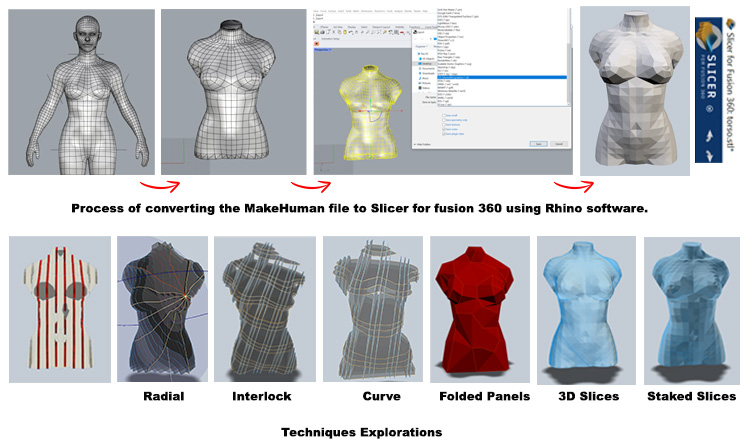
During working on the final modelling process in slicer and laser cutting, I explored different construction techniques like Interlock, Curves, Folding panels, 3D slicer and stacked slicer. I used the size 600 mm. The challenge I faced was with slot offset, As the material thickness is 4mm and the offset to connect the intersection was not matched the offset unit I had given.
For Example:
Slot Offset- -0.250 the thickness is 4mm
Slot Offset- 0.250 the thickness is 4mm
Slot Offset- 0.500 the thickness is 4mm
Slot Offset- 1.200 the thickness is 4mm
We expected the size to be 4.2 or 4.3mm so that it could interlock freely. But It turns out the 4mm worked as is and the cardboard interlocked perfectly.
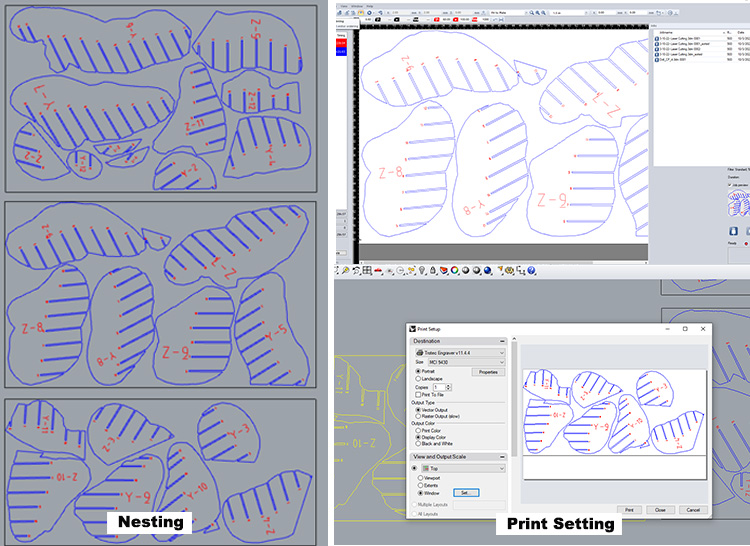
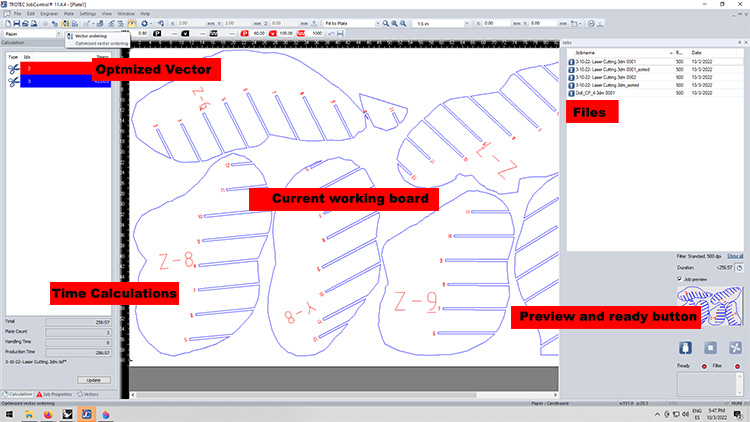
Laser Cutting - Process
Assembling - Process
Final Look
