Experiments
Casting Larger Sheets of Gelatin Bio Plastic
Molds: Gelatine bio plastic should be casted on plastic / acrylic material with a wooden frame border -- the plastic makes it easier to remove and the wooden frame prevents it from shrinking and shriveling on the sides. Gelatin should never be casted in glass! I learned the hard way after spending almost an hour removing my first big piece of bio plastic. Tin / metal backing sheet also work as a good surface to mold in but I've only testing with small aluminum disposalble trays, the ones that are soft and flexible.
Casting Process: The area / room you are casting in should be as steril as possible and the surface of your mold should be cleaned with soap, rinsed well with water, then dried fully. After it is dry, wipe it down or spray with rubbing alcohol and then let it dry again fully before casting the bio plastic. This will prevent contanminated bio plastic sheets. Make sure to level the surface / area your mold is laying on so that you prevent the bio plastic from casting unevenly in the mold. Bubbles and a frothy film are common, try removing these with a metal spoon in pot before casting. Adding a touch of alcohol or essential oil can reduce bubbles as well. Once the material is poured into the mold you can remove bubbles with a metal spoon as well.
Drying Process: Large sheets of gelatin bio plastic should be left to dry unbothered for 7 days before removing. The room temperature should be moderate to cool, but not too cold or warm. Do not point a fan on the bio plastic as it may blow things into the material that can cause containation. Prevent movement or people talking around the plastic while it is drying, people can also add to contamination. Removing the bio plastic before it is fully dry can lead to contanimated material. Contaminated geleatin bio plastic smells like rotting wood or like lactic acid. Leave it alone for 7 days unbothered and it should be fine.
Removing Plastic: You can remove the plastic from the mold by using an exacto knife or box cutter to slice around the edges. The bio plastic can be pulled off the mold easily but sometimes it is helpful to have someone help you during this process, so they can hold the mold while you pull the bio plastic off depending on how big the sheet is.
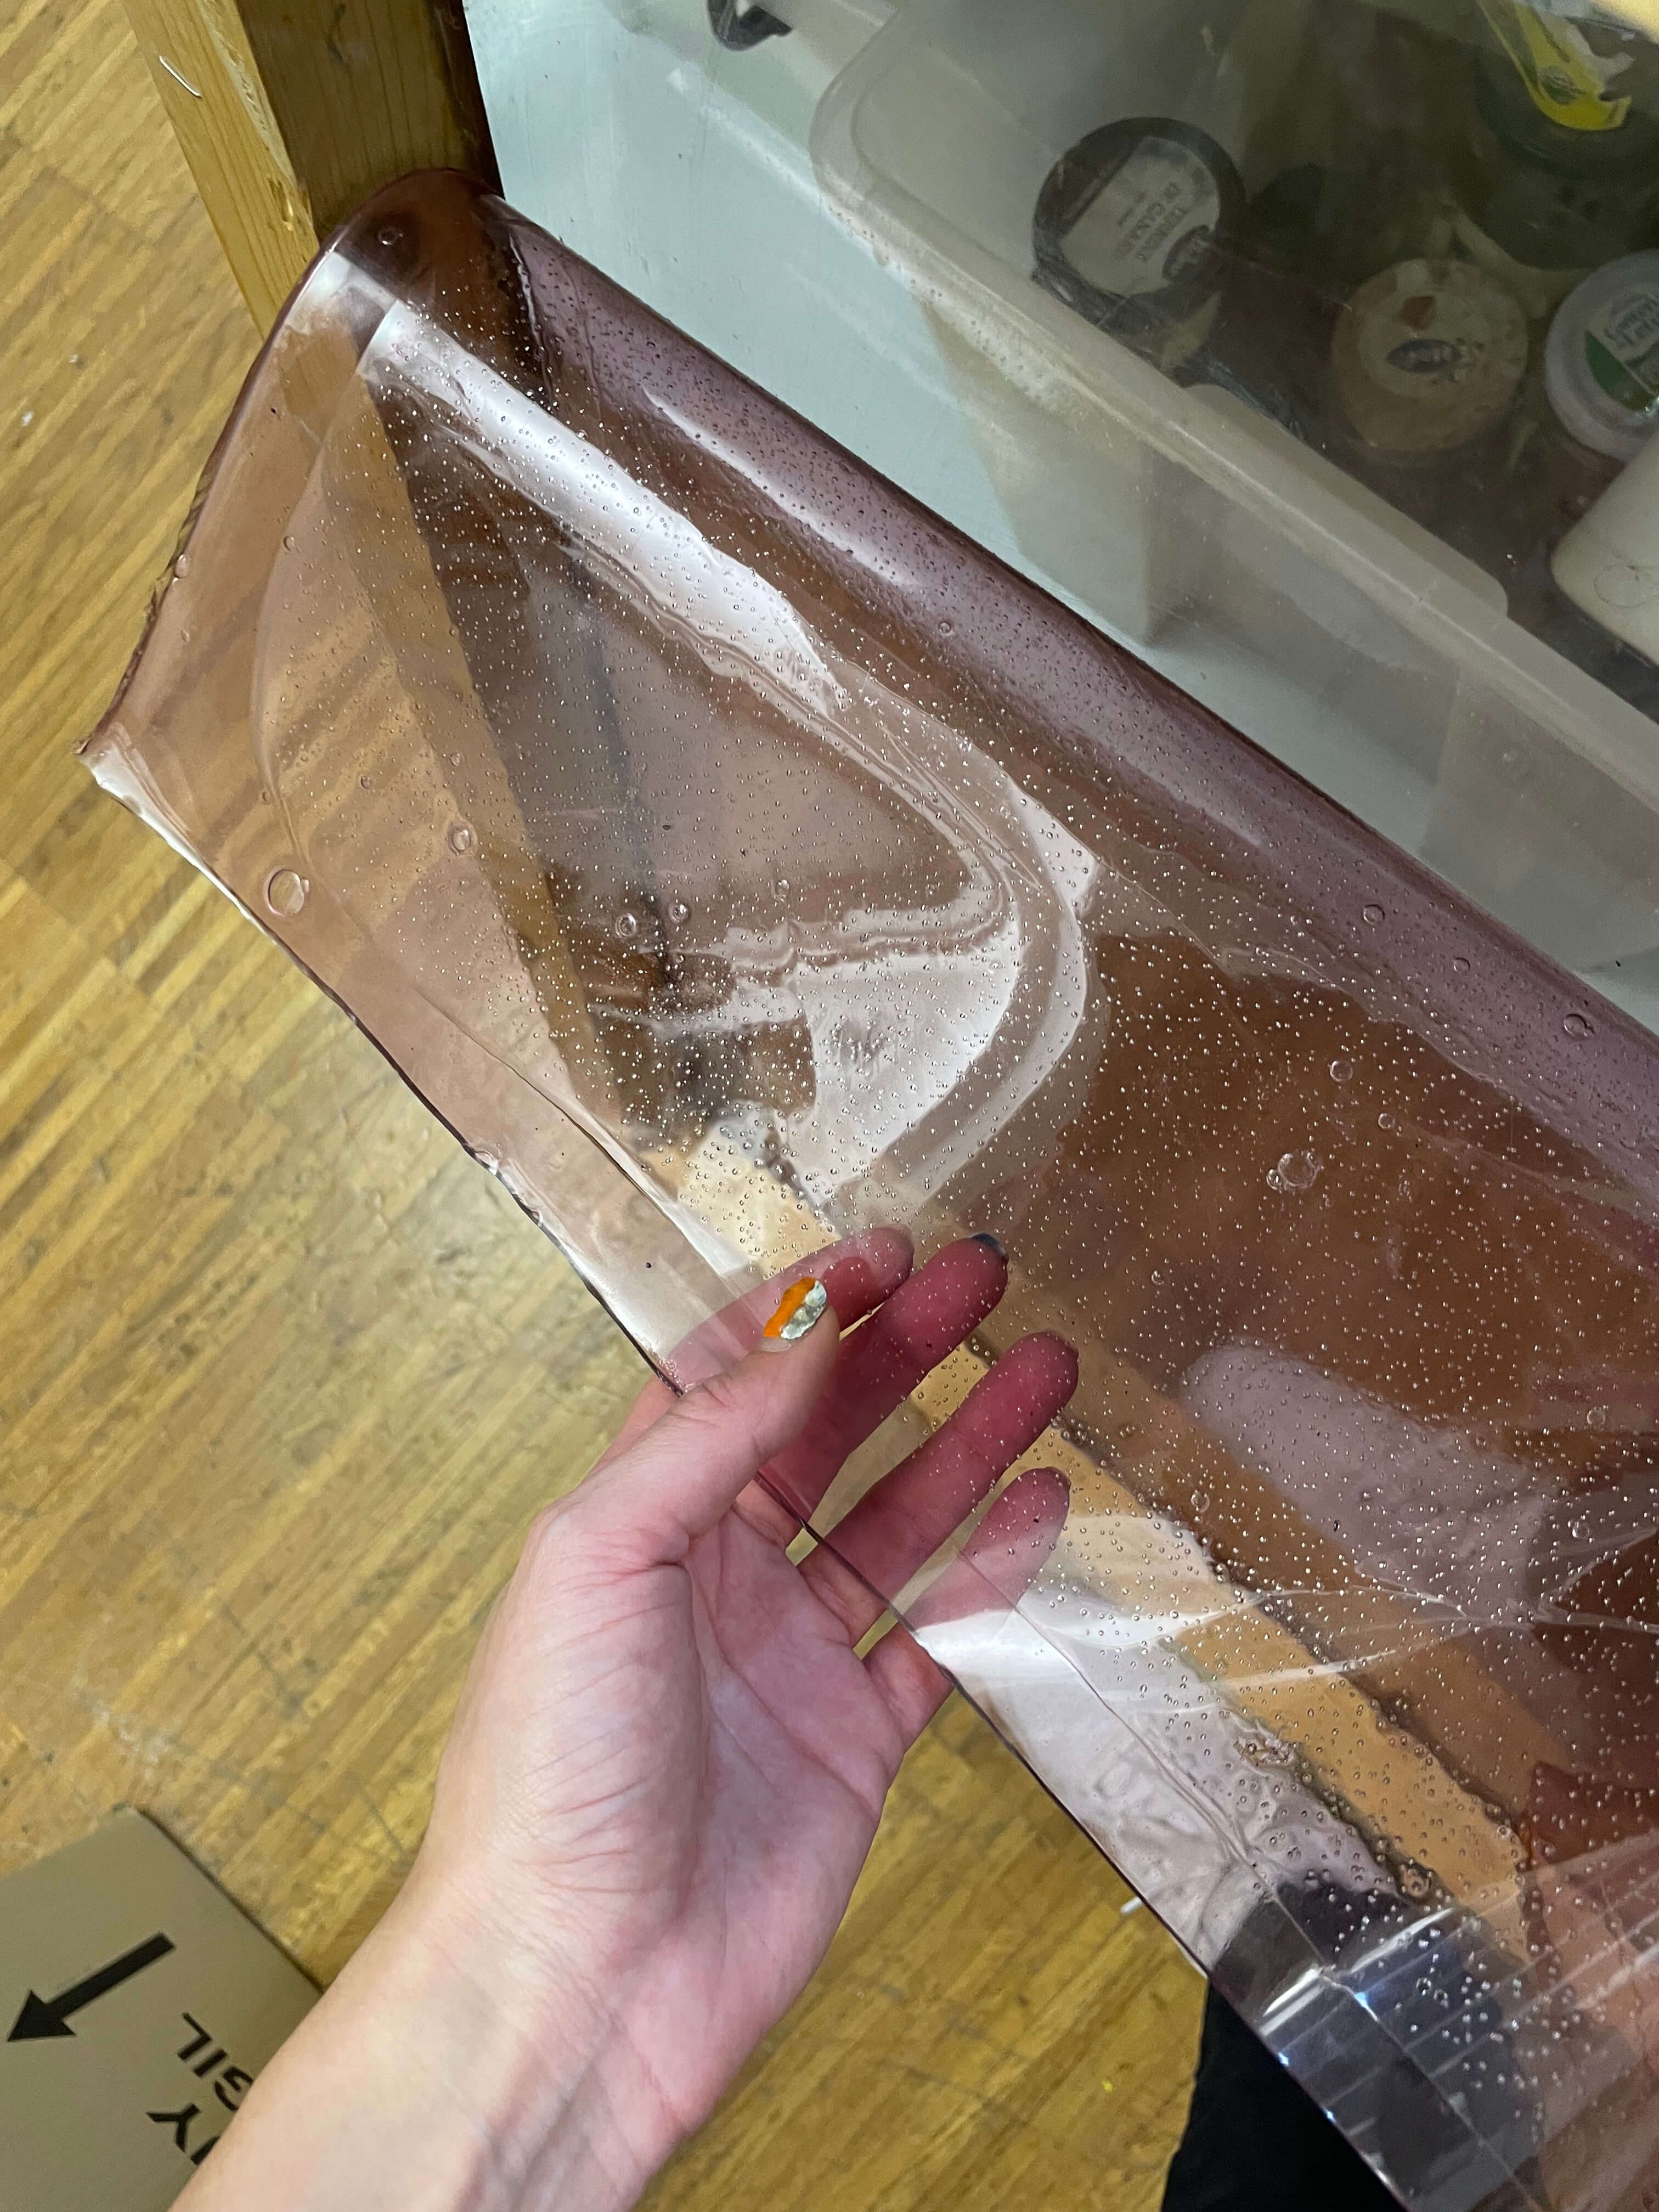
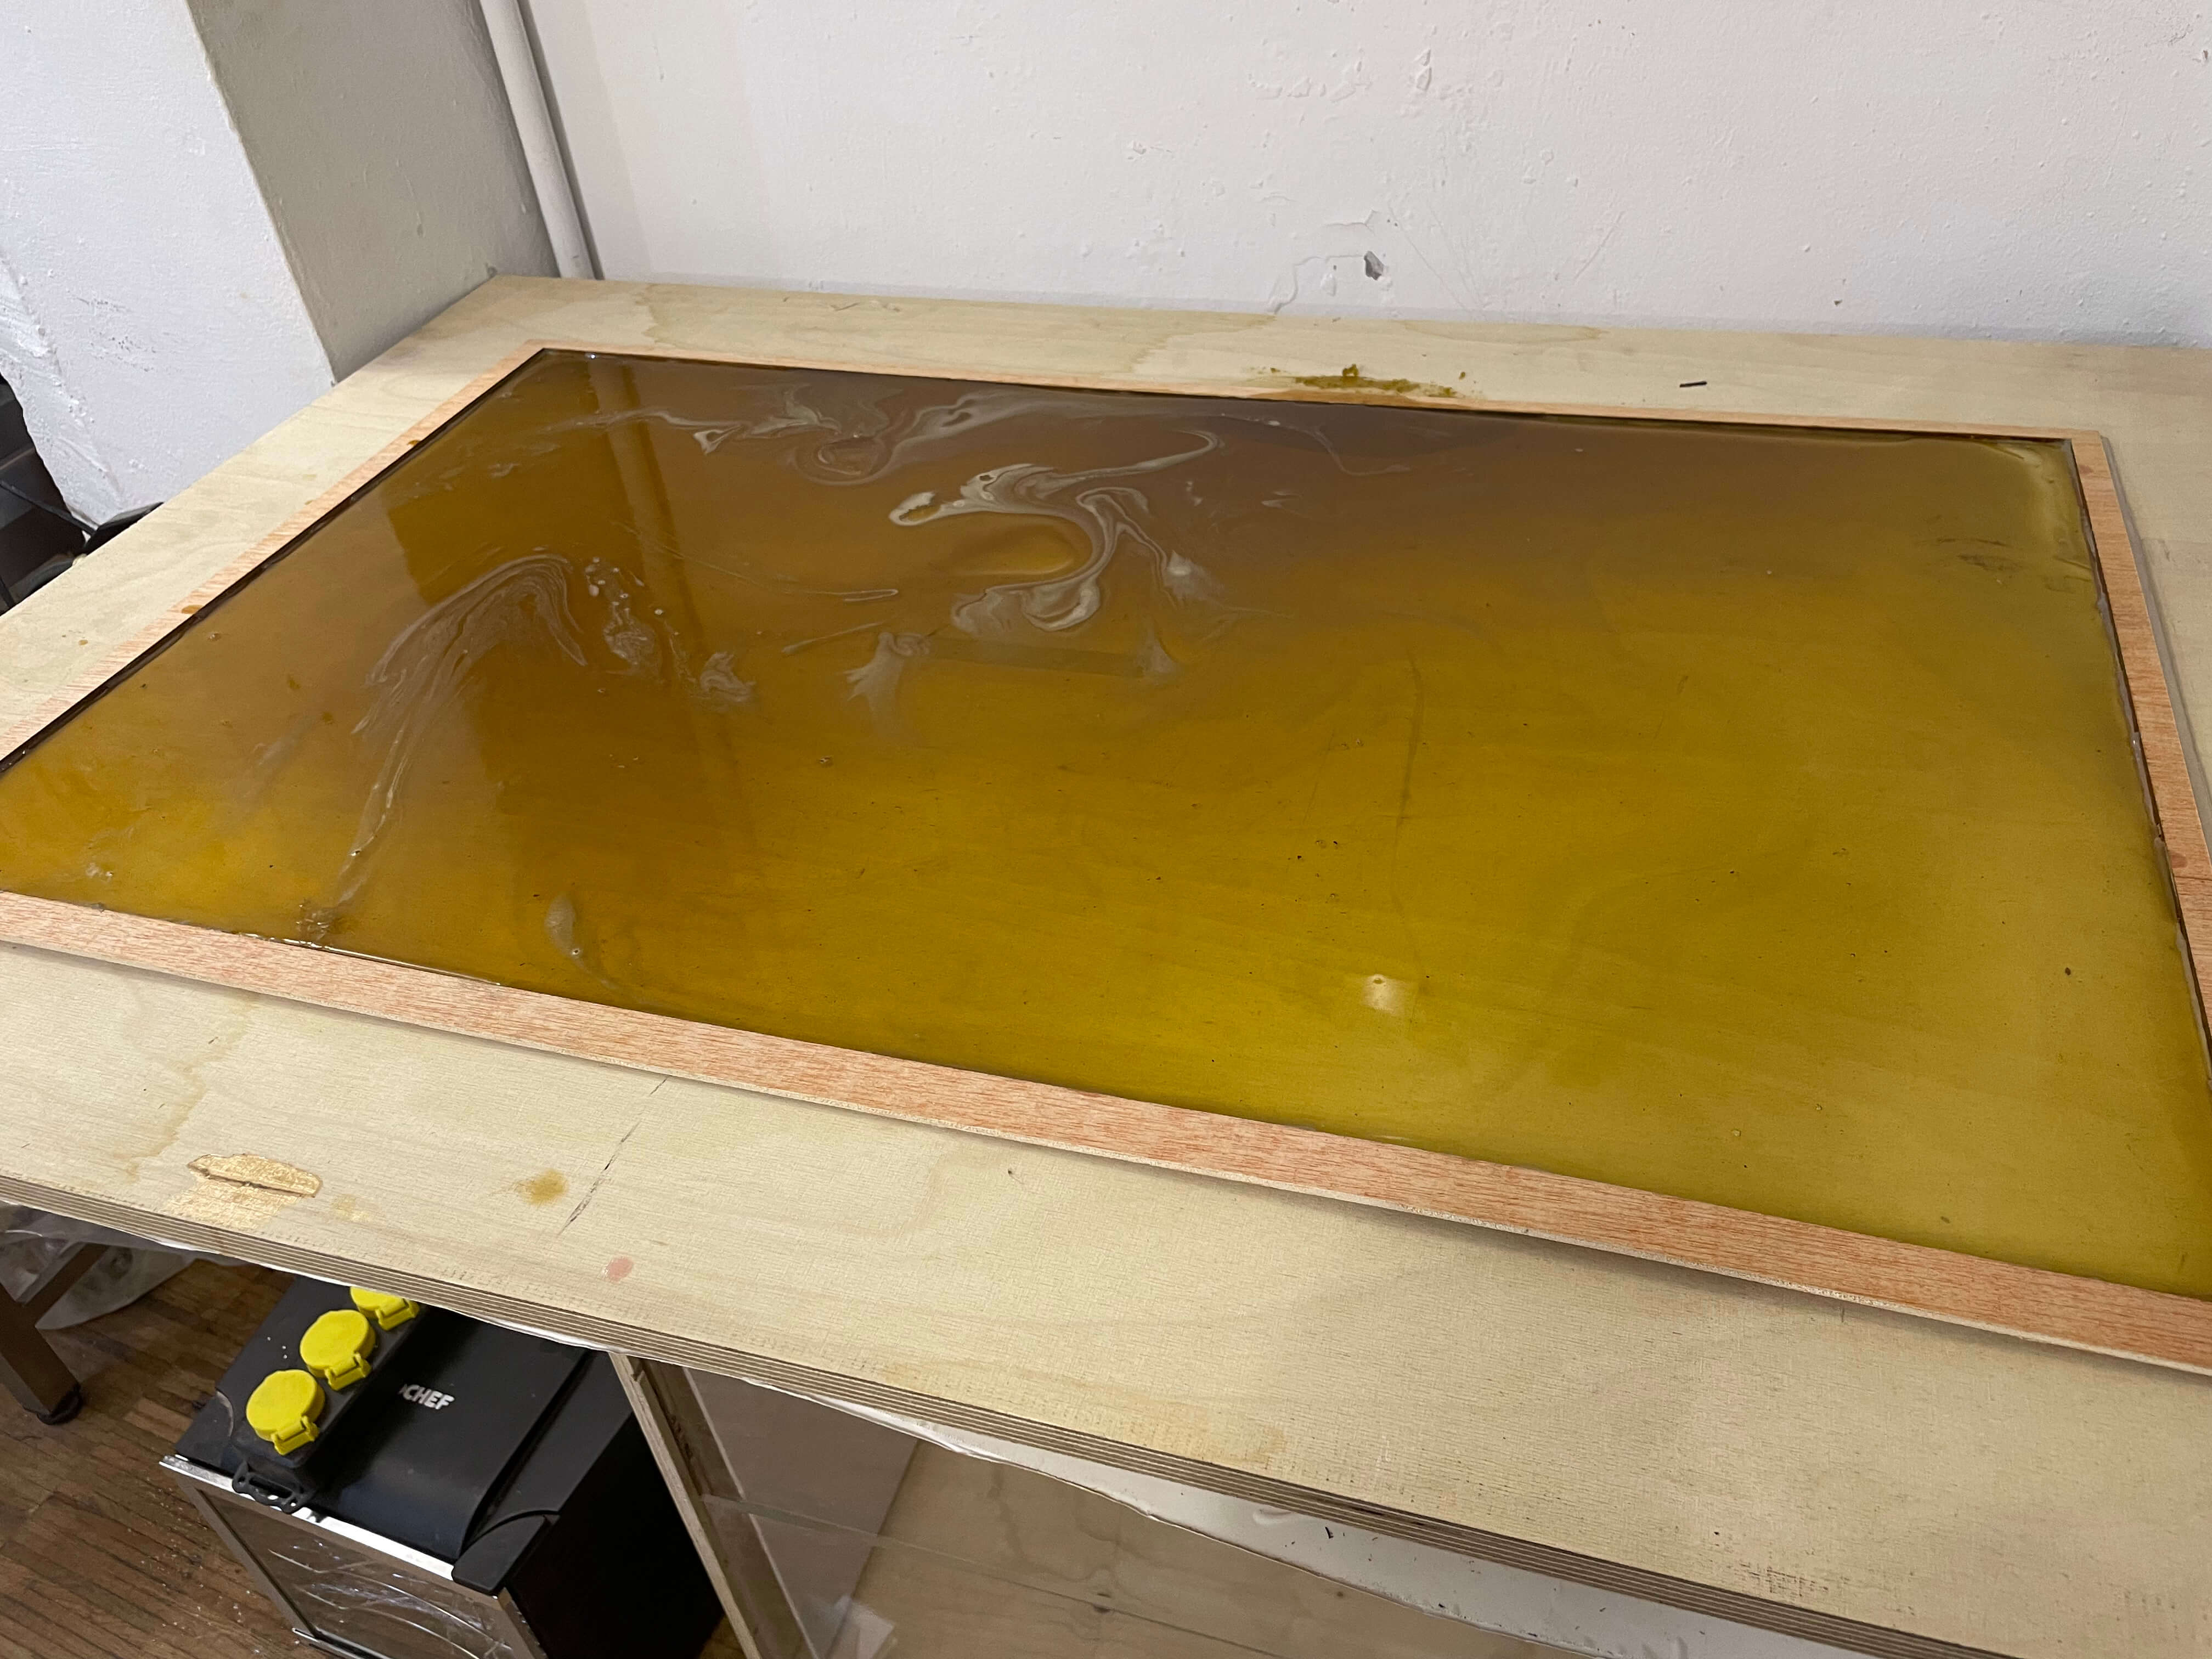
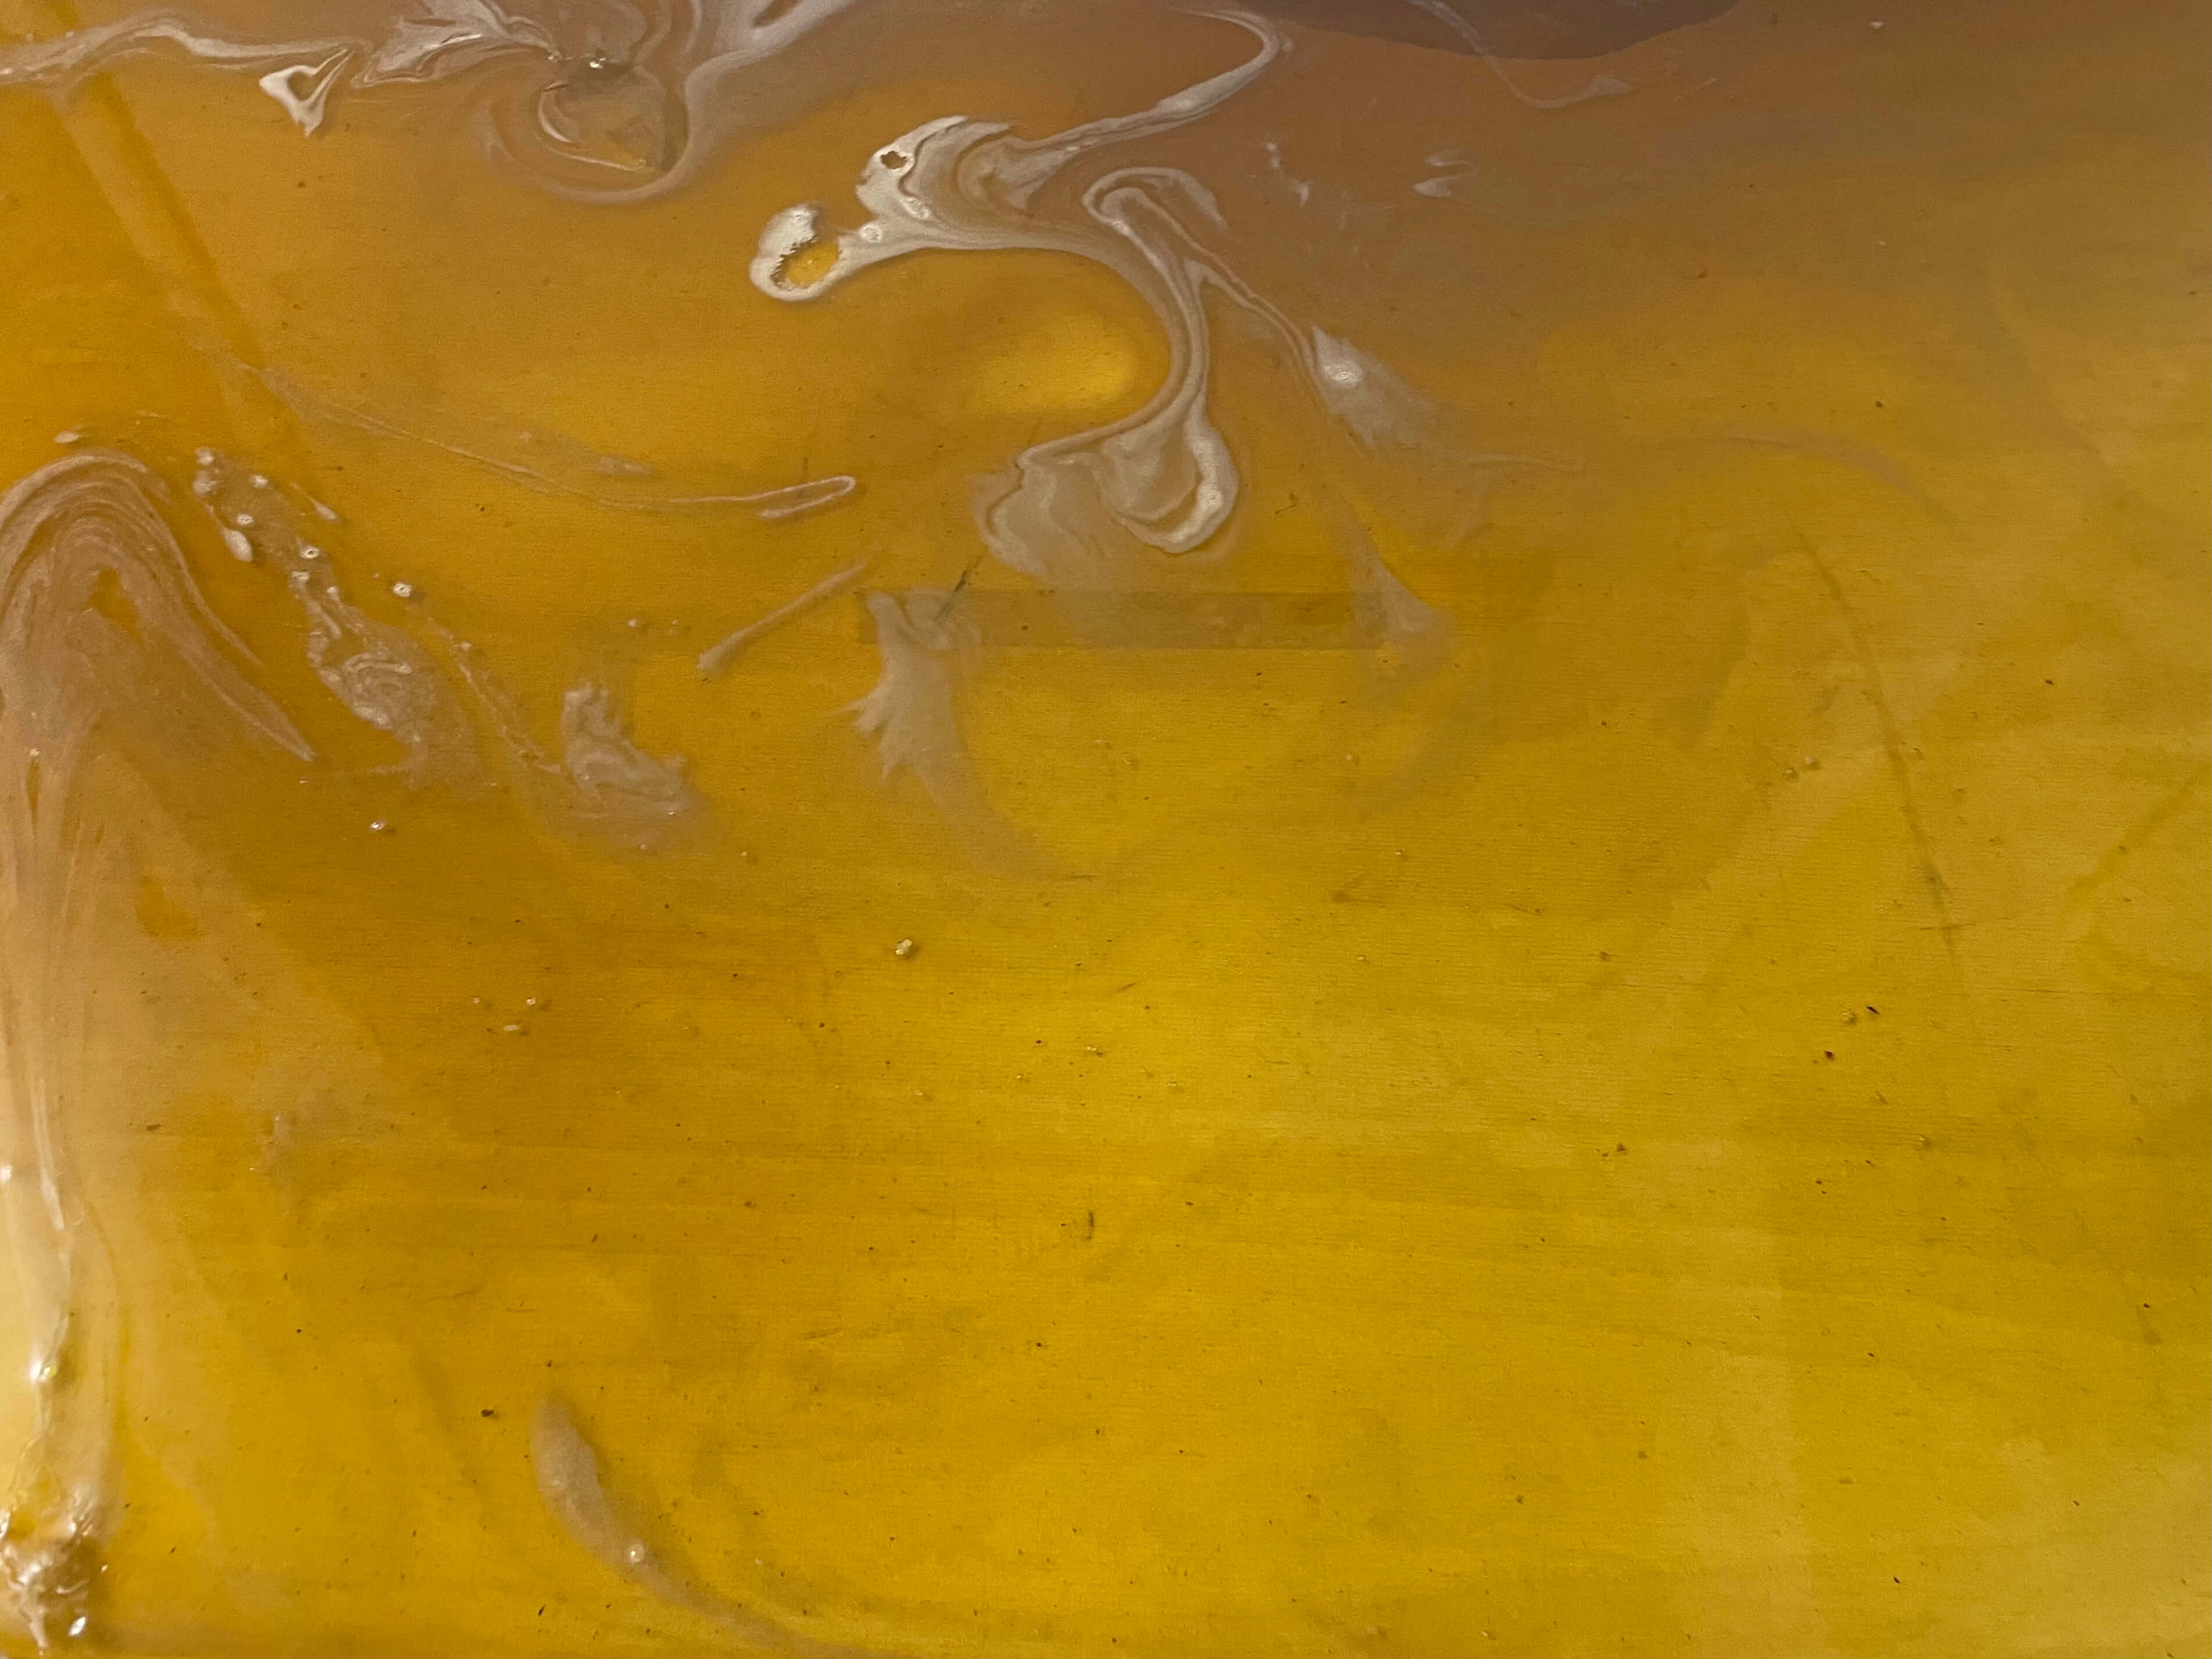
Yellow/Orange Bio Plastic: This bio plastic was casted on a glass frame with a wooden border that was wipped down with soapy water paper towel, not very carefully. It may not have been dried fully and no rubbing alcohol to sterilize. We leveled the surface but it still casted unevenly so one end was thick (3mm) and the other thin (0.9mm). There was a fan left on it. It was removed from the mold after 5 days and had a horrible smell. The process of removing the bio plastic was very diffcult and took two people, a heat gun, and about an hour of time. The heat gun melted and warped some of the material. Intially we thought difficult removal was more about the time than the mold so we tried the same mold again and took out the material earlier.
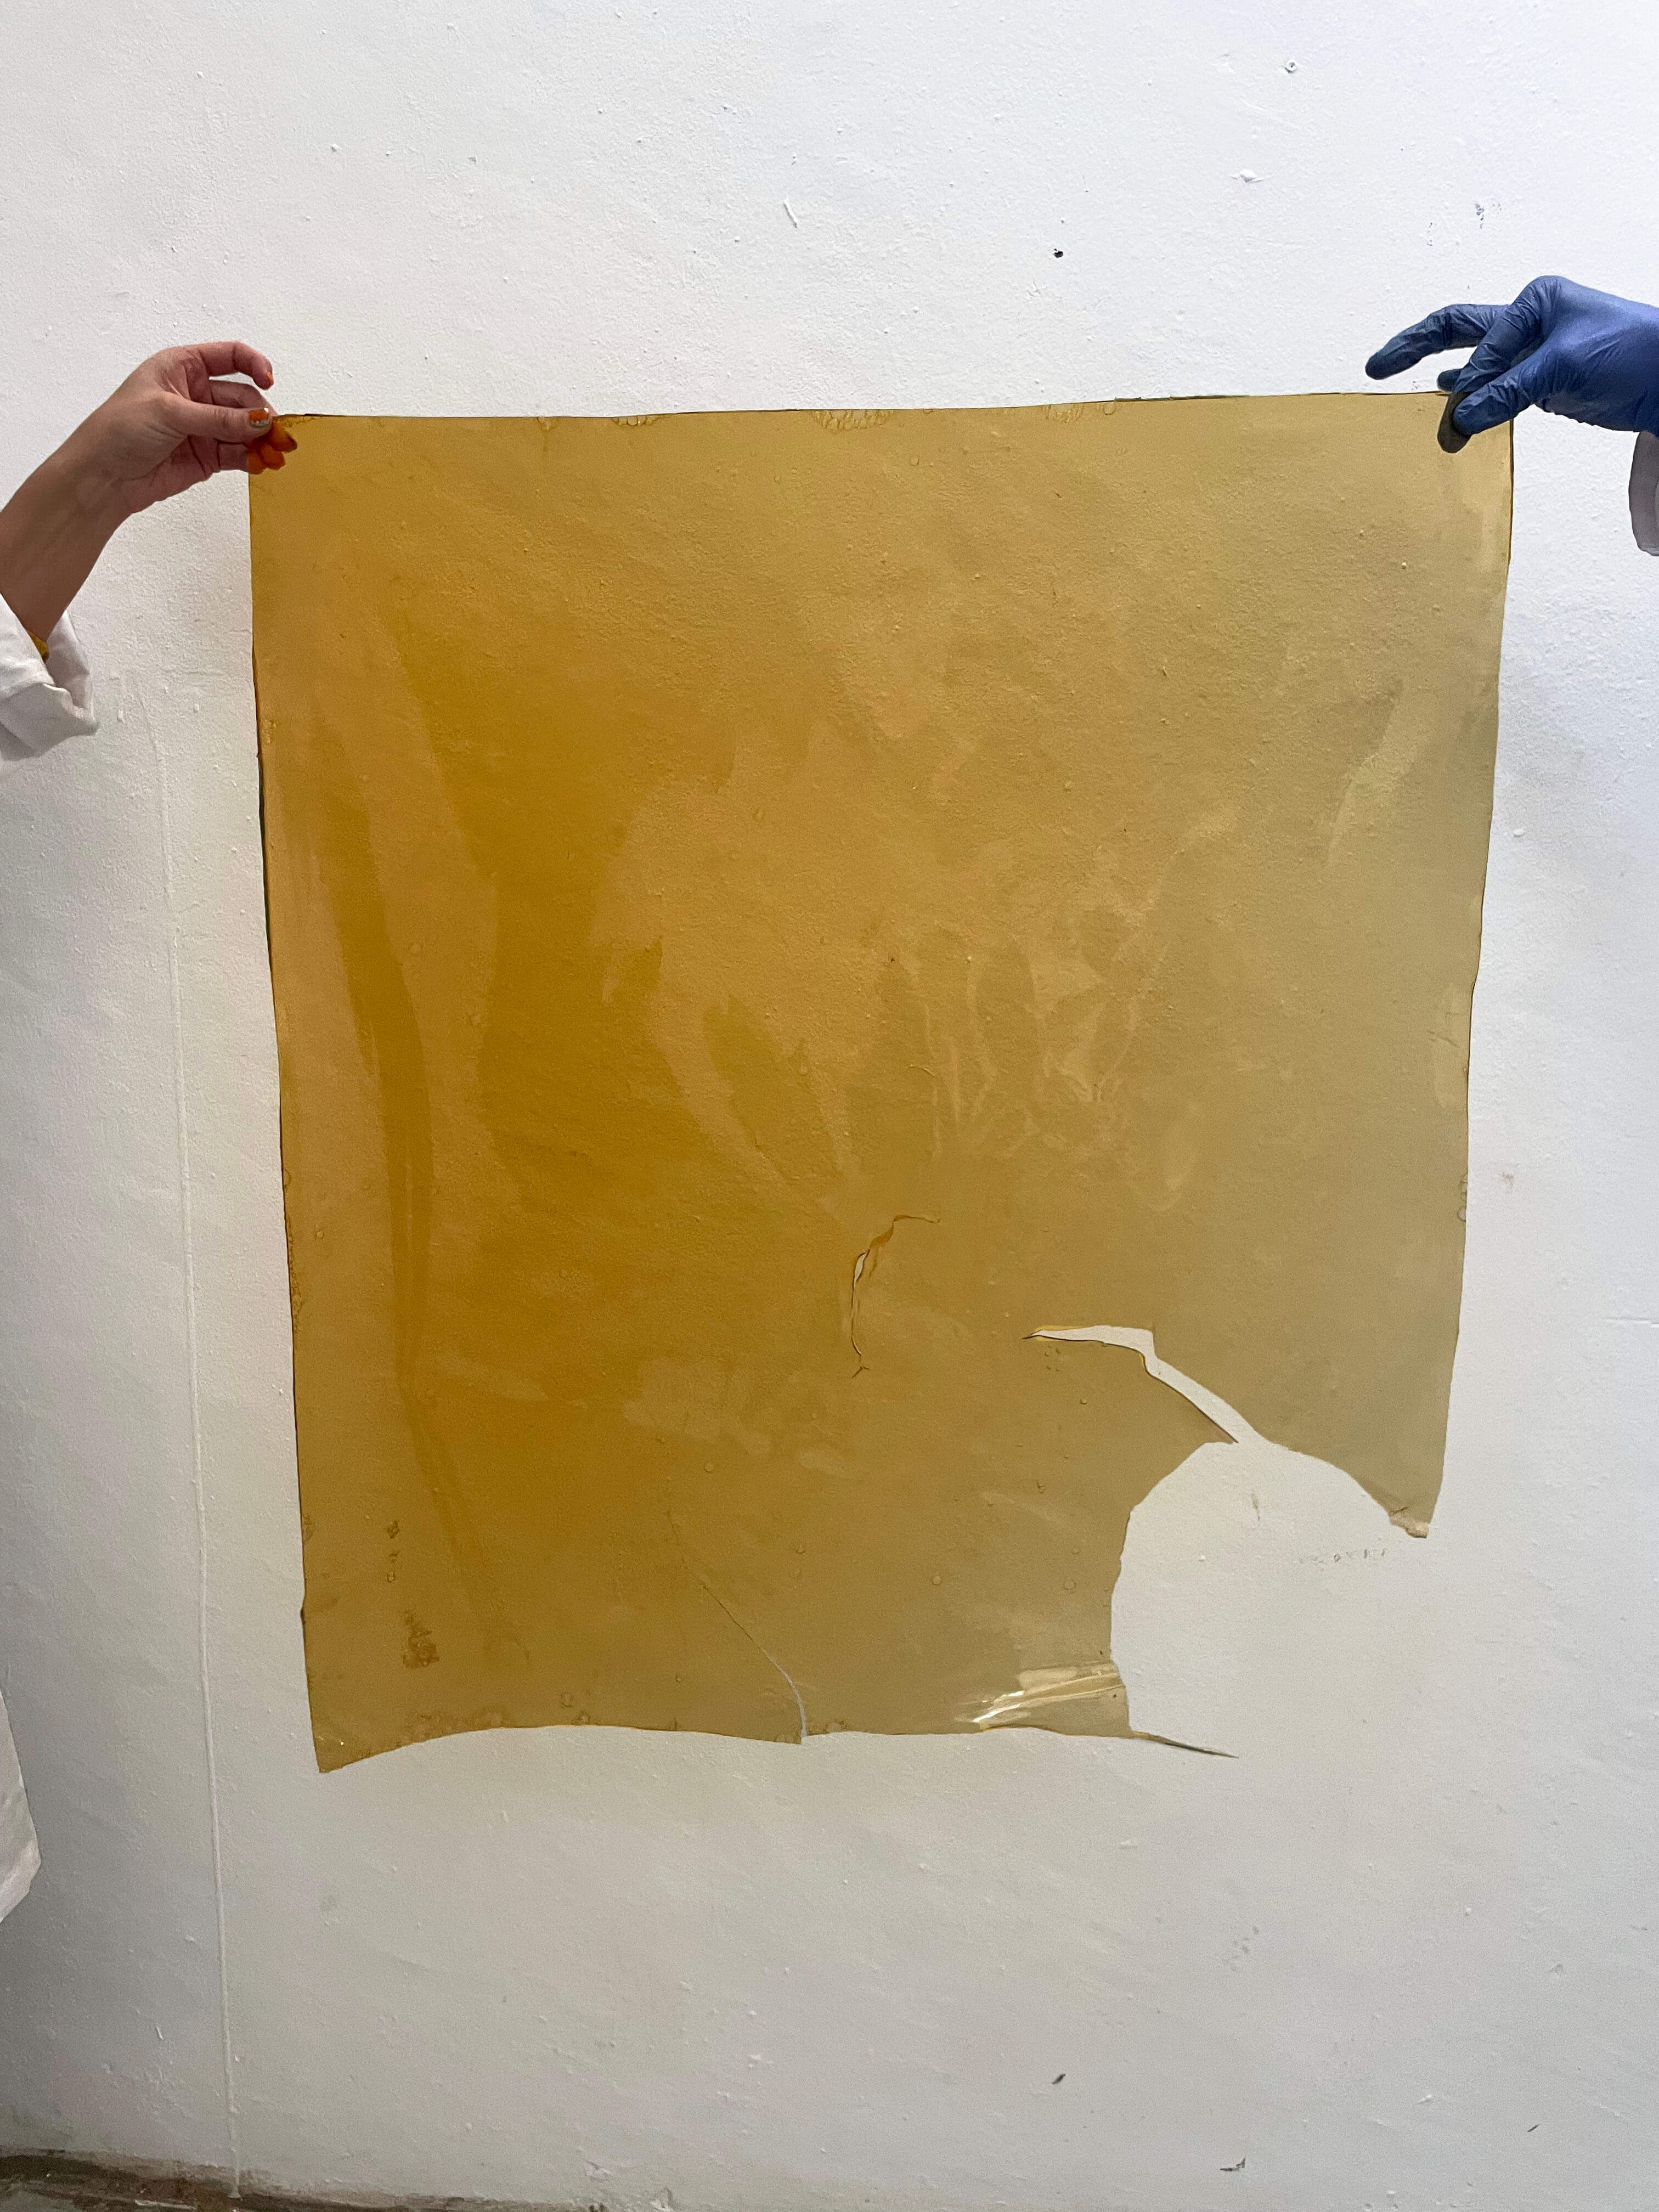
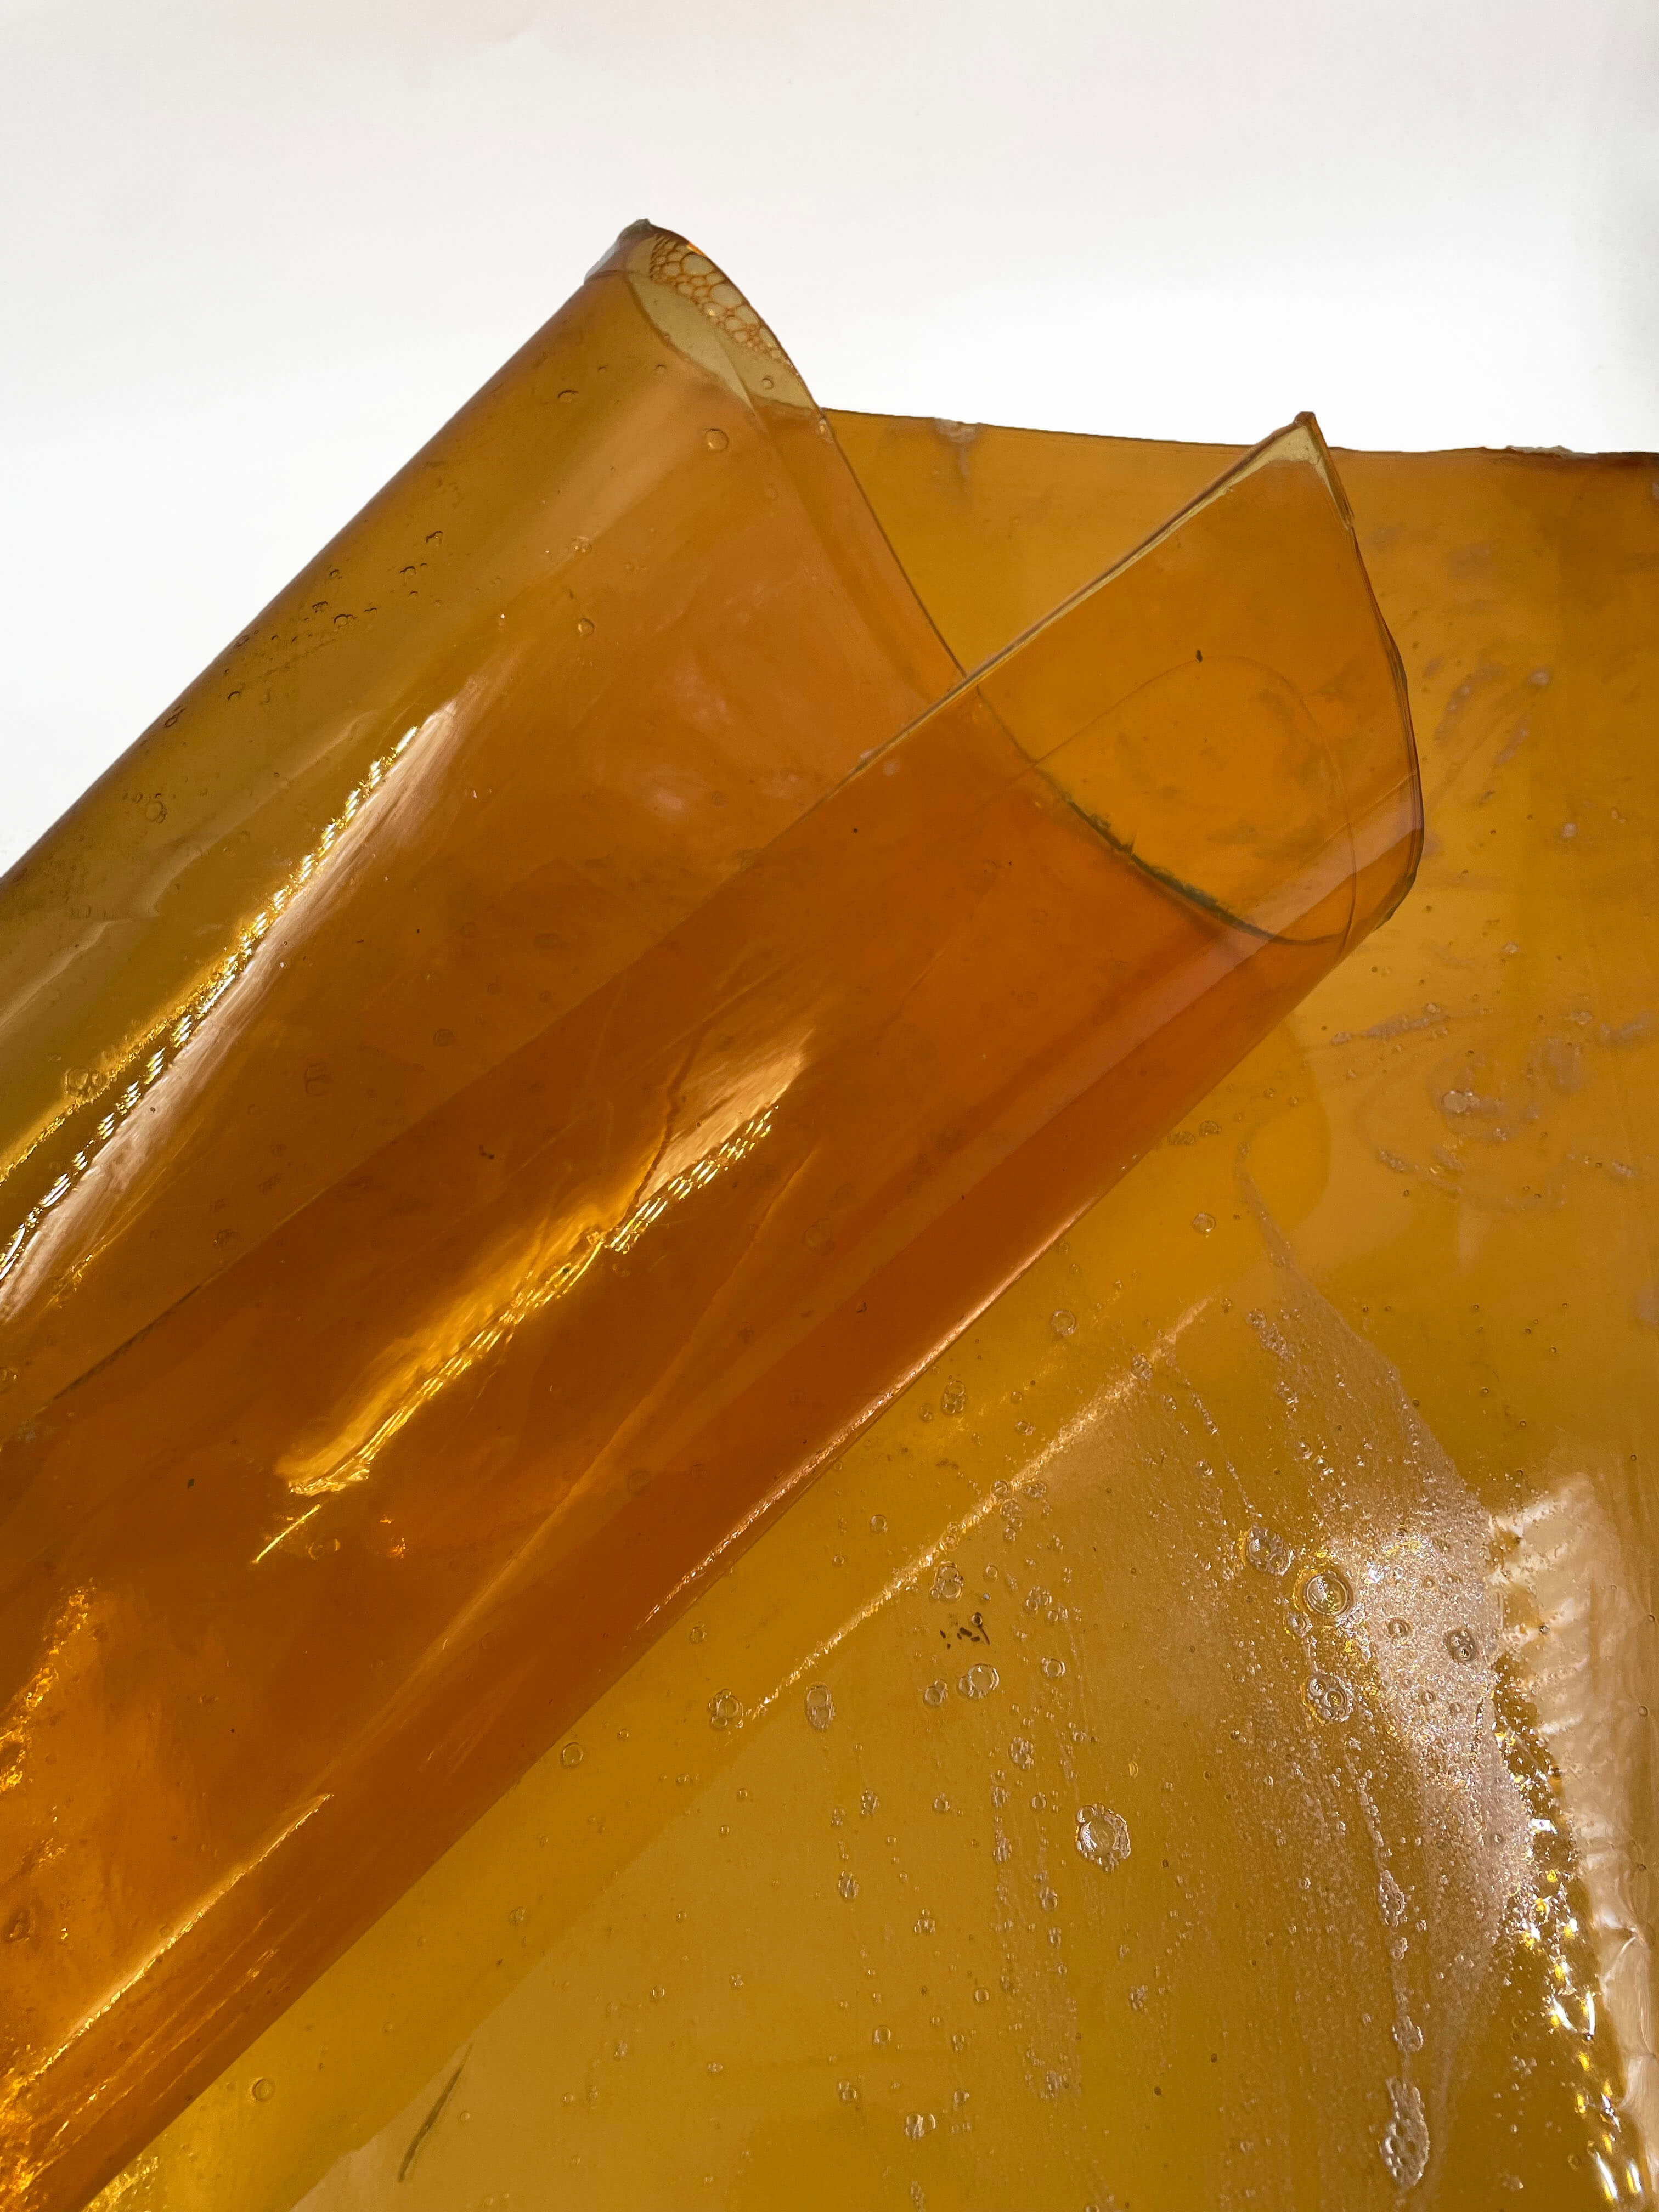
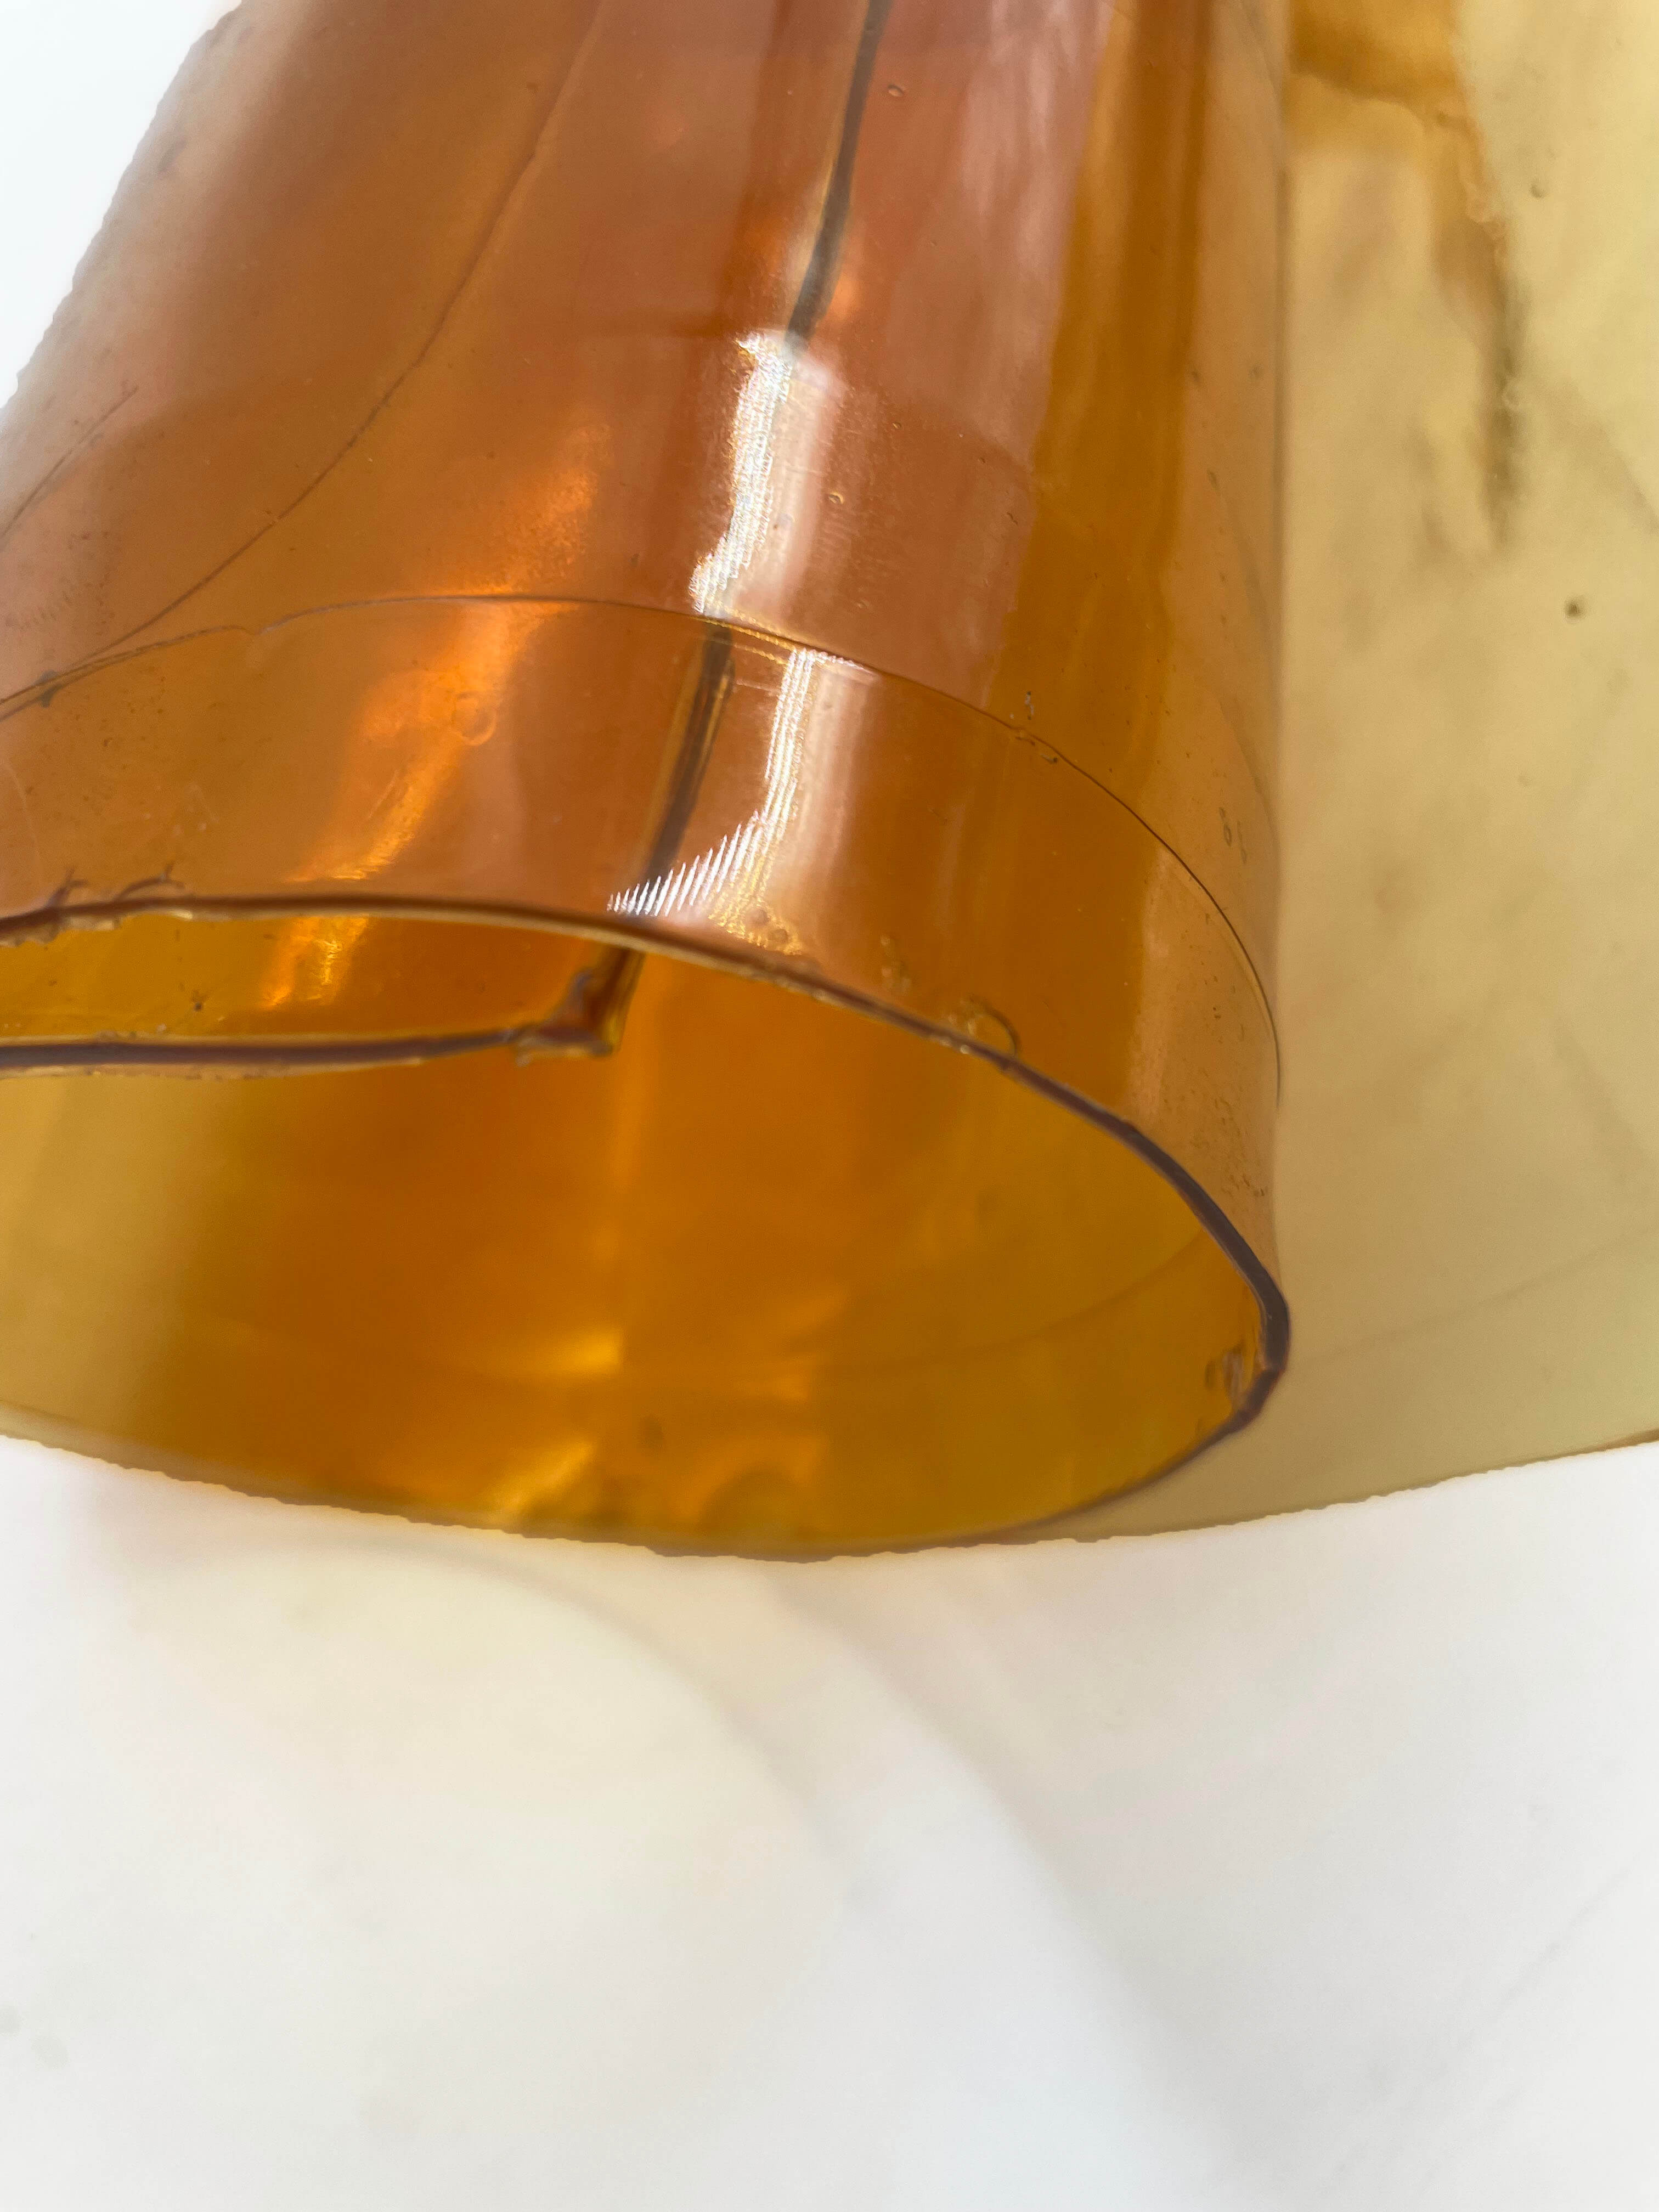
Dimensions of Mold: 7450mm x 8500mm x 5mm | Recipe: 642.9g gelatin (15%), 374.9g glycerine (9%), 3166.25 ml water / dye bath (76%) | Volume: 3166.25 ml | Colorant : Red & Yellow Food Coloring | Casting Days: 5 | Thickness of Material: 0.8mm - 3.0mm
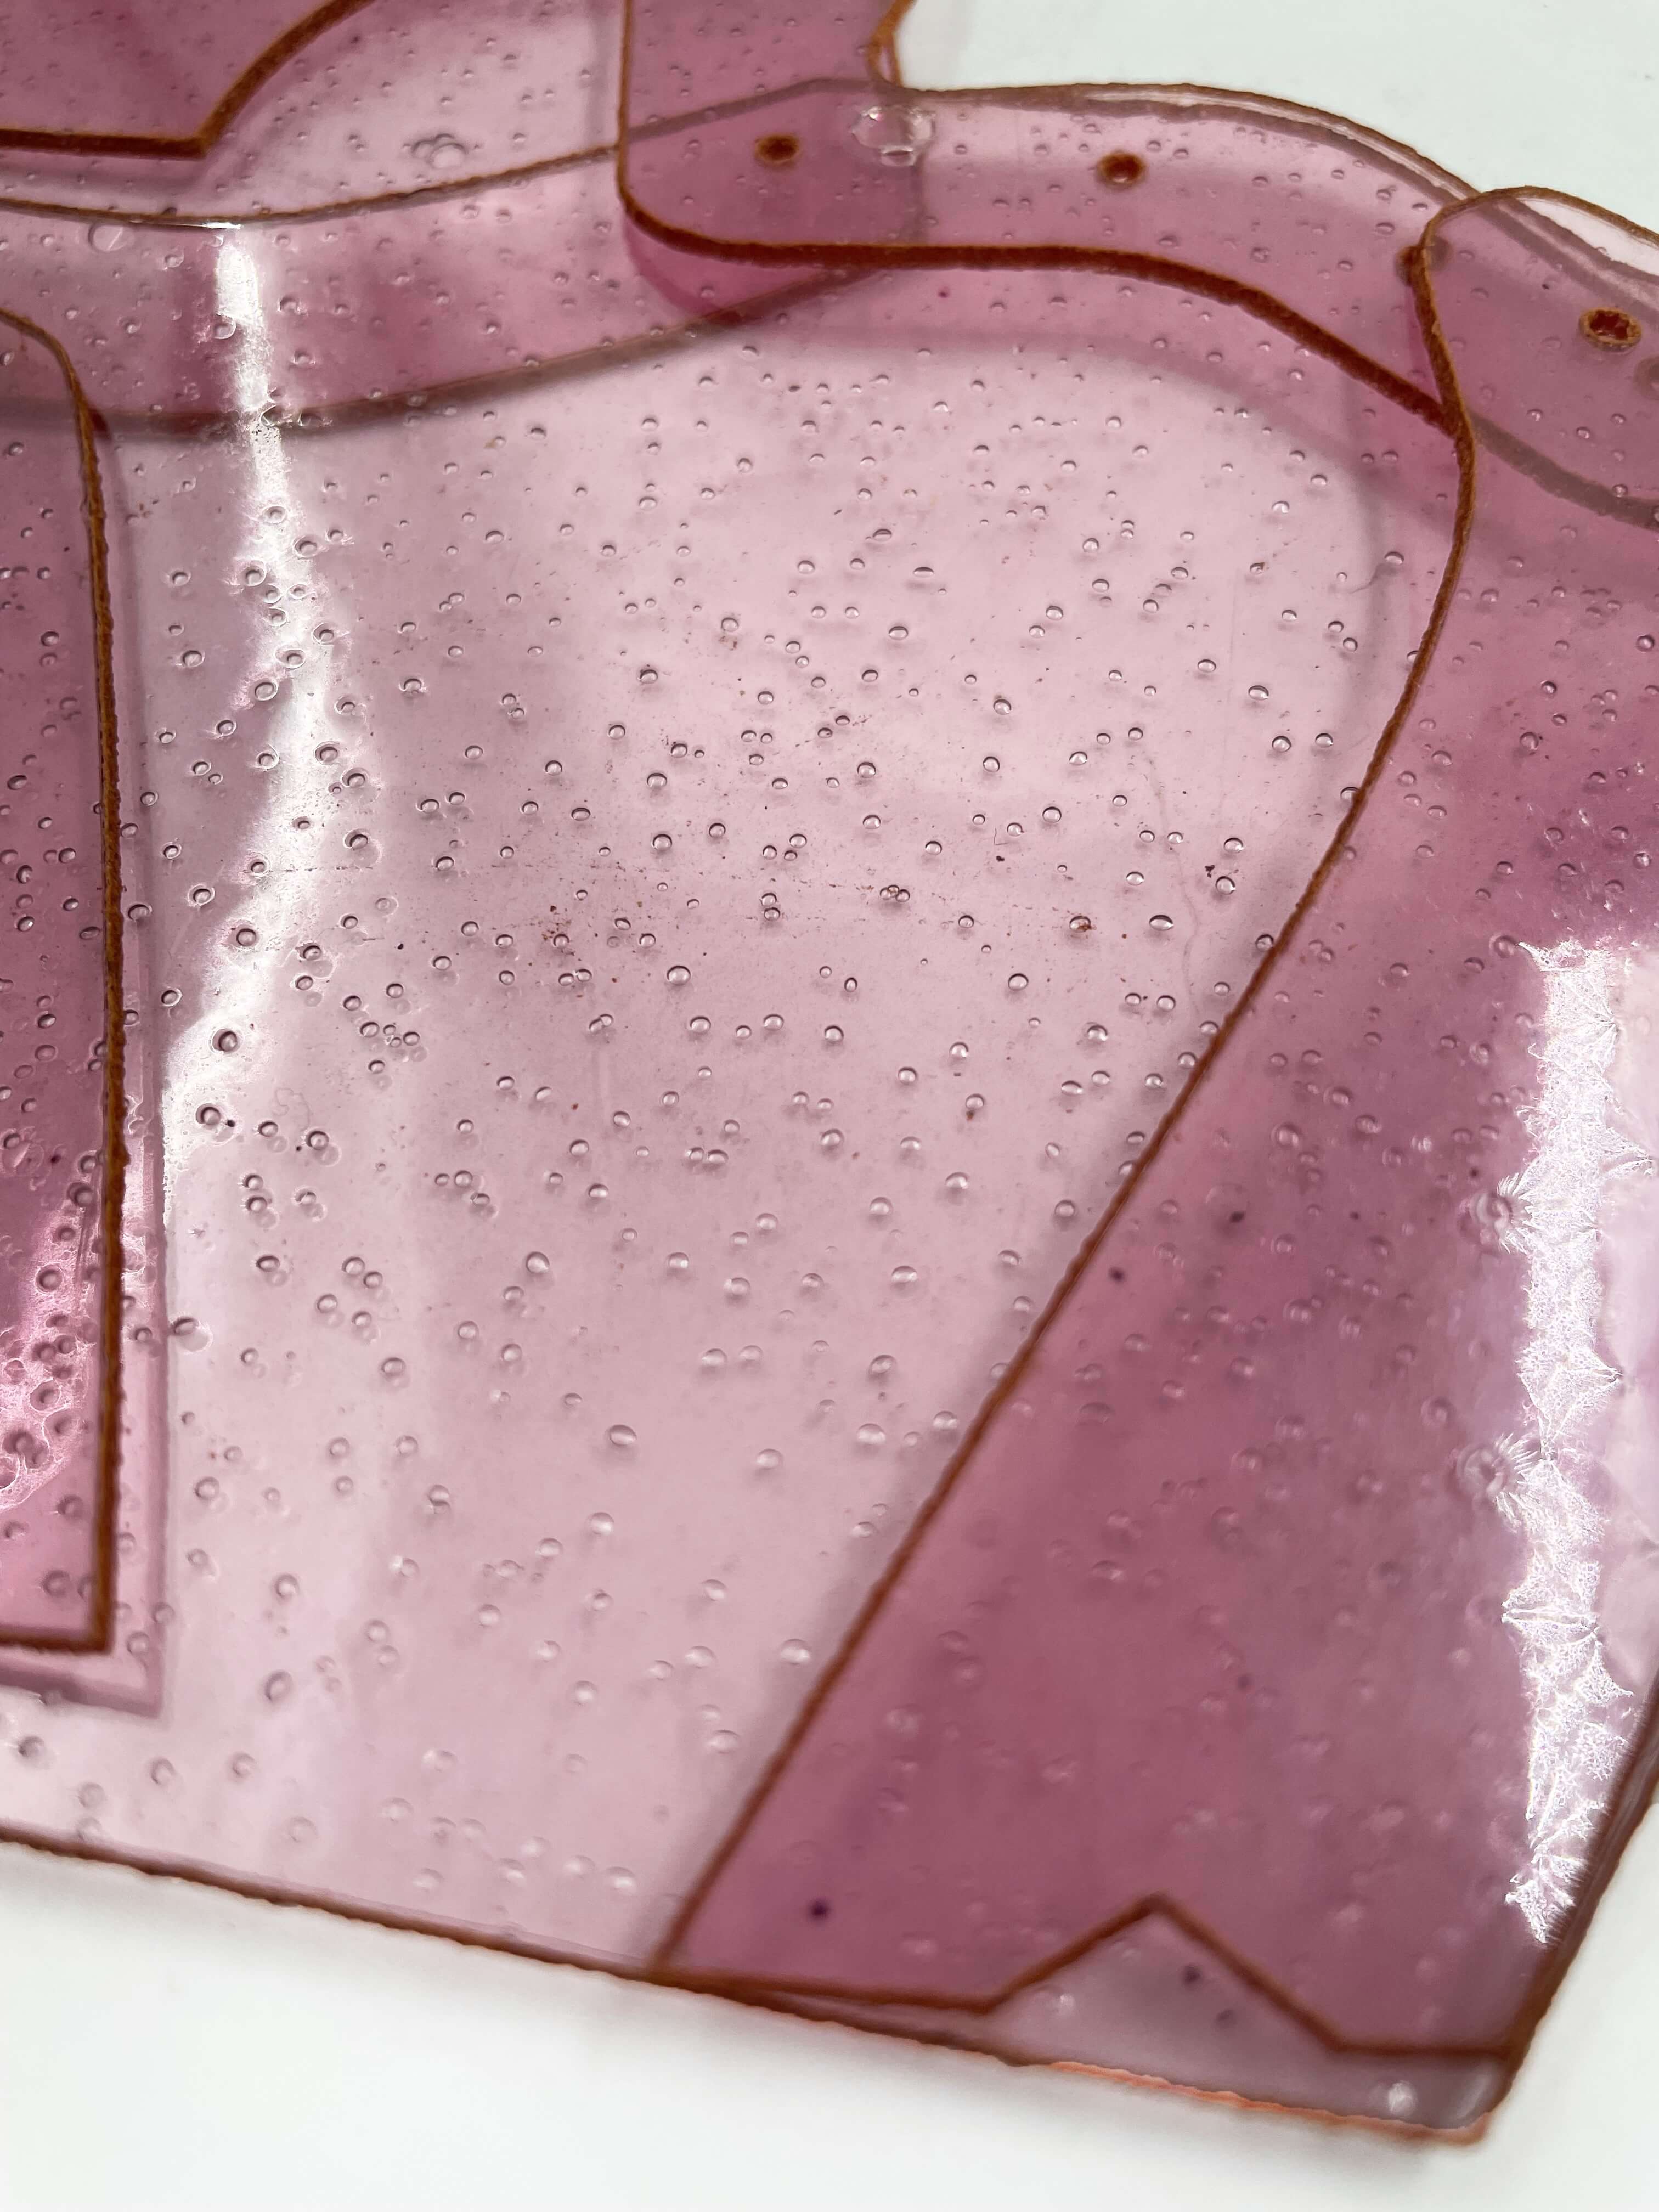
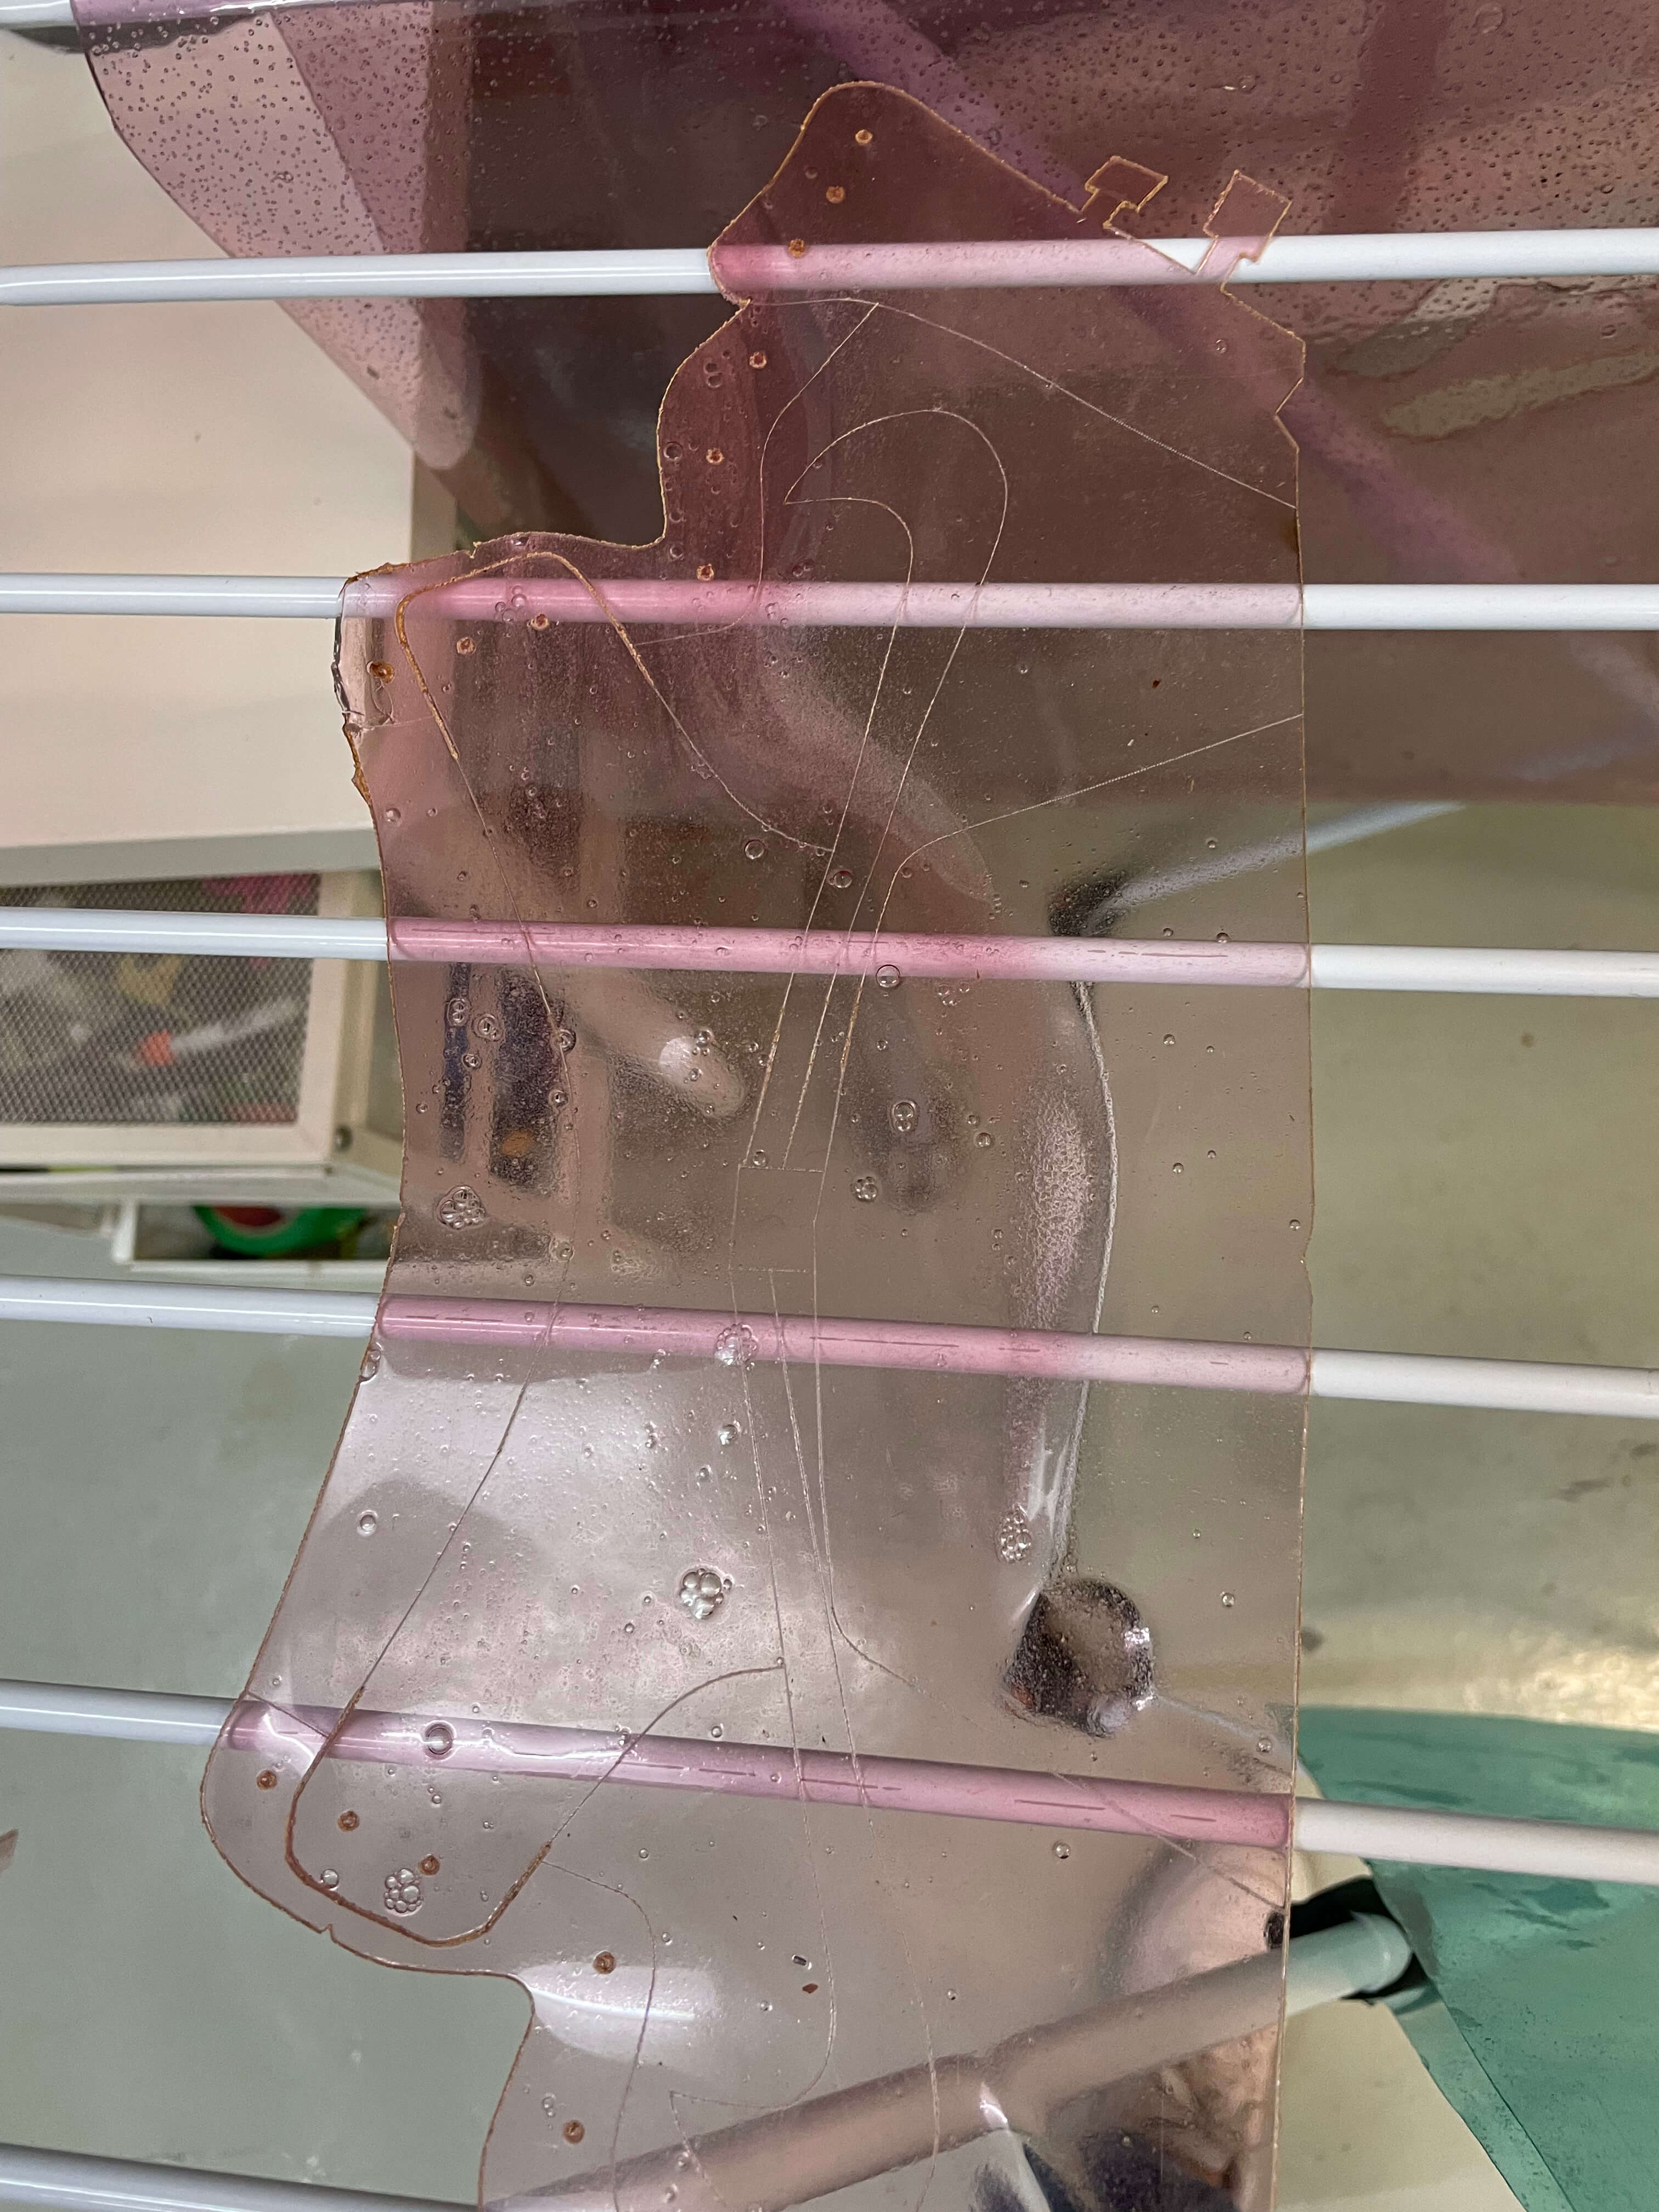
Light Pink/Lavendar Bio Plastic : This bio plastic was casted on the same glass frame but removed after 3 days and was much easier to remove. It casted evenly with a 2mm thickness. It had small tiny bubbles that looked like glitter. We let it dry more on a clothing wrack. It also had contaminated smell.
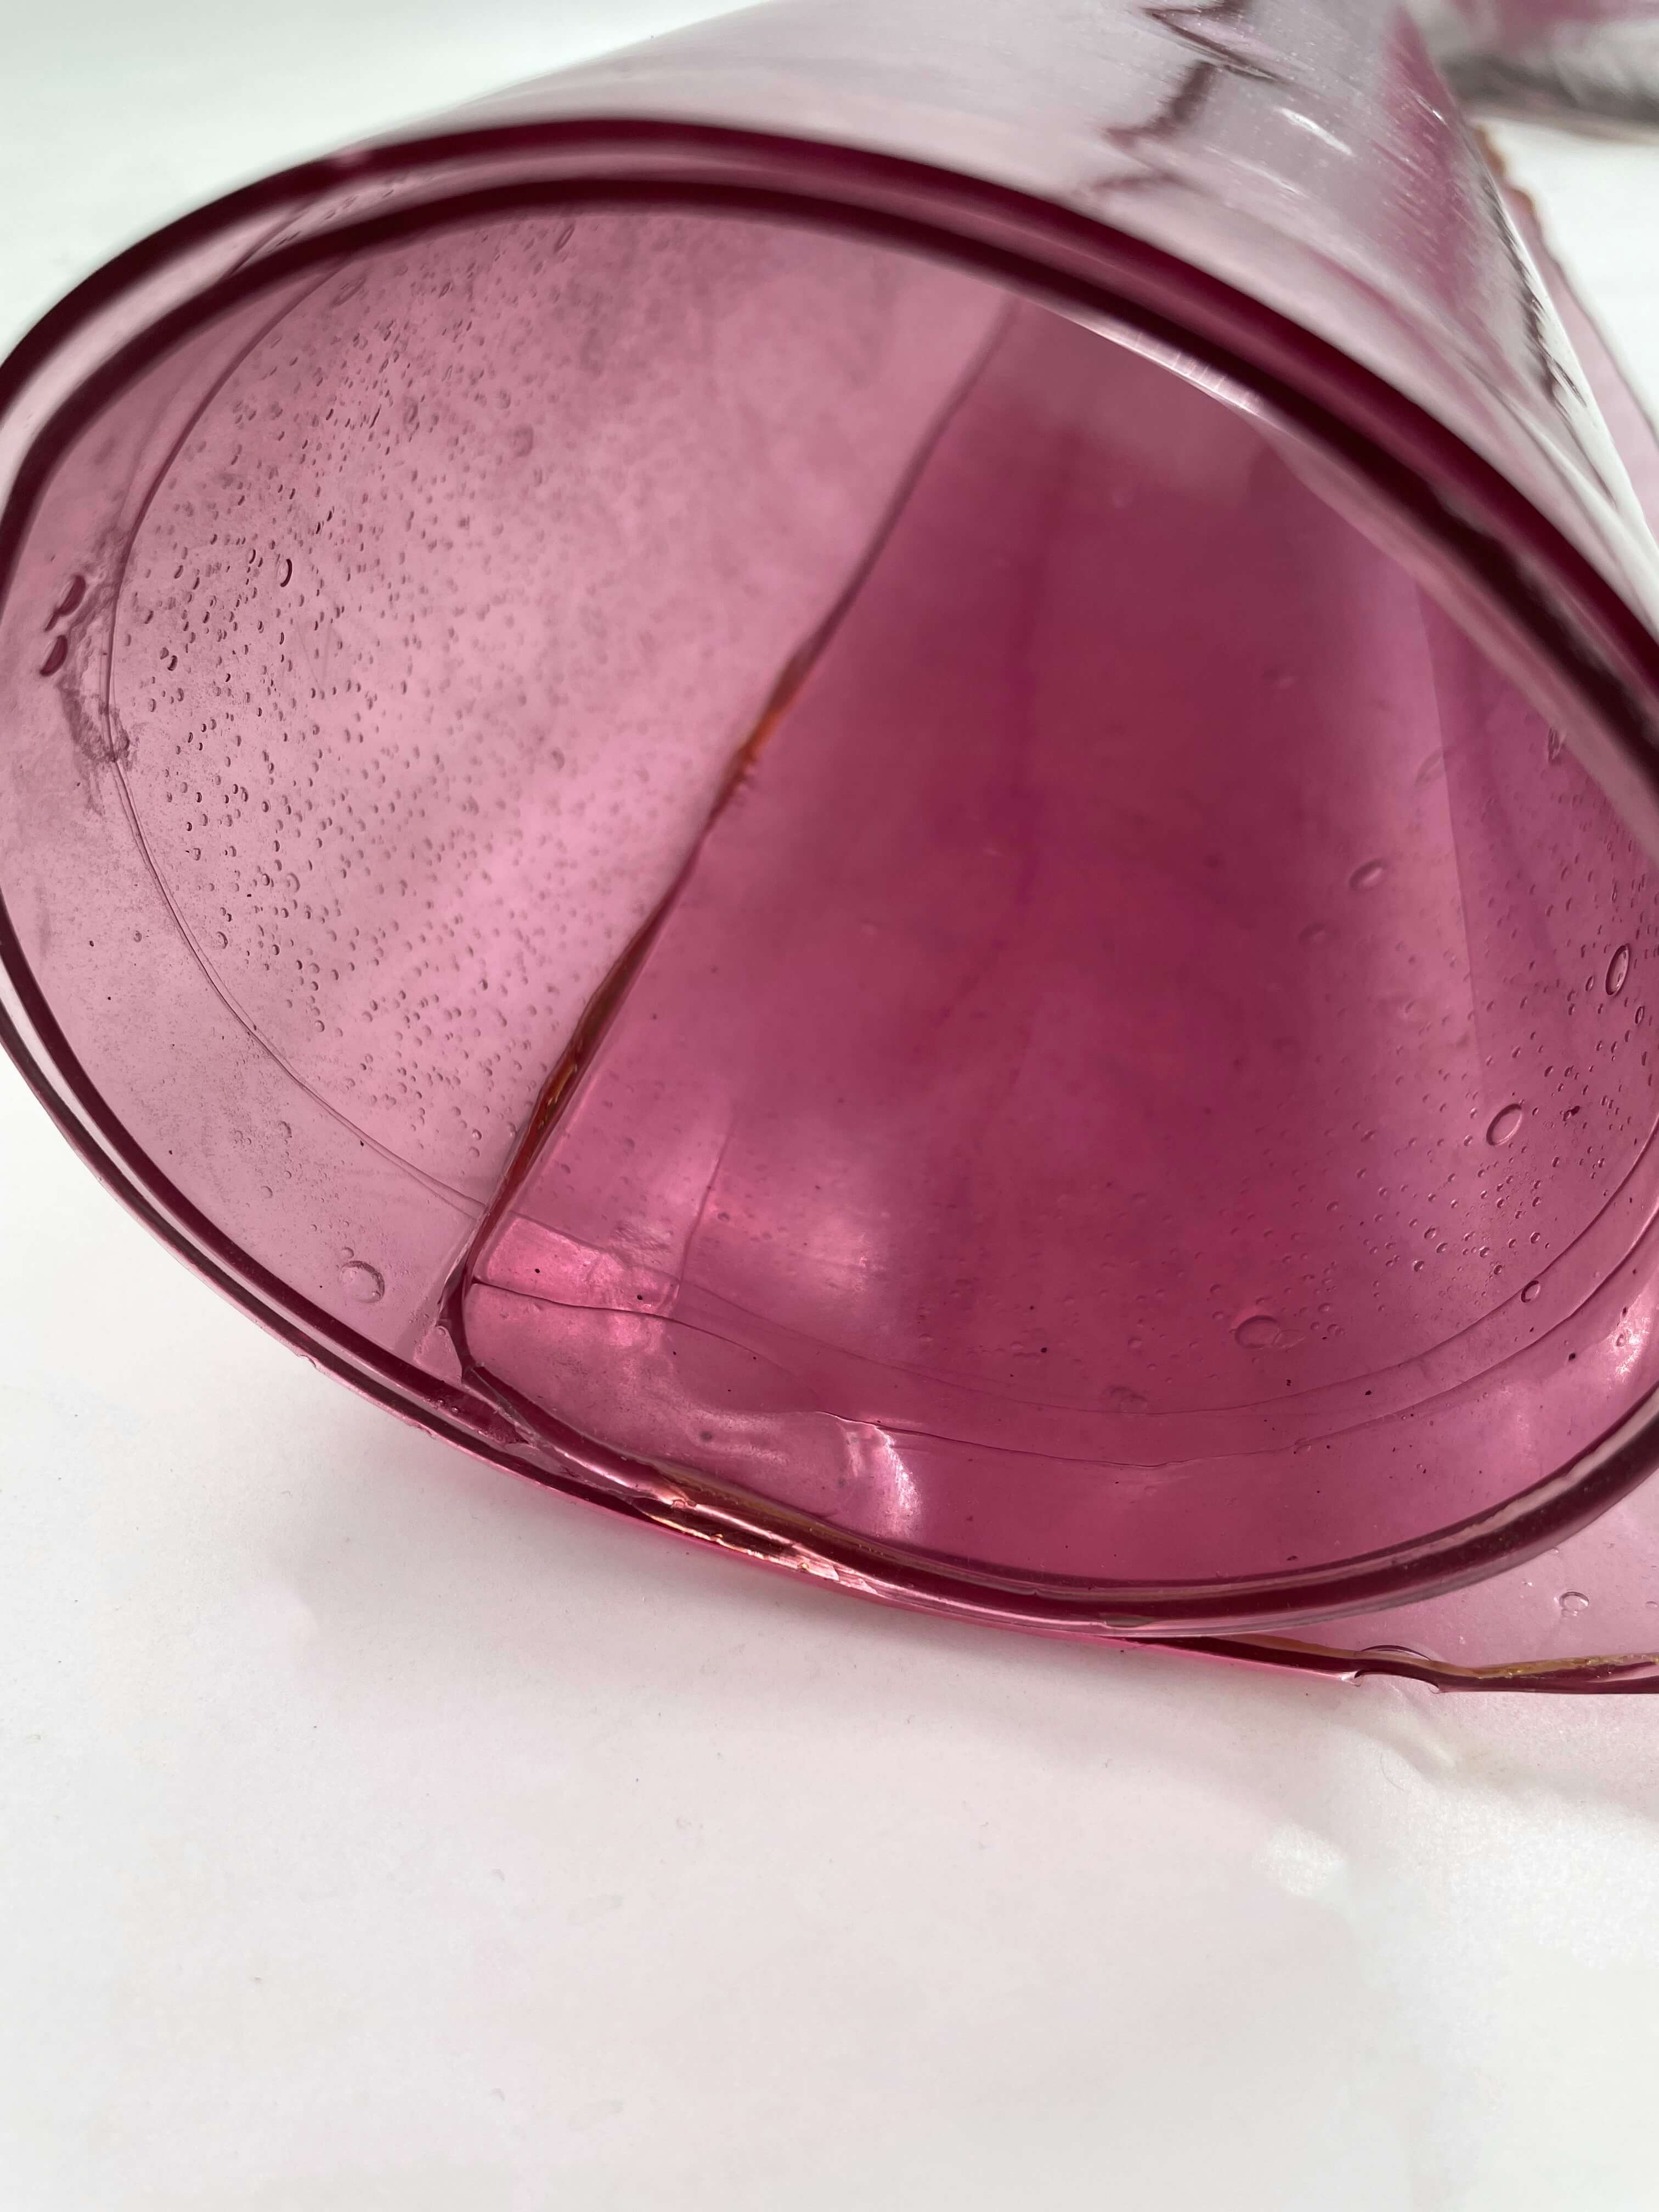
Dimensions of Mold: 745mm x 850mm x 5mm | Recipe: 642.9g gelatin (15%), 374.9g glycerine (9%), 3166.25 ml water / dye bath (76%) | Volume: 3166.25 ml | Colorant : 4g Cochineal Dye Bath (800ml) + Spirulina Dye Bath (166.25ml) | Casting Days: 3 | Thickness of Material: 3.0mm
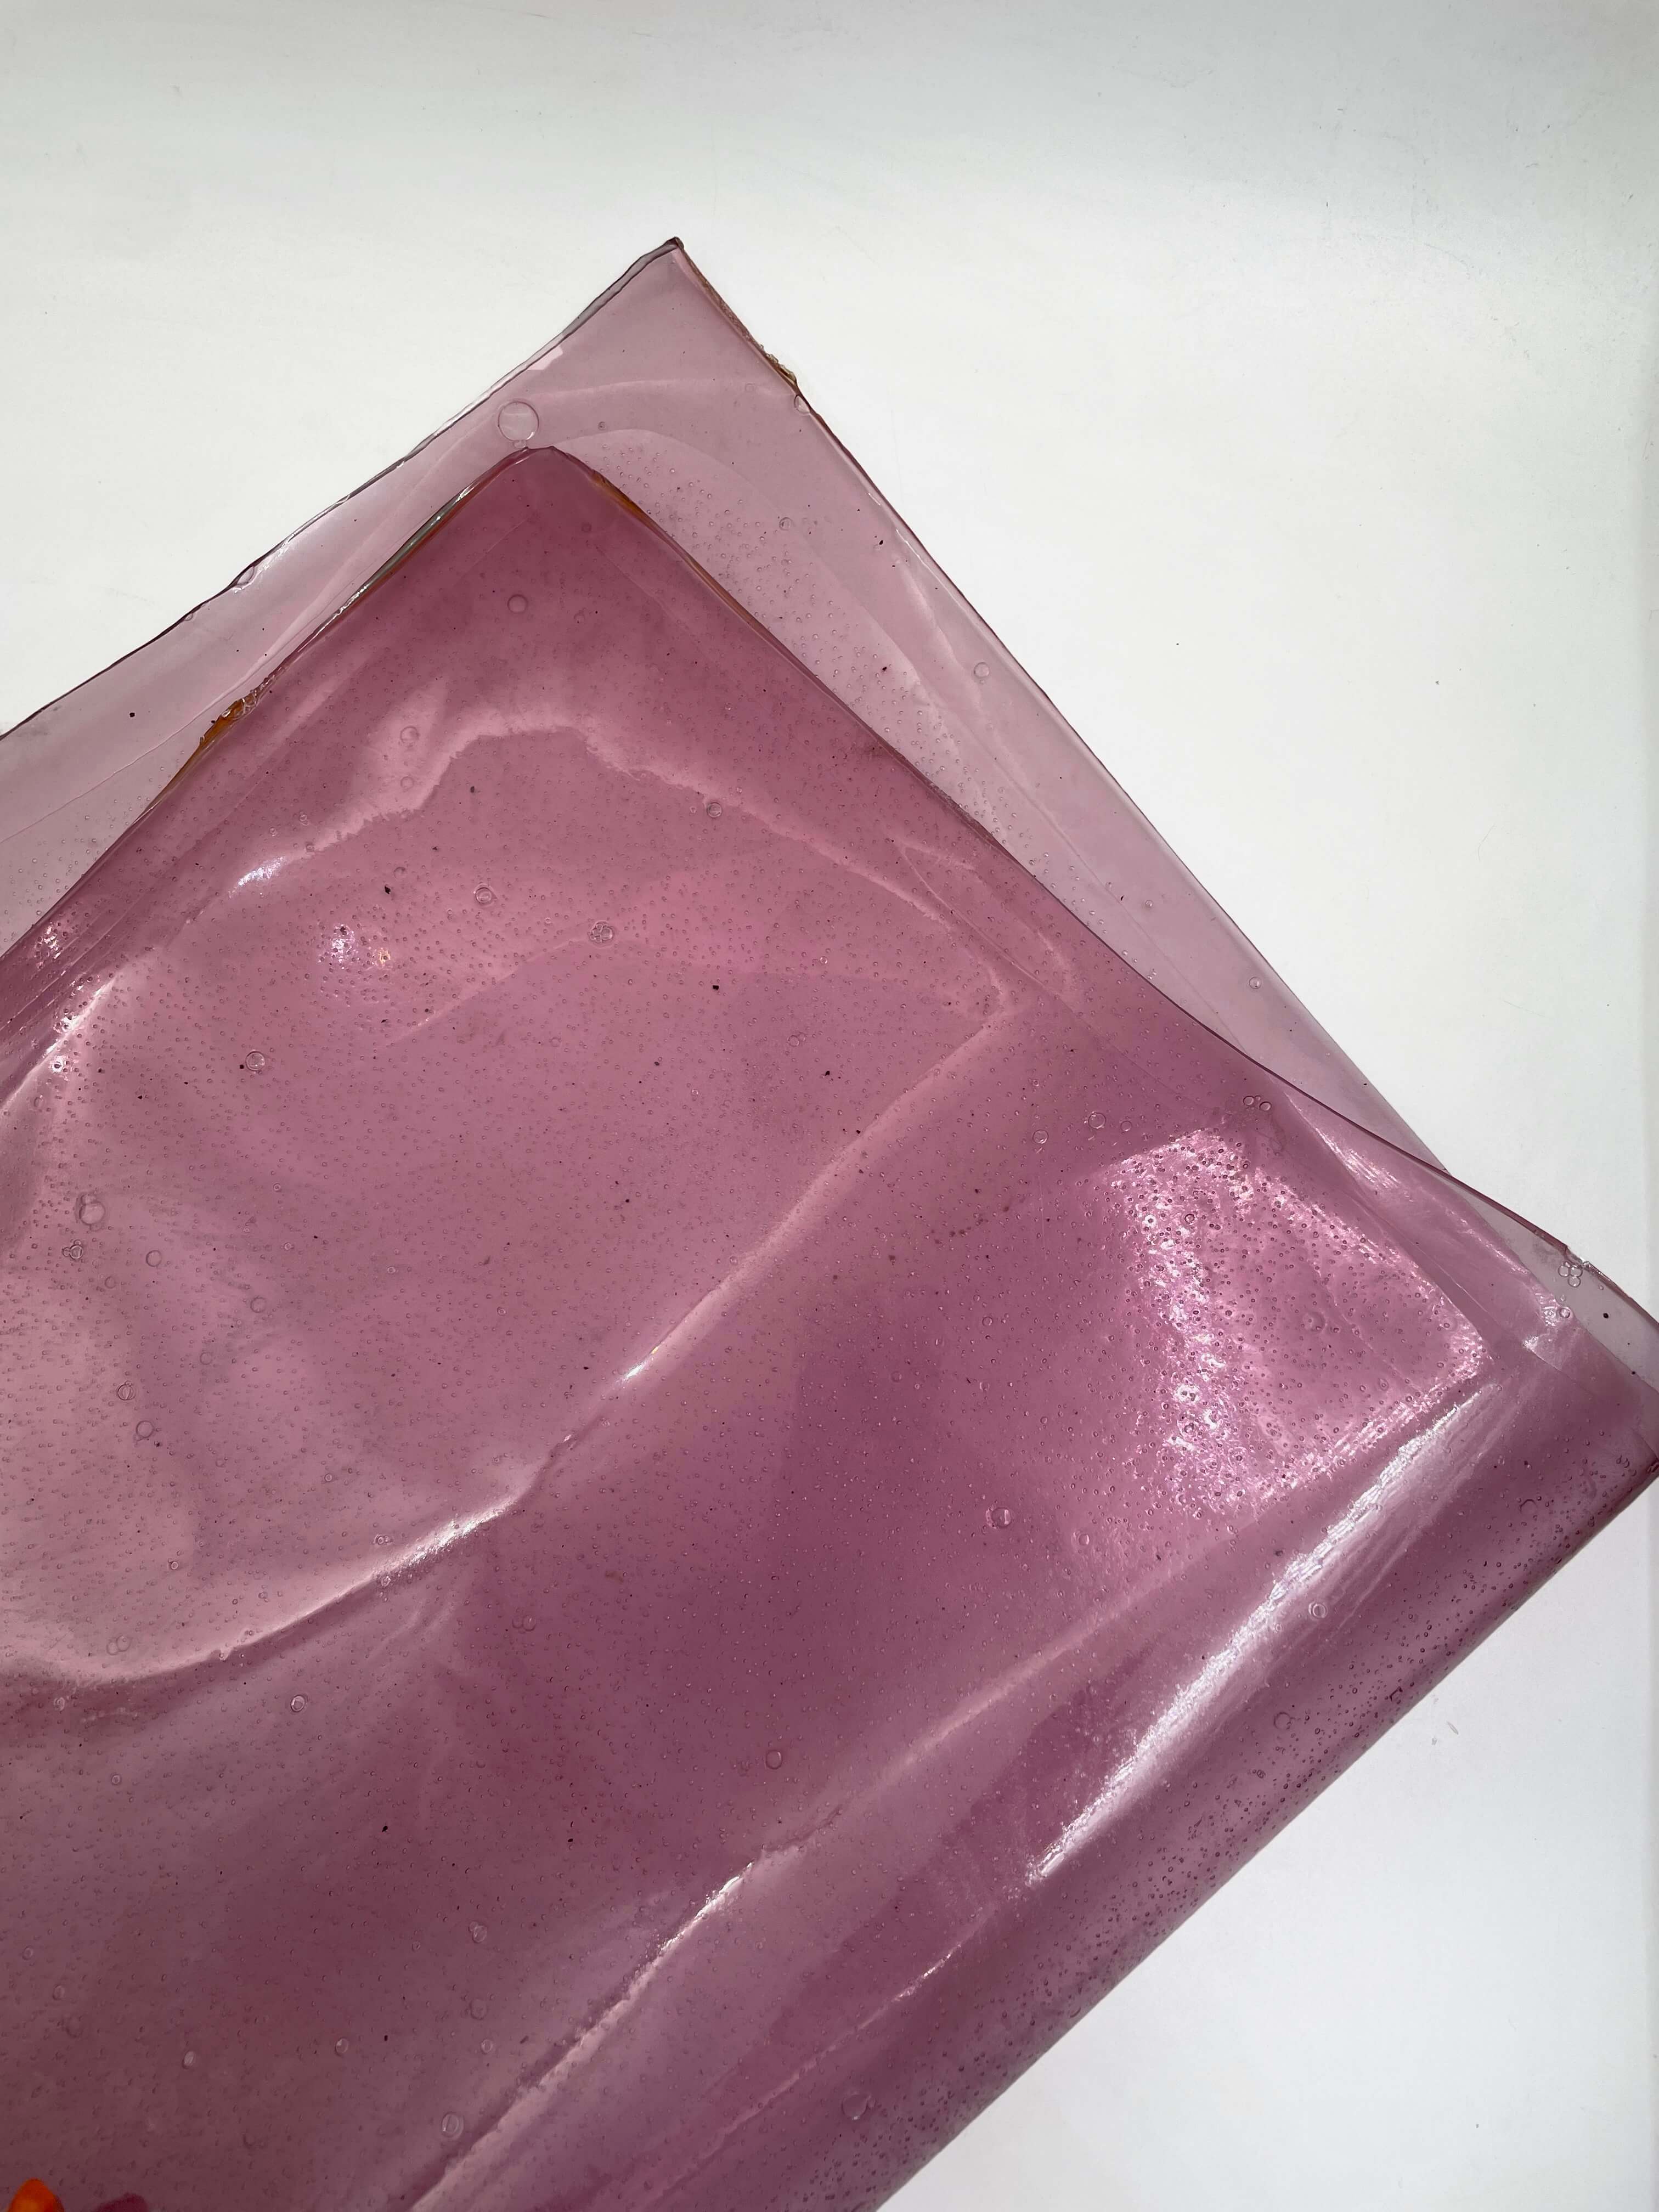
Bay Pink Bio Silicone: This bio plastic was casted on a thin plastic sheet with a wooden border I created using hot glue. It was casted in the same area of the other two casts but is casted unevenly. It was pulled off after 44 hours but was tacky (still wet) and left upstairs to lay on a clothing rack where the tempurature was higher and where people frequented. It also had a contaminated smell.


Dimensions of Mold: 570mm x 960mm x 3mm | Recipe: 246.24g gelatin (15%), 246.24g glycerine (15%), 1149.12ml water / dye bath (70%) | Volume: 1,641.6ml | Colorant : cochineal with cream of tartar (700ml) + cochineal dye bath 1g (300ml)+ water(150ml) | Casting Days: 2 | Thickness of Material: 0.5-1.0mm
Eucalyptus Bio Silicone: This bio plastic used the same receipe, casting, and drying process as the one above. It still smelled contanminated but with Eucalyptus dye bath to cover up some of the smell.
Dimensions of Mold: 570mm x 960mm x 3mm | Recipe: 246g gelatin (15%), 246g glycerine (15%), 1150ml water / dye bath (70%) | Volume: 1,641.6ml | Colorant : Eucalyptus Dye Bath (1150ml)| Casting Days: 2 | Thickness of Material: 0.3-2.0mm
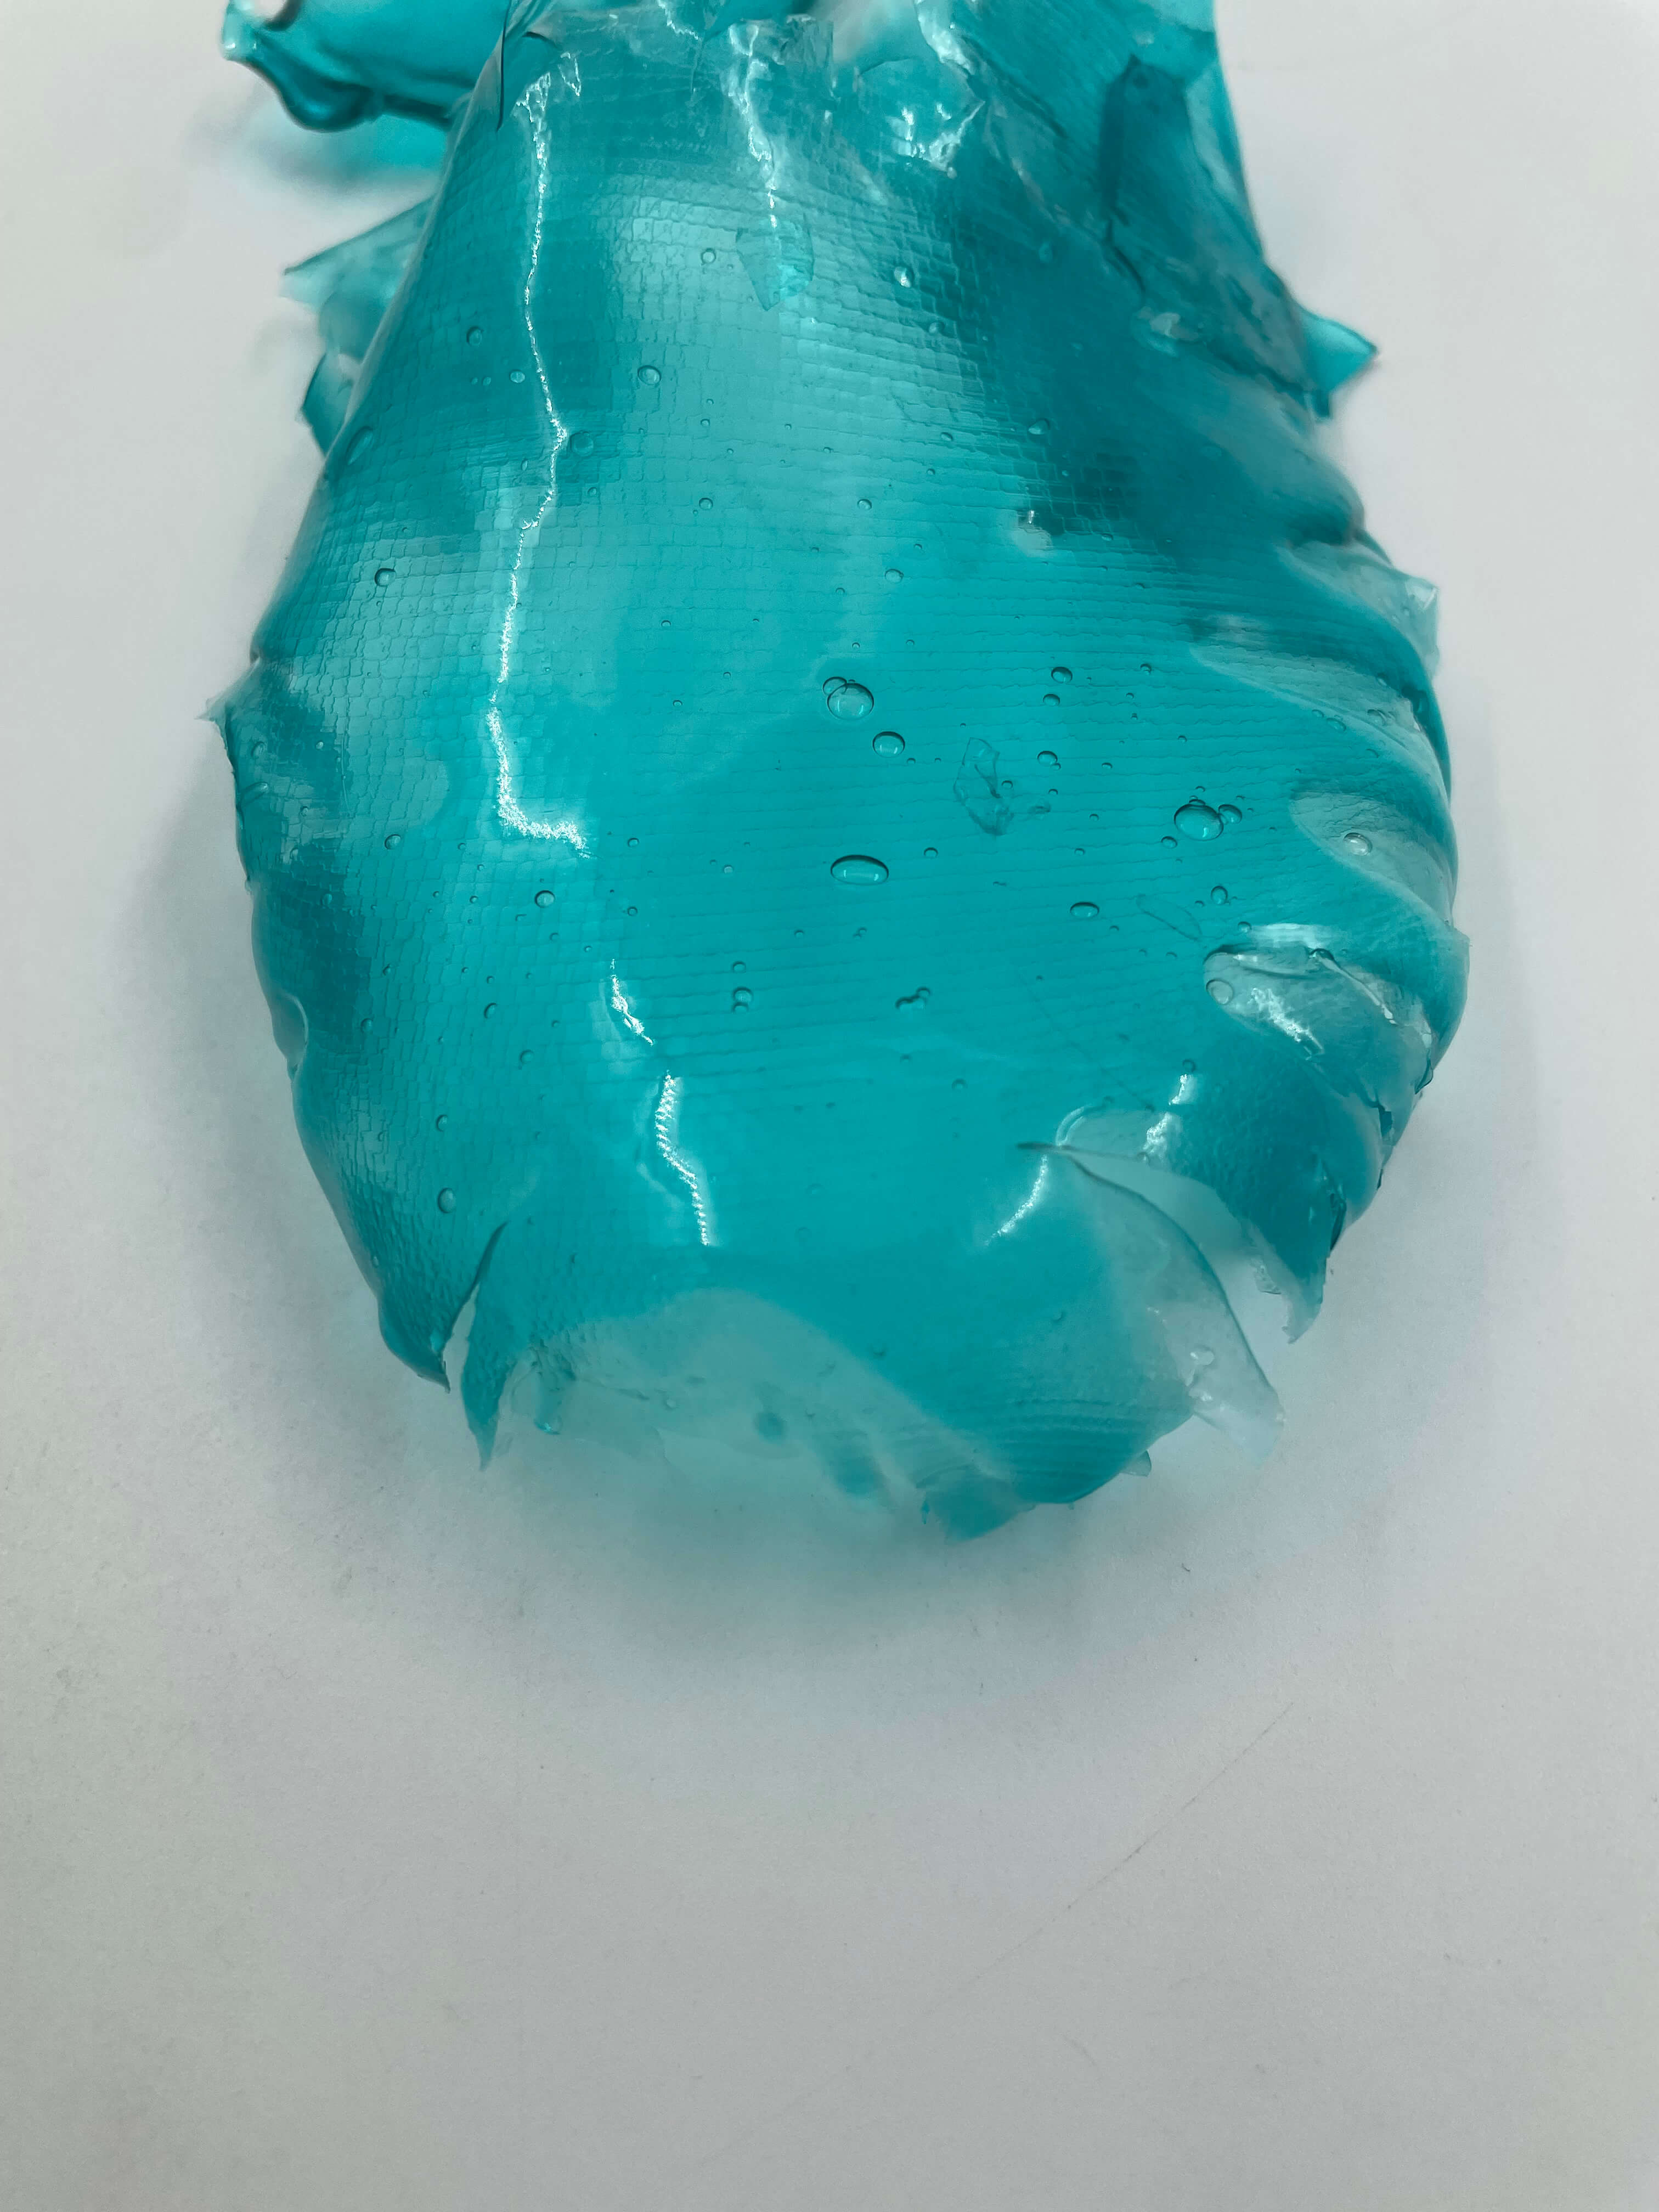
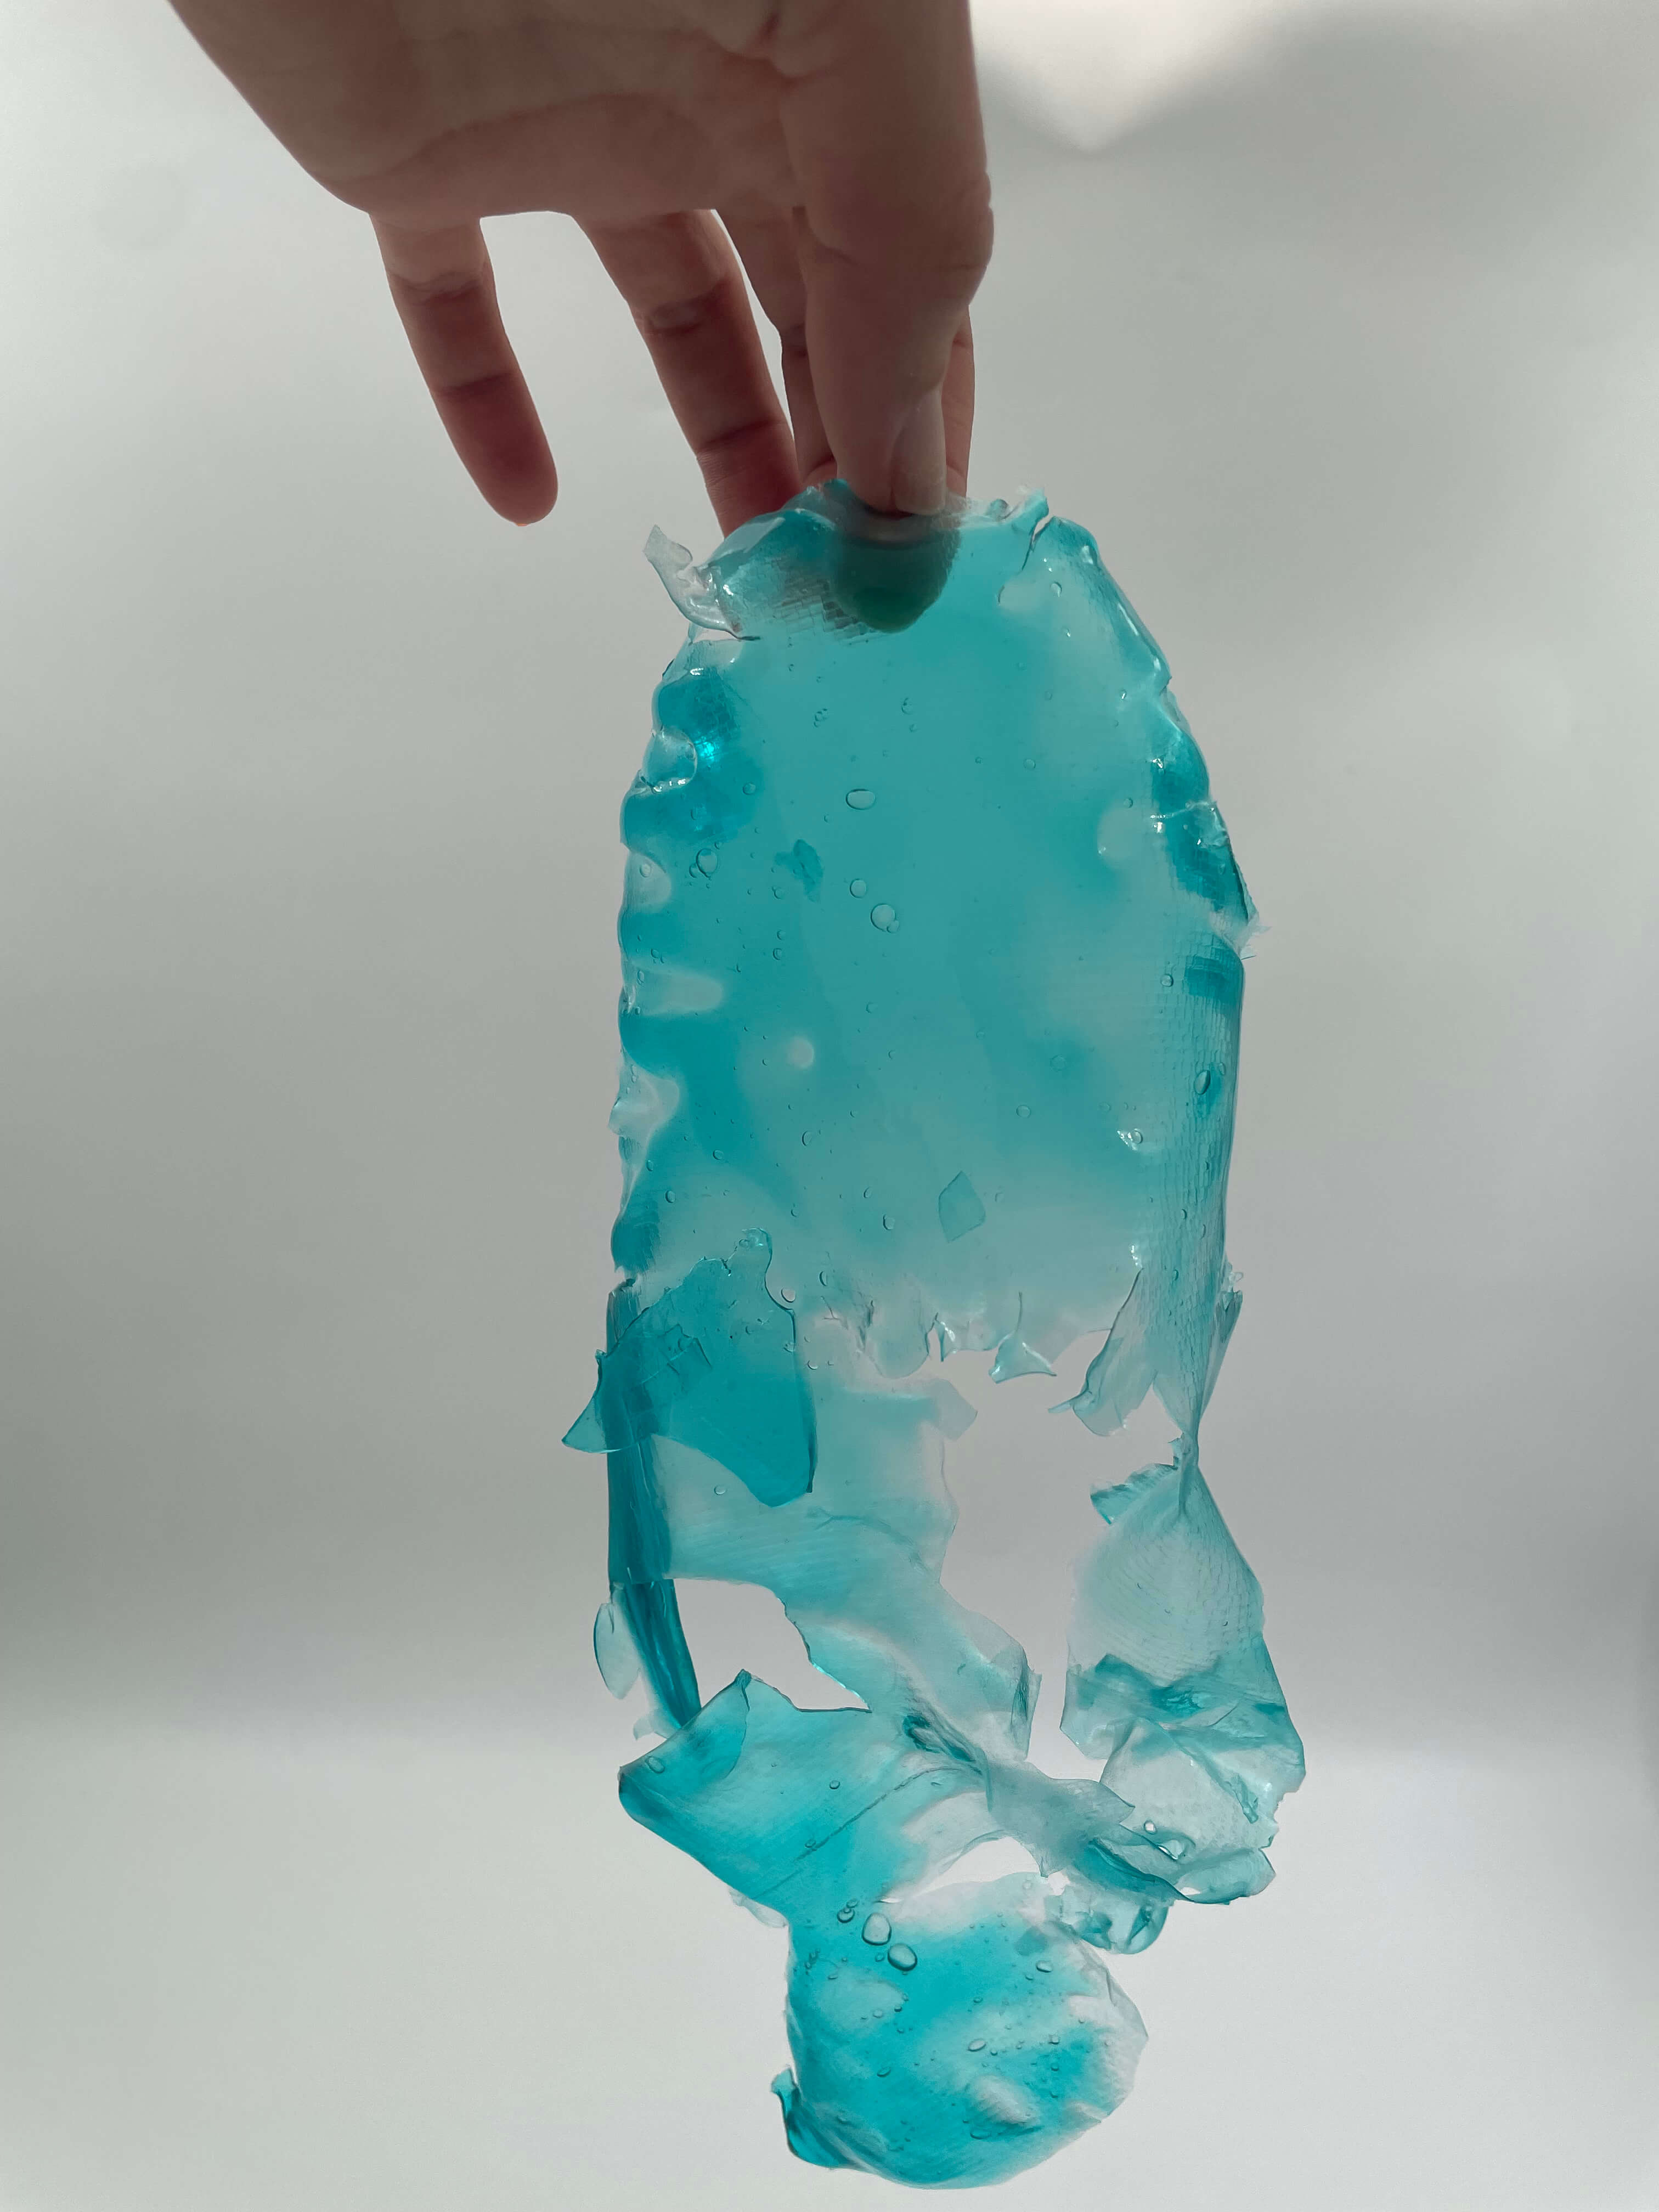
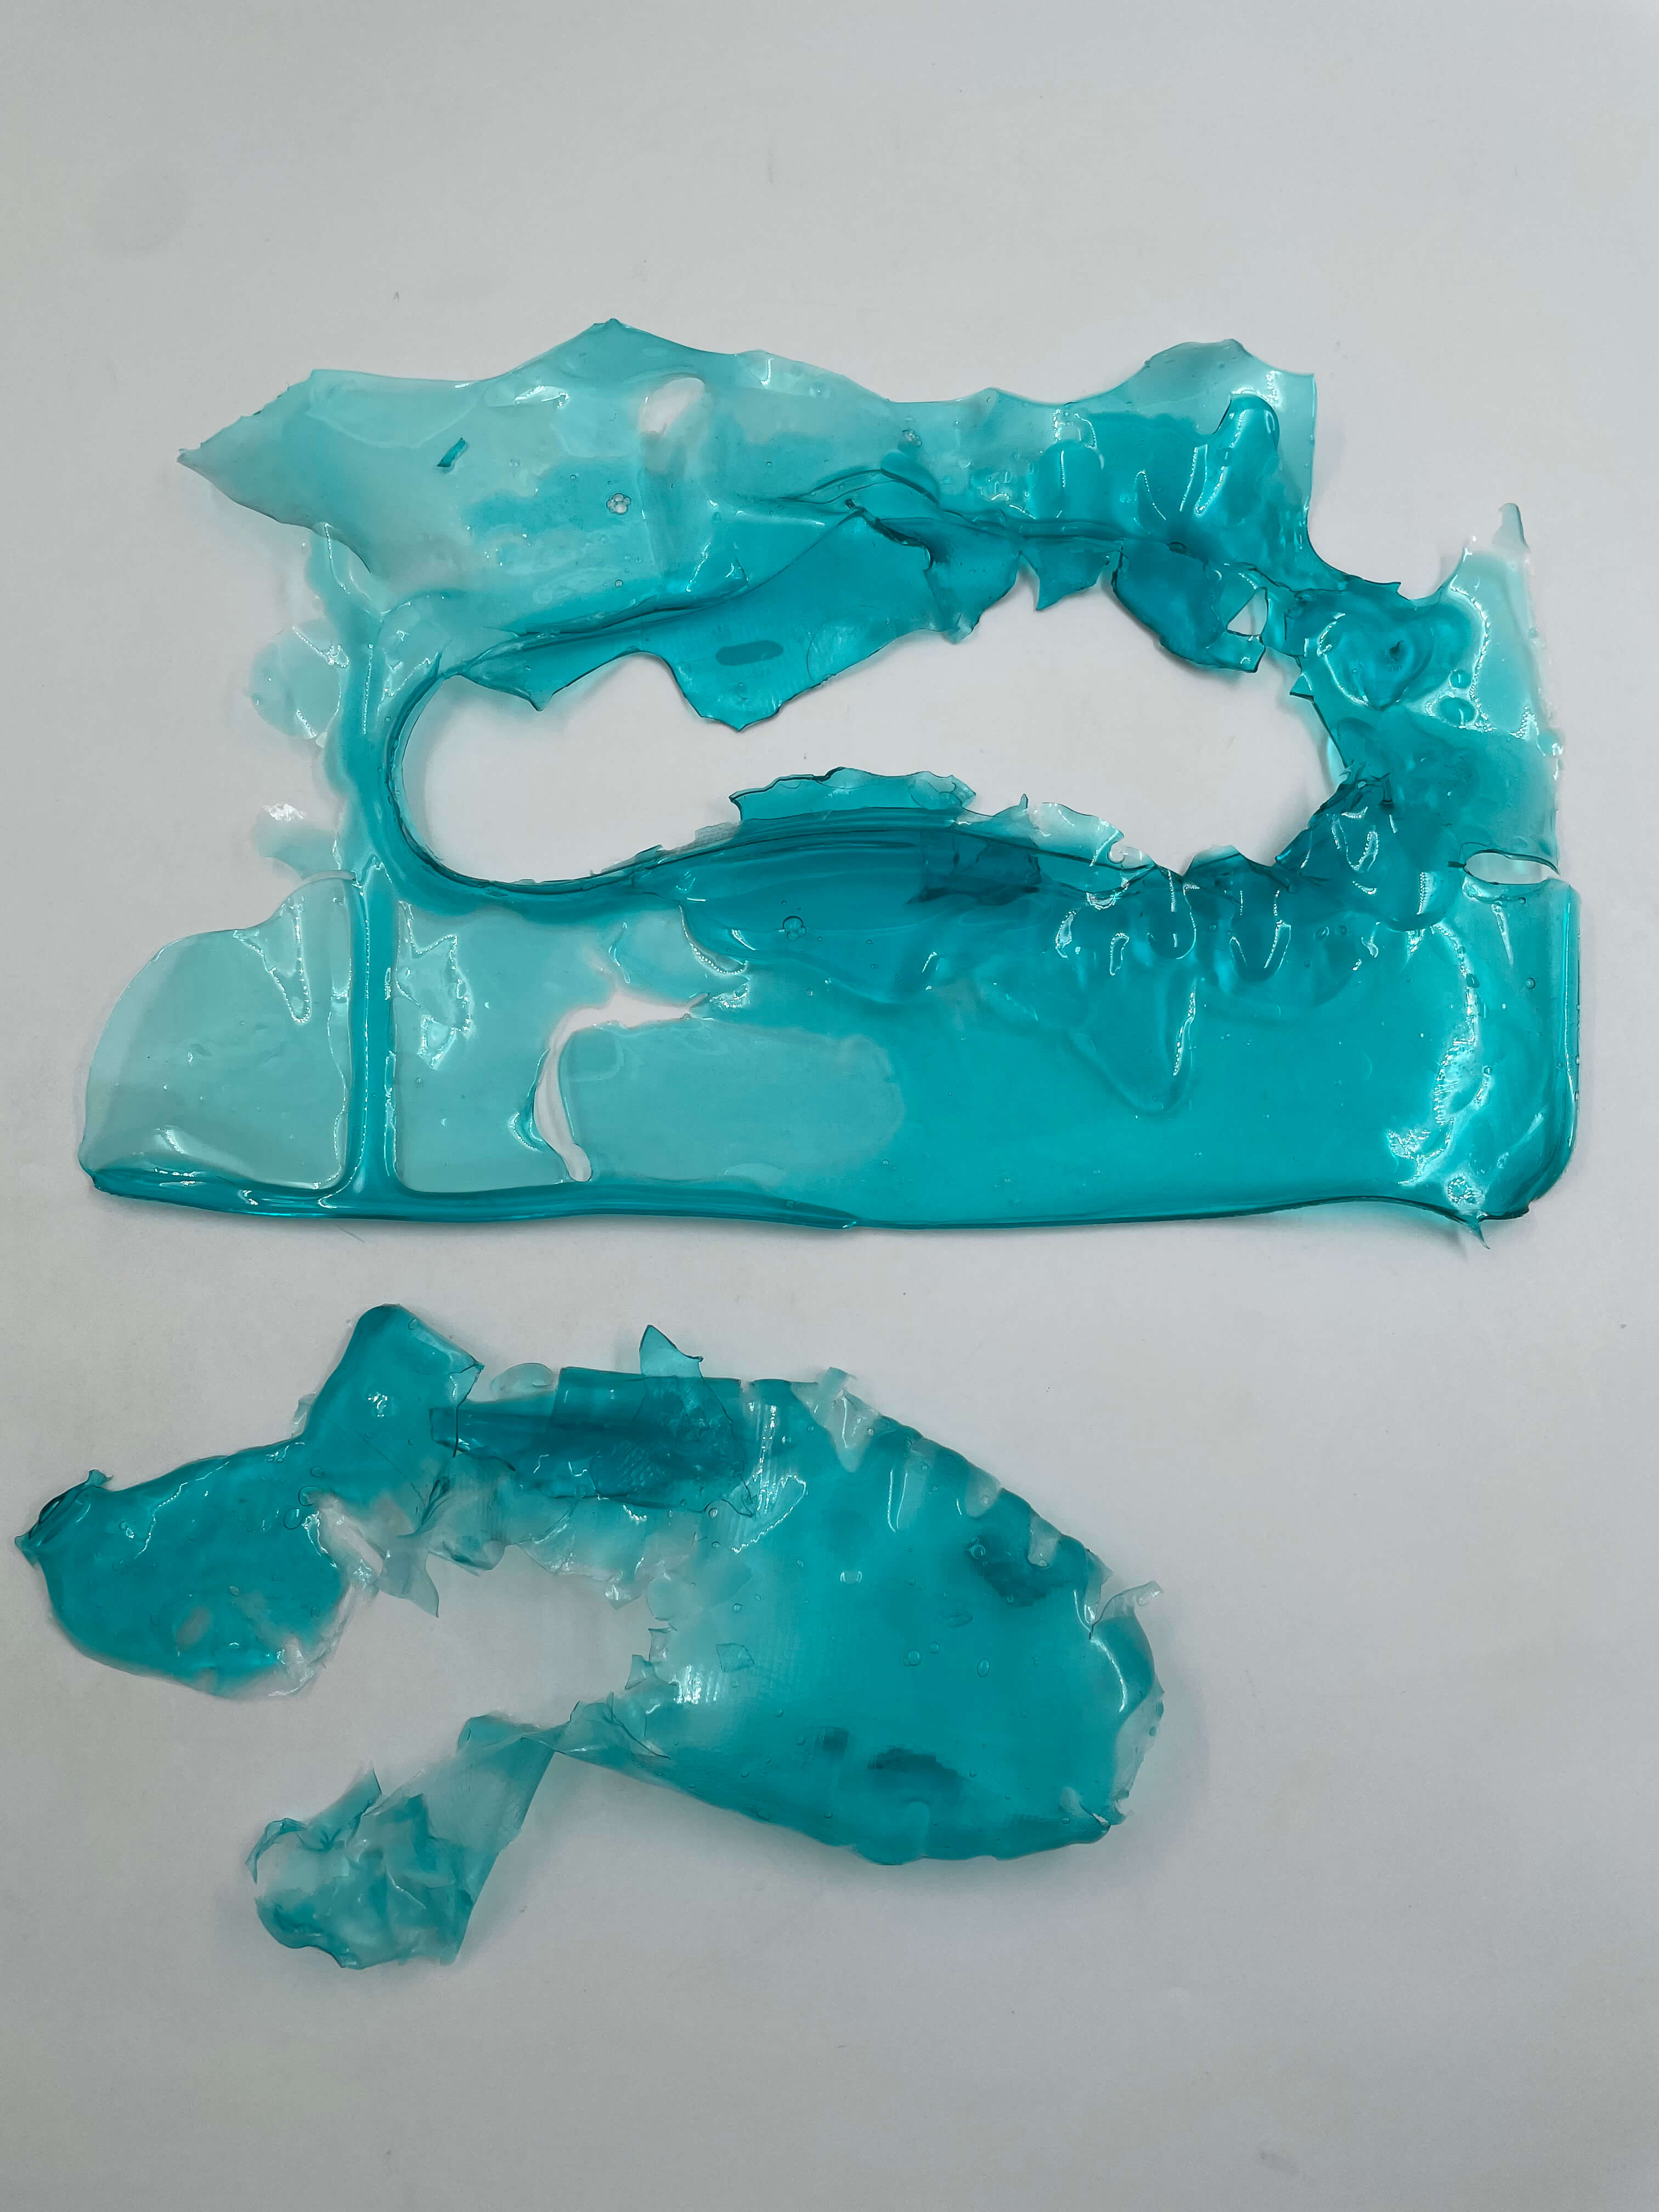
Blue Bio Plastic : This bio plastic used the same mold as the one above but the frame was diligently cleaned with soap and rinsed with water and left to dry. The frame was sprayed with alcohol and left to dry. The area in which it was casted and left to dry was also less in the open and we covered the walls partially in plastic. We sprayed the whole area with alcohol and did not use the fan. The border leaked when the plastic was poured in so it left a mess and and it casted unevenly and thin in places. It was removed after 7 days and didn't exhibit the same contaminated smell as the others.
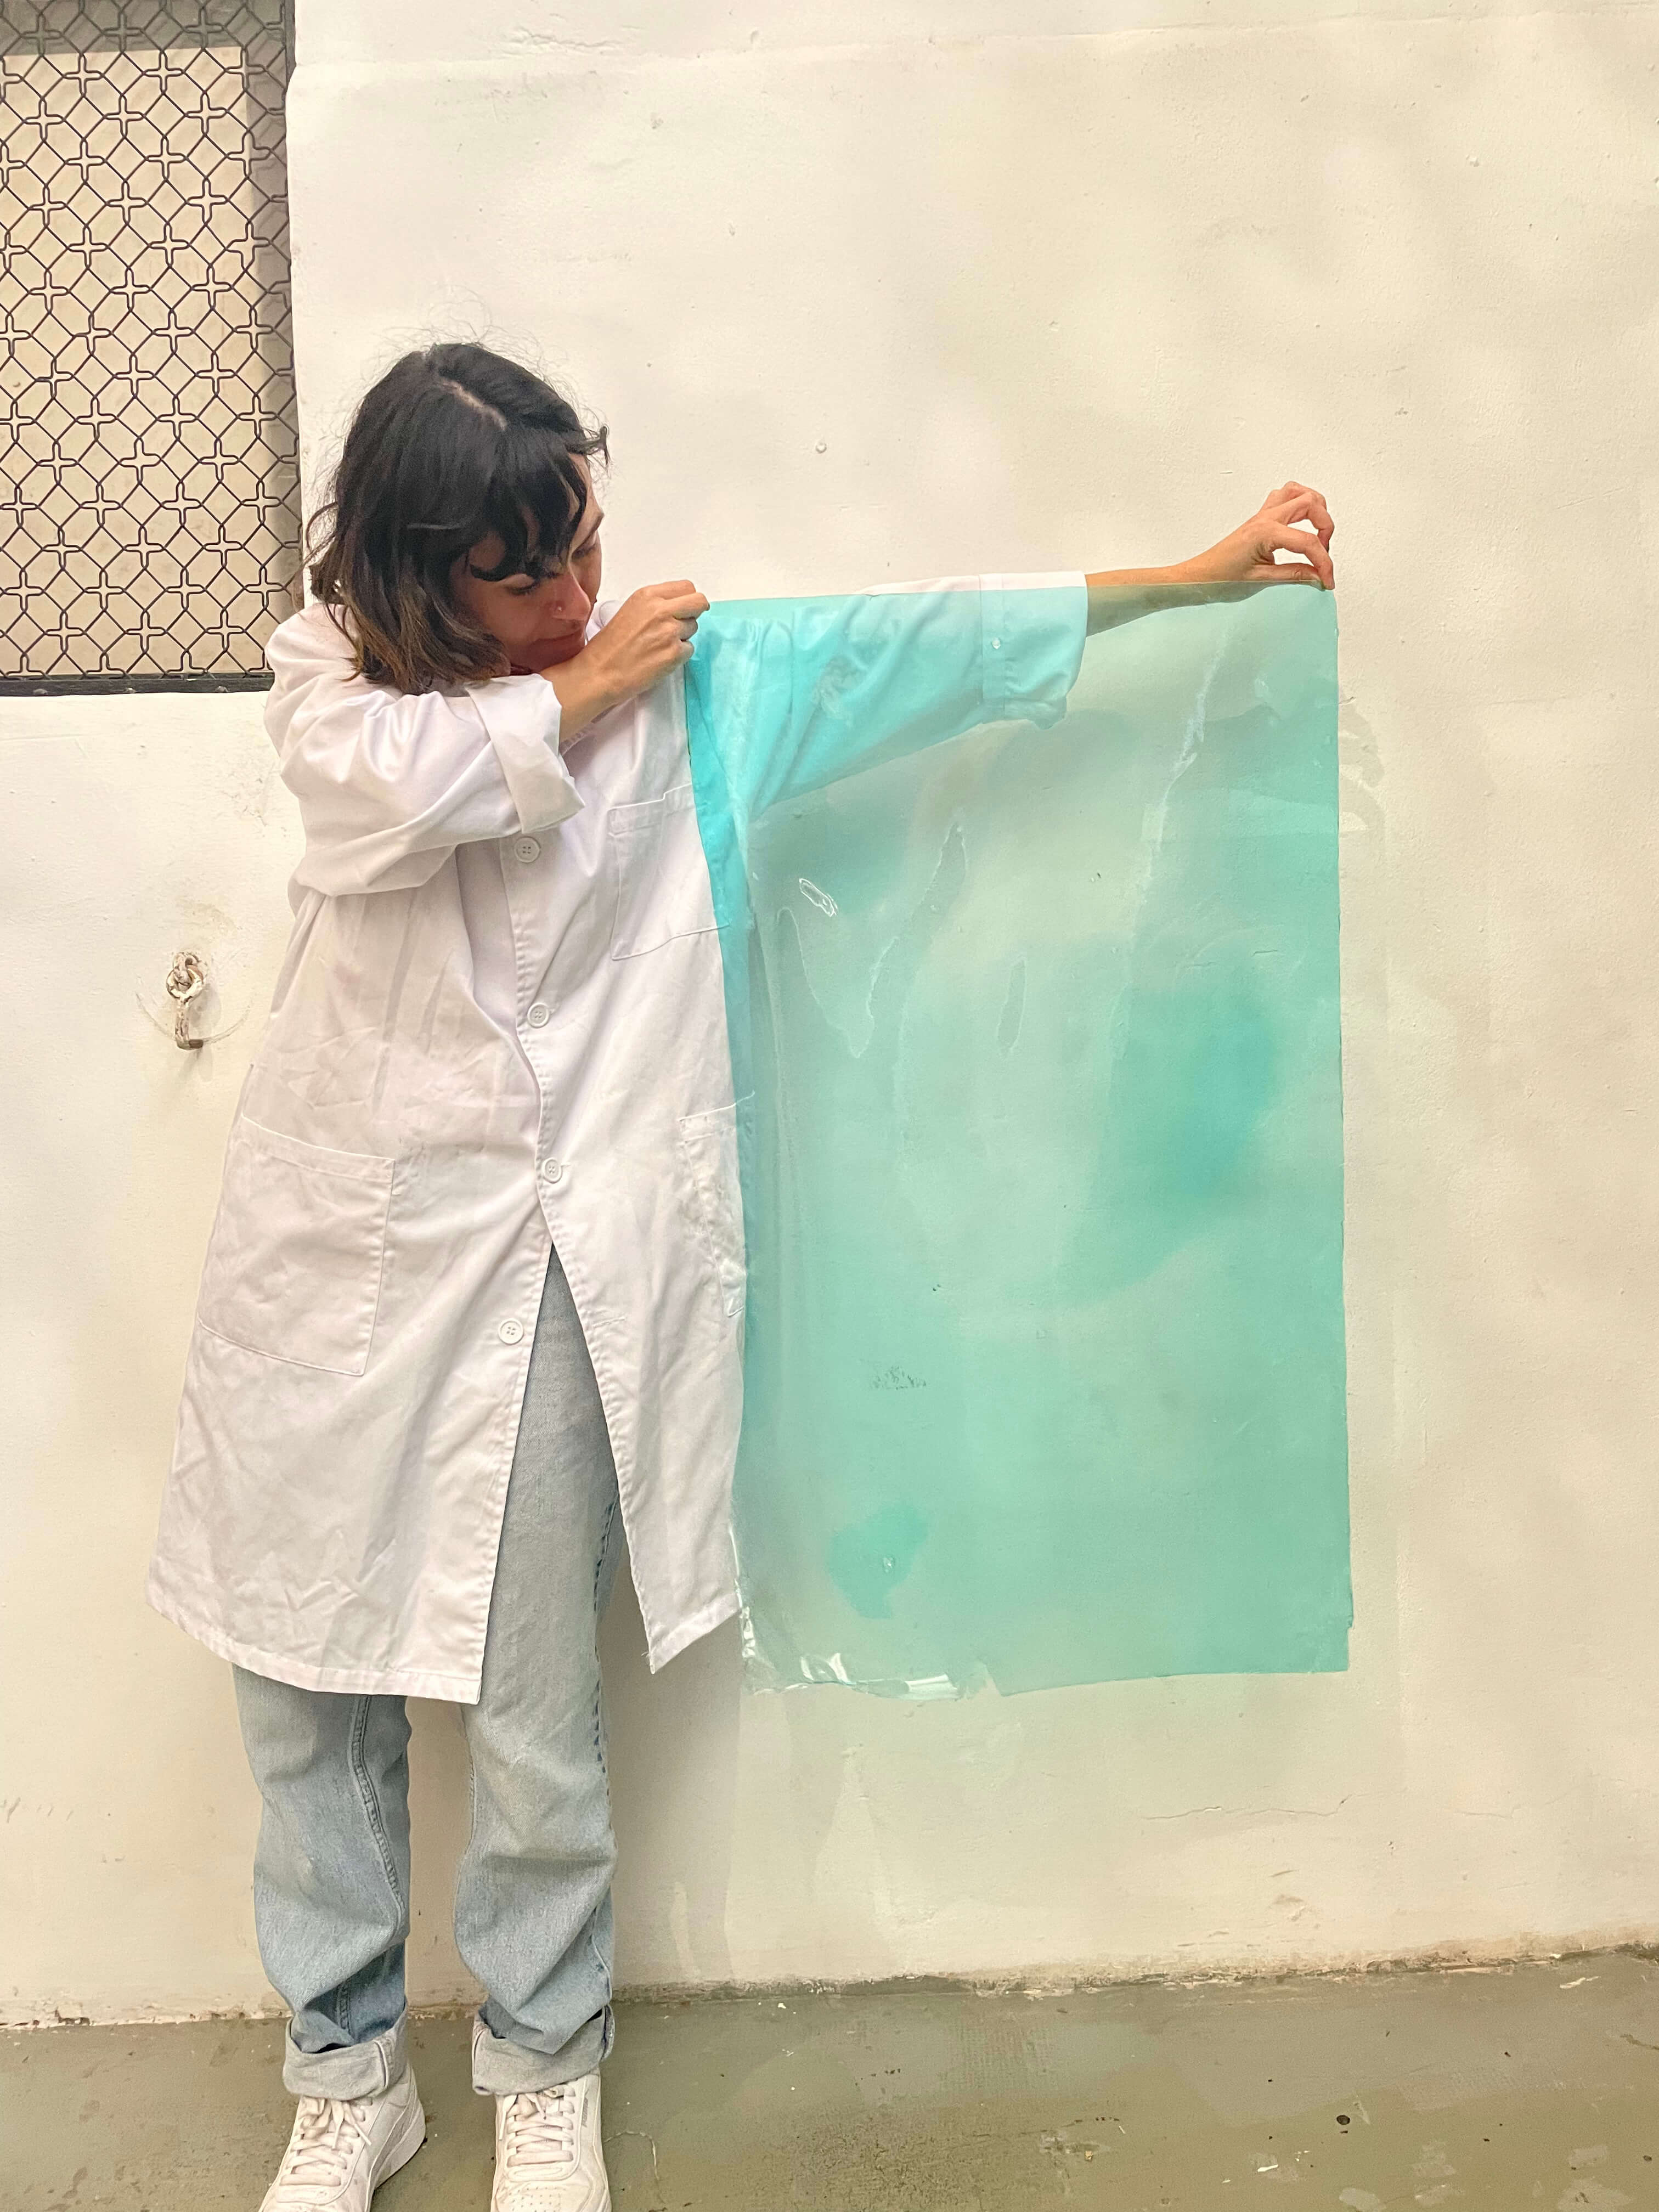
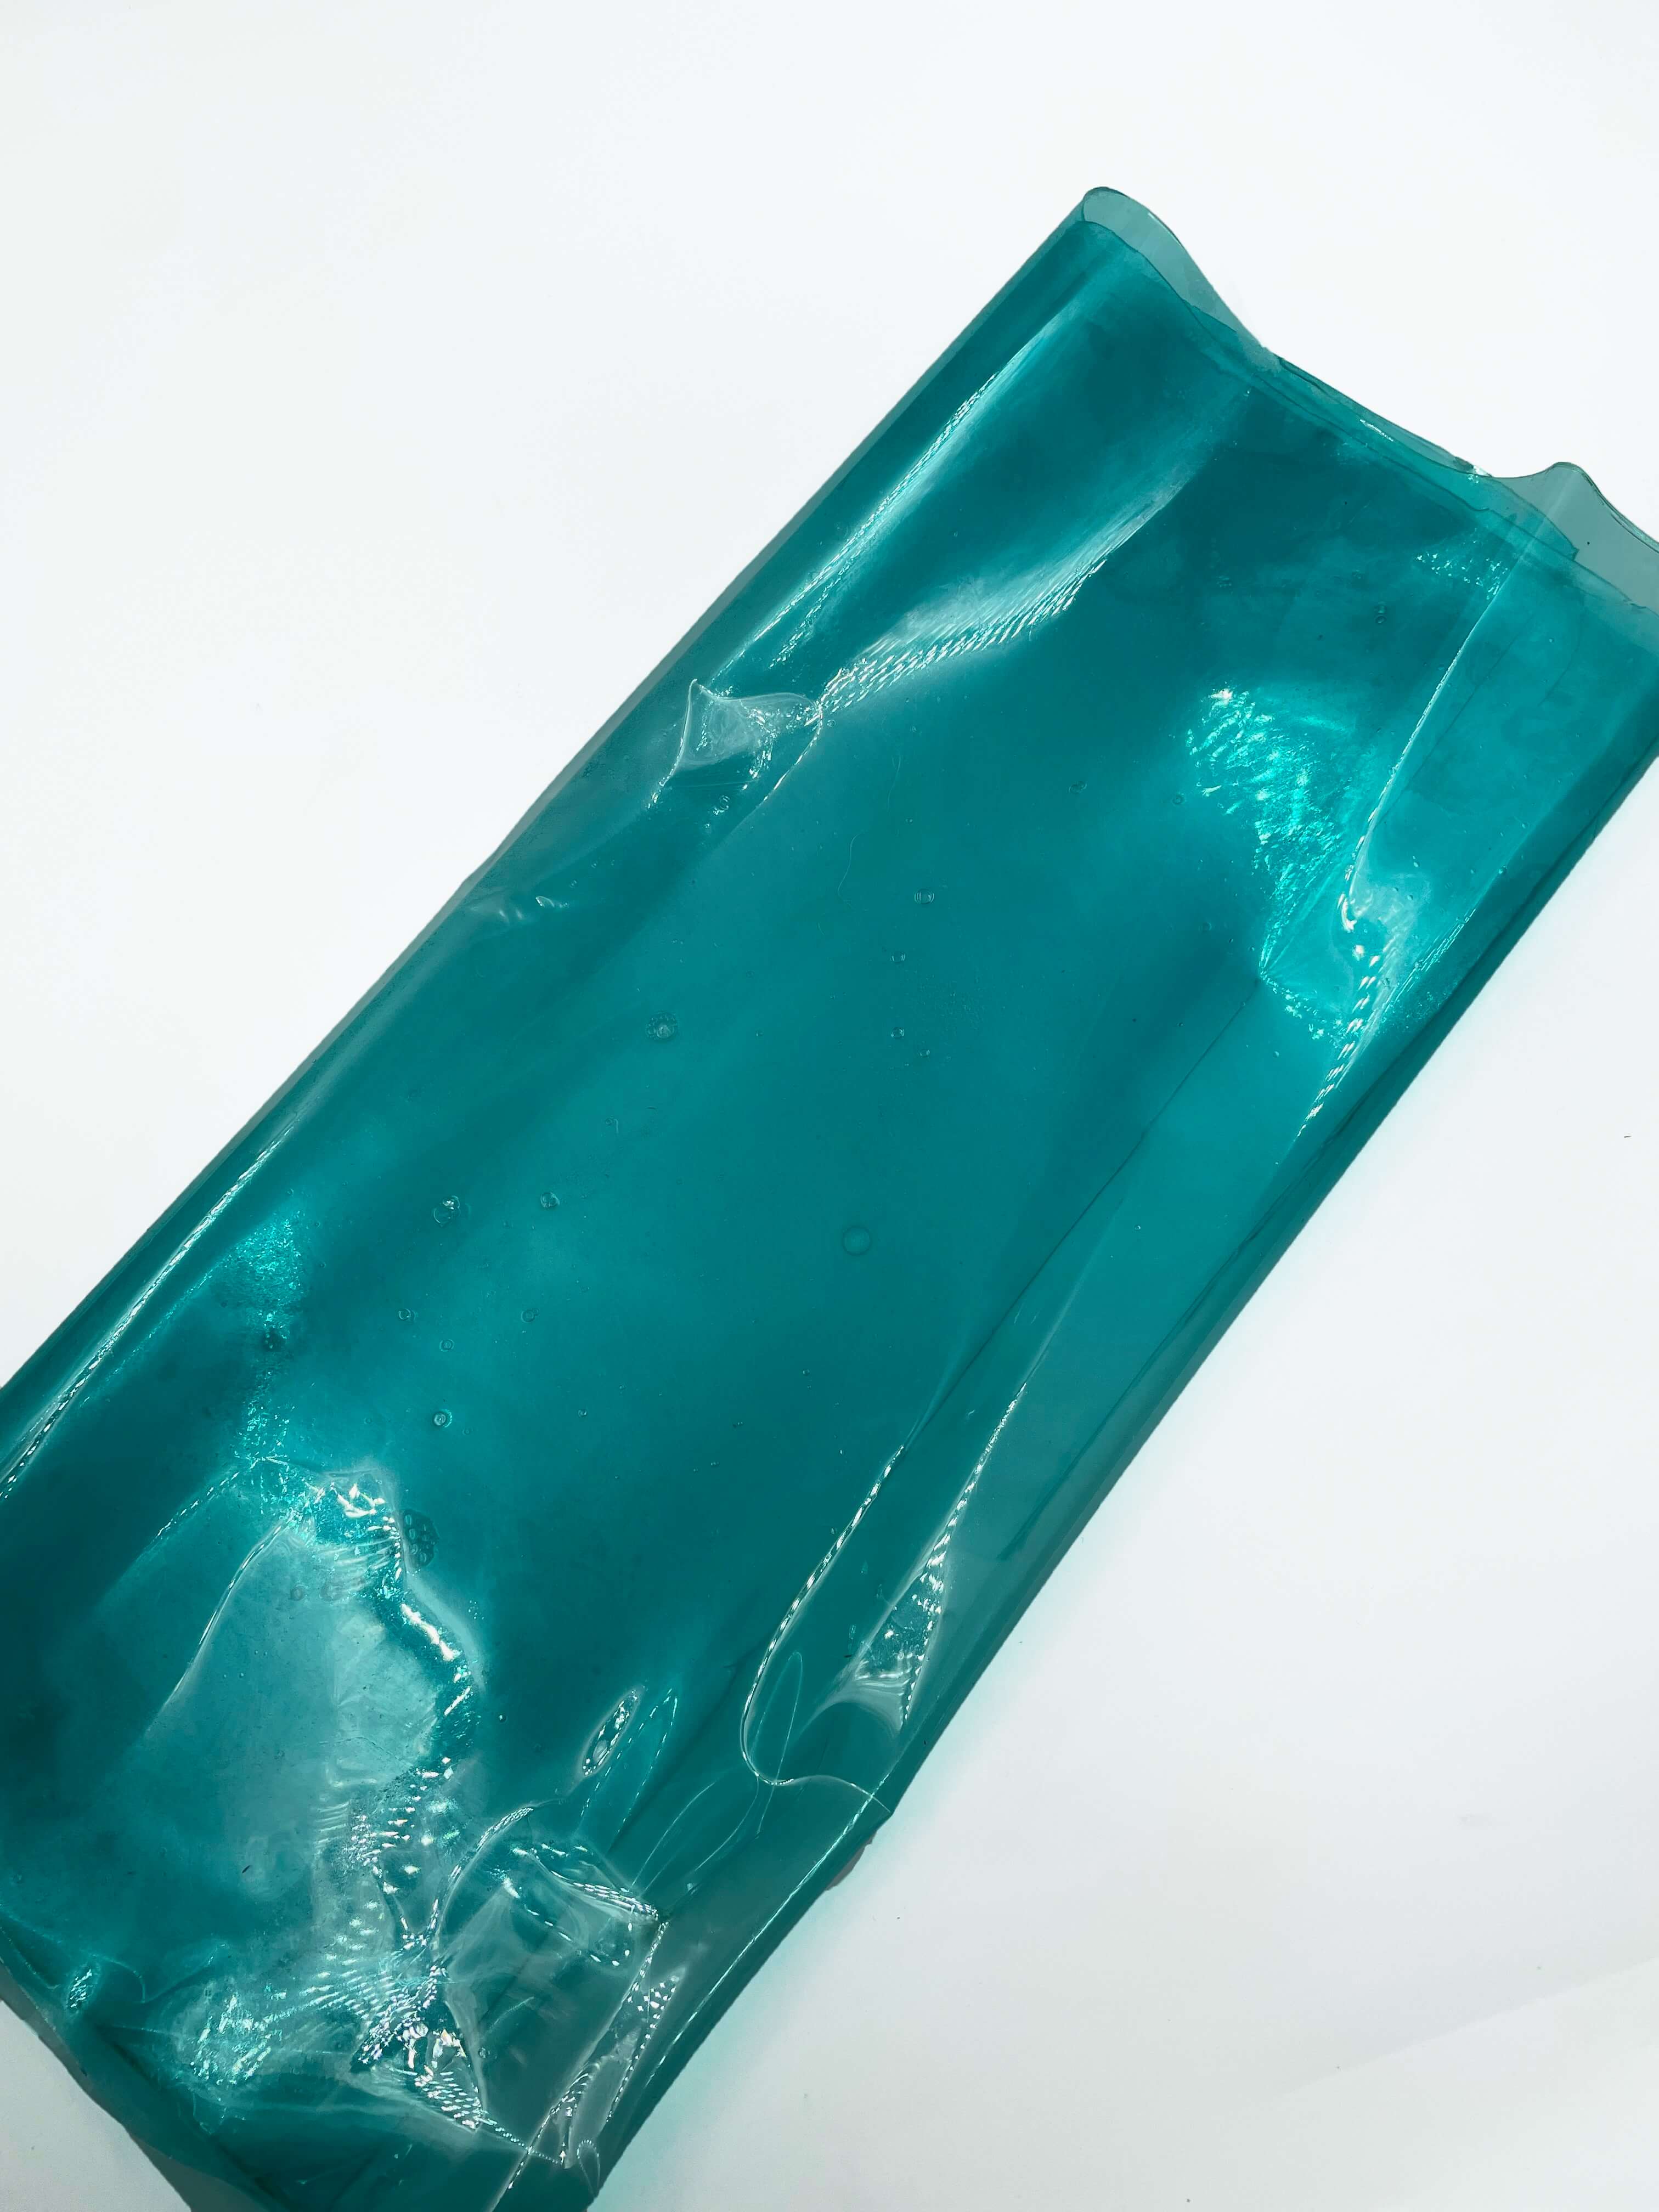
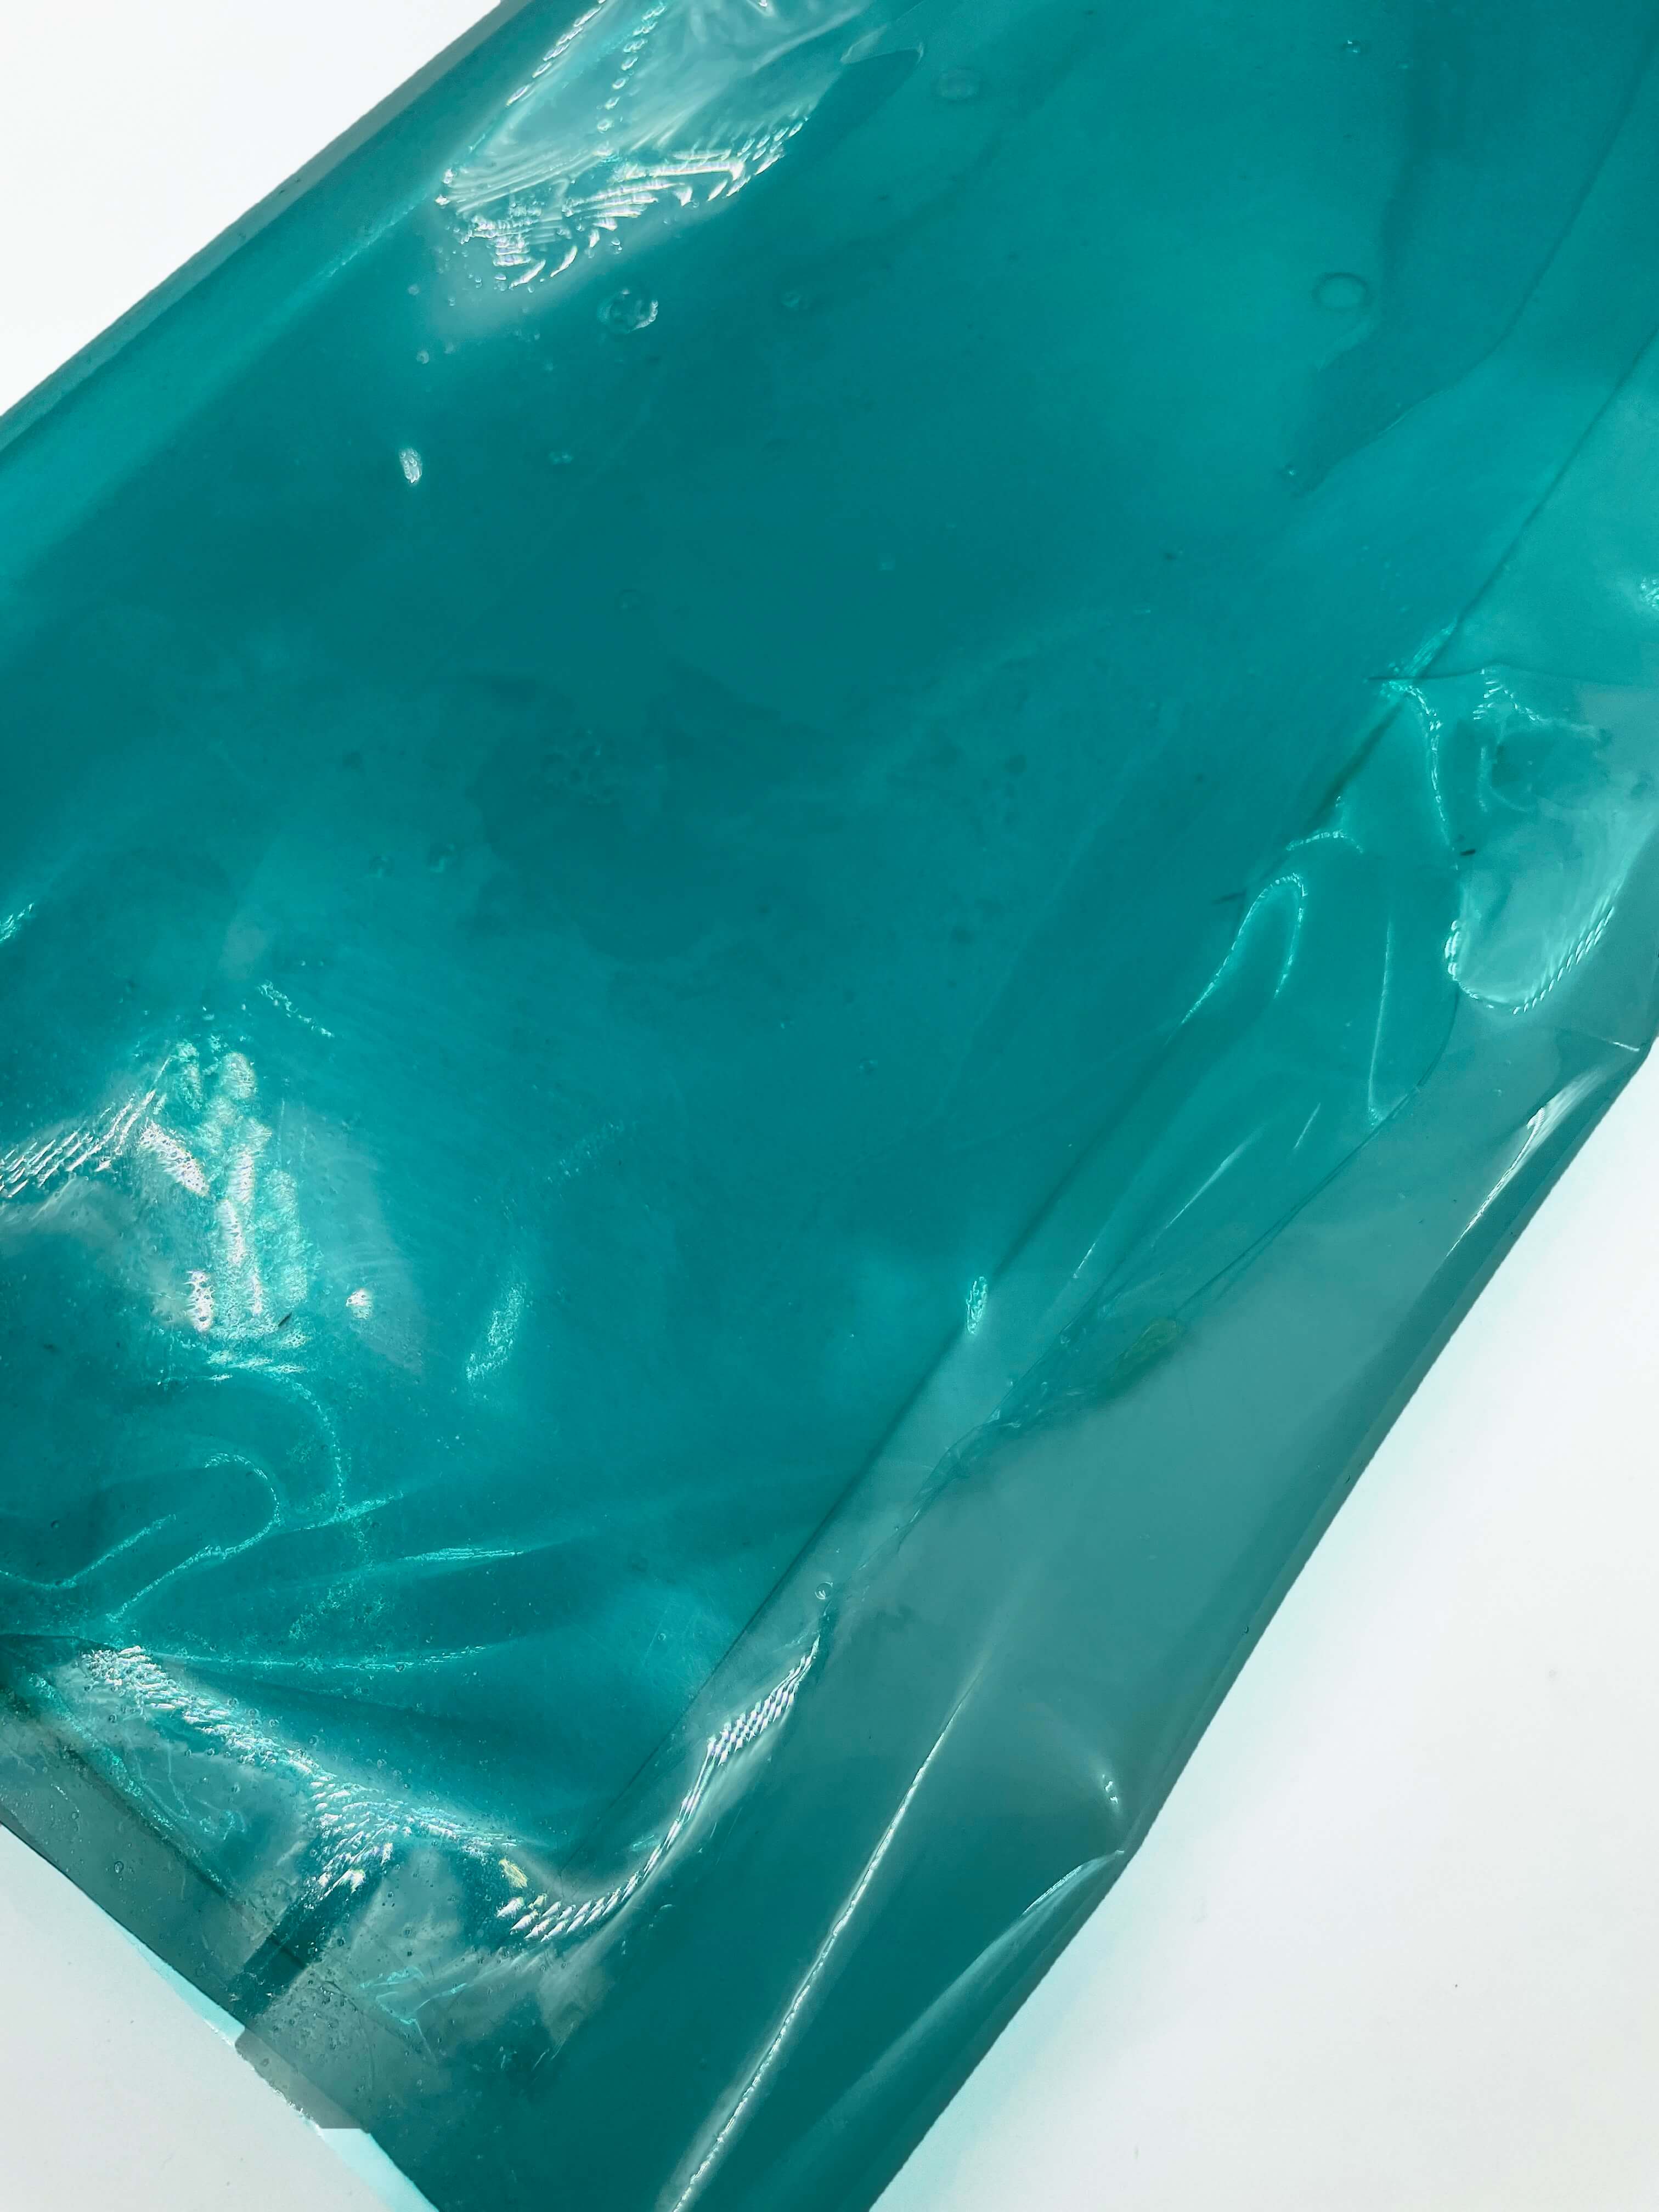
Dimensions of Mold: 570mm x 960mm x 3mm | Recipe: gelatin (13%), glycerine (9%), water / dye bath (78%) | Volume: 1,641.6ml | Colorant : Blue Food Coloring| Casting Days: 7 | Thickness of Material: .6mm
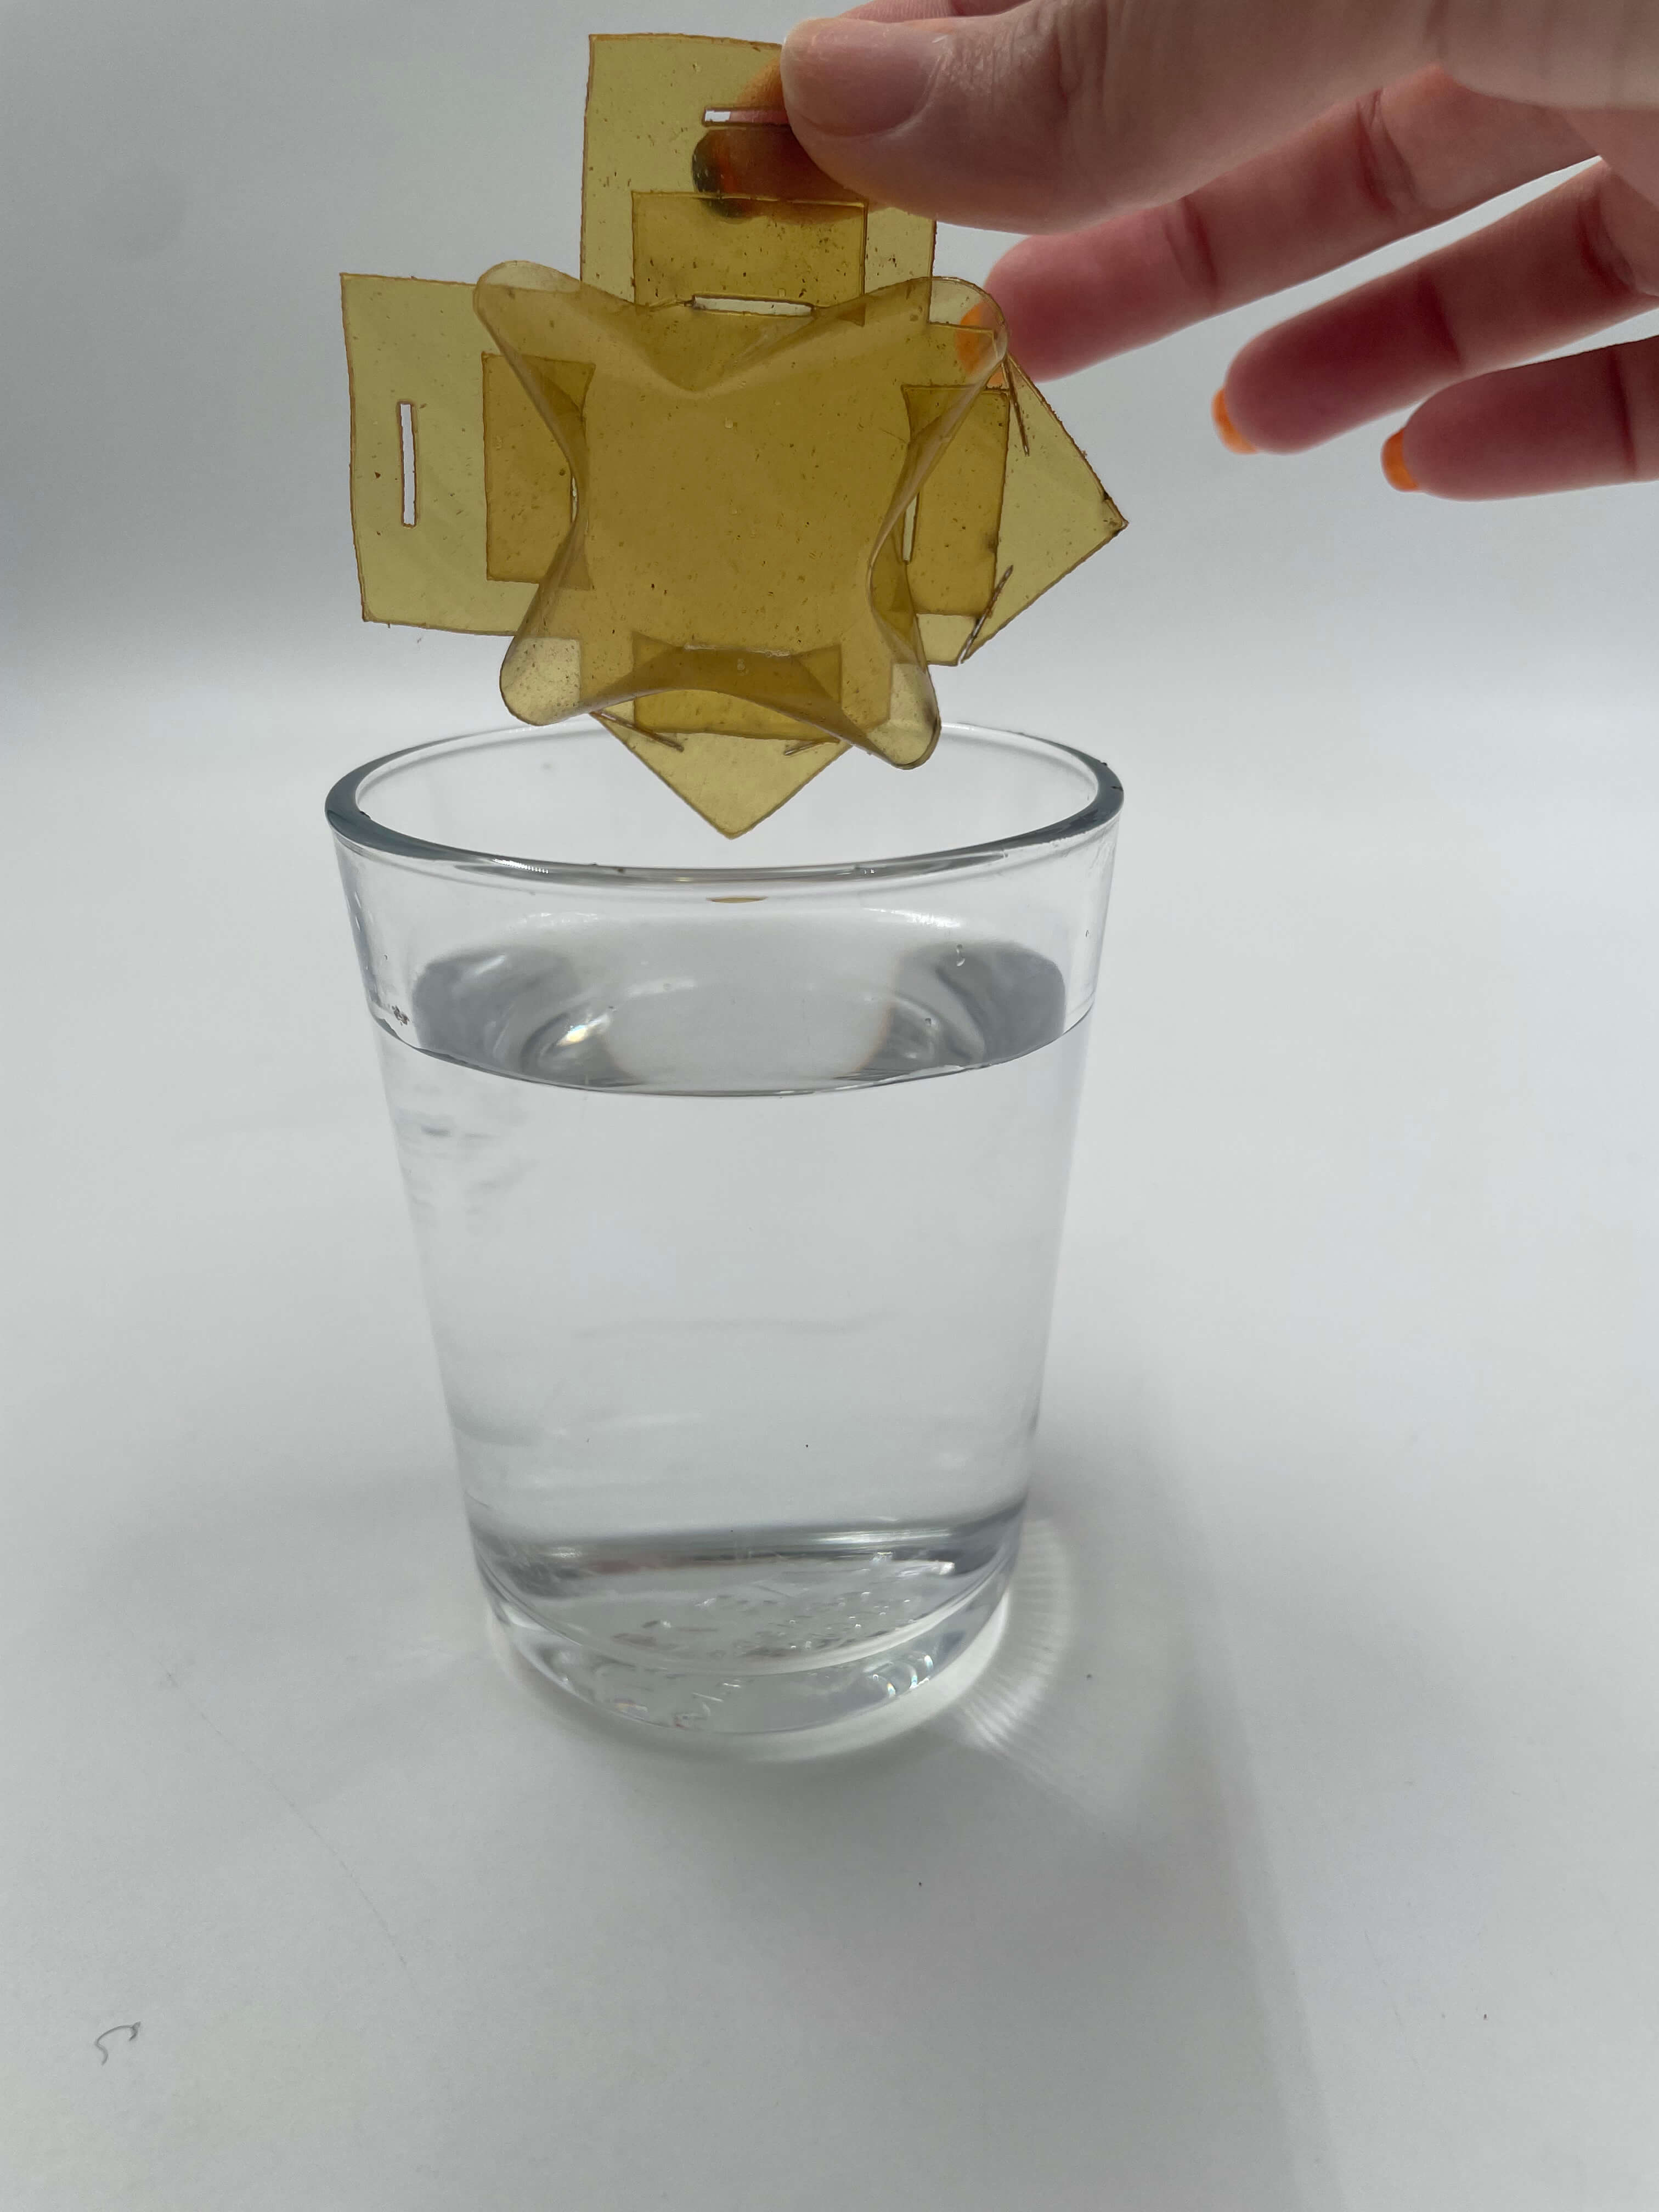
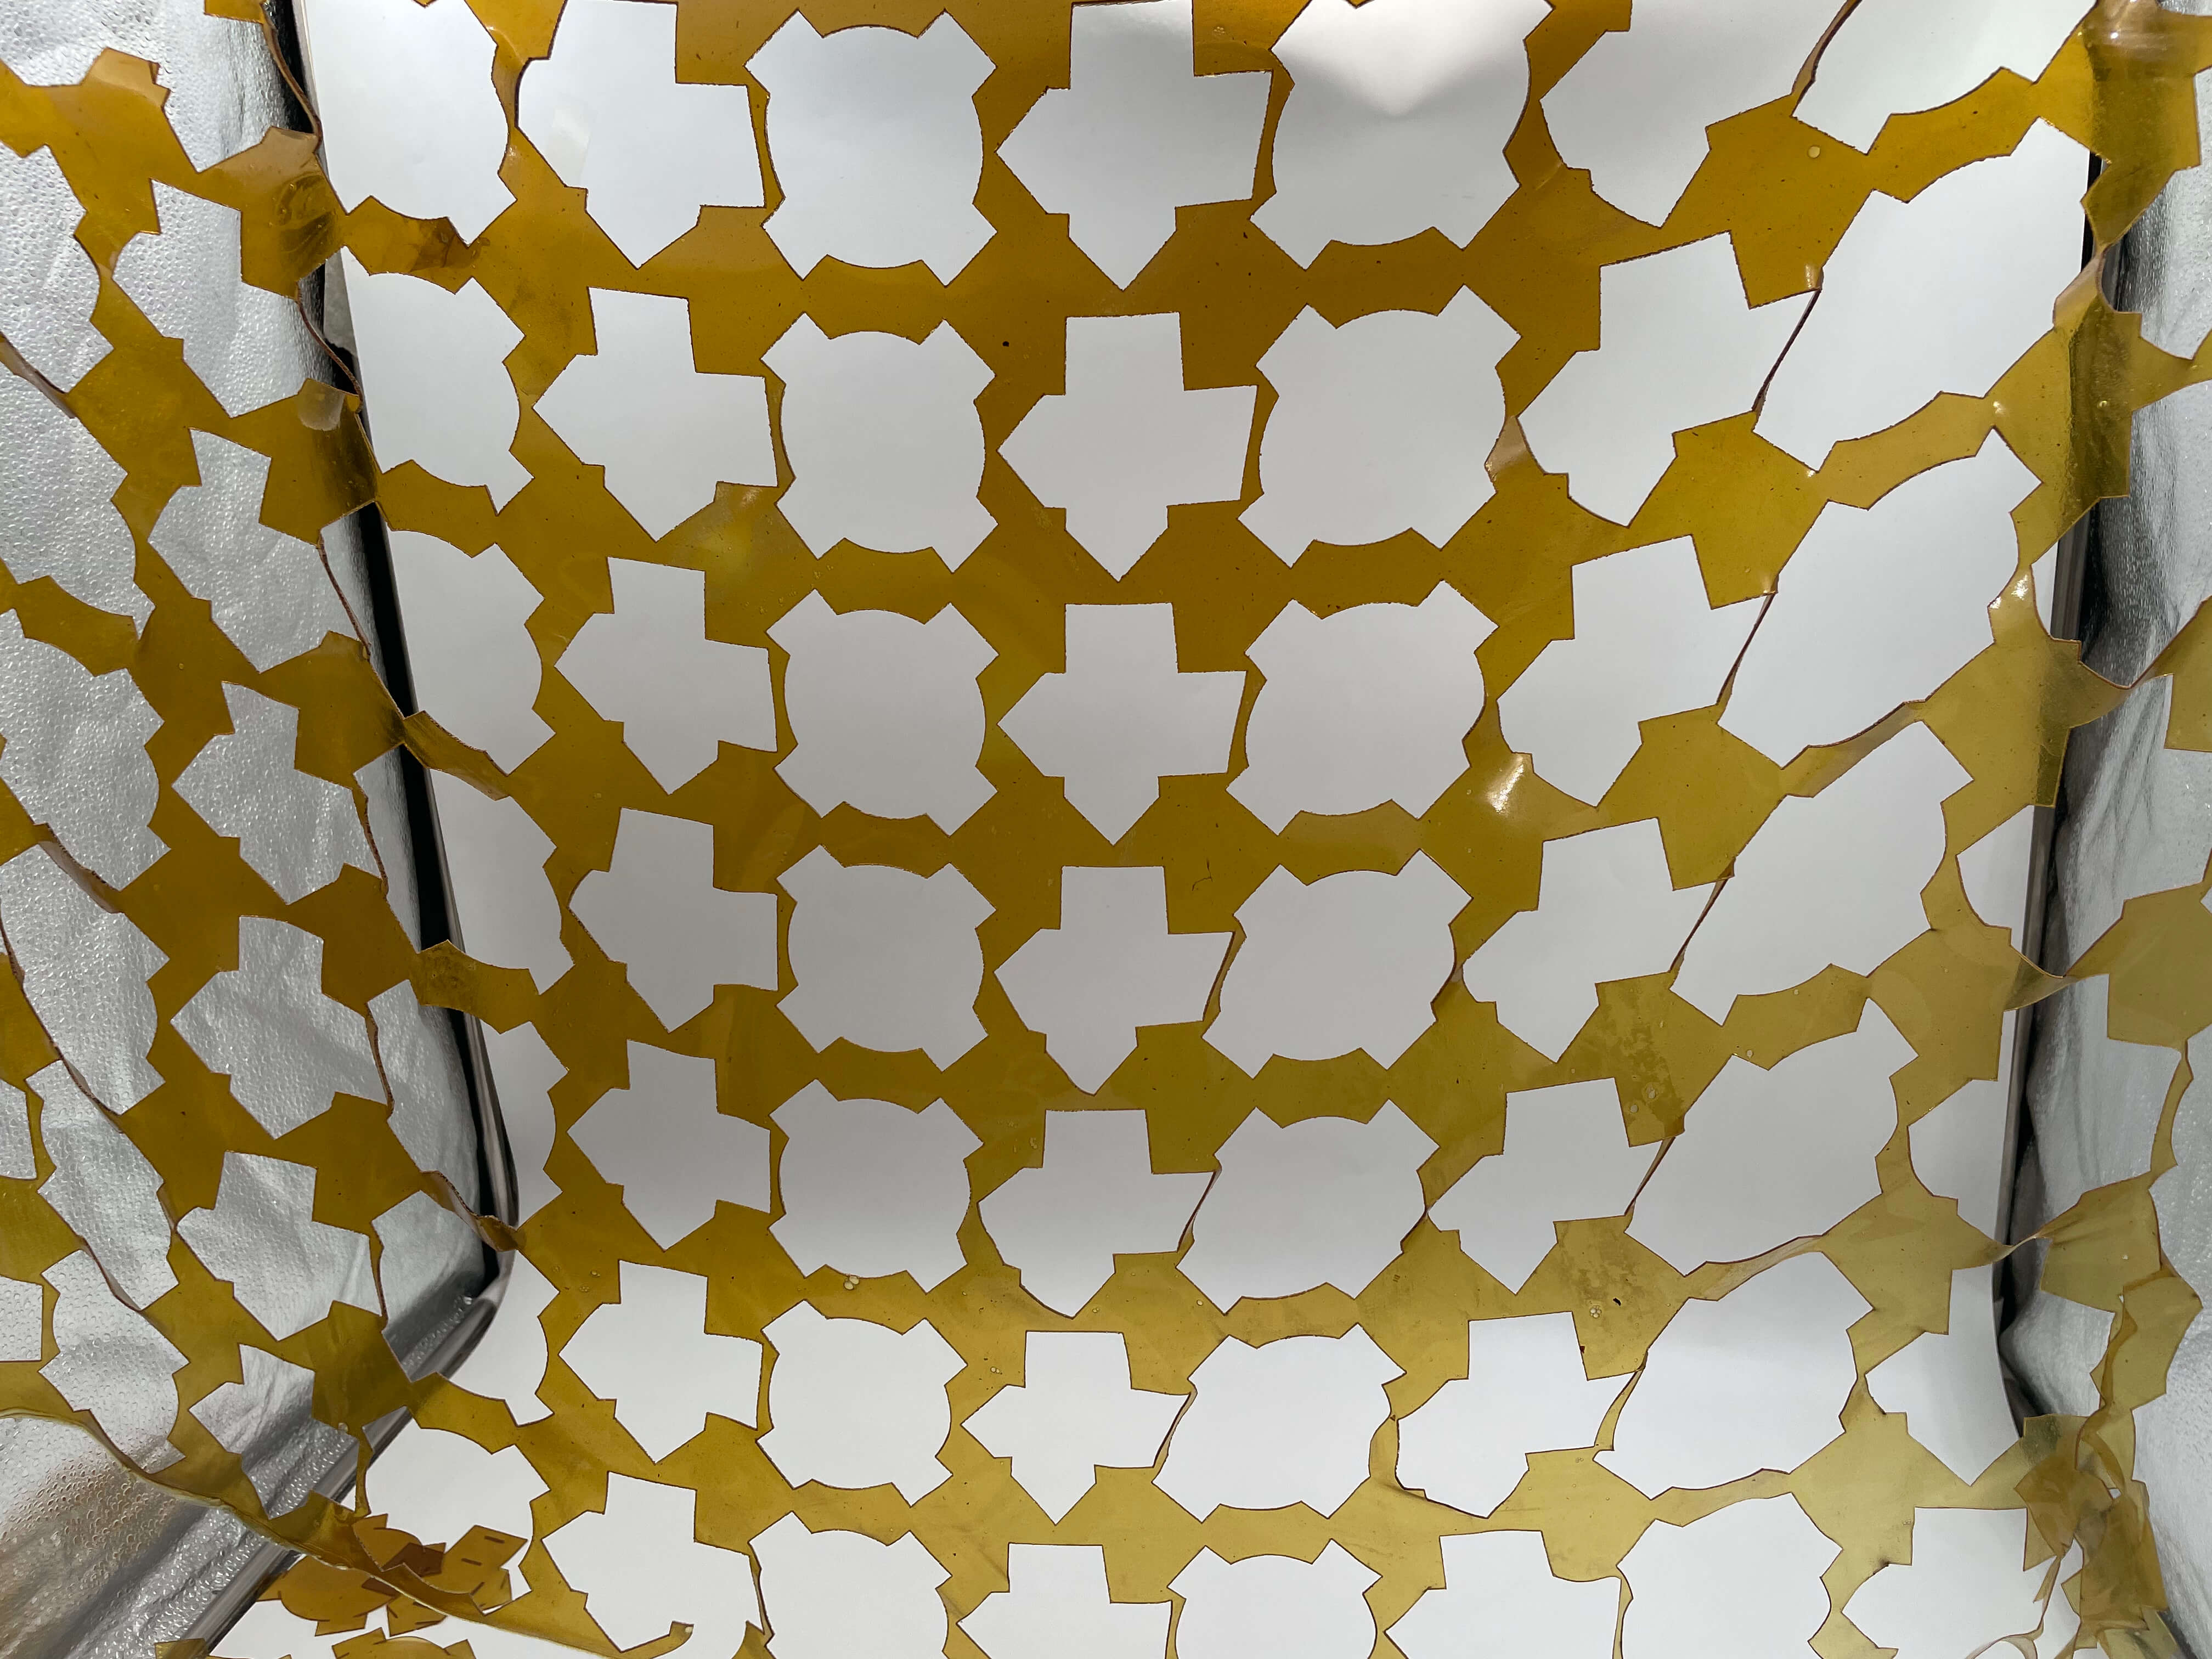
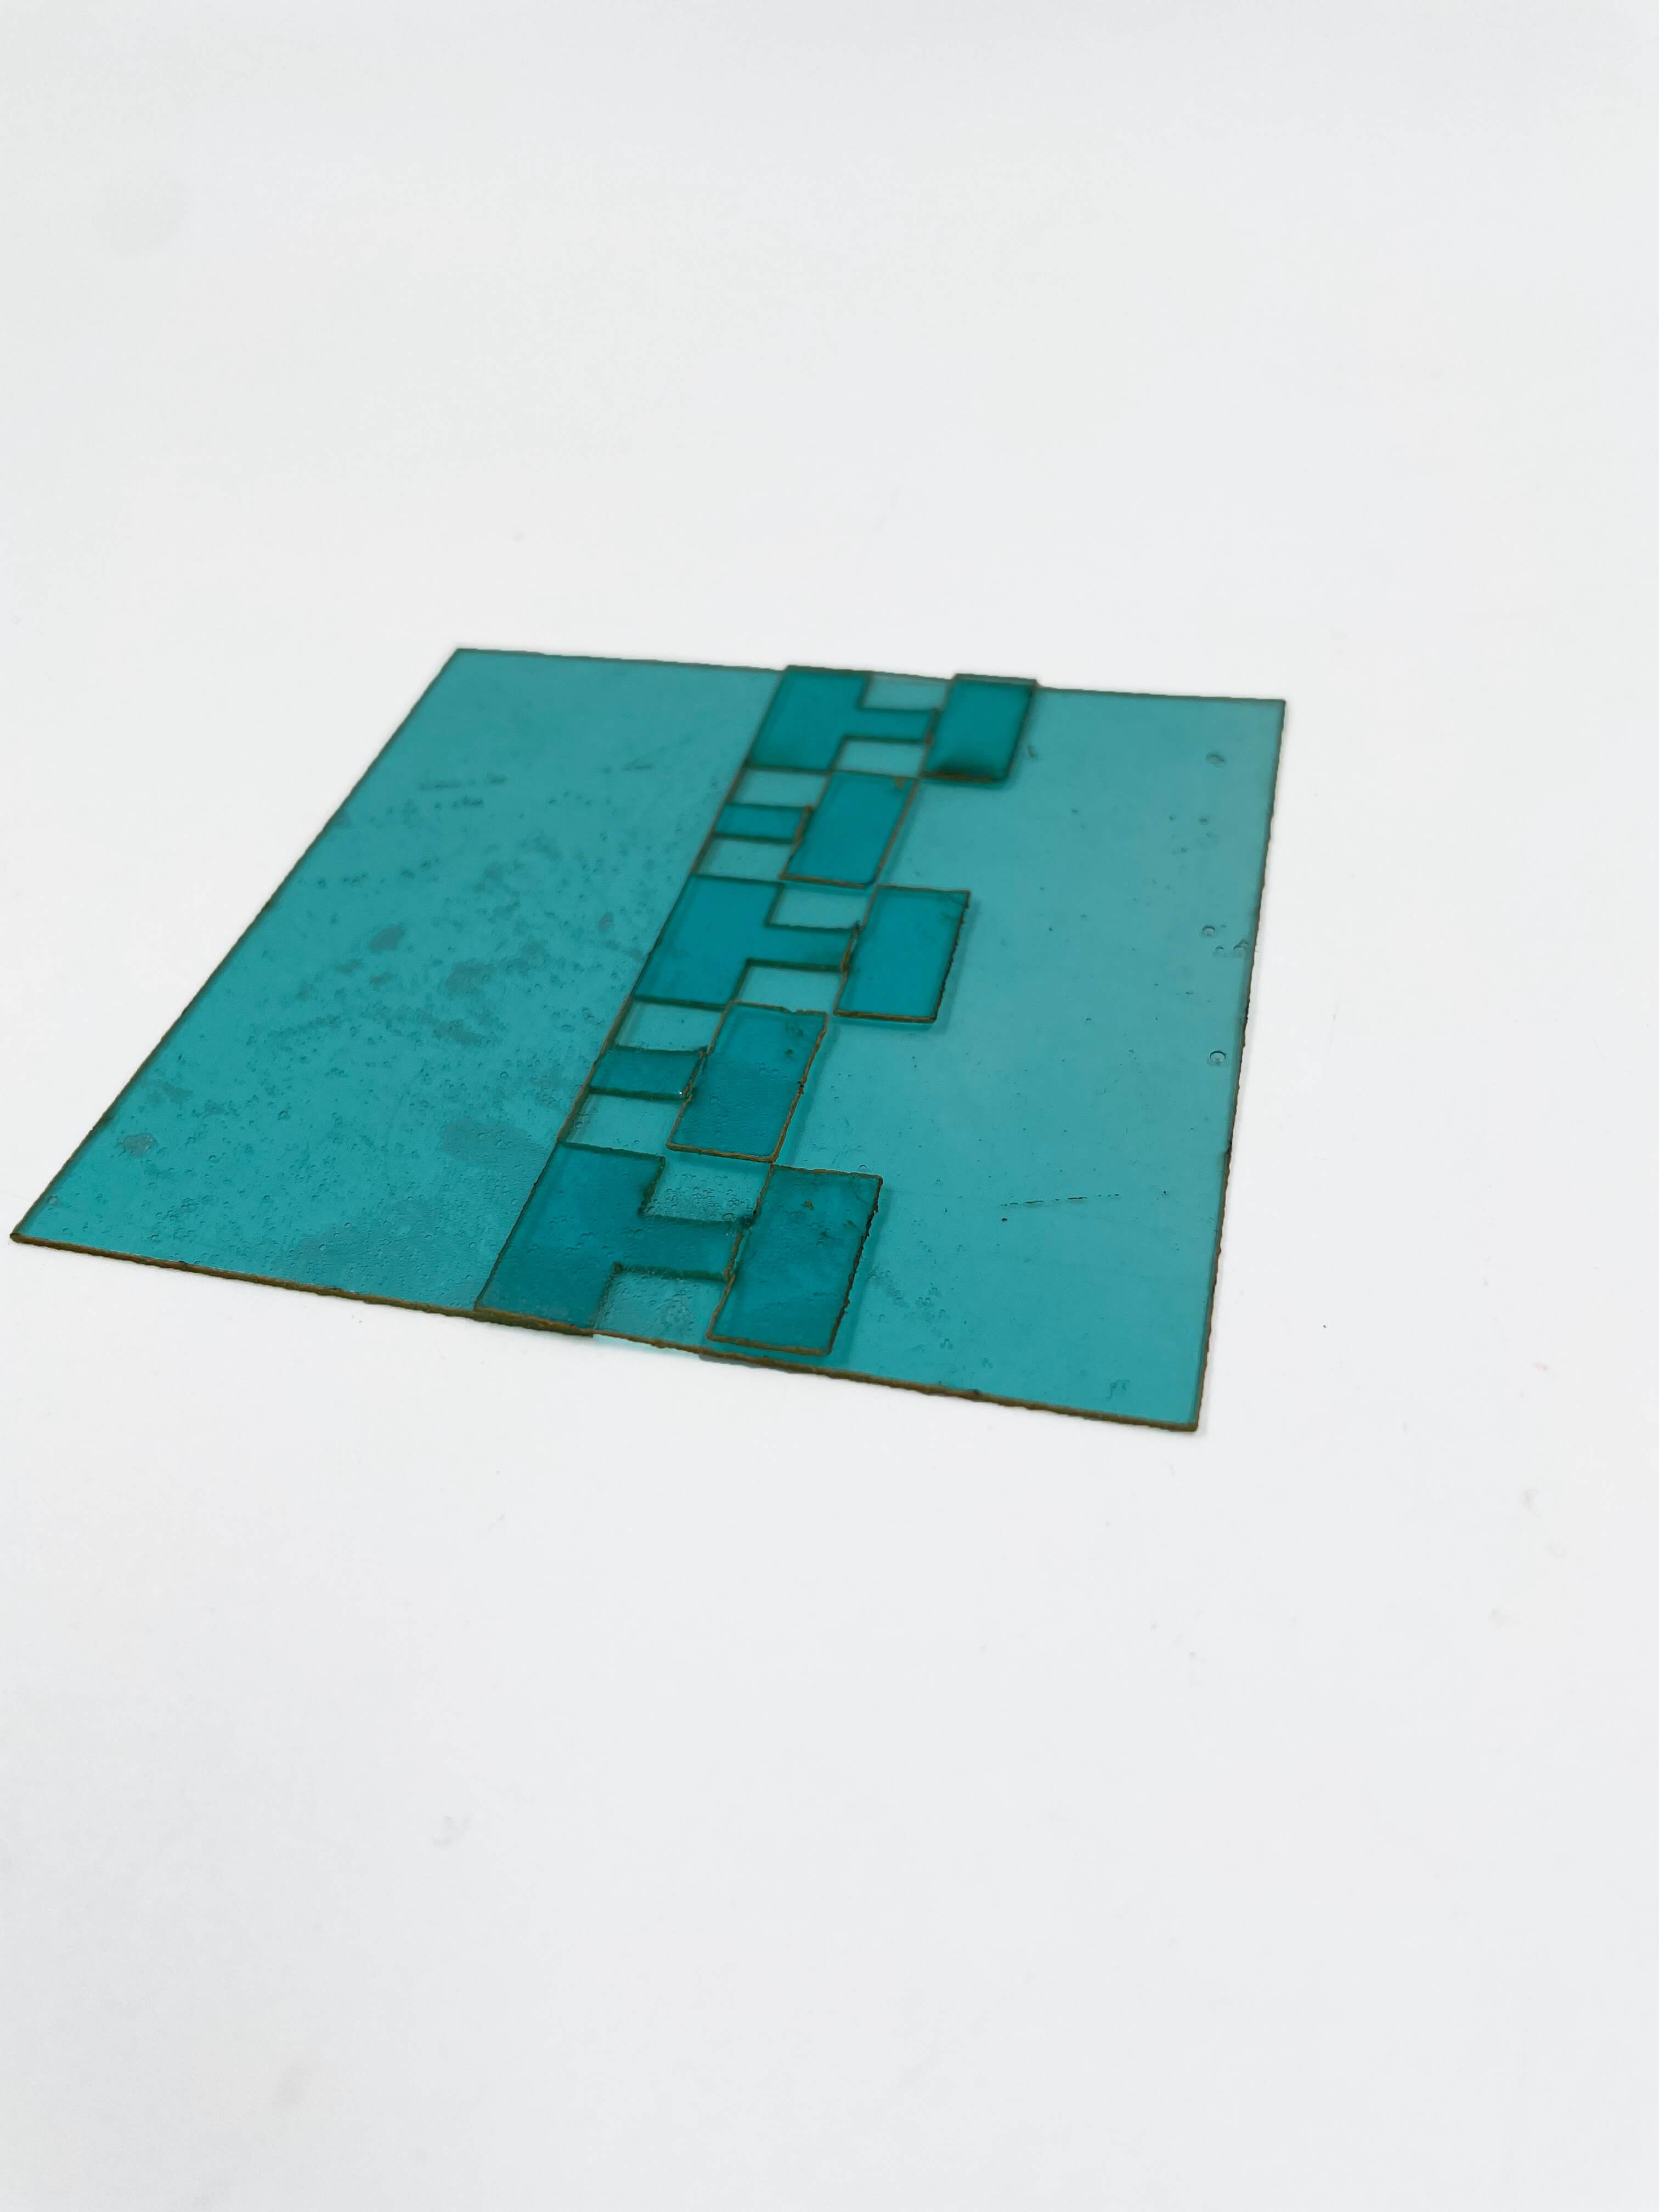
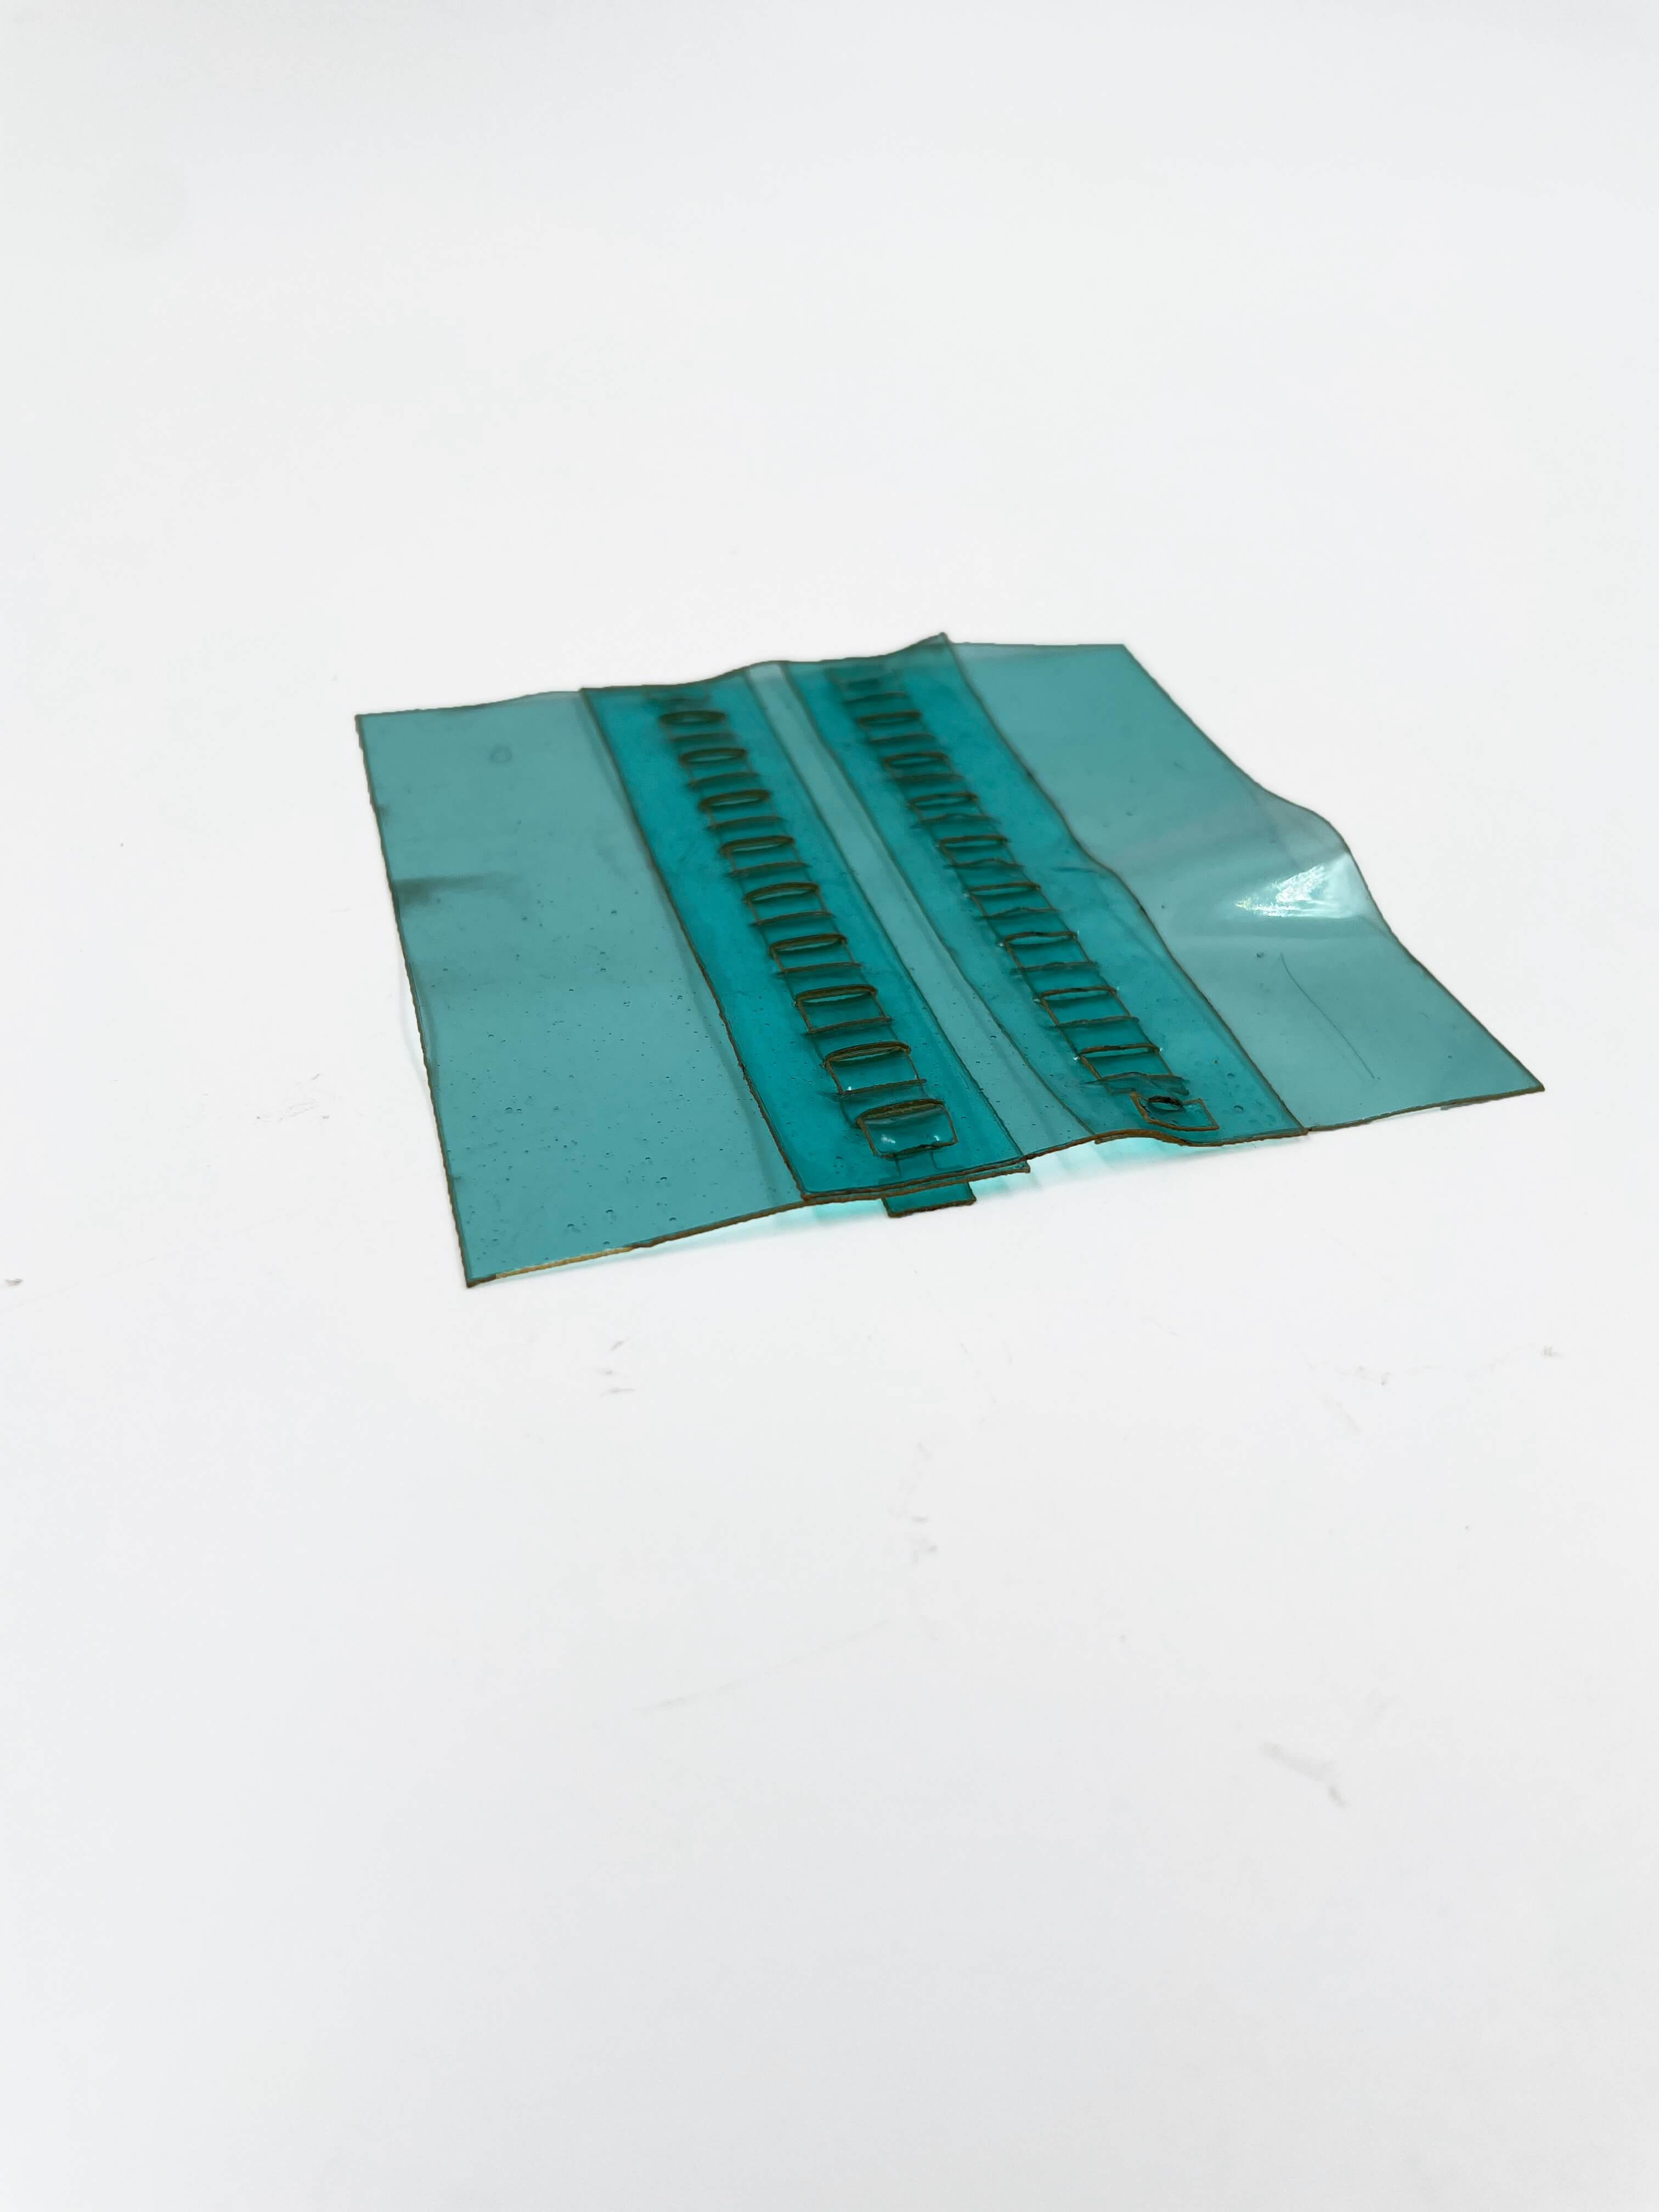
Red Textured Lenticular Bio Plastic: This experiment was inspired by the iridescent experiements of former fabricademy studenty Amanda Jarvis. Gelatin Bio plastic can pick up any texture it is molded onto. This gelatin was casted on a lenticular-like plastic sheet and all of the texture and effect of the sheet was transfered over to the bio plastic.
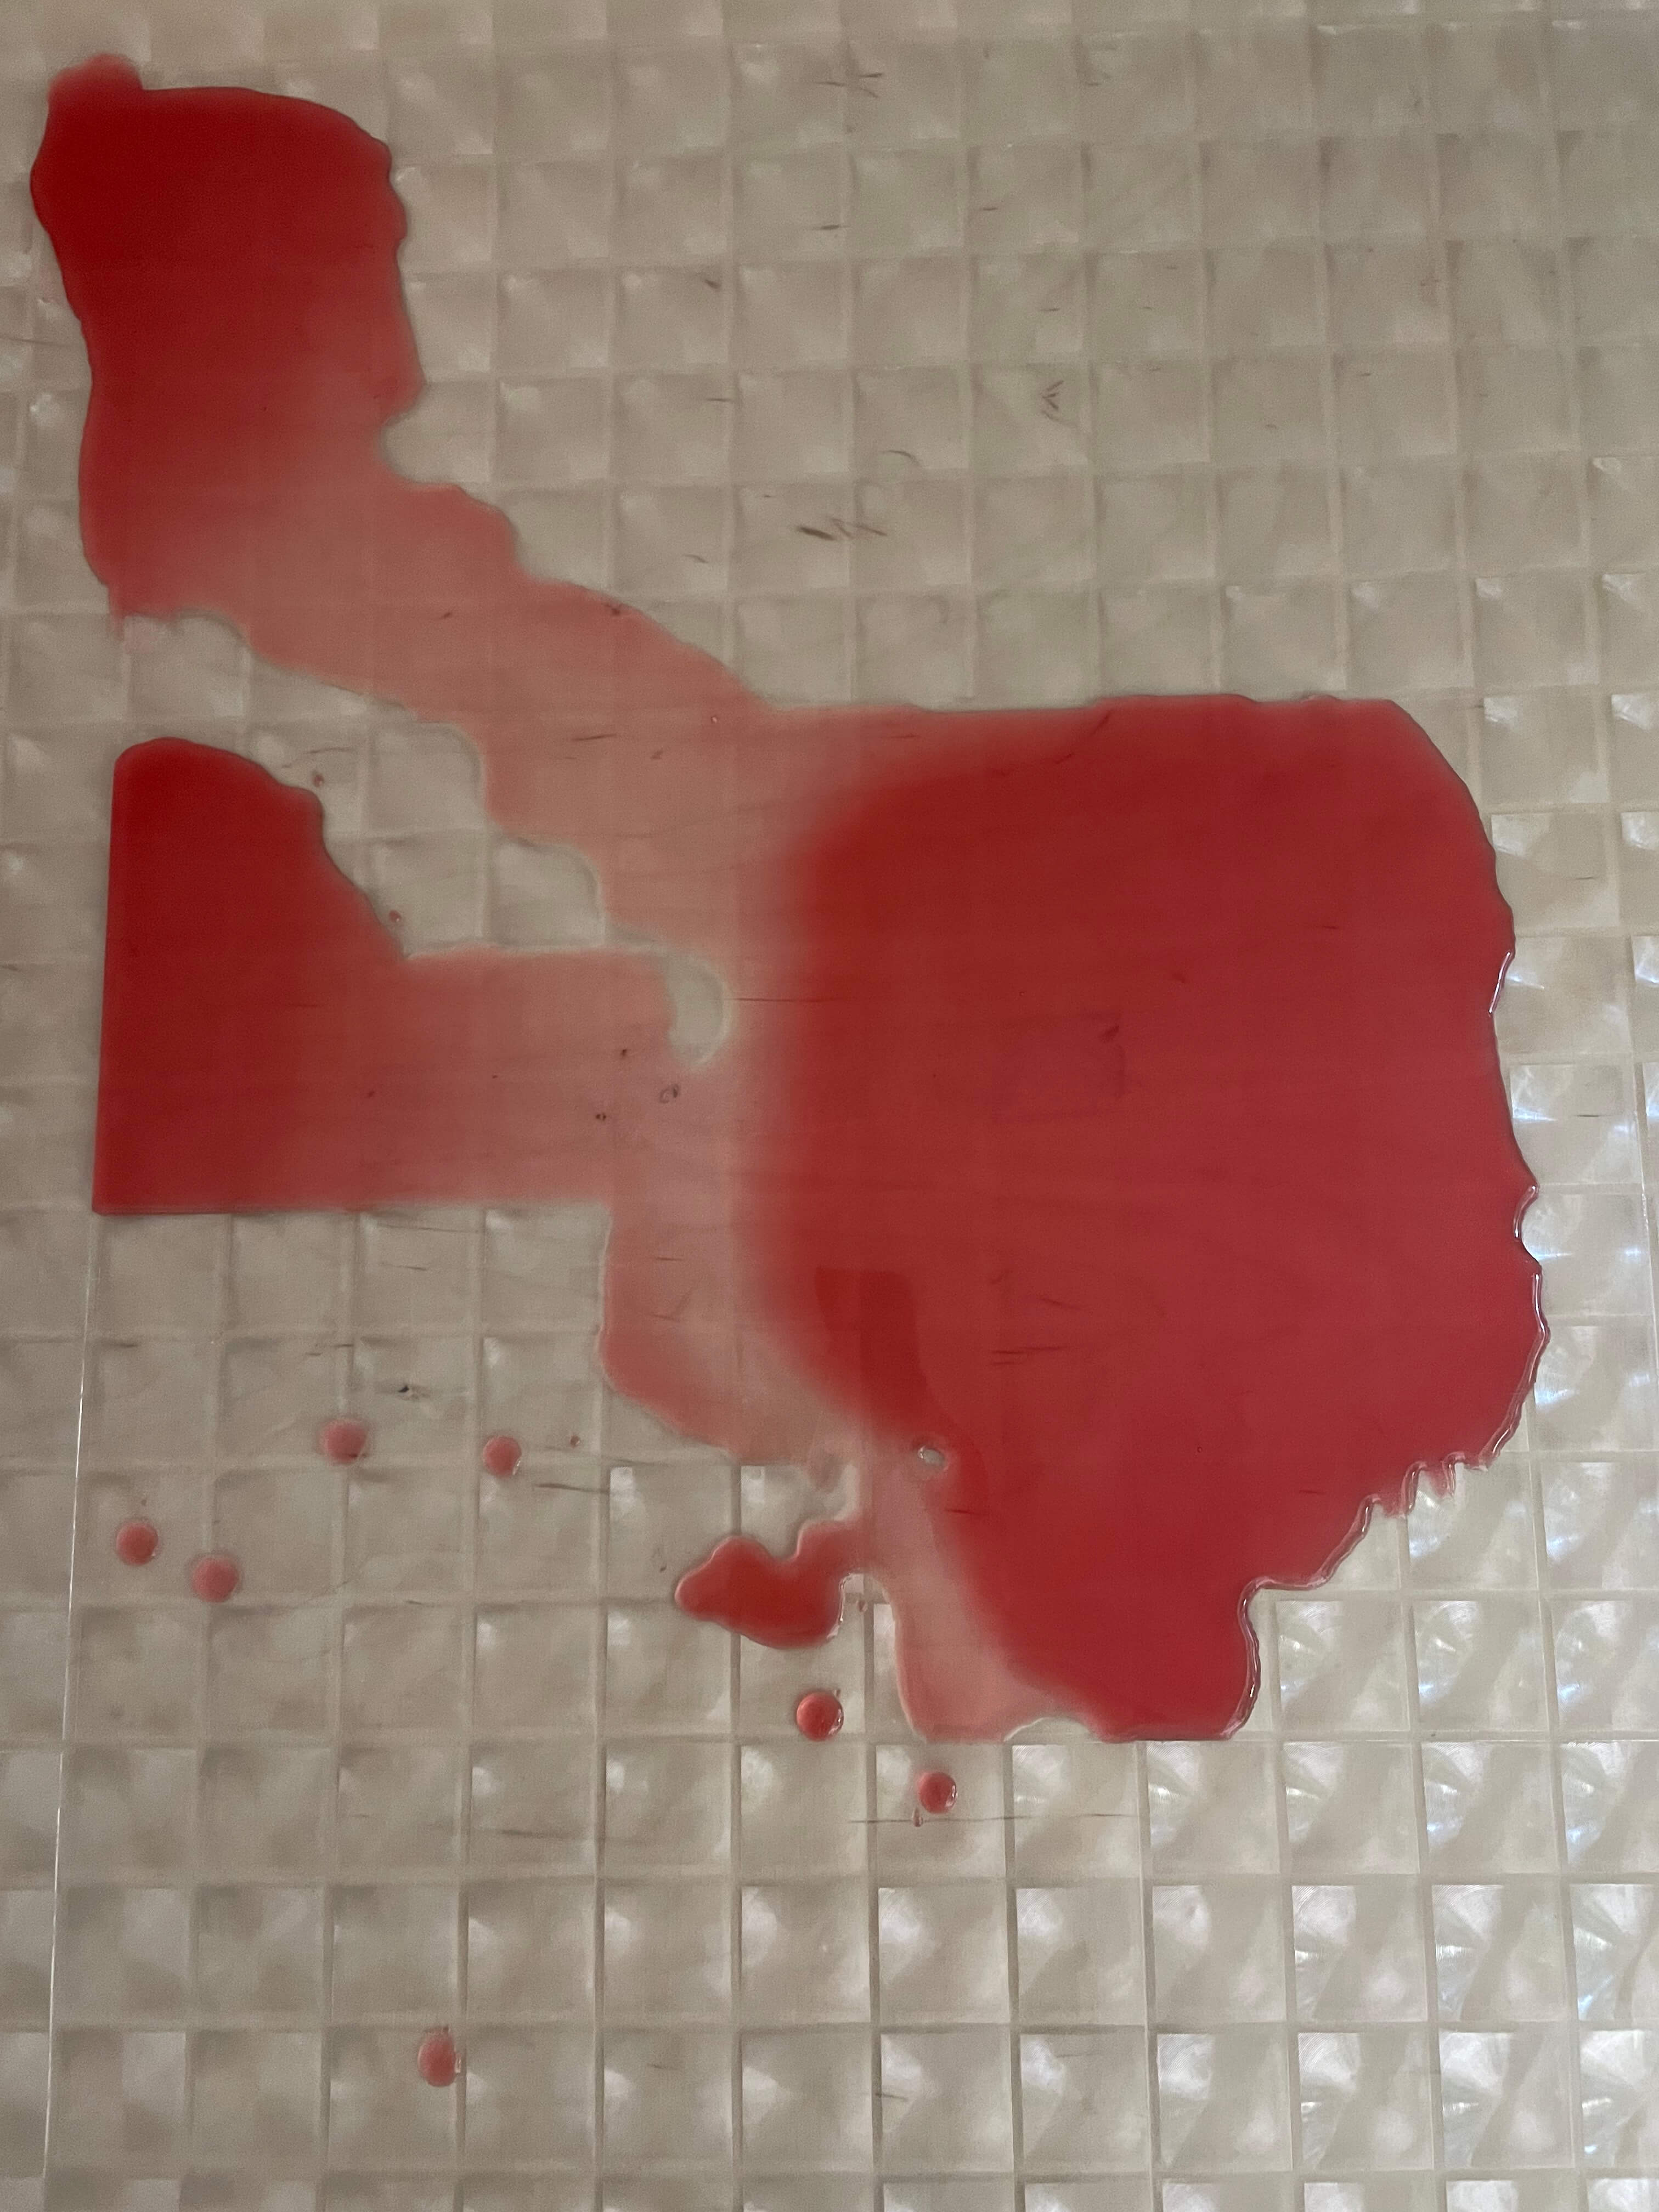
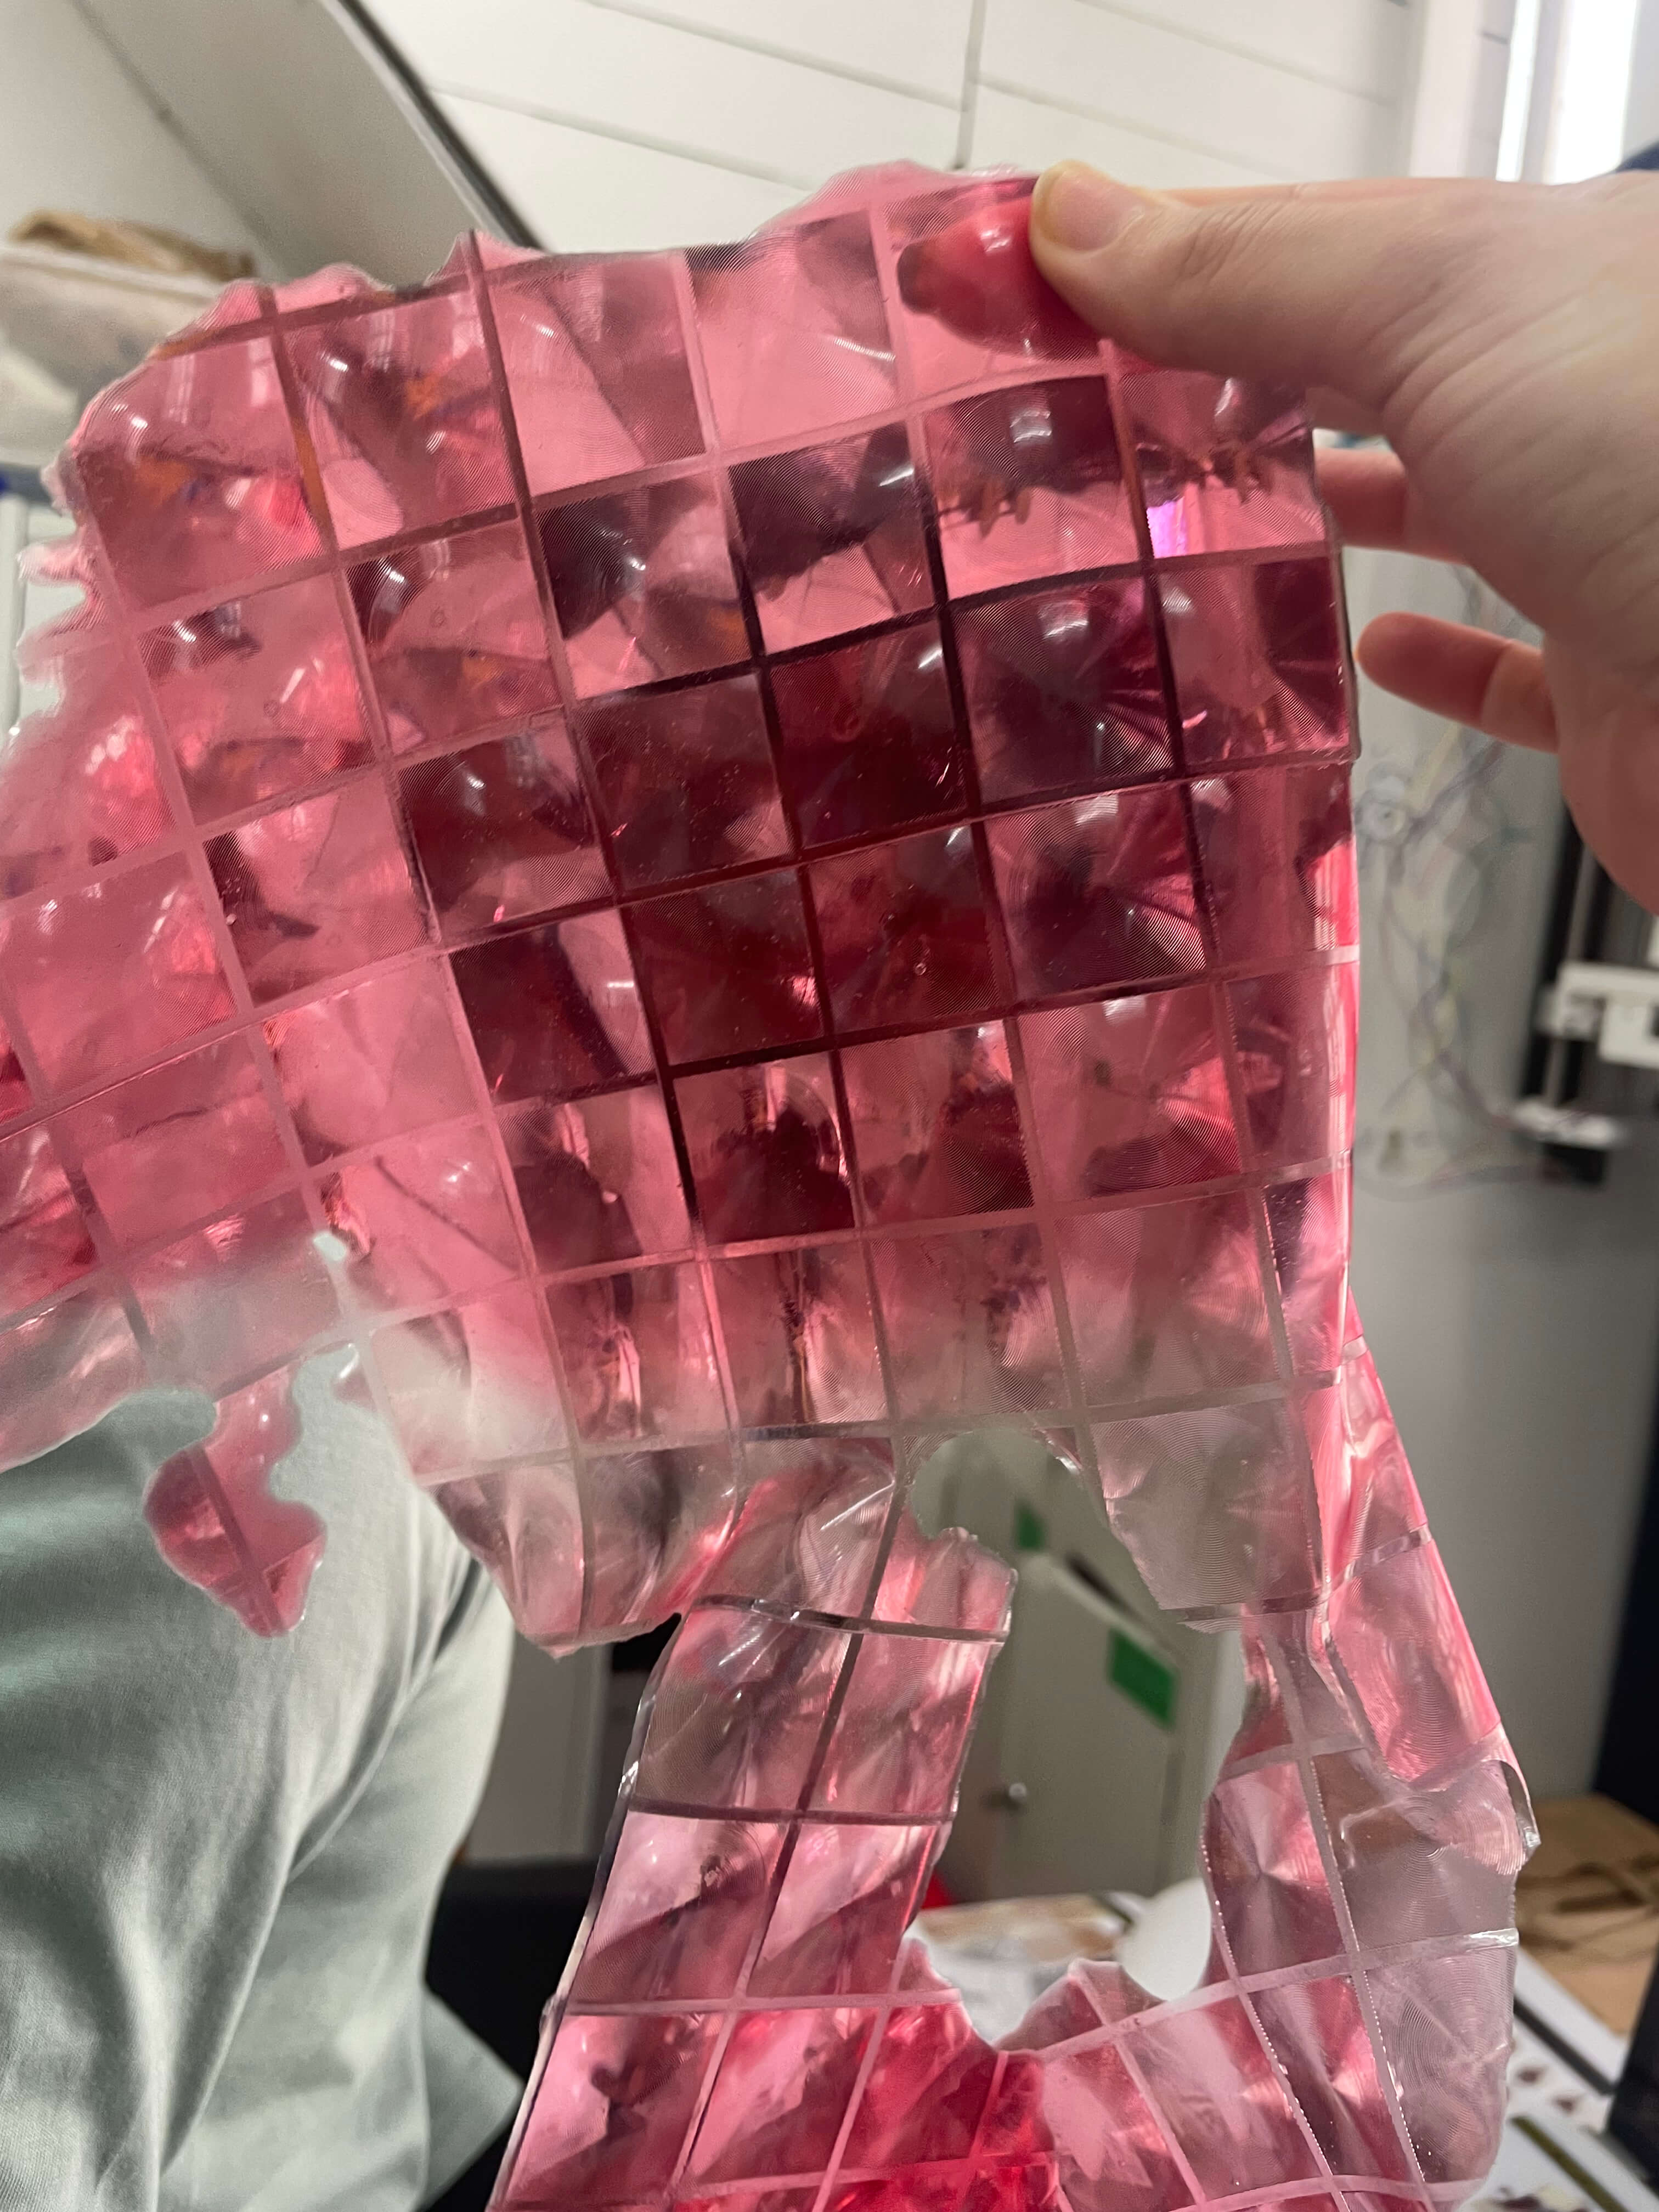
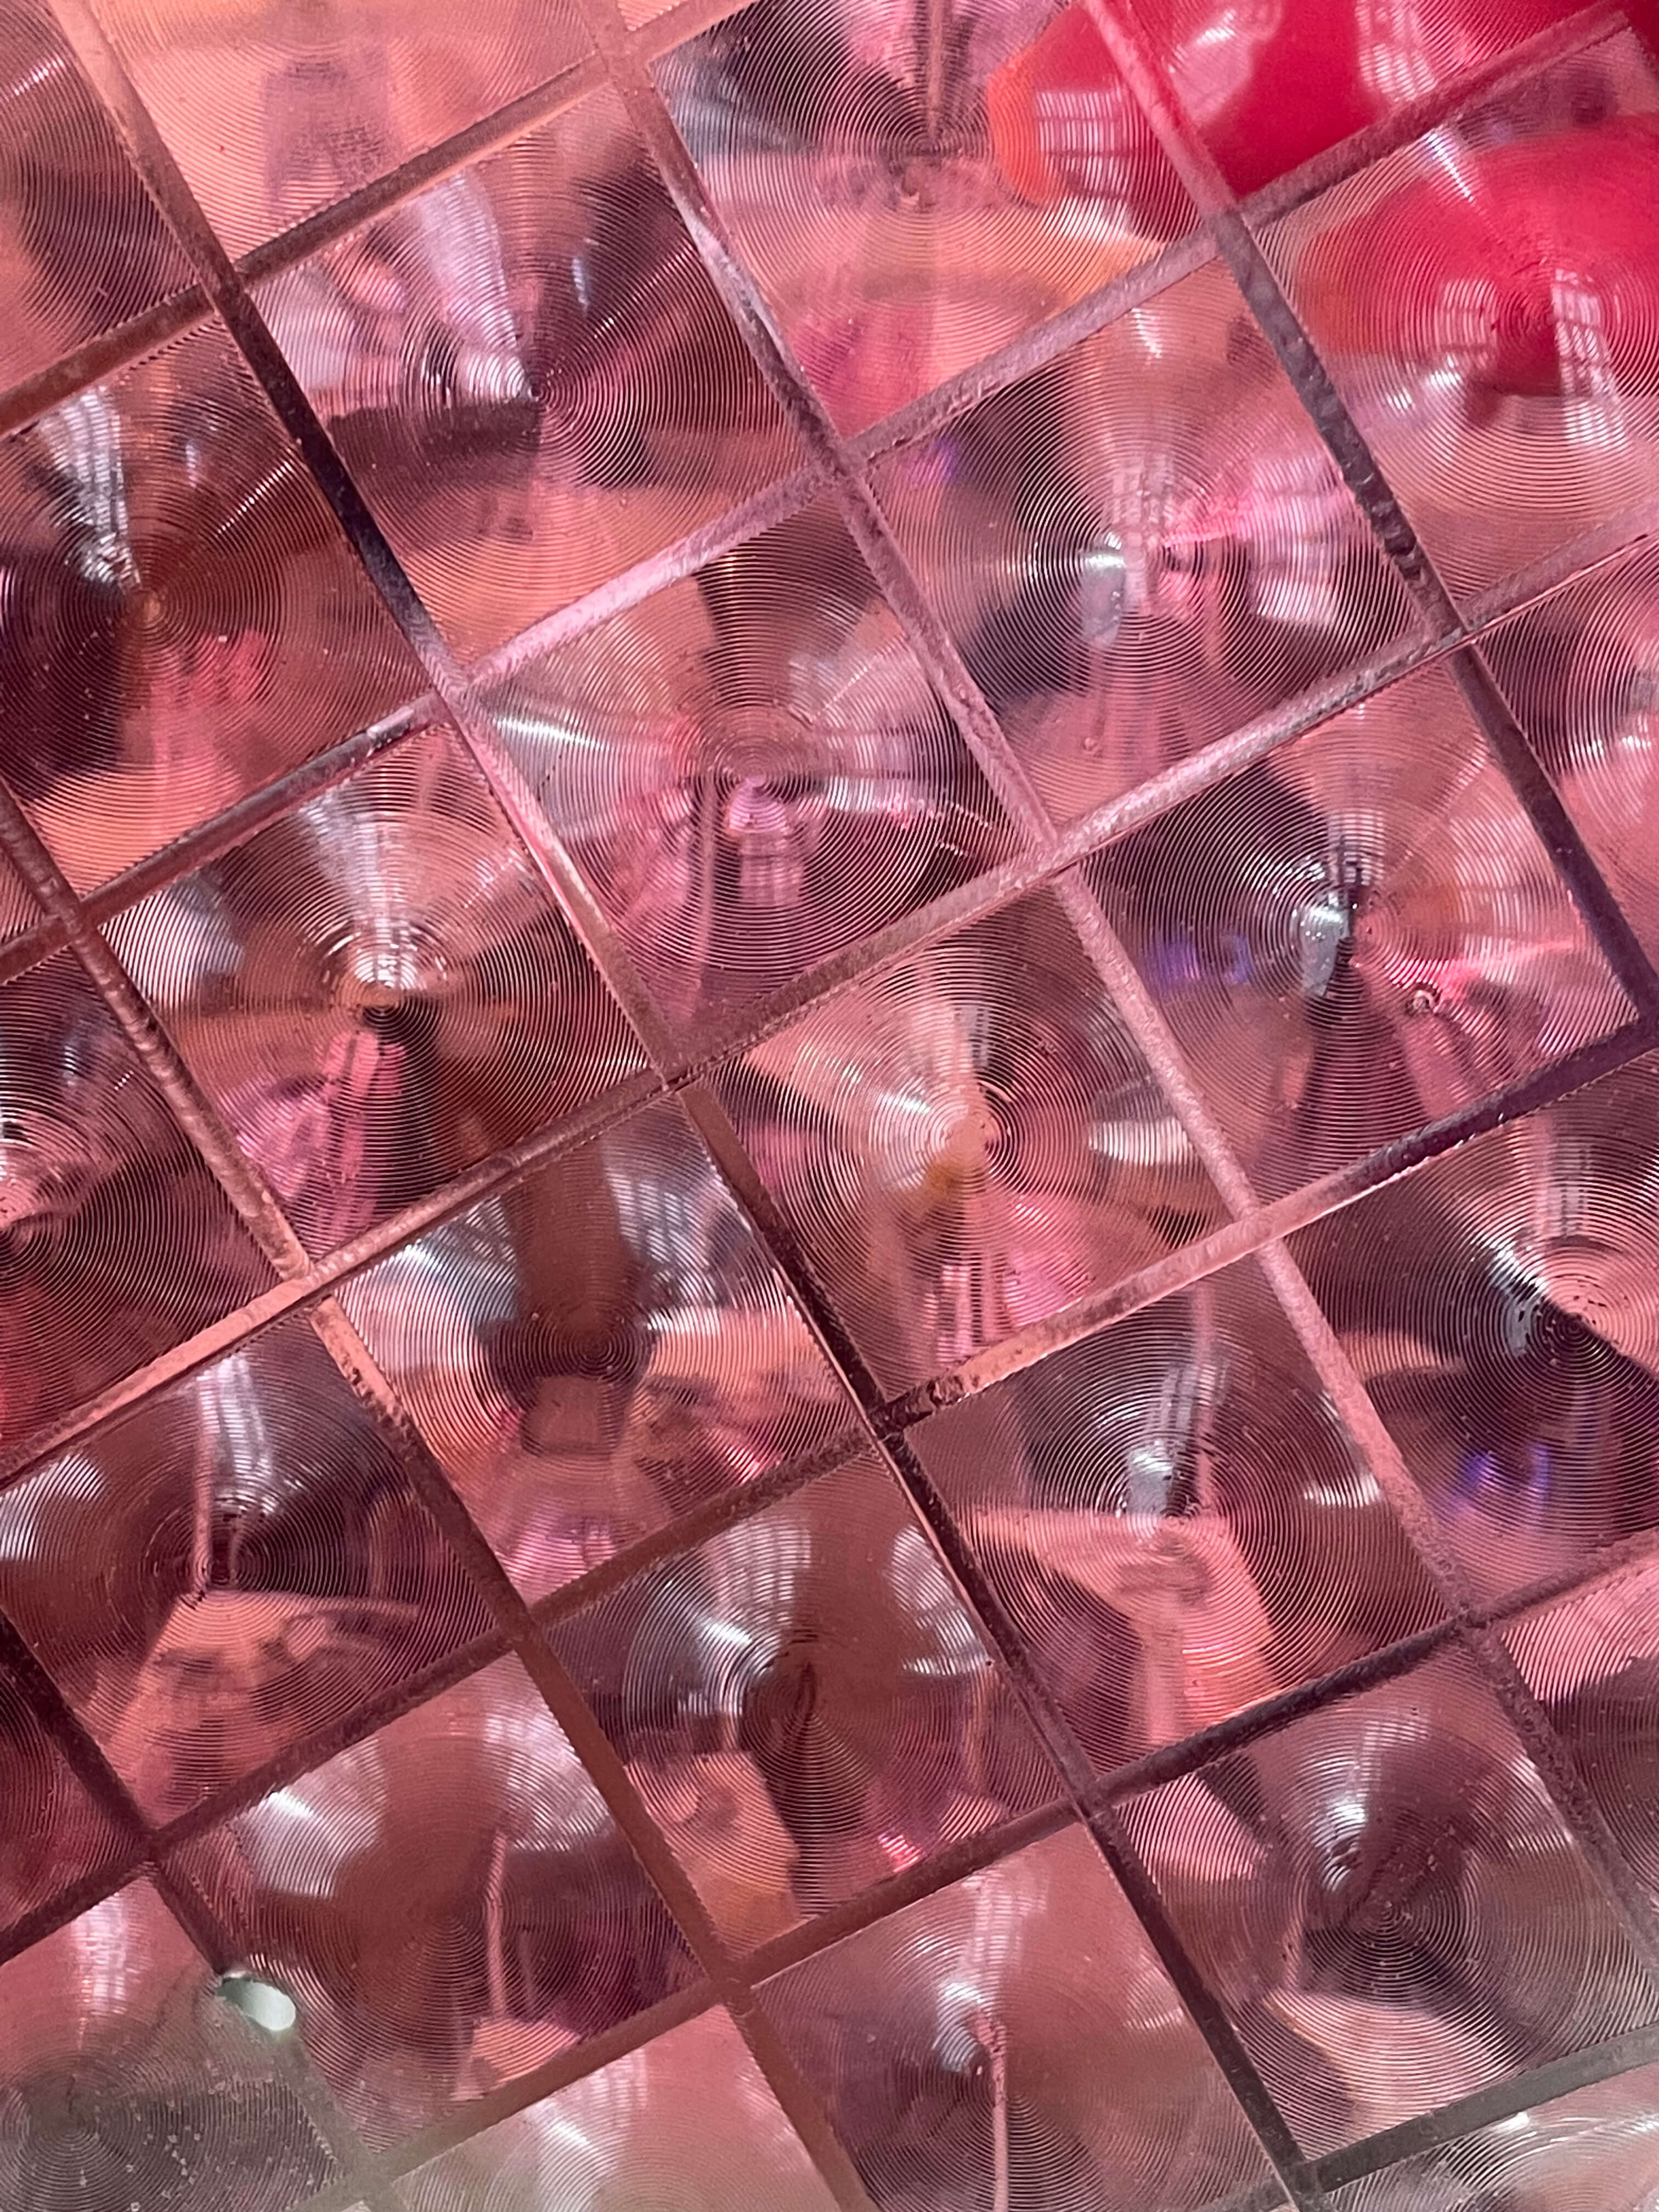
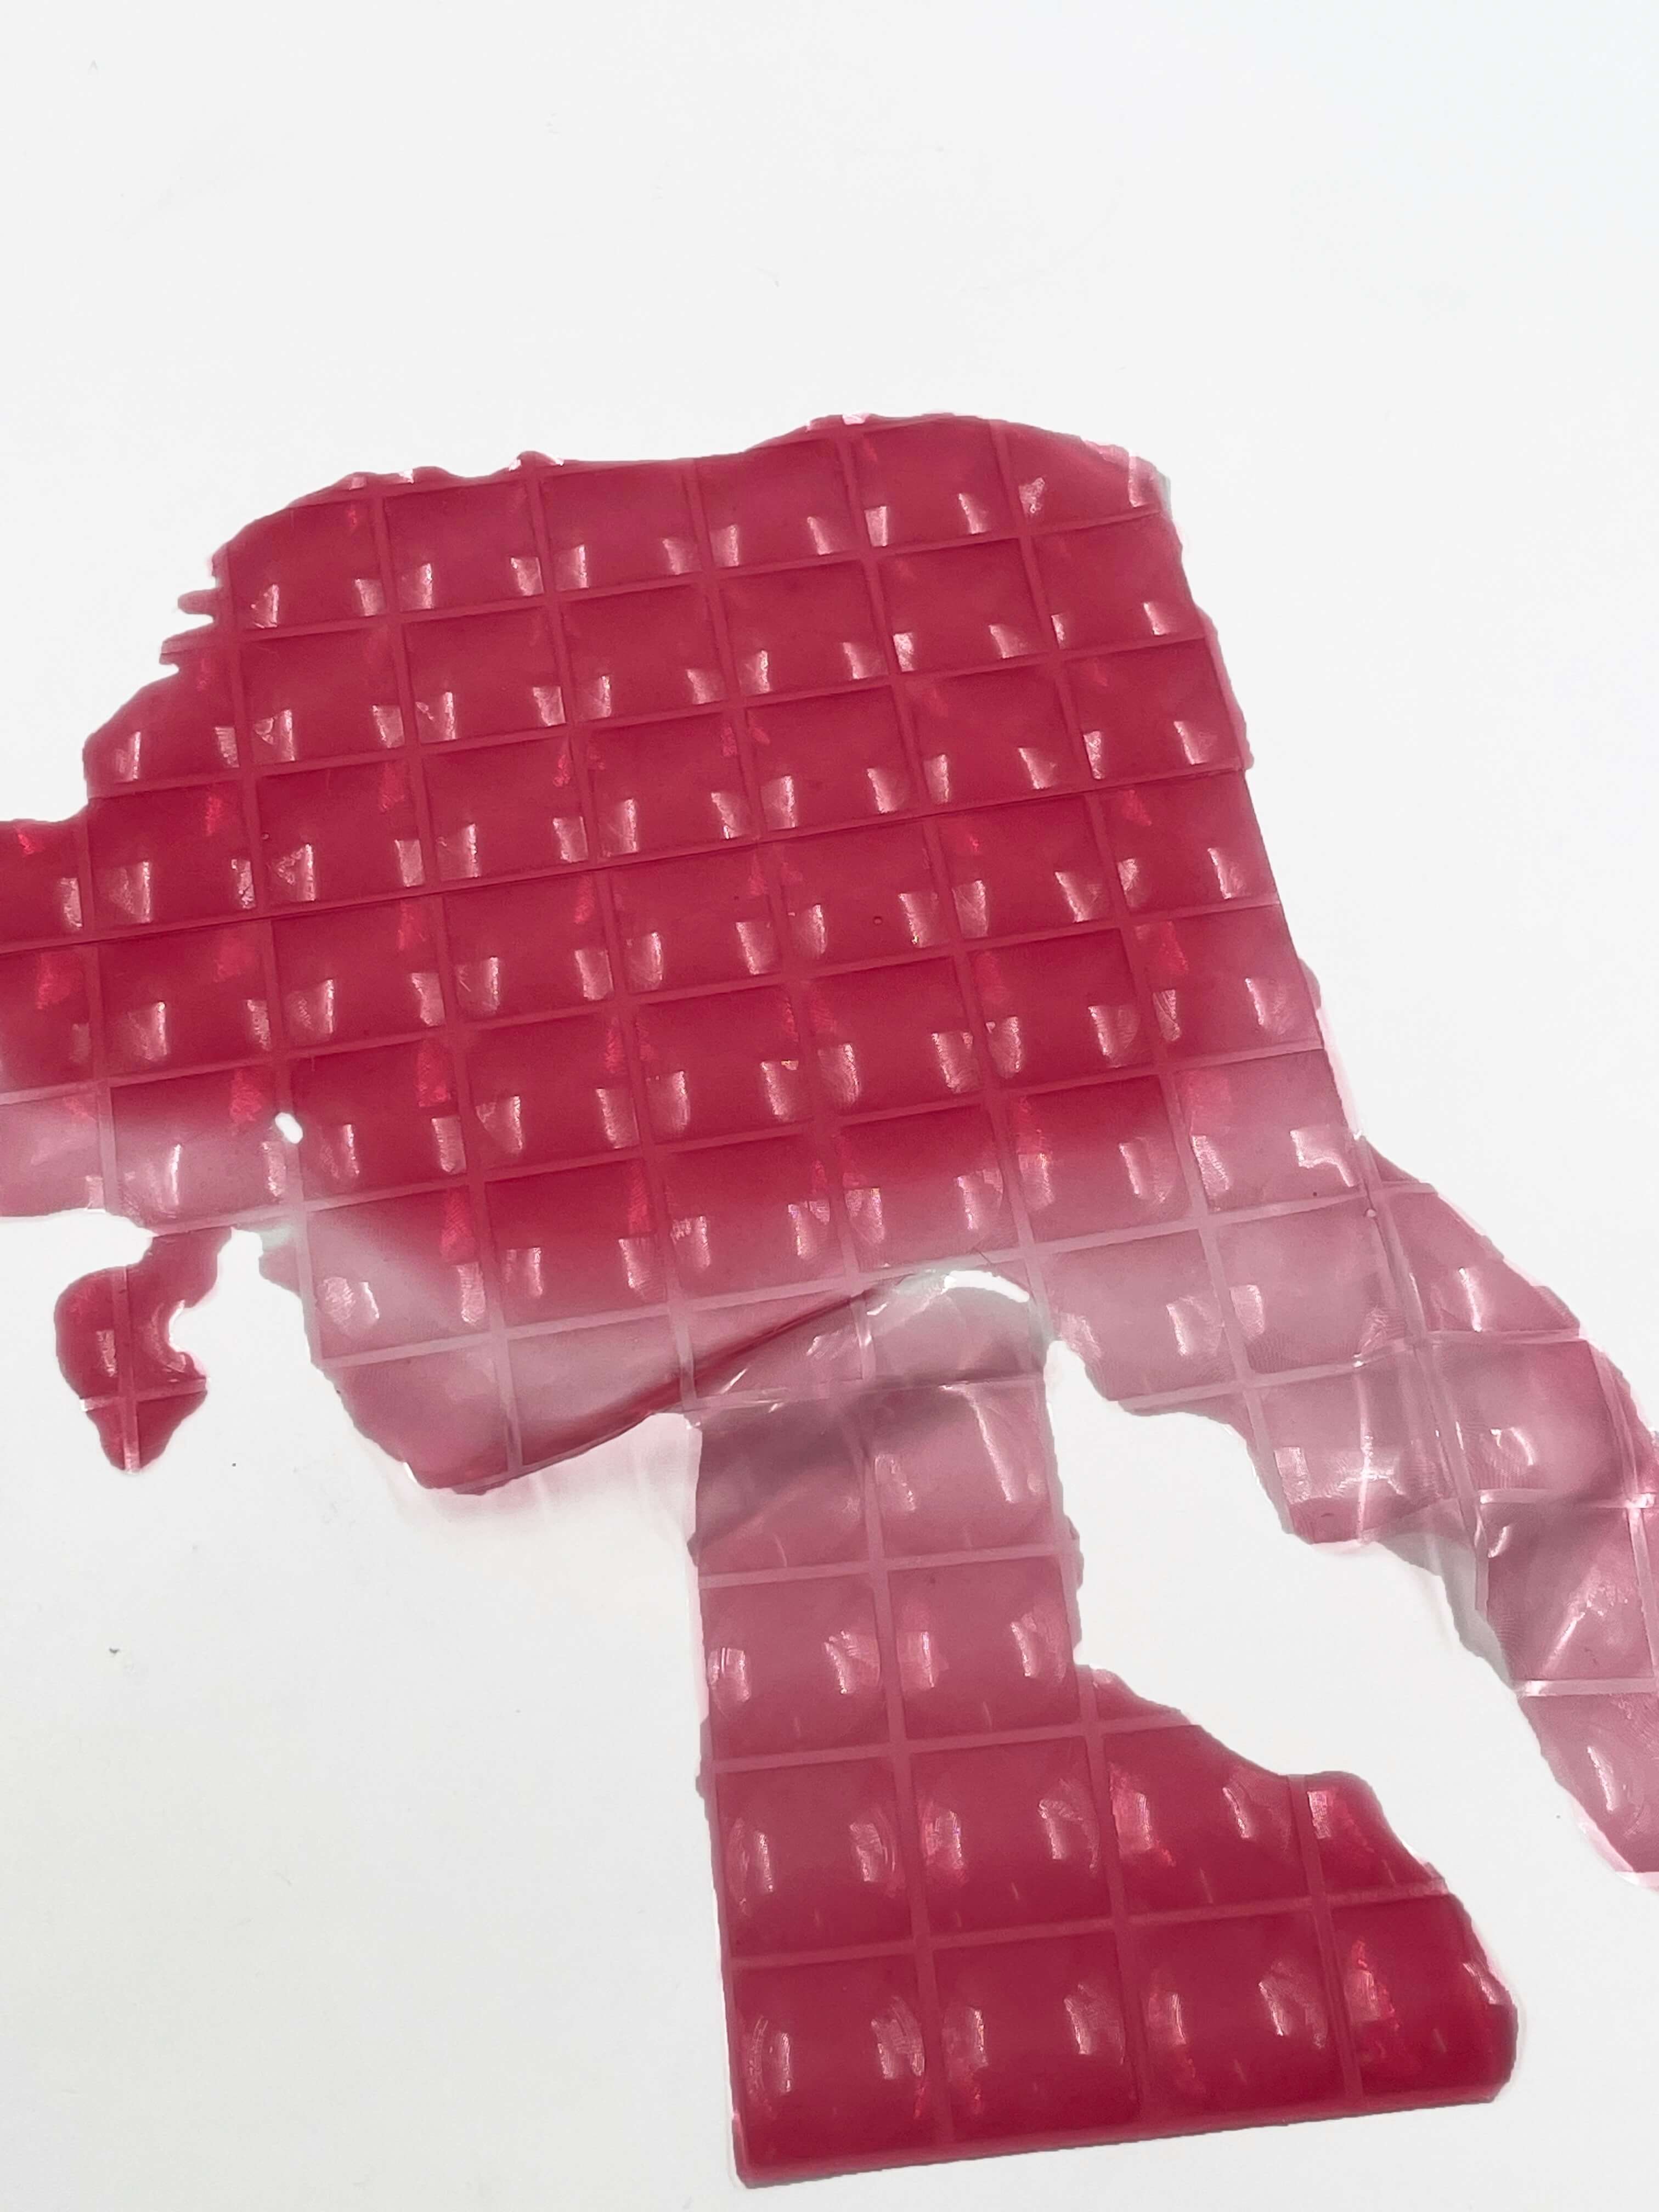
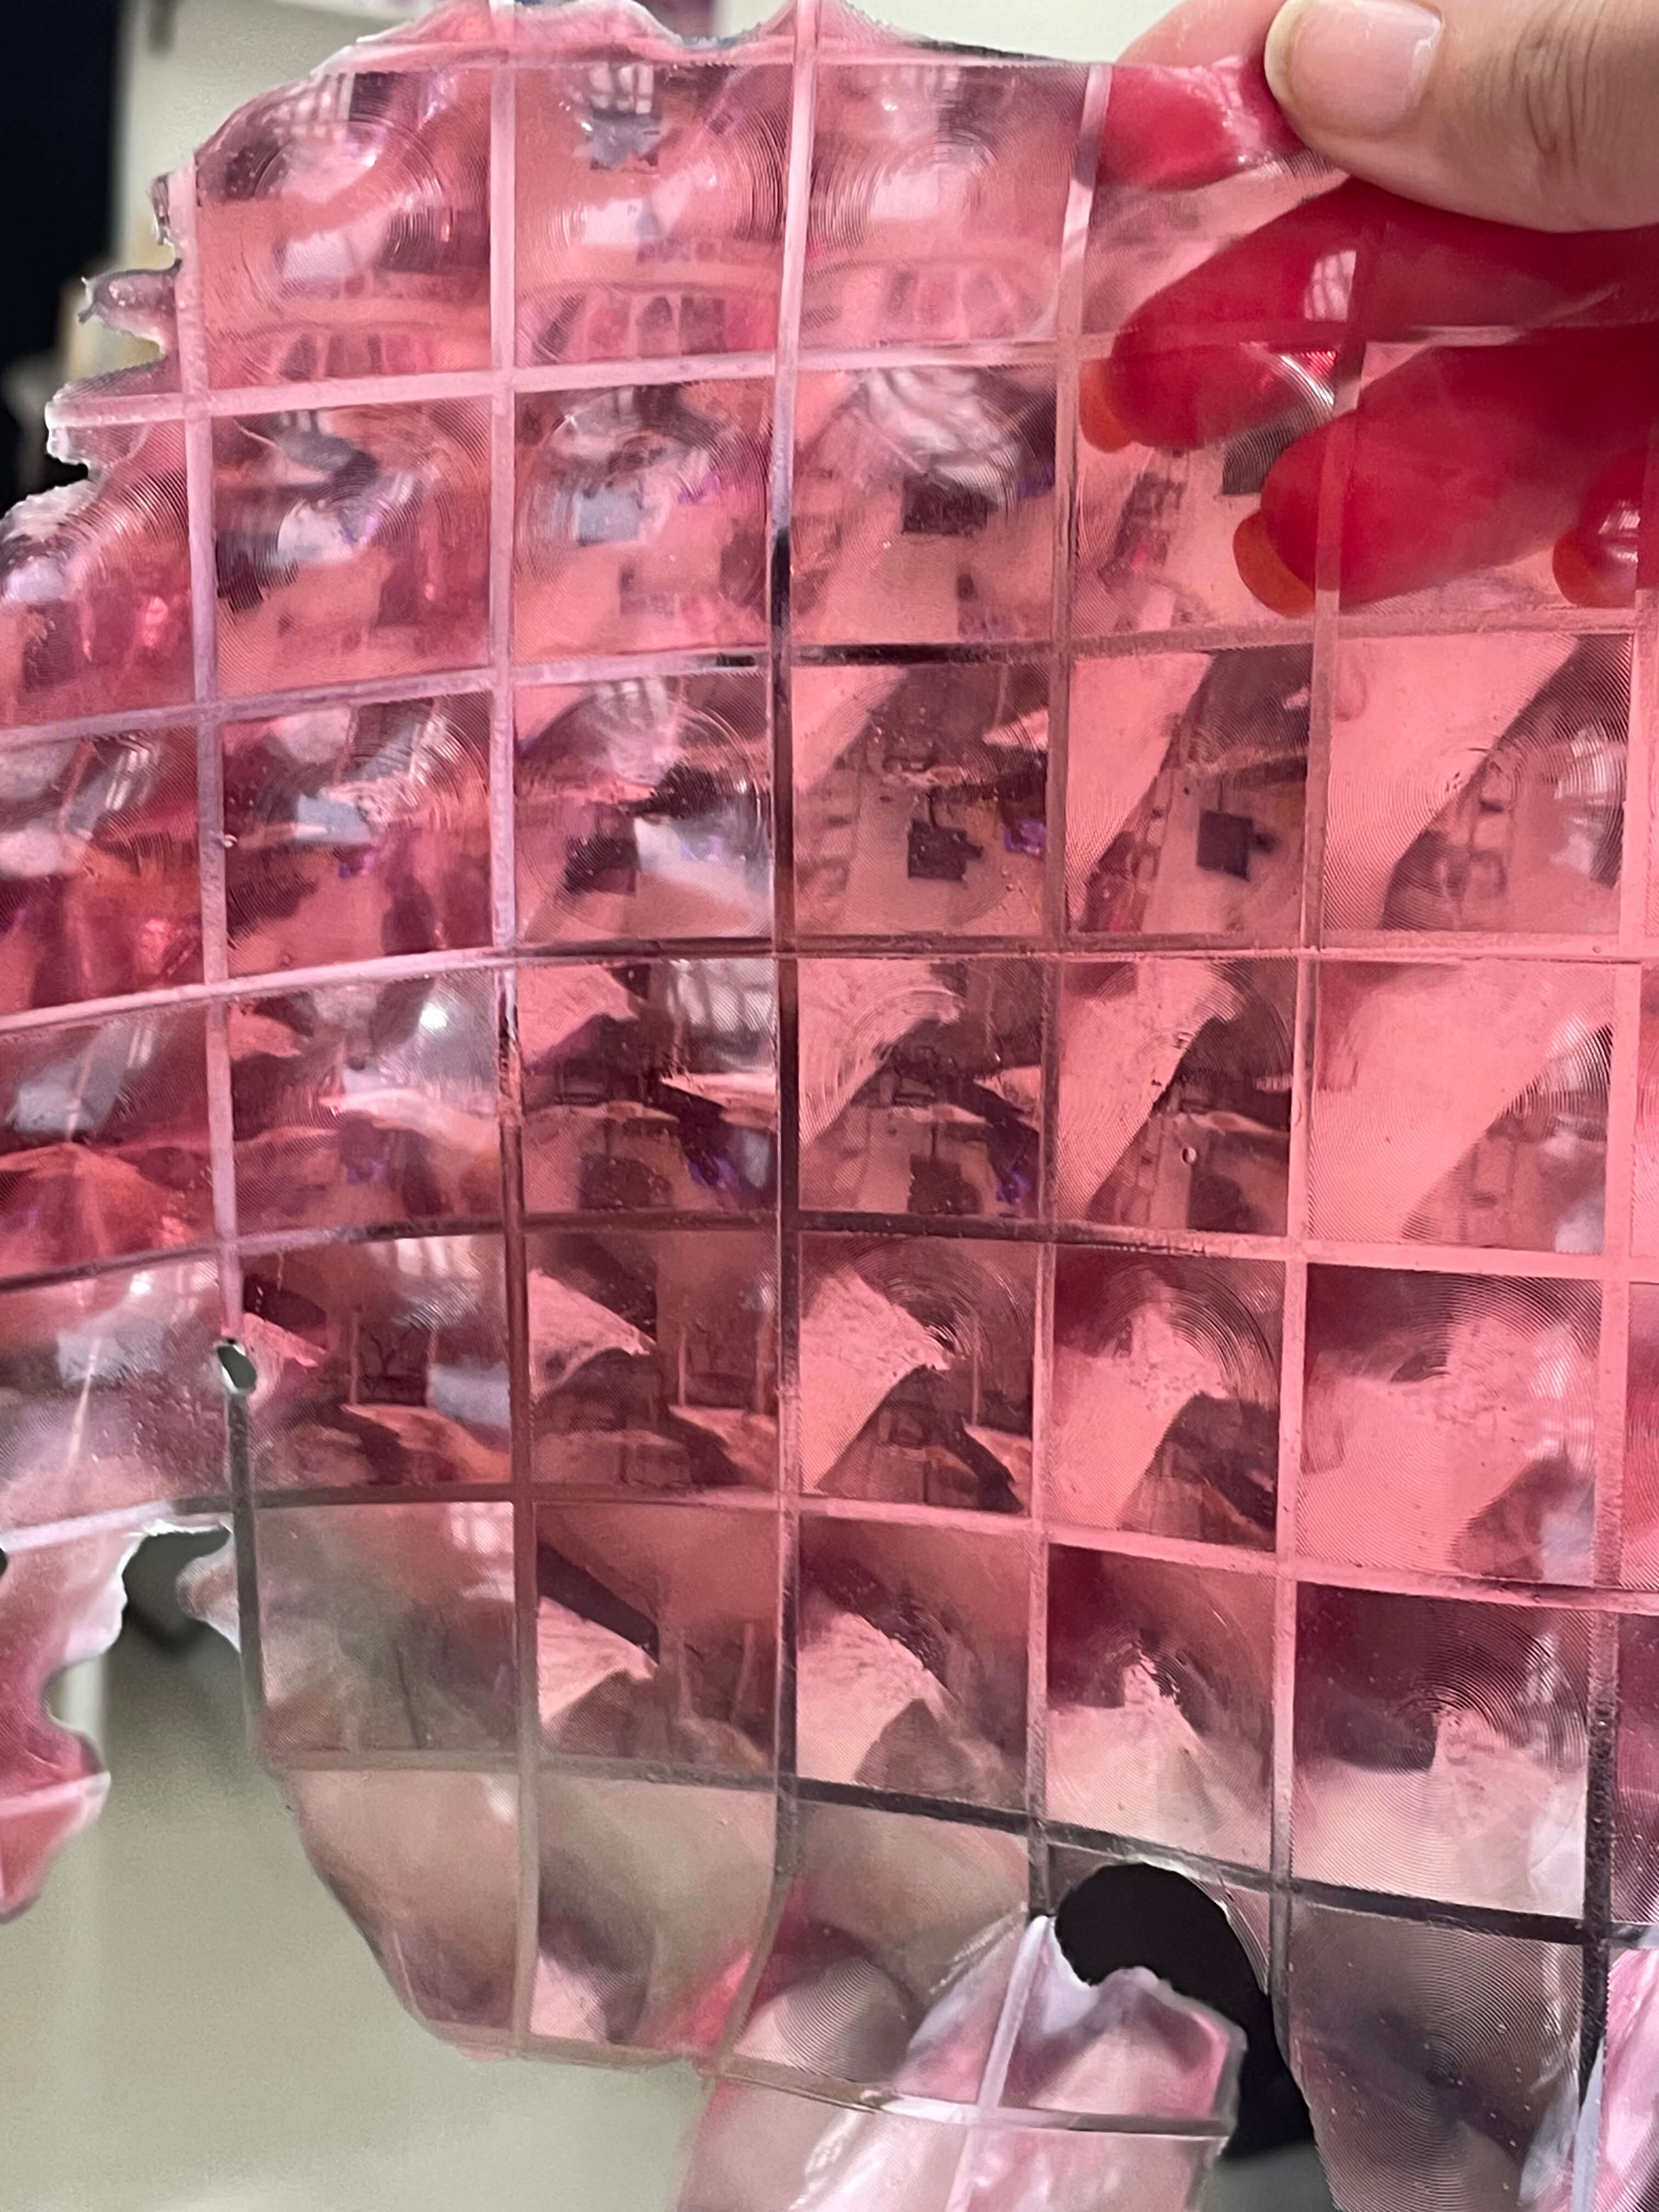
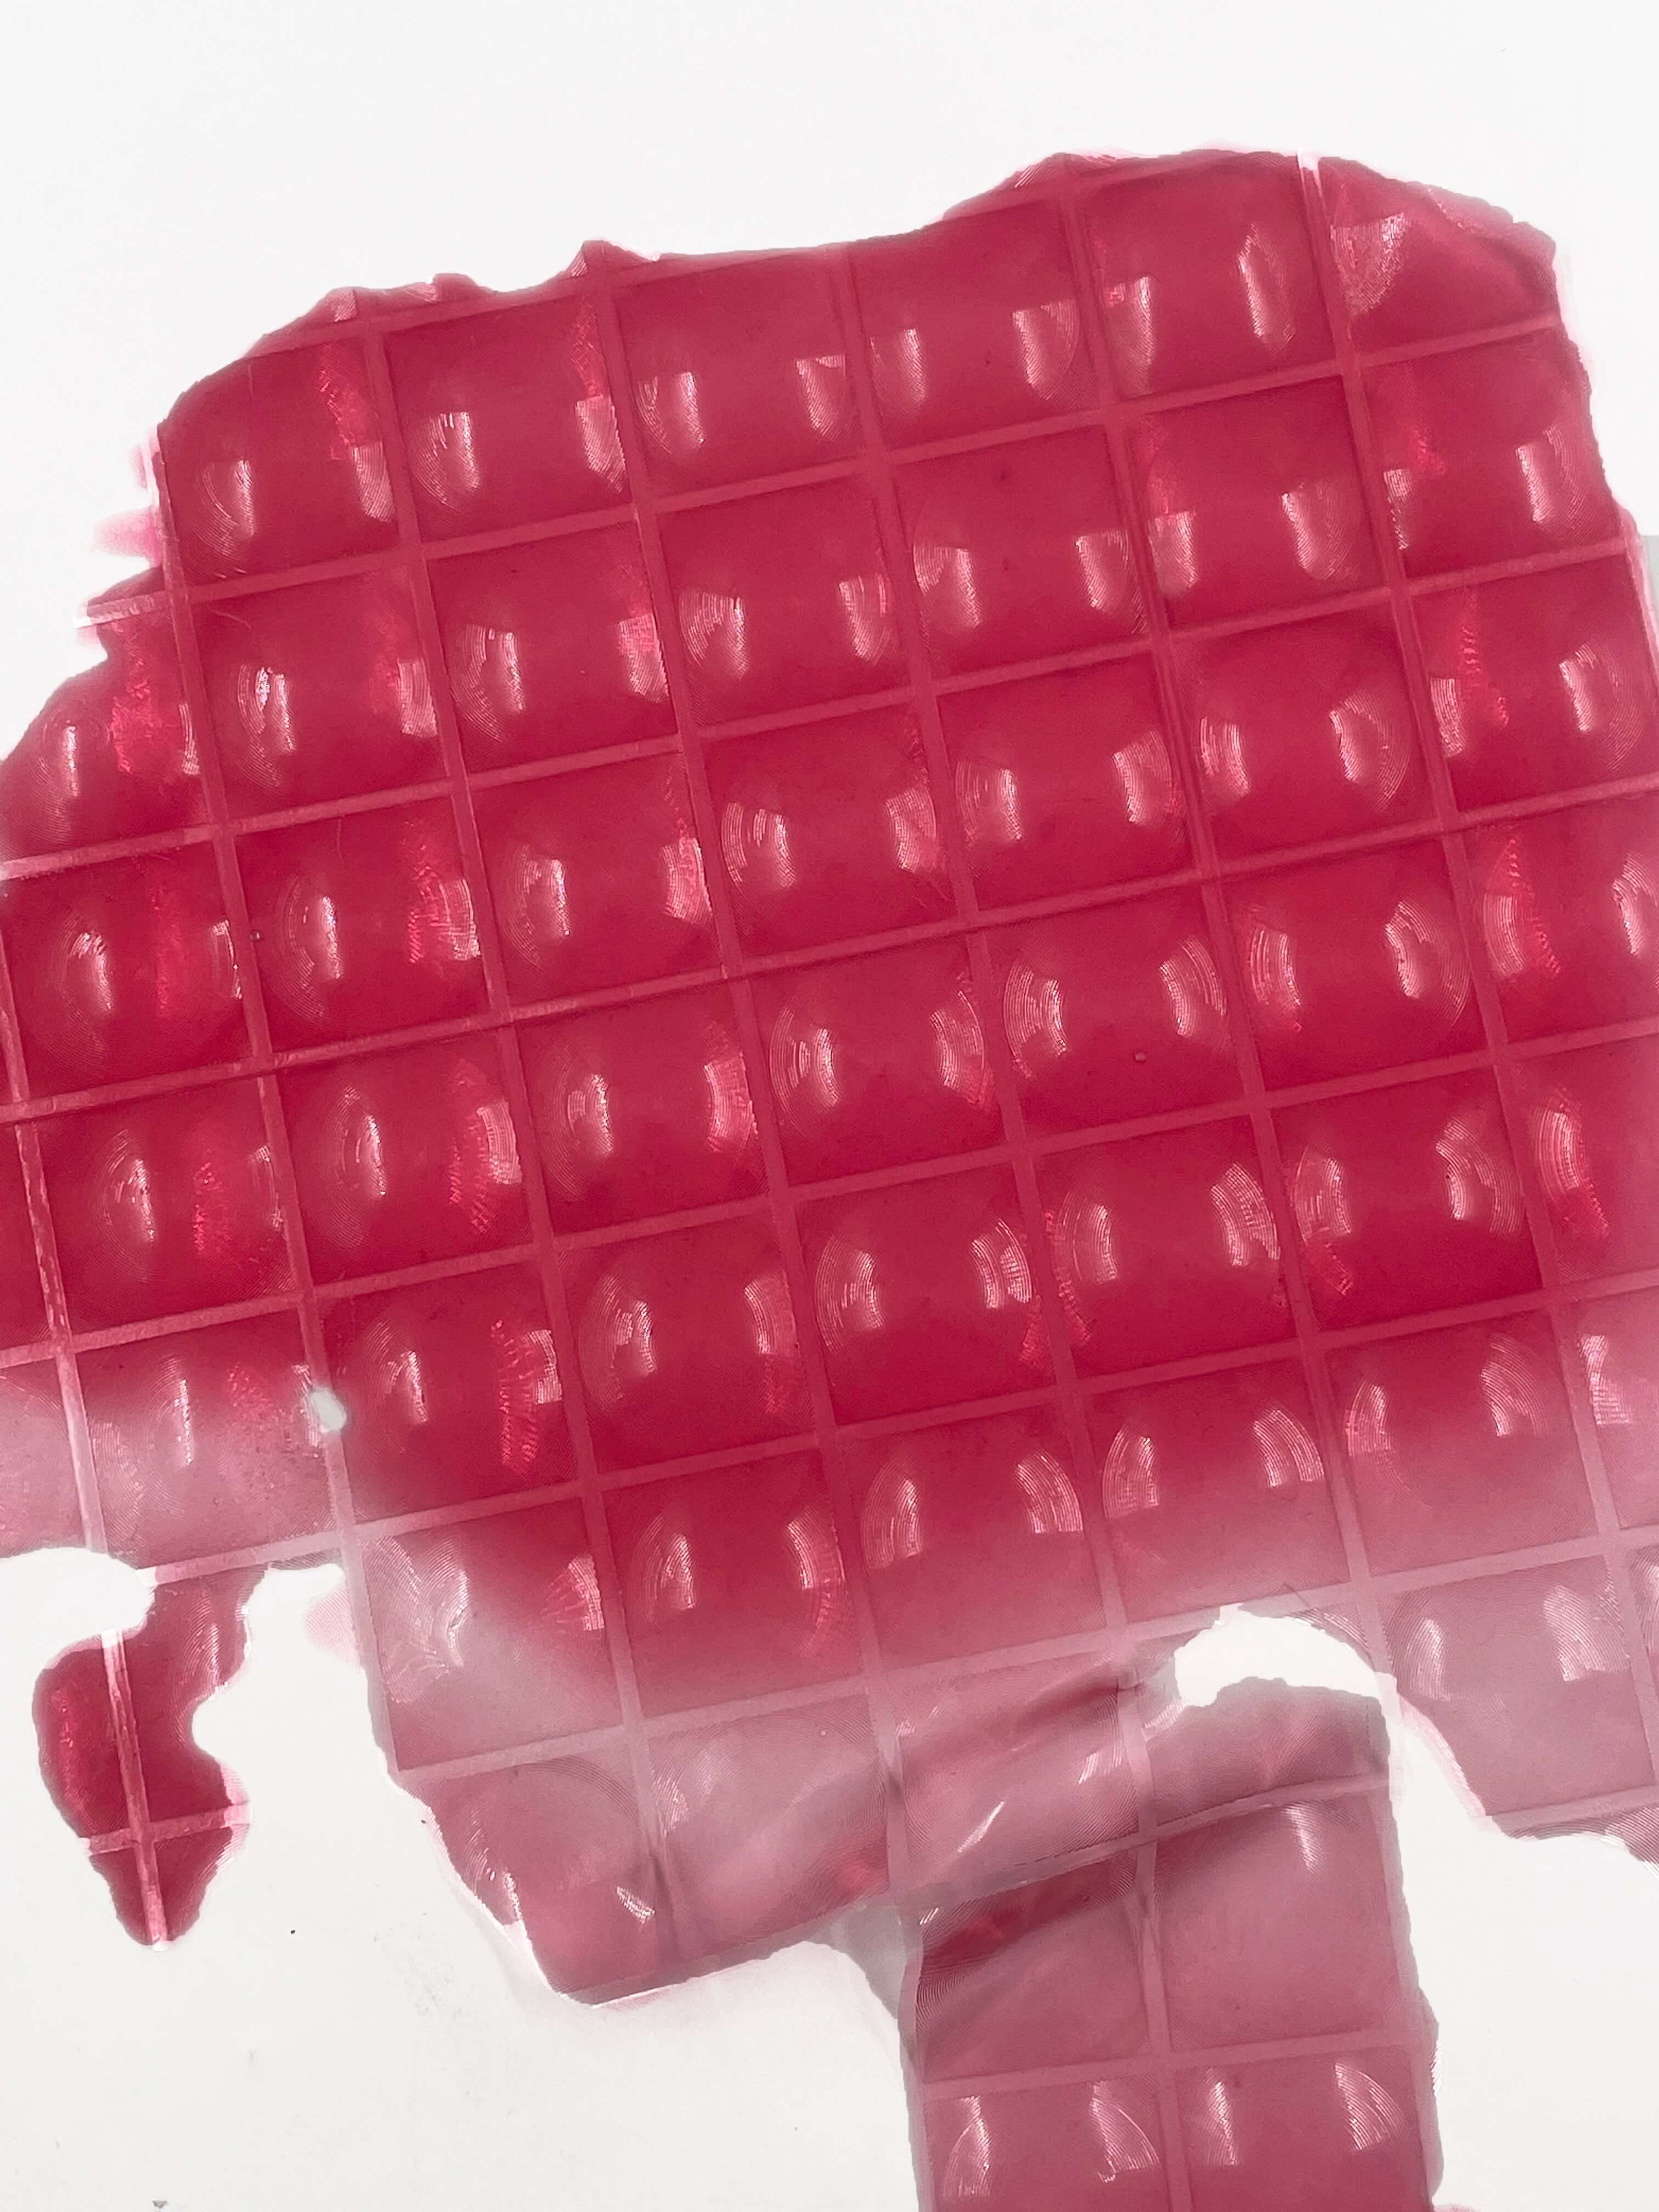
Dimensions of Sheet: 510mm x 460mm | Recipe: gelatin (13%), glycerine (9%), water / dye bath (78%) | Volume: 117.3 ml | Colorant : Red Food Coloring| Casting Days: 7 | Thickness of Material: 0.6mm
Garment Experiments
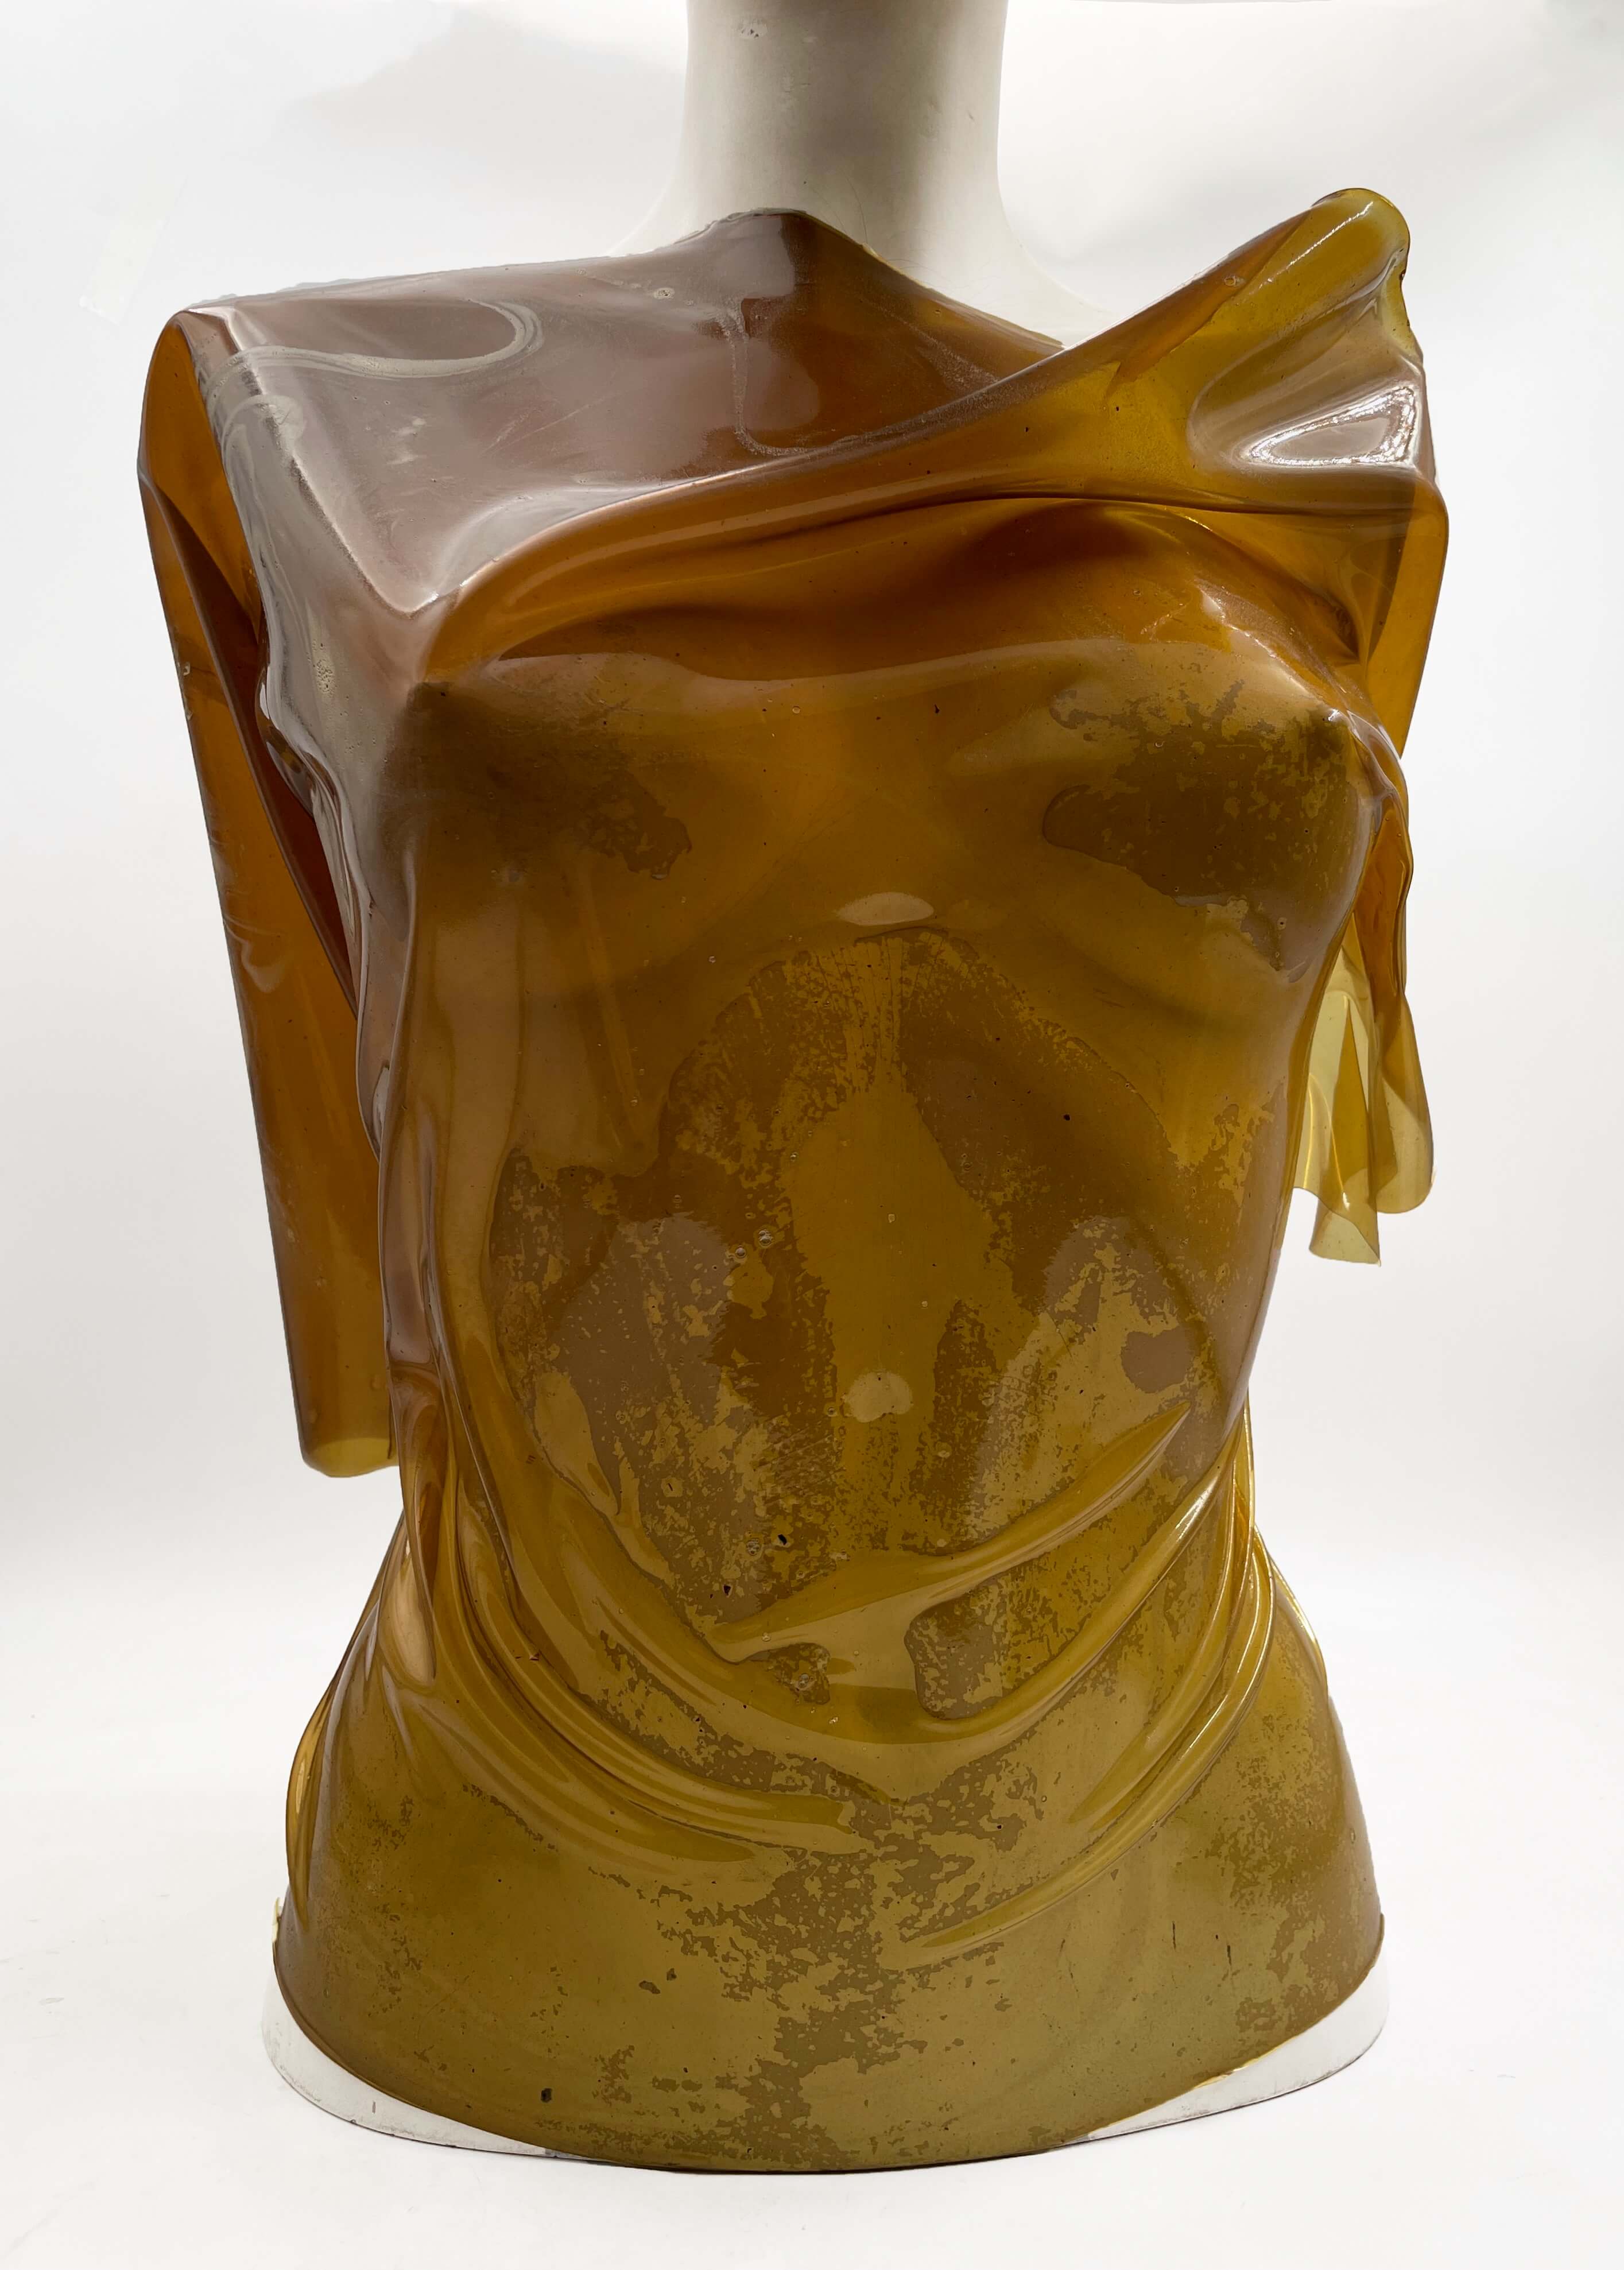
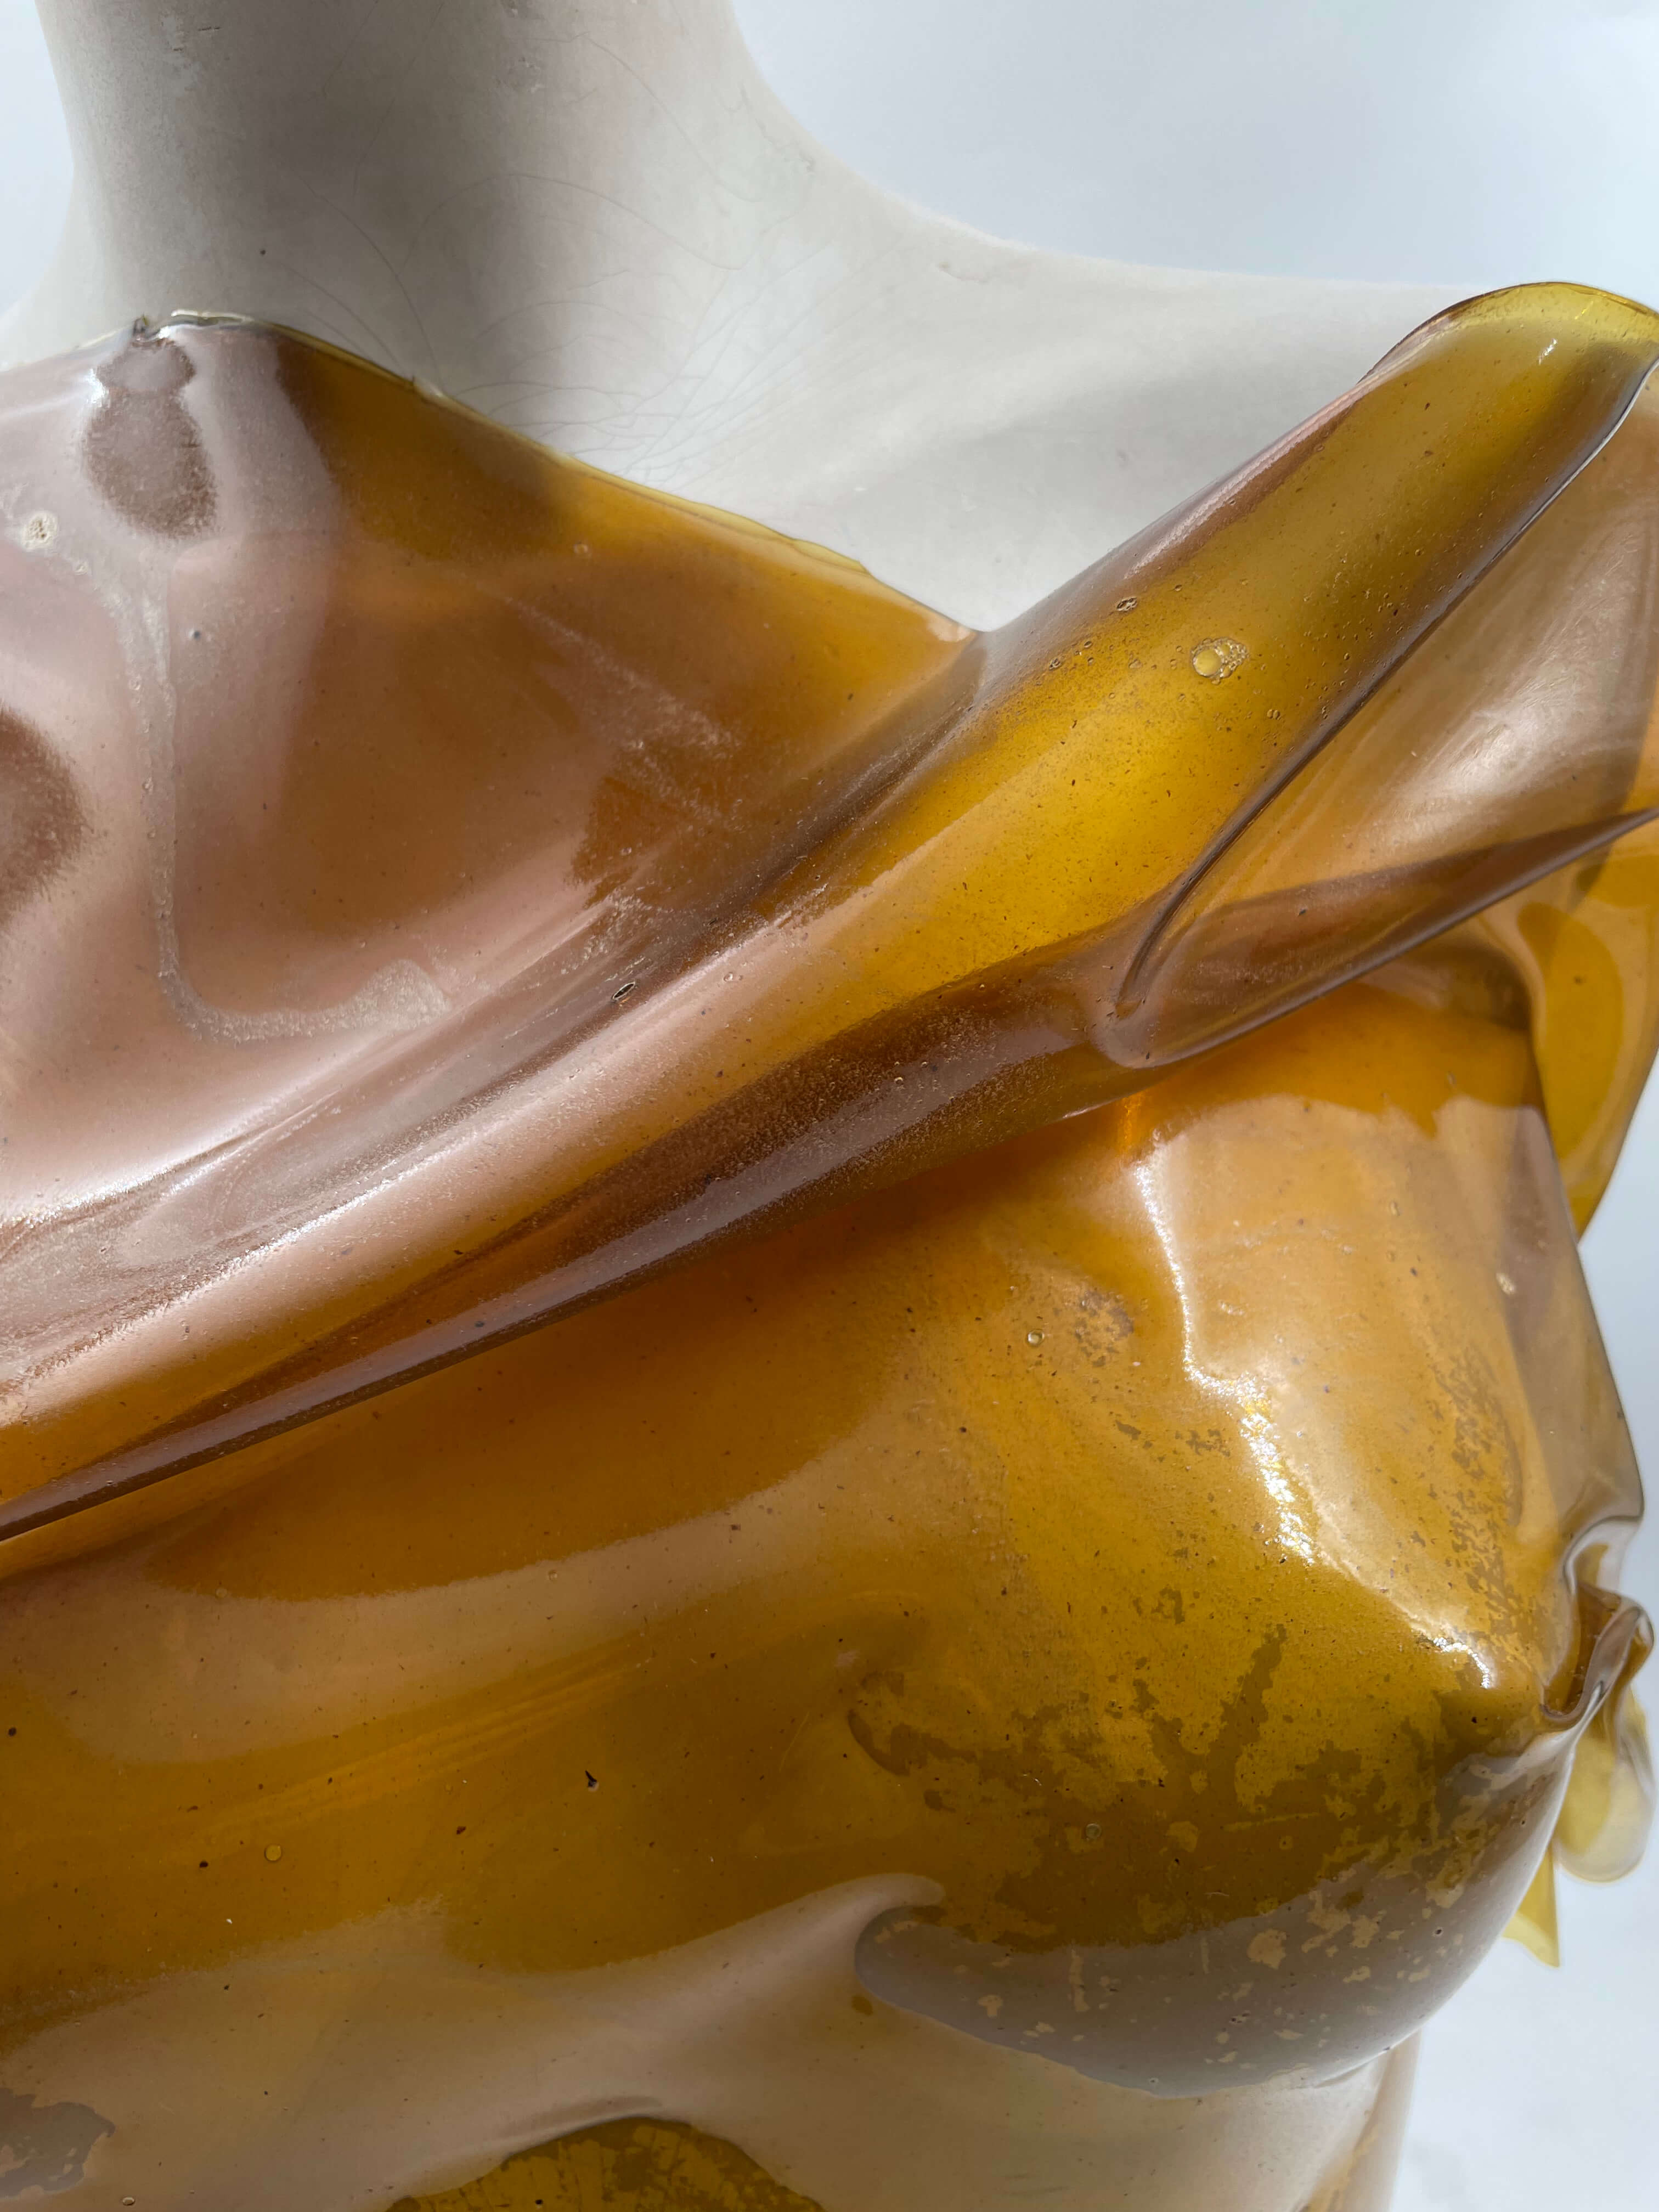
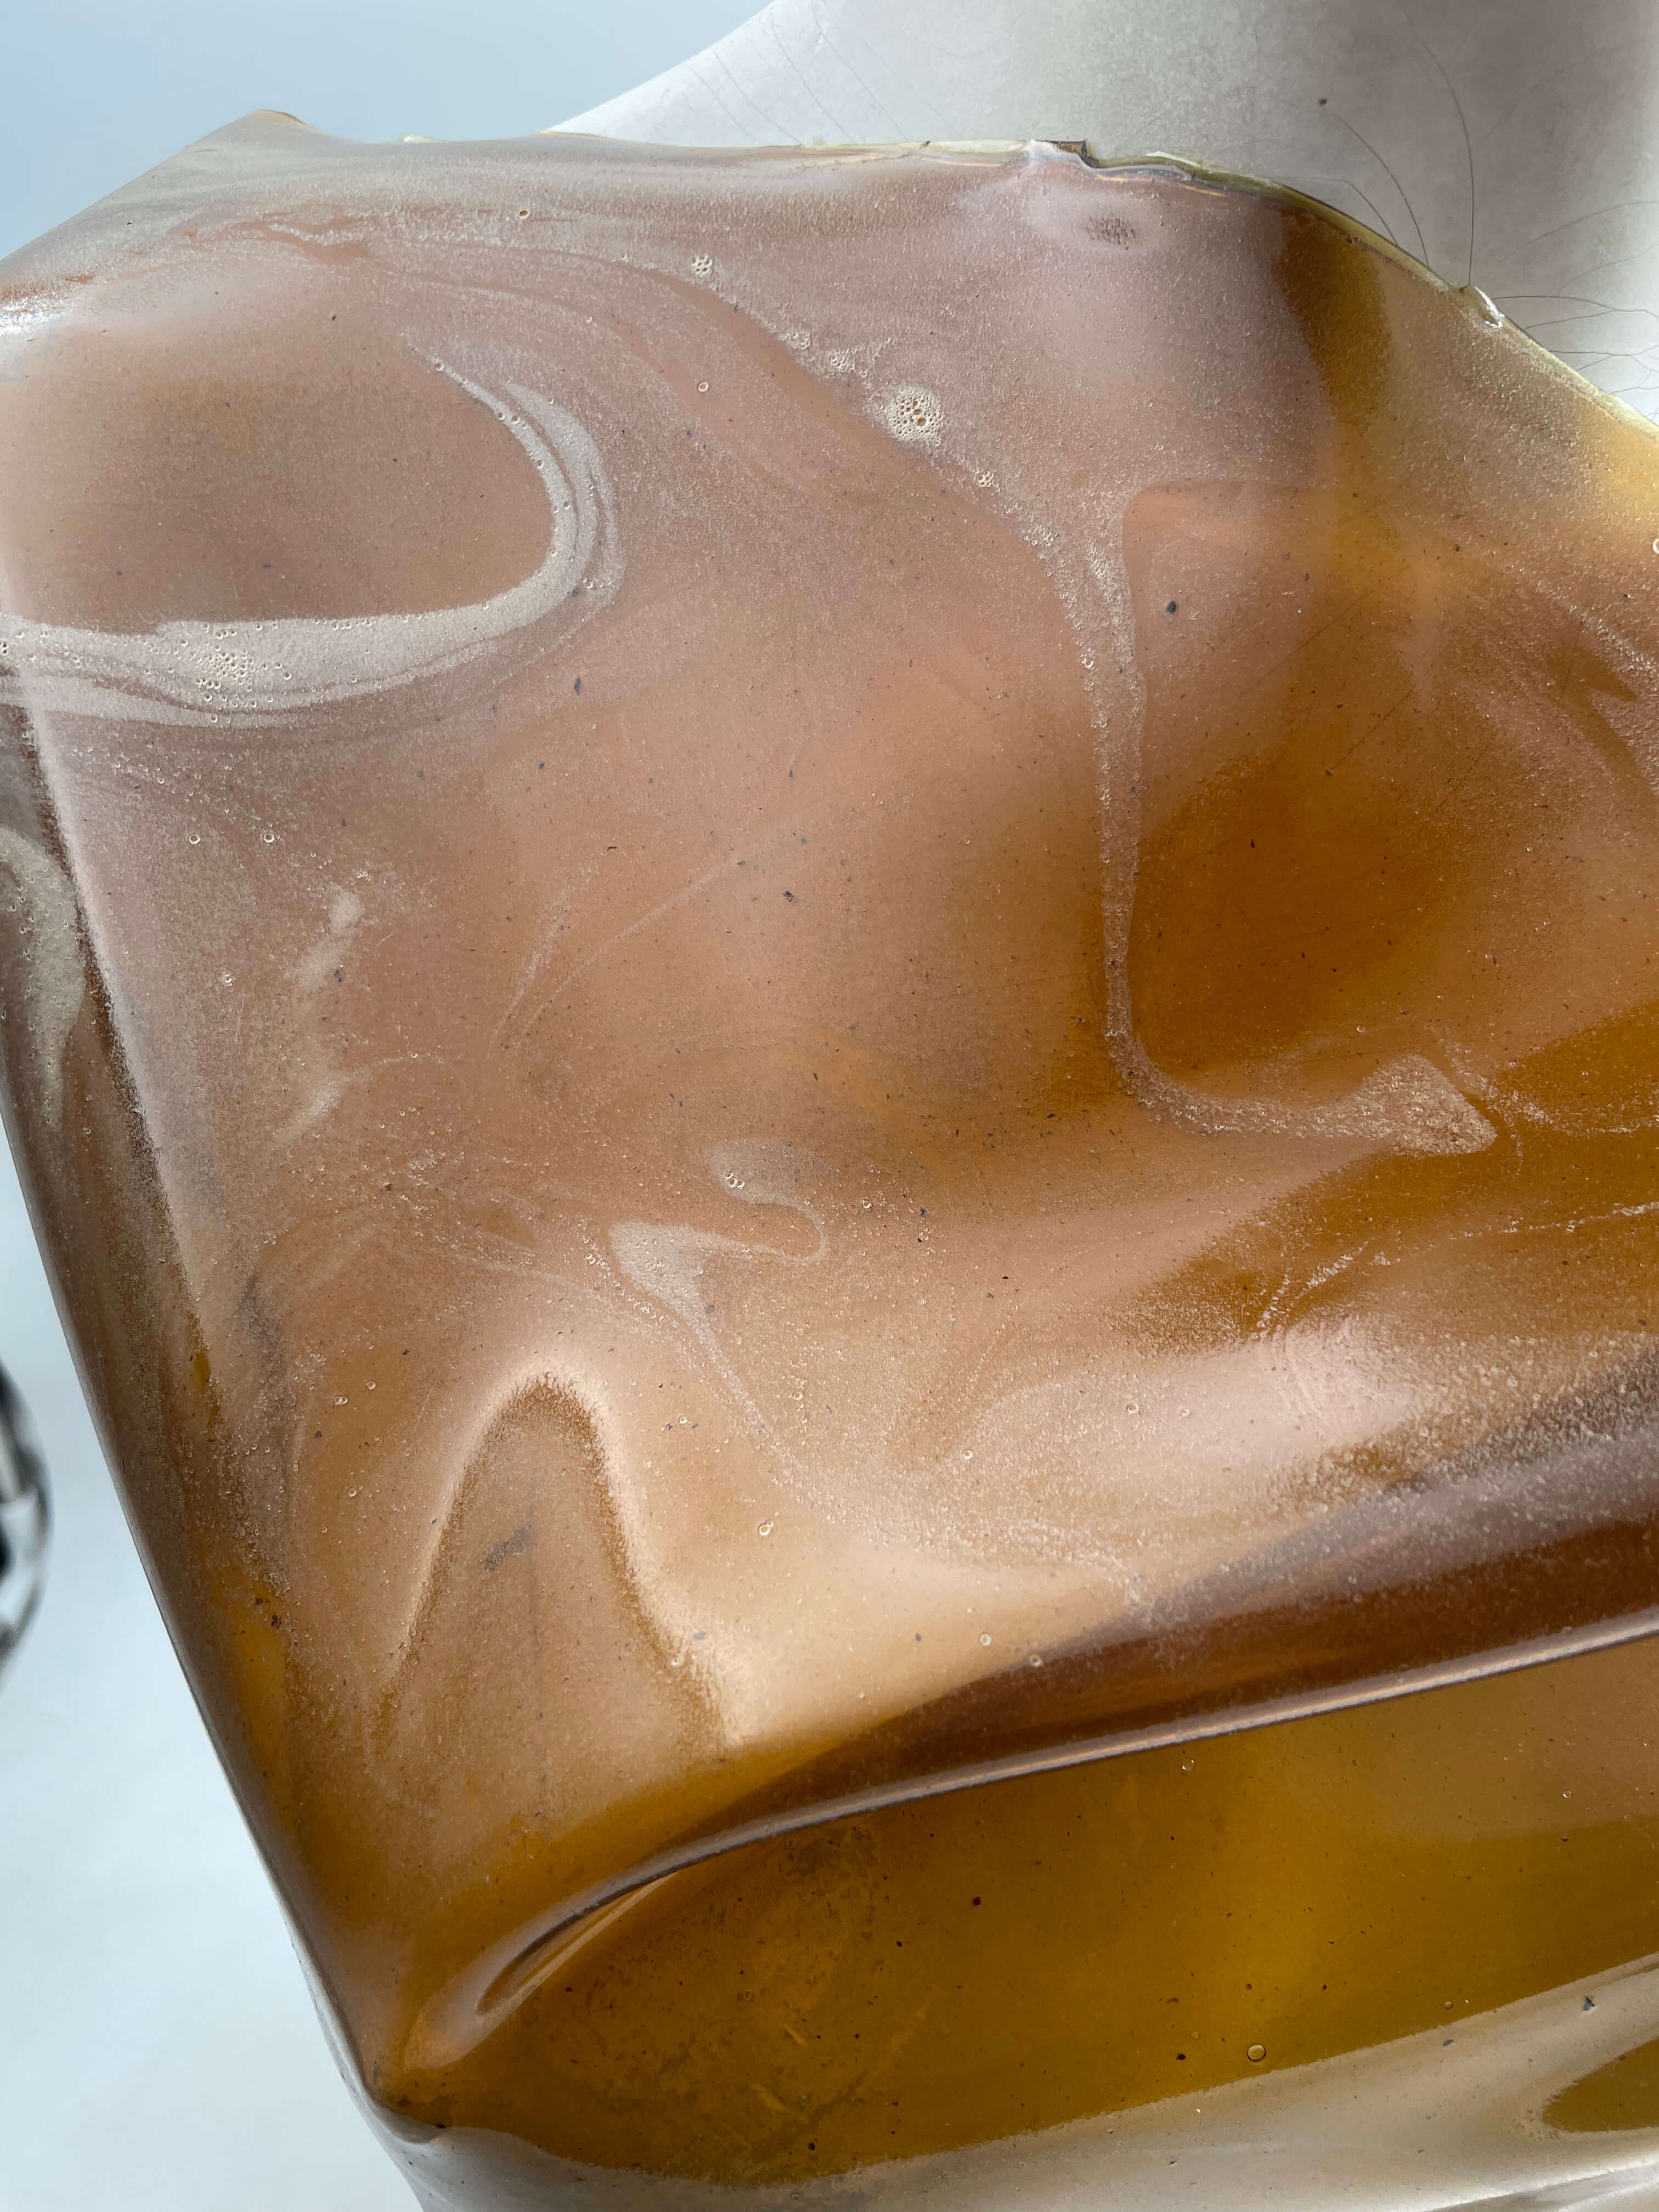
Wrapping / Molding: with the contaminated Eucalyptus bio silicone sheet I wrapped it around a mannequin bodice to see if it was hold it's form, similar to the wet leather molding we did in week 9 of Fabricademy. It created a really cool effect that I like alot. I left it on for a few days to see if it would keep the shape but it didn't up on removing it. I wonder if the effect would work if the bio plastic was fully dry OR if it was removed when it was still wet but the mannequin was cleanned very well and left there to dry for a couple weeks.
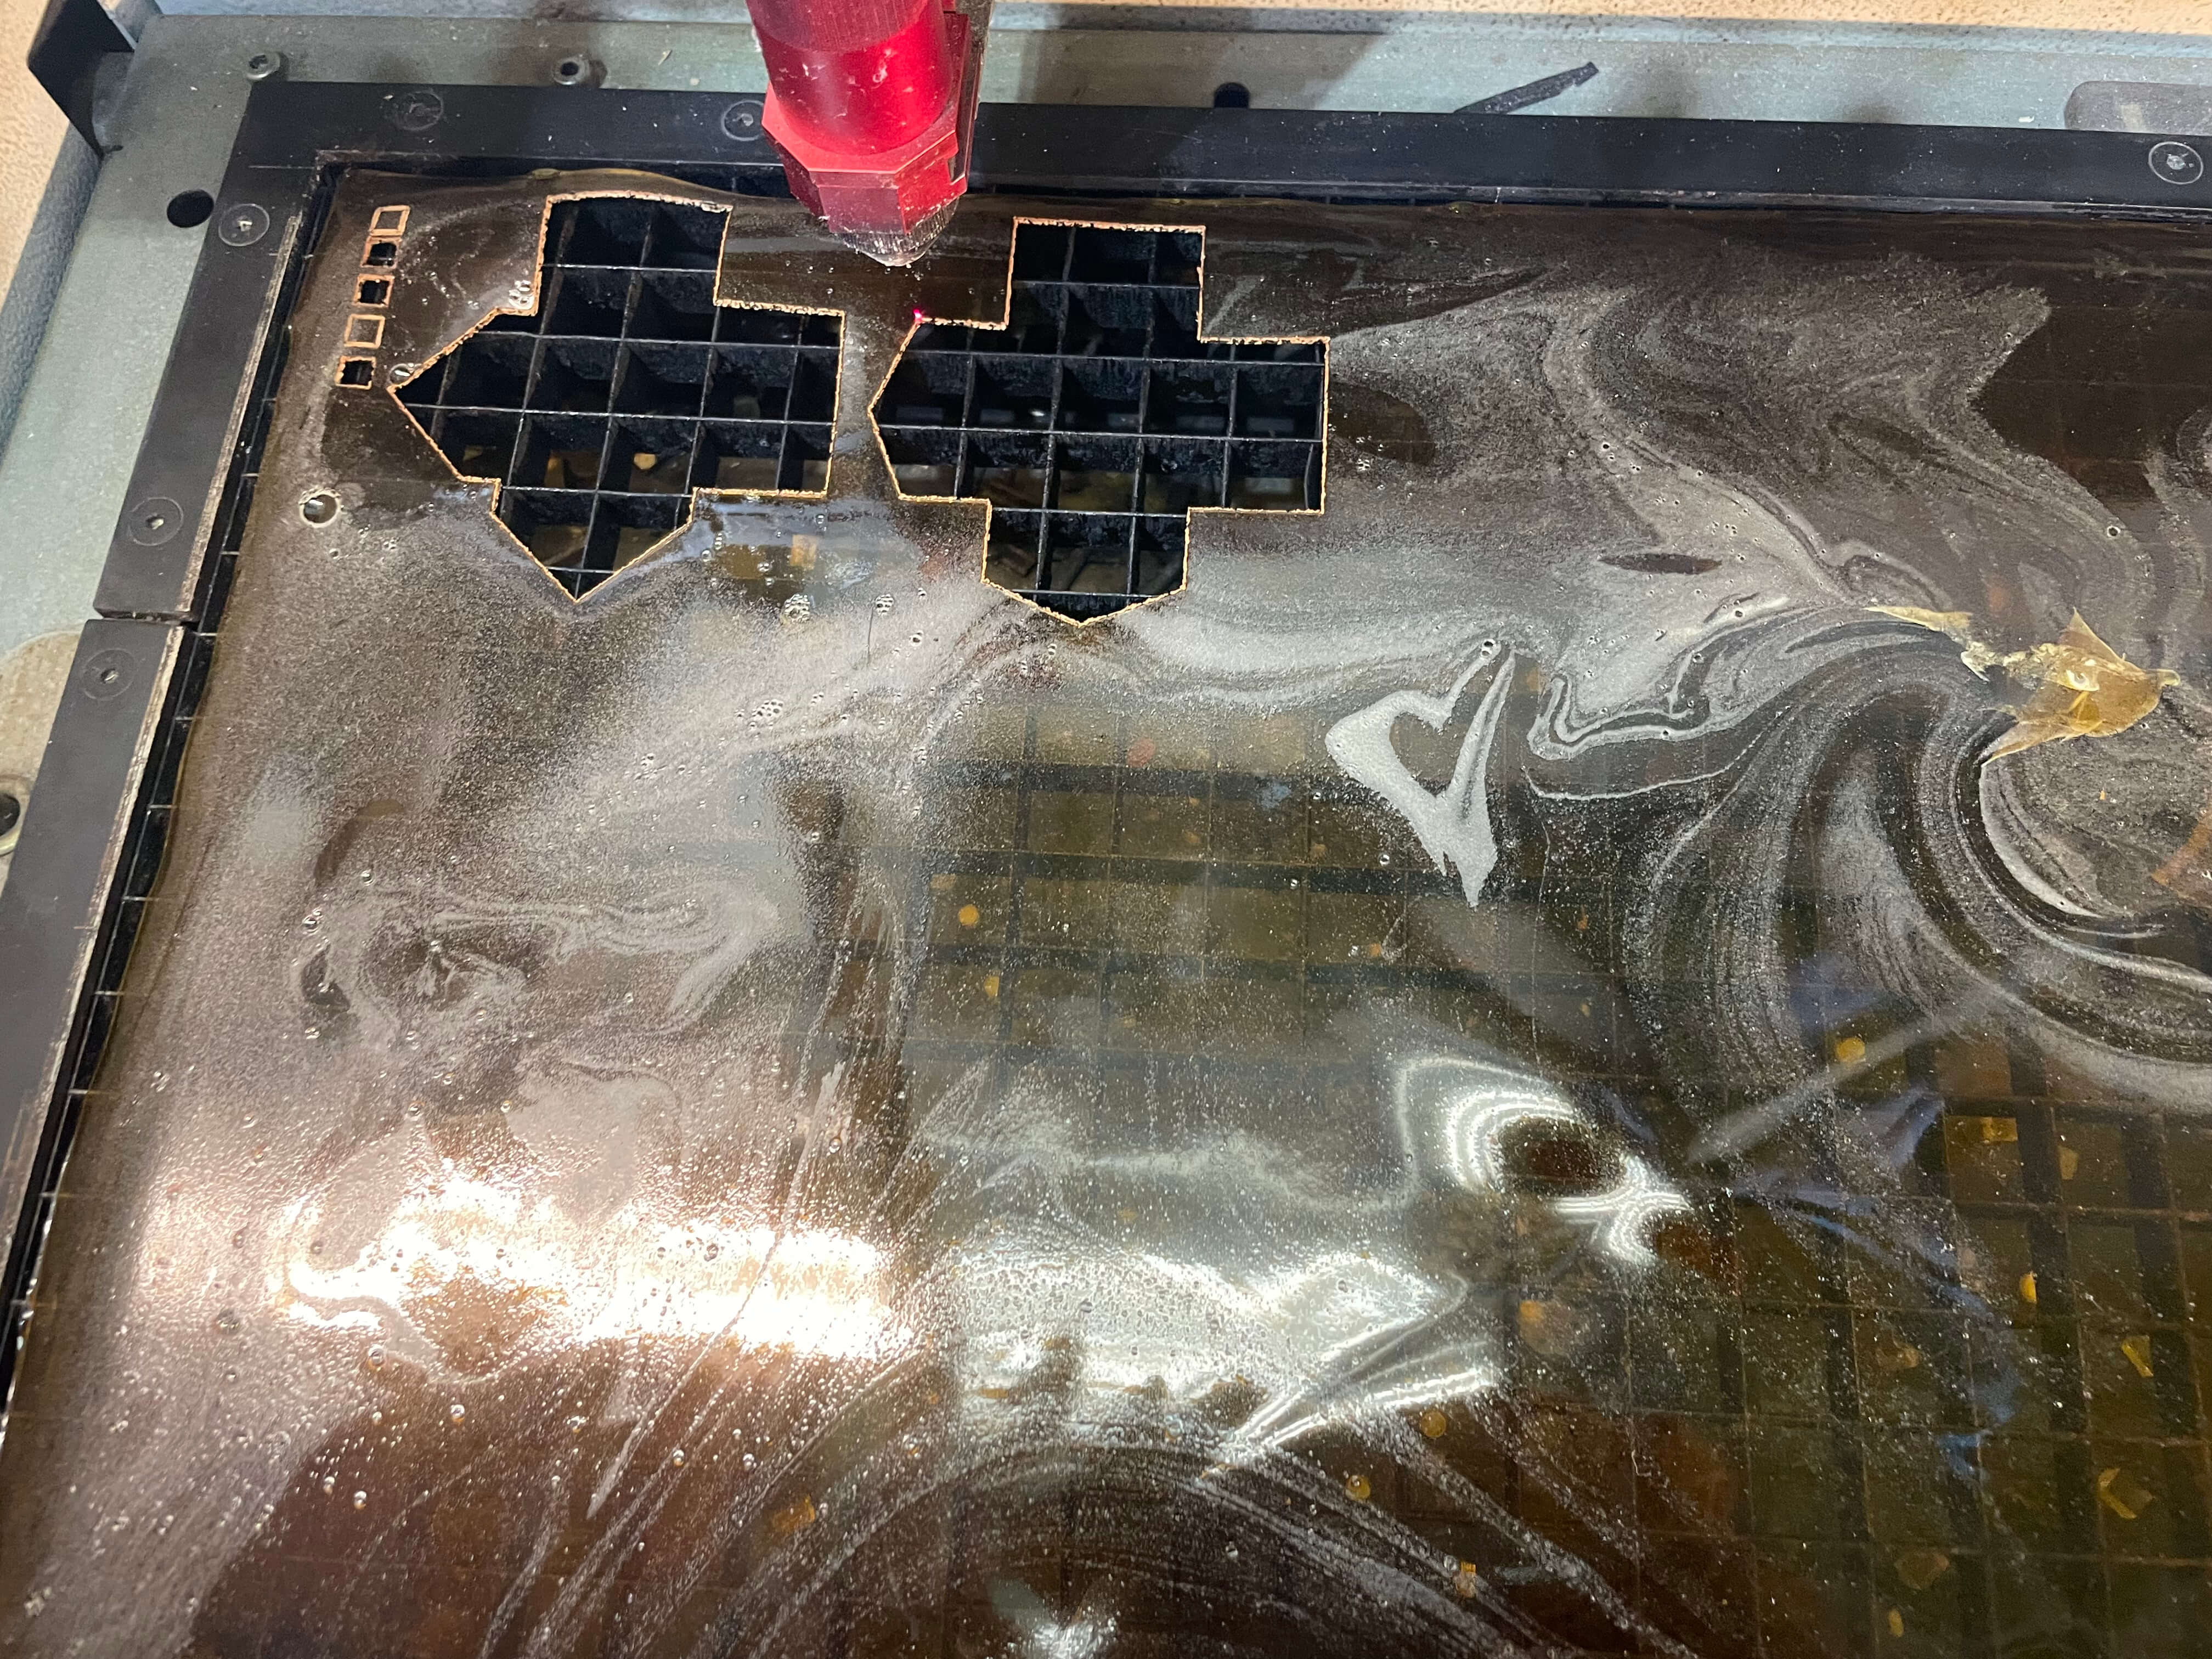
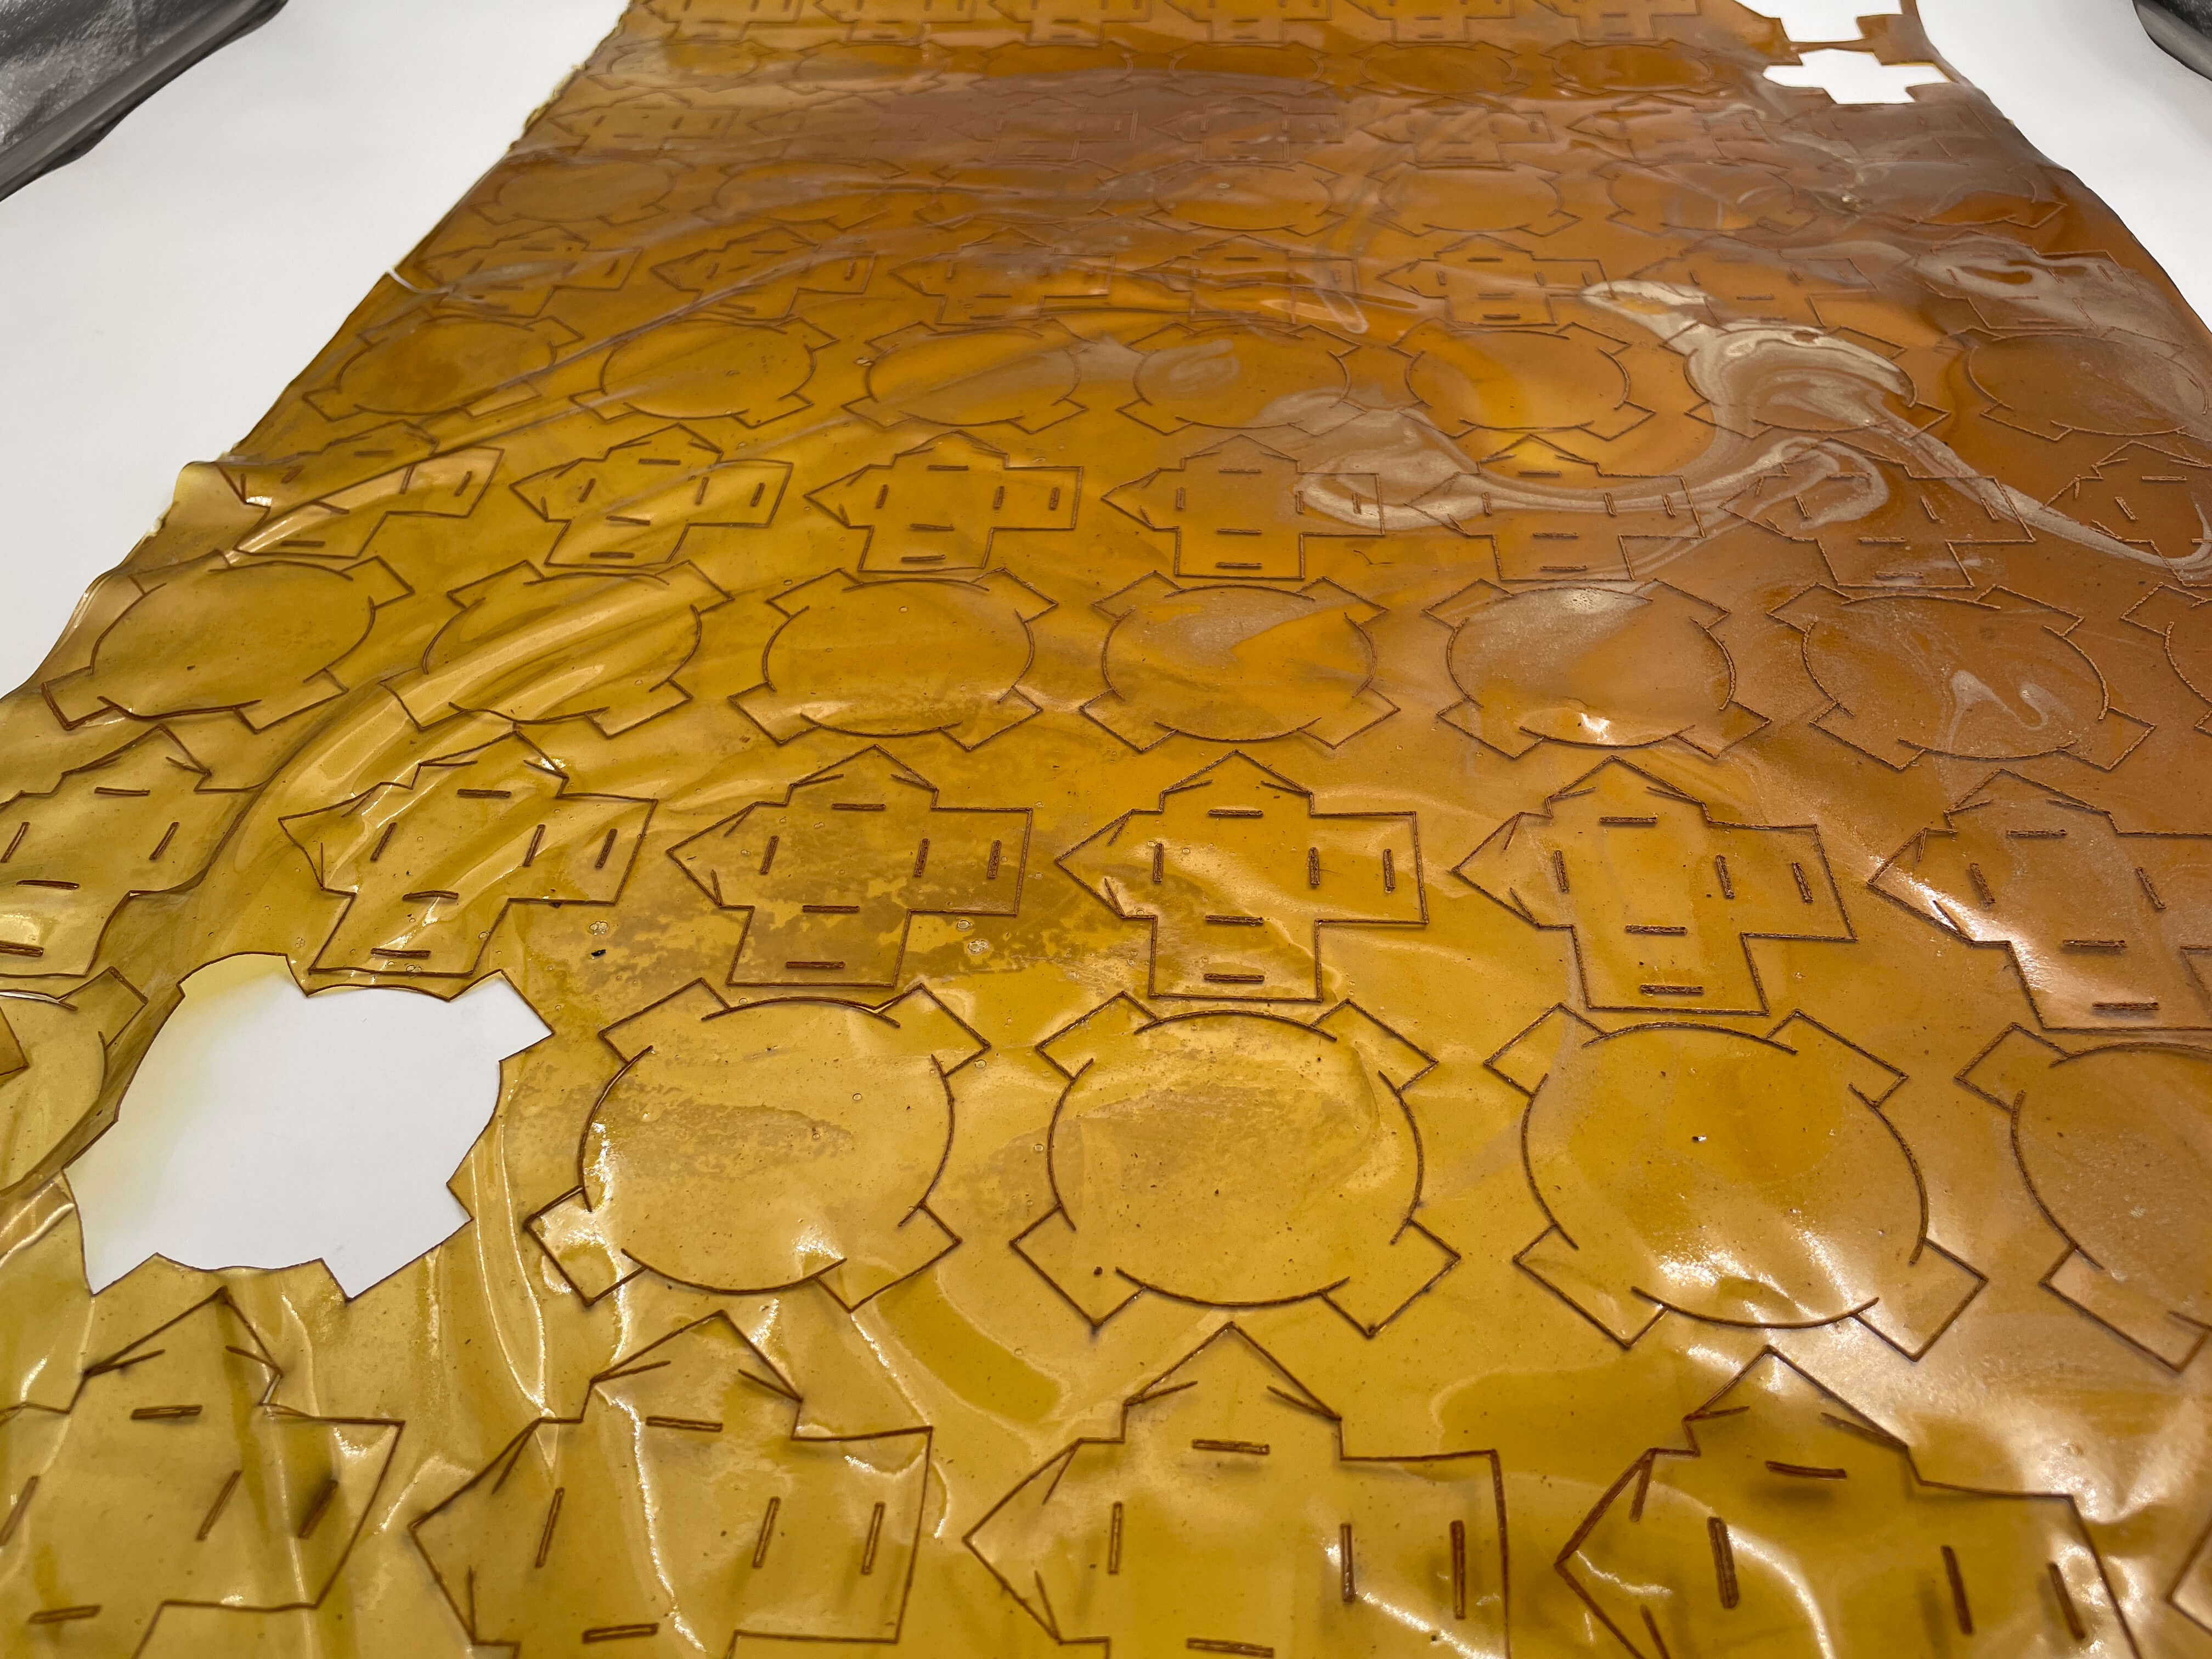
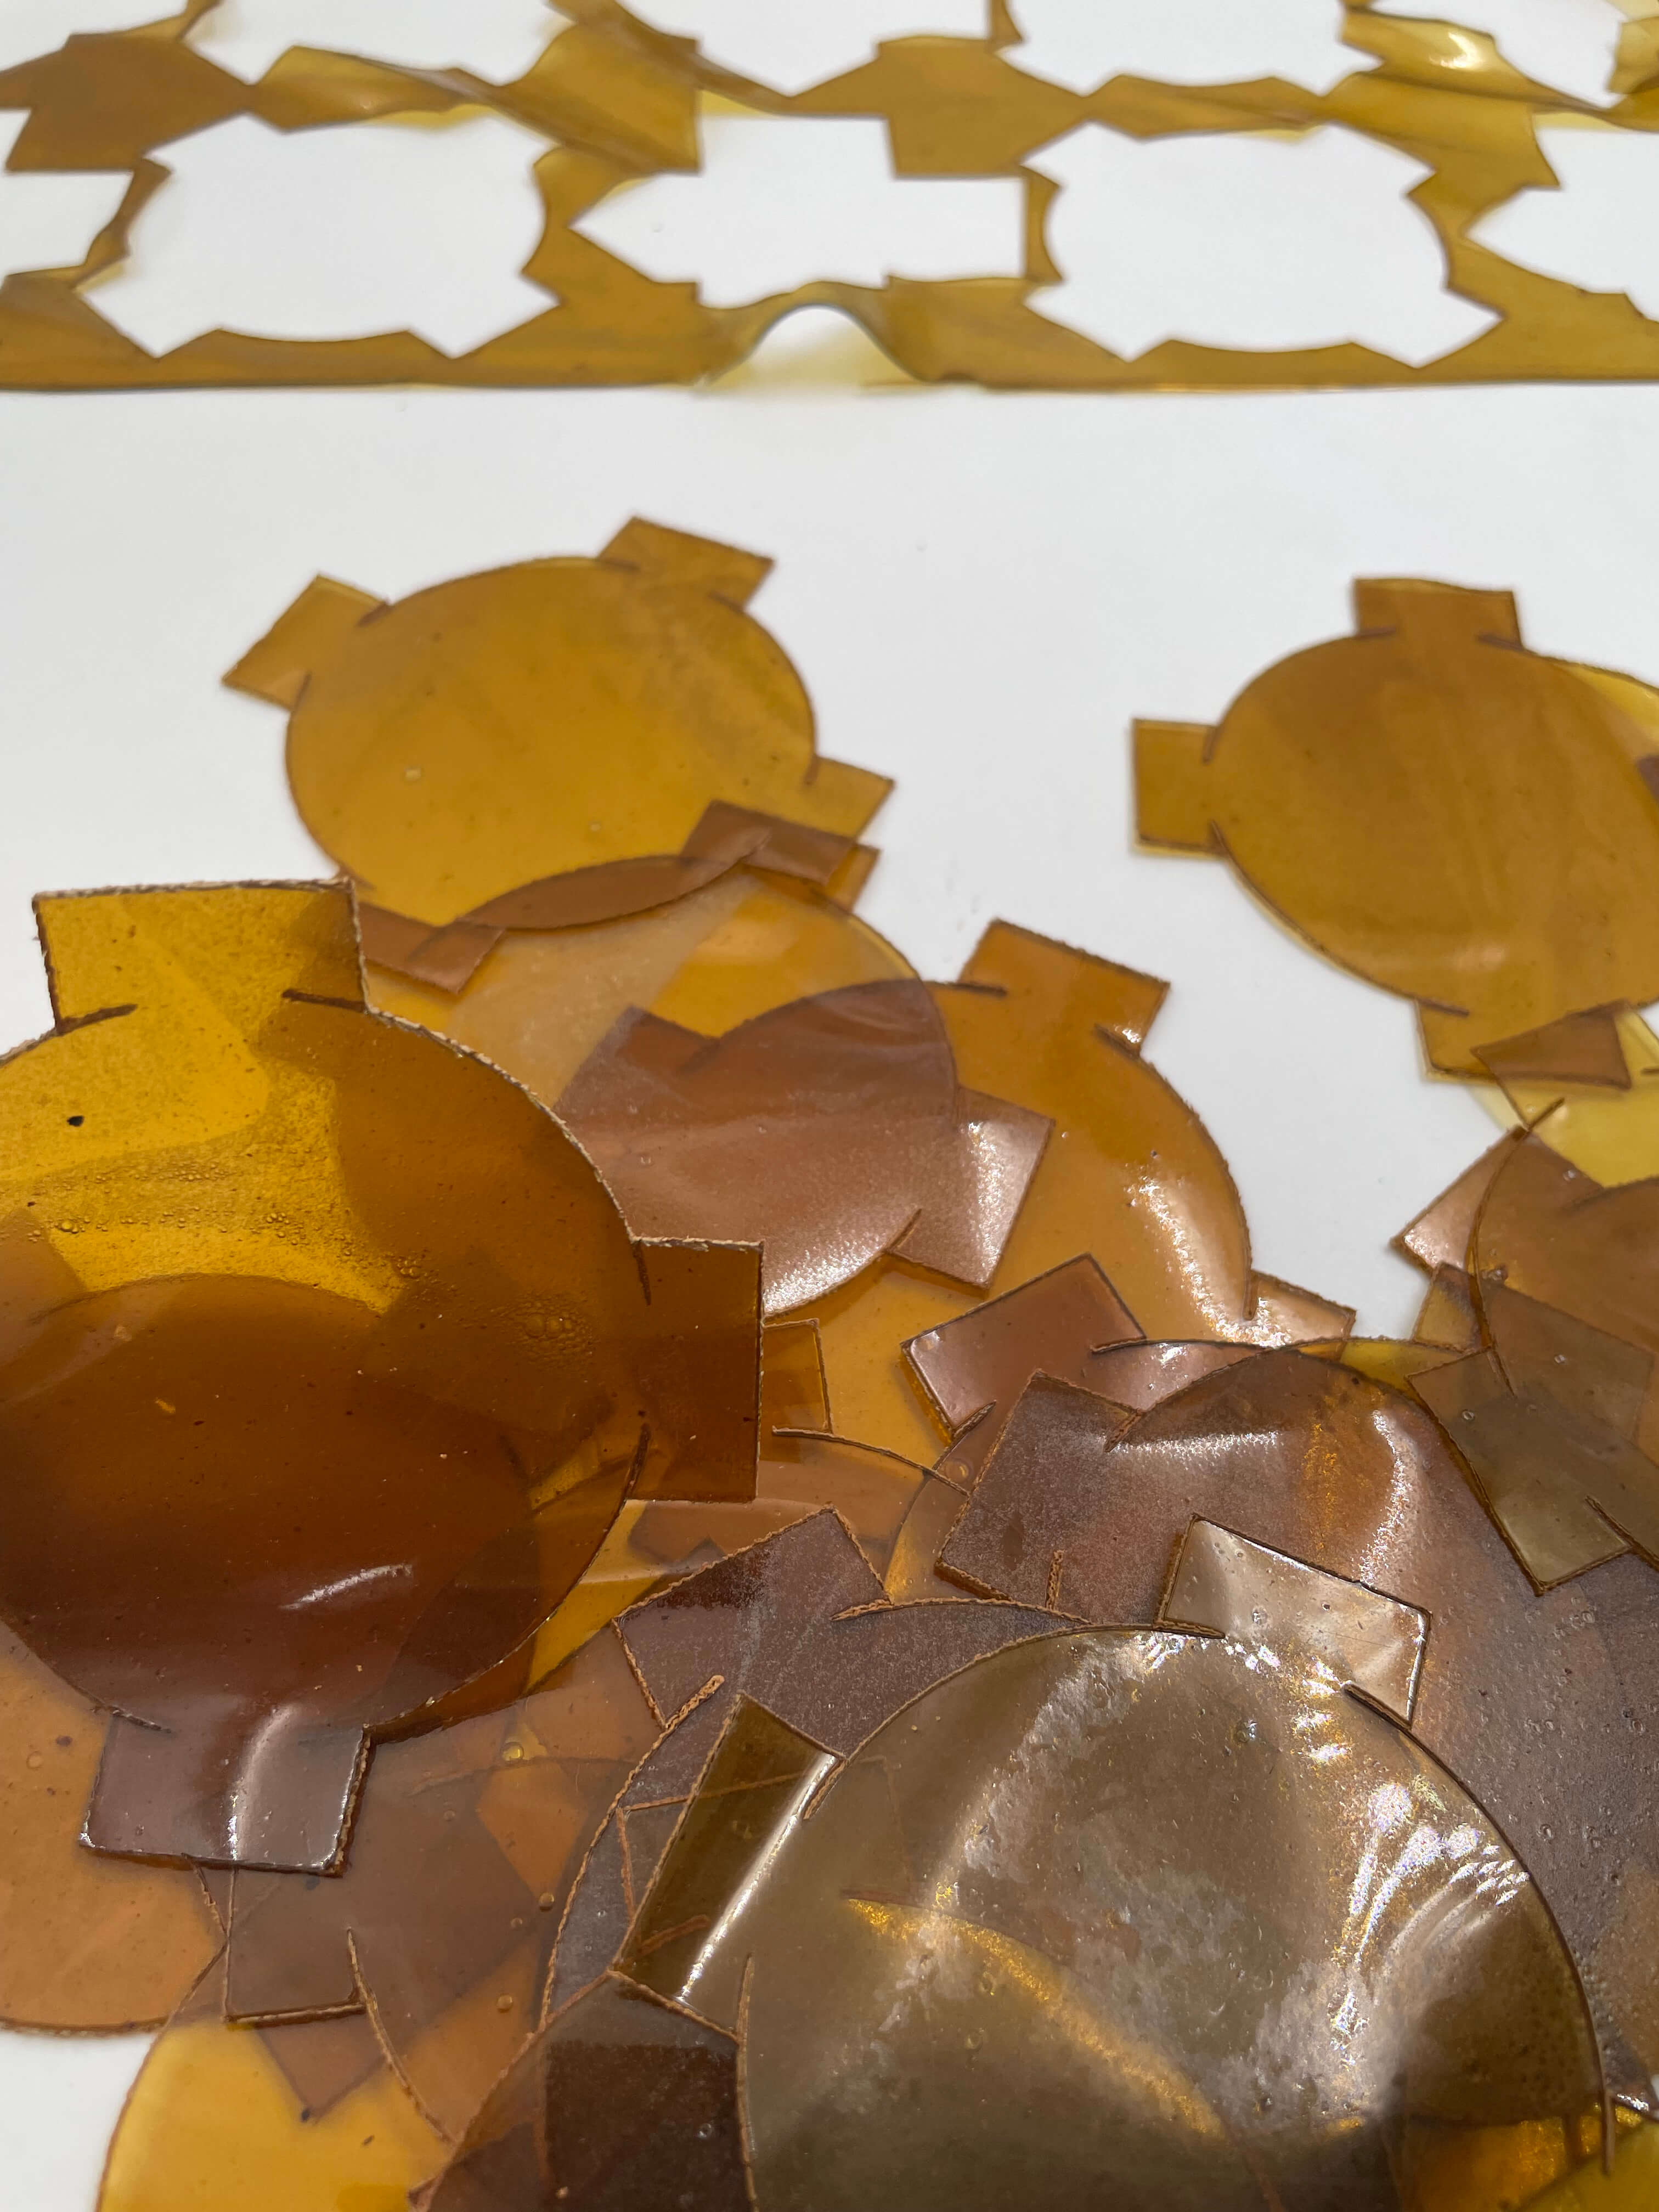
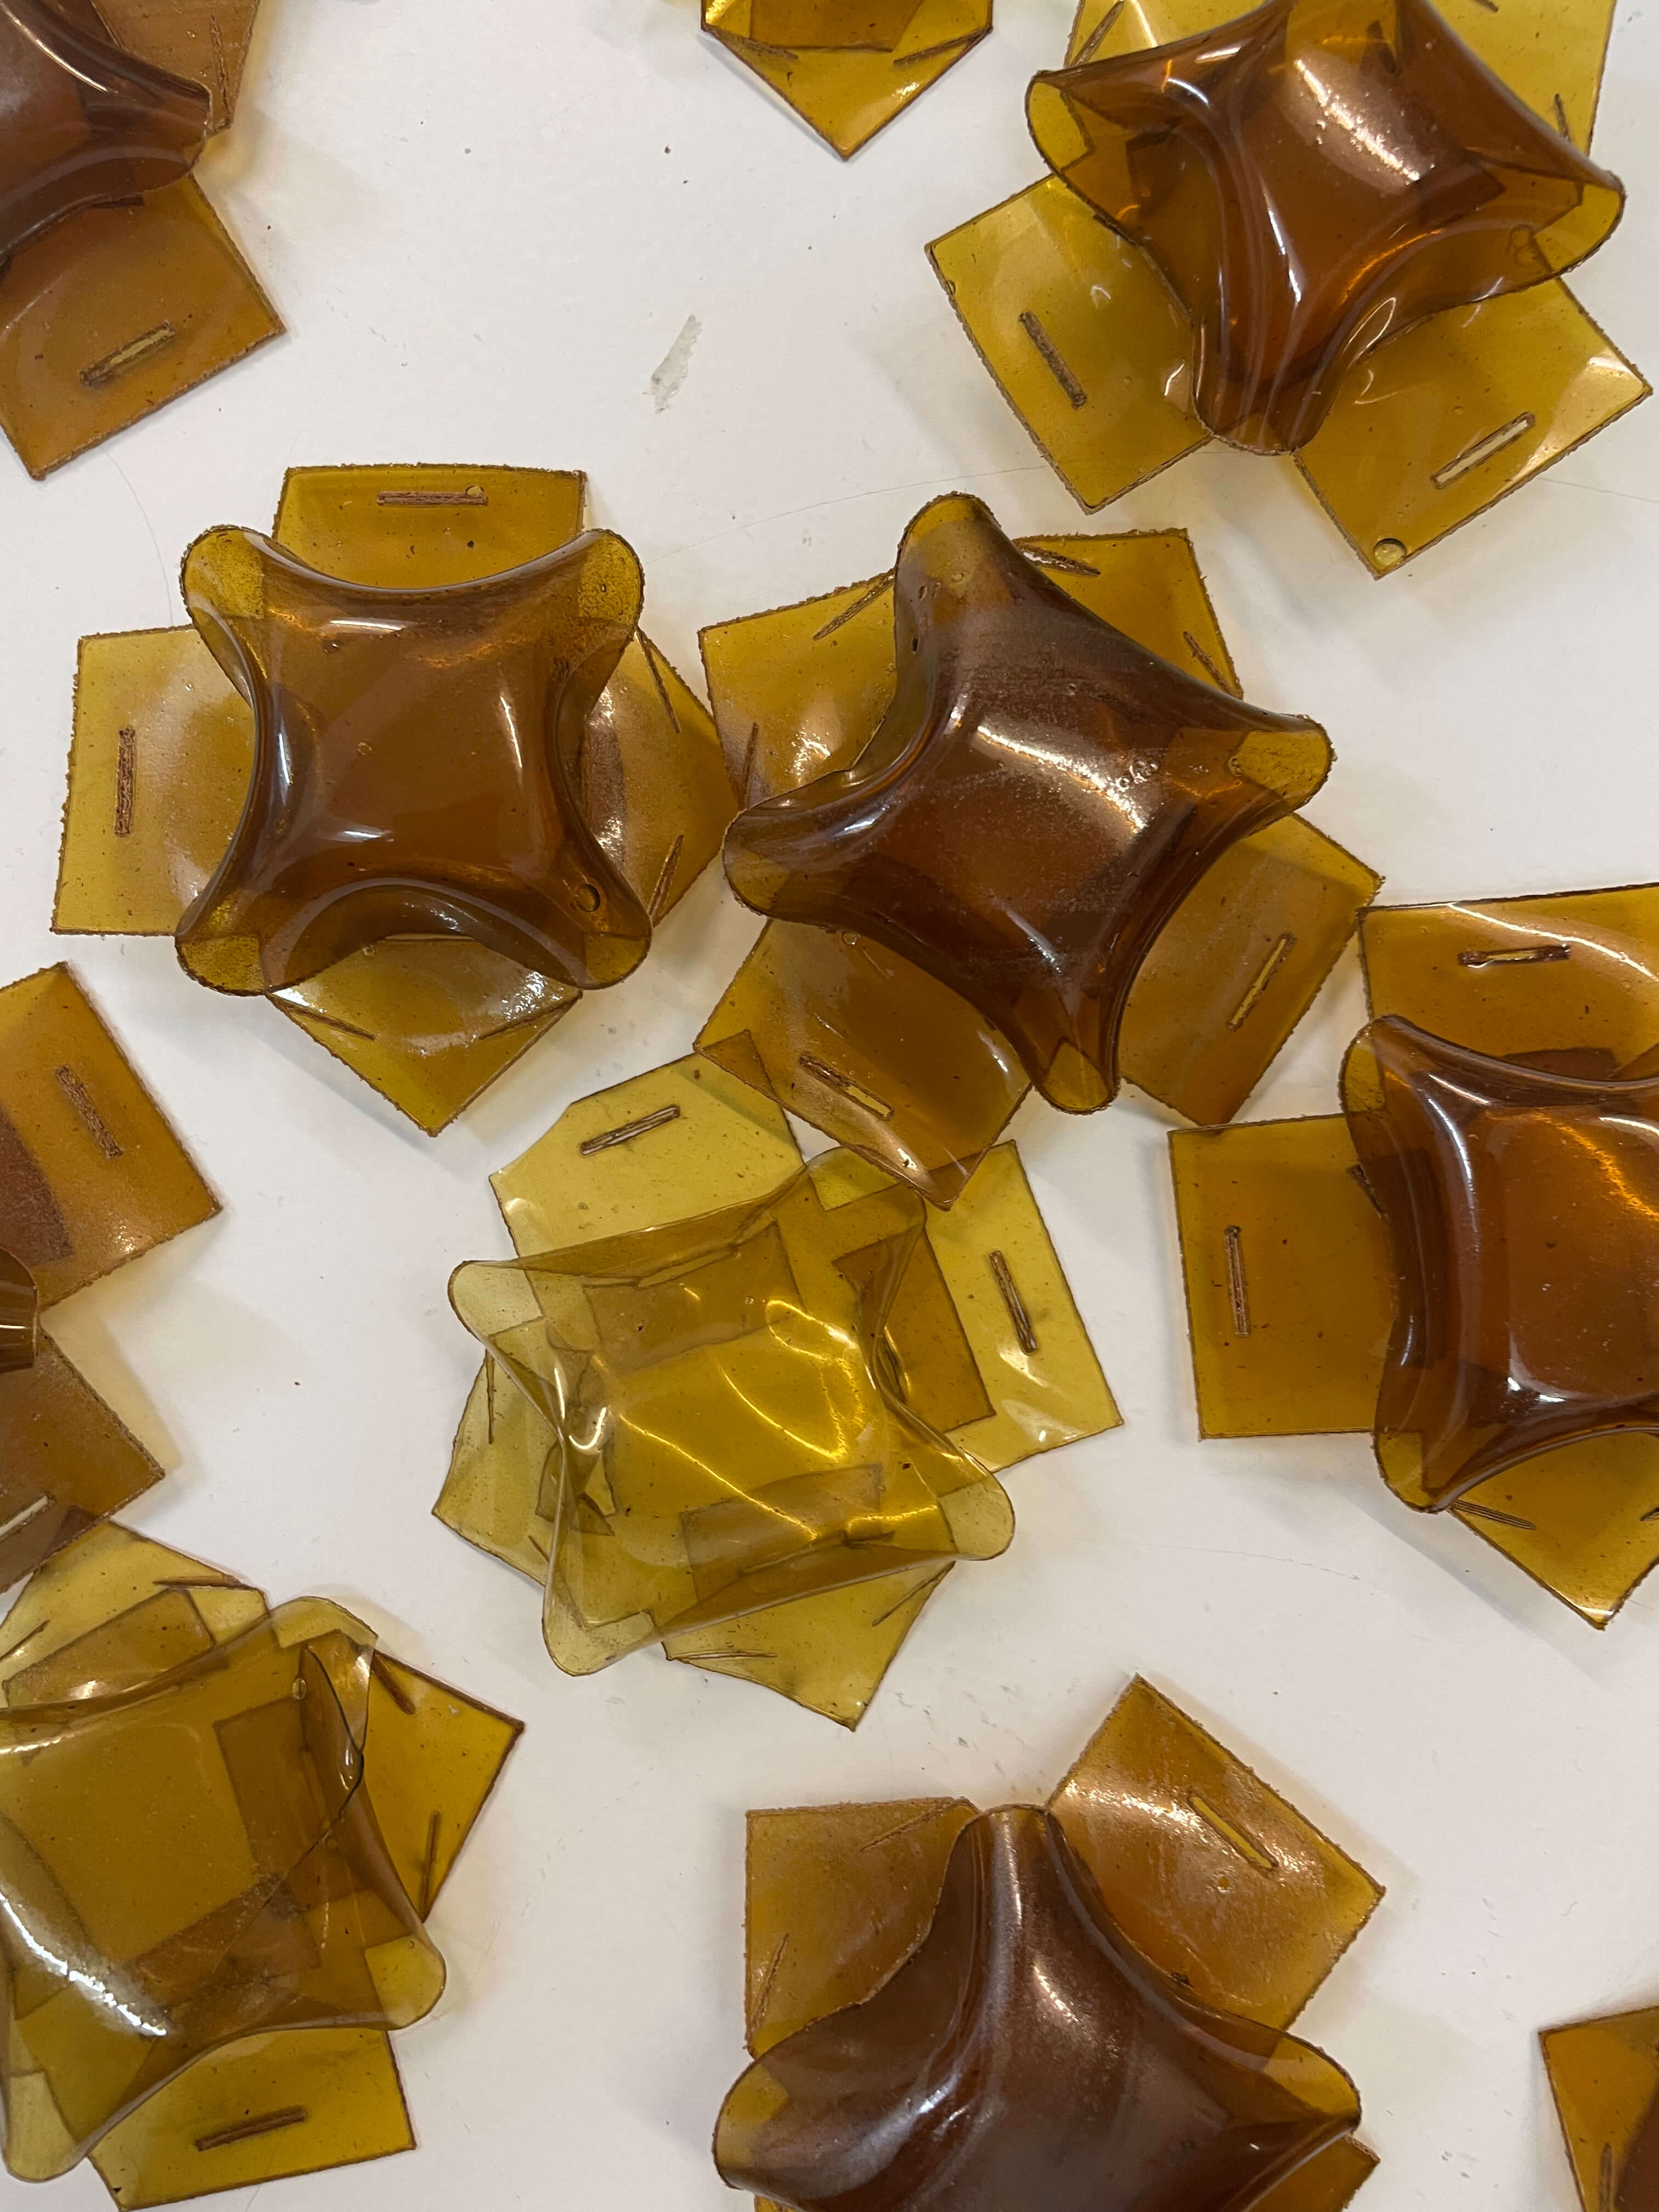
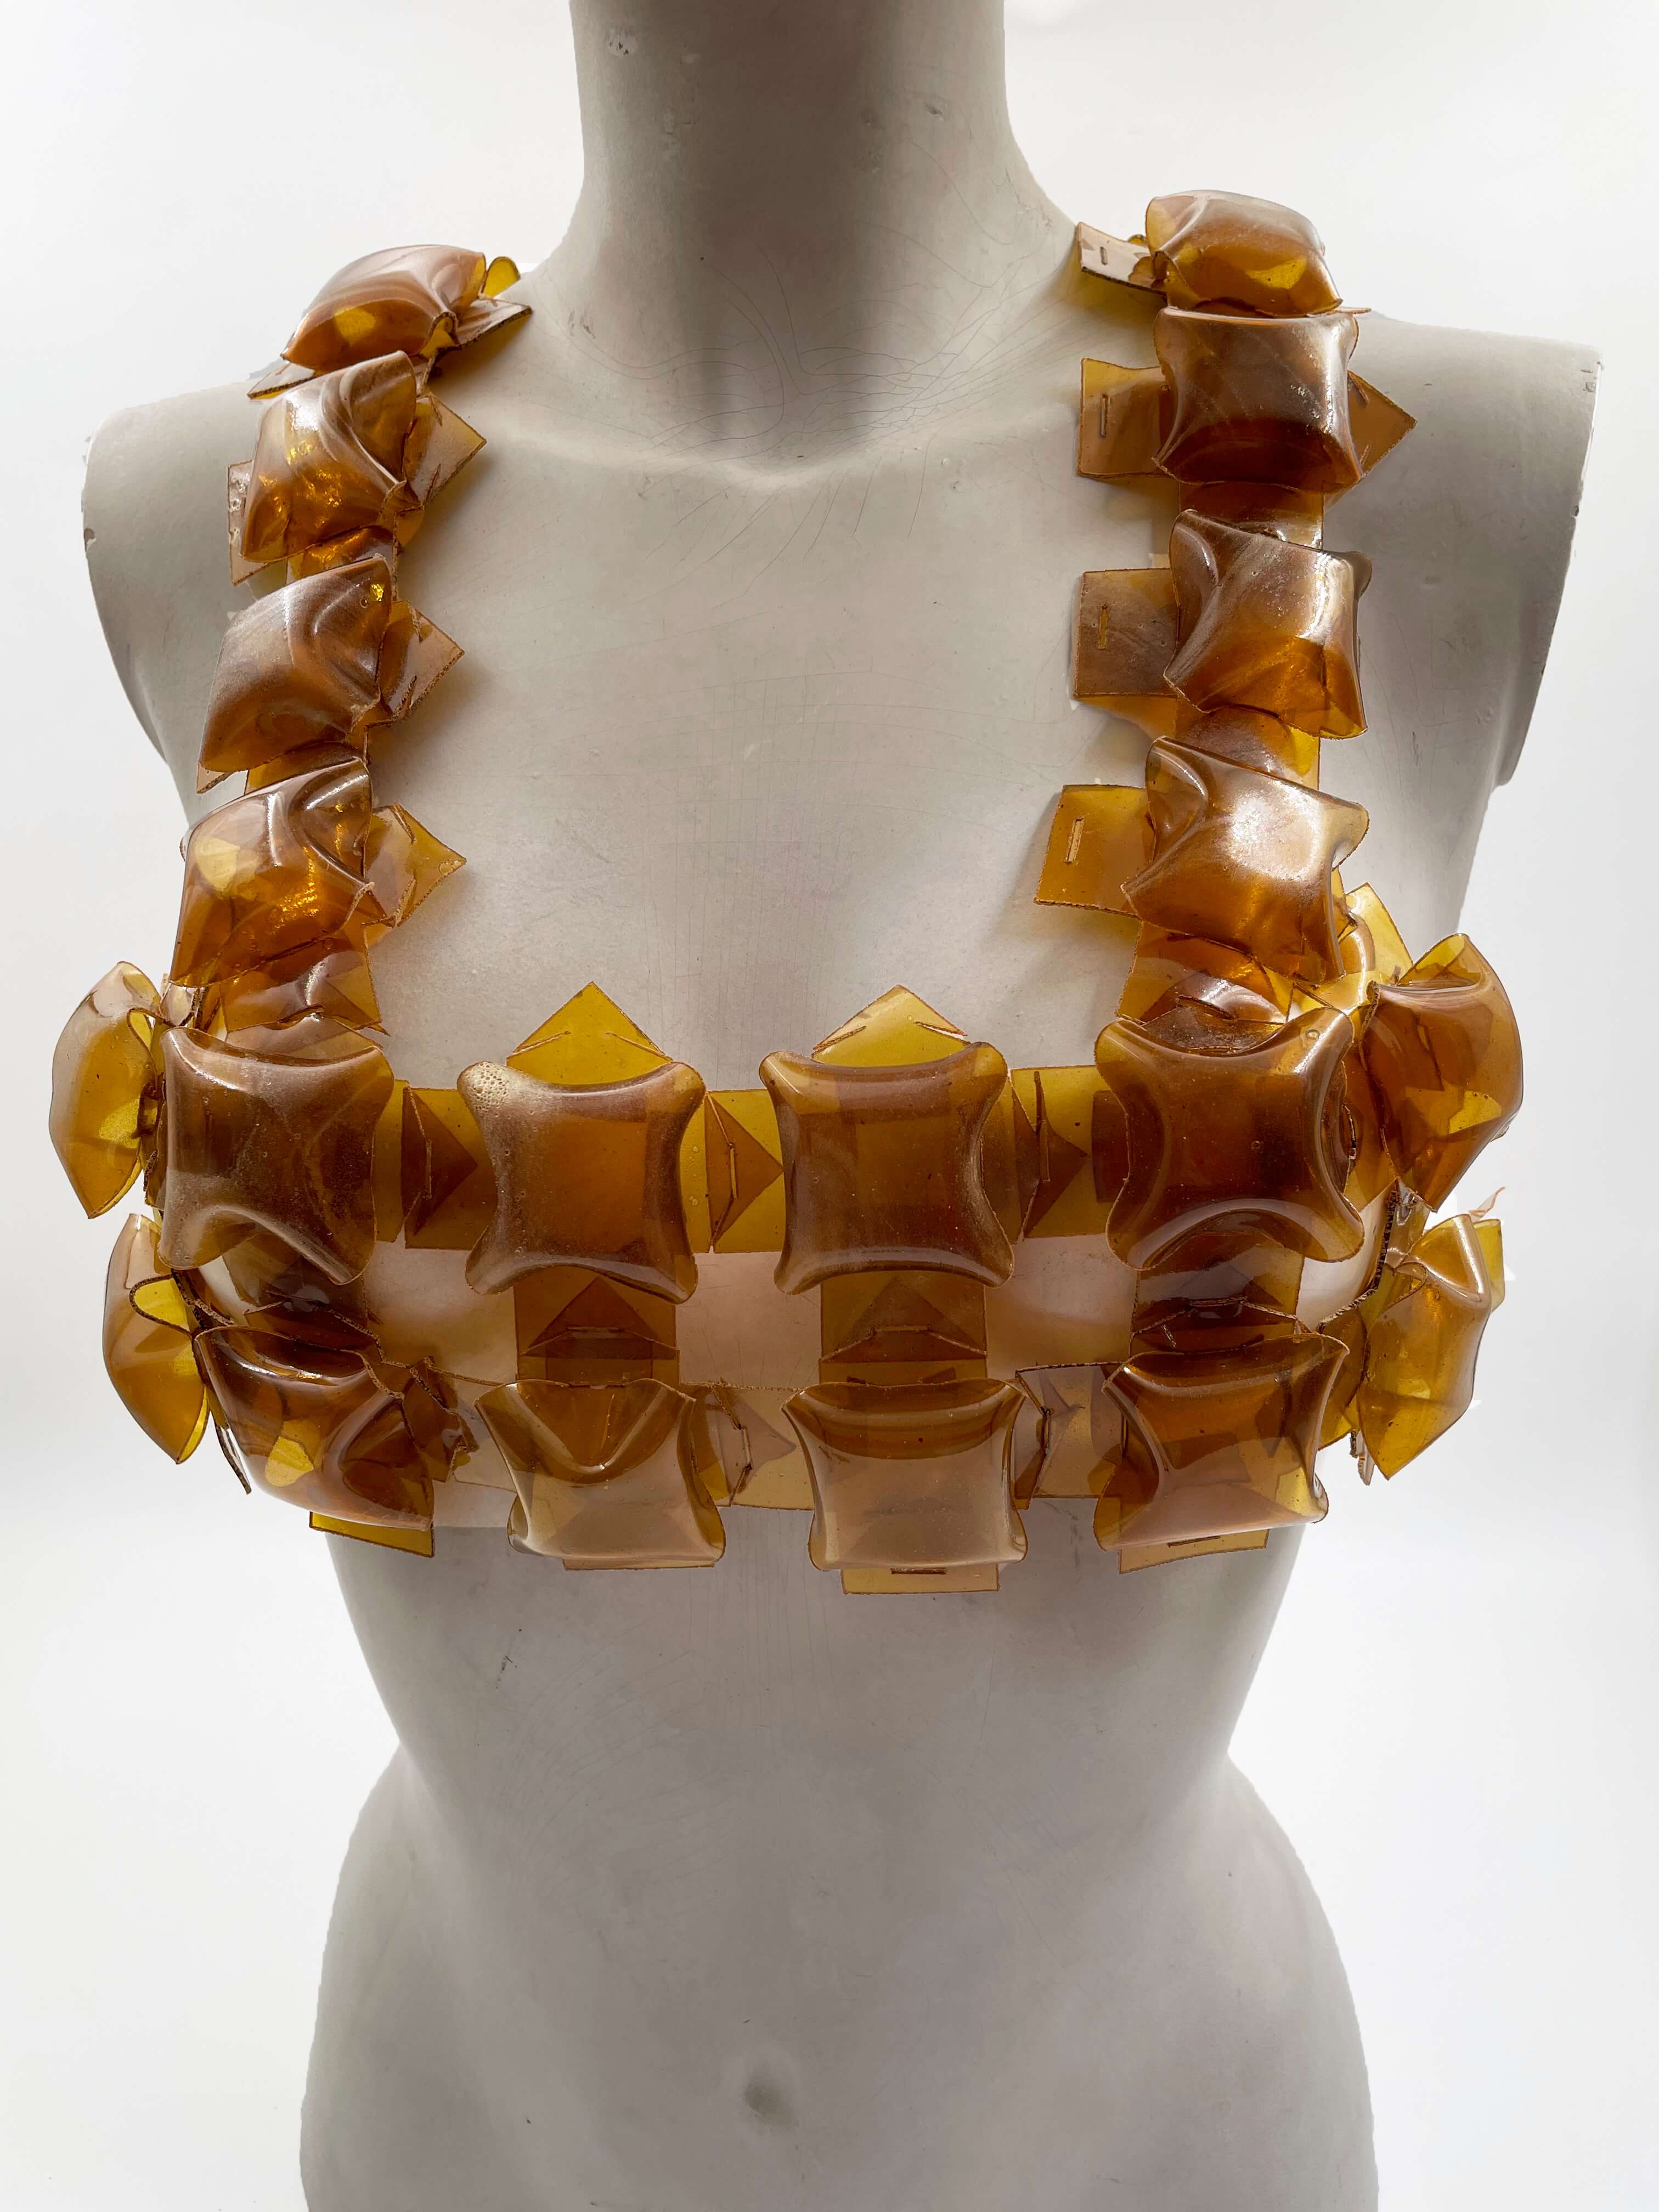
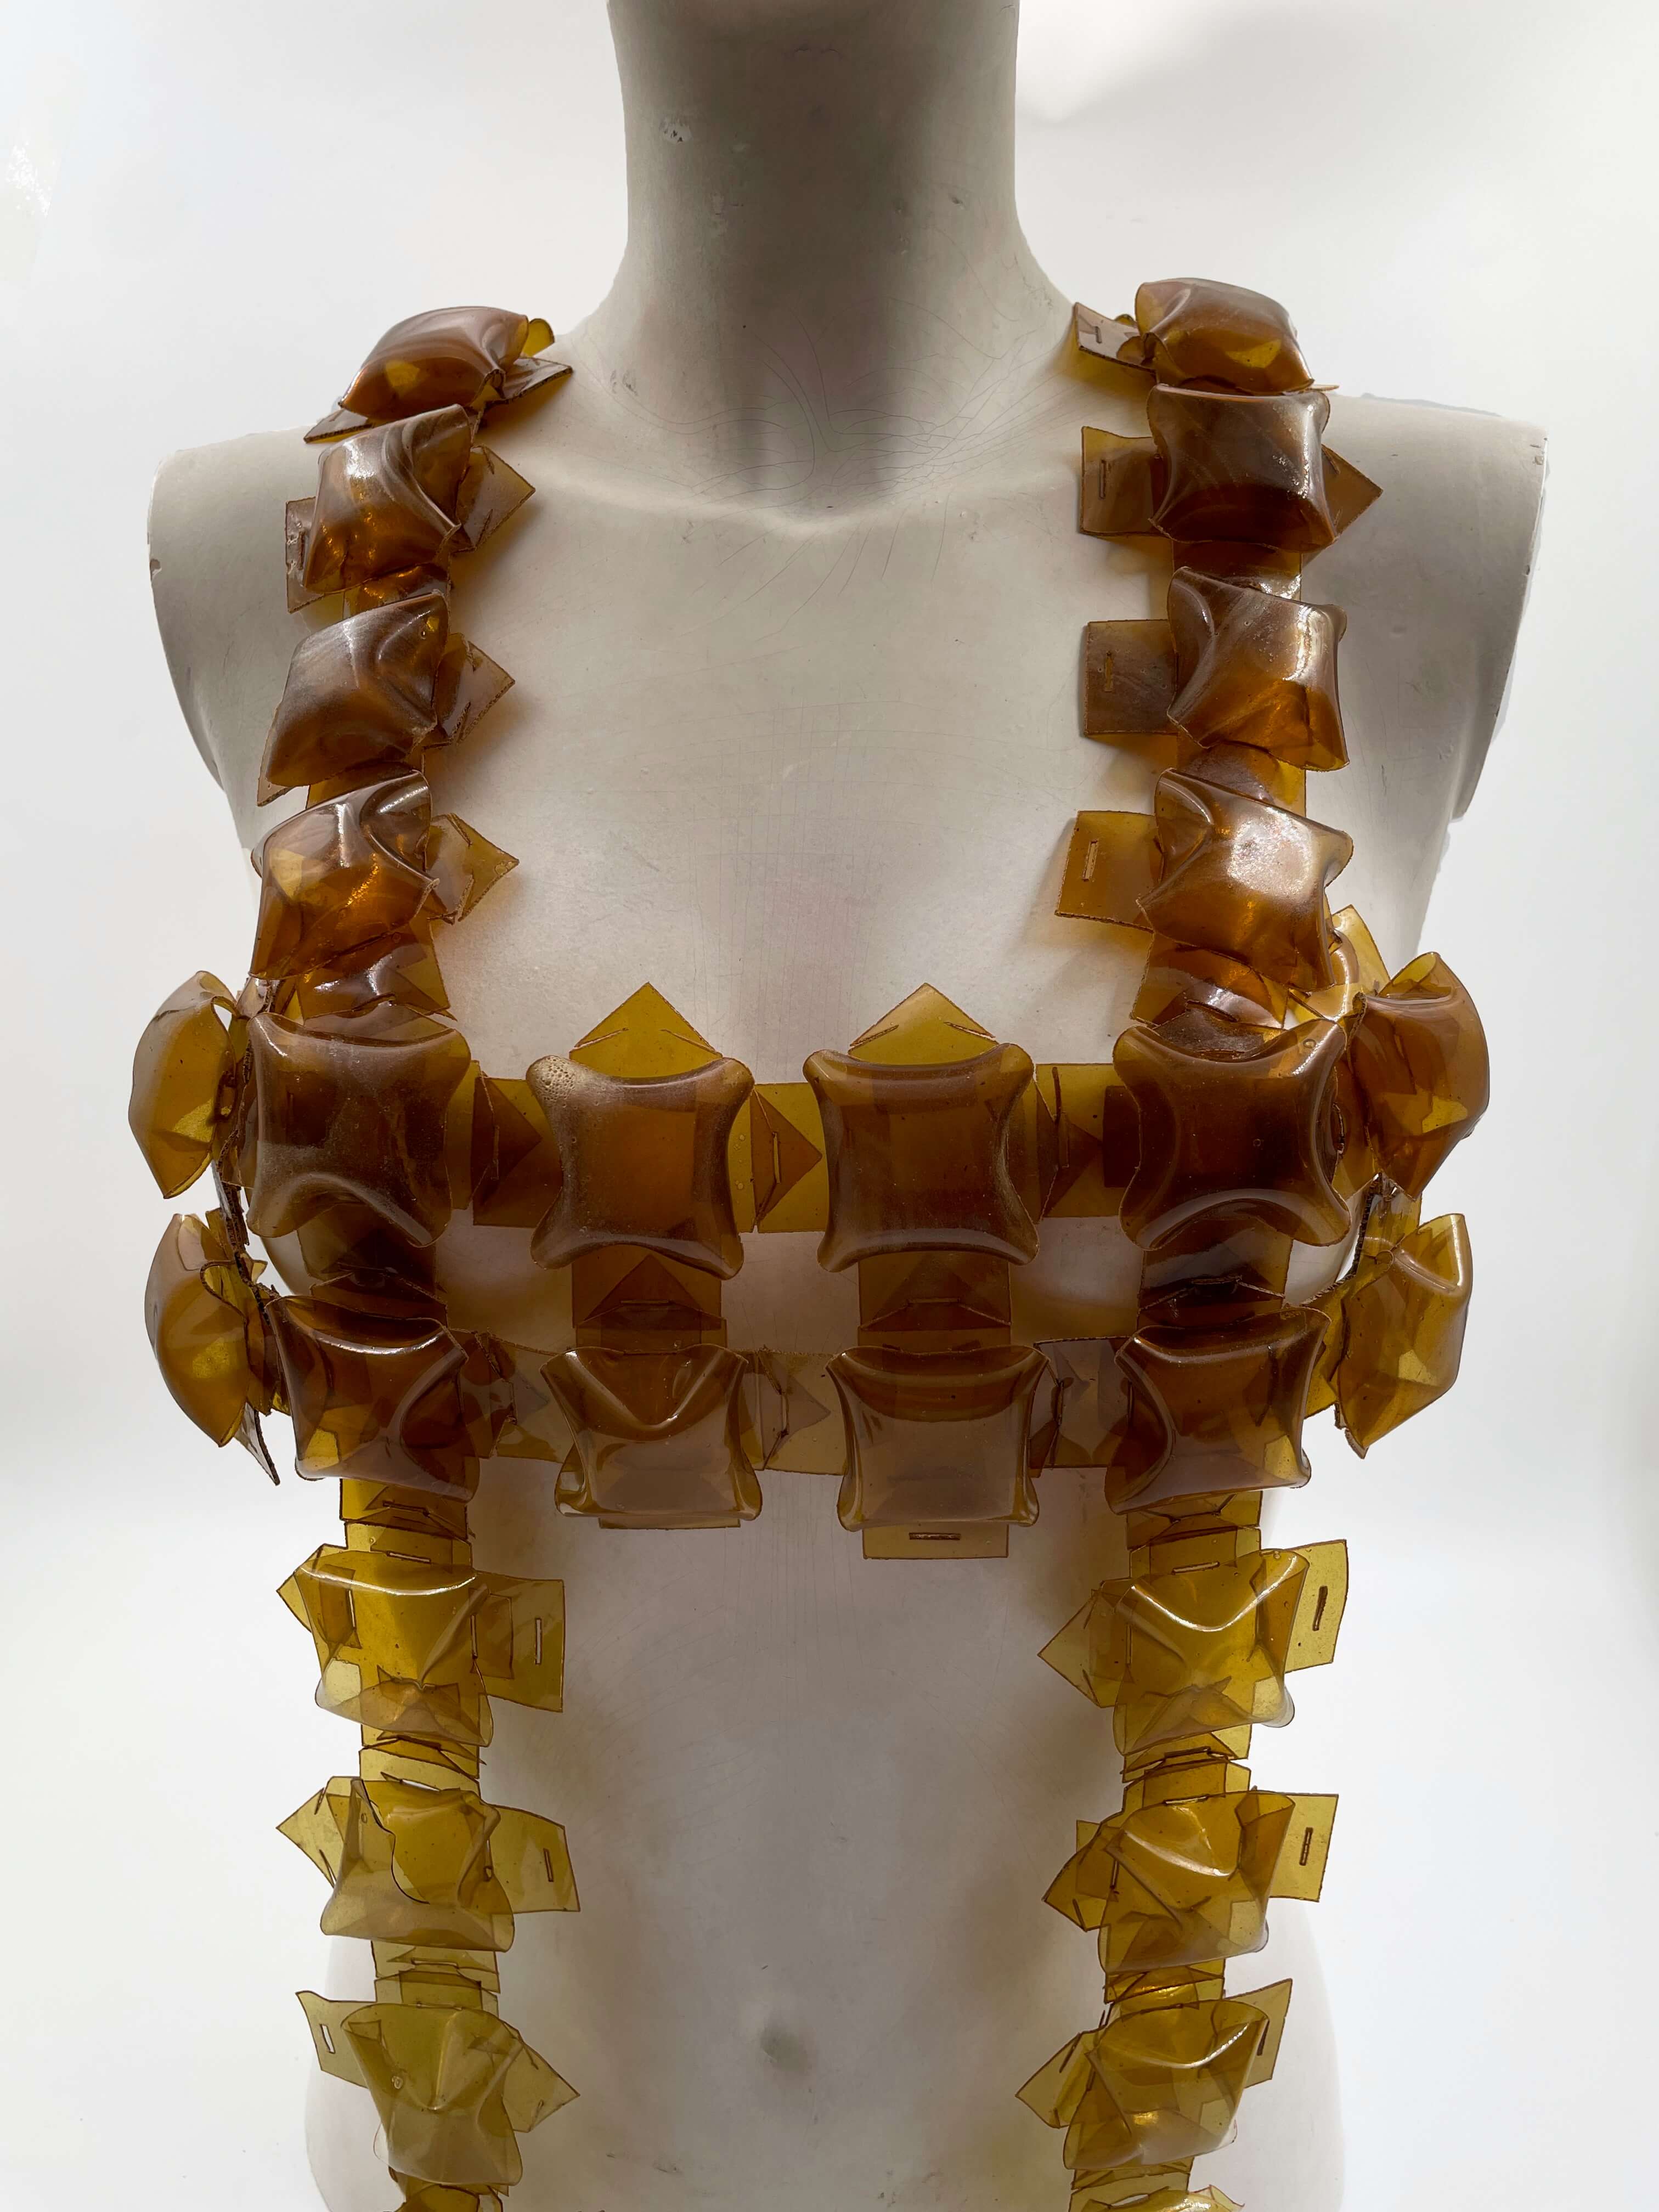
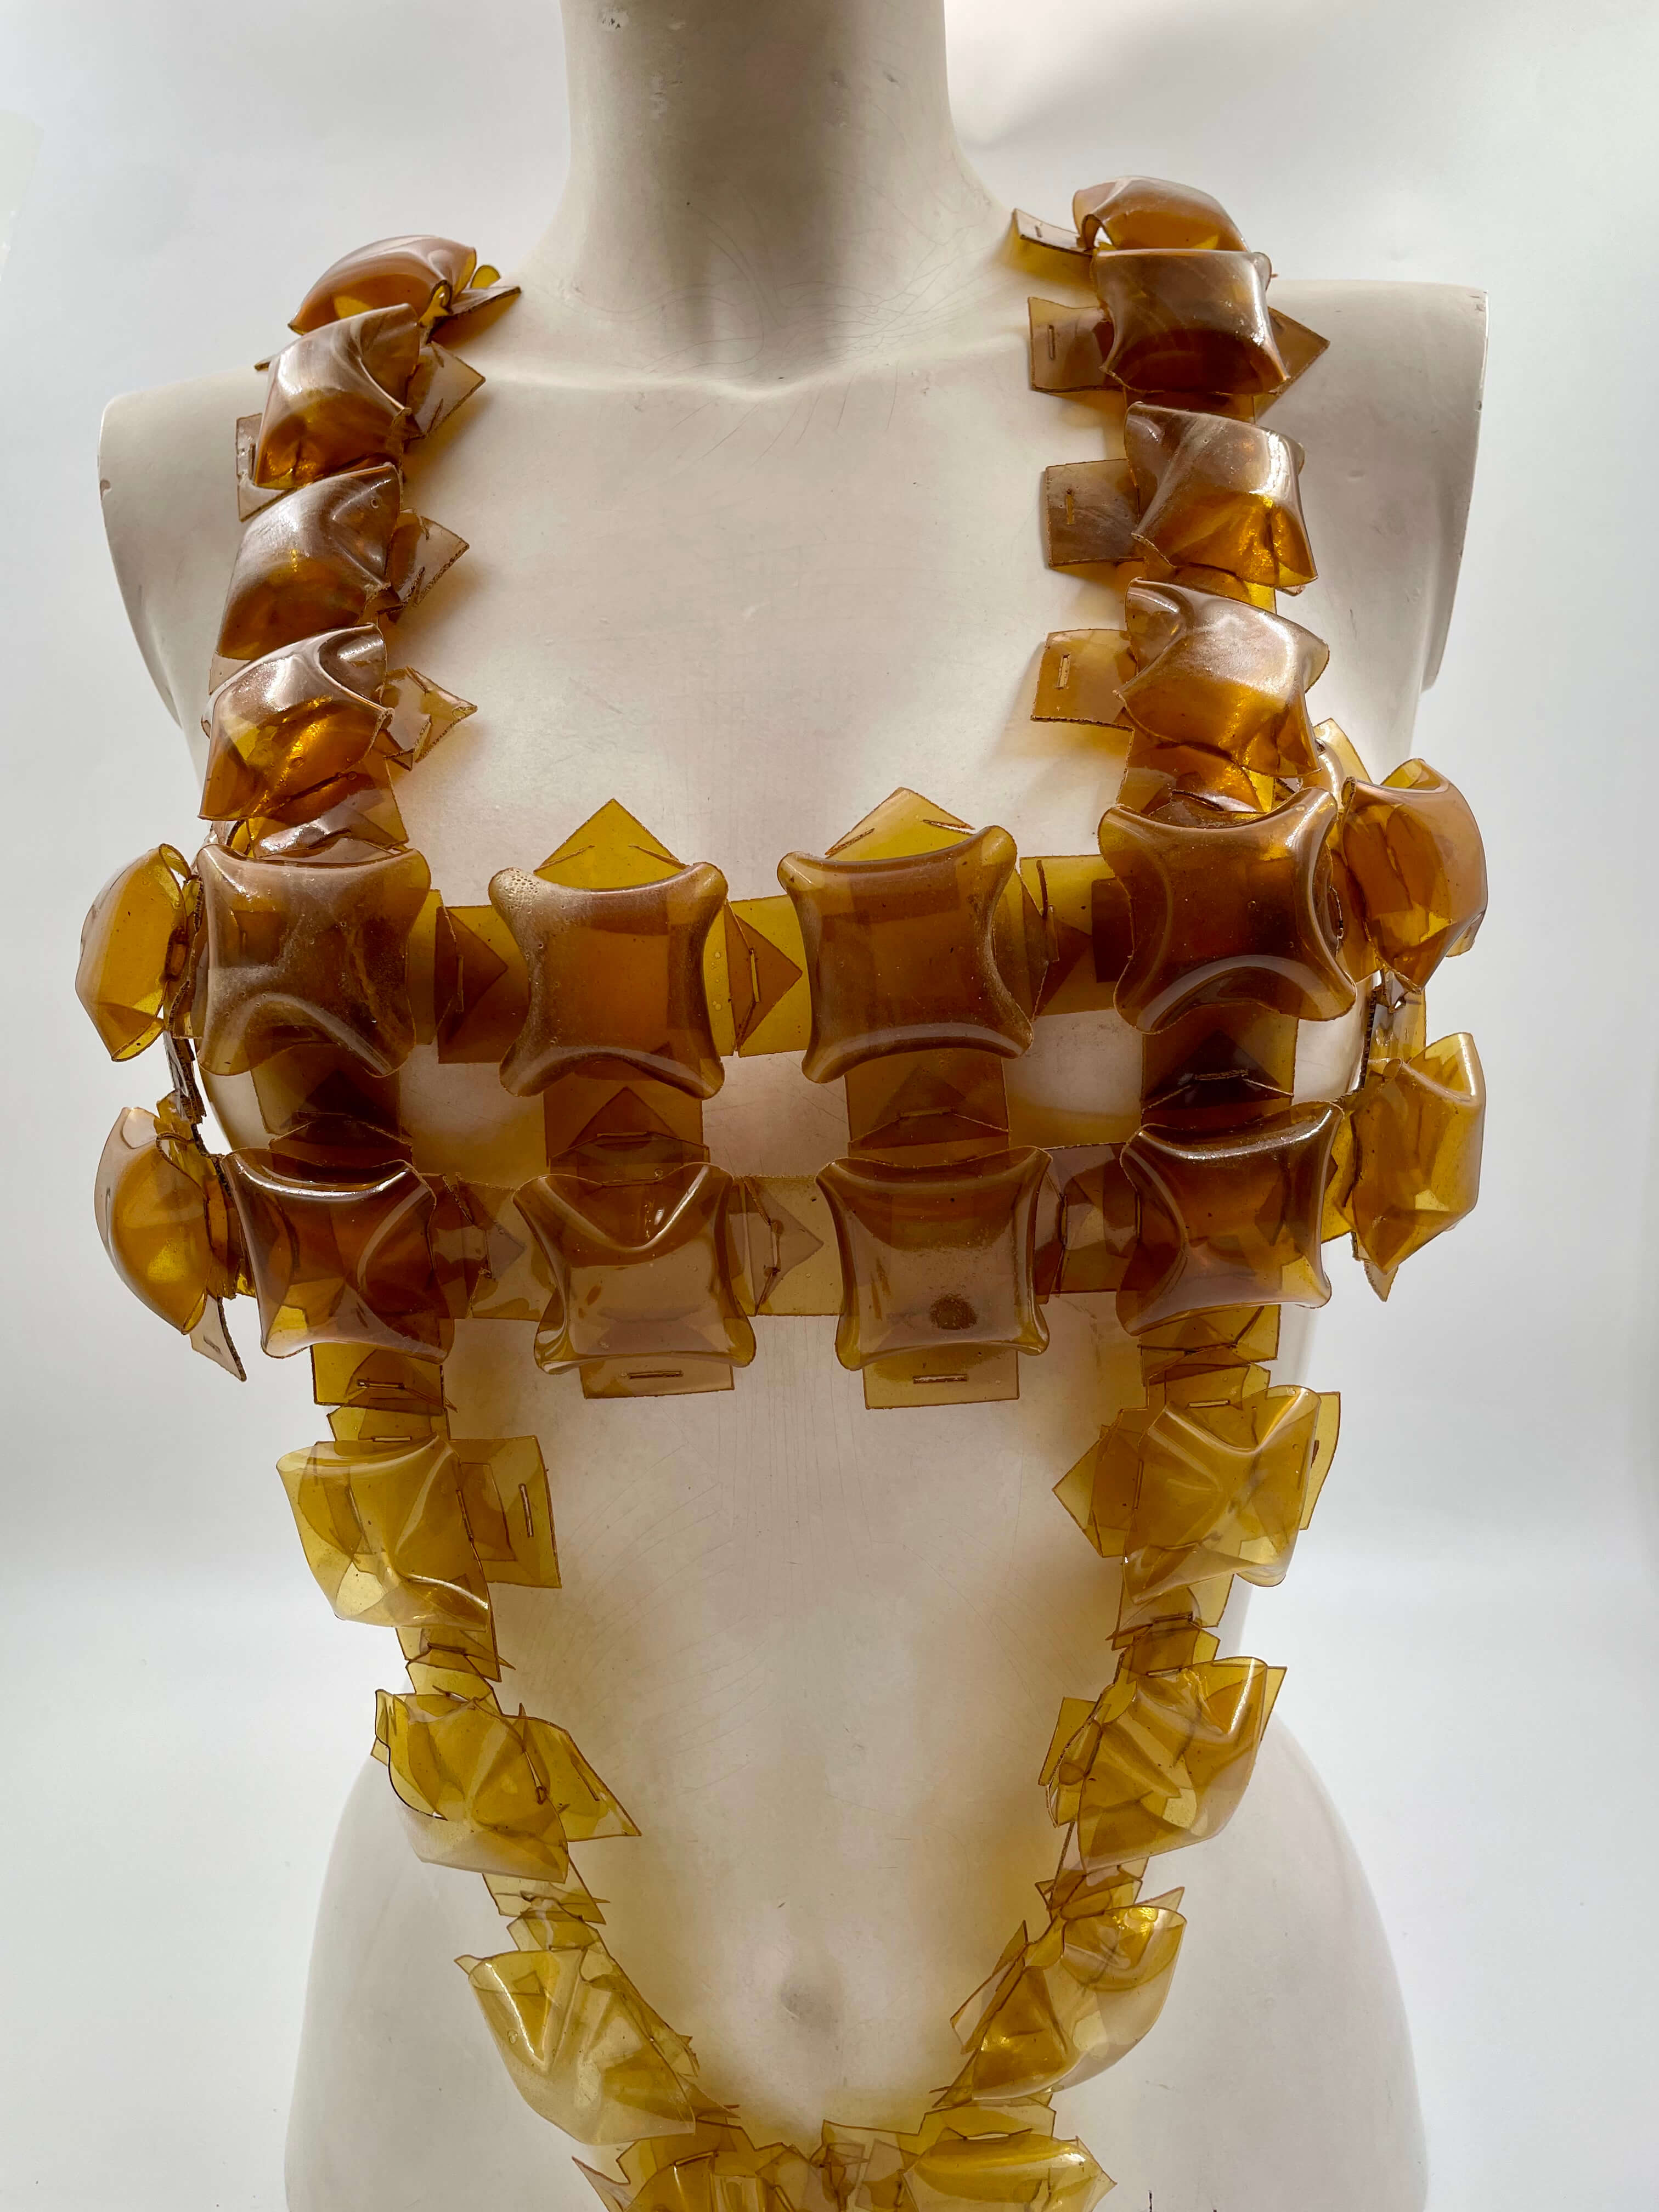
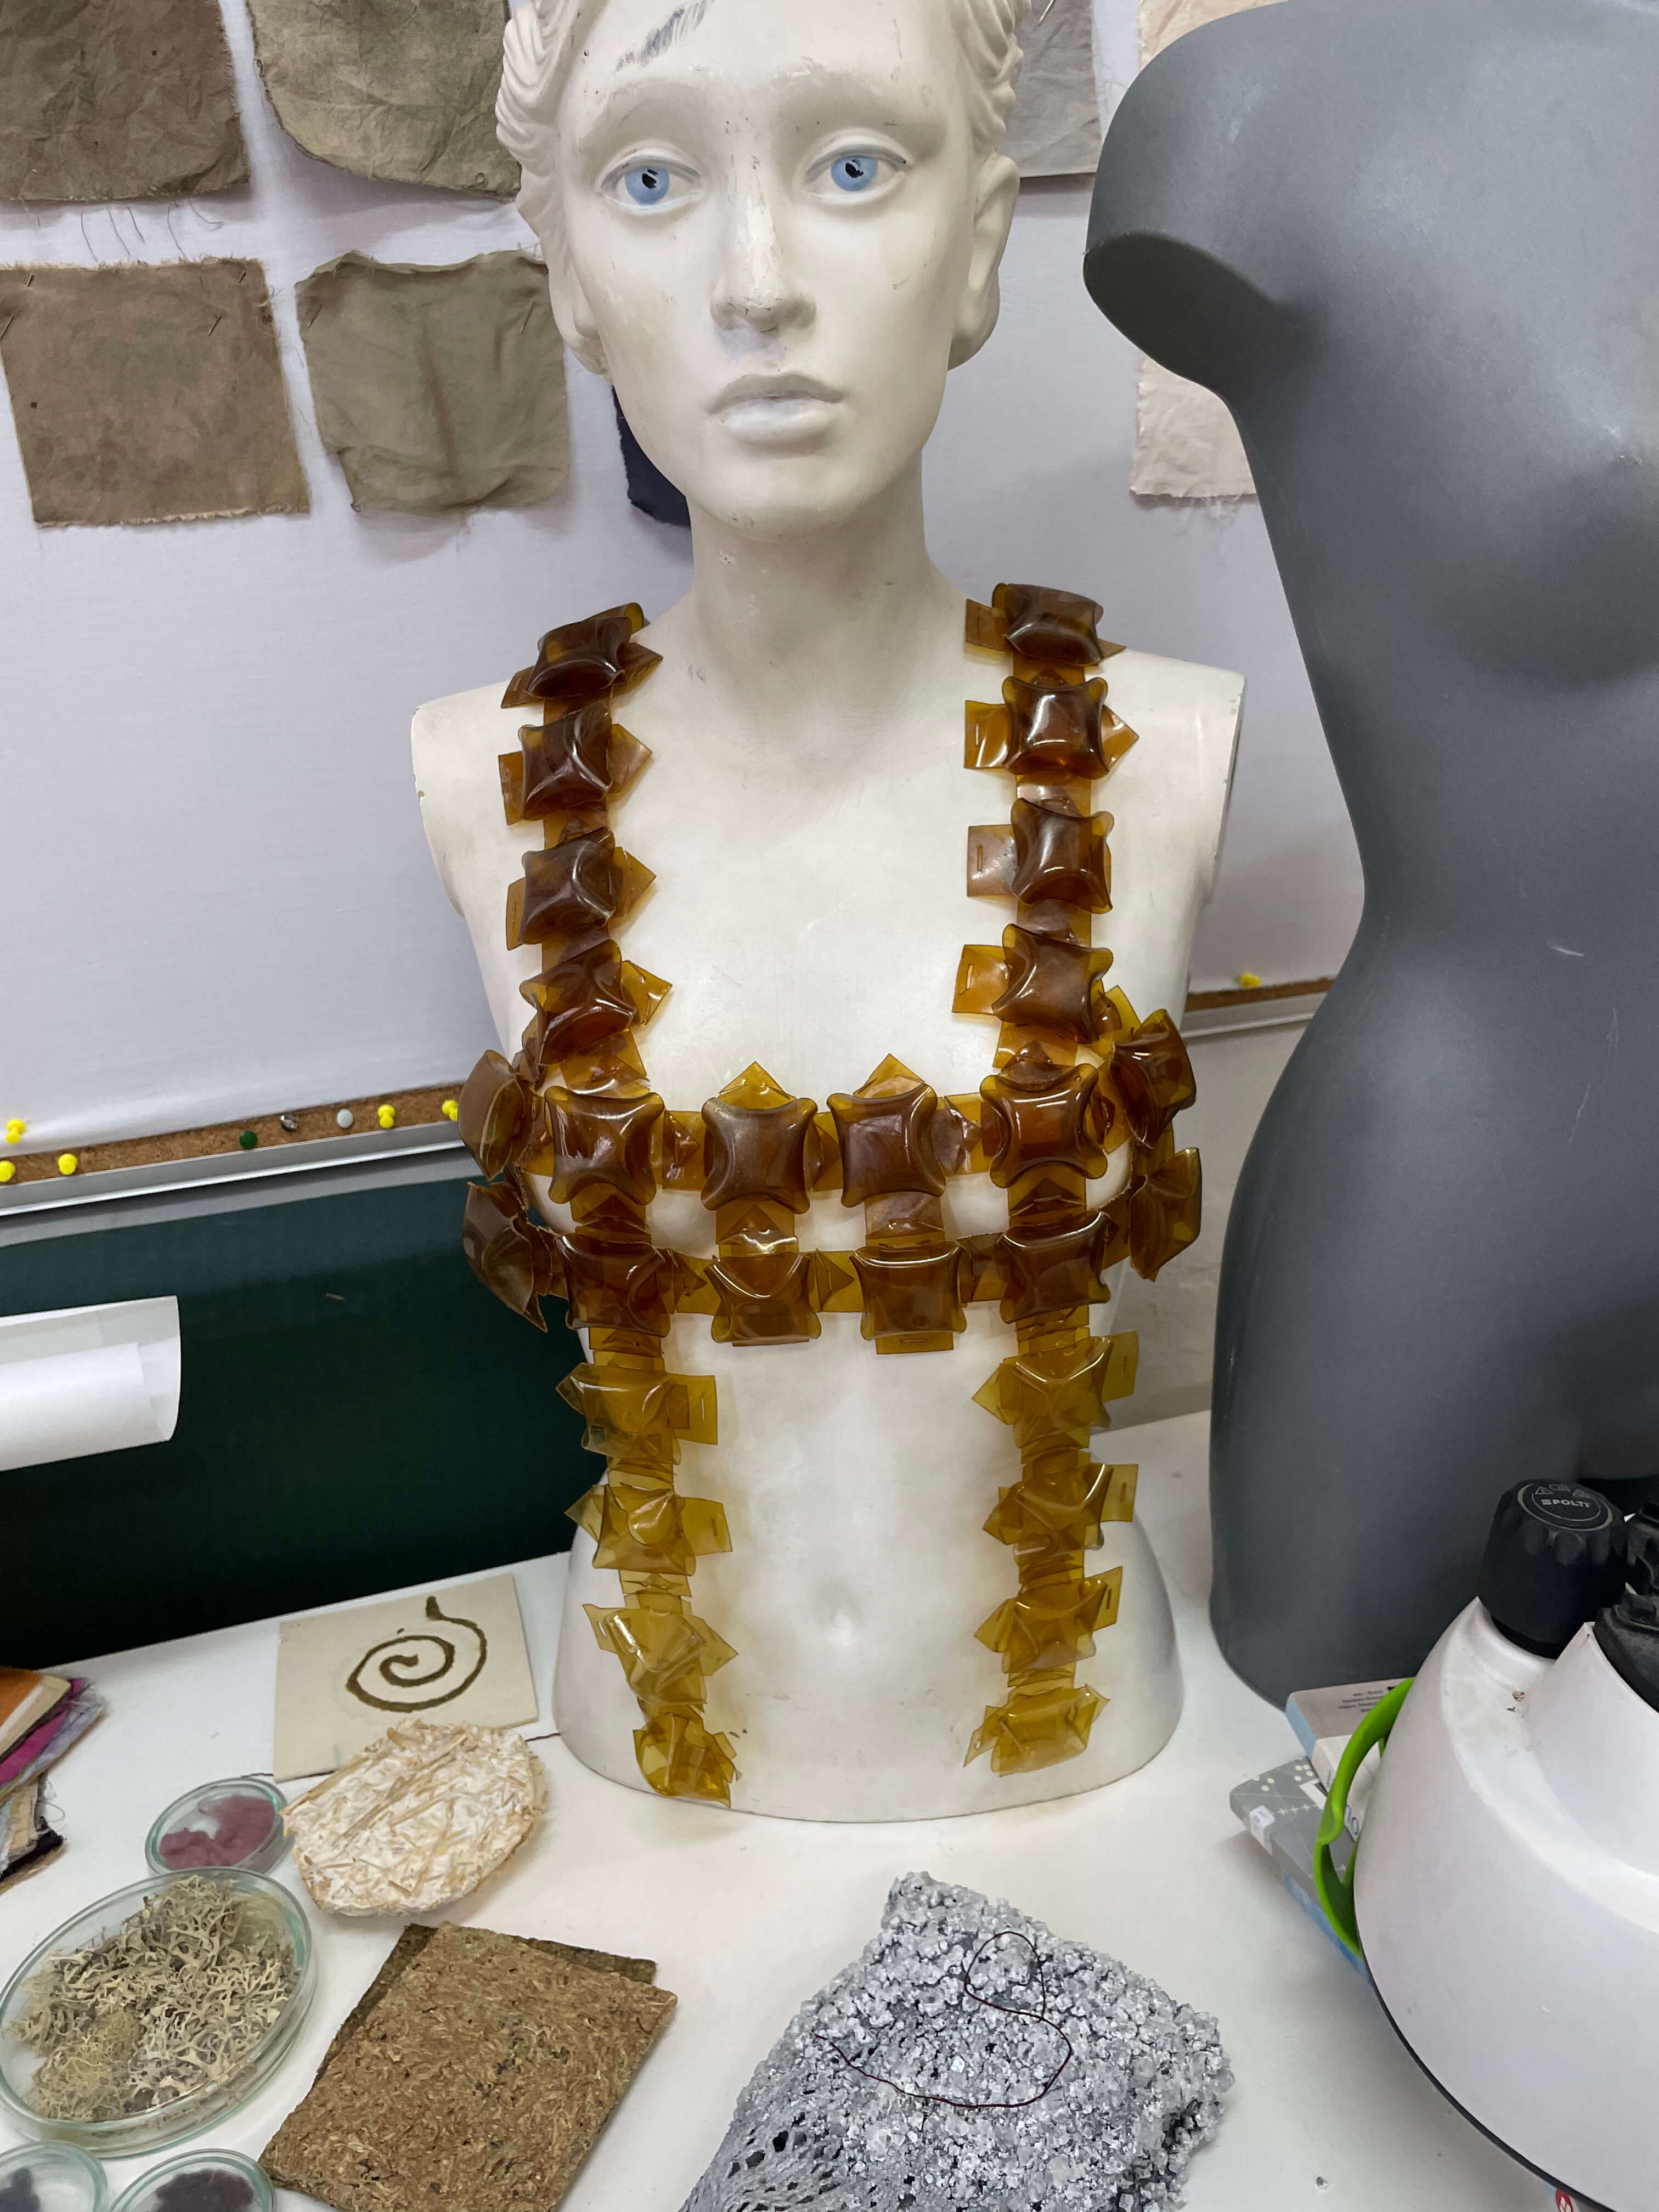
Laser Cut Interlocking Method: Using the interlocking design I created in week 3 of Fabricademy I cut the eucalyptus sheet in the same shape and interlocked them on the mannequin in different designs. I like this method because the garment become modular and you can add and takeaway pieces. It could be a bra, a vest, a dress, a jumpter. Could a dress transform into pants with the same amount of pieces? I liked the look but the material was too gooey and stretchy to hold and interlock. It would work better with stronger interlocking connectors and a less stretch material.
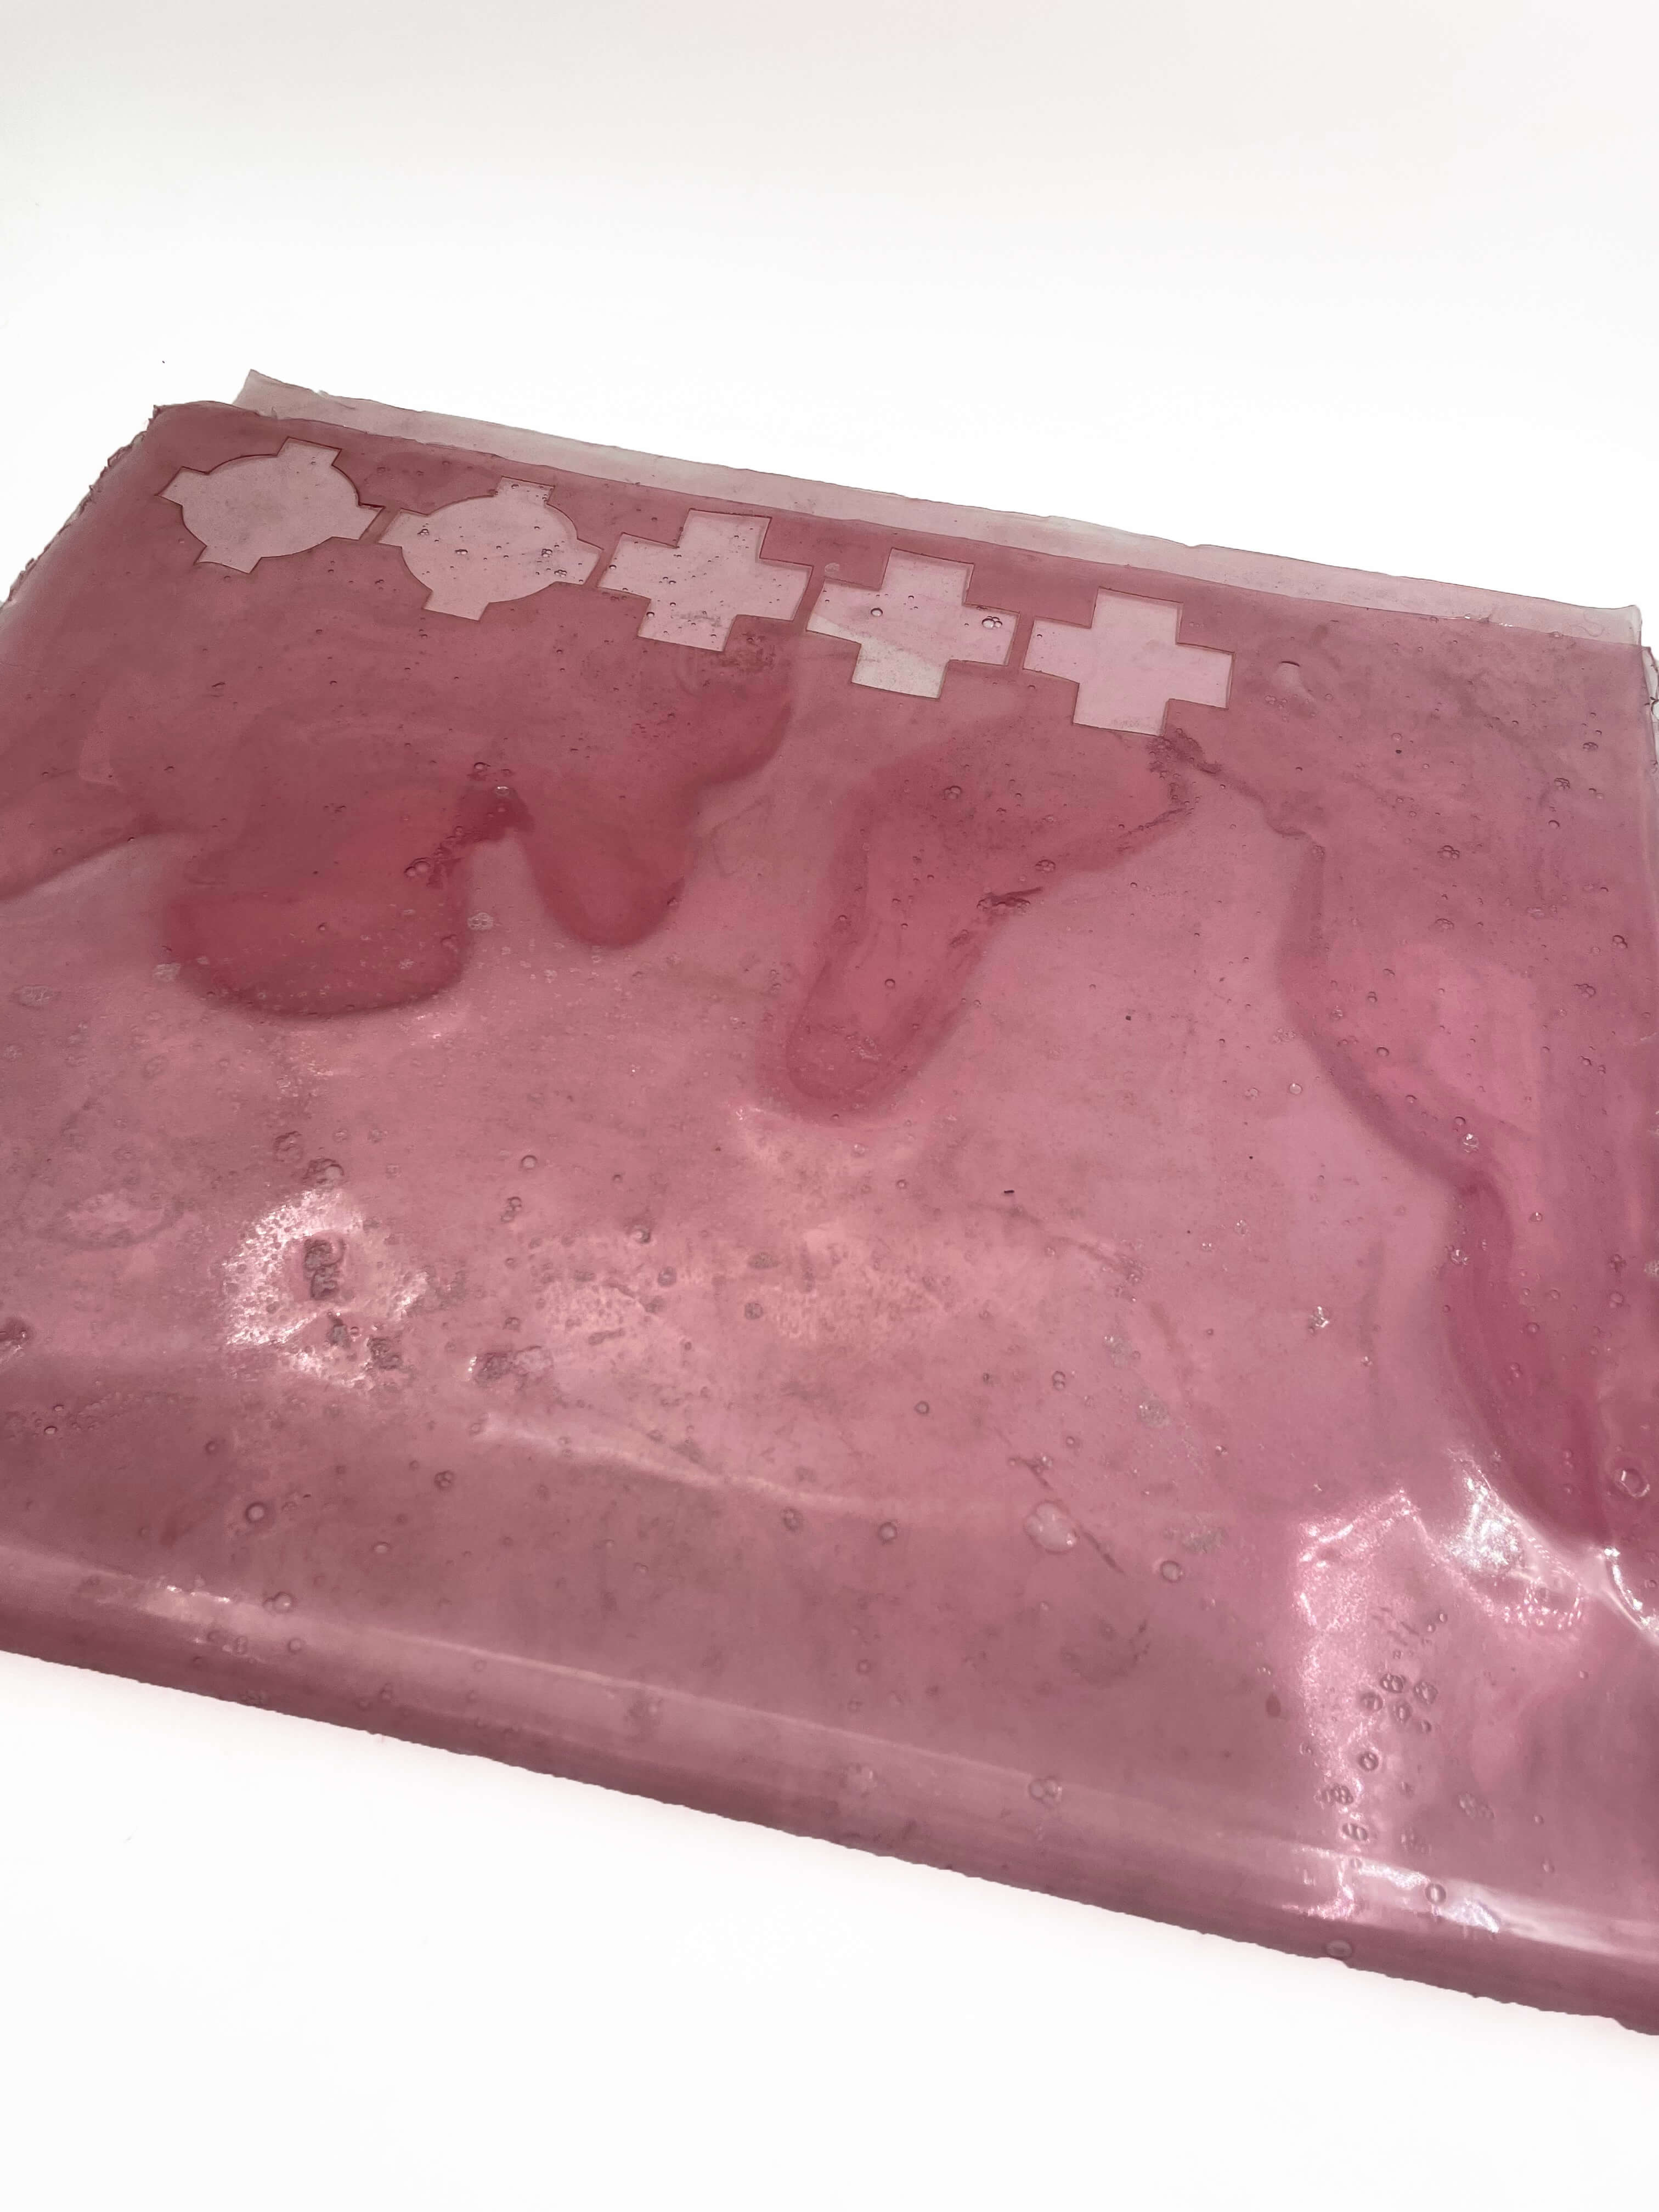
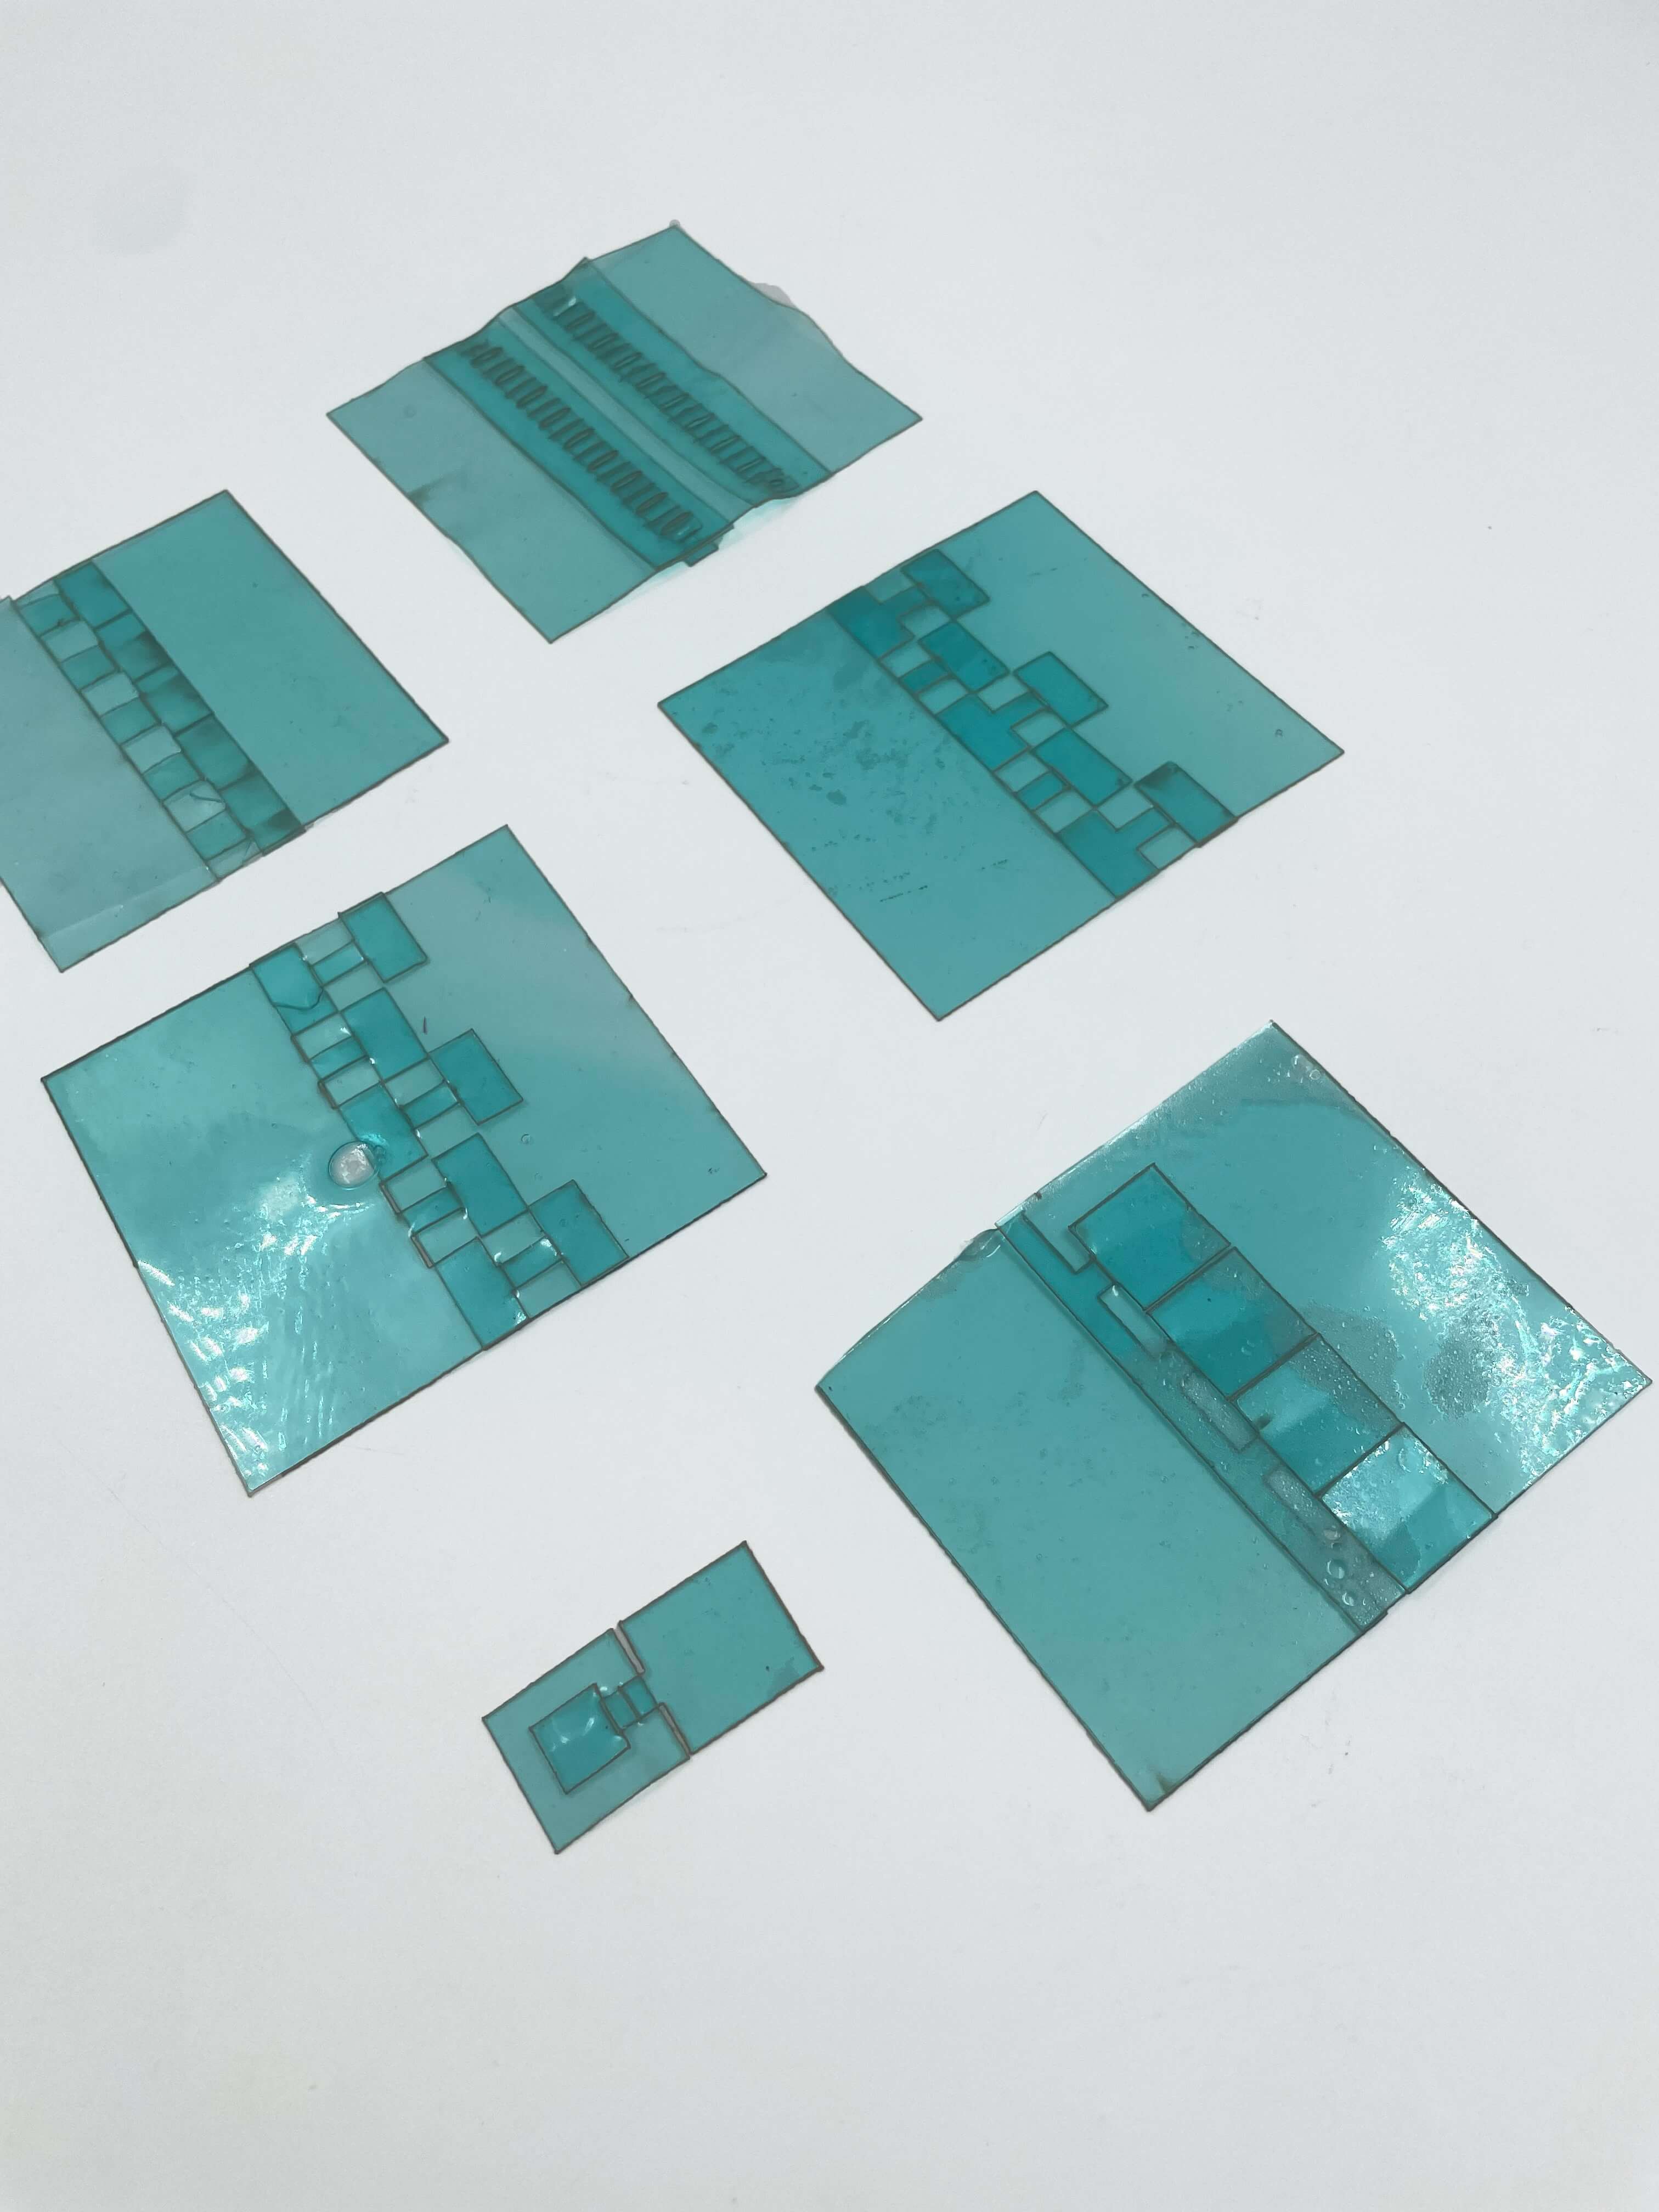
Interlocking Techniques: Using the interlocking designs of former Fabricademy Student Maite Sosa I downloaded and laser cut these samples using my blue bio plastic sheet. These connectors were very strong when the thickness of the material was at least 0.6mm and I will utilize them for connecting my final garments.
Sneaker Experiments
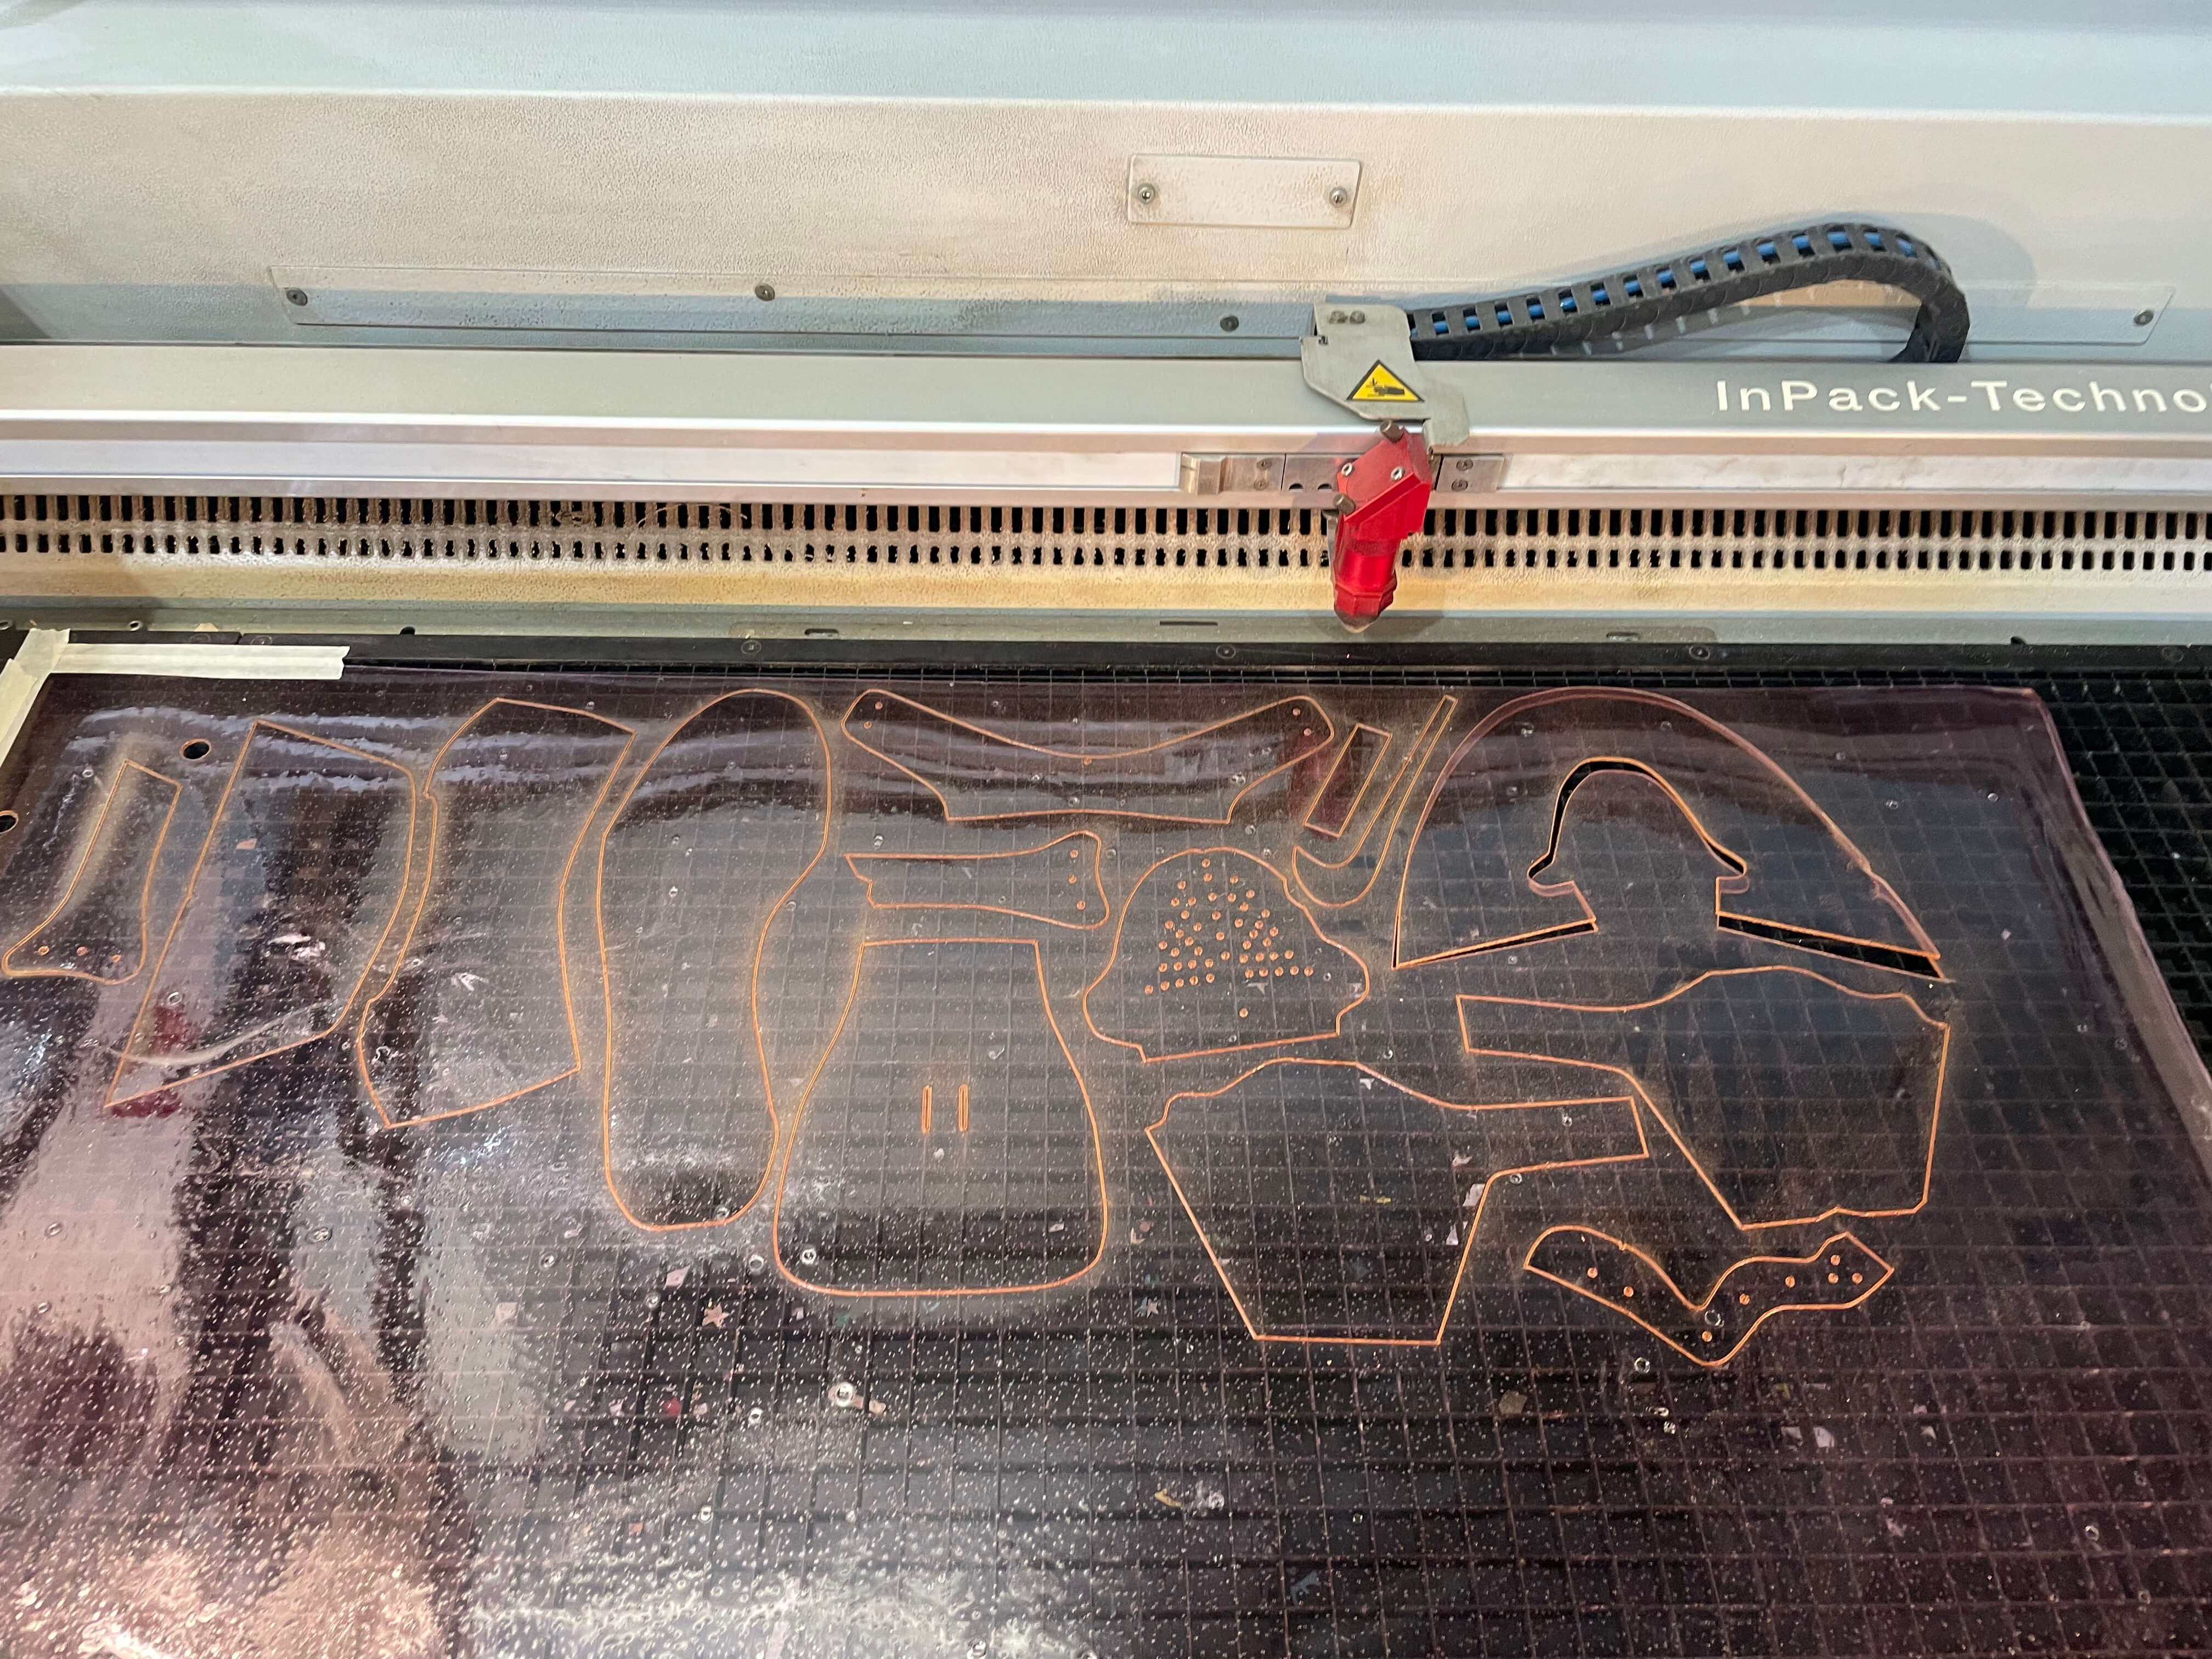
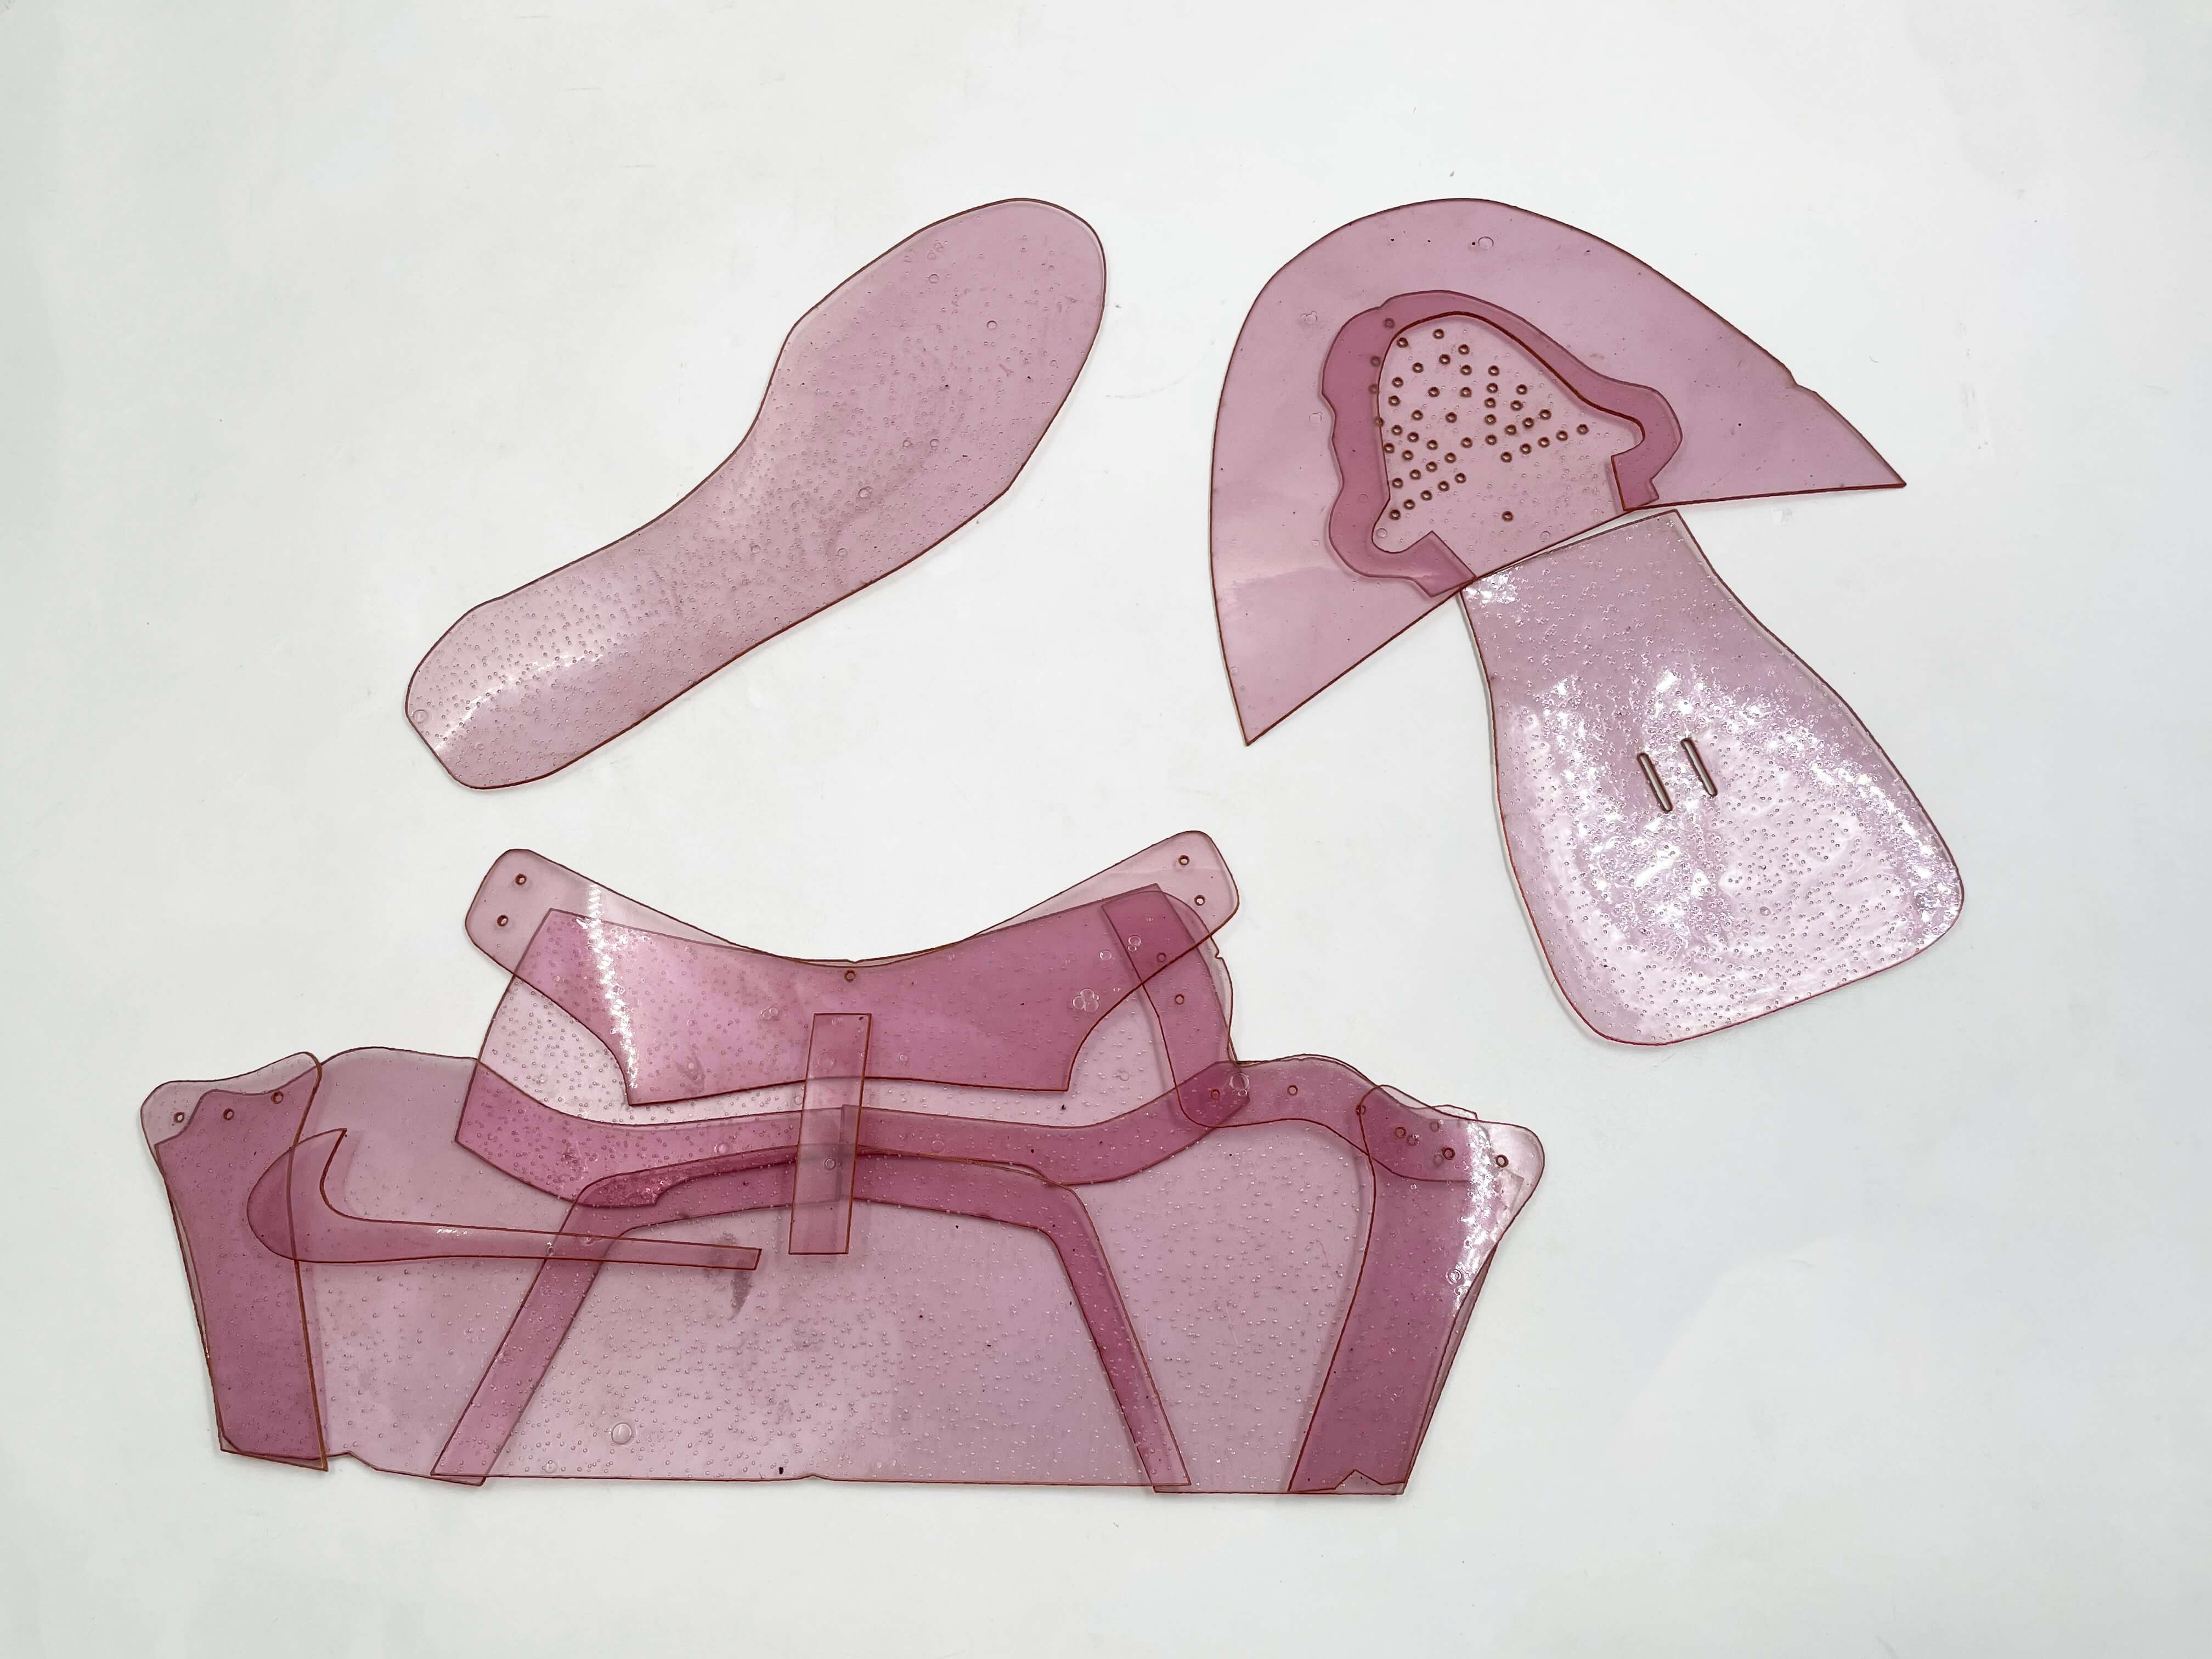
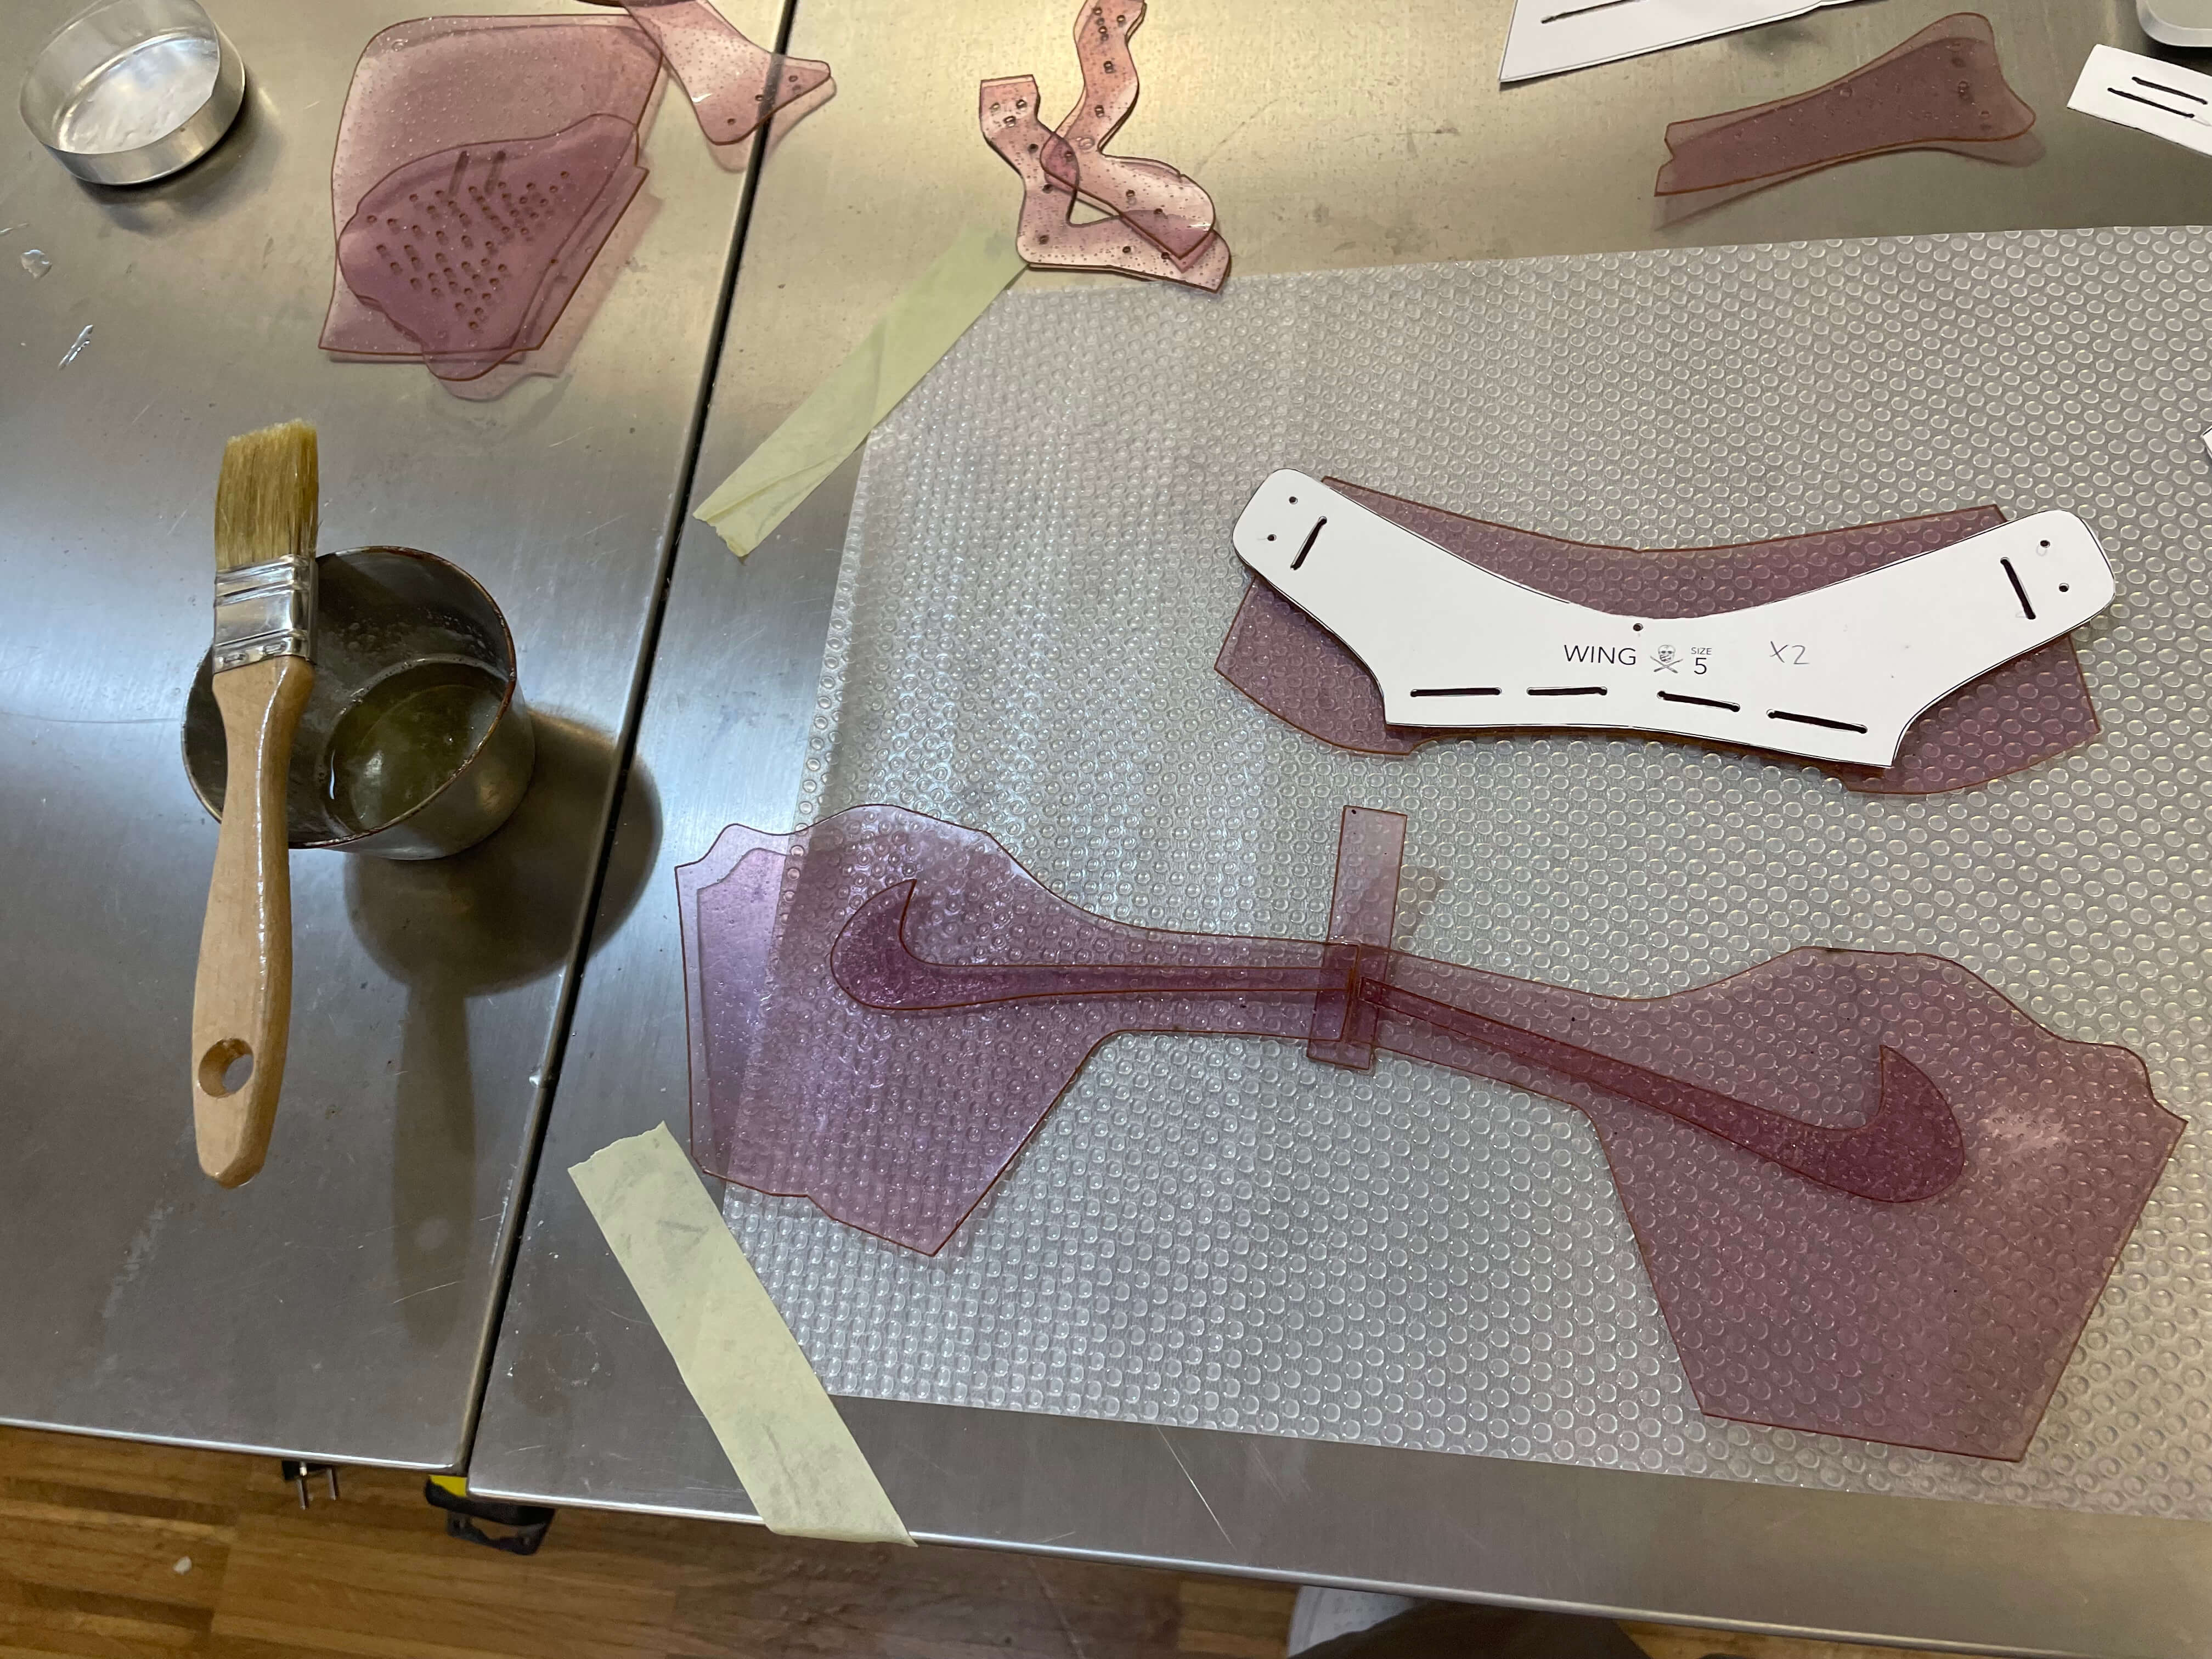
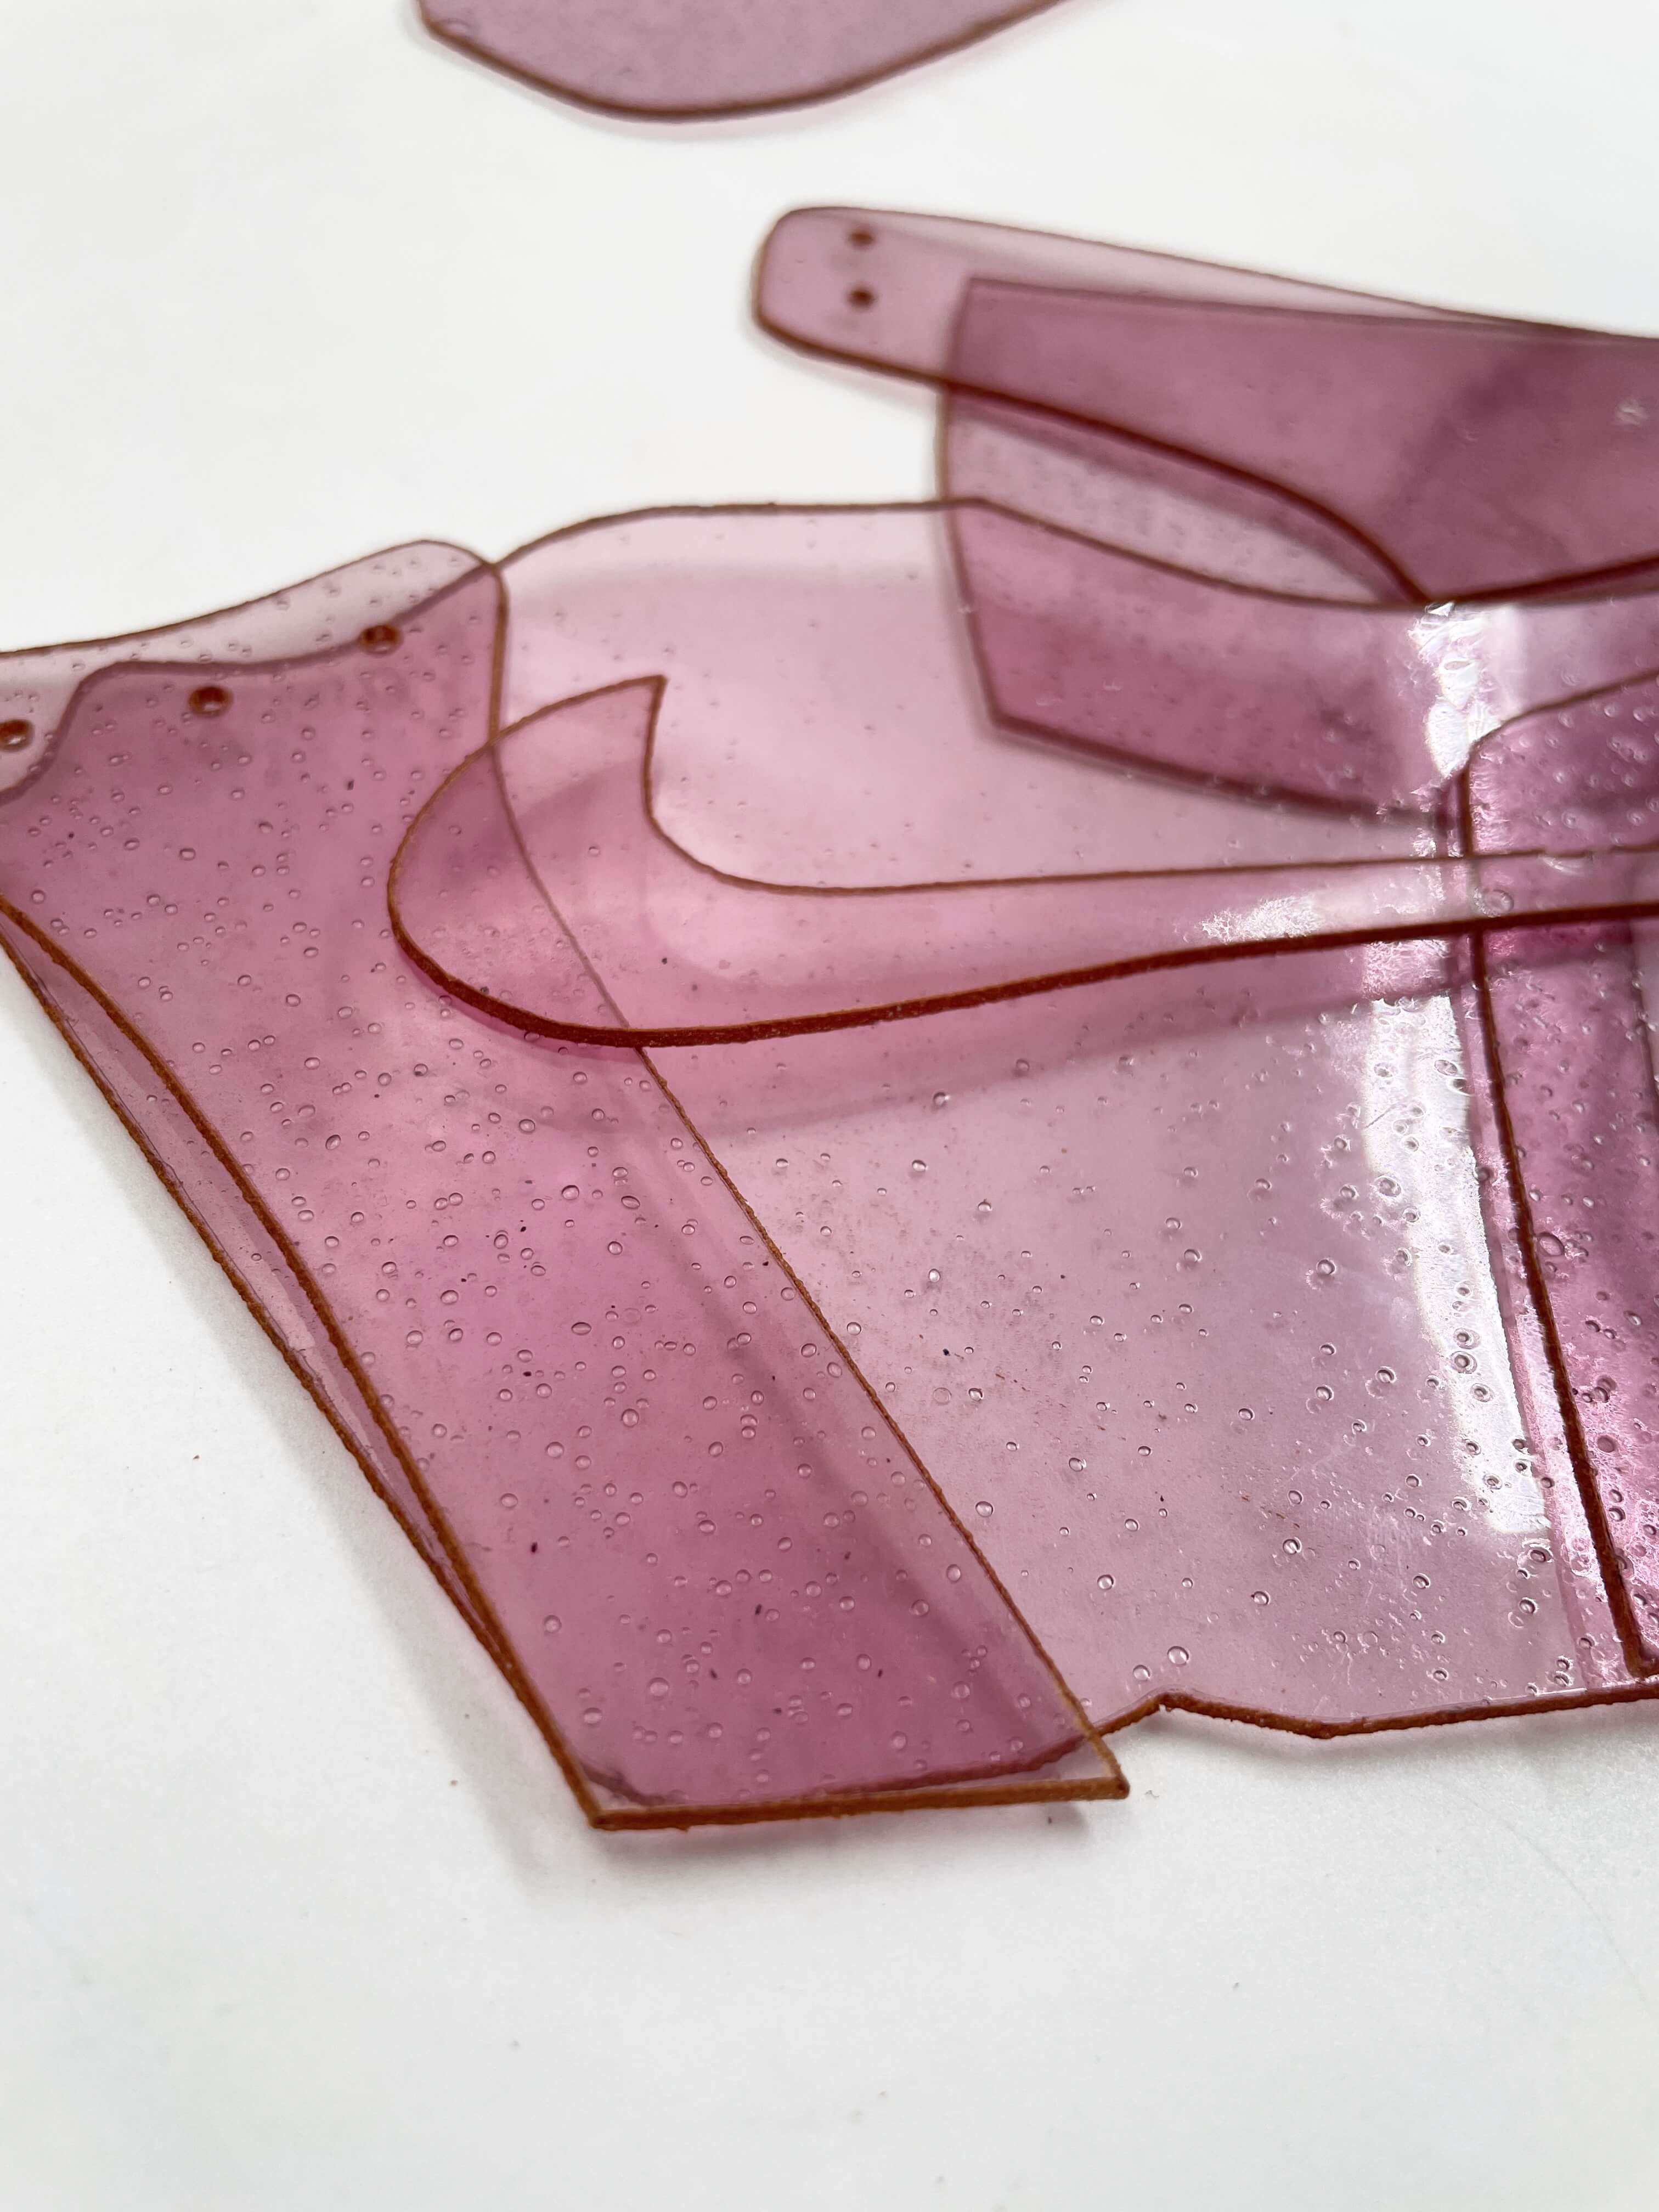
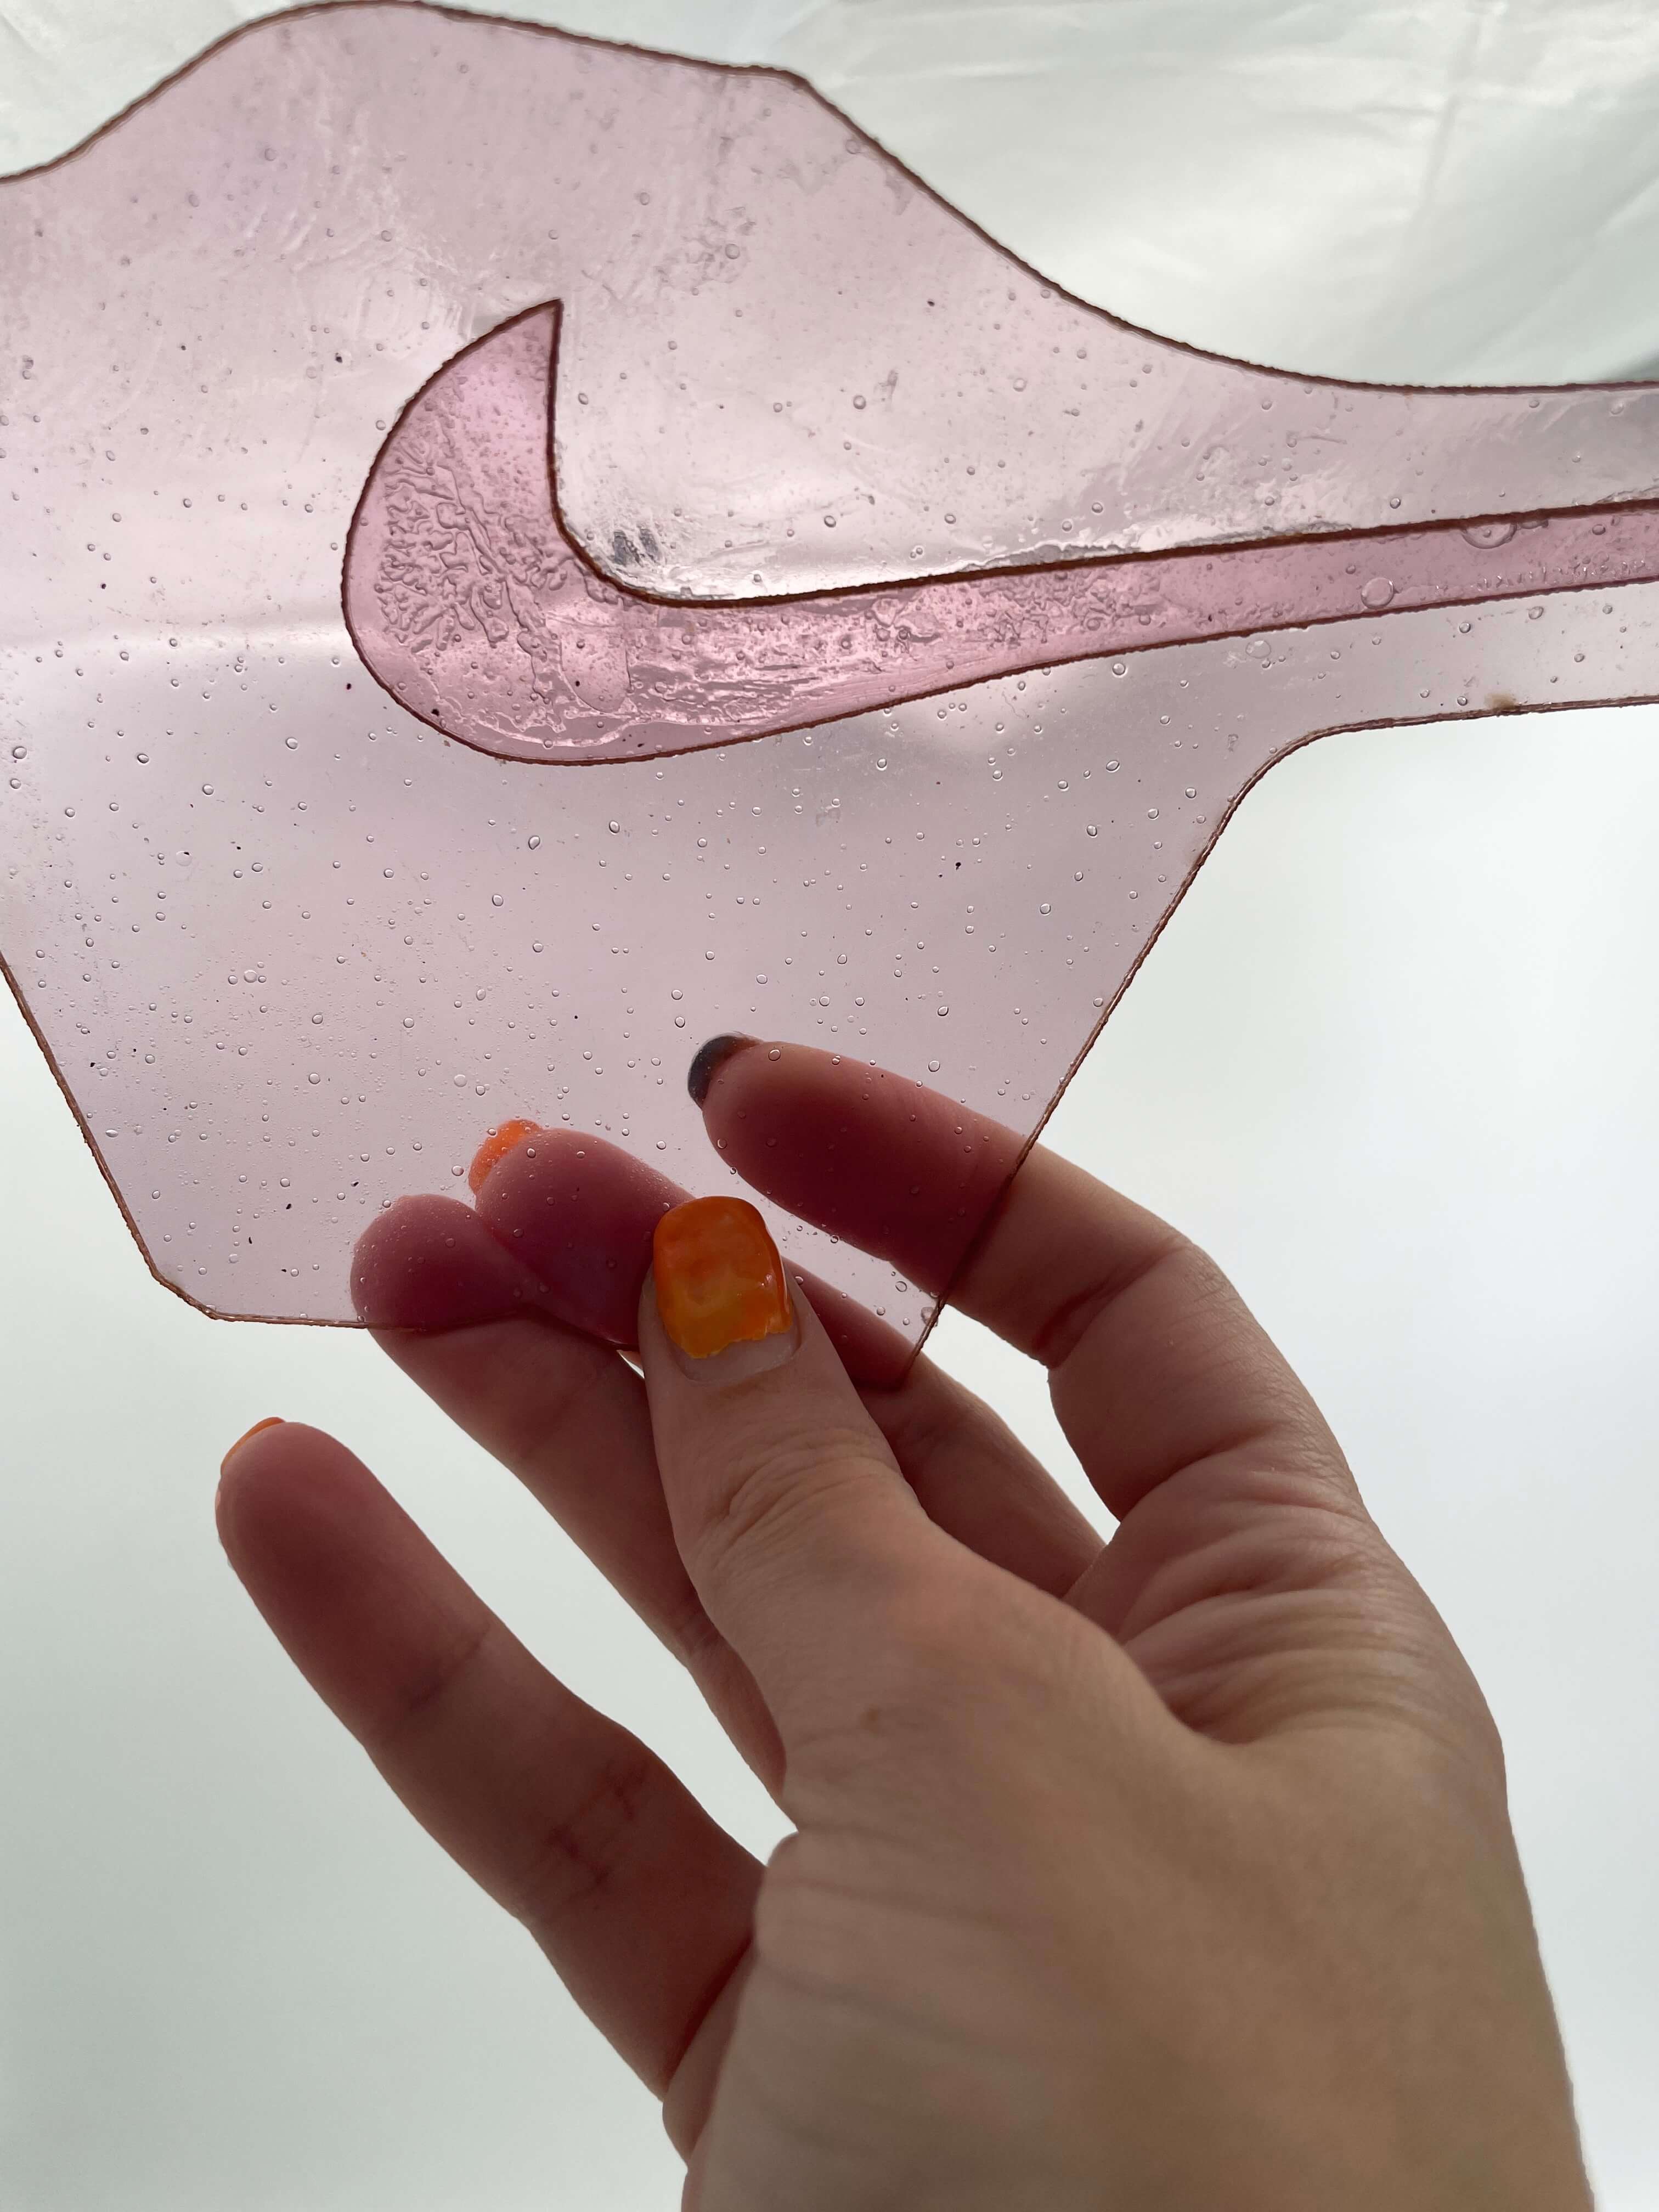
Laser Cut Pattern With the pink/lavendar bio plastic I cut my Jordan Air 1 Sneaker pattern. It cut nicely but securing all the pieces was a problem. Normally, these are sewn together using adhesives and glues for temporary connect before sewing. This process is difficult becasue there are a lot of layers to sew through. In the case of the bio plastic this appeared extra difficult becuase this material was thick and not maliable. It became clear that it would also be difficult to secure it to the shoe last and remove it. I experimented with using gelatin glue but did not move forward with this technique because it was clear this would not work without breaking.
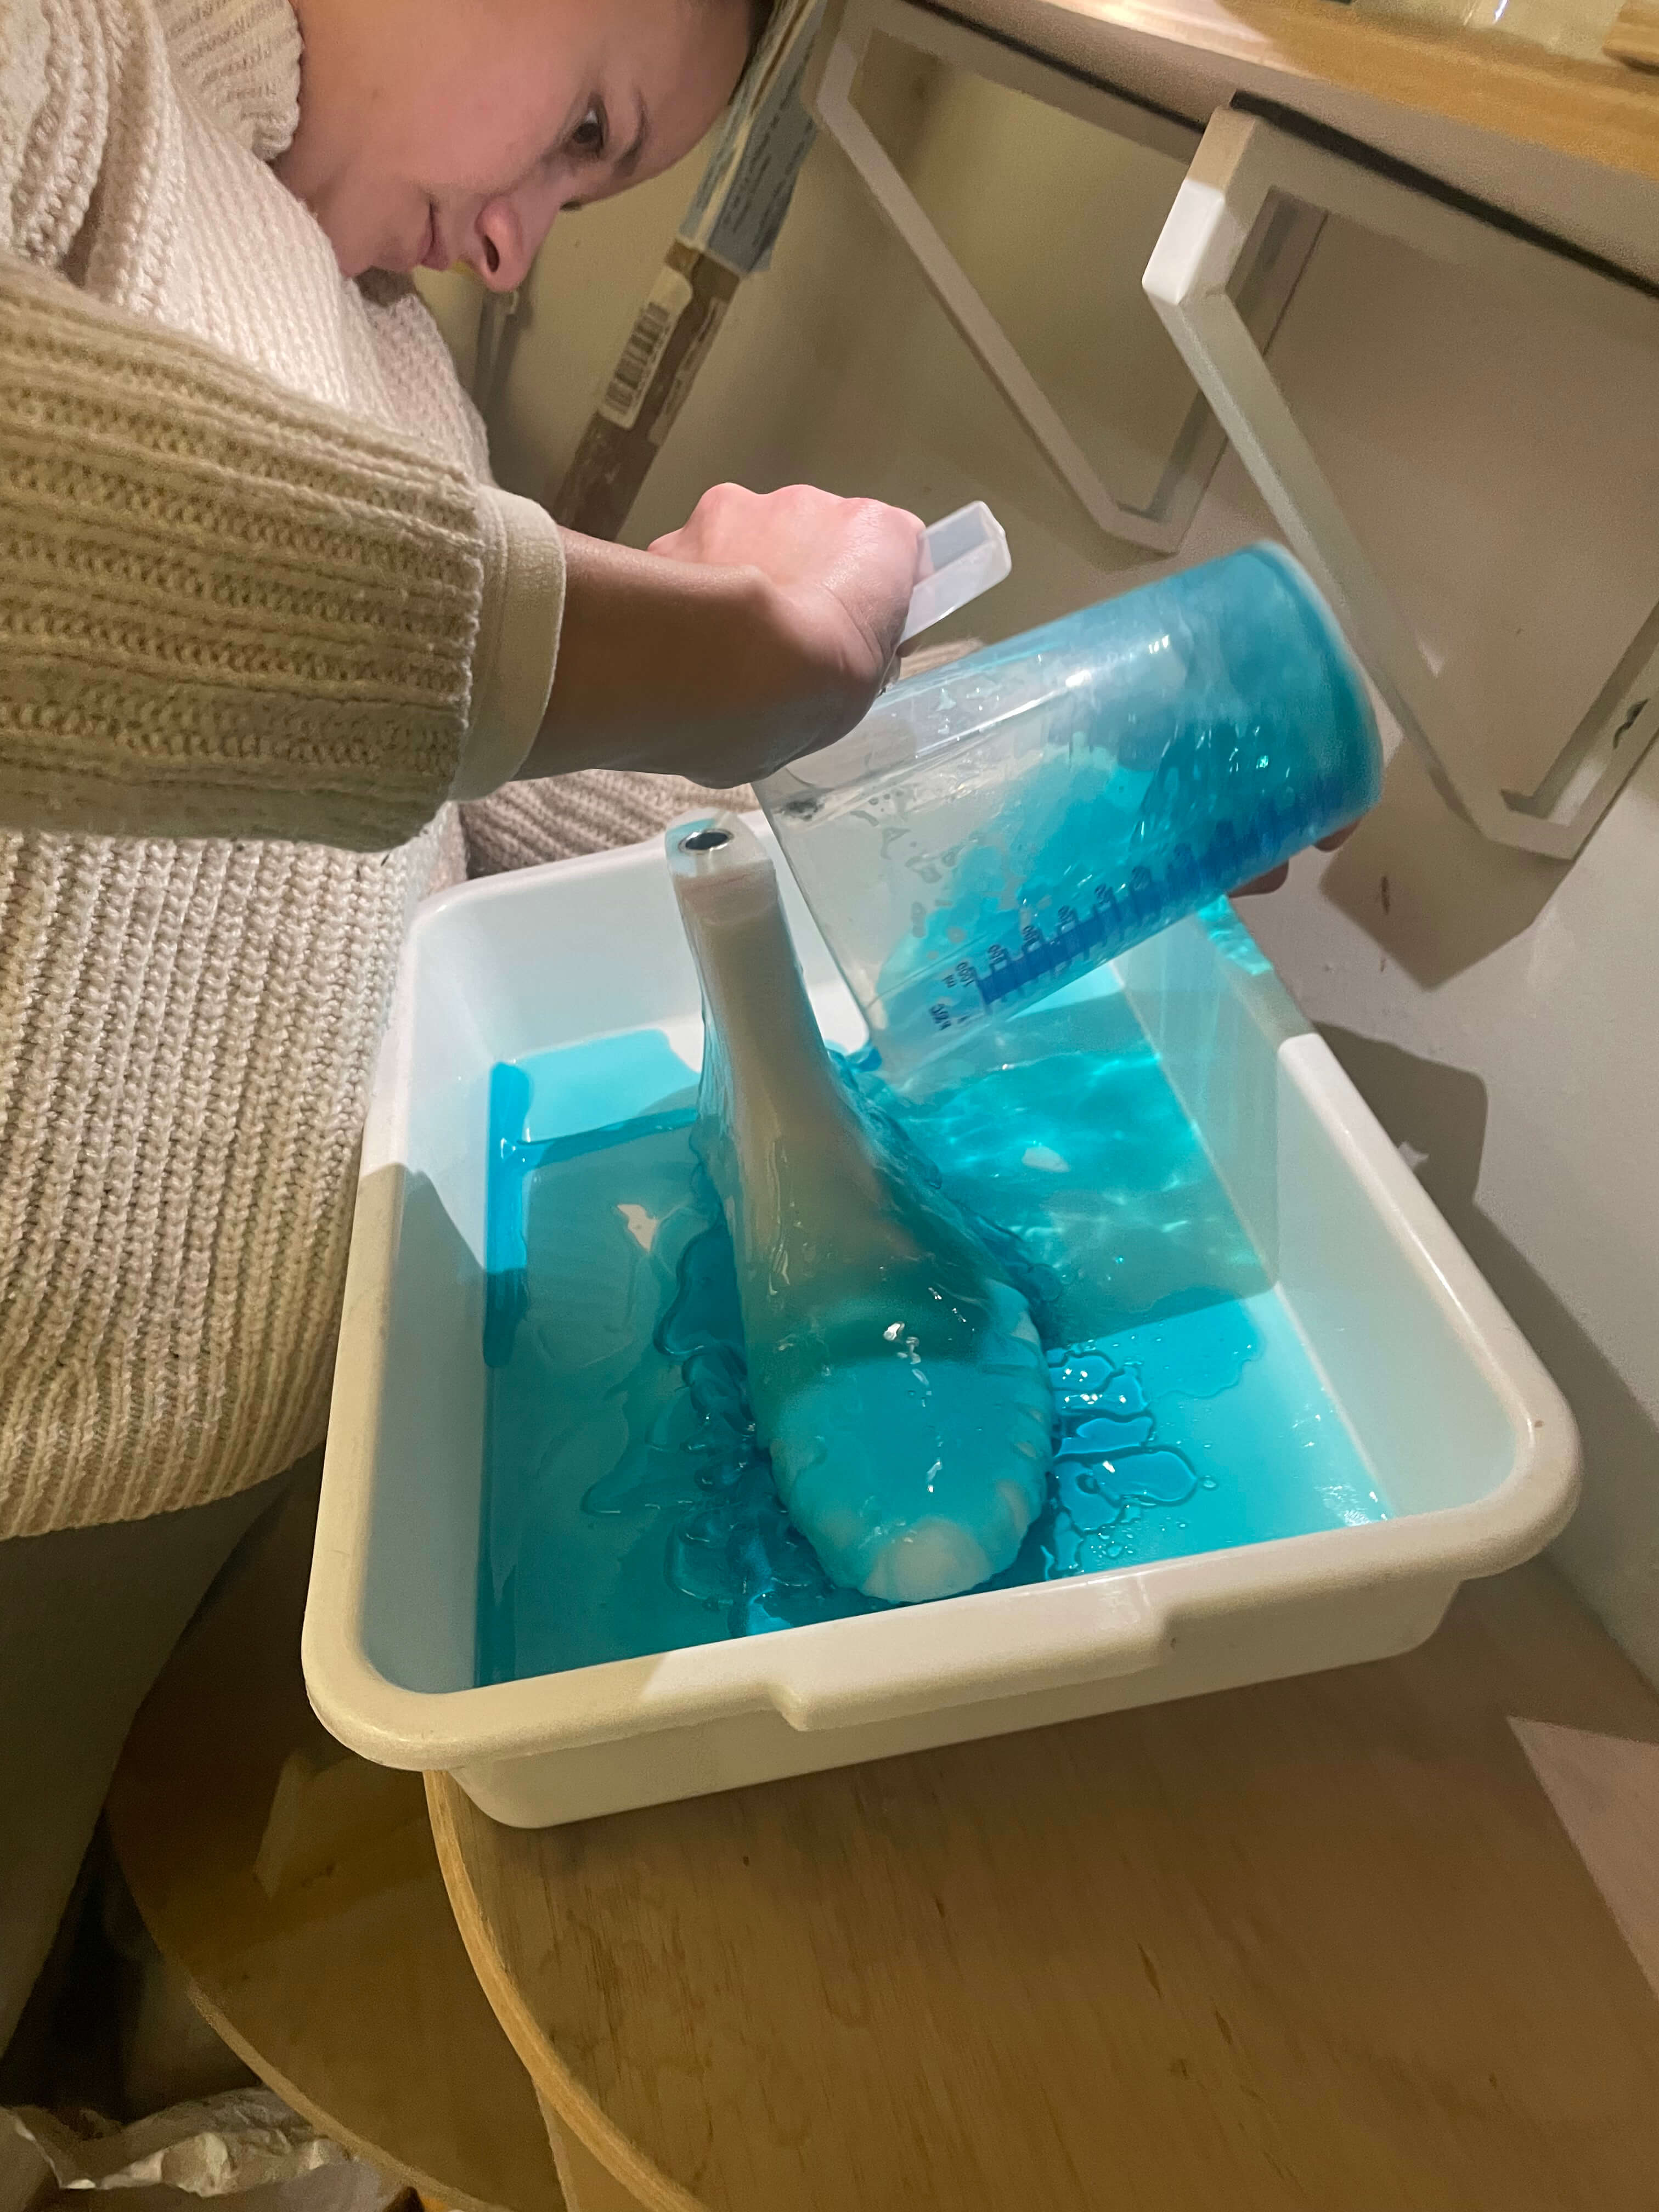
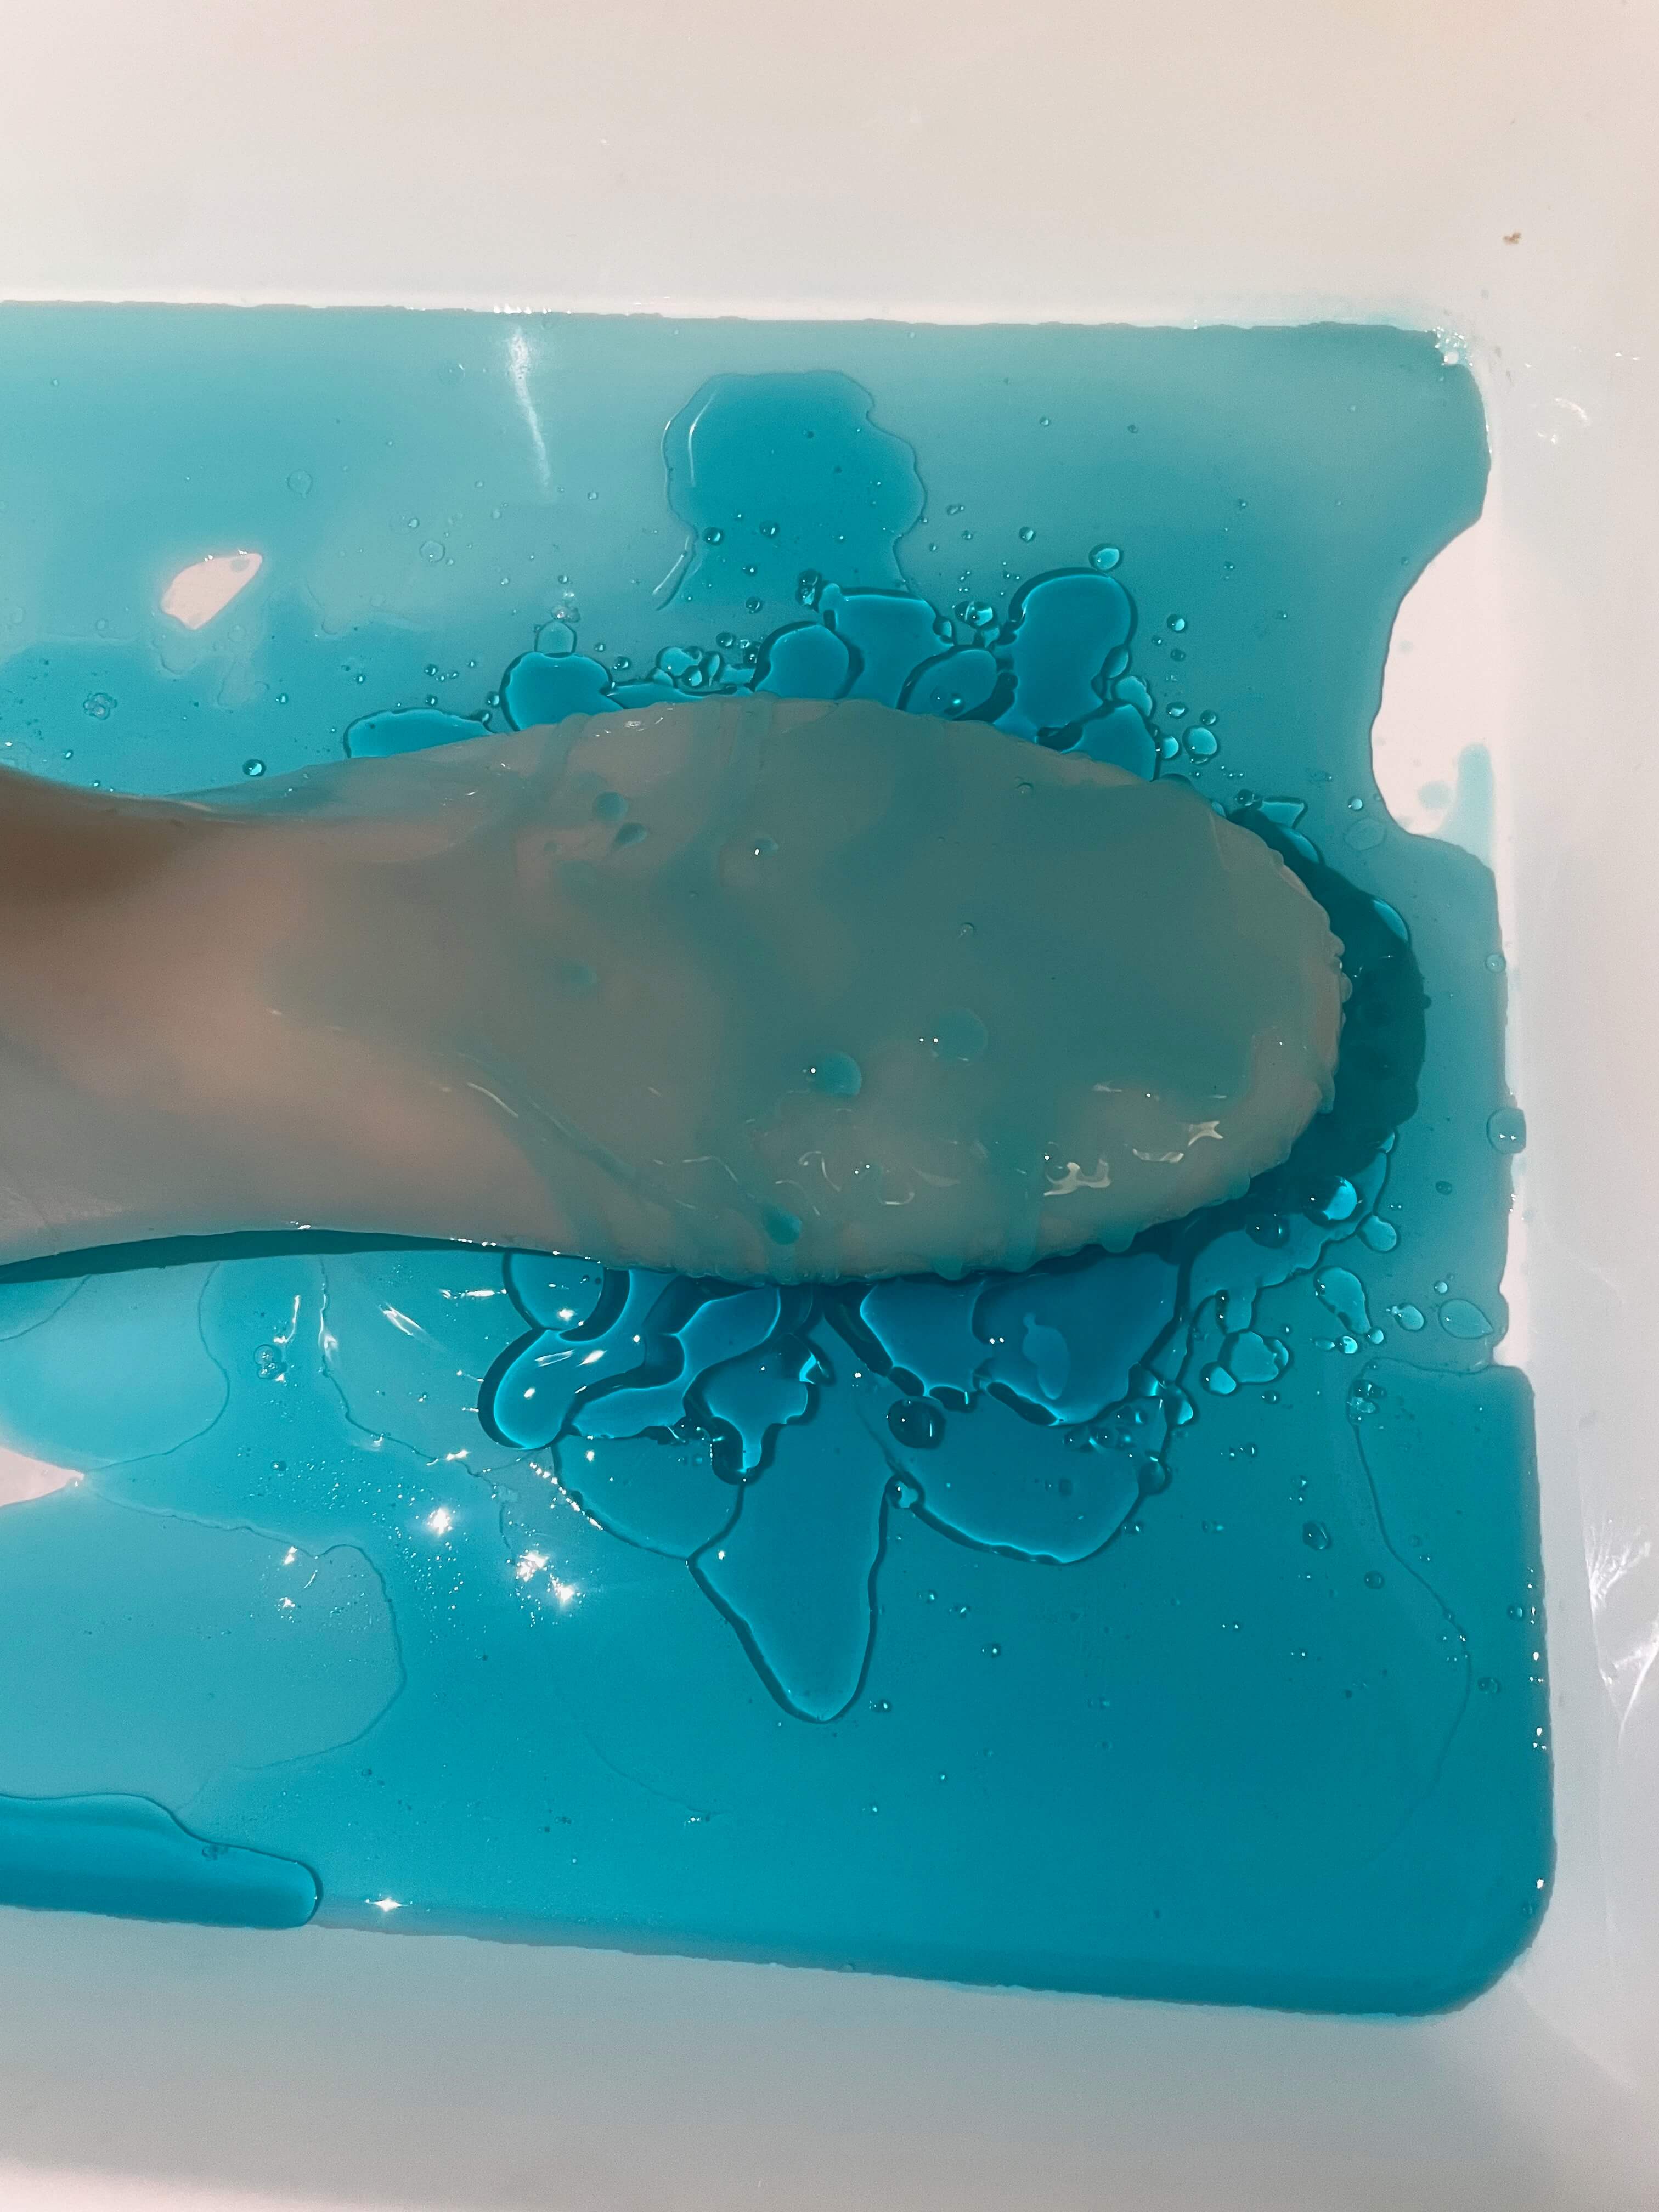
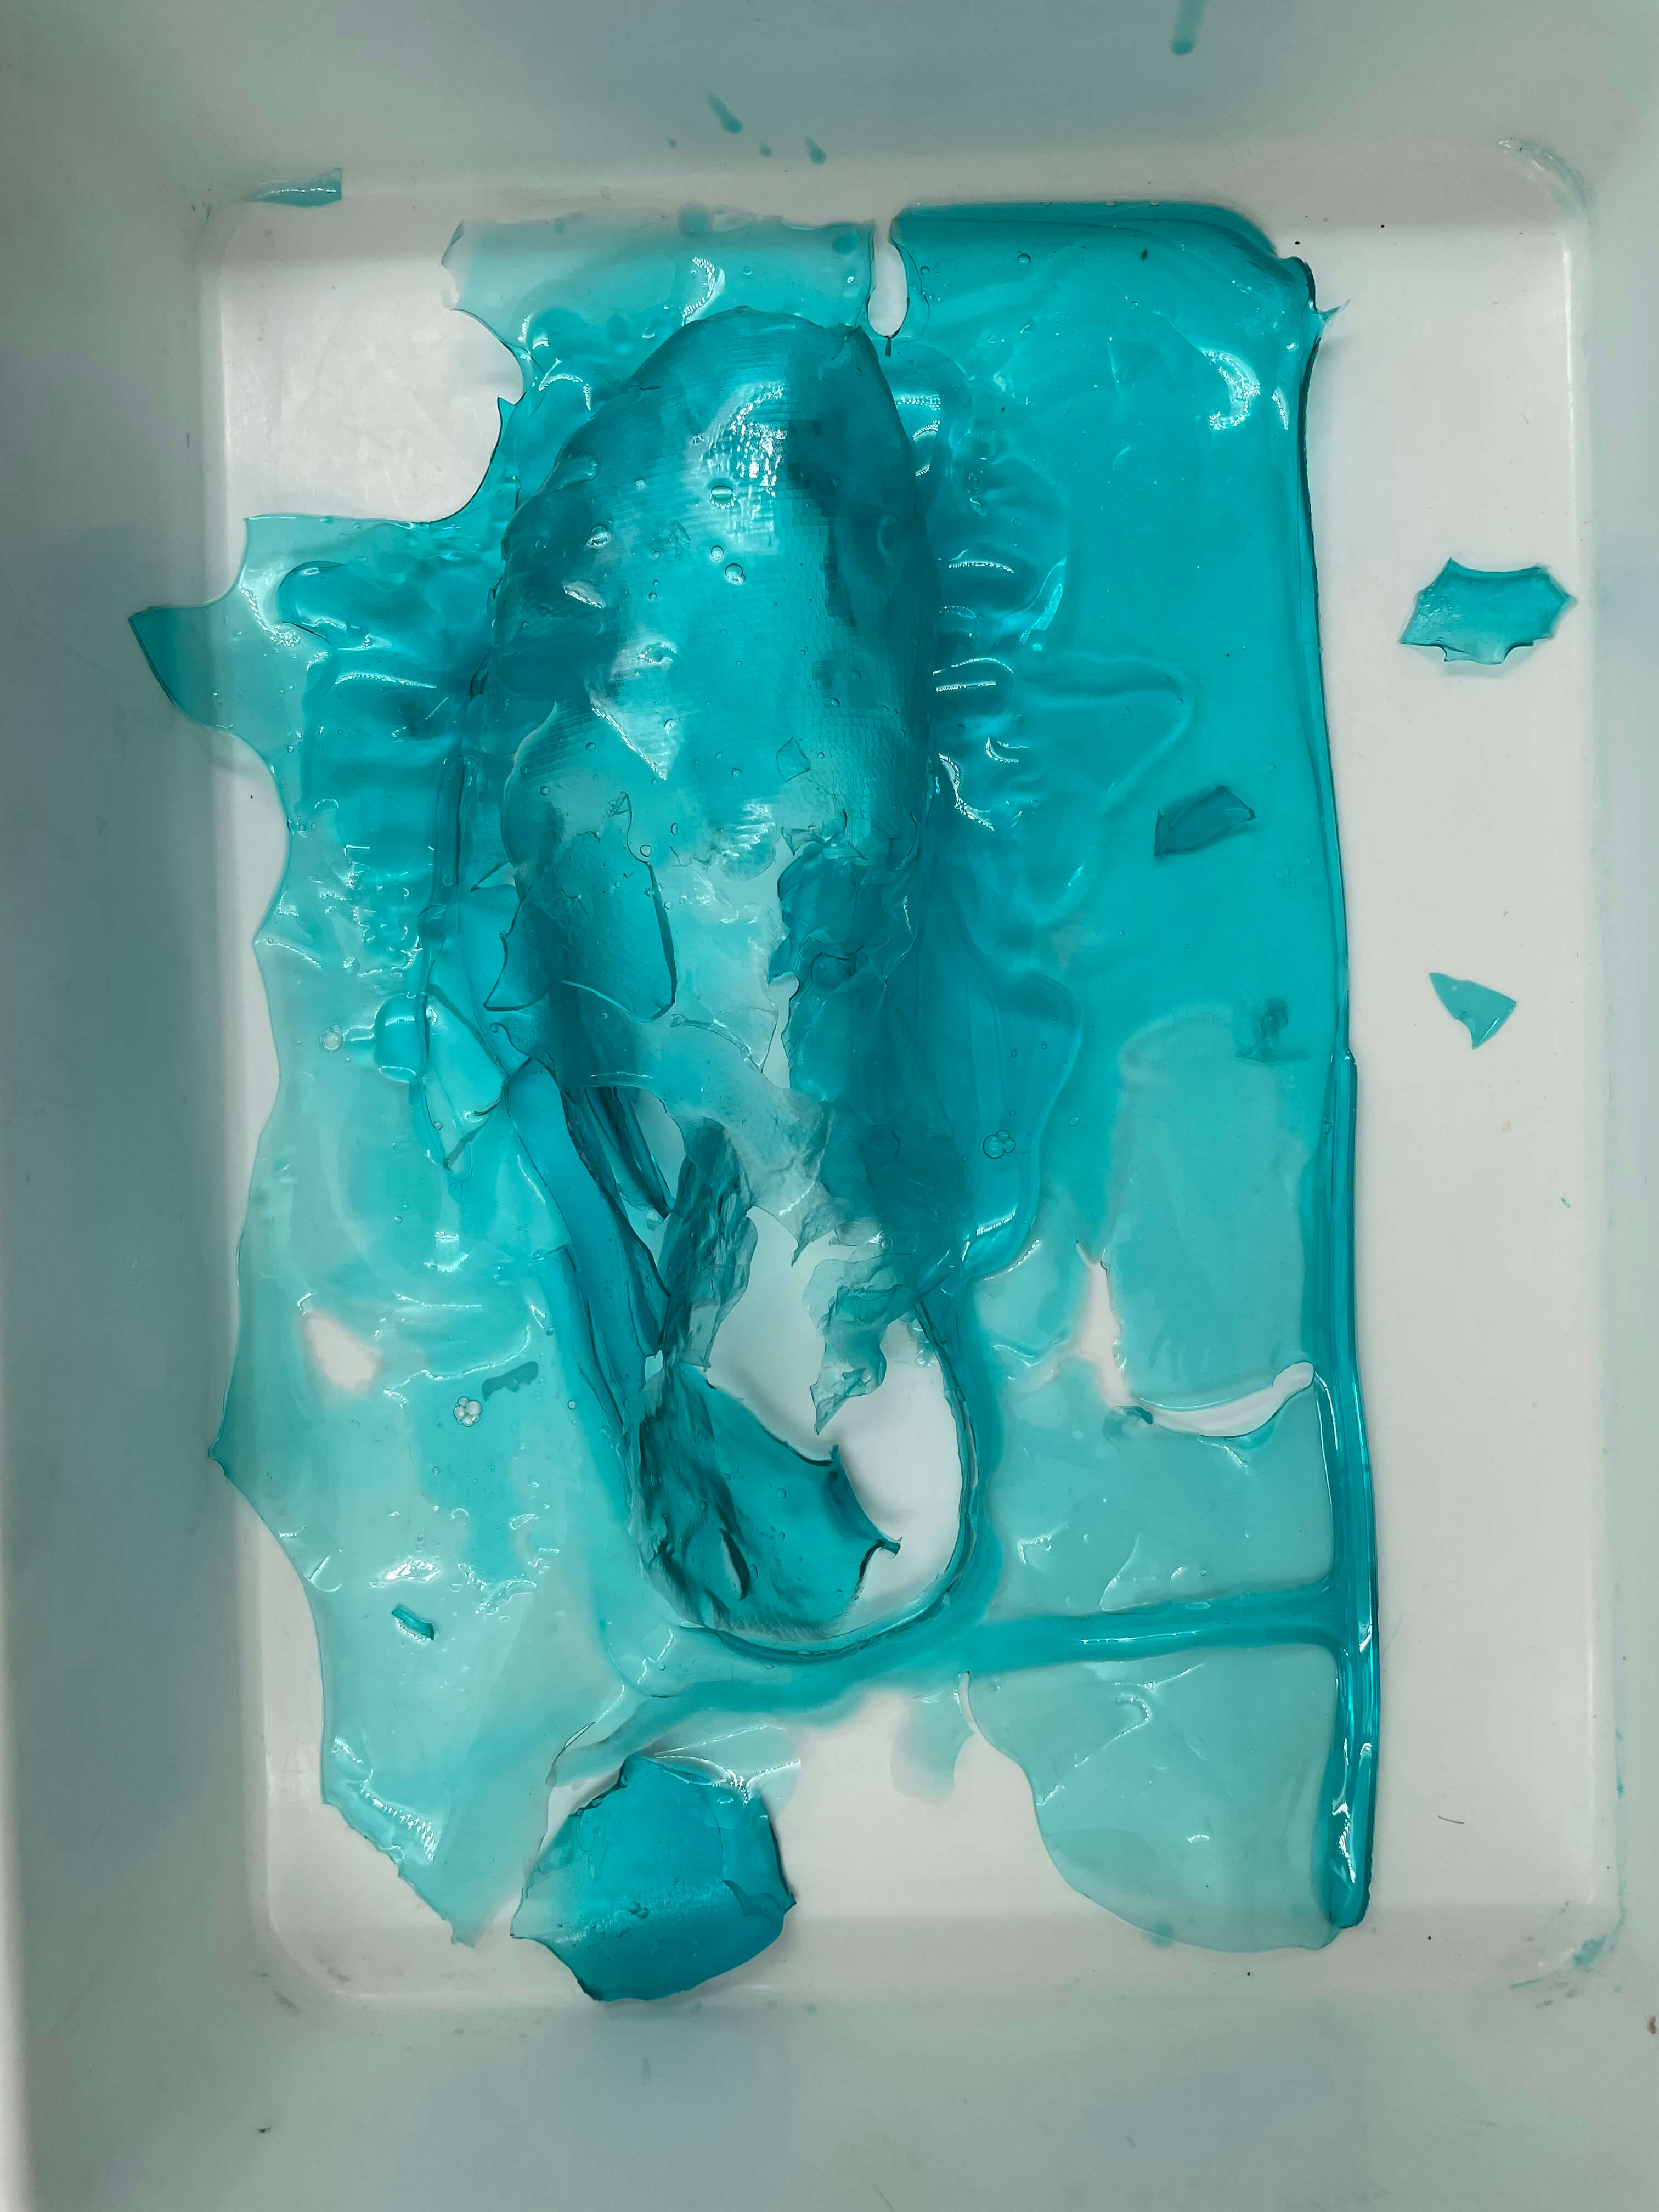
Pouring: For this experimentation we poured gelatin (the same batch from the blue bio plastic sheet) on top of a cleaned and disinfected last. The experiment was really messy and we realized we needed to cool down the gelatin a lot before pouring so it could be more congealed and controlled. We put the last in the fridge overnight with the material on top of it and let it sit to dry for about 7 days before removing it. It created a cool effect but nothing that could be used.


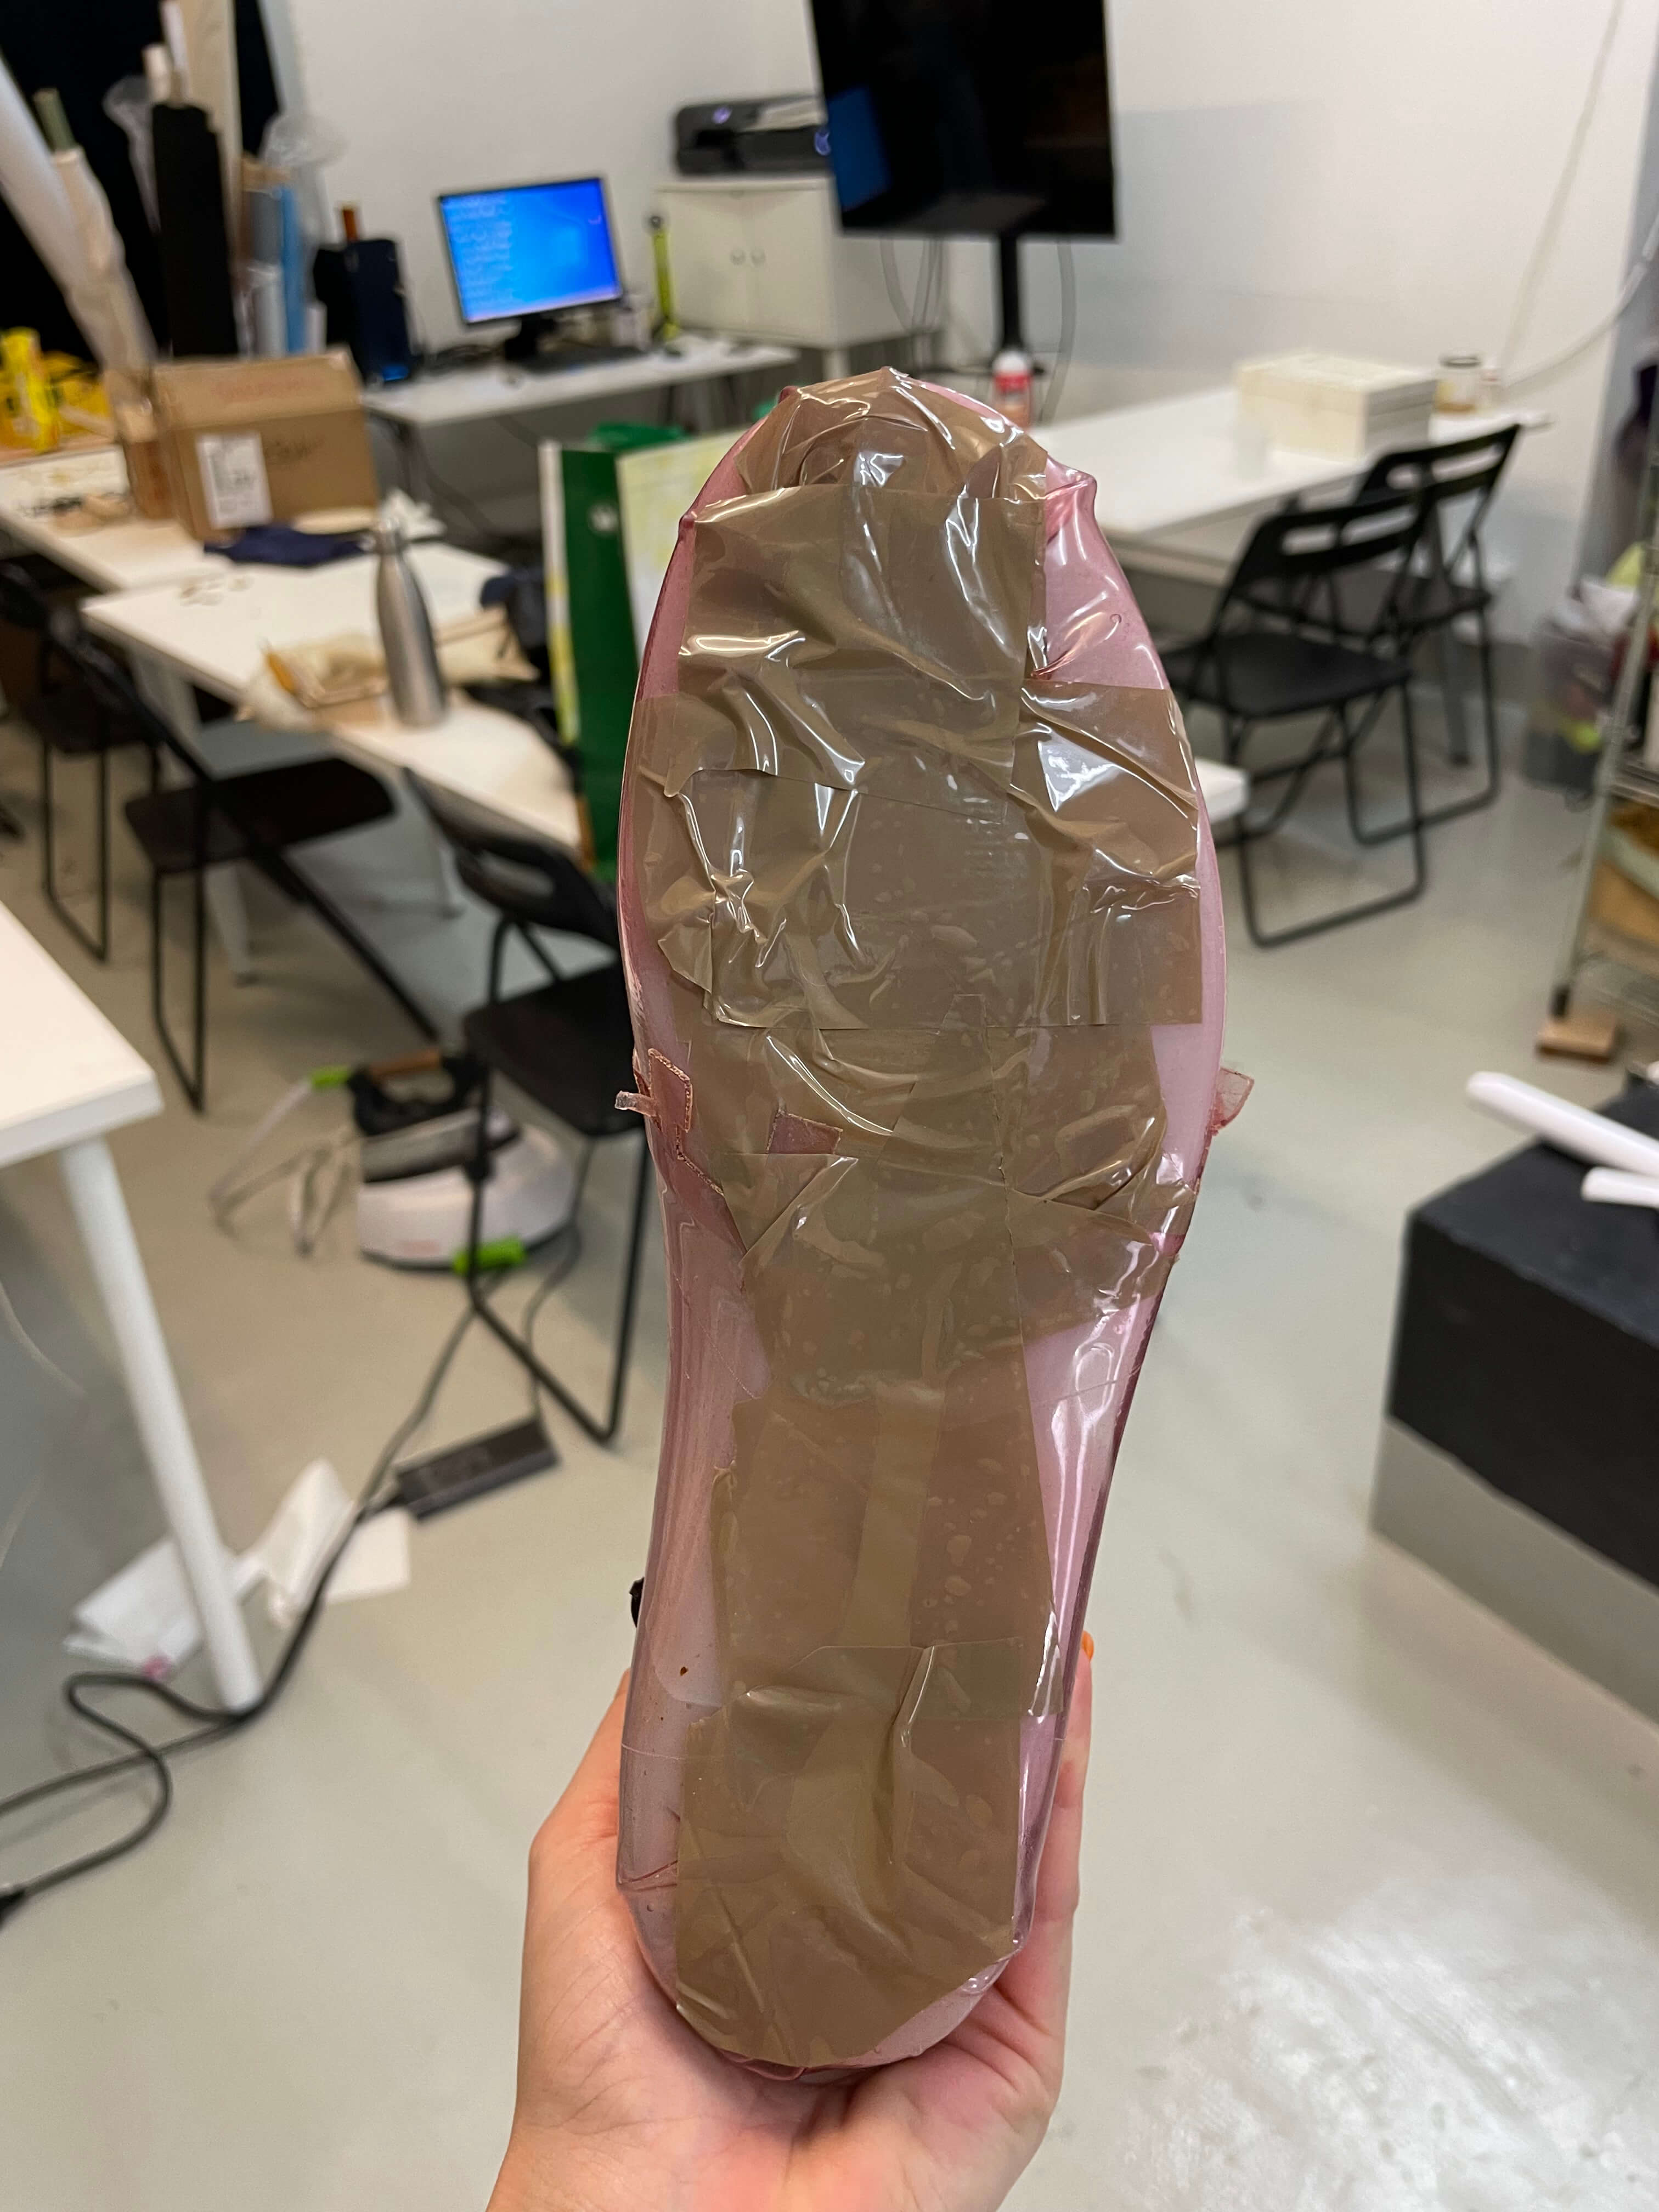
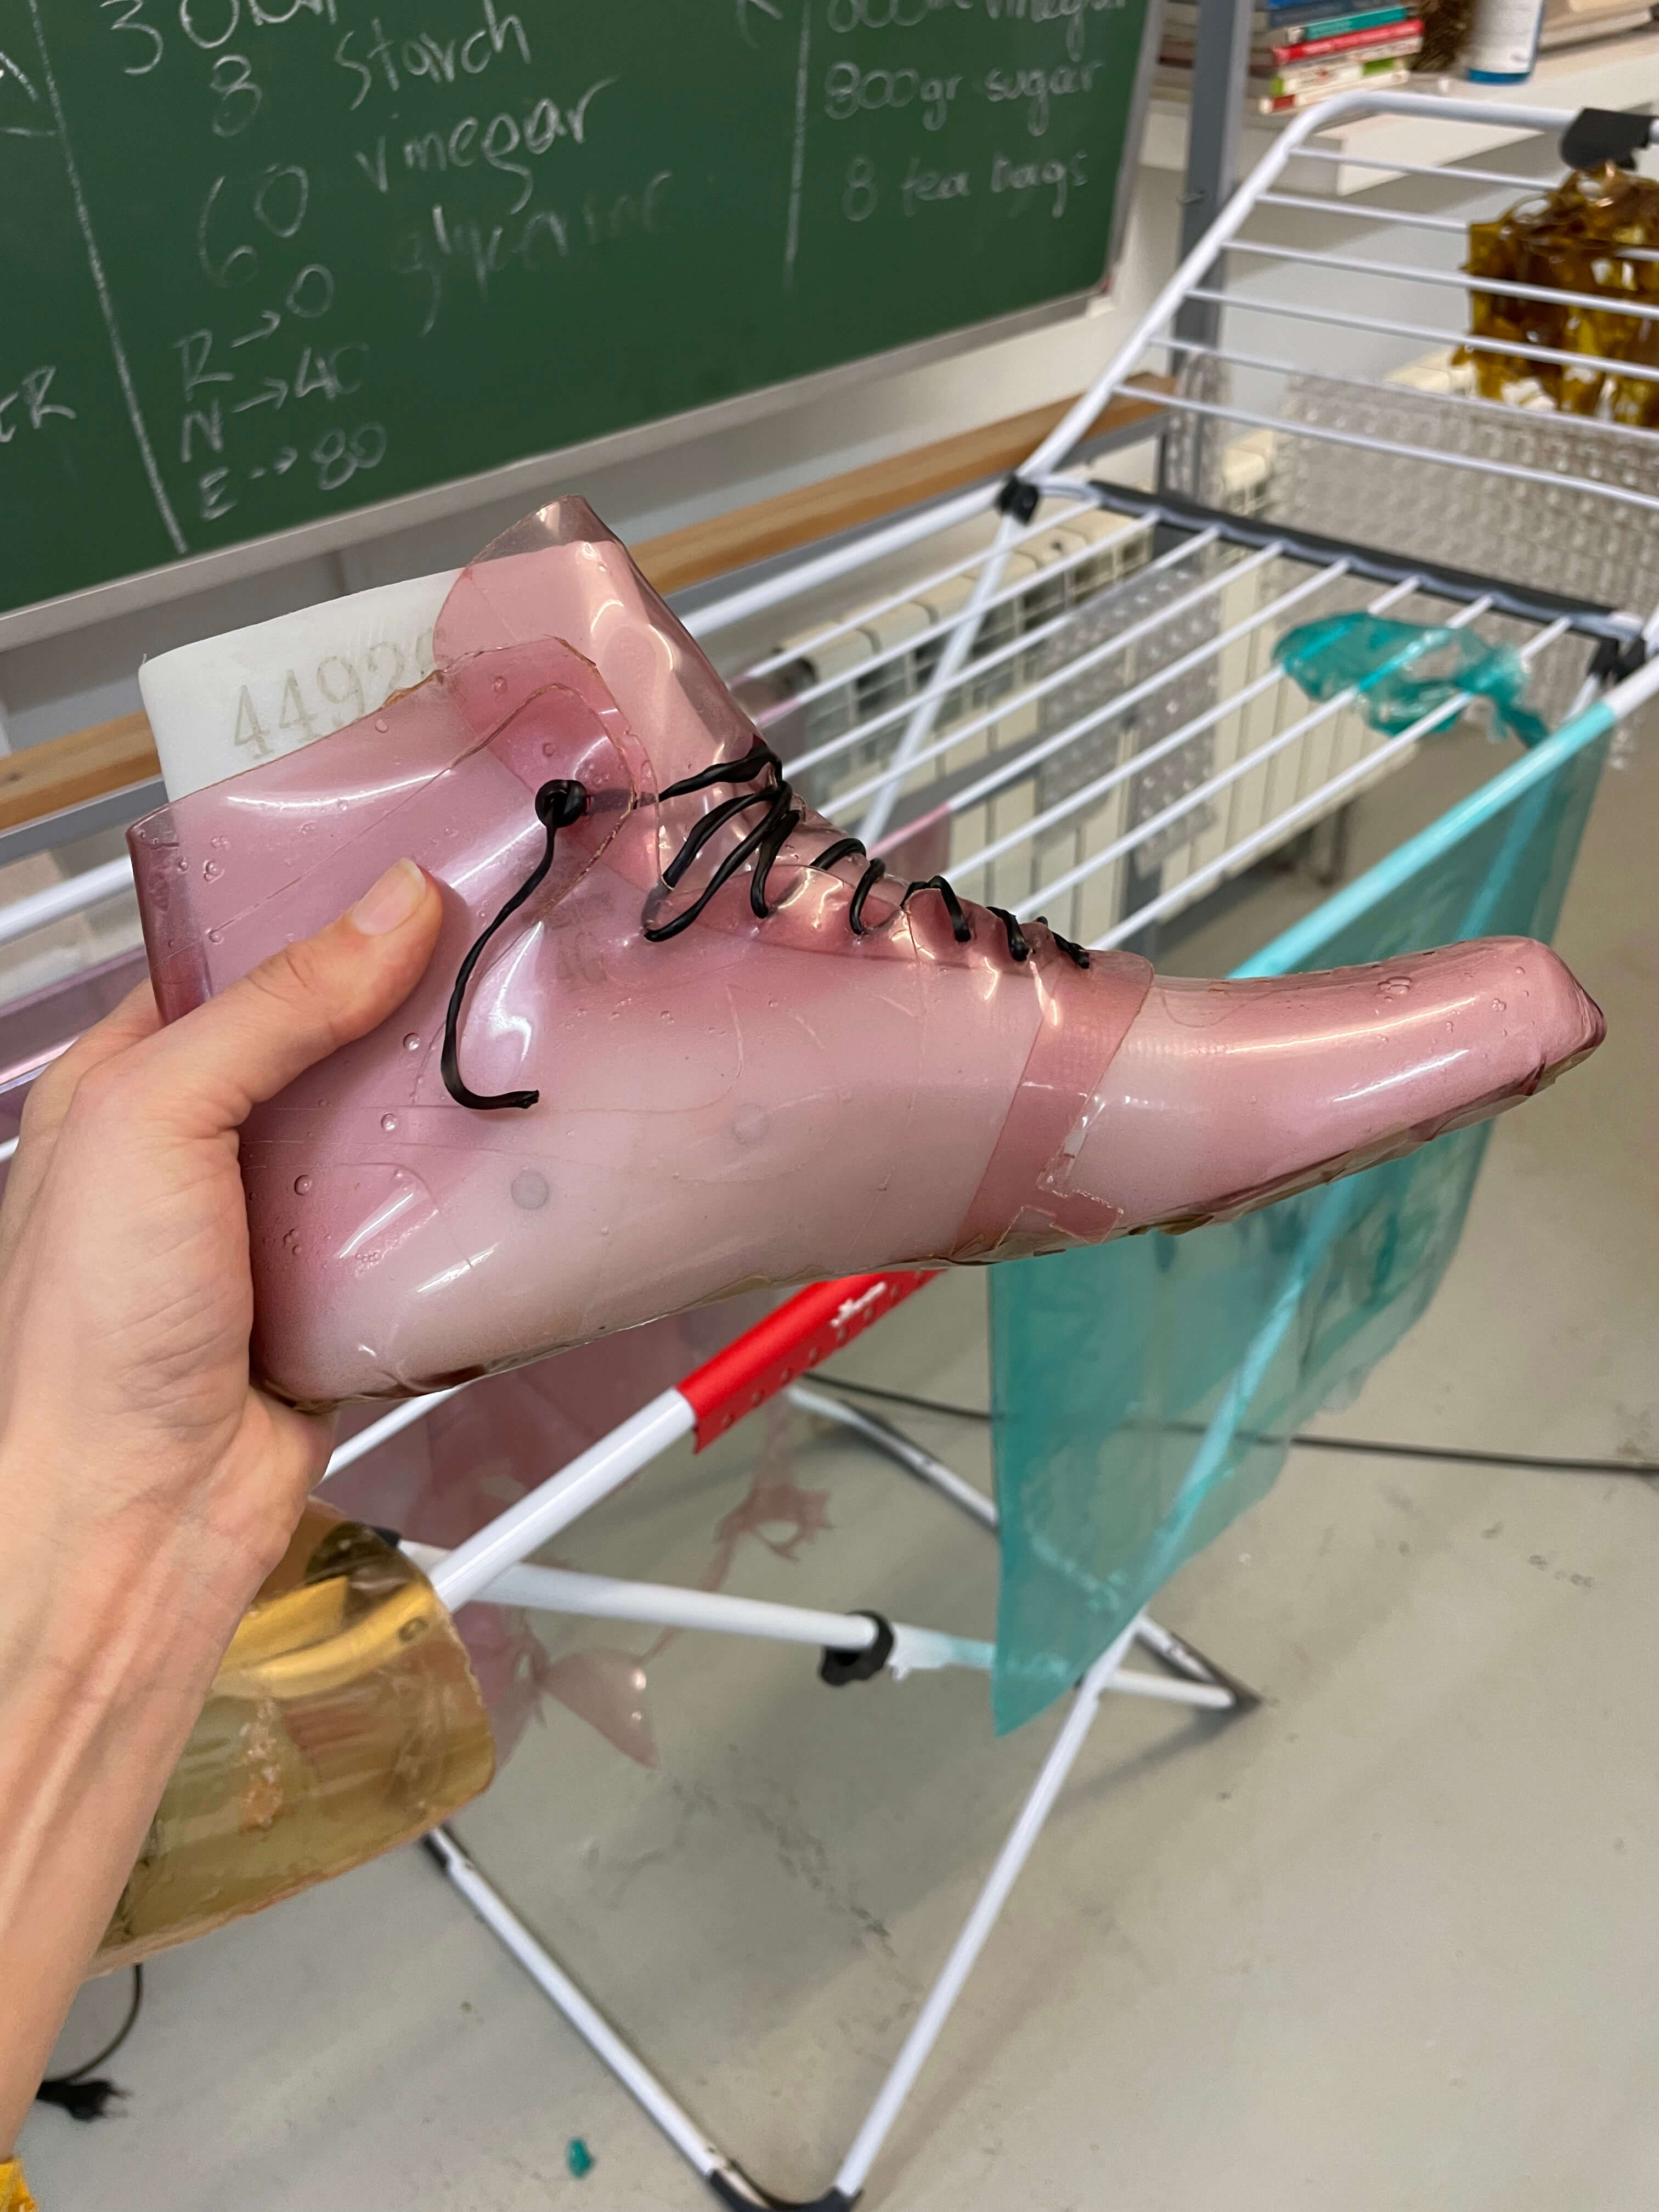
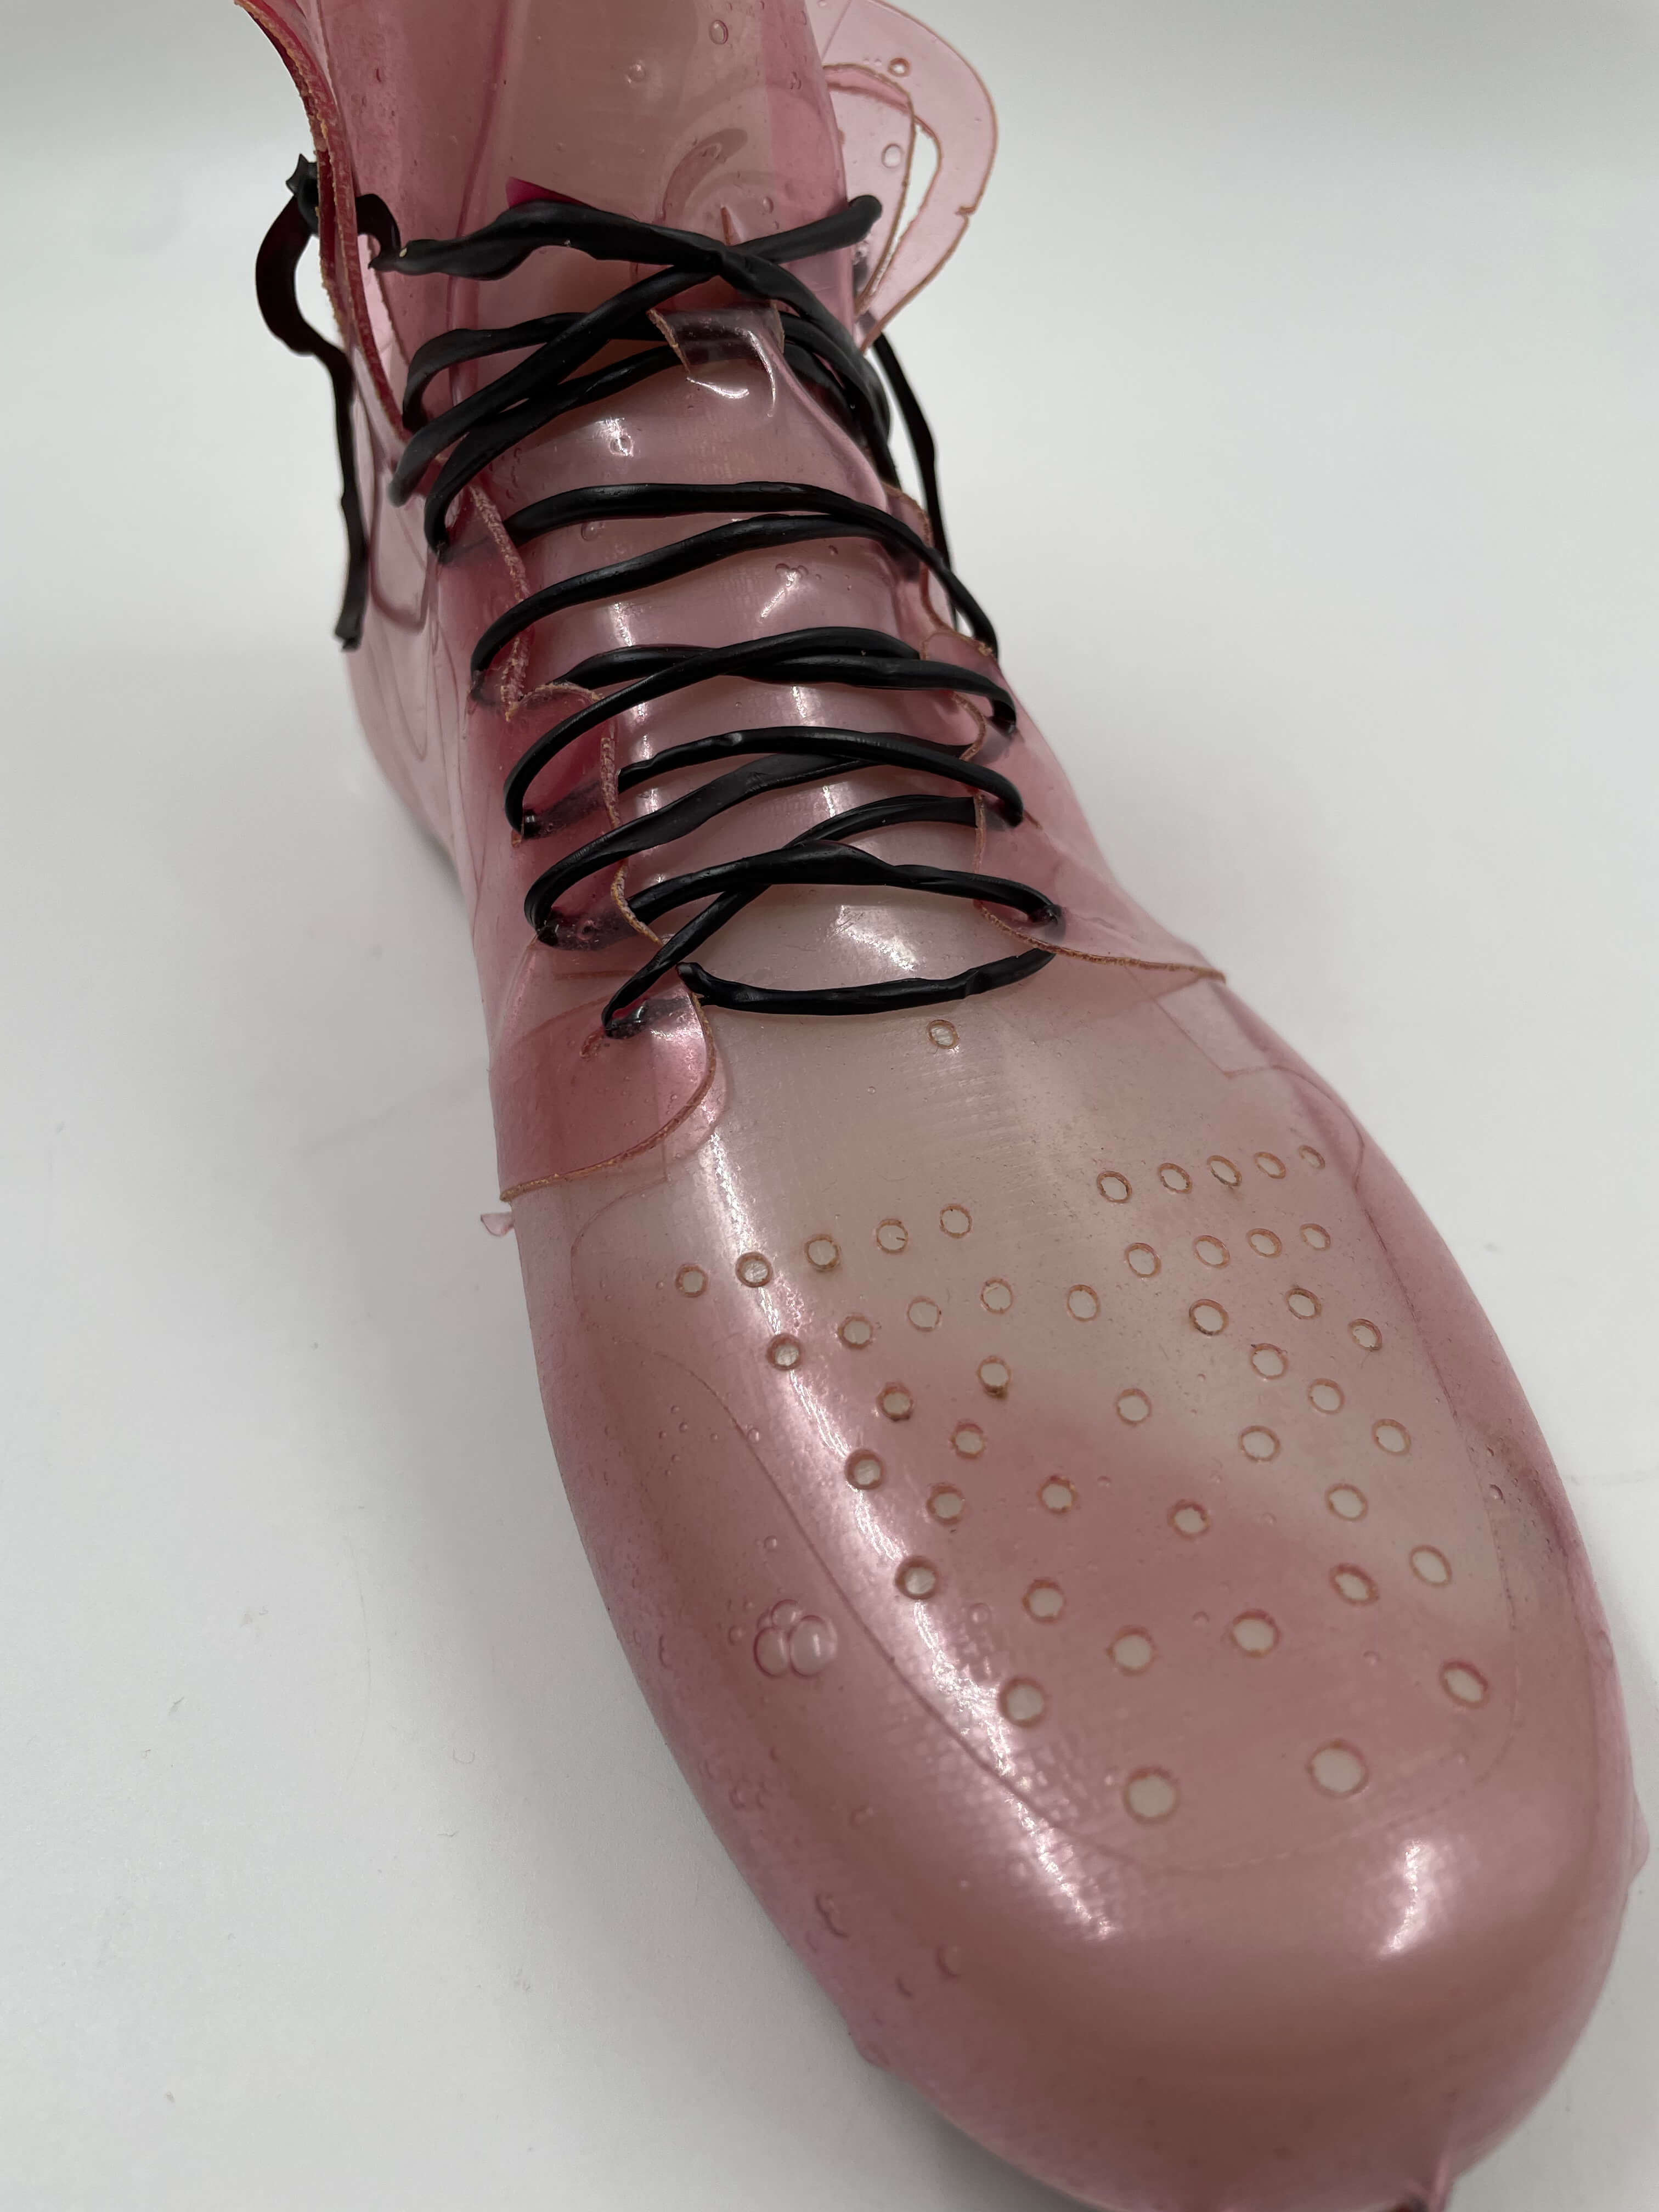
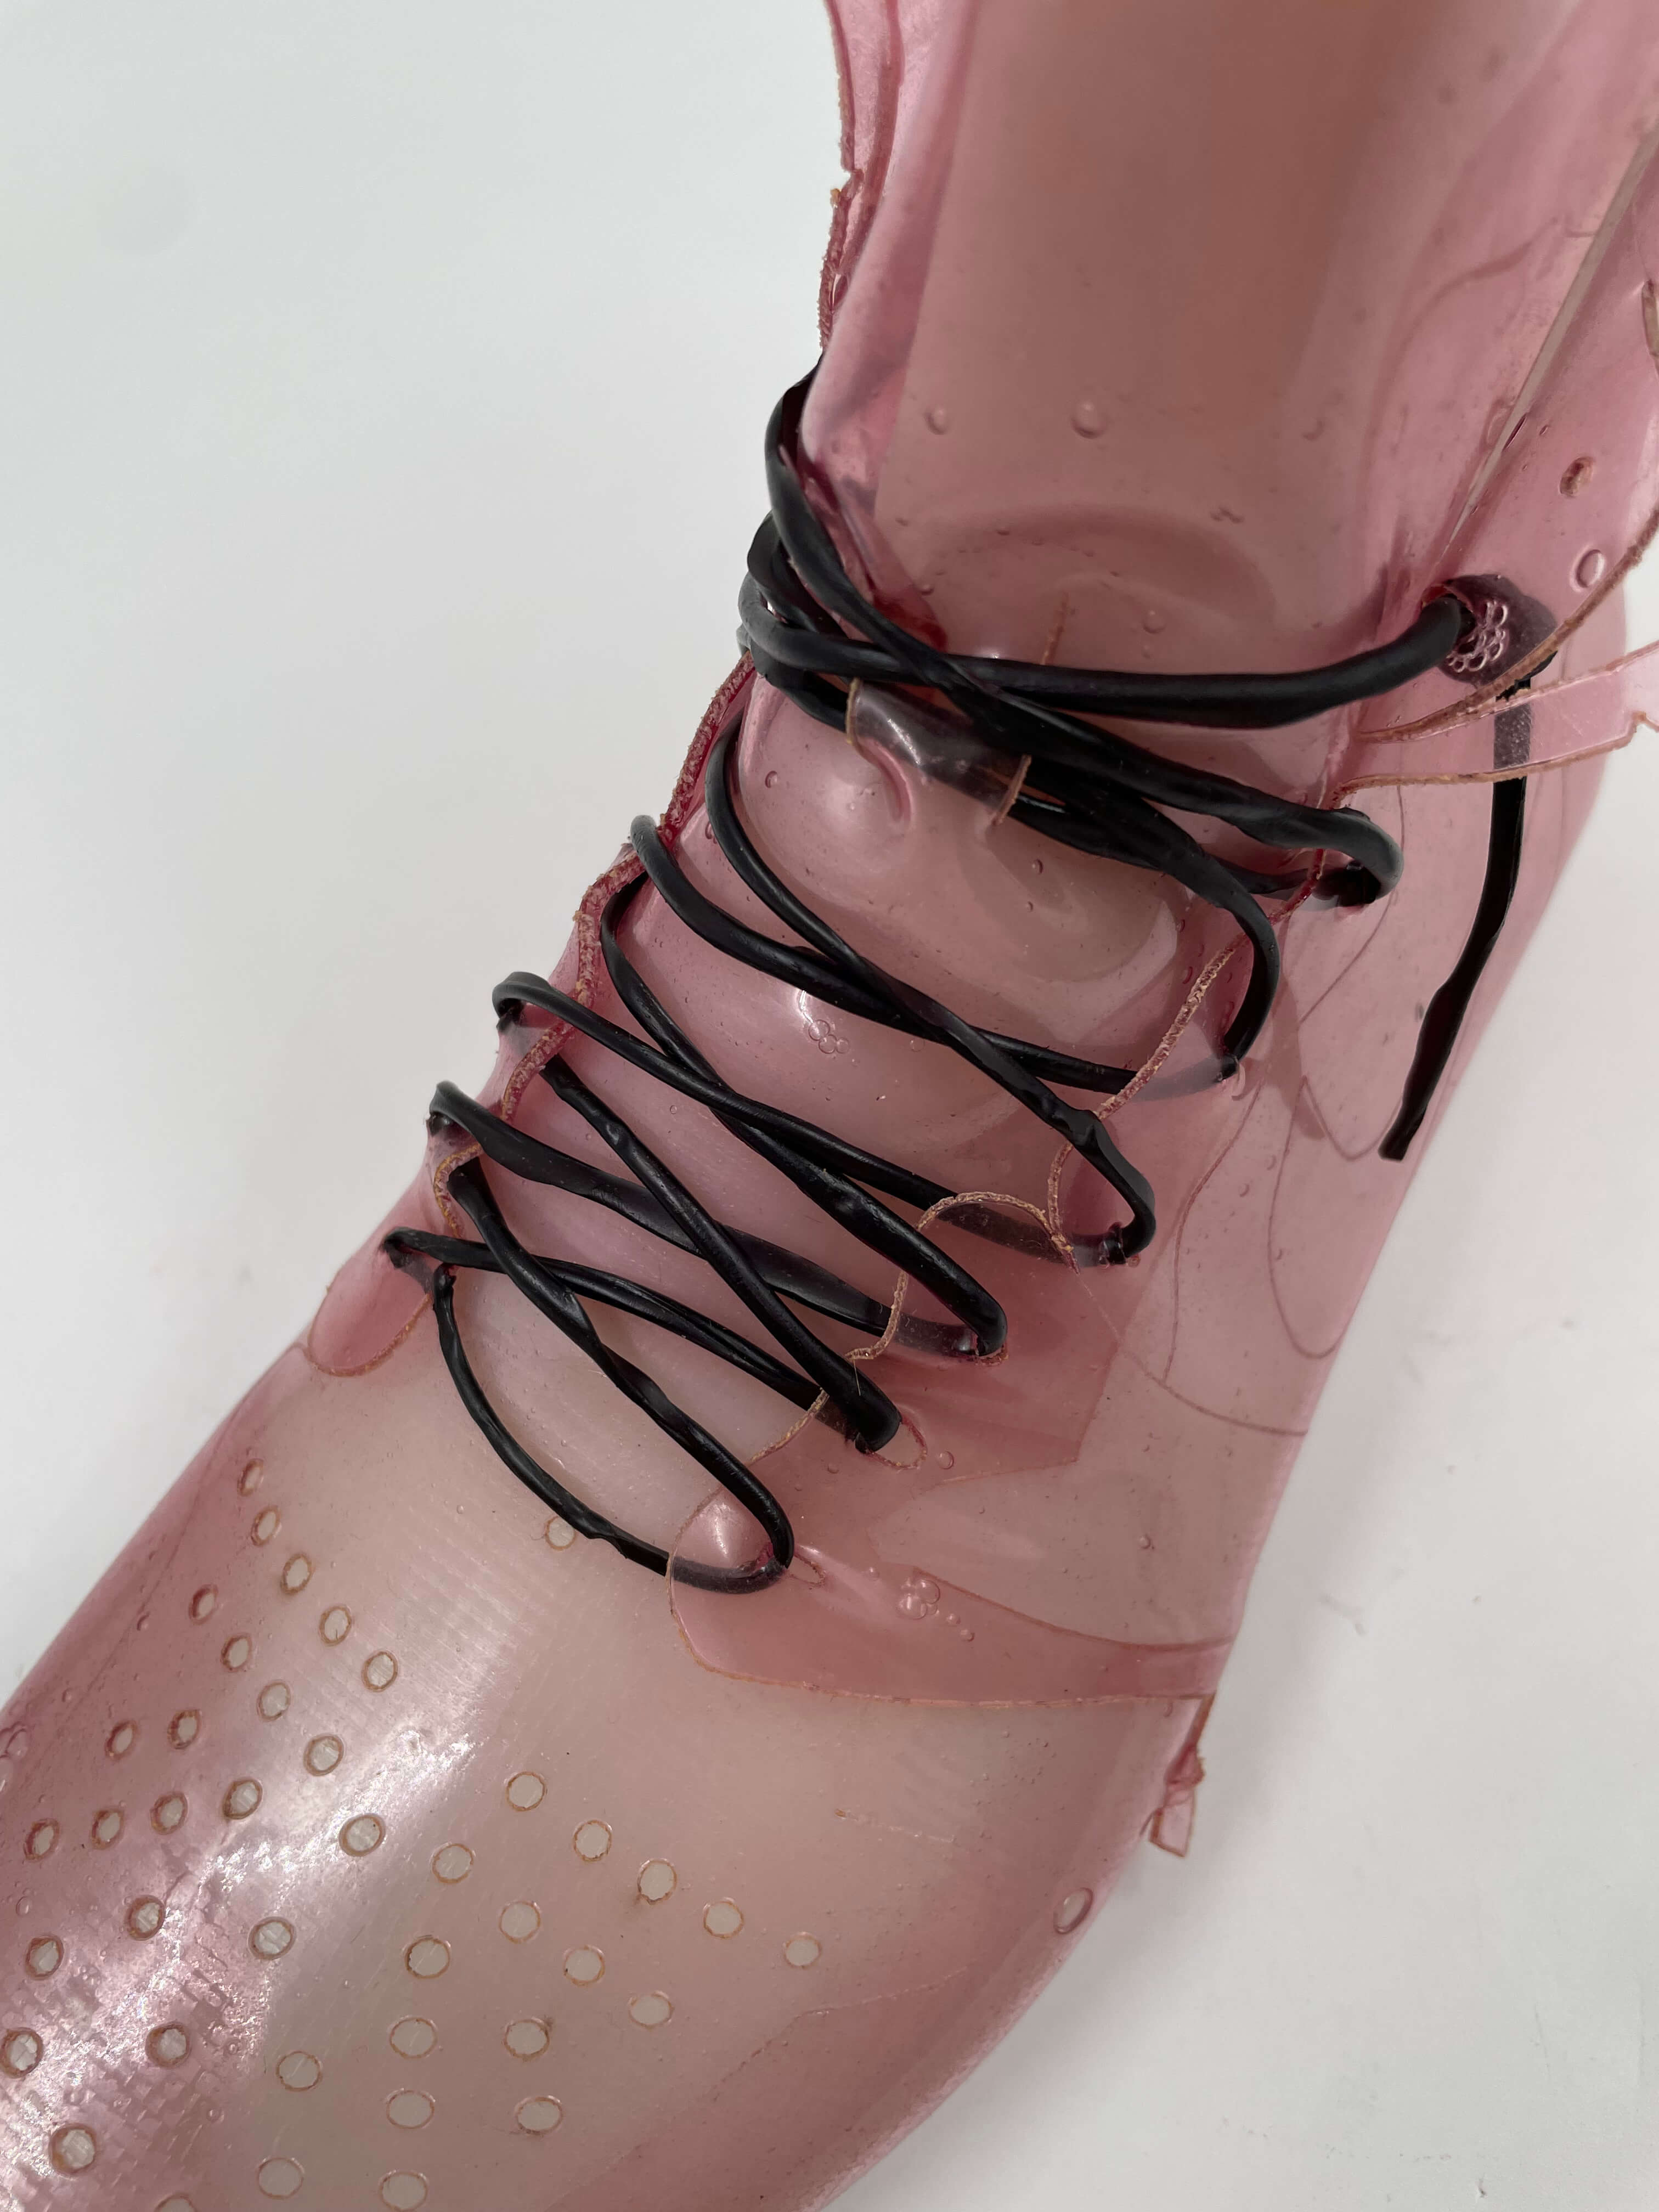
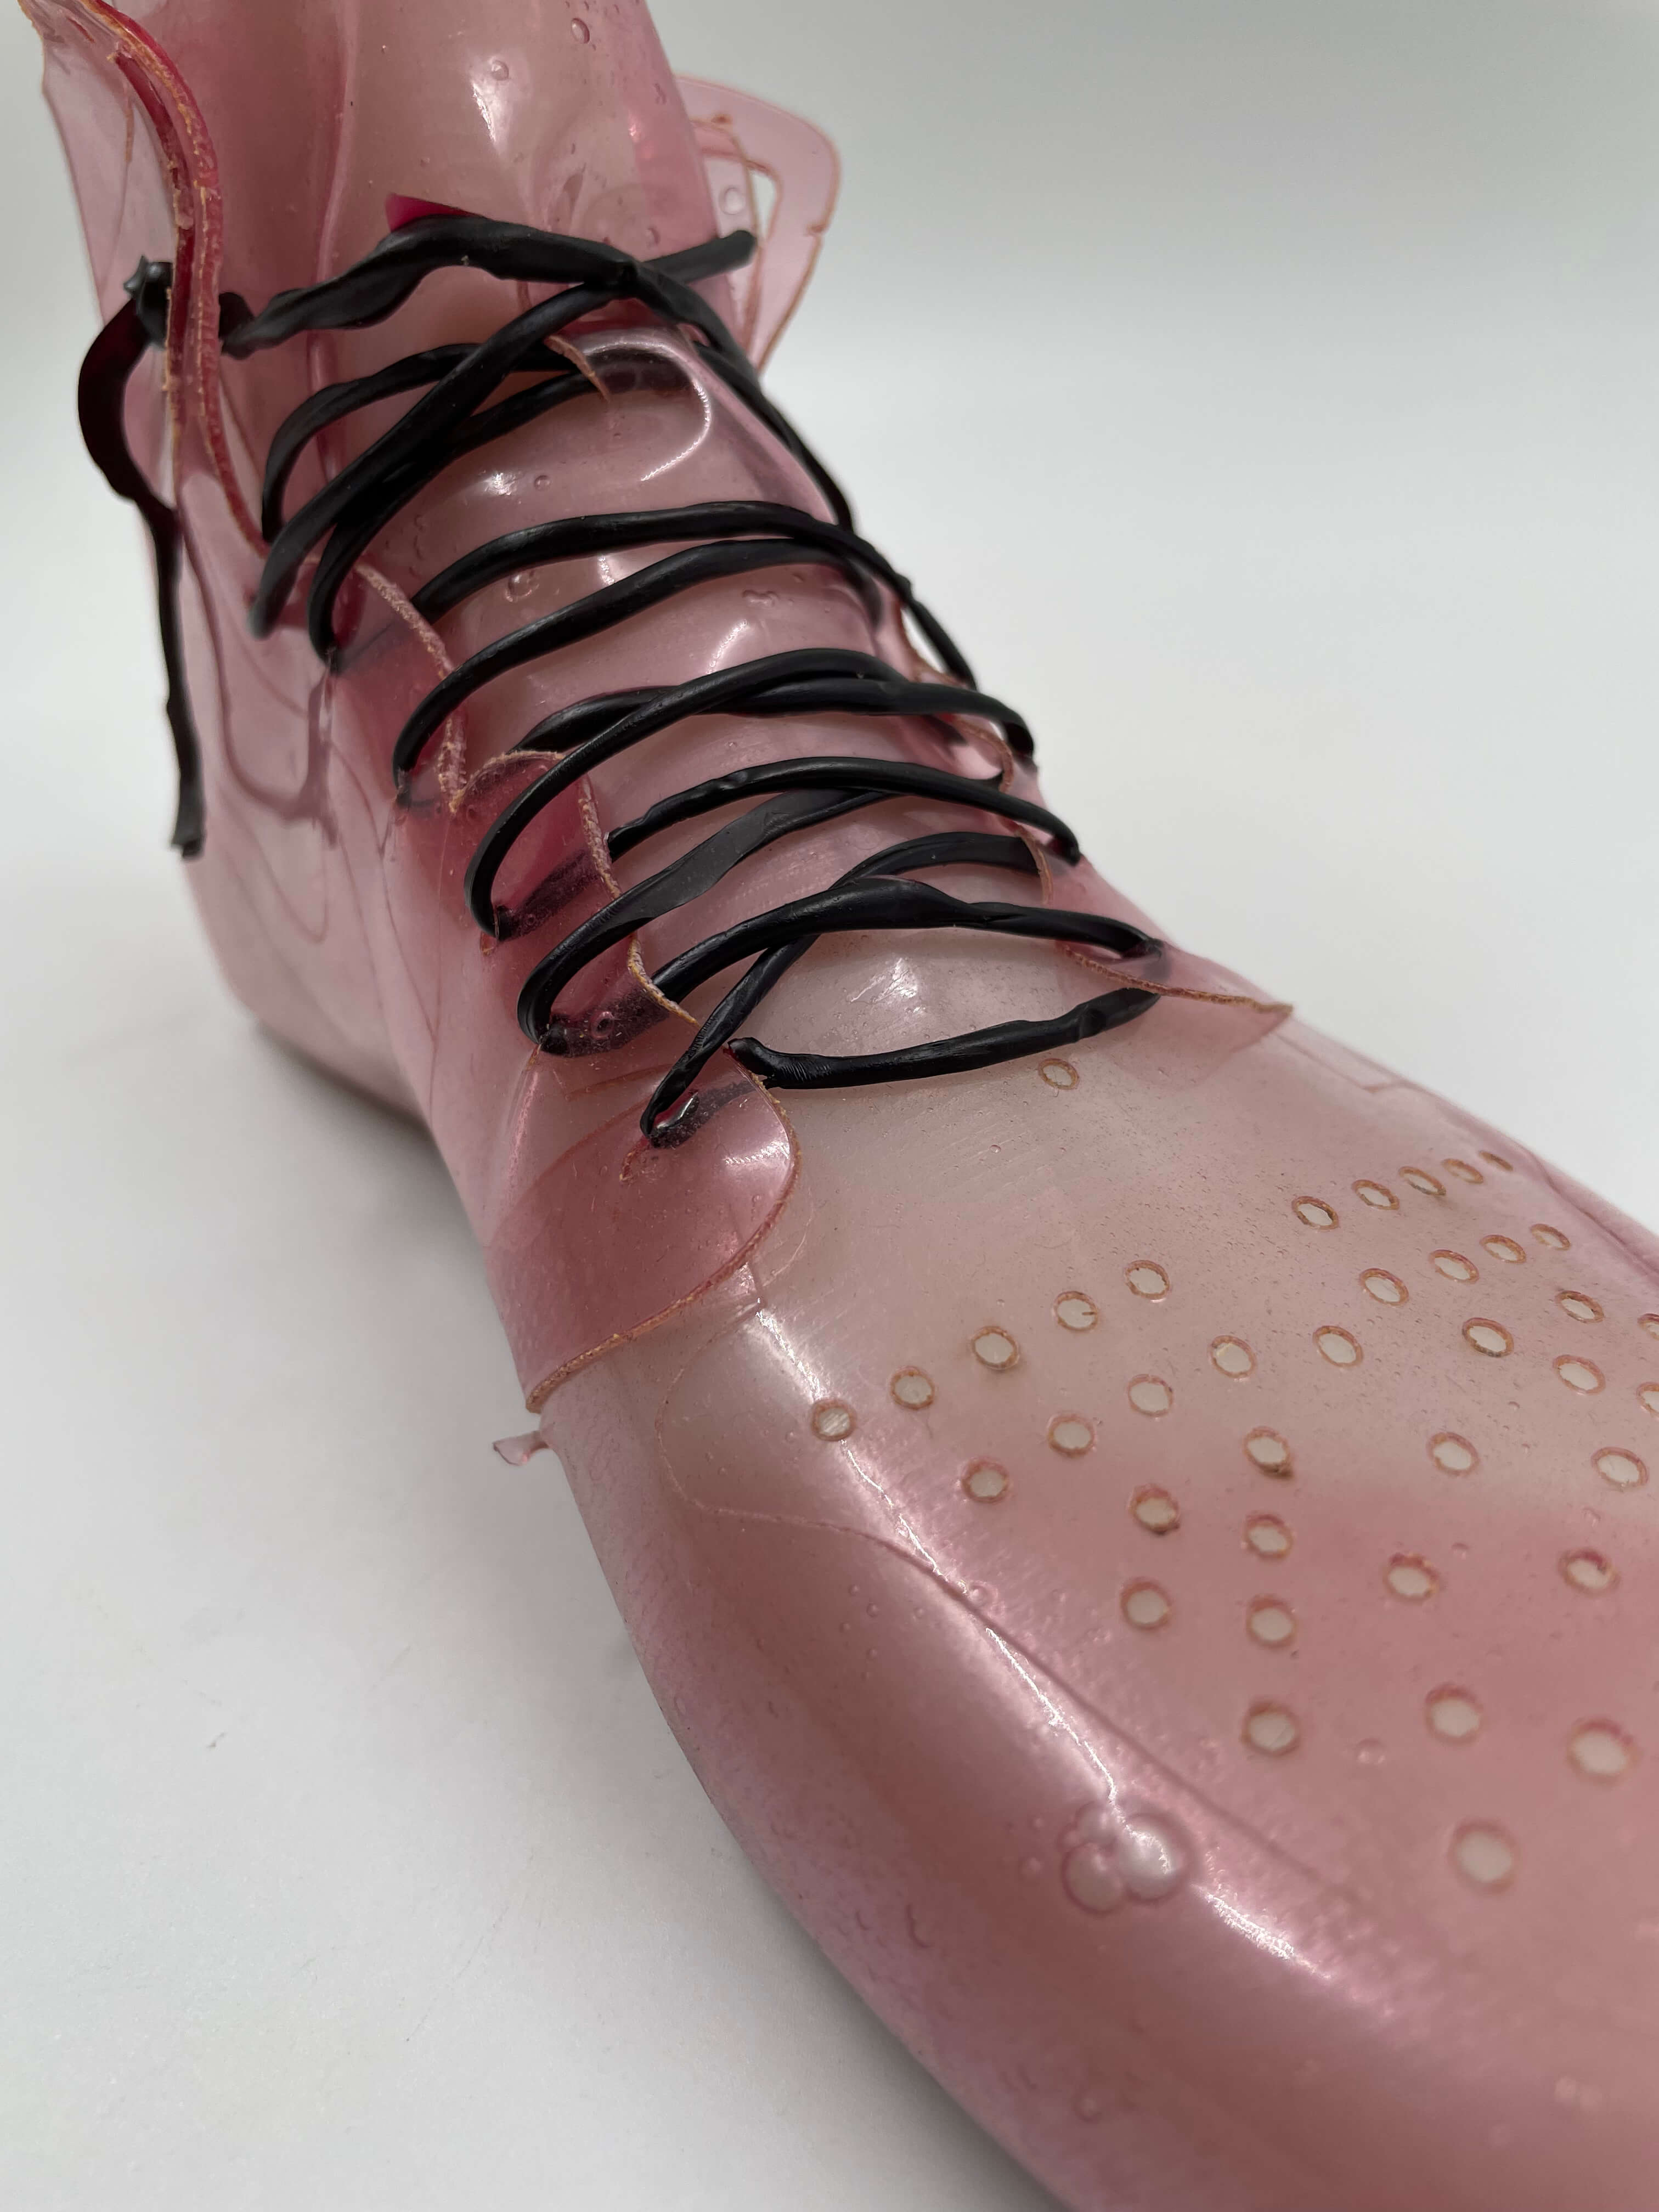
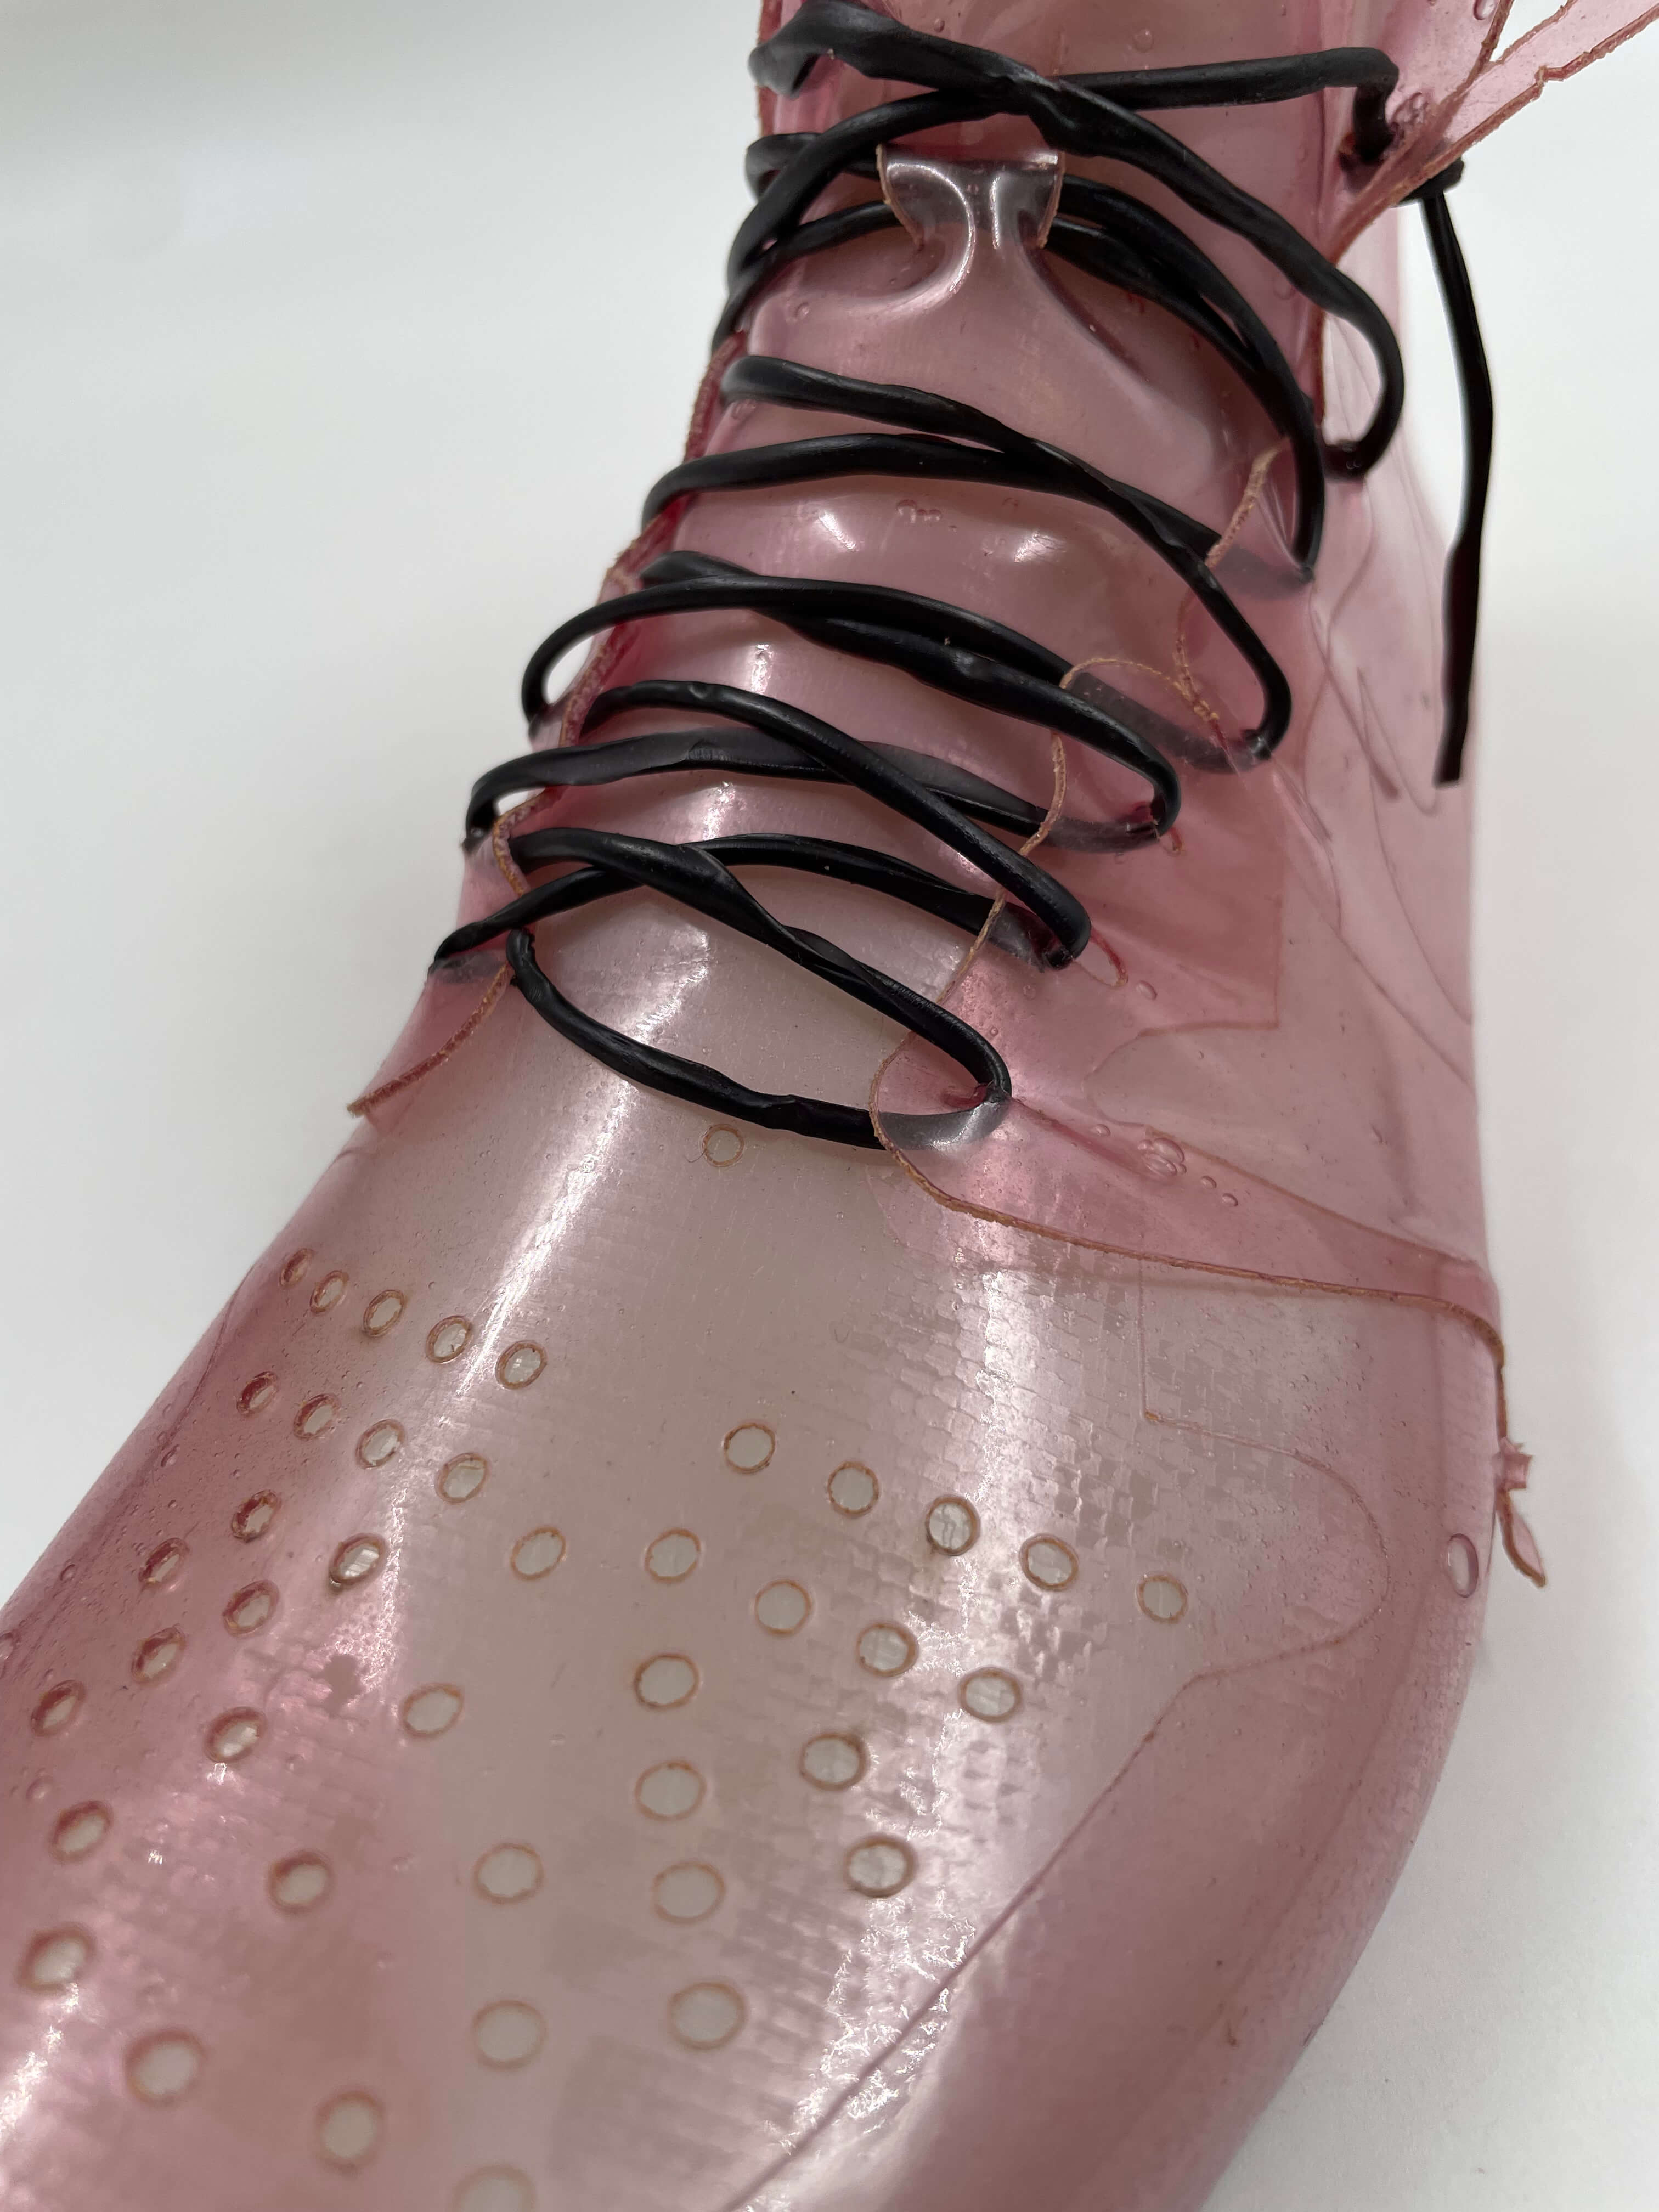
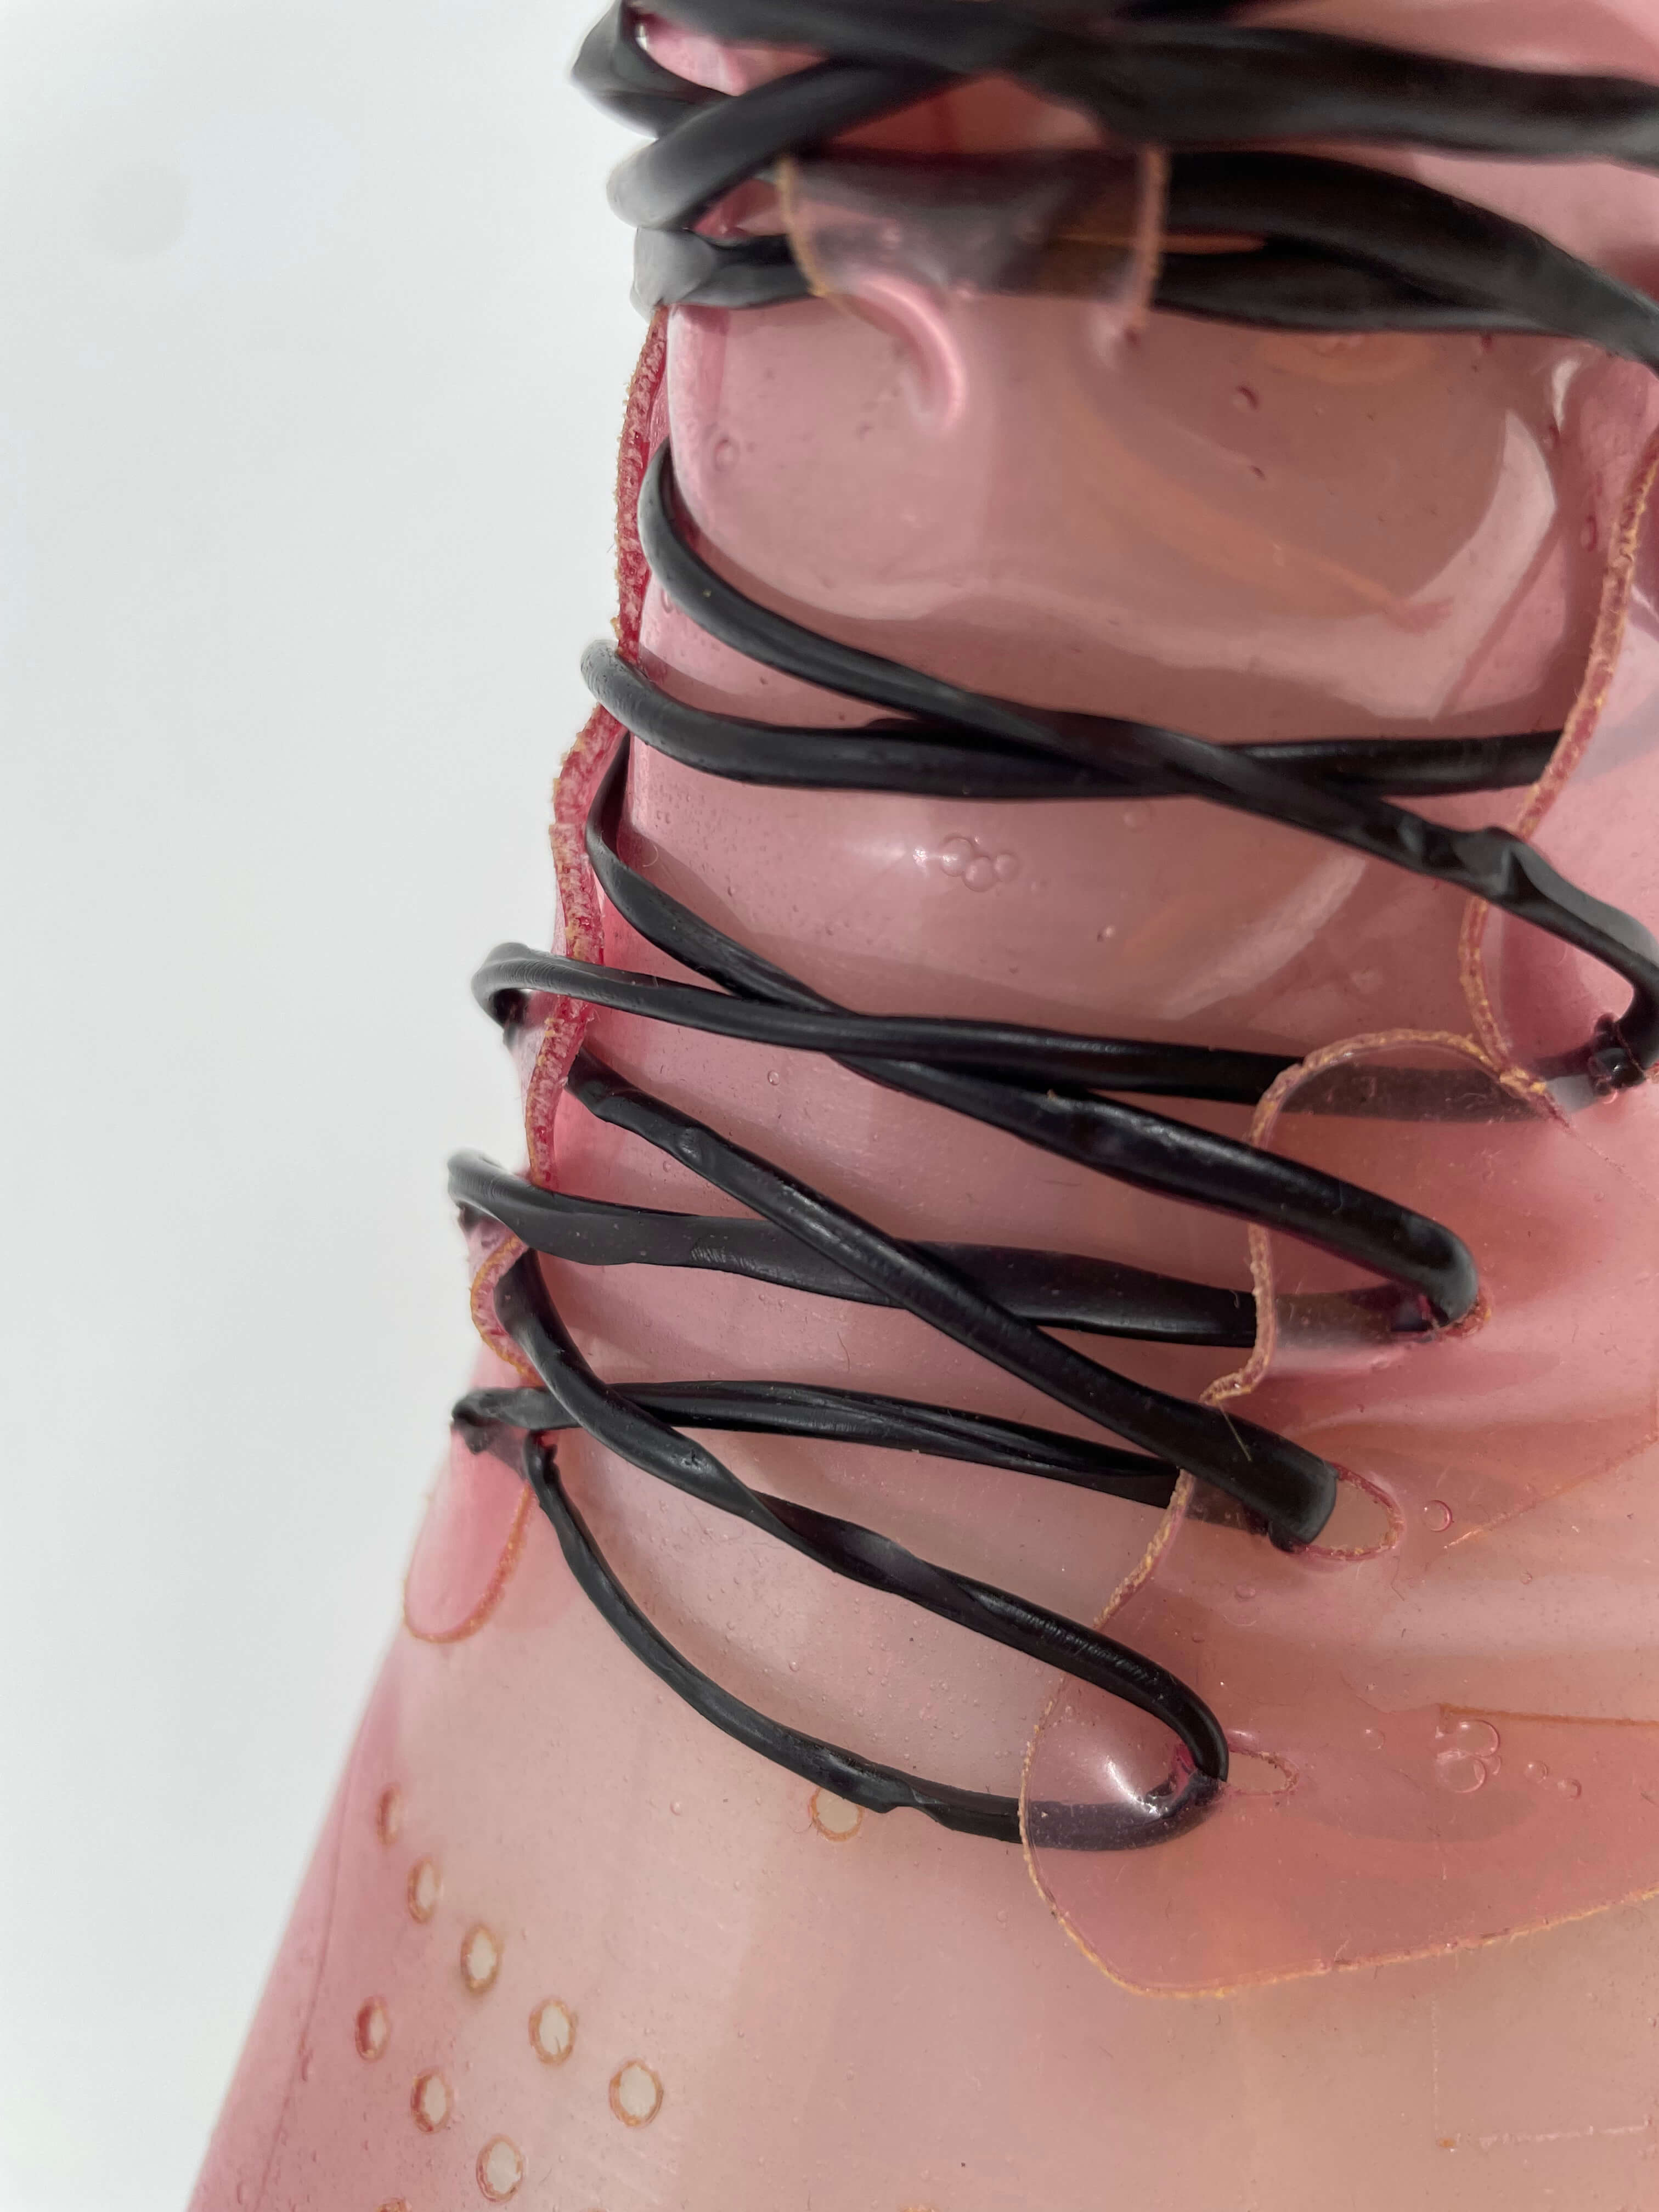
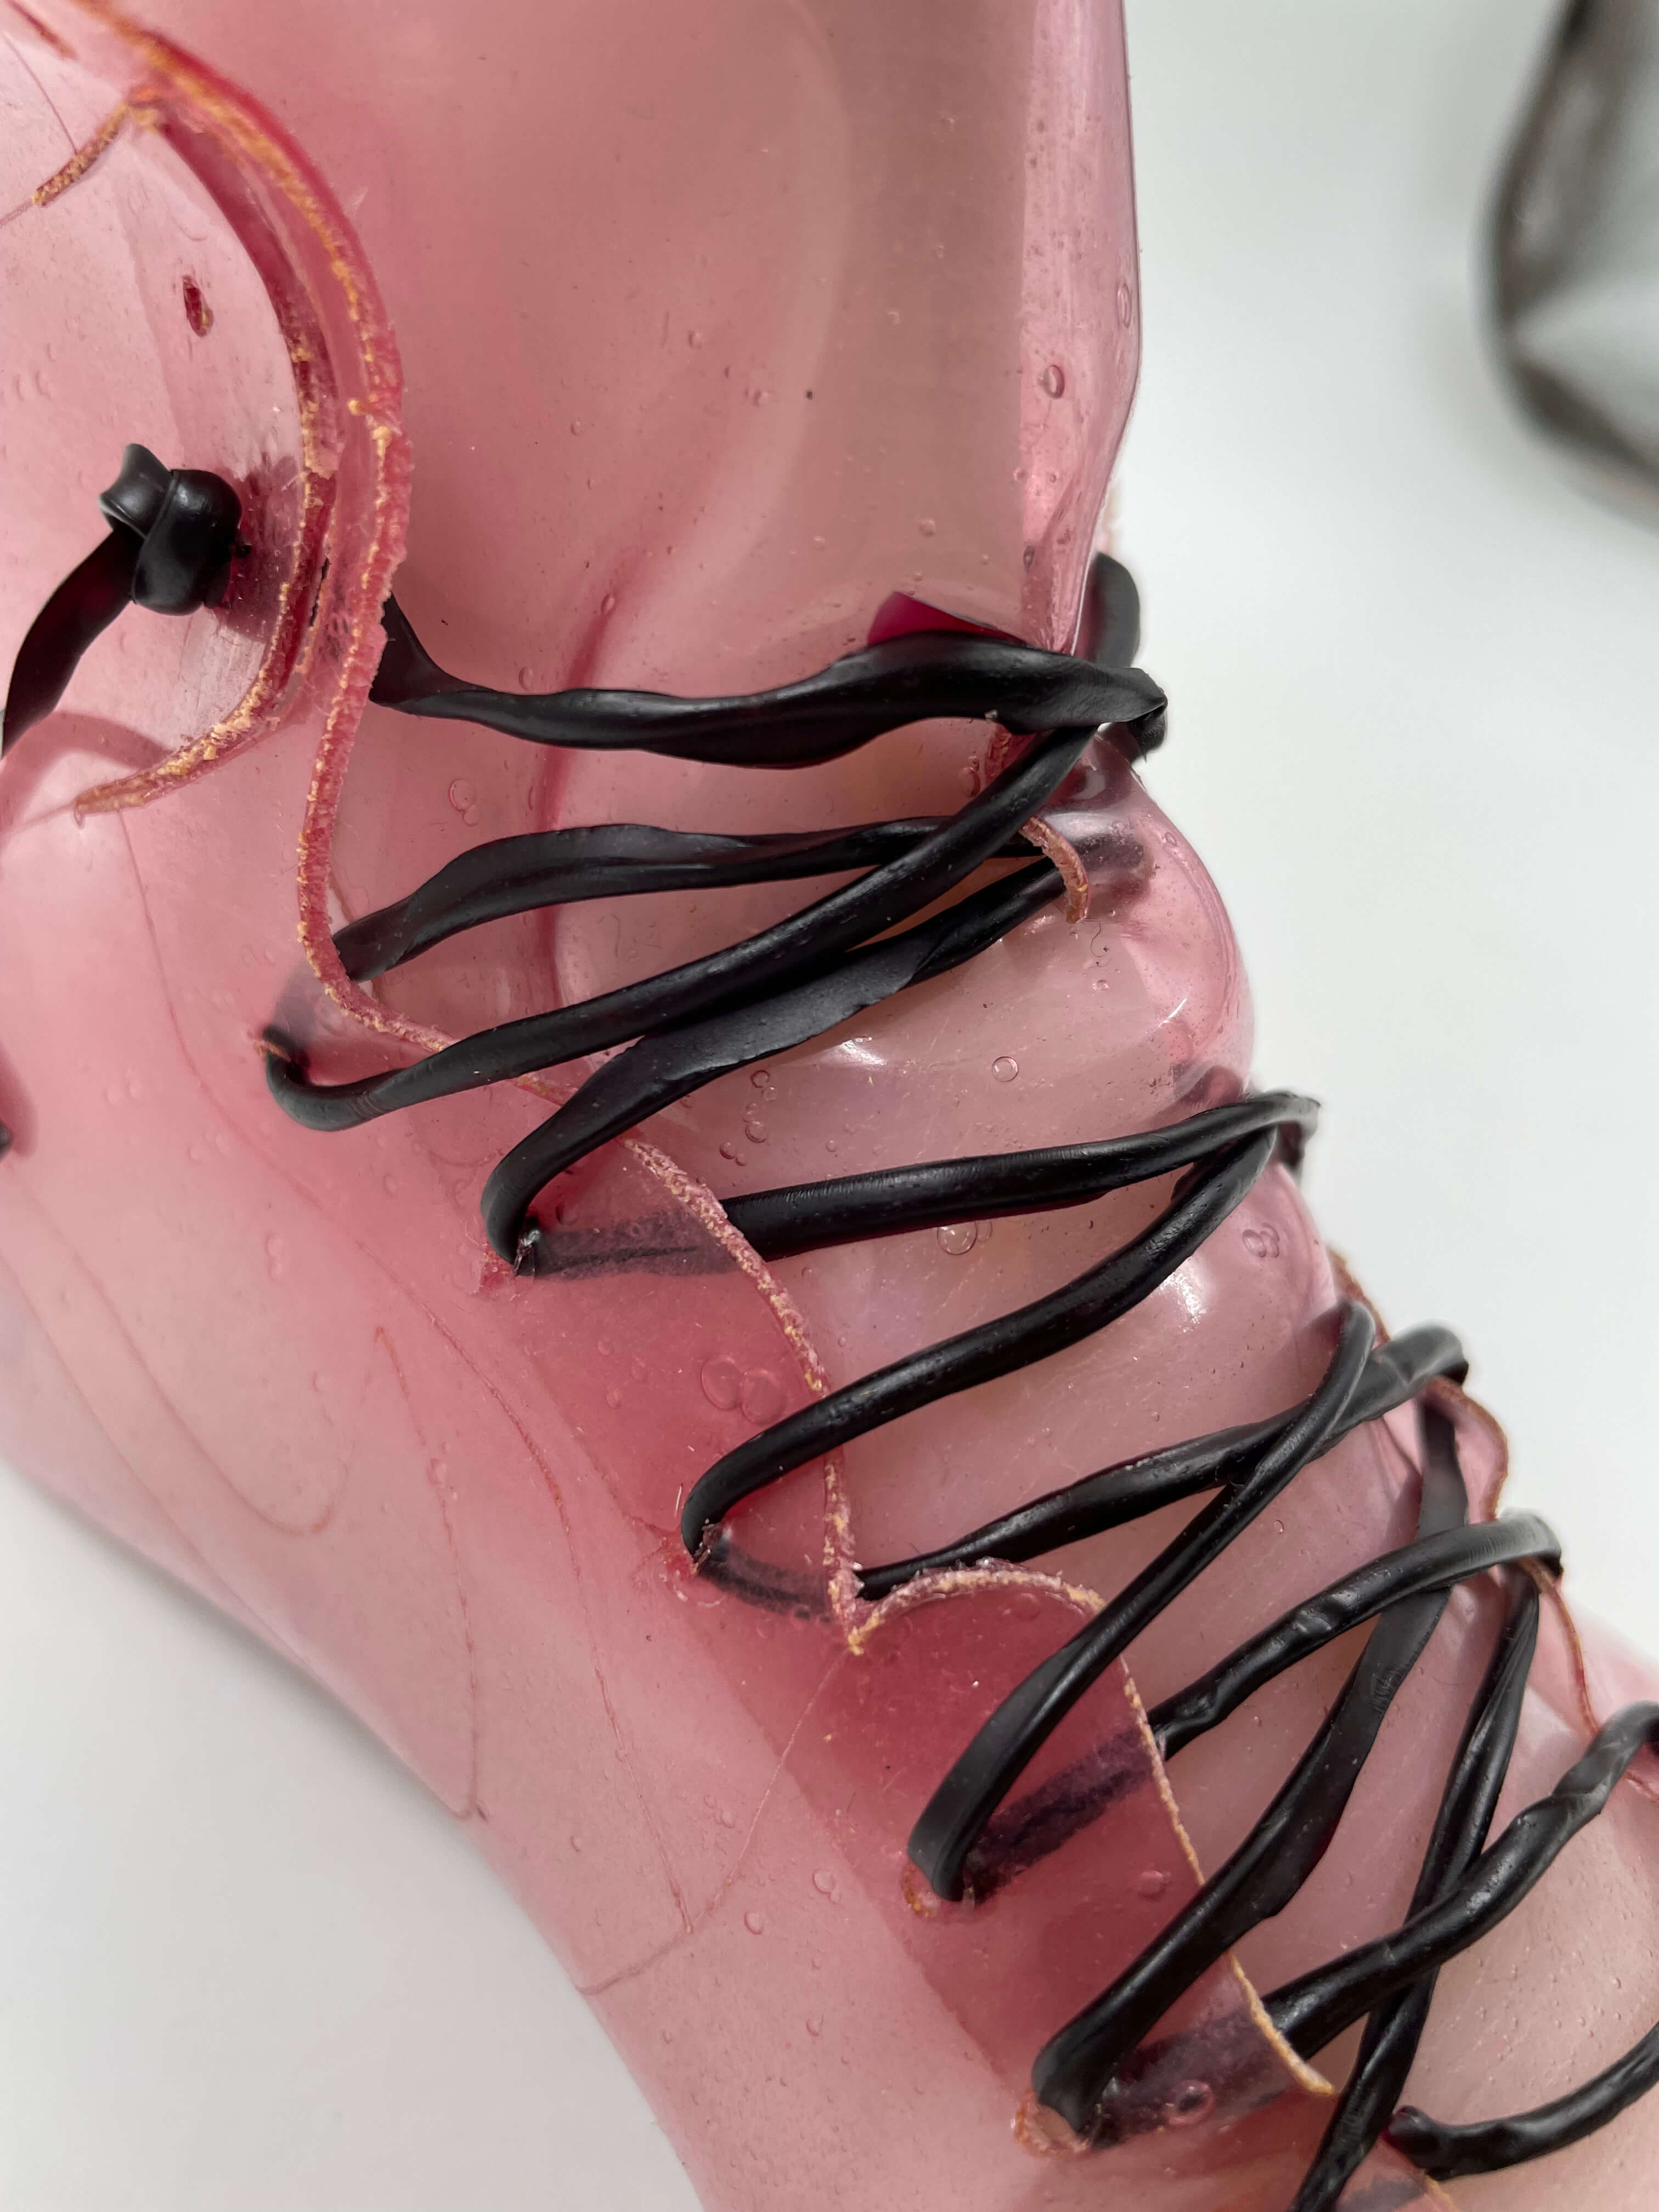
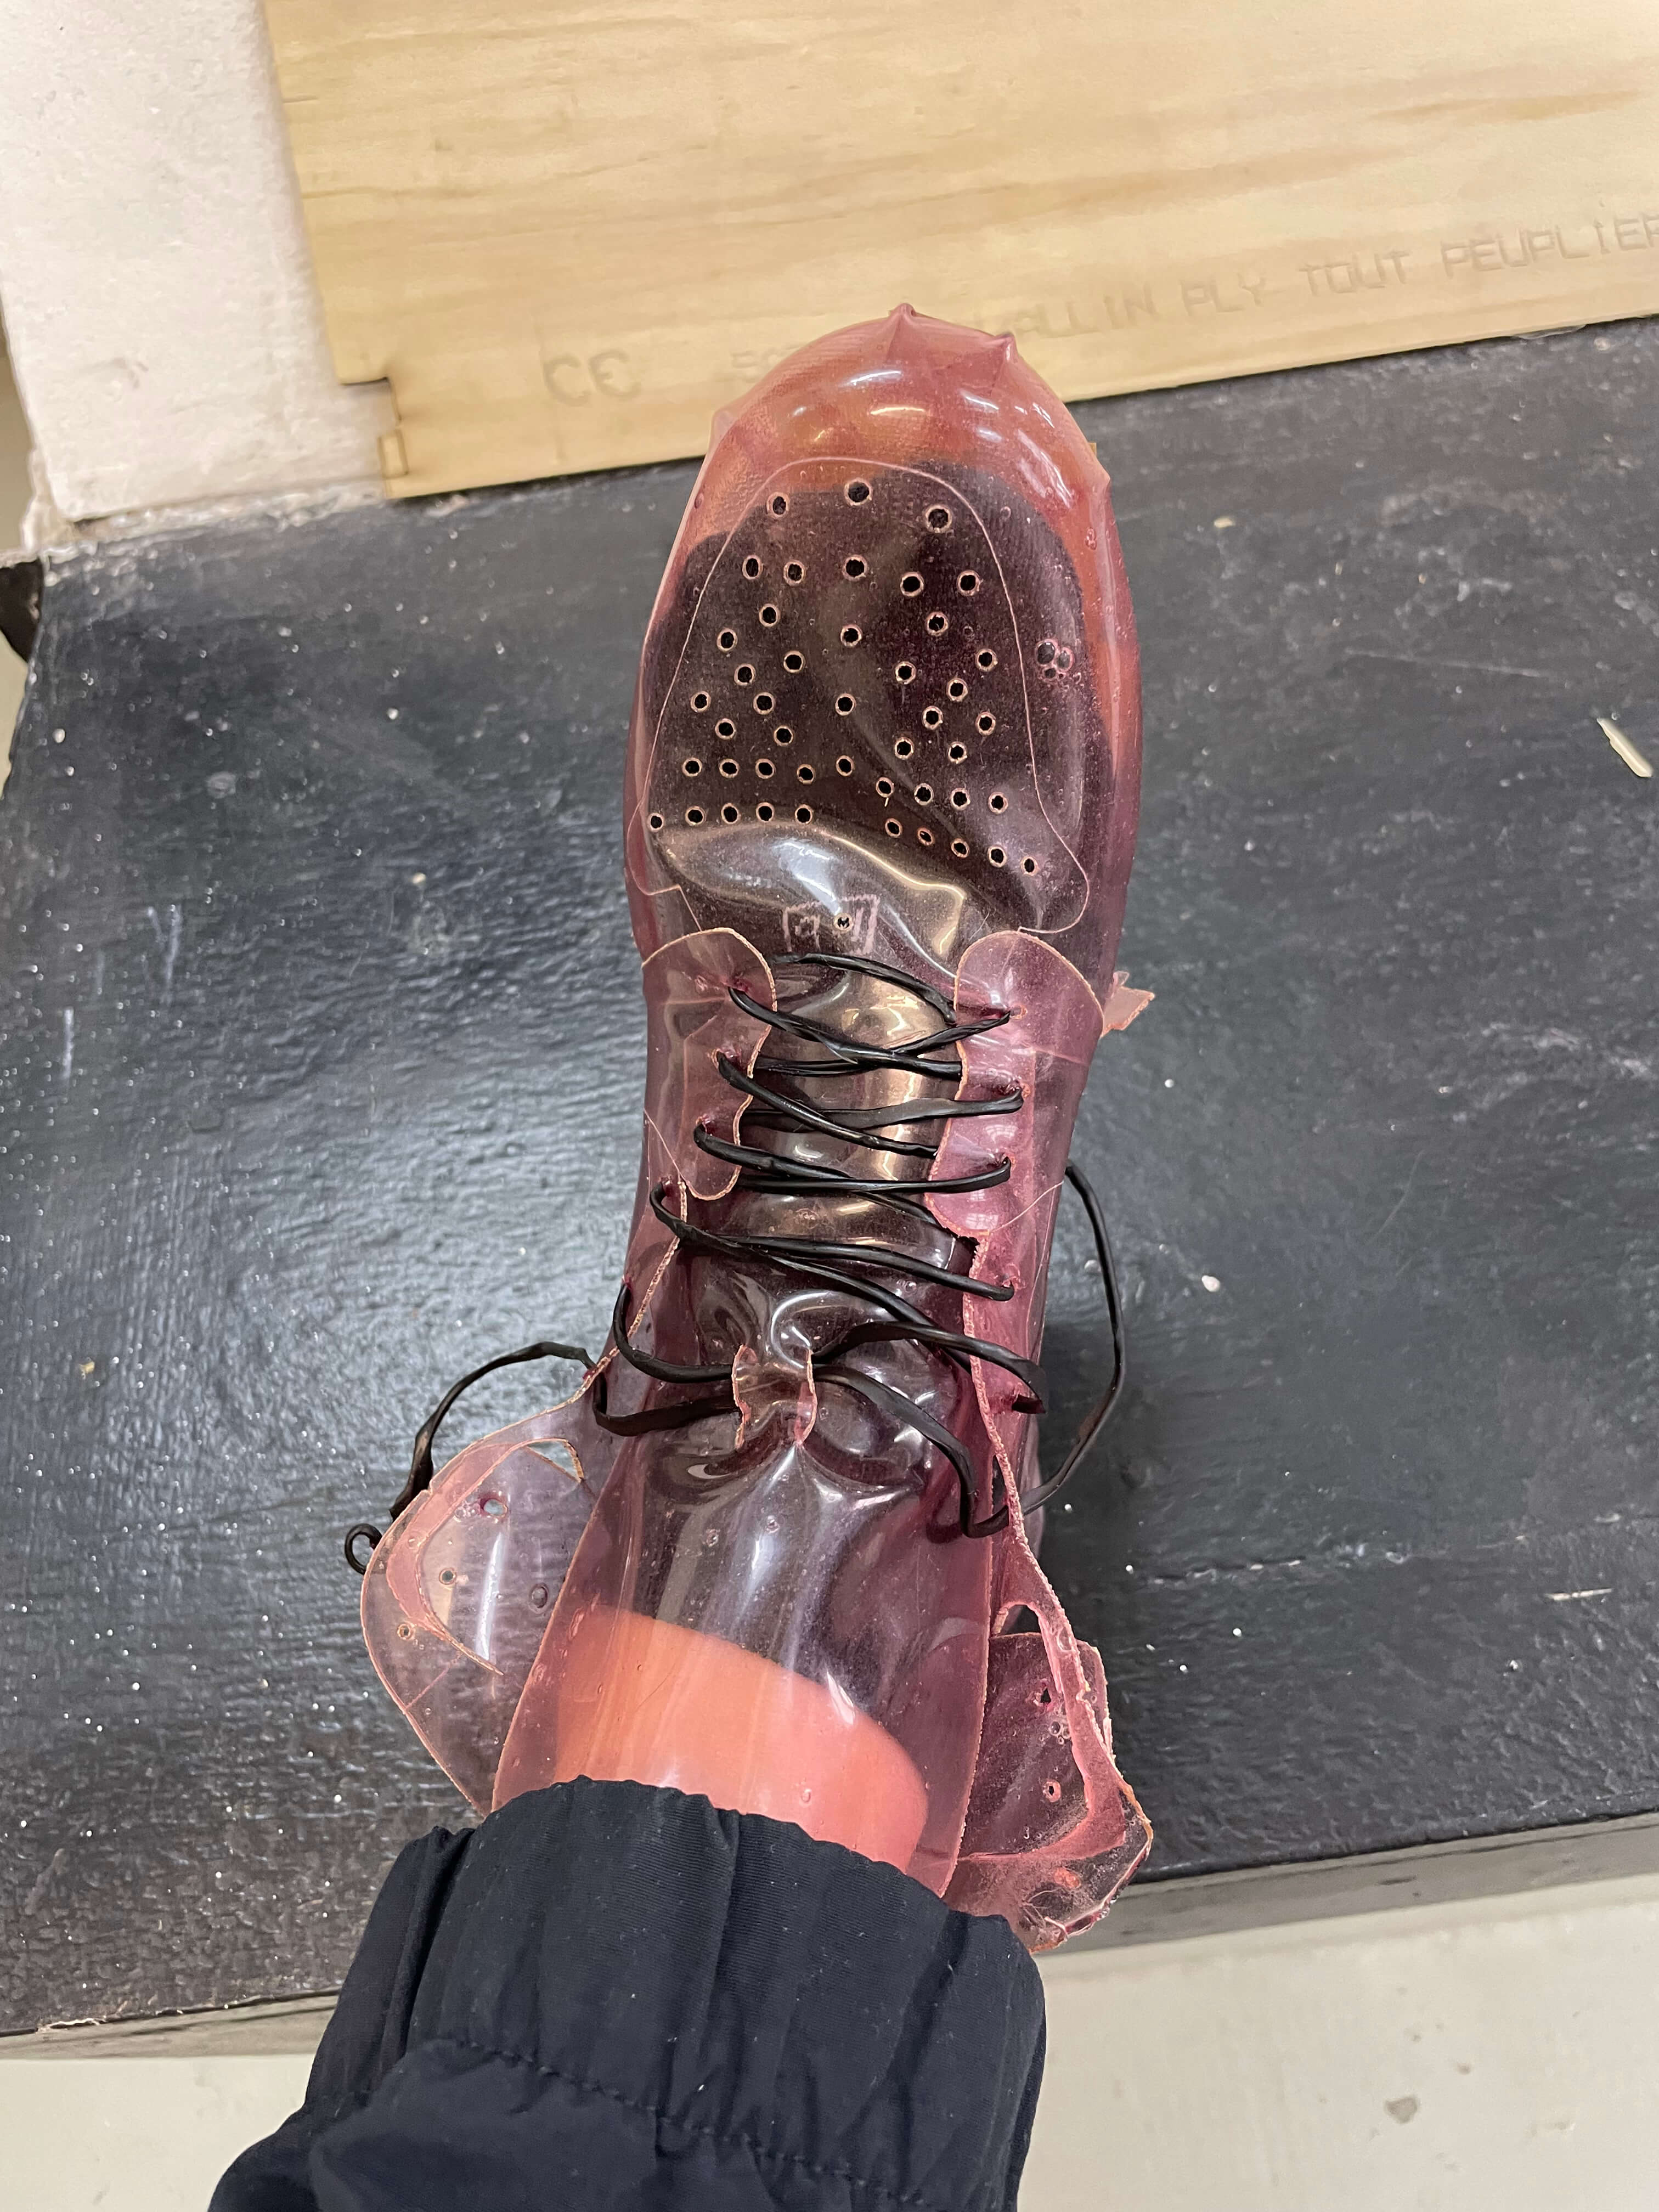
Wrapping Modified Pattern: For this experiment, I modified the Air Jordan 1 sneaker pattern so that it was only two pieces and could connect to each other while on the last. I used the baby pink bio silicone because it was able to strech and mold over the last. It cut well and molded over nicely. The connectors we used to interlock the two bio plastic shoe pieces were weak and came undone. I think this was because the material was too strechy and could easy break when there was a hole cut into it from the laser cutter. So different connectors could work or a slightly less stretchy material with less glycerol. I'm currious to see how it looks in the sole.


Dissolving Experiments