4. BioChromes
Imposter Syndrome
"Imposter syndrome is that uncomfortable feeling you experience when you think you're unqualified and incompetent. You might look around and assume everyone knows what they're doing except you."
Every week, I get the sense that I am missing some sensibility that seems so natural in my class mates...some intuitive understanding how 2D surfaces can be aesthetically mapped to the complex 3D form of the human body. I don't know how to do fashion.
While I am not certain that this is a requirement of the Fabricademy program, I can't help but be in awe at the imagination and skill my student colleagues possess...and how easily everyone seems to be able to produce amazing assignment work week after week.
Not sure why I am writing about this, but I guess I am thinking that I have yet to find 'My Fabricademy' yet.
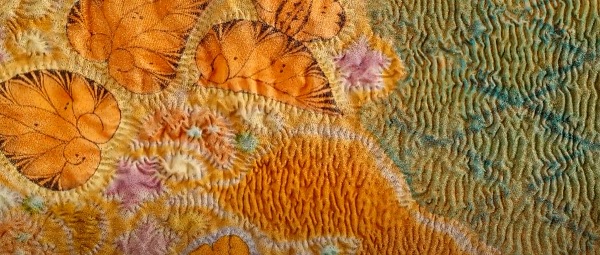
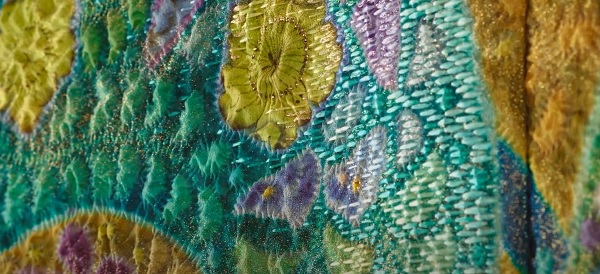
This week...it's all about colors..specifically, natural dyes.
The lecture this week made us aware of the damage being made to the environment by chemical dyes used by the textile industry. 'Natural Dyes' are colors extracted from natural sources...plants, insects and animals...and are not as destructive to the environment as the artificial alternative.
Research & Inspiration
Japan's Biochrome Tradition
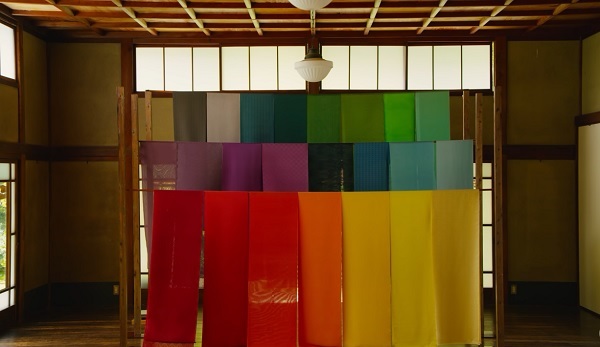
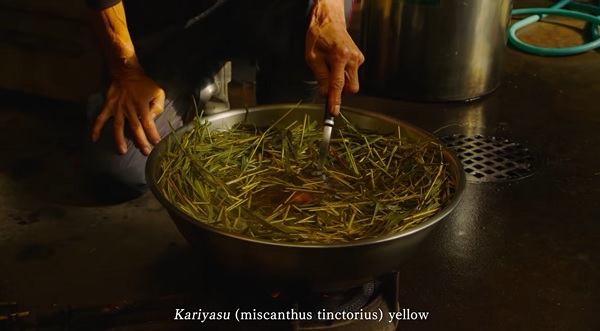
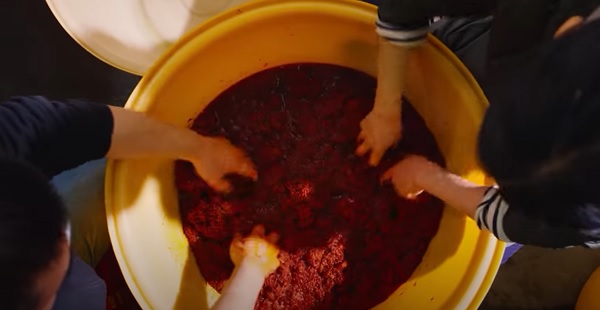
Natural dye is a process very well known in Japan for centuries. This video by the Victoria and Albert Museum documents Japan's Natural Dye Tradition being kept alive in the ancient capital of Kyoto by one person in particular, Sachio Yoshioka and his workshop Somenotsukasa.
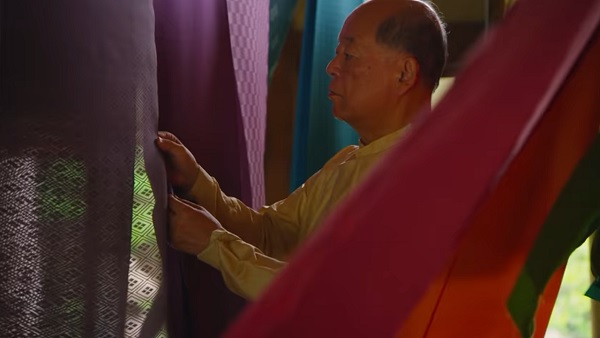
Dyeing on silk with plant derived dyes, Yoshioka-san utilizes recipes that date back hundreds of years...some of which were rediscovered by Yoshioka-san through extensive research in historical texts describing the making of traditional costumes.
From the Biochromes lecture, I see many examples of muted gentle colors resulting from the natural dyeing process. I am astounded by the brilliant deep colors that Yoshioka-san is able to create.
The Process of Making Safflower Red (Beni)
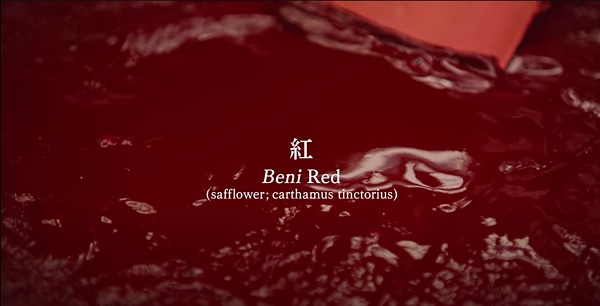 - Petals harvested in the summer...dried until winter
- Dye made in mid-winter...cold water produces the best results
- The petals are steeped in cold water and the yellow colorant is mechanically pressed out of it and discarded (not used as dye!)
- Straw-ash, Alkali-water is used (several times) to rehydrate the pressed petals...and release the desired red colorant...that will be used for dyeing
- Vinegar (acid) is added and the colorant is soaked up using linen strips
- Then Alkali-water is used one more time to release the red colorant from the linen strips
- A special dried-plum(sorbitol, quinic acid, chorogenic acids, vitamin K1, boron, copper, pottassium?) extract is used to make the colorant precipitate to the silk
- Eventually the colorant will take on the consistency of fine mud
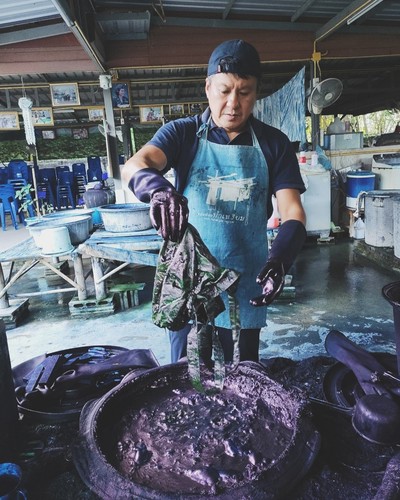
The Process of Making Gromwell Root Purple (Murasaki)
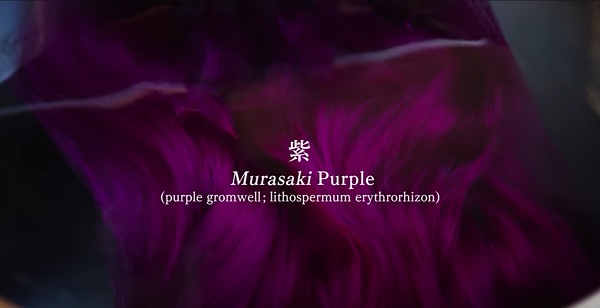
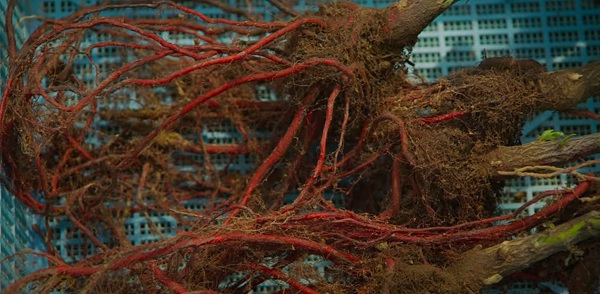
- After harvesting from Taketa town in Oita prefecture...
- The Gromwell root is smashed with a wooden hammer (by Master Dyer Fukuda-san)
- The smashed roots are placed in a bag which is soaked in water (hot? cold? additive?) an kneaded to extract the purple colorant
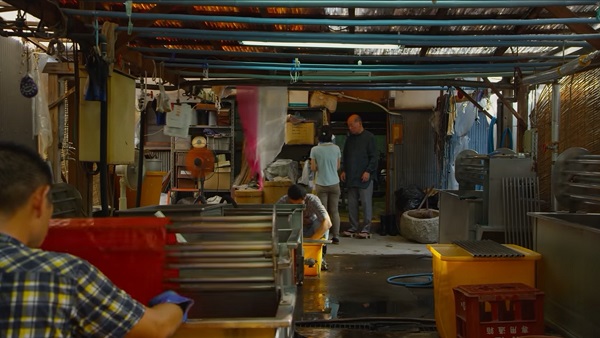
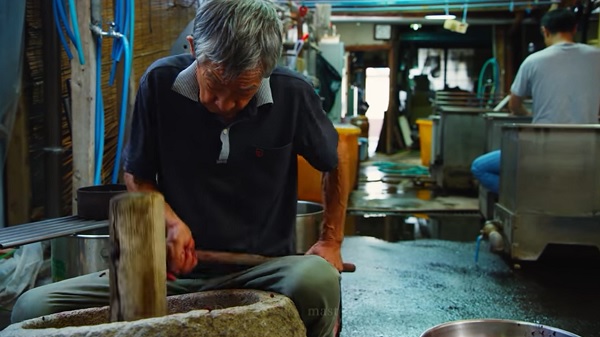
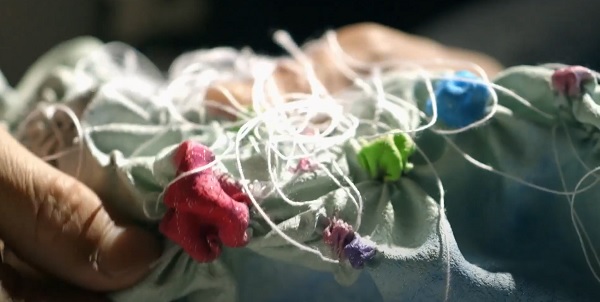
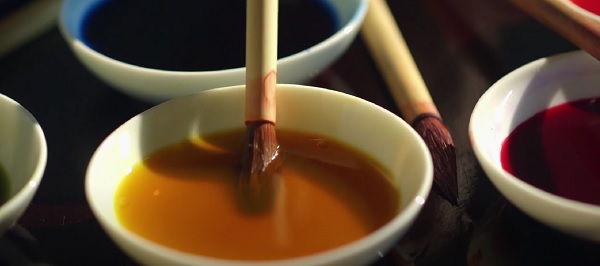
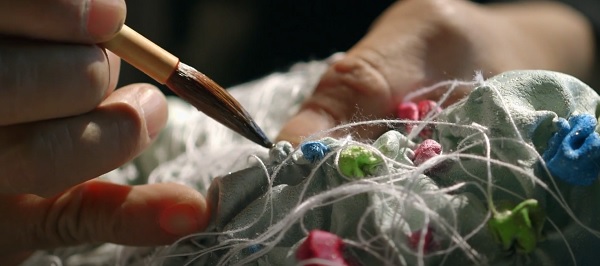
Itchiku Kubota > Kimono Dye Artist

While researching Natural Dying in my vicinity of Kamakura, Japan...I discovered the artist Itchiku Kubota who was responsible for reviving the lost 15th/16th century dyeing technique called Tsujigahana (Flowers at the Crossroads). In particular, Kubota-san applies his [Tsujigahan dyeing technique to creating Kimono Artpieces. While the word Kimono has the mundane literal meaning of Things to Wear, Kubota-san uses this traditional and cultural Japanese clothing as the canvas to create intricate and breathtaking art works.
The research revealed that Kubota-san initially used Natural Dye...but eventually changed to using Synthetic Dy to make his artwork (sad)...but his fabric manipulation technique is still astounding.
The Creation Process
Using a technique called Nuishime Shibori Kubota-san and his team hand ties hundreds and hundreds of small ties into the kimono's Chirimen silk crepe fabric using vinyl thread. Then specific dye colors...and Chinese ink (for contrast)...are hand painted to specific tie locations using a small brush. 82C steam is used to fix the dye to the fabric before rinsing. Dyeing, steaming and rinsing is repeated many time because silk can only absorb a certain amount of dye every time. The process to create one art piece can take a year or more.
Assignment

- Produce one natural dye and one ink or pigment...on fabric
- Experiment with different fibers and mordants
- Document recipes and process
Assignment Work
Phrae Mo Hom (Indigo Dye) Research
I had the chance to visit my home town...Phrae, Thailand...recently. While a small town mostly dependent on agriculture, Phrae has several traditional crafts for which it is nationally known. One of these is Mo Hom or indigo dyed fabric, a tradition with a long history.
Mo Hom in the original Lanna dialect of Northern Thailand means 'Black Navy'.
I visited the Baan Pa Ngam Workshop to learn about Phrae indigo dye techniques. Funny enough, I discovered a video about this workshop on YouTube...Mo Hom: Thai Denim Born in Phrae
The Mo Hom dye in Phrae if made from two plants, the Hom plant (Strobilanthes Cusia, large leaves, grows in shady areas)and the Kram plant (Indigofera Tinctoria, small leaves, grows in the hot sun).
Making the Dye
The process of indigo dye making was explained to me as follows...
- Harvest about 10-15kg of the Hom leaves in the early morning or evening hours (not during the Photosynthesis hours?)
- Soak the harvested leaves in 80-100L of rain water for 2-3 nights...letting it ferment
- Remove leaves and branches from the fermented water
- Filter the fermented water through a thin white cloth
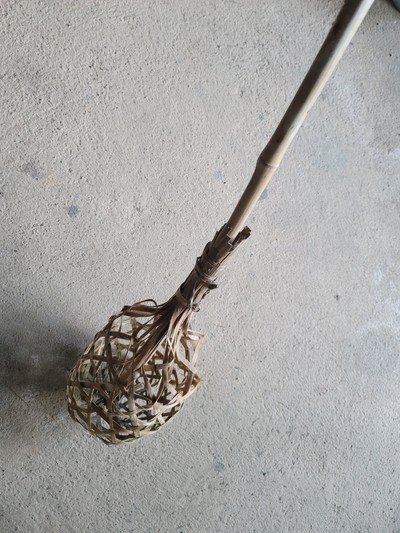
- Muddle the water soaked leaves with a bamboo muddler to introduce Oxygen and generate foam. Muddle until no more foam appears
bamboo muddler
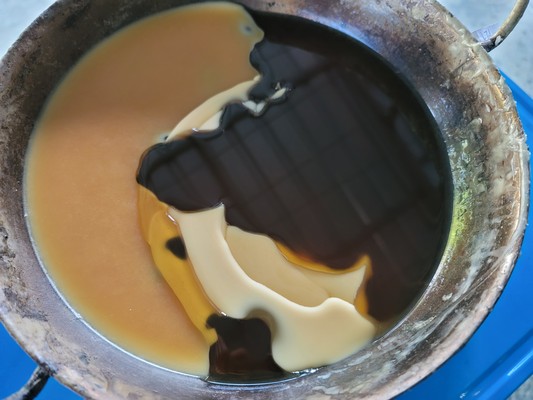
- Add lime (calcium hydroxide), tamarind and alkaline water
- Pour the muddled liquid through a thicker white cloth...to collect the wet indigo dye paste
- Add the paste to the clay dyeing pots with clean water to make the Indigo dye
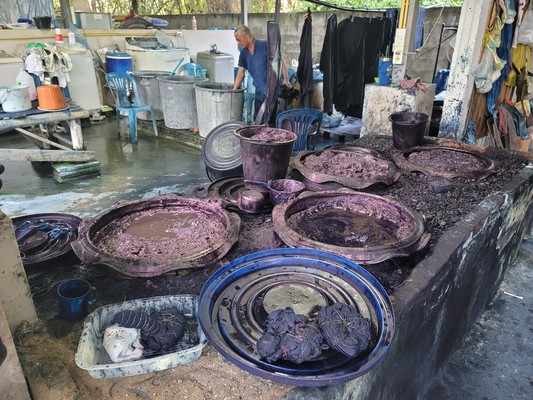
Indigo Dyeing
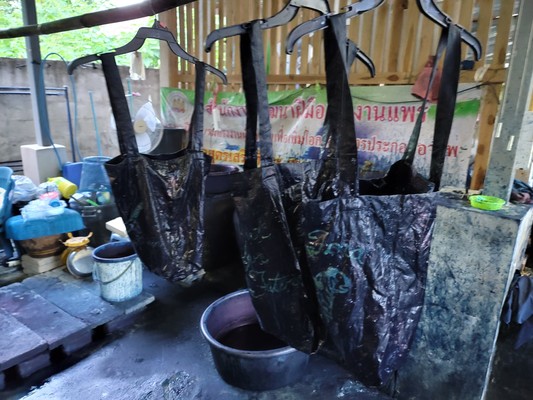
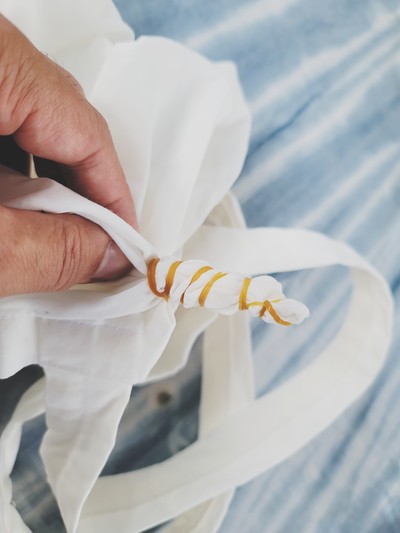
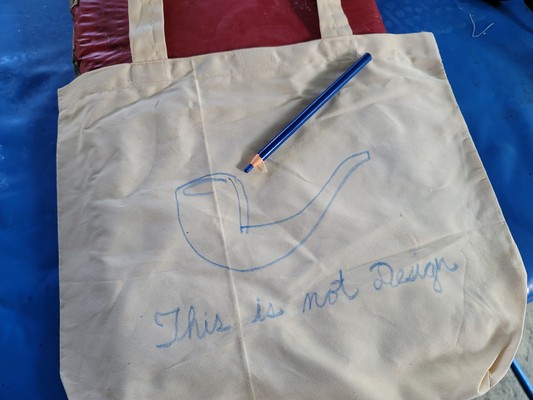
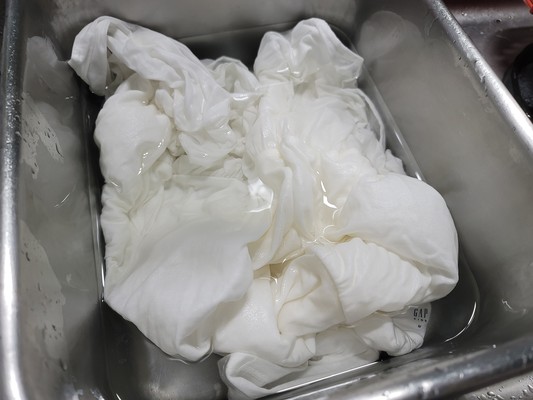
I chose to dye natural cotton bags. The dyeing process was as follows...
- Wash the cotton bags...to remove any chemicals
- Tied and used resistive wax to produce designs on the bag
- Soak the bags for 10mins in plain water prior to dyeing...to make dye absorption more effective
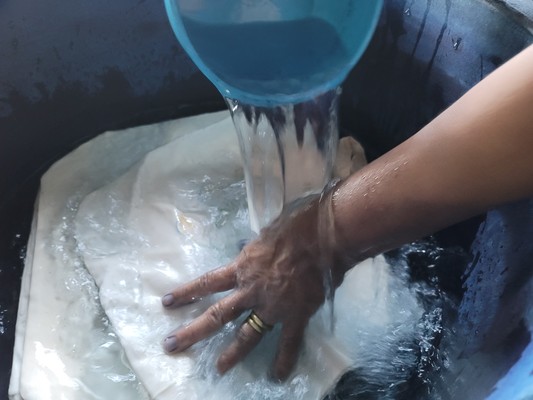
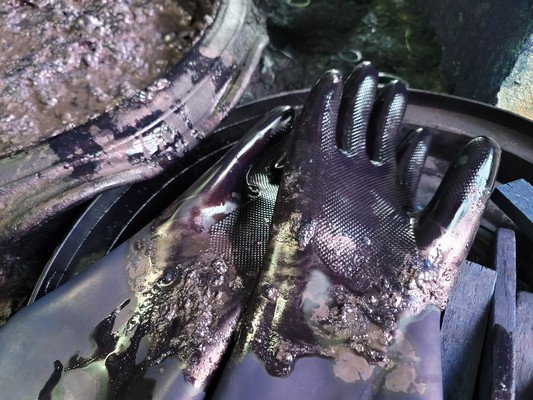
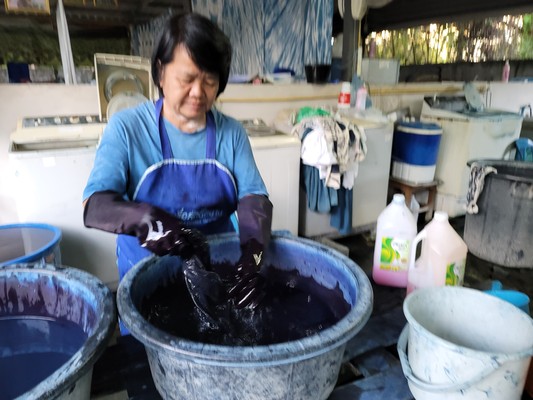
- The bags are dyed one by one...thick rubber gloves are worn to protect the skin from being dyed blue!
- Wring out most of the water...then dip the bag into the dye pot...squeezing and stretching the fabric to ensure that the dye penetrates thoroughly and evenly
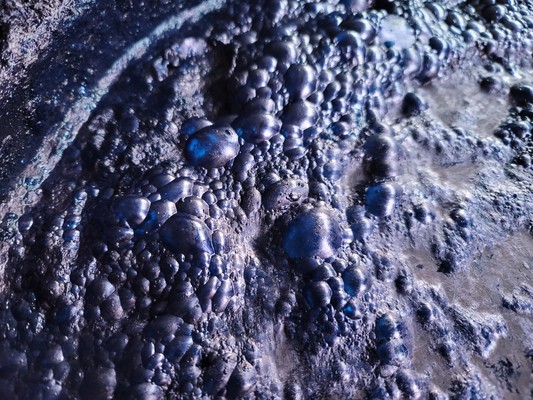
- Pull the bag from the dye bath, squeezing out excess dye...noting the green color...and allow the dye to oxidize in the air and turn dark blue
- Repeat the dipping and oxydizing process 3 or 4 times to get a deep blue result (the more times it is done the deeper the color)
After several dippings...comes a series of washing steps
- Wash the dyed bag in plain water to remove excess dye
- Wash the dyed bag in allum water...to fix the dye to the fabric
- Wash the fixed dyed bag in shampoo water
- Rinse the shampooed bag in plain water to remove the detergent
- Rinse the bag in progressively clean water to remove any remaining dye and detergent
- Hang the bag to dry
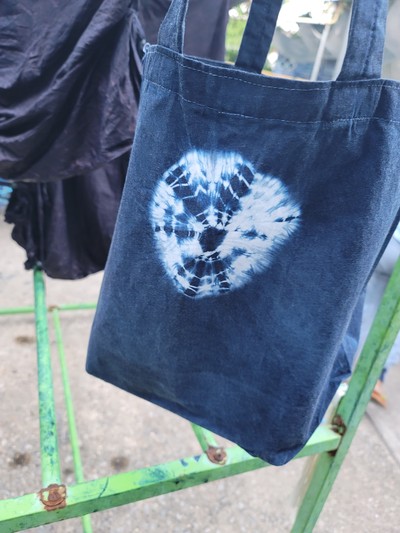

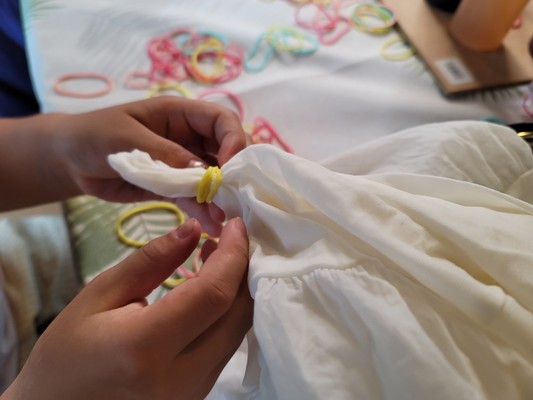
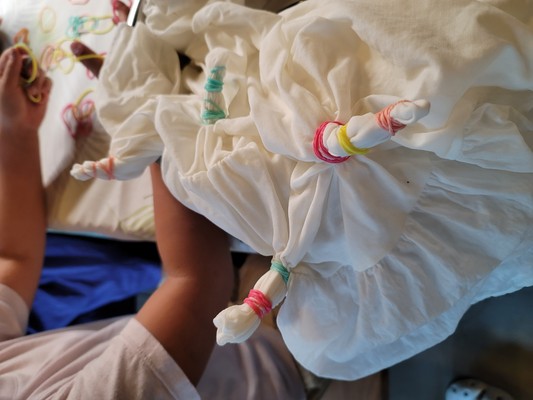
Tie Dye
For this process, I didn't do anyting particularly challenging and simply used rubberbands to tie a tower of fabric I pulled from each side of the bag. I wanted small medallions of white radiating patterns on both sides of the bag.
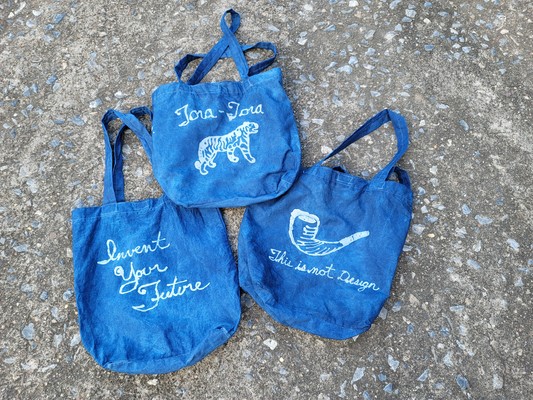
Resistive Dye
We started by melting Beeswax in a wok over a gas stove. It took about 15 minutes for the wax to fully melt from its solid form.
Many hand-carved wooden stamps were available for me to choose from.
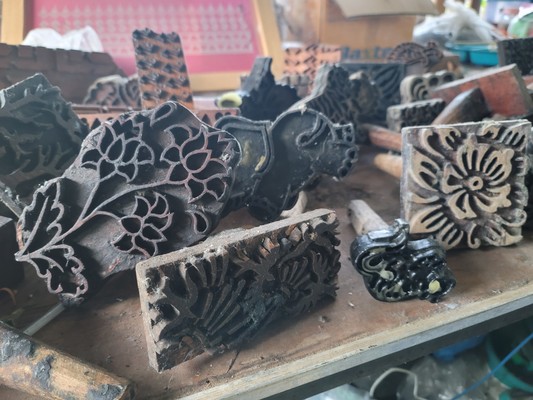
I chose the Tiger Stamp
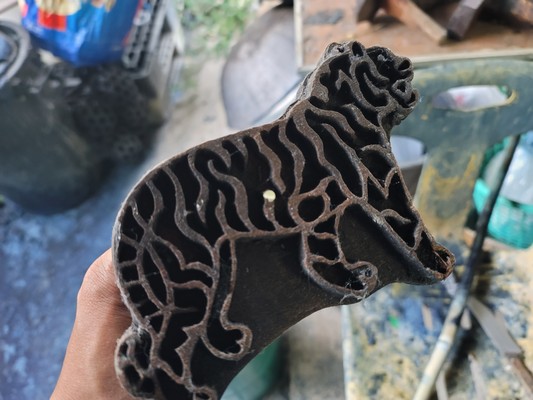
The stamp is soaked in the hot wax to bring it up to the same temperature as the wax...so that the wax will stick to the stamping surface.
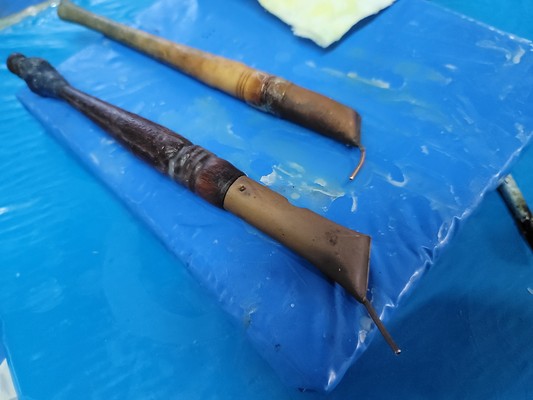
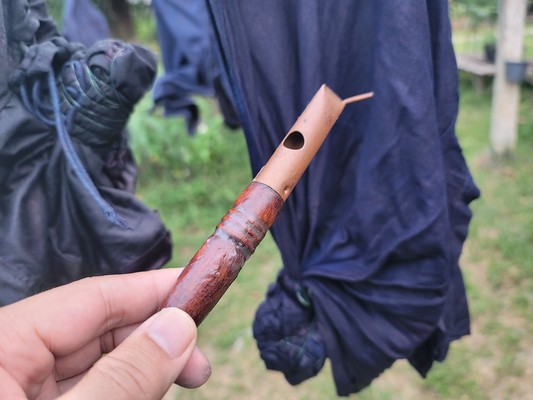
On other bags, I used a Wax Reservoir Pen to 'draw' the resistive wax onto the fabric. A sketch of the design is first dran with a blue colored pencil to be a guide for the wax 'drawing'.
The pen is dipped into the hot wax to fill up the reservoir. Then the wax is drip-drawn onto the bag. The wax cools quickly inside the pen and I had to frequently dip the pen back into the hot wax to liquify it again.
After the resistive wax is drawn on the bag, the bag is washed in pure water in preparation for dyeing. The dye process is the same as the tie dye process.
Natural Dye Workshop @ Skylabworkshop
For one of my afterschool Gakudo Girls workshop, I decided to explore natural dyeing with the kids. This workshop occurred before I began my Fabricademy program.
I researched on the internet for information on Natural Dyeing. I found this website by Food52 useful.
A brief review of what I learned...
- Natural dyeing works only on Natural Fibers
- Cotton and Linen are Cellulose Fibers and are tricky to dye...requires Scouring to clean the fabrics (of minerals, wax, oils, etc.)...prepare it for Mordanting (mineral salt bath that helps fibers, especially cellulose, absorb dye) and Dyeing
- Tannin rich (astringent) dyes…bonds well with cellulose-based fibers…better colorfastness…no mordant required...ex: black tea
- Safety > Wear masks and gloves when dealing with fine-powder chemicals
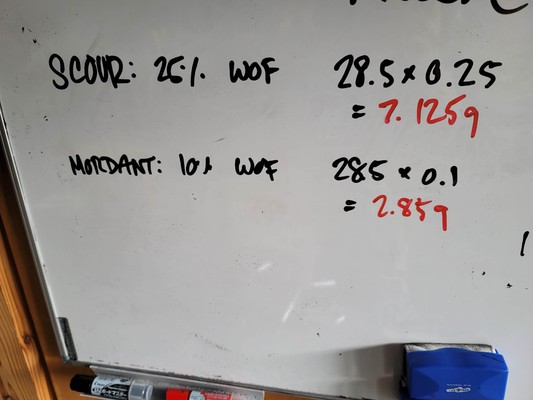
Weight of Fiber
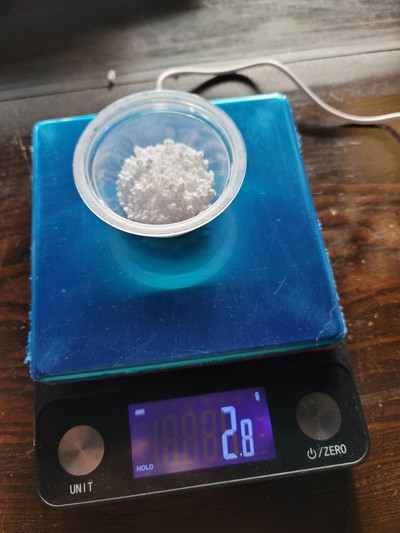
I measured the Weight of Fibers (WOF) I will scour, mordant & dye > 28.5g

Then I calculate the weight of scouring and mordanting material
Scouring
Some videos I learned from...
- Textile Indie - Scouring
- Martha Stewart - Soda Ash
- Scouring Demo by Growing Aware
- Scouring requires 1% of the Weight of Fiber of the material in Soda Ash (purchased online)
- Scouring with Dishsoap requirew 25% of the WOF of the fiber material in Dishsoap
Soda Ash (Calcium Carbonate) Method
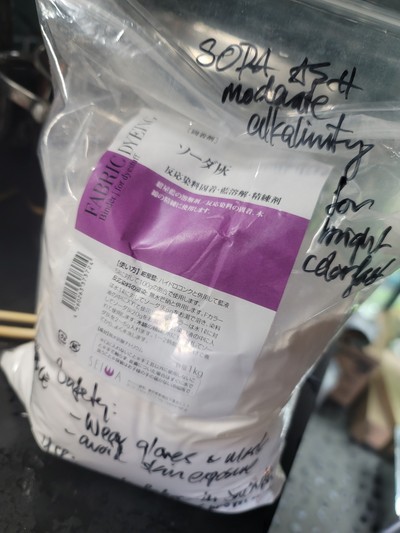
- Add the Soda Ash to Cold Water initially, then Hot Water to help dissolve
- Put fabric to be scoured into the pure Room Temperature water...before adding the Soda Ash liquid
- Heat at 180F for 30mins...stirring regularly
- Rinse thoroughly and let cool afterwards
Dishwasher Soap Method
-
Measure and add 25% WOF of dishsoap to warm water

-
Put fiber material into the soapy water an agitate the fabric in the water to wash it...be gentler with animal fibers (wool) than cellulose fibers (cotton and linen)
-
Soak for 1hr...rinse
Mordanting
Some helpful videos
- Textile Indie - Mordanting
- How to Mordant Cotton and Linen for Natural Dying
- Natural Dye Basics: Mordanting
- Mordanting follows Scouring
-
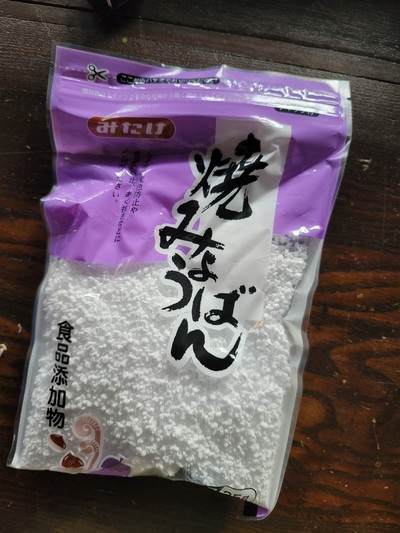
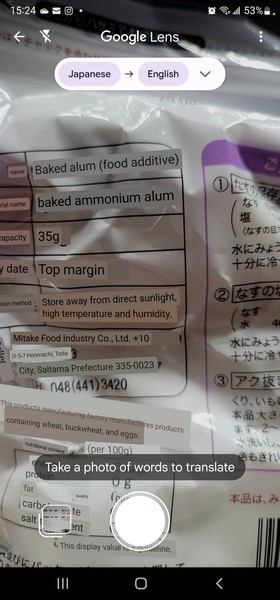
Alum (a mineral salt) is used as the Mordant (easy to find in Japan in supermarkets)...to make dye absorb better into the fabric
-
10% of WOF in Alum is required...mixing in hot water
-
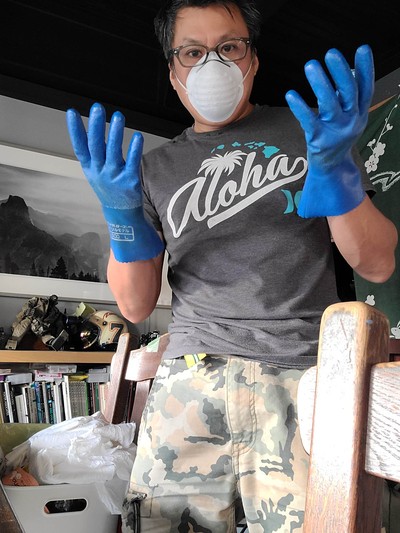
As recommended by many...I wore a mask and gloves during this process
-
Add the Mordant liquid to a pot of water in which the fabric is submerged
- Heat at 110F for 45mins...stiring regularly
- I left the fibers in the mordant overnight
- Rinse and the fibers are ready for dyeing
Reference Videos
I watched a ton of YouTube videos to learn something about Natural Dyes. These were the ones that I found very helpful...
Preparing wool yarn
Natural Dye Basics: Preparing your Yarn by Myra Made Color
Dyeing with Onion Skins
Natural Dyeing with Onion Skins by BillyNou
Create Natural Dye with Onion Skins by Myra Made Color
Dying with Lichen
Crottle Lichen Wool Dyeing from Highland Colours
Dyeing with Dandelion
Natural Dye Basics: Dandelion Dye by Myra Made Color
Trudi Pollard introduces Natural Dyes
Captured by Colour: Introduction to Natural Dyes
Dye Recipes
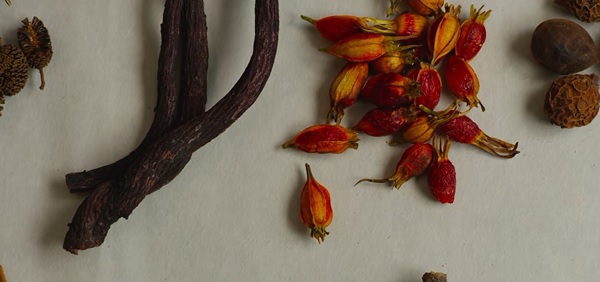
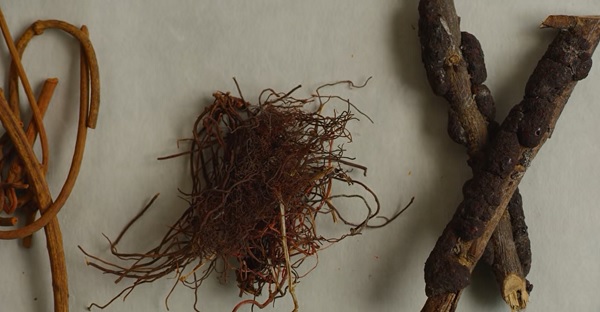
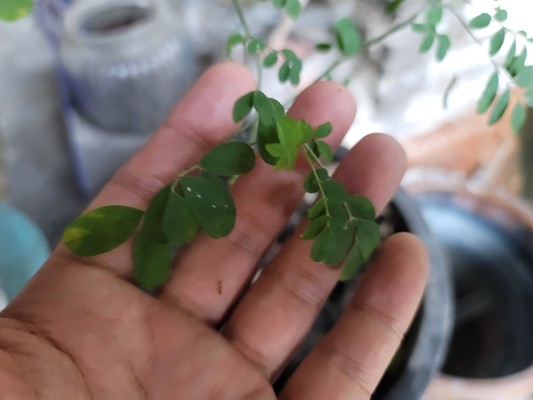
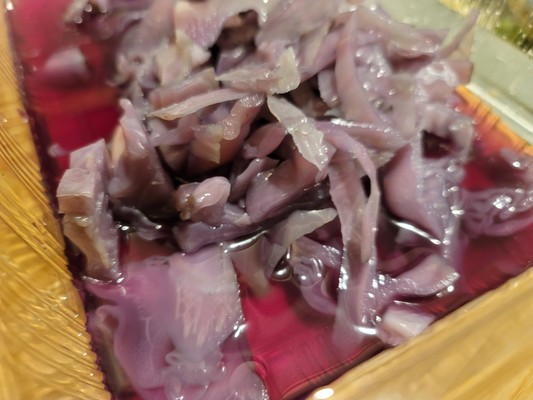
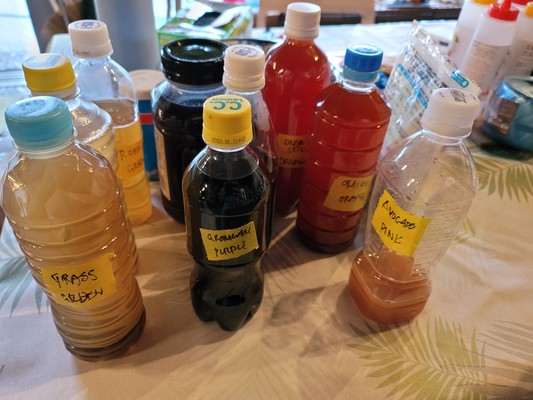
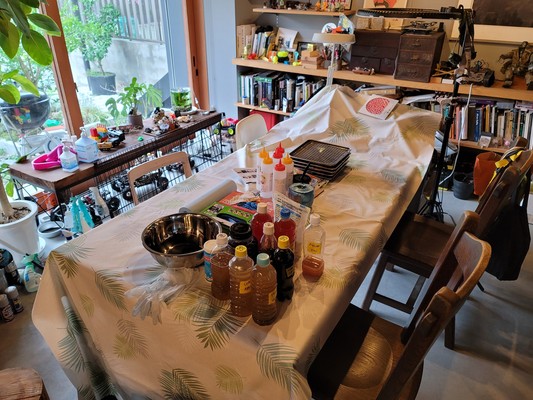
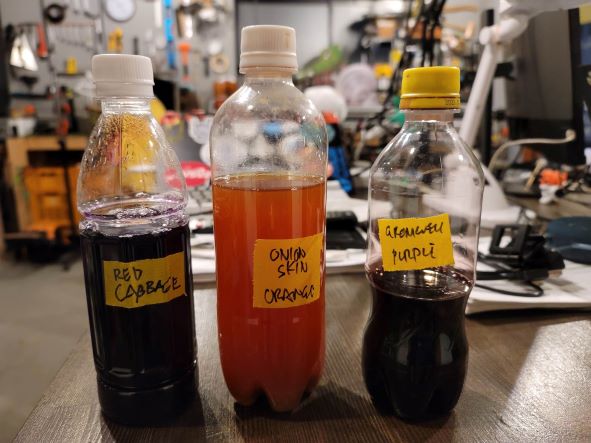
I chose some easy to find ingredients...onion skin (from my own kitchen and local restaurants), avocado seed (from my own kitchen and local restaurants), rosemary, grass, red beets, red cabbage, indigo (natural, produced and sold by Seiwa corp.), and Gromwell root (Purple, produced and sold by Seiwa corp.).
- I purchased natural fiber scraps from a local fabric store (Swany) to conduct my experiments
Pots of Bio Chromes in the making...

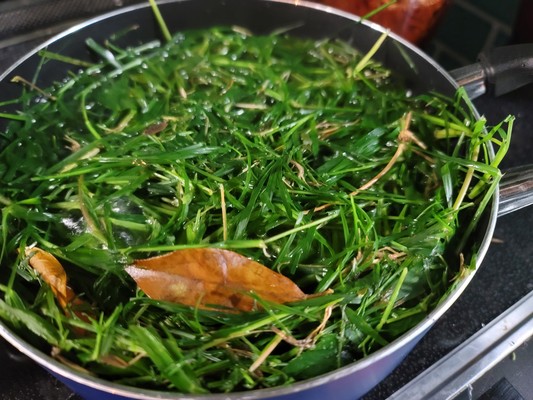
Grass clippings
- A small pot full
- Enough water to submerge the material
- Simmered for 60mins
- Produces a very Light Green colorant (like green tea)
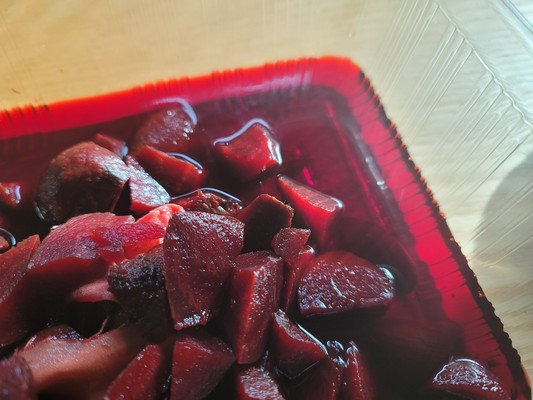
Red Beets
- 1 Can of Red Beets
- Enough water to submerge the material
- Simmered for 30mins
- Produces a Deep Red colorant (like Red Wine)
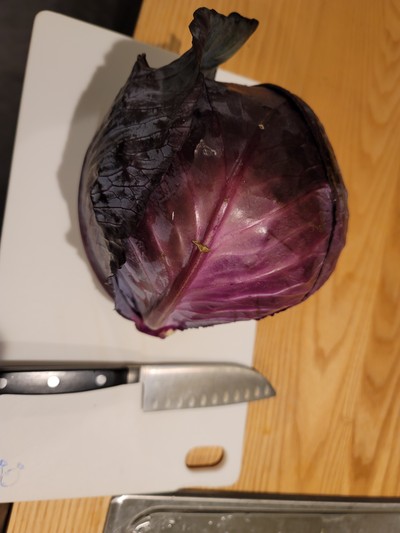
Red Cabbage
- 1/2 a Red Cabbage head...roughly cut
- Enough water to submerge the material
- Simmered for 60mins
- Produces a deep Wine-Red colorant
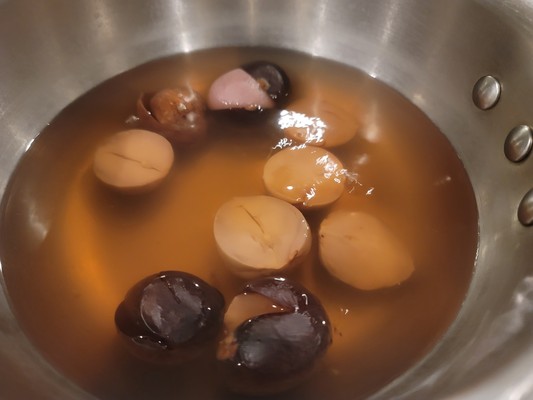
Avocado Seeds
- 6 Avocado seeds...cut in half
- Enough water to submerge the material
- Simmered for 60mins
- Produces a very light Pink colorant

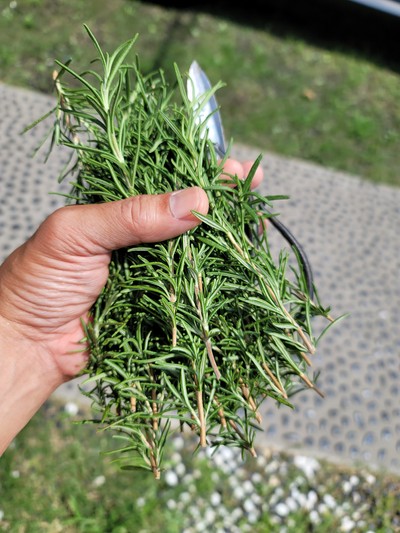
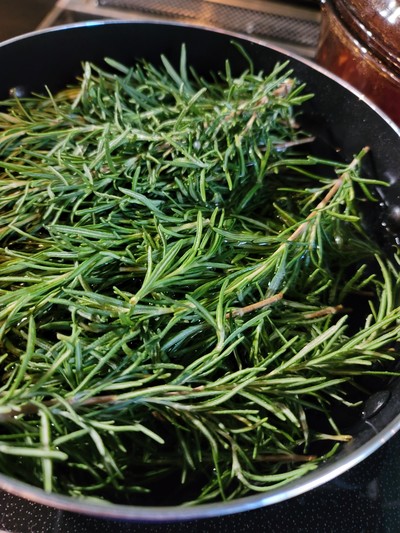
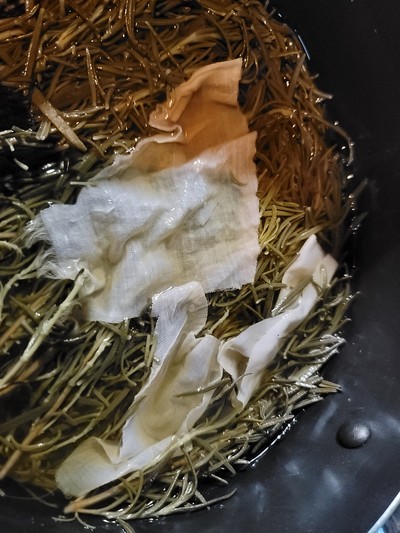
Rosemary
- A handful of Rosemary stems from my garden...enough to fill a small pot
- Enough water to submerge the material
- Simmered for 60mins
- Produces a very light, Yellow-Green colorant
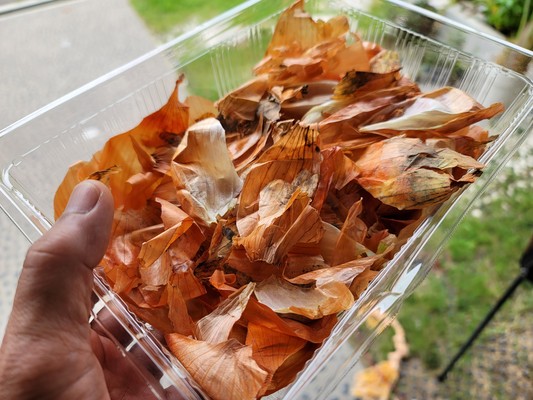
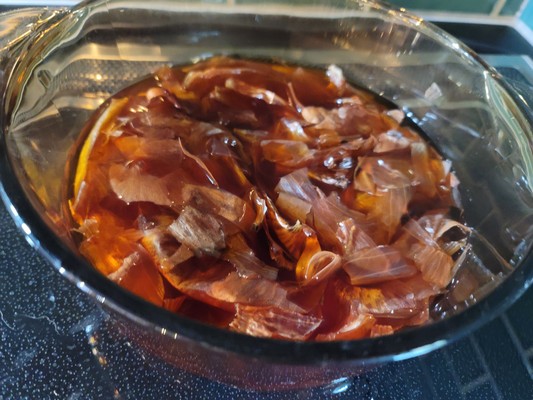
Onion Skin
- Skin from 8 onions
- Enough water to submerge the material
- Simmered for 30mins
- Produces an Orange-Red colorant
- Requires Mordant
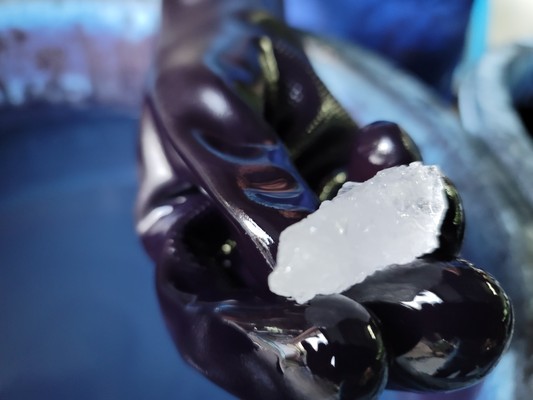
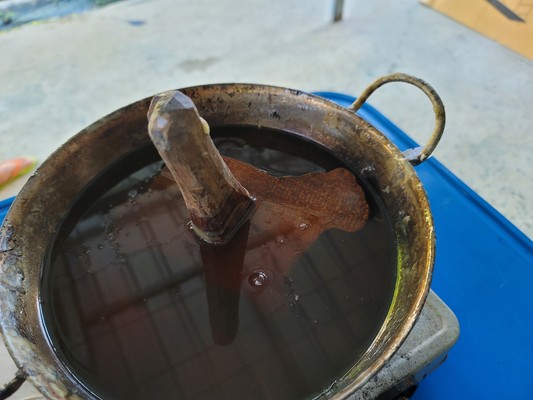
Gromwell Root
- 1/4 cup
- Enough 95% IPA to submerge the material
- Left to soak overnight
- Produces a very Deep Purple colorant

Once the dye colorants had cooled, I transferred them all into plastic bottles.
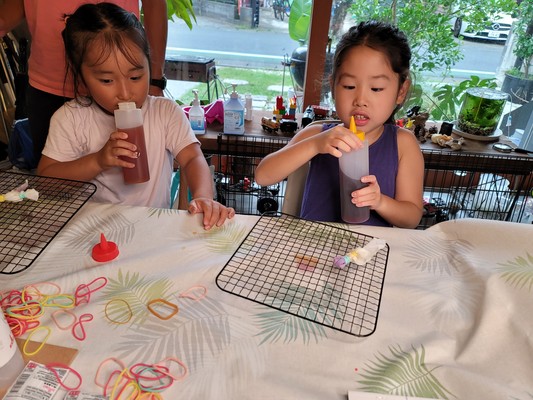
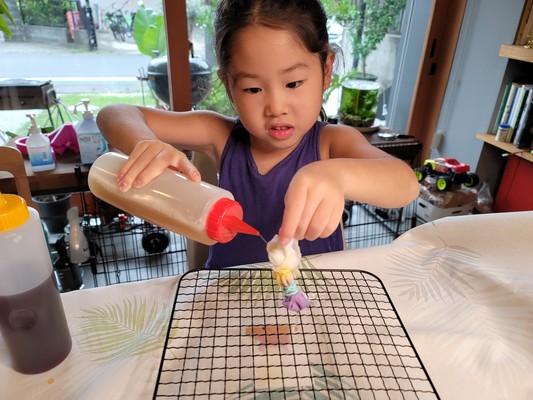
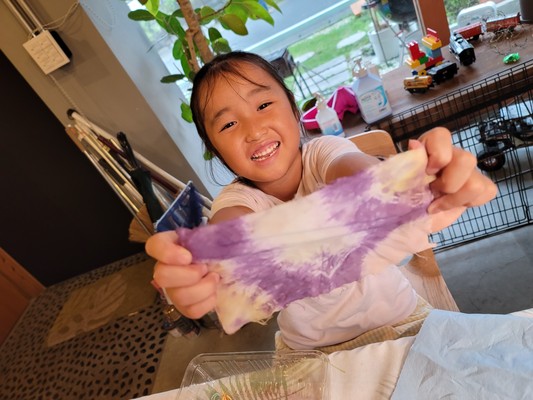
The Kids Workshop
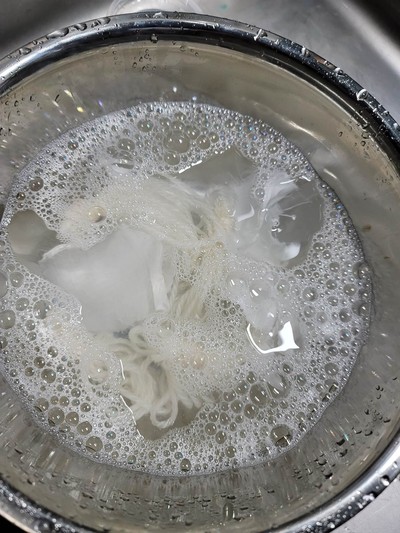
Use fabrics that I had scoured and mordanted...the kids helped me explore Natural Dyeing. Using rubber bands, the kids tied up their fabrics.
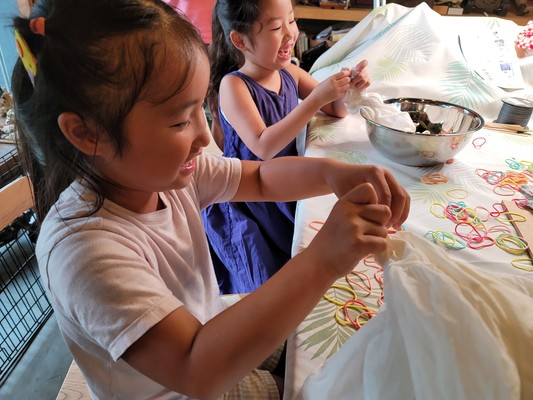
Then the dyeing process begins (after a smell test first!).

My Dye Experiment
Aside from the kids workshop...to complete my assignment in a more rigorous way...my plan is to
-
Dye 3 different natural fibers...wool/alpaca, cotton, linen


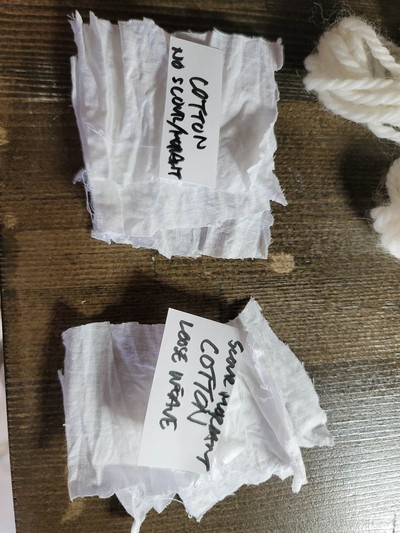
-
With and without scouring and mortdanting
-
The Weight of Fiber (WOF) was measured
-
Scouring (10% of WOF in weight) was done in a mixture comprised of Soda Ash and cold water
-
Mordanting (25% of WOF in weight) was done in a mixture of Alum and cold water
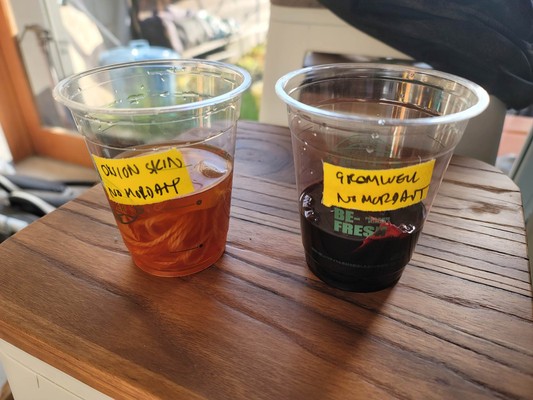
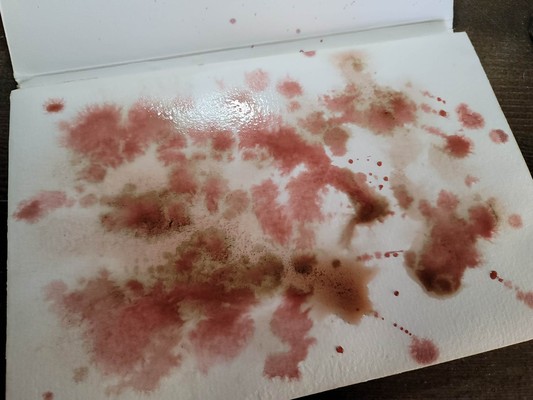
- In 3 different dyes...Red Cabbage (normal and acid added), Gromwell Root and Onion Skin
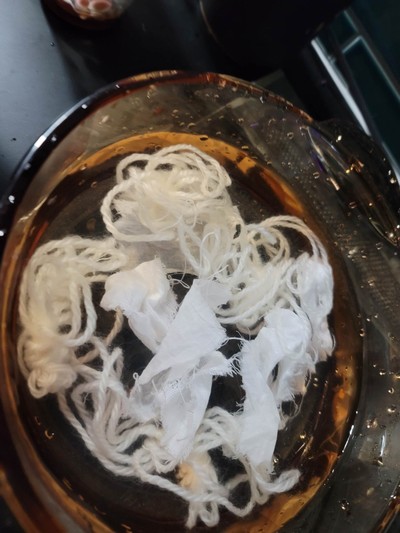
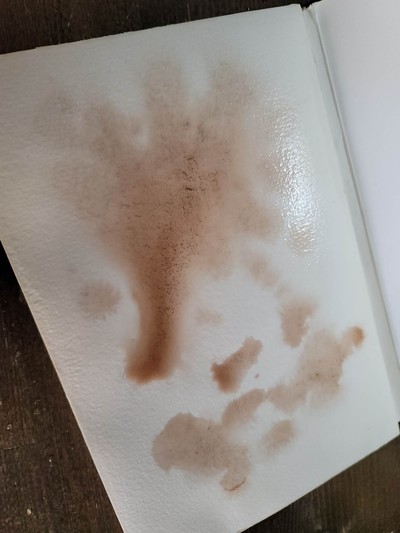
These are the un-scoured, un-mordanted materials being dyed
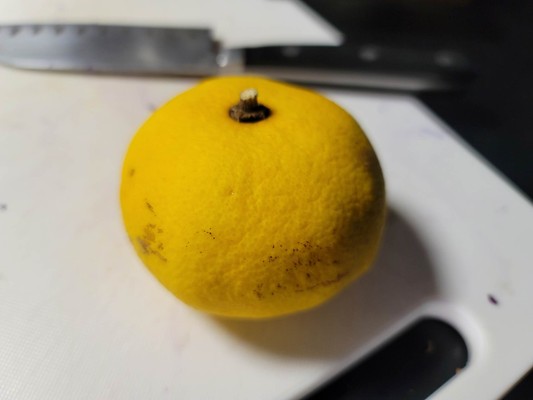
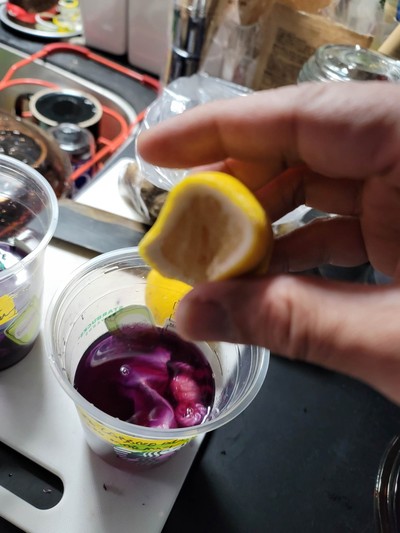
A citrus fruit was used to add acidity to one of the Red Cabbage mixture (turning the color pinkish)
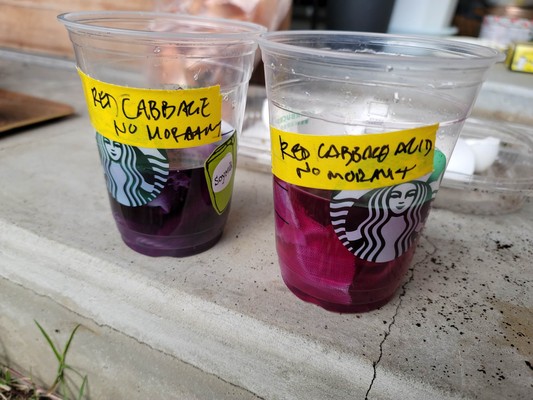
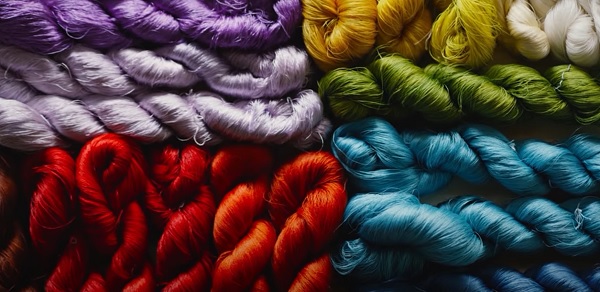
...and these are the results after being soaked in the dye for 3 days. For each dye, the non-scoured and mordanted textiles are on the top row, while the scoured and mordanted materials are on the bottom row.
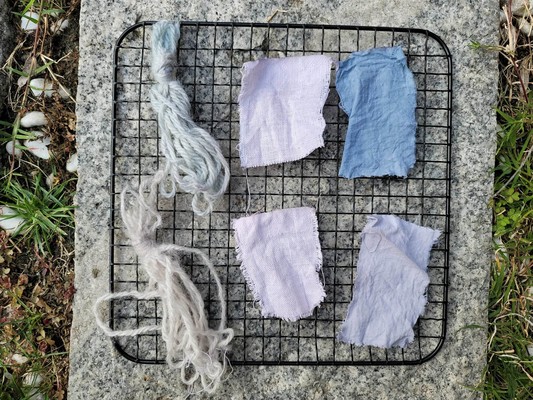
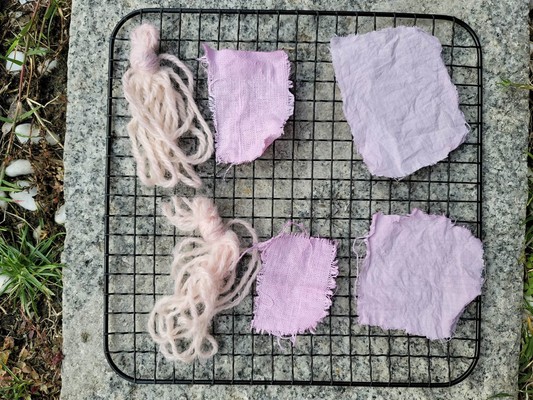
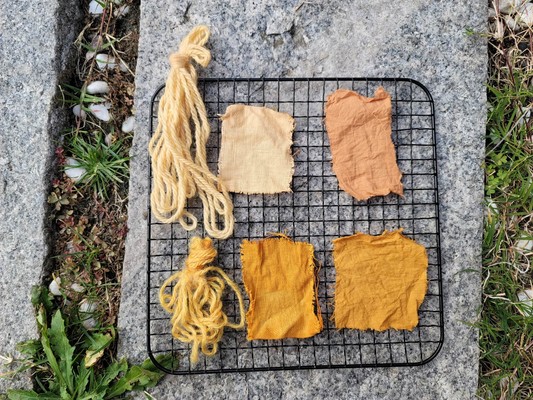
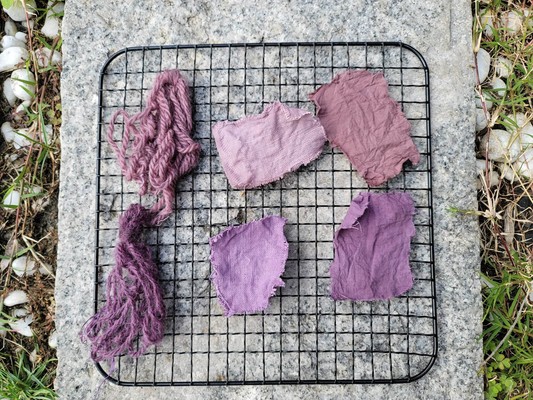
Dye Result Observations
- Generally, the dyes were rather pale in the end
- Perhaps I should have evaporated more water from the colorant solution?
- The alcohol based Gromwell dye produced the strongest color
- The Red Cabbage dye color could be manipulated...adding some acidic lemon juice turned the color more pink
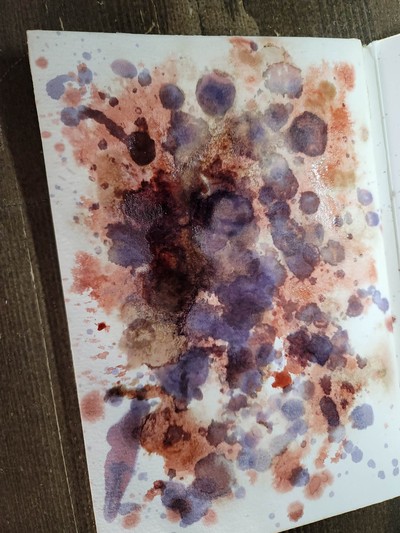
Recycling the dye into Inks
From Cecelia Raspanti's presentation on Inks...
- 3 Ink Components: Vehicle, Binder, Additive
- Vehicle = water, ethanol, oil, gel...into which the pigment is suspended
- Ethanol = marker ink
- Oil/Gel = both vehicle and binder
- Arabic Gum = binder that suspends the pigment equally across the water
- Binder = arabic gum...glue between dye stuff and liquid
- Additive = salt, vinegar, metals...helps stabilize, intensify, modify, preserve, thicken...the ink
The Ink Making Process
- Boil dye down to a dense liquid
- Salt is good for preserving water based inks
- Acids and Alkali can be used to change the look of the color
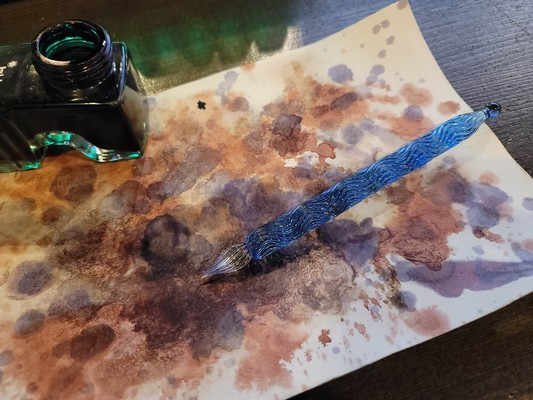
Red Cabbage Ink
Dye Stuff: Red Cabbage
Name: Rico Kanthatham
Origin: Kamakura, Japan
Date: November 24, 2022
Recipe:
- 470ml of old, moldy, red cabbage dye liquid (odor similar to balsamic vinegar)
- Add 10g salt
- Boiled to reduce liquid to 135ml
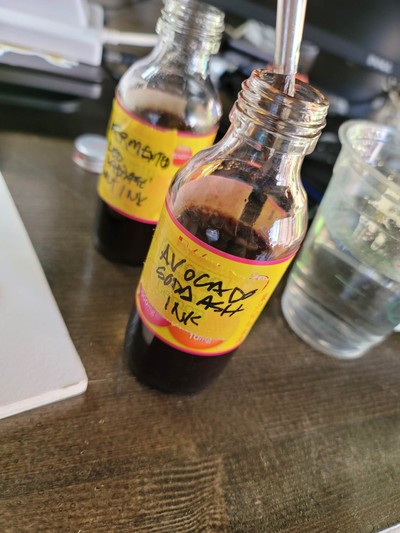
Avocado Seed Ink
Dye Stuff: Avocado Seeds
Name: Rico Kanthatham
Origin: Kamakura, Japan
Date: November 24, 2022
Recipe:
- 176ml of old, possibly fermented, avocado dye liquid
- Add 7.4g sodium carbonate (Soda Ash)
- Boiled to reduce liquid to xxml
Gromwell Root Ink
Dye Stuff: Gromwell Root
Name: Rico Kanthatham
Origin: Kamakura, Japan
Date: November 24, 2022
Recipe:
- 50g Gromwell Root powder
- 50ml 95% IPA
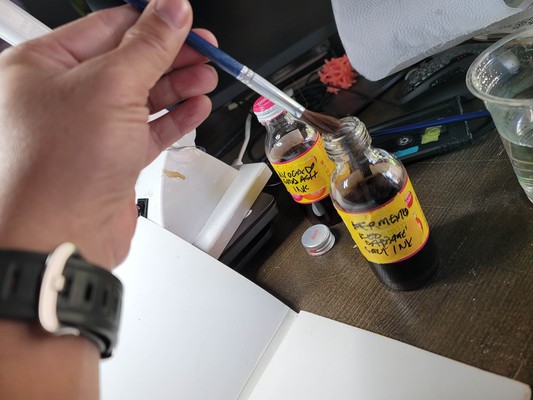
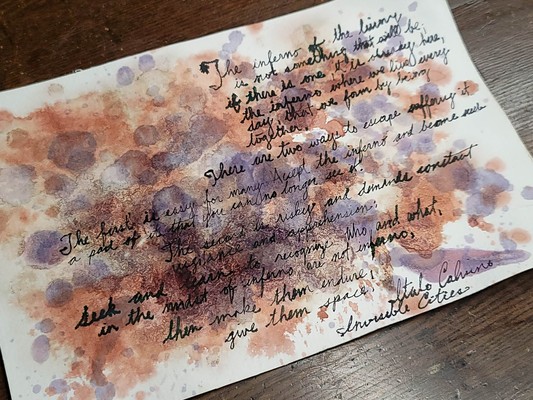
The 3 inks were painted onto watercolor paper in layers, starting with...
Fermented Red Cabbage Ink
Then...Avocado Seed Ink
And lastly...Gromwell Root Ink
Over which I wrote one of my favorite passages from Invisible Cities by Italo Calvino
Lecture Review
- A good idea to have a timelapse screen record of how to make the pattern
- Linette > Modular Shoe!
- 2D interlock to make 3D shapes
- Bolor Amaglan...designer
- Jean Paul Gautier...movie costumes
- Olivia > Modular Vest
- ...to complete the assignment properly...must push the "Zero Waste" objective
- Lisa Boulton > Made her own felt! Concerned about the waste from modularity
- Alberte > structural Biomaterial from seaweed. Explore shapes and structures...allude to purpose later
Class Notes
- Biochrome...color by any living organism
- Color is mutable...not static
- Living Colors
- The History of color
- 3500yr old Egyption Color pallete
- Mayan Blue...inorganic and organic matter...nanotech
- Richard Waller...plant biologist, color recording & mapping
- The environmental impact of chemical dyes
- Seek...non-harmful colors
- Botanical inks
Note: how are colors extracted from plants? Why do certain plants output more biochromes that others?
- "Taking a step back to move forward"
- Anti-bacterial properties
- Plant, fungal, botanical, bacterial
Note: glass jars with ingredients
- Animal dyes...conchineal
-
(Japan) Bengara dyes...combination of iron oxide rich soil + pigment
-
Dye Stuff + Solvent/(Water + Heat) = Ink/dye
-
Vegetable waste...dry and grind
-
Mordant = chemical that helps to fix dye to fibers
-
Fugitive Dyes...fade in sun and wash...not stable
- Biochrome vs Artificial colors...depth of colors...like film vs digital
- Overdye and combinations to generate a range of colors
-
Madder...Rubia Tinctoria...Meekrap
(make a biochrome garden!!) -
Many plants make Indigo
-
Blue molecules perfectly mirrored
-
Calculate (dry) Weight of Fibers (WOF)
- ...used to determine require mordants, etc.
- Scouring...remove oils and treatments
- Tannin bath...for natural fibers, makes colors stick better to fibers
- Mordant...necessary for animal dye
- Change PH to change color
- Wool absorbs colors very well
- Cotton...made of cellulose...harder to dye...requires fiber prep...otherwise pastel colors
Mordant (Tannin)
- Oak Galls...when collecting...look for ones with holes. Those without still have a wasp inside!
- Myrobalan...
- Alum, Iron, and (toxic) copper (avoid using this)
- Soy milk...works as mordant, mixer, after treatment!
- PH modifiers...copper modifiers, iron modifiers
Dye
- Weld...flourescent yellow outcome in the best conditions
- Merigolds...great for dyeing, medicinal properties...easy plant to grow
- Madder...produce 25 colors...a root, simmer not boil...temperature sensitive
- Alkanet...stinks! Like a wet dog.
- Eucalyptus
- Avocado Pits...simmer DONT boil
INKs
Pigments
- colors that stay colorful
- usually inorganic compounds
- recycle dye baths...preserve as pigment
Malachite - copper based
Bacterial Dyes
- Bio Safety level 1 and 2 material normally
- Stick with working with lower danger Level 1
- treat bacteria with respect
- prevent contamination
Victoria Geaney - glow in the dark fabric...72hrs after application
Future Work
Olive Tree Leaves
I have an olive tree in front of my house, which I regularly trim. Unfortunately, I didn't know that the leaves were useful for dyeing or I would have kept them all. Already mid-November, I will not prune my olive tree any more...as it will need its strength for the winter. I will try to collect fallen leaves and experiment with them.
Olive Tree Leaves as Antibacterial
"...This study introduces a herbal waste, olive tree leave, as a source of antibacterial activity and color. Minimizing the use of chemicals by using herbal waste ensures cleaner and more sustainable production. To this end, olive tree leaves were used in dyeing of cotton fabrics by themselves and with different mordants. The dyed samples showed that different colors can be obtained by changing the mordanting agents, and that olive tree leave also has capacity for coloring cotton fabric without the "