7. Computational Couture
All images are mine unless marked with a hyperlink below
Research & Ideation
Parametric Design Tools
Grasshopper is usually the standard program used for parametric design. However I still am having a hard time trying to get another free rhino trial. Luckily Ray let me collaborate with her this week to get a feel for the program. I also discovered a plug in for blender that functions very similarly to grasshopper.
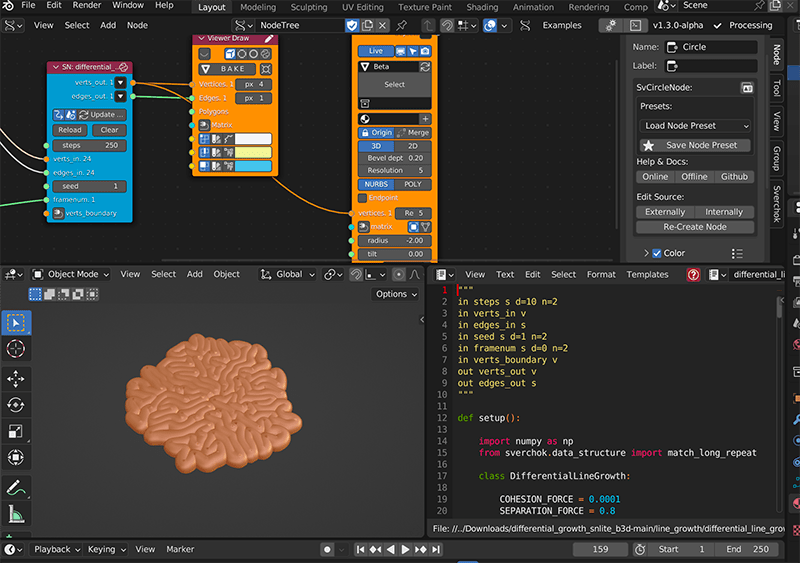
The program is called Sverchok and is a free parametric geometry software for blender. It is capable of 3D modeling and animation
The only draw back I found is that it has a much smaller online community compared to grasshopper so there are only a handful of tutorials to use the plugin.
I did find this tutorial very helpful in getting started and setting up the workspace for the plugin.
3D Printing Tools
- Export a 3D model to bring into Ultimaker Cura or Prusa Slicer depending on which machine you are going to be using
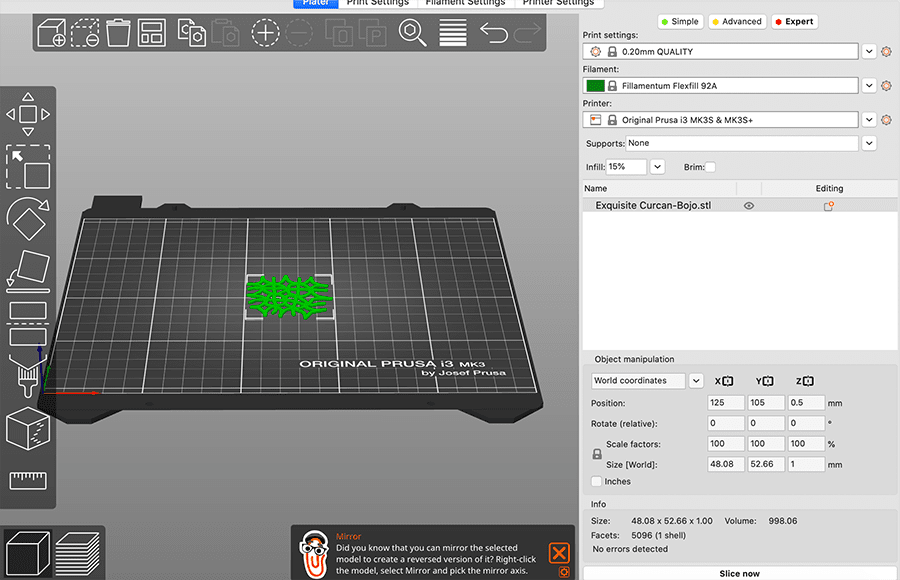
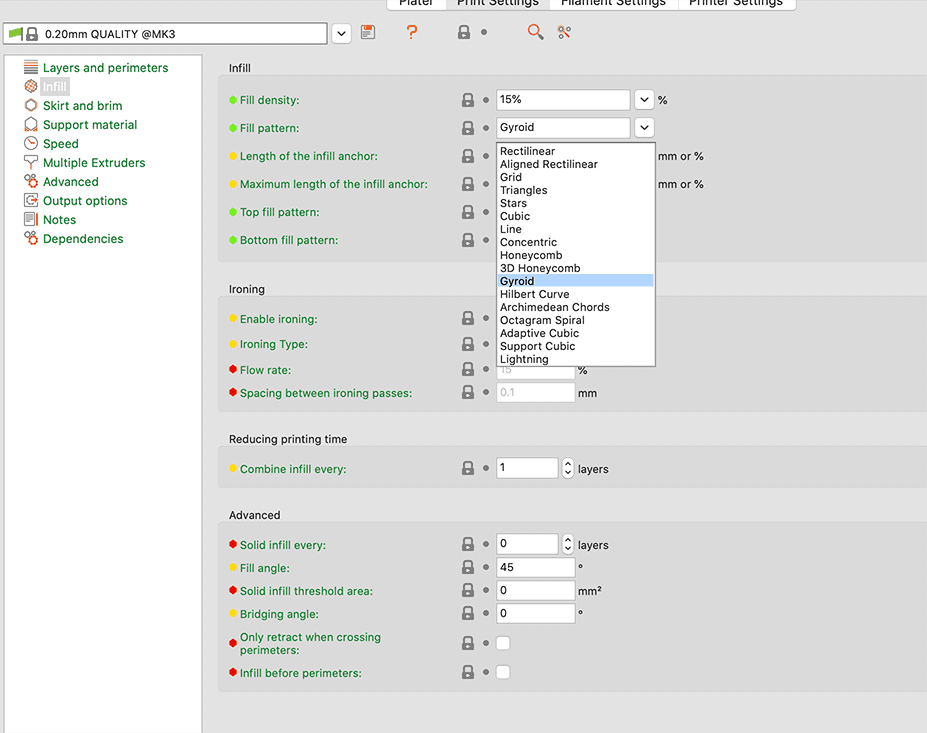
- In the slicing program of your choice update the settings to reflect the materials you will be using to print, the printer name and the nozzle. You can also go into the more advanced settings to adjust the infil patterns which is useful when printing fabric. After all edits are made, hit slice now and export the file on to an SD card
-
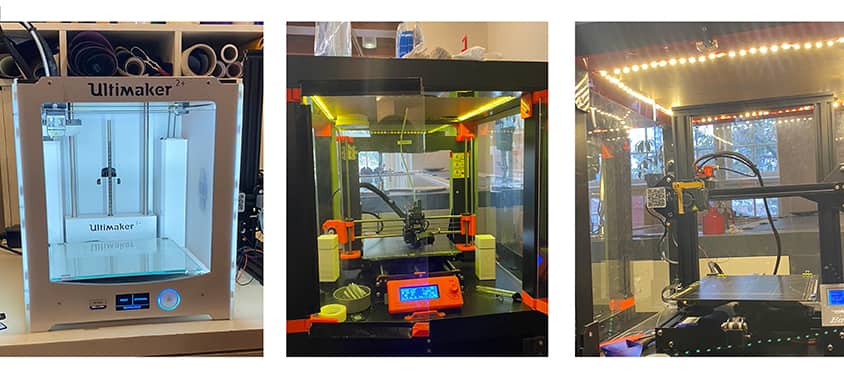
These are the three different 3D printers we have availible in our lab. On the left is the Ultimaker, followed by the Prusa mk4, and the Ender 3.
-
The Ultimaker uses its own slicing software while the other two use Prusha slicer to prepare files.
-
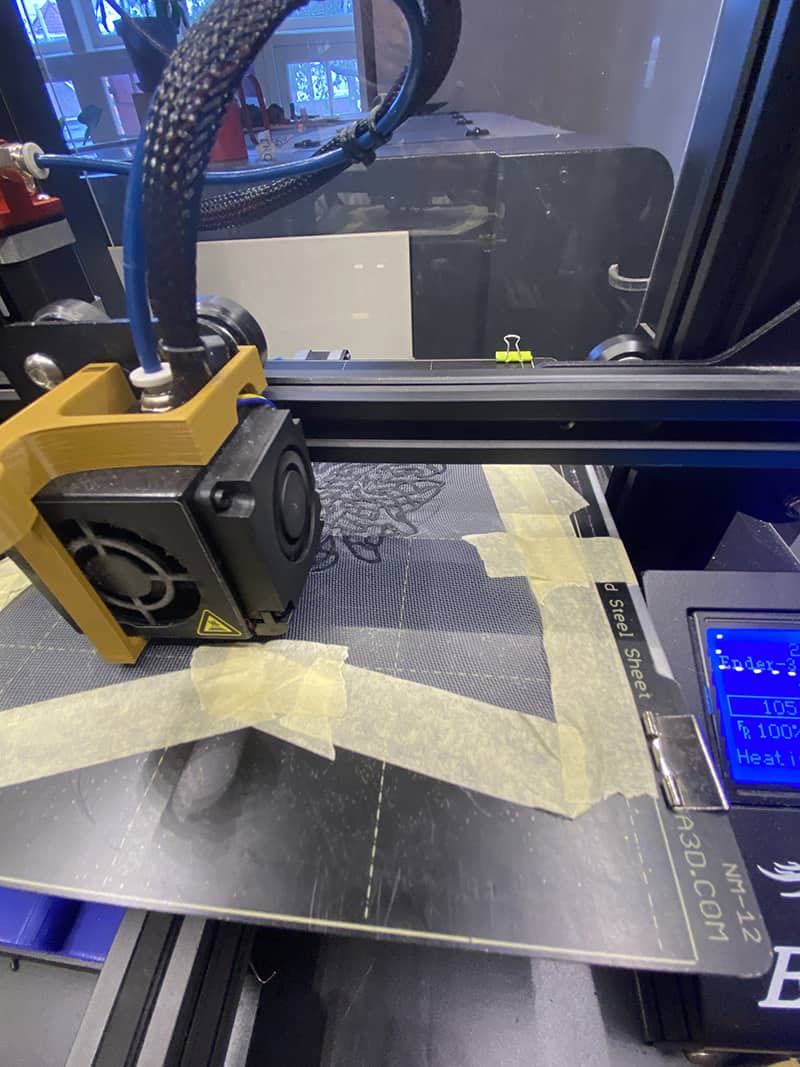
Before printing you should always wipe down to bed to make sure the print will stick.
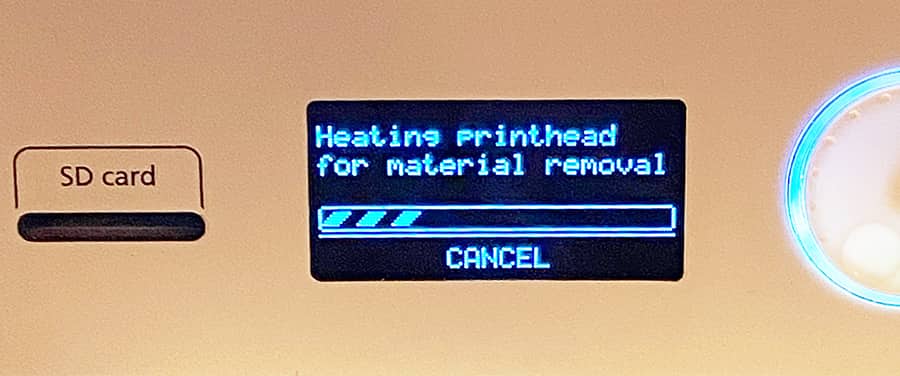
- Insert your SD into the printer. Using the knob to select, heat the printer to unload the past filament and load in the new color when ready. Wait for it to extrude the correct color and then you can select to "print from SD" and choose your file.
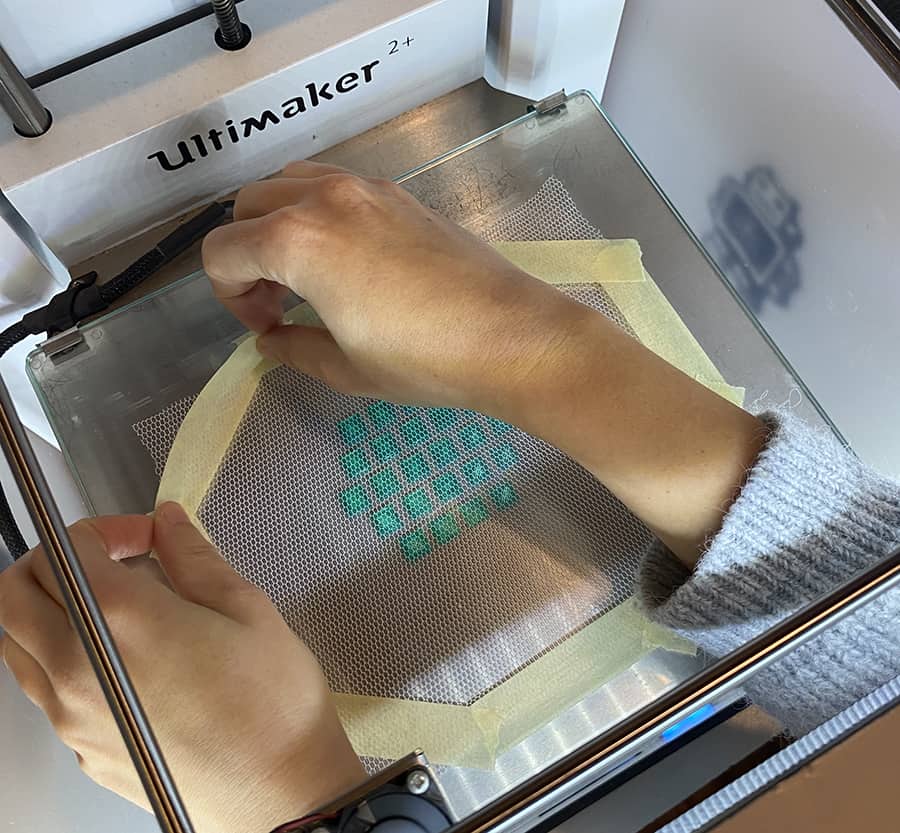
- If you would like to print directly on to a fabric, print the first 2-3 layers before pausing the print. Then stretch the fabric of your choice tight over the bed and continue your print.
Class Prints
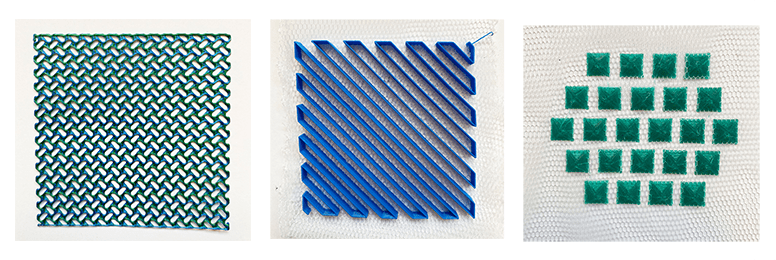
- Infill pattern with PLA, using the Prusa printer
- Flexifill TPU infill pattern on mesh, using the Prusa printer
- Pyramid pattern in PLA, using the Ultimaker printer, mesh infill is added
First Model, Collab with Ray
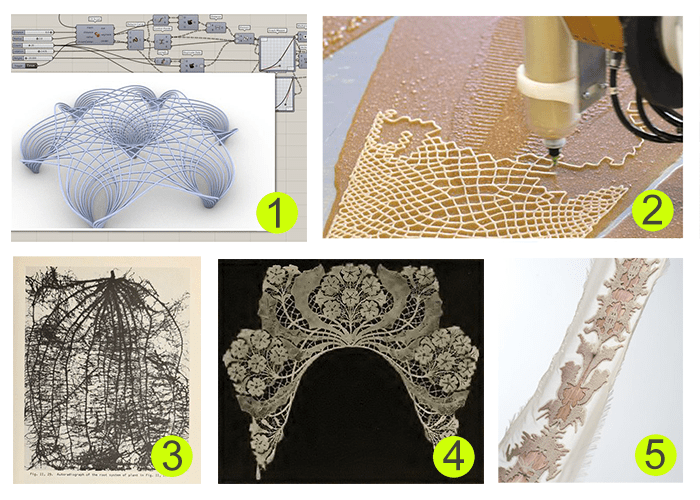
At first I wanted to make some sort of collar or necklace with some sort of parametric texture added. Ray and I decided to collaborate and try to sort out the confusng world of grasshoppper.
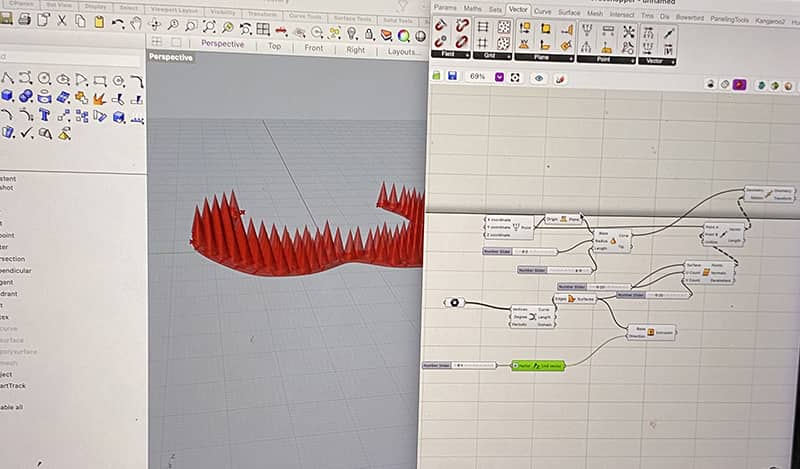
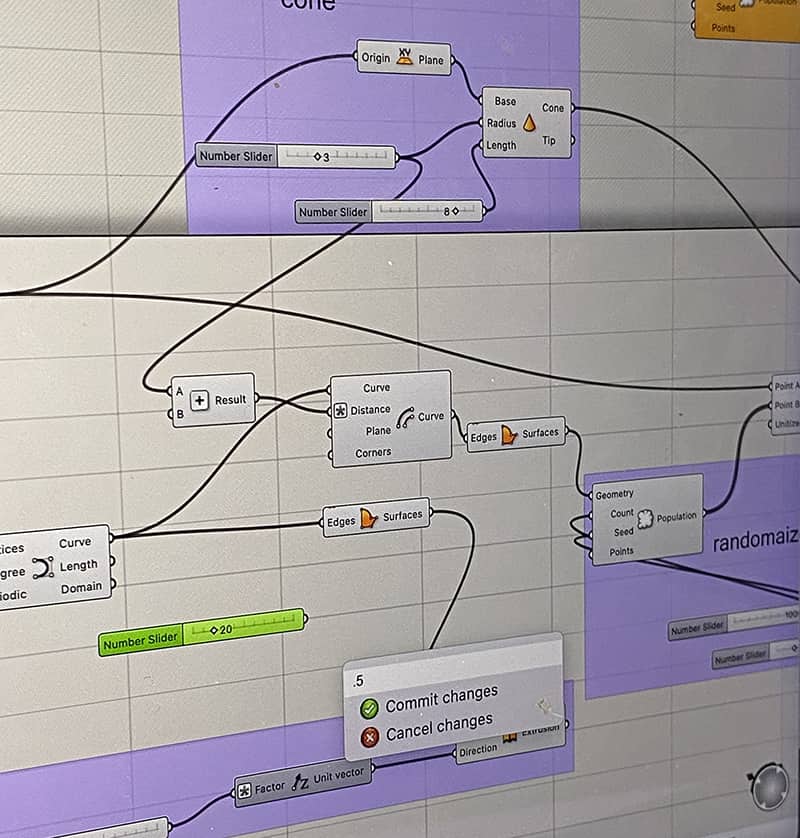
Grasshopper Queen Asli helped us set up the algorithm that allowed us to add cone formations to the collar and play with their length, shape and population density
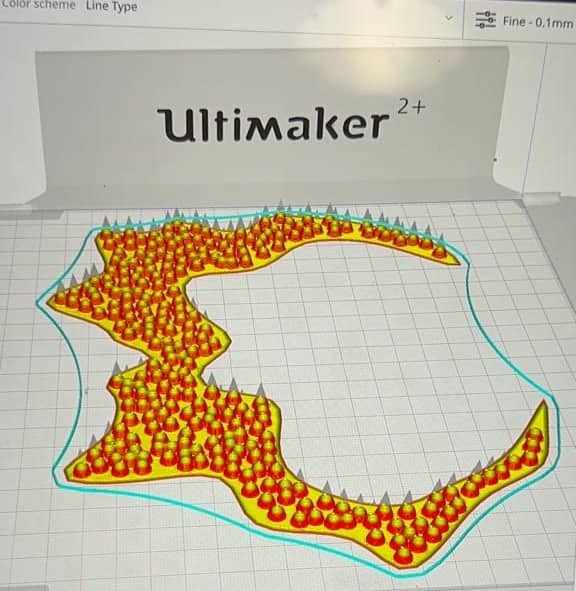
After getting playing around with the design parameters we baked the file, exported it and uploaded it to be sliced for the Ultimaker.
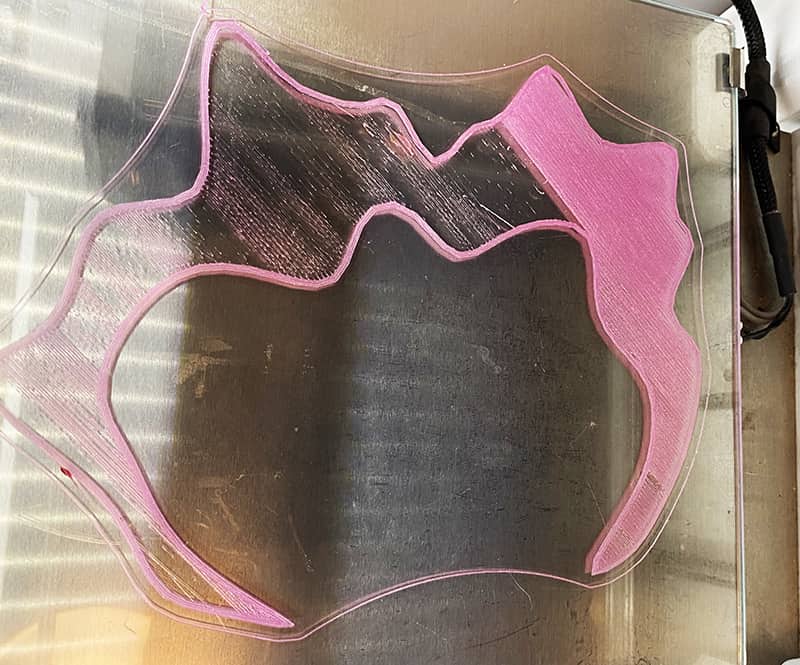
We tried printing a few times but the flexible filament we were using kept clogging and the print was set to take around 6 hours which would mean no one could use Ultimaker for the rest of the day. We decided to scrap the idea of printing something complex for now and run more smaller tests instead.
Printing On Fabric
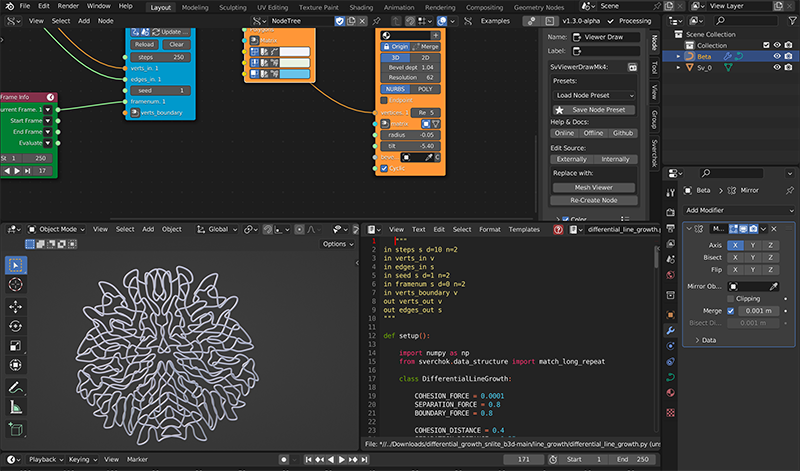
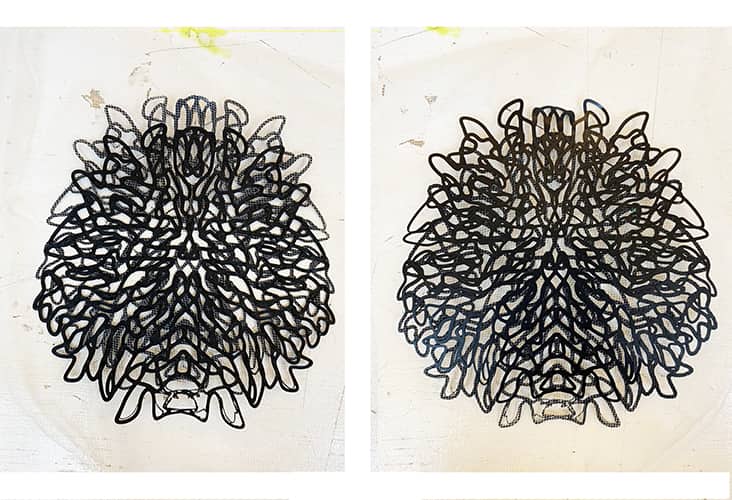
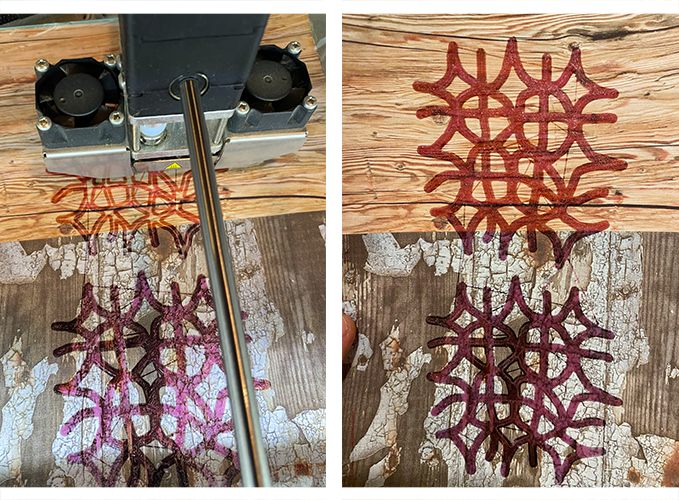
I started by playing around in the sverchok blender add on to create a form. Using these components found on github here, you can make a growth pattern in any shape and change the desnity and thickness of line
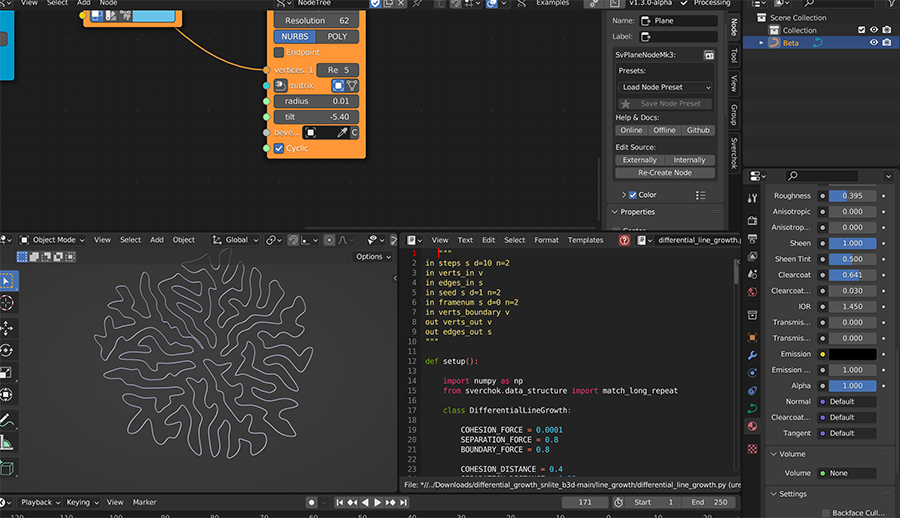
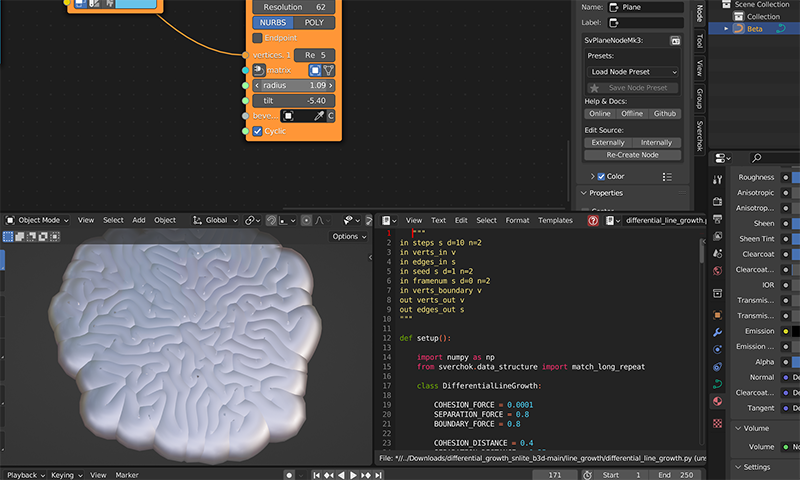
I than added a mirrored effect when I was done modeling
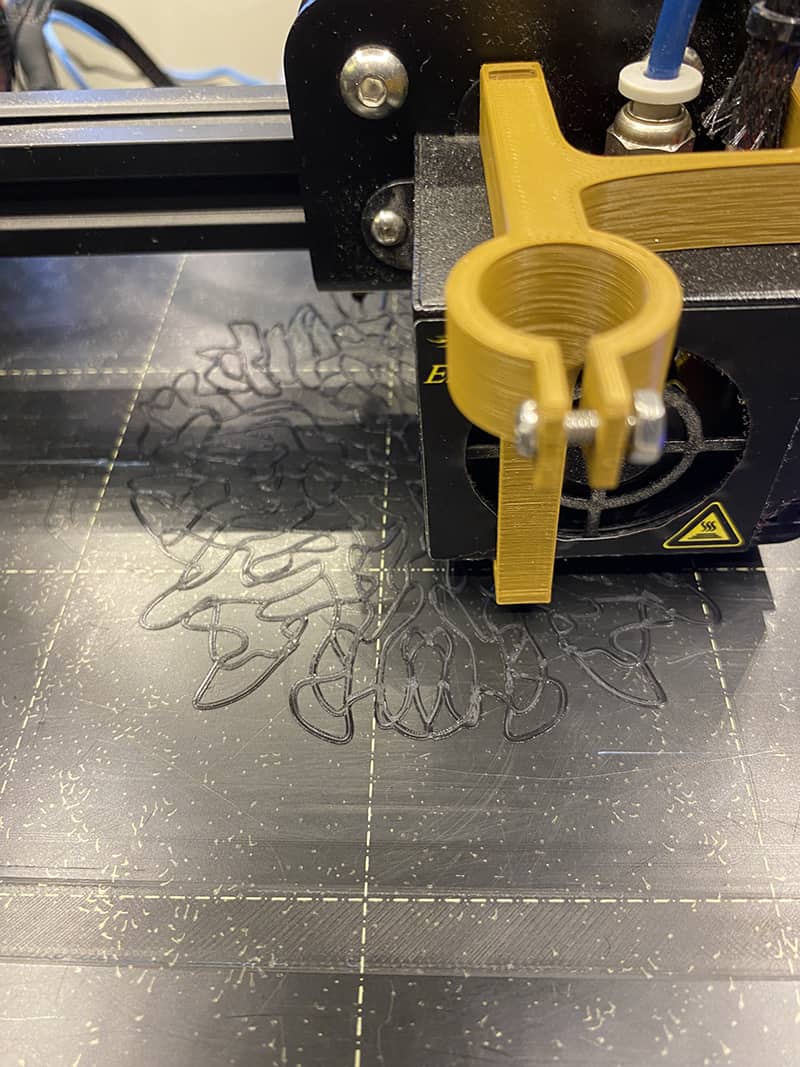
I printed two layers before pausing the print and taping down a layer of mesh. I think I accidentally shifted the bed though because when I started printing again it didn't align. Also the mesh could have been much more tight if I were to do it again.
Sublimation Printing
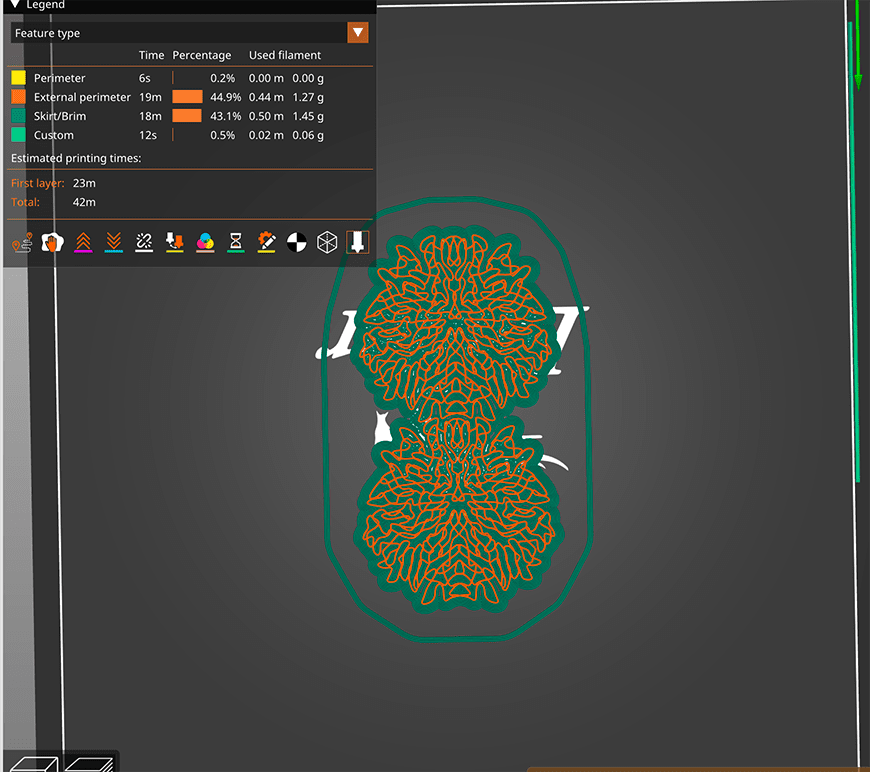
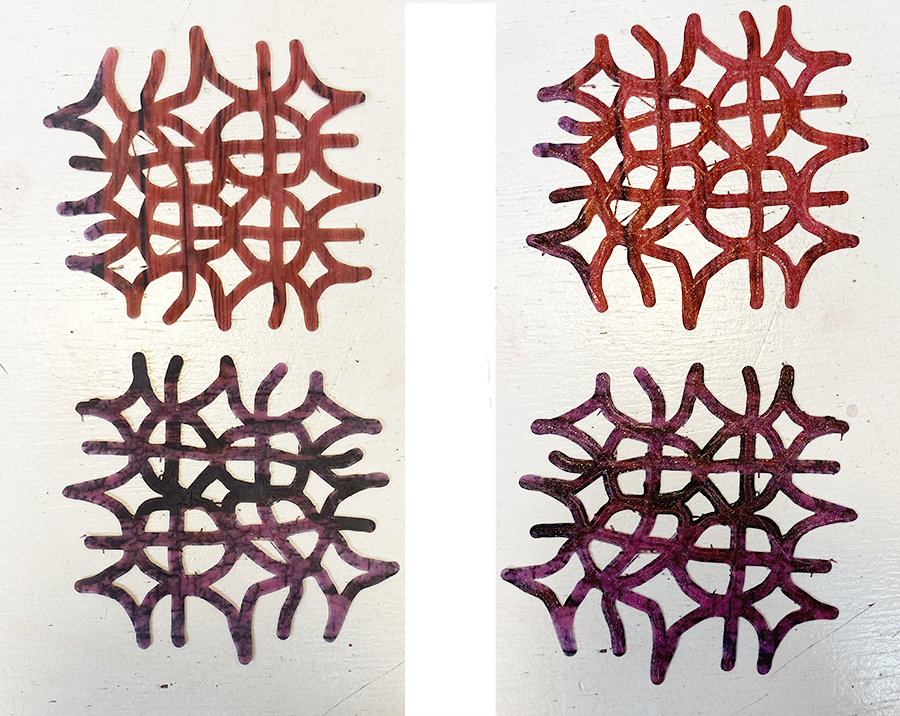
Using the same file I wanted to try playing with the sublimation paper. To cover more surface area I added a big brim to the print for a quick test. I also switched to filaflex fillament.
I taped down a piece of the sublimation paper to the bed. I think the first layer was printing too close to the bed or not extruding correctly but eventually seemed to work itself out.
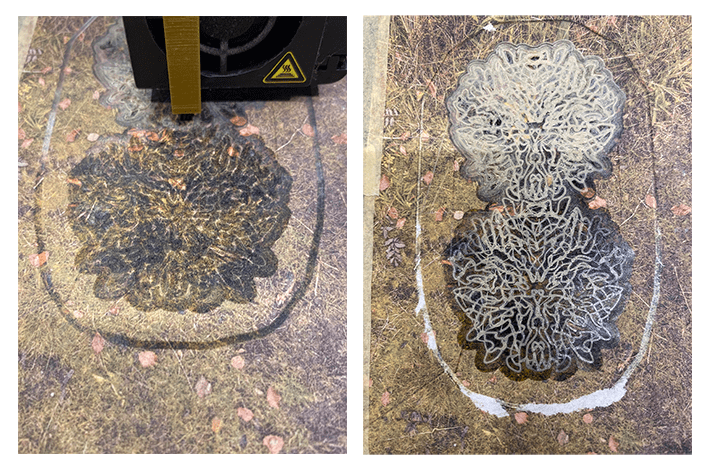
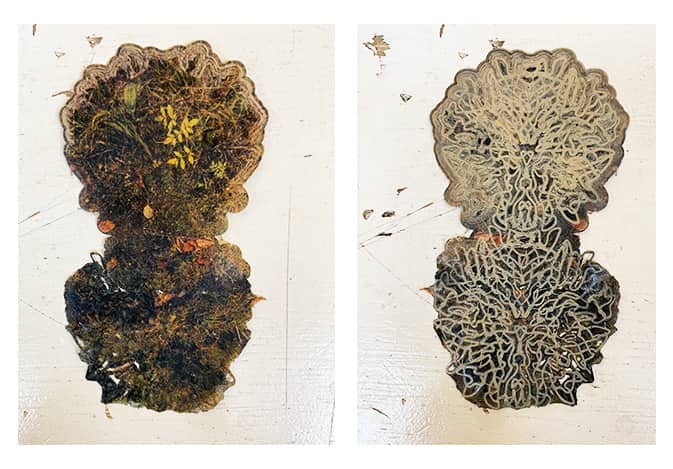
The print stuck maybe too well to the fabric and I had to rip it off. To clean off the excess paper I put the print under hot water. The image stuck pretty well but looked better on the back and the shape wasn't very exciting so I decided to try again.
I made a quick little doodle to try to print again. Ray helped me set up some pink TPU filaflex on the ultimaker. This time it printed well actually! We ended up setting the temperature to 250 degrees which was much higher than the first time we tried and slowed the speed to 50 degrees.
This time the image transfered much better. It looks the best on the back of the print.