4. BioChromes
( All images are mine unless marked with a hyperlink )
Inspiration
I have not had much expirience with dying though have done some ikat warp dyes with synethic colors. I am really interested in working natural dyes into my weaving practice because of all the amazing, soft colors and gradations that can be achieved through these processes. Like most things, I am also interested in the imperfections and find myself gravitating towards more mottled, textured surfaces rather than clean colors.
Day 1, learning and prepping fabric
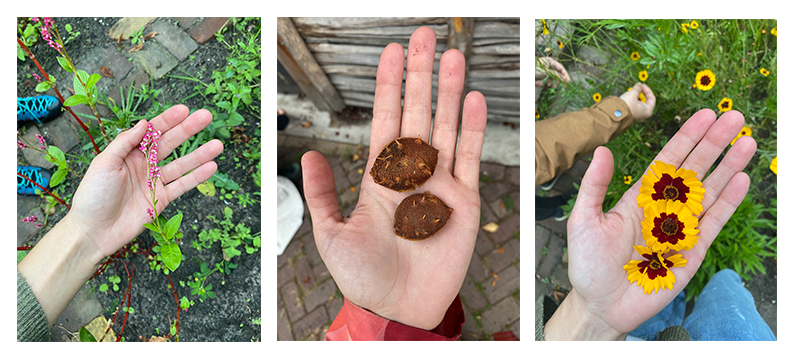
The first day we visted the local color dye garden. We got to see how things are growing and collect some items for dye baths. In the picture is a flowering indigo plant, horse chesnuts and marigolds.
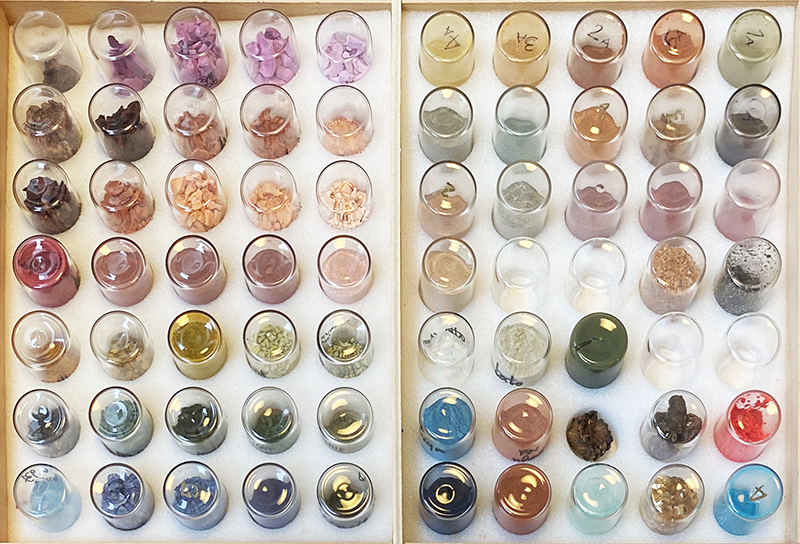
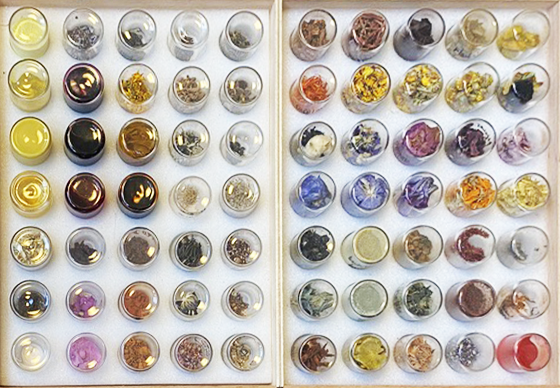
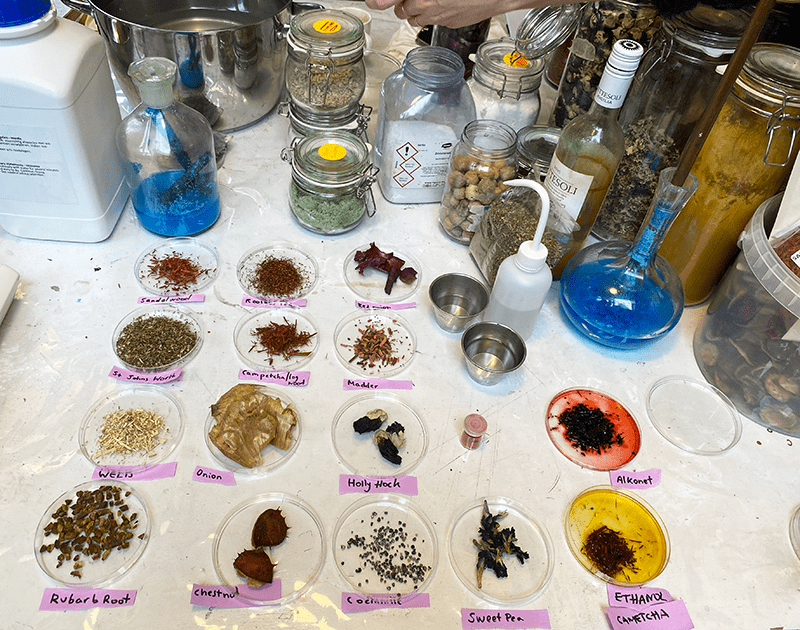
Cecilia showed us her collection of pigments taken from various dye baths. Such an incredible range of colors possible!!
Scouring
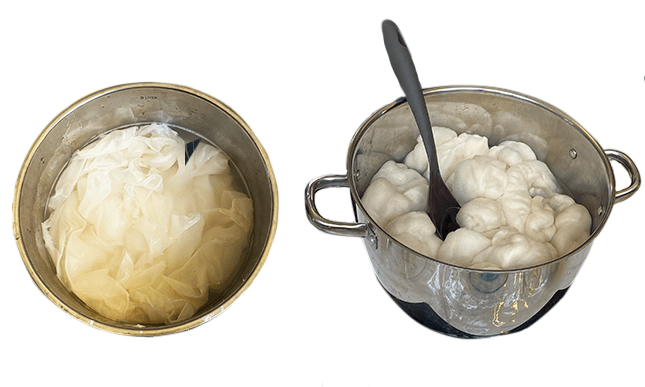
We scoured our fabrics to clean them and prepare them for dye. We added 2 spoons of sodium carbonate to about 6 liters of water on the hot plate for 30-40 minutes
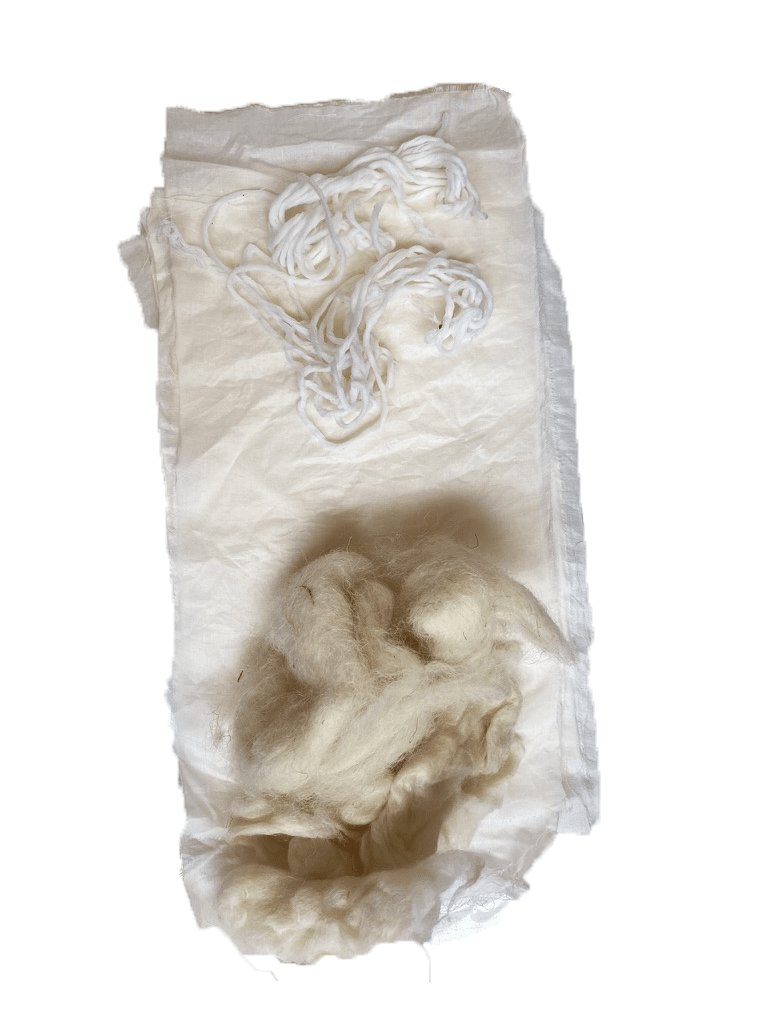
We preapred wool, cottom threads and cotton fabric to dye
Mordanting
Mordanting allows the dye to hold in fabrics.
- Animal dyes use 10-20% the weight of fabric of Alum to the pot
- Plant dyes use 10-15% the weight of fabric of Alum to the pot
This sits over heat for 30 minutes to an hour
Day 2, Dying
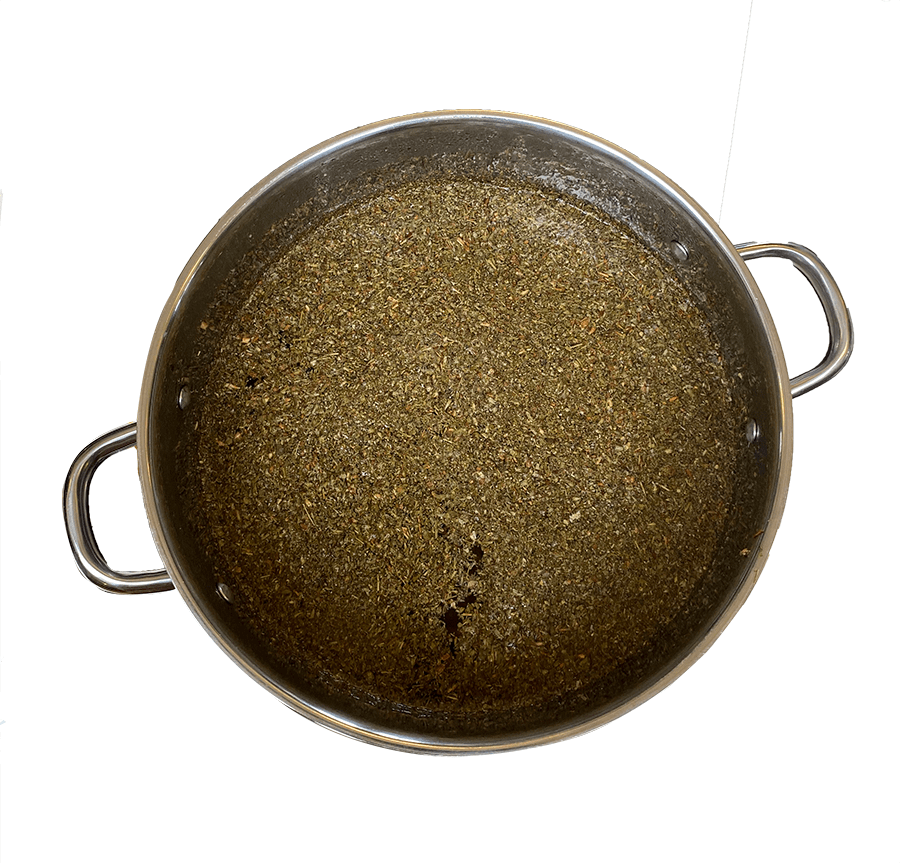
Each person picked one dye to try from all the possibilities laid out. I chose St. Johns Wort which is a flowering plant. It can often be found dried in medicinal herb stores. I was interested in exploring it as a dye becuase of this
-
Recipe: I used 30 grams per 100 grams of fabric (30% the weight).
-
Note: I learned an important lesson to put loose dye material in a bag because the loose leaves were really difficult to get out of my fabric
-
I let it sit for around 2 hours on low heat
-
Note: The color stuck really well to wool but did not alter the color of fabric much. The wool became a bright, yellow green and the fabric and yarn became a softer tan color.
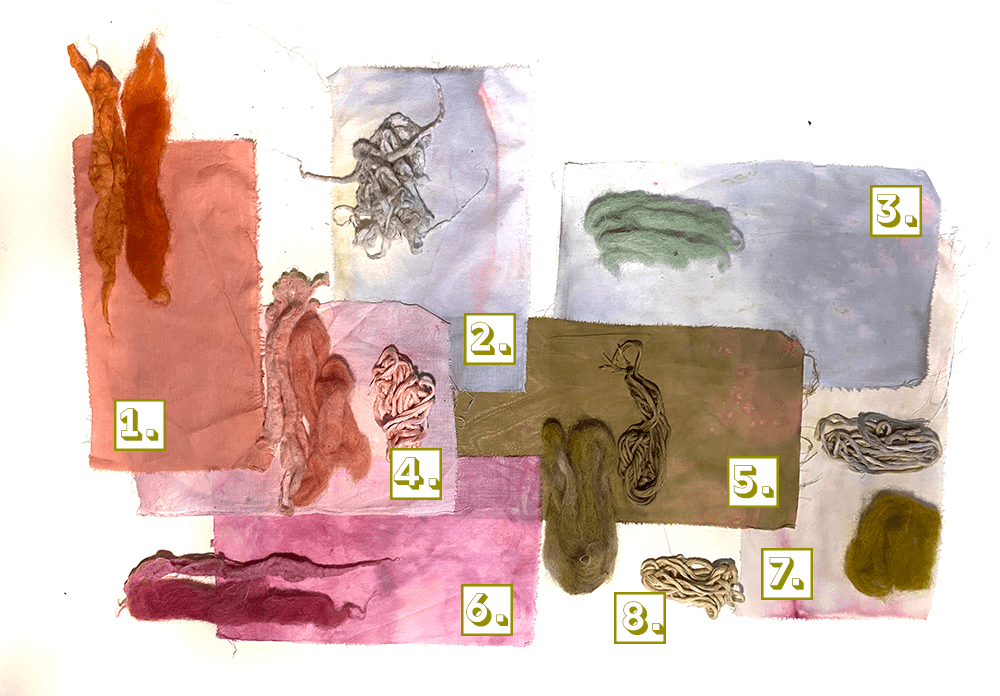
- Note: After the baths I left my samples to dry on the color so some bled into others.
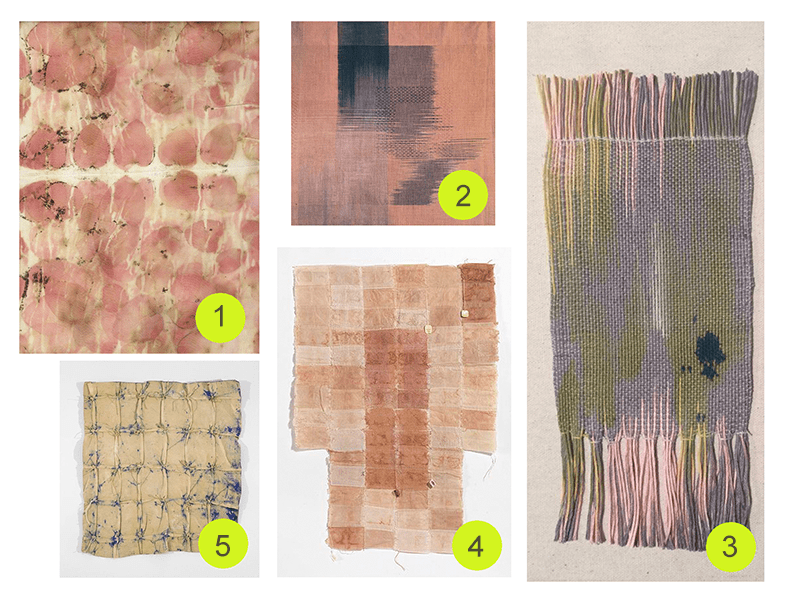
[1.] Madder (root) and iron on cotton fabric, on local dutch wool and wool from South America
[2.] Sweet Pea (flowers) on cotton and South American wool
[3.] Holly Hock (a flowering plant) on cotton and local wool
[4.] Cochineal (a species of bug) with citric acid on cotton fabric, cotton yarn, local and South American wools
[5.] Red onion (vegetable scraps) on cotton fabric, cotton yarn and local wool
[6.] Cochineal (a species of bug) on cotton fabric, local and South American wools
[7.] St Johns wort (a flowering plant) on cotton fabric, cotton yarn and local wool
[8.] Oak gall (similar to a seed/nut produced from oak trees) on cotton yarn
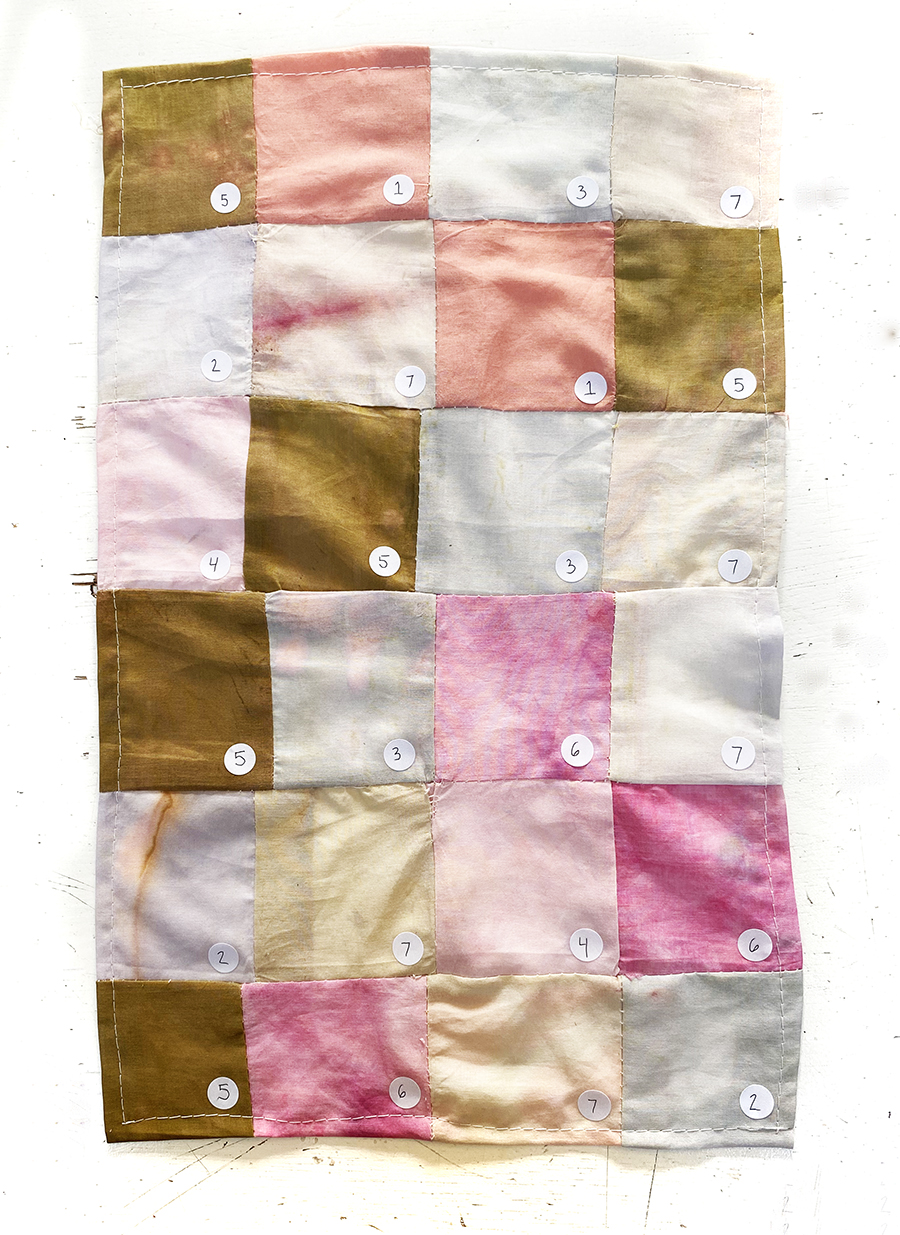
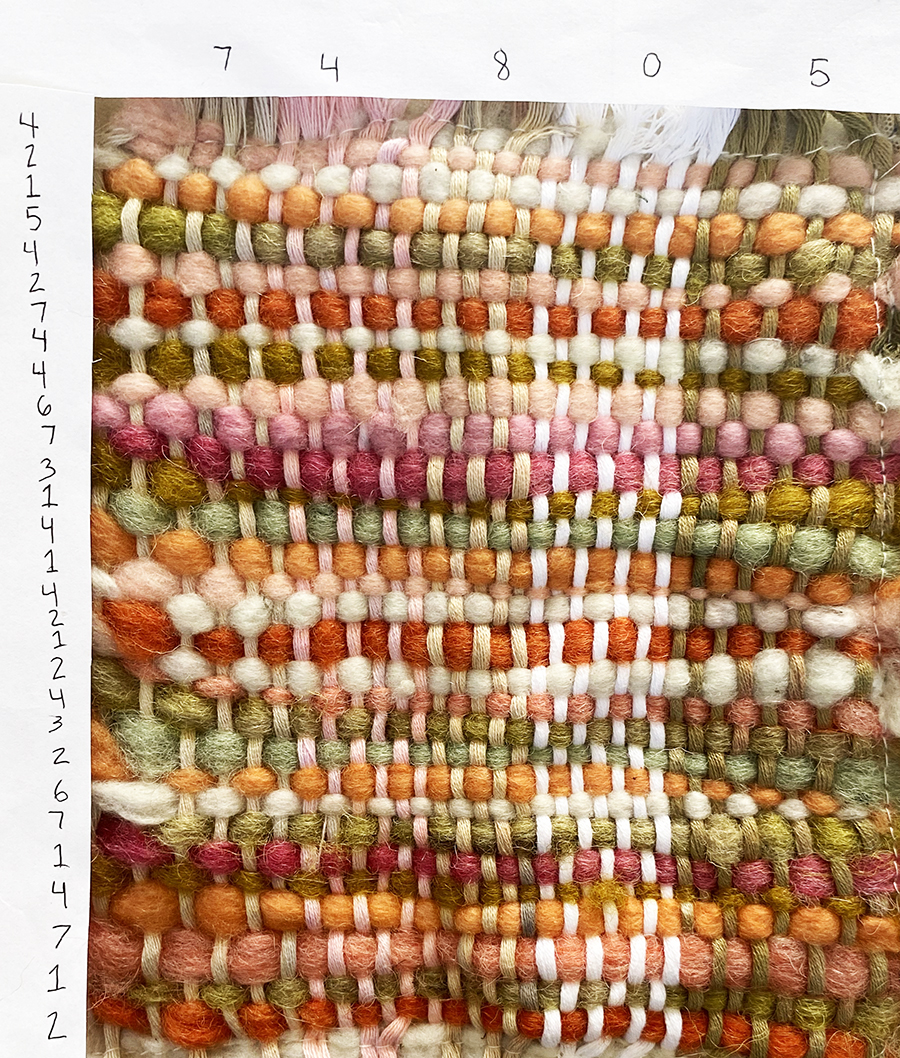
I loved the interactions with all the colors. Our class color scheme was so beautiful so I turned the fabric into a quilt and the wool and yarn into a weaving to explore the color interactions next to eachother.
Pigments
We made pigments from the leftover red onion skin bath
The leftover dye bath should be saved becuase it can be reused as pigments!
-
Pour the leftover bath into a seperate container and add 15 g of Alum.
-
After stirring and dissolving the alum, begin adding soda. Add amounts slowly because the dye bath will fizz. Keep adding soda until the fizzing stops. Usually around 6-7 grams is enough.
-
The soda and alum bind to the biochrome so after letting the bath sit, the pigment will settle to the bottom. You can then pour off some of the water fro the top before filtering the rest
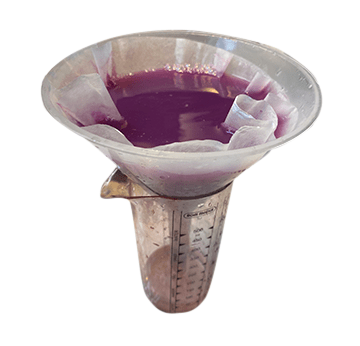
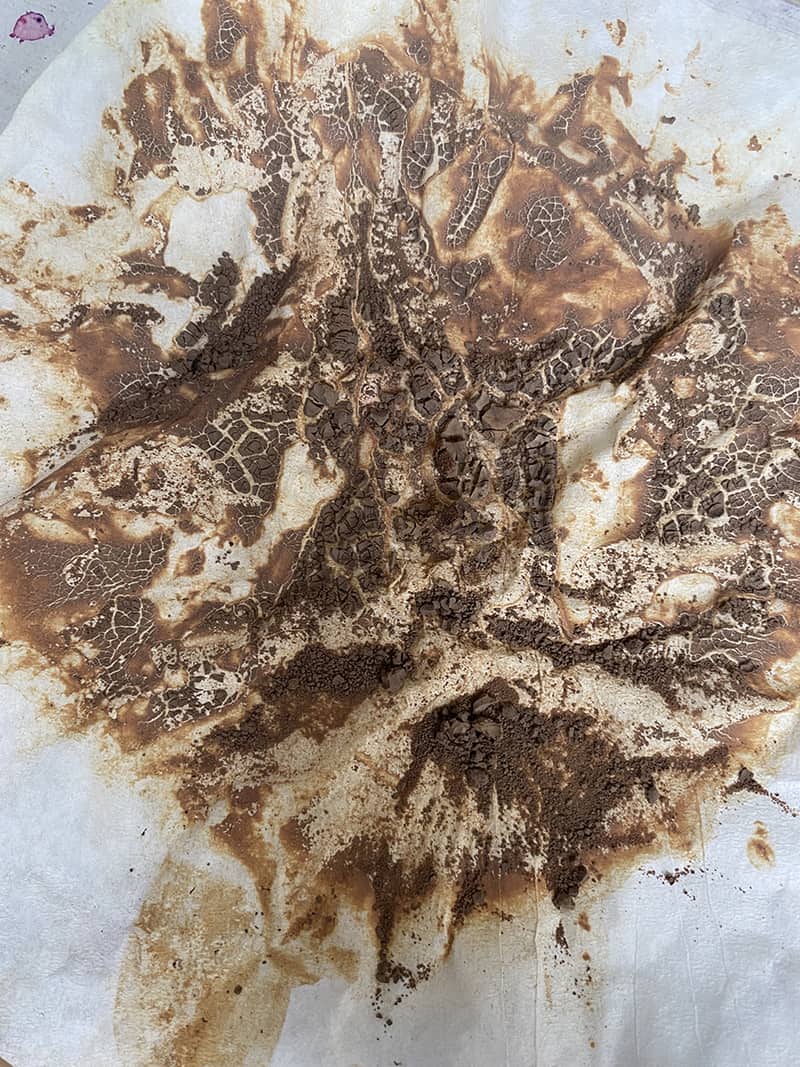
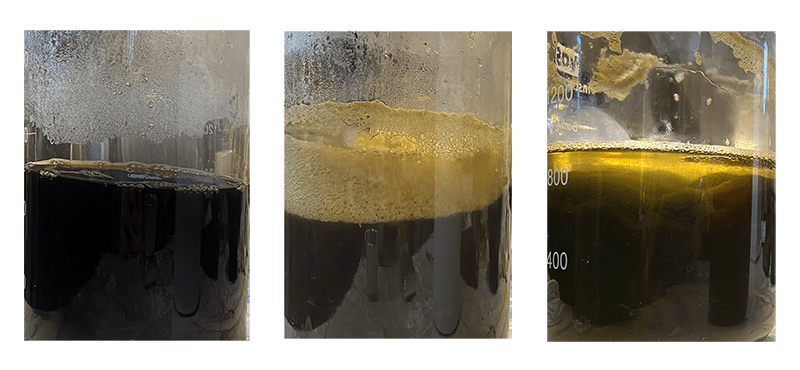
The dye bath can be poured through a coffee filter leaving only the pigment behind. Once this is dry it can be saved and added to medium to make paints. I made pigment from the leftover St Johns bath. It left behind a brown pigment pictures on the right.
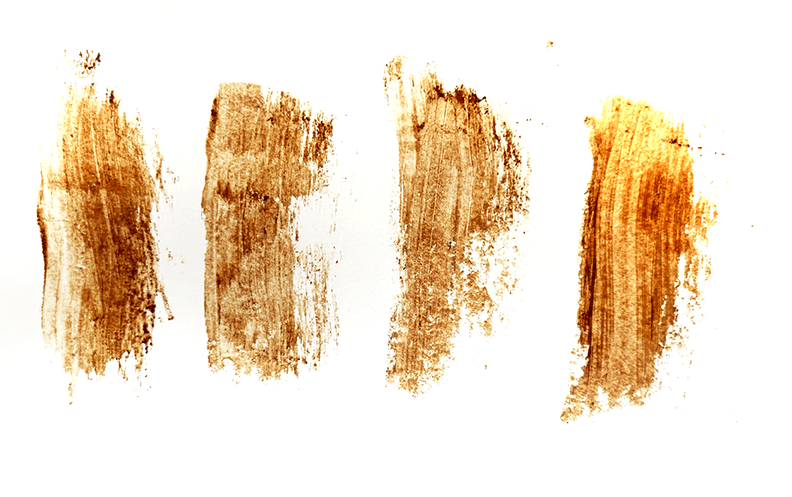
These are some swatches taken from mixing the pigment with water. They offered a warm brown color. In the future I would like to explore adding gum arabaic and properly mixing the pigment into a medium.
Bacterial Dyes
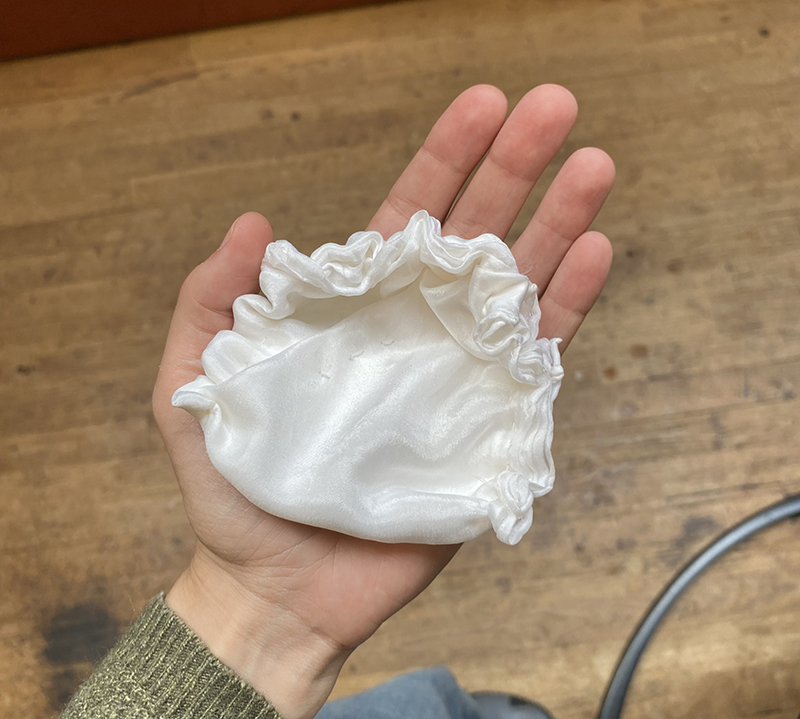
For the bacterial dyes we folder up silk to fit in a petri dish. I folded mine four times and sewed the edges to hopefully create a resist pattern.
-
In the lab we sterilized the tables with ethanol and placed our fabric into petri dishes.
-
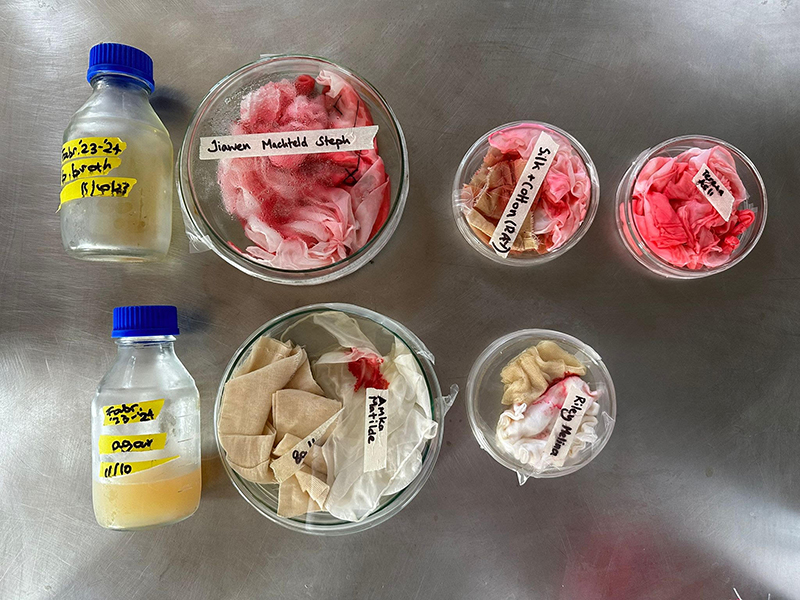
We made two types of media, a nutrient agar gel and a liquid luria broth.
-
The agar used 9.3 grams of nutrient agar powder, 300 ml of water and .5 grams of peanut butter.
-
The broth used 7.5 grams of nutrient powder, 300 ml of water and .6 grams of peanut butter
-
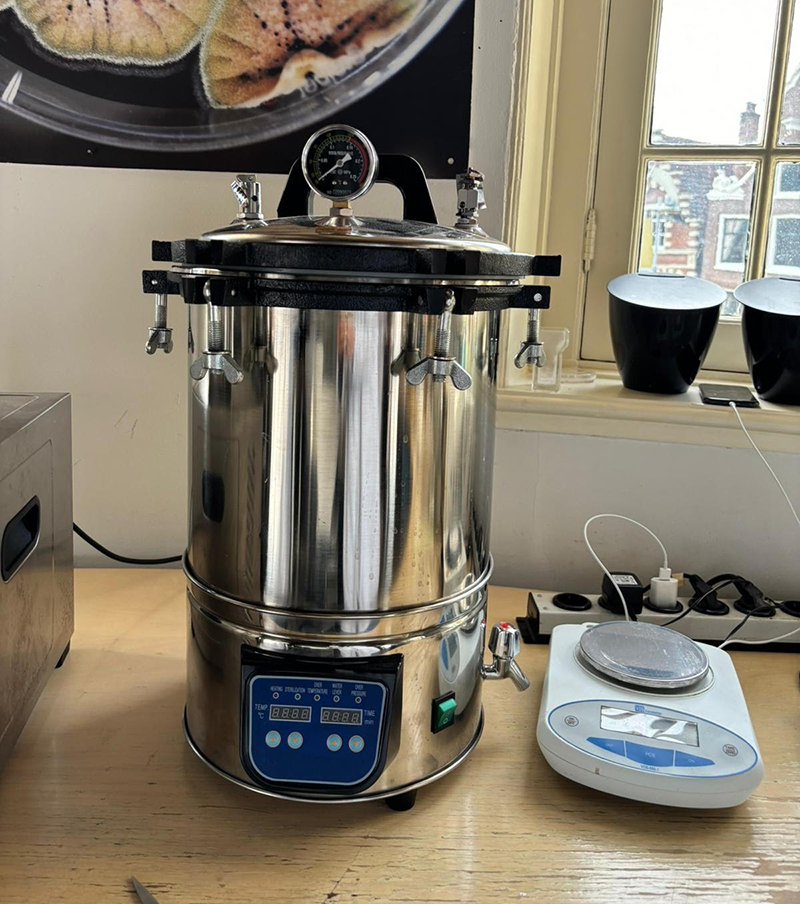
These then all went in the autoclave (a sterilizing pressure cooker) for 20 minutes at 121 Celcius
- Note: All lab photos were taken by Jiawen
- After pouring the plates we innoculated them with bacteria using a bunsen burner to create a sterile environment. Using innoculation loops that were sterilzed through the heat of the fire, you can move bacteria from one plate to a new plate. After it is added it wrapped in parafilm and put in the incubator to grow.
The Bacteria grew much quicker in the liquid media and covered much more ground. However in the nutrient agar they create much more concentrated growth patches.
These are my final results from gel media growth

Future Exploration
I am really excited by the bacterial dyes and have some thoughts about further expirments I may want to try. I would really love to try screen printing with the bacterial pigments and other ways of making images.
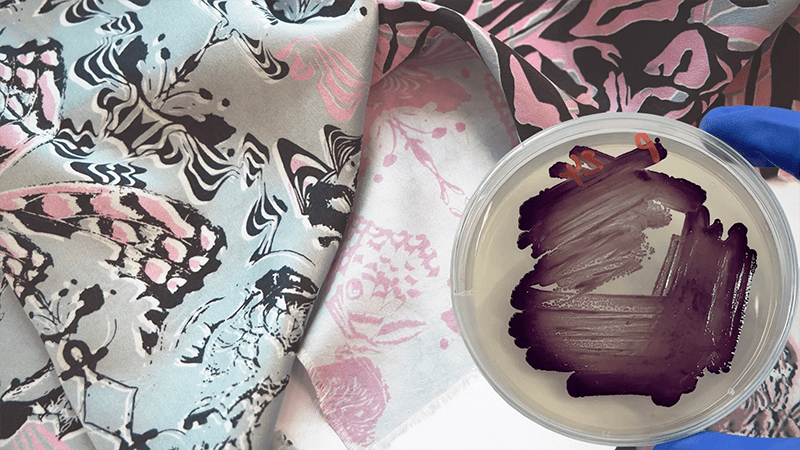
Chloe Benham has a really incredible project using bacterial pigments to screenprint on fabric
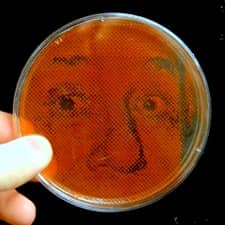
Zachary Cooper also invented a way of using bacteria as a photographic medium. I have run a similar expirment, using a photographic negative over an innoculated petri dish and when exposed to UV light over time, bacteria grows in the black spaces and is killed in the negative space. I am curious if it would be possible to grow an image directly on fabric using this process ?