6. BioFabricating Materials
All images are mine unless marked with a hyperlink
Past Research
I have some past expirience with biomaterials based research. In the spirit of being open source I've compilled some past projects here with links to more info if anyone is interested :-)
Open Source Transdermal Hormones using Biomaterials
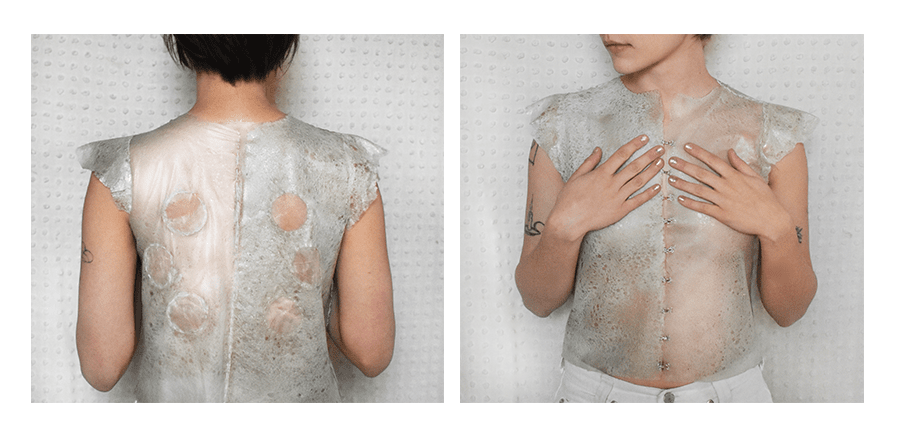
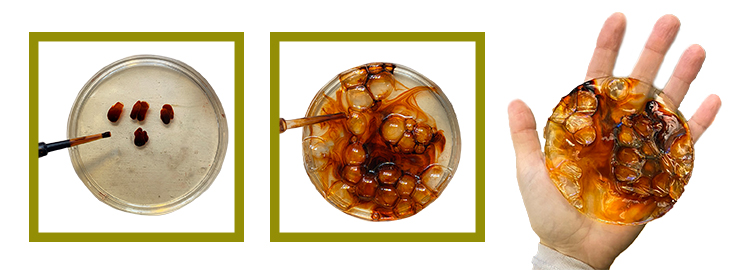
This work is building off of research done by Mary Tsang at the MIT media lab. This project aimed to create speculative ways in which hormones could become an open source resource. I built a filter designed by Mary which extracts hormones from urine. I then soaked a bacterial cellulose pellicle I grew in my estrogen. Bacterial cellulose is a permeable material, meaning when used as a fabric it could transfer hormones to the skin. I made these into six circular patches imbedded within a shirt made of foam bioplastic. This work is imagining a future where we could grow our own clothes which act as a second skin, passing biological materials between garment and wearer. In this future, hormone access would become accessible the public outside of medical institutions allowing us to share hormones and achieve a sense of power and personal agency over our bodies and gender expression.
I also have a more detailed descriptions of process on my personal website

Lab Grown Nacre (pearl) Materials Using Biomineralization
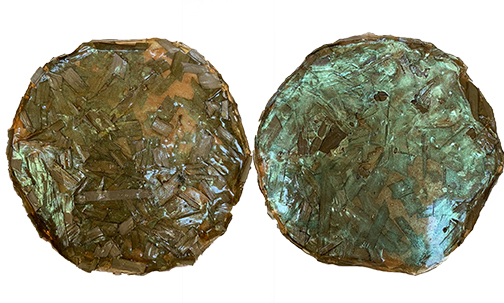
I was very lucky to be on an amazing reseach team this past year working to create a nacre inspired biomaterial. We were inspired by the ways mollusks are able to transform plastic into pearl, transforming the value we place on material. Our approach to bacterial nacre looks at the oyster as a role model for handling plastic, and uses bacteria to develop both a multi-layer coating and a bulk material that have properties of mollusk nacre. This process happens outside of an ocean; in collaboration with, not inside, an organism; and outside of industrial environments.
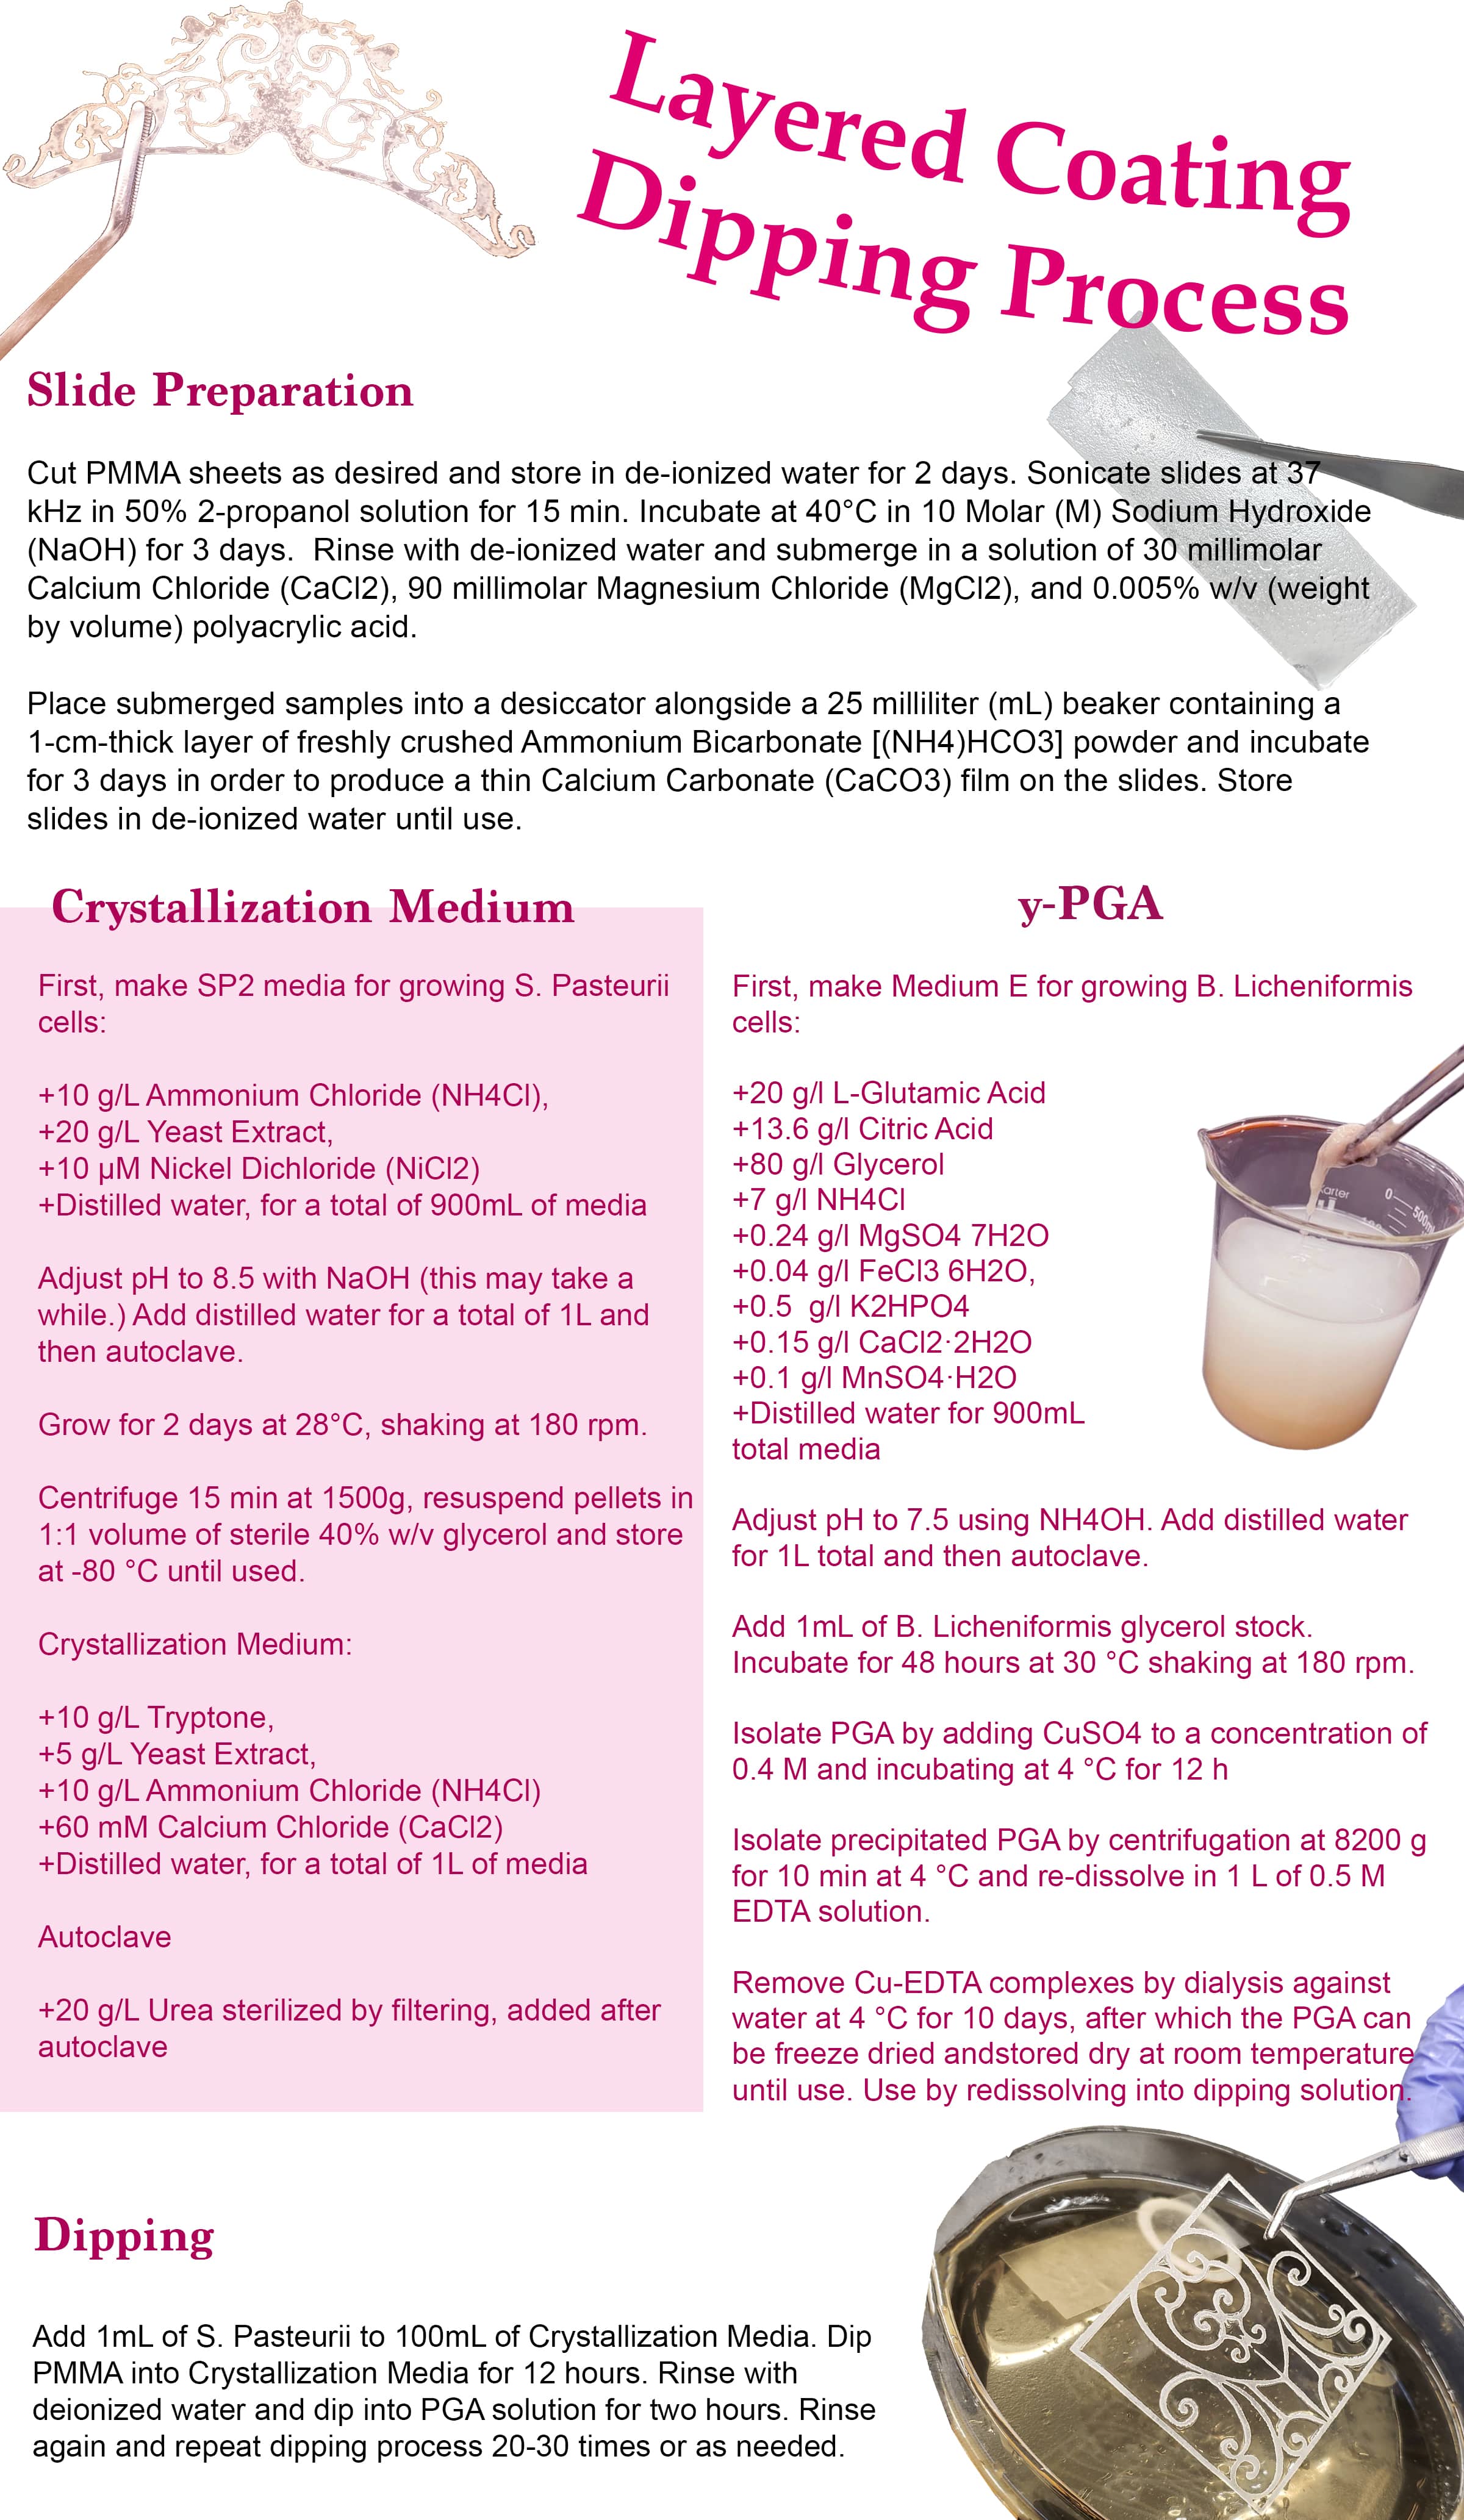
Nacre is the biomineralized secretions produced by mollusks. It is made up of alternating layers of calcium carbonate laminated with a biopolymer. Mollusk nacre is made out of aragonite crystals and conchiolin proteins.Bacterial nacre is made up of calcite crystals and gamma-poly glutamic acid (y-PGA). These two componets can coat plastic substrates or be mixed with bacterial cellulose to mineralize in bulk.
All our research is open source here and our research presentation can be acessed here

Agarose Based Hydrogel for Art Conservation Purposes
This research is what I was working on this past summer. We were studying an agarose gel (much like the bioplastics we made this week) as a way to desalinate art objects that had undergone damage from fluctuating humidity in museum environments. We monitored this using a portable NMR and the actually worked really well! Soon they will be used to help repair limestone objects in the museum we partnered with
This research is much more techincal but shows one of the many great applications of bioplastics
More info here
References & Inspiration
Things I am interested in exploring this week
-
I am excited to try making bio based yarn because I've never tried that before!
-
I also am really looking forward to trying fish skin tanning
-
I also would really want to try laser cutting and welding together bioplastics. I have been looking into using bioplastics for inflatables for soft robotics and would love to explore this if I have time.
In the Fabricademy course in 2019 Loana Flores made some really cool inflatable bioplastic samples
Bioplastic Soft robotics from Loana FLores (Ocloya Studio) (Radarboy) on Vimeo.
I also found this research using soldering irons and heat presses to join bioplastic to inflate it
I am curious if I can purposfully use the laser cutter to weld together two sheets of bioplastic? I have done this before with other thin plastics, following (Javier Alboguijarro's)[https://fabacademy.org/2018/labs/barcelona/students/javier-alboguijarro/week16.html] research from fabicademy
Bioplastic recipes and Exploration
General Tools
- Ingredients: Agar, Alginate, Gelatin, Glycerin, Water, soap, Calcium Chloride
- Hot plates
- Optional fillers or colorants: ex) wool, dyes, inks, fibers
- Pots, whisk, spoon, syringe
- Petri dishes, molds and textures to pour on to
- (optional) Dehydrator to speed up drying process
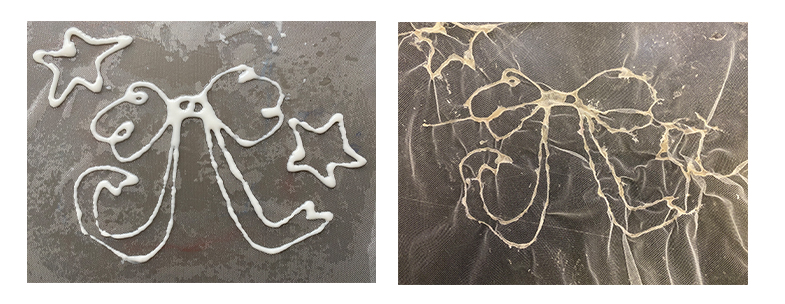
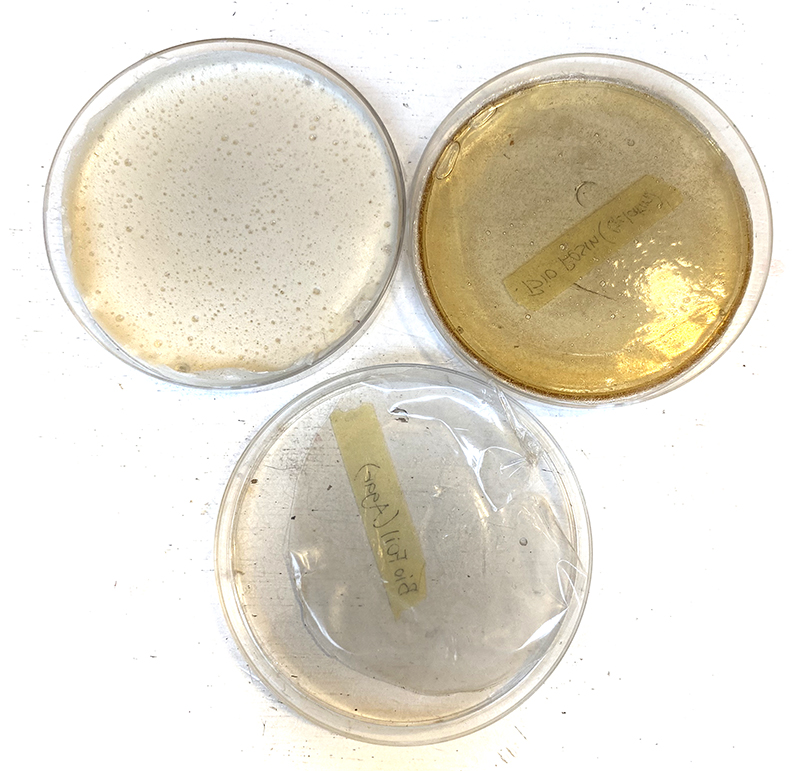 ^ The topleft is the foam gelatin recipe, the top right is a resin gelatin (unfoamed) and the center one on the bottom is an agar biofilm
Gelatin Based Foam
Recipe
- 240 ml of water
- 8 g of glycerin
- 48 g of gelatin
- tablespoon of soap

Note: If soap is not added, this becomes a bioresin recipe
- Warm water
- Add glycerin and stir
- Add Gelatin
- Boil for 15-20 minutes
- Pour as is for a plain gelatin recipe or add soap for foam
- Whisk soap until it foams completely
- Pour into dish, surface or molds to dry
Expirments

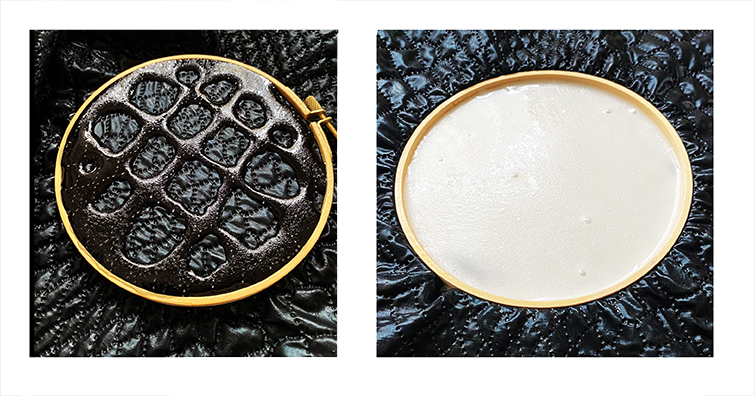
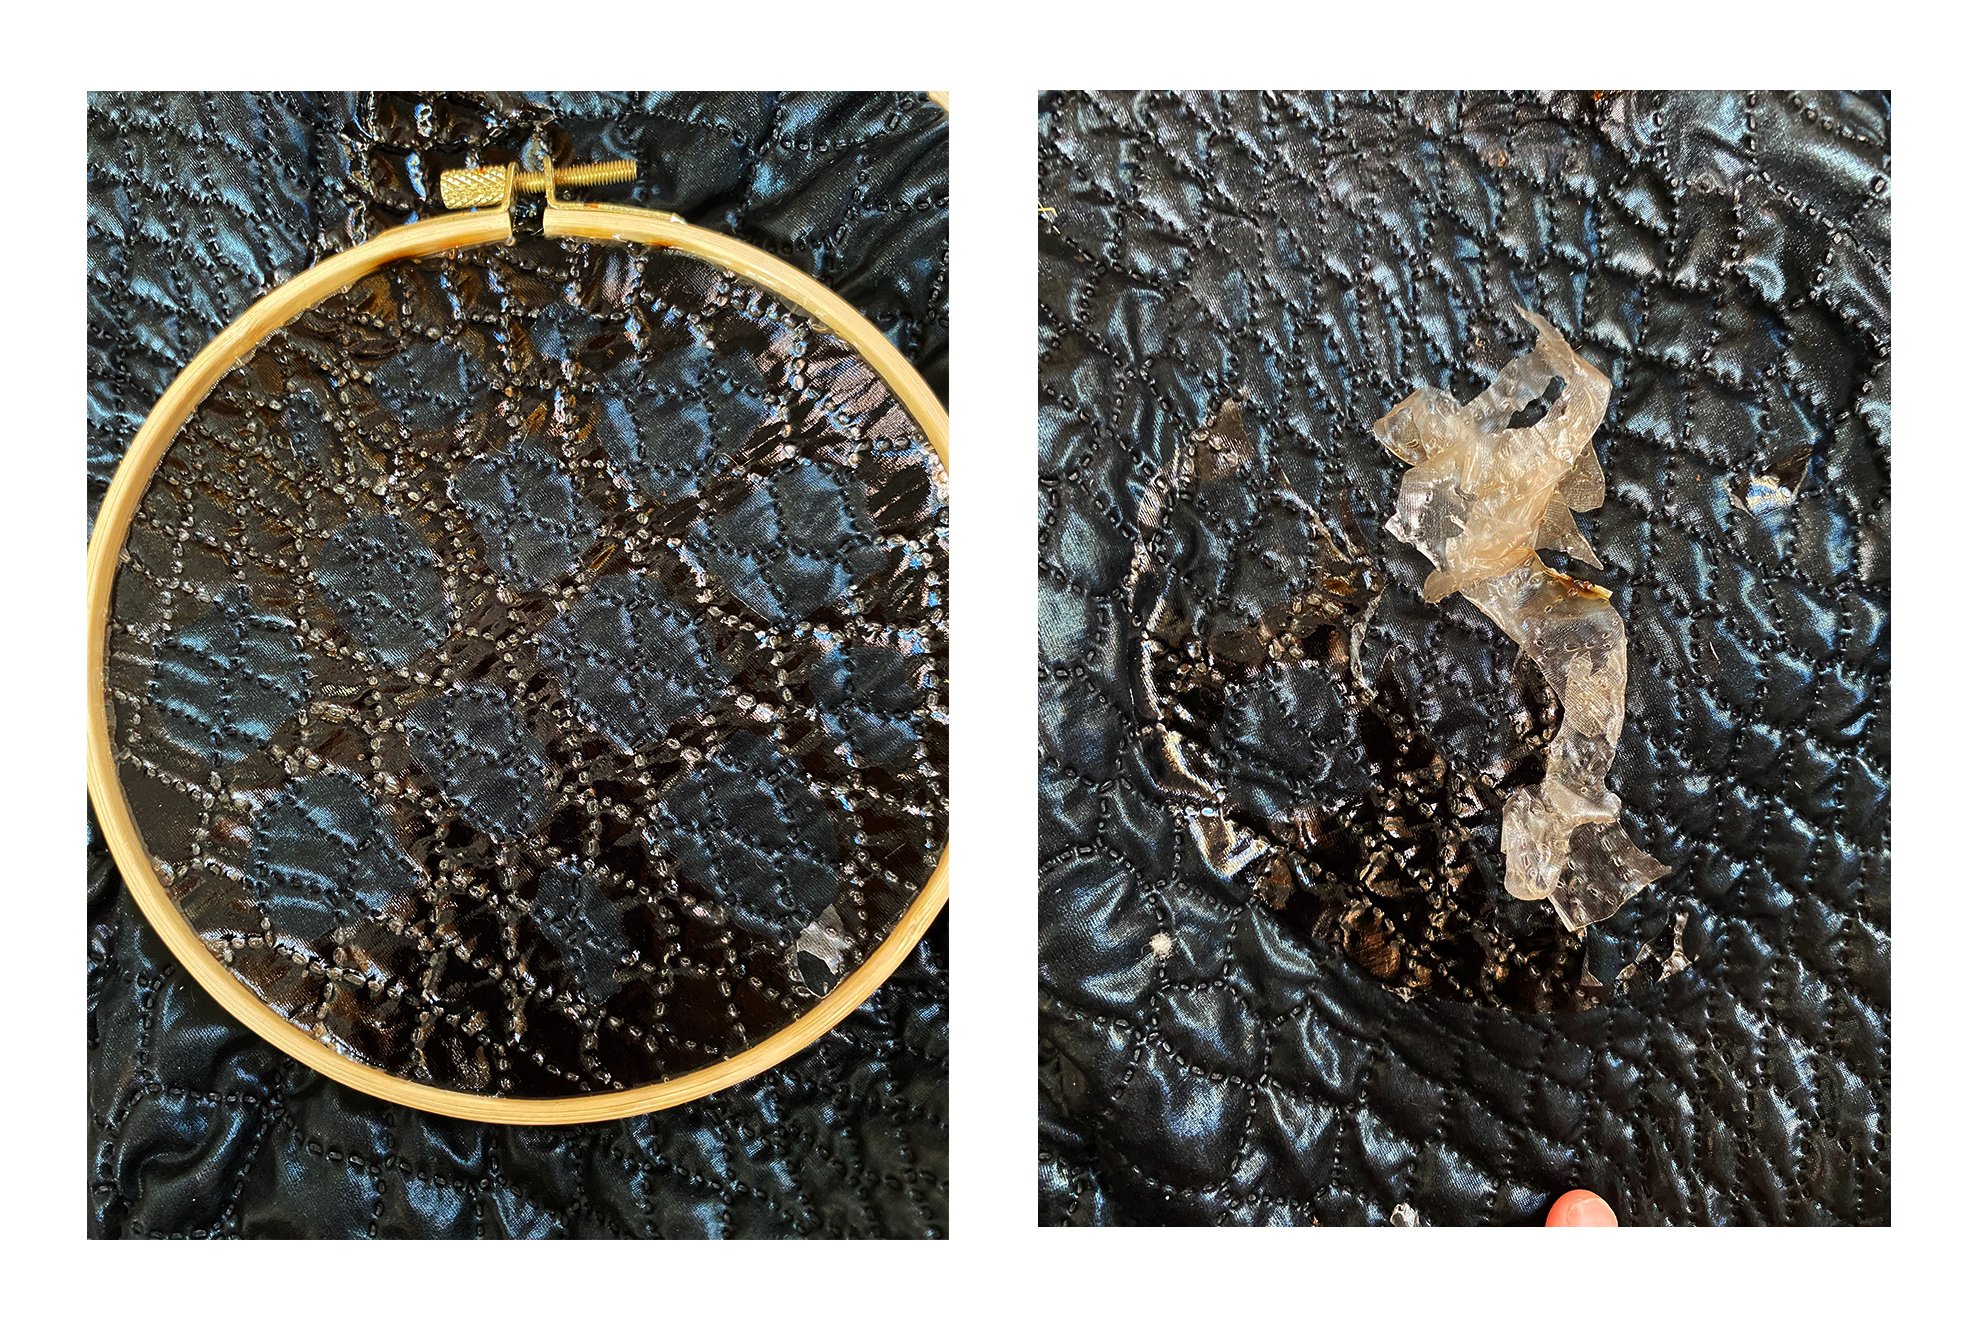
I pressed a small sheet of mesh between two laser cut pieces of acrylic. The peices were secured tight by screws and the top layer had a dot pattern cut out. I spread the foam while hot over the holes and allowed it to cool over the mesh inside. It actually stuck pretty well after cooling and created an interesting 3D texture over the mesh.
Above is the recipe without the soap to create a foam. I added droplets of ink and used a pipette to create bubbles in the freshly poured gelatin. Most eventually popped but created an interesting texture after drying.
Another gelatin sample with no soap.This one has bamboo and mica powder added. It's very strong after drying.
Agar Biofoil
Recipe
- 400 ml of water
- 3 g of glycerin
- 4 g of agar
- Warm water
- Add glycerin and stir
- Add Agar
- Simmer for 20 minutes
- Pour into dish, surface or molds to dry
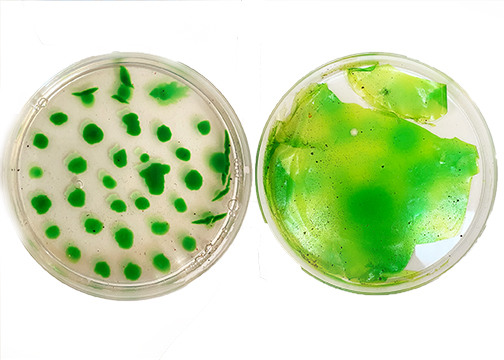
In an agar dish I used a dropper to make polka dots with green ink. I put it in the dehydrator after a day and the ink completely dispersed while drying. The final result is really thin and fragile.
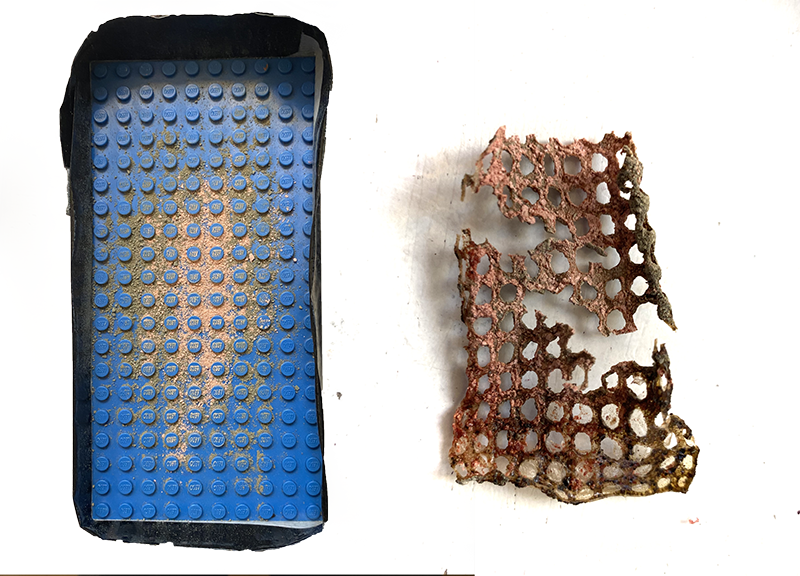
I also poured agar into a mold I made with a sheet of lego. I sprinkled some natural pigments on top before it cooled. I peeled it off when it was still wet and it came off super easy but because of this it really shrank and curled throughout the drying process. The final sample is about a 4th of its oringal size
Alginate
(Note: this video is taken before things are fully dry)
General Tools
- Jar
- Electric mixer
- Bowl
- Syringe/squeeze bottle
Recipe 1
- 1 l of water
- 75 ml of glycerine
- 15 g of alginate
Recipe 2
- 1 l of water
- 100 ml of glycerine
- 30 g of alginate
Recipe 3
- 1 l water
- 100 g of glycerin
- 60 g of alginate
To "cure" the solution a calcium chloride solution is needed. These 3 recipes range from thin to thick by increasing the amount of aglinate added
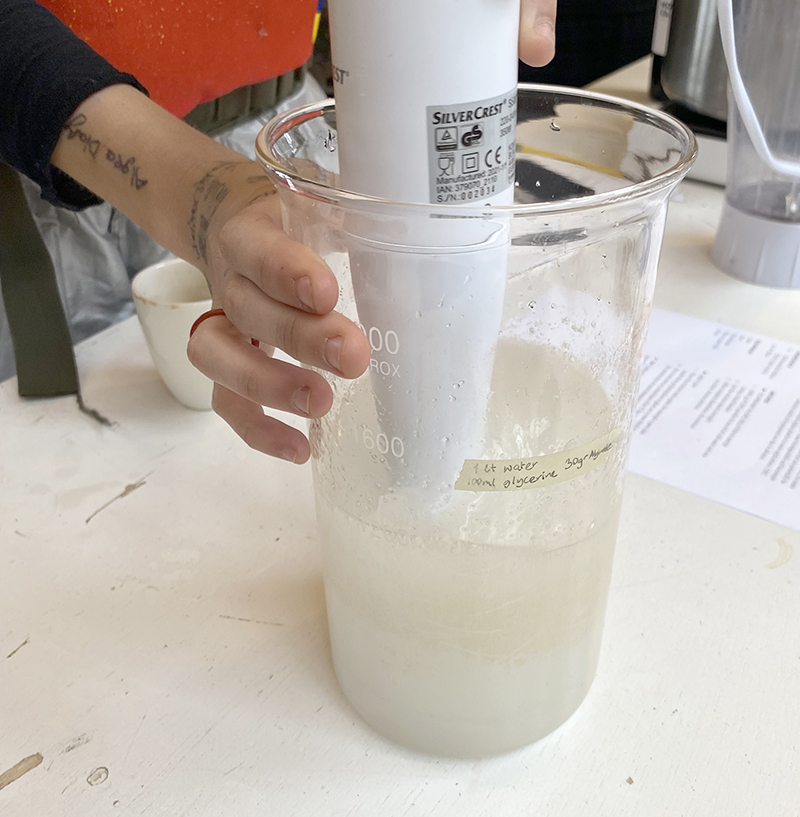
- Mix the ingredients into a jar together until it is fully incorporated
- Allow to sit over night to get rid of any bubbles
- The mixture can be extruded into a calcium chloride bath to make yarn or poured onto a sheet or mold and sprayed with the solution

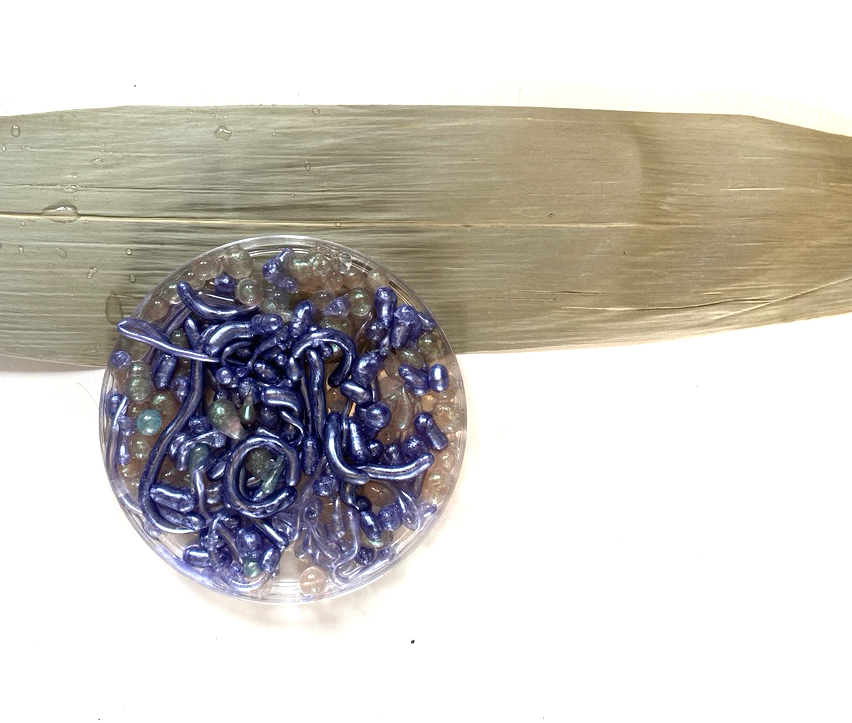
These samples were made using recipe 2. I also added mica powder to color these samples. The yarn was made using a syringe to create a stream into the calcium chloride solution. The pearl droplets were made with drops off excess material into the bath.
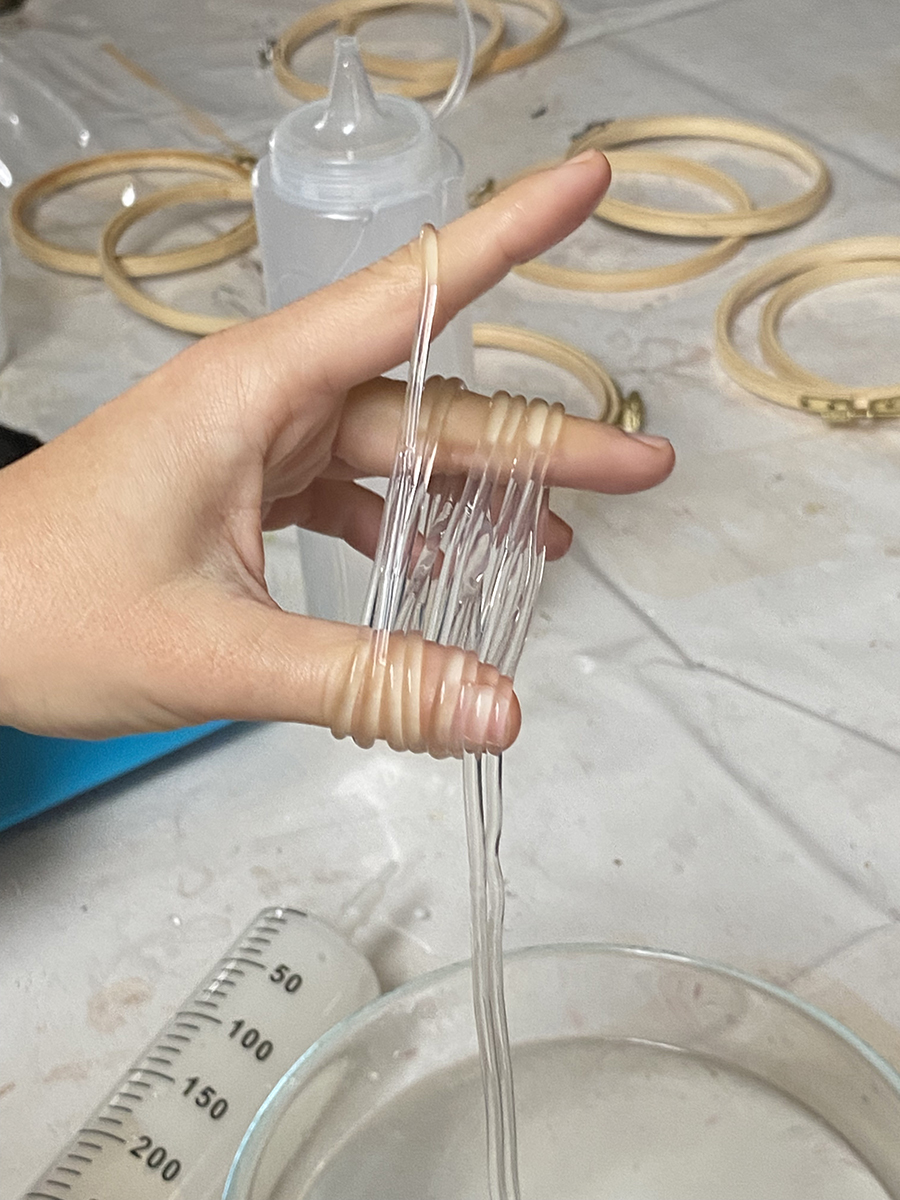
I also played with extruding/pouring it on to a sheet to create textures. These all haven't really dried yet. I tried pulling some up but they got really thin and ripped easily. the translucent is using recipe 1 and the white is using recipe 3.
- The white is still really wet
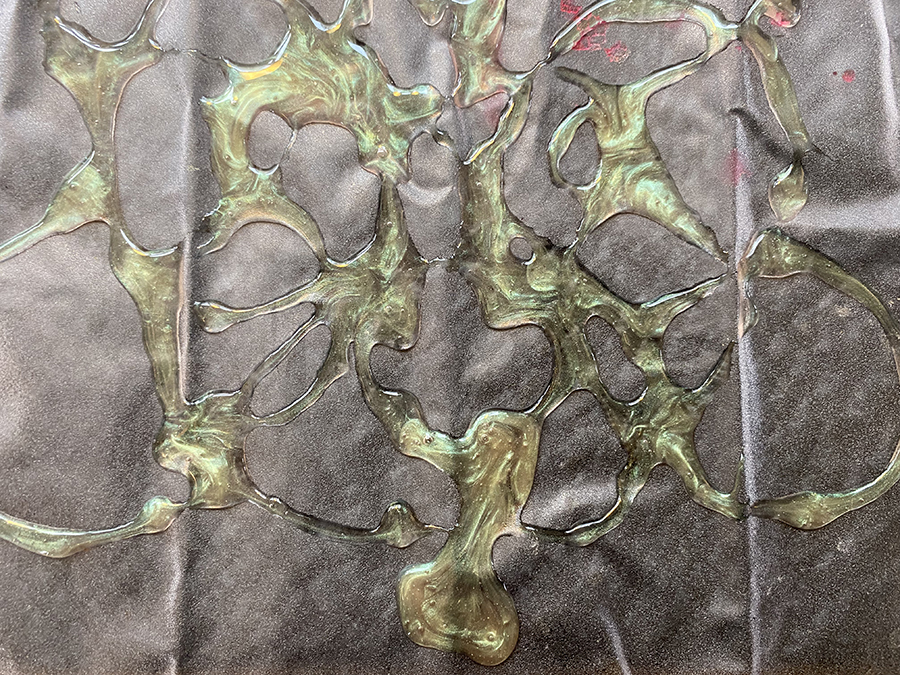
^ This is alginate extruded on mesh before it was dipped in the calcium chloride bath and left to dry
^ This is the thin, material I rip in the video
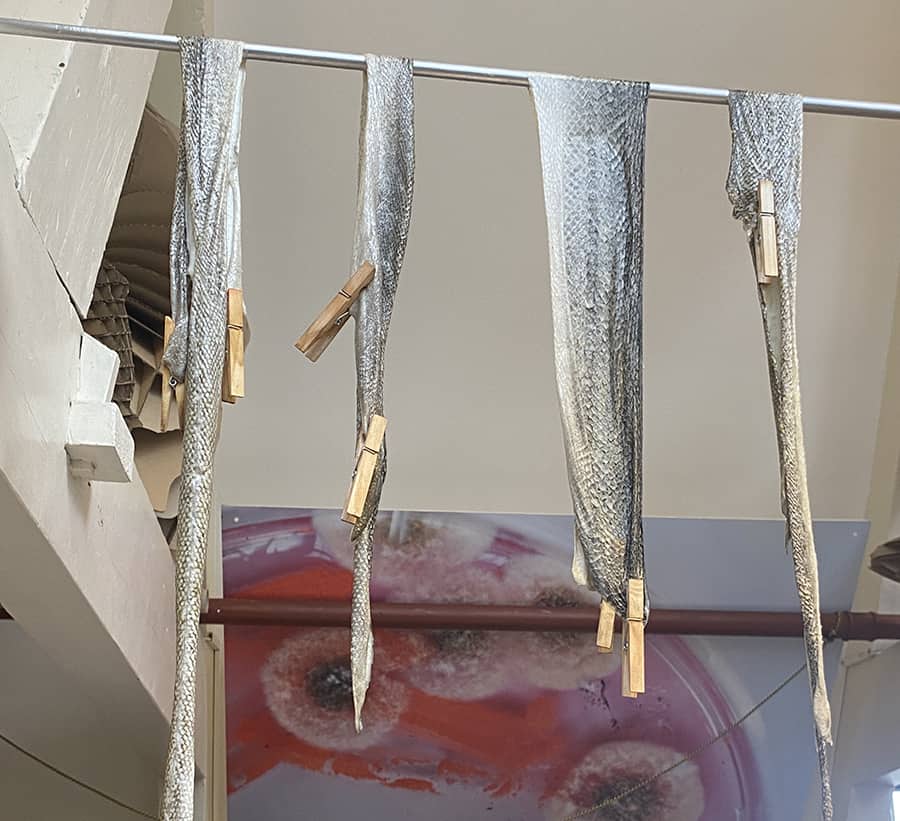
Fish Skin Leather
General Tools
- Fish Skin
- Knife/something to scrape with
- Bottles
- Closepins or a wooden board to dry
- Clean fishskins using soap, water and ethanol
- Using a knife or spoon scrape off any excess meat or fibers
- Massage in a mixure of olive oil, 1 egg yolk and 1 tsp of soap
- lay out to dry on a board or hang from a clothesline
- They will dry stiff so continue massaging with soap and water after drying period
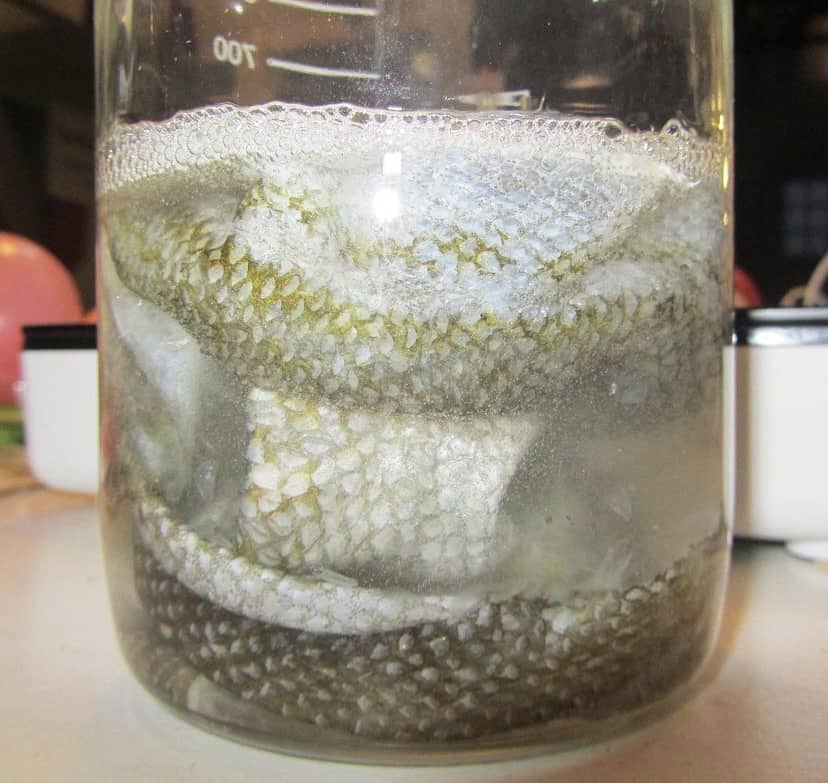
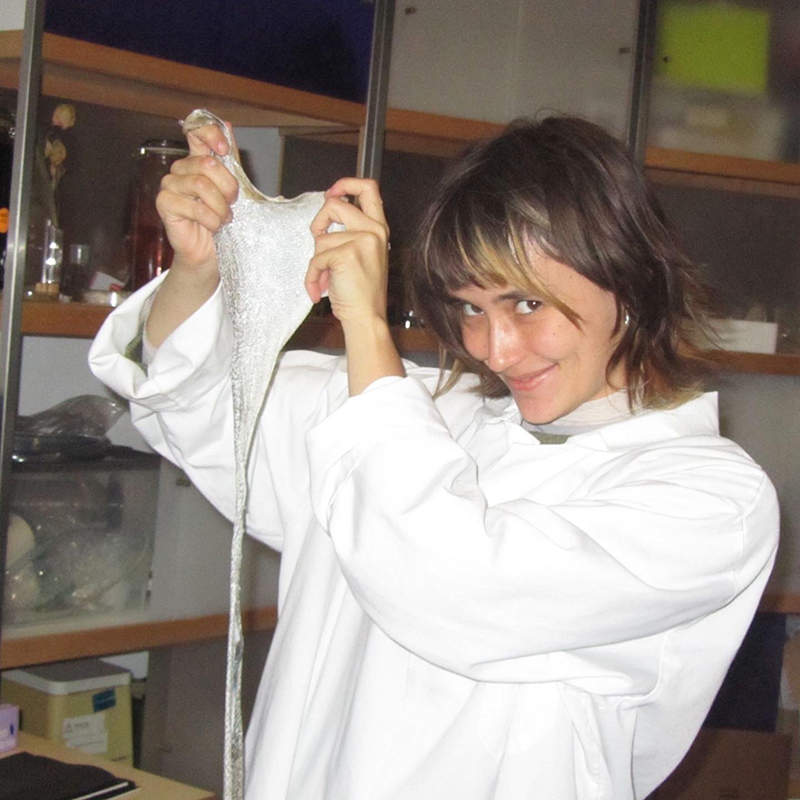
Pictures above taken by Ray
Kombucha
General Tools
- plastic or glass container
- Heating pad (if you live somewhere cold)
Recipe 1 - 3 lt beer - 3 lt water - 550 g sugar -500 ml kombucha
Recipe 2 - 200 g glucose - 100 g robbius tea - 1.5 lt water (to brew the tea in) - 2 lt water (add after tea) - 900 ml of kombucha
Recipe 3 - 300 g glycerine - 1.5 lt water (to brew the tea in) - 50 gr green tea - 1.5 lt water (add after tea) - 500 ml kombucha
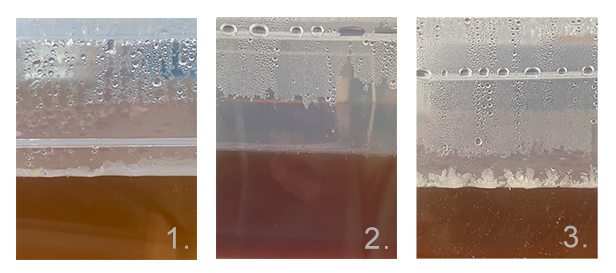
I will update as the scoby grows!