Problematic

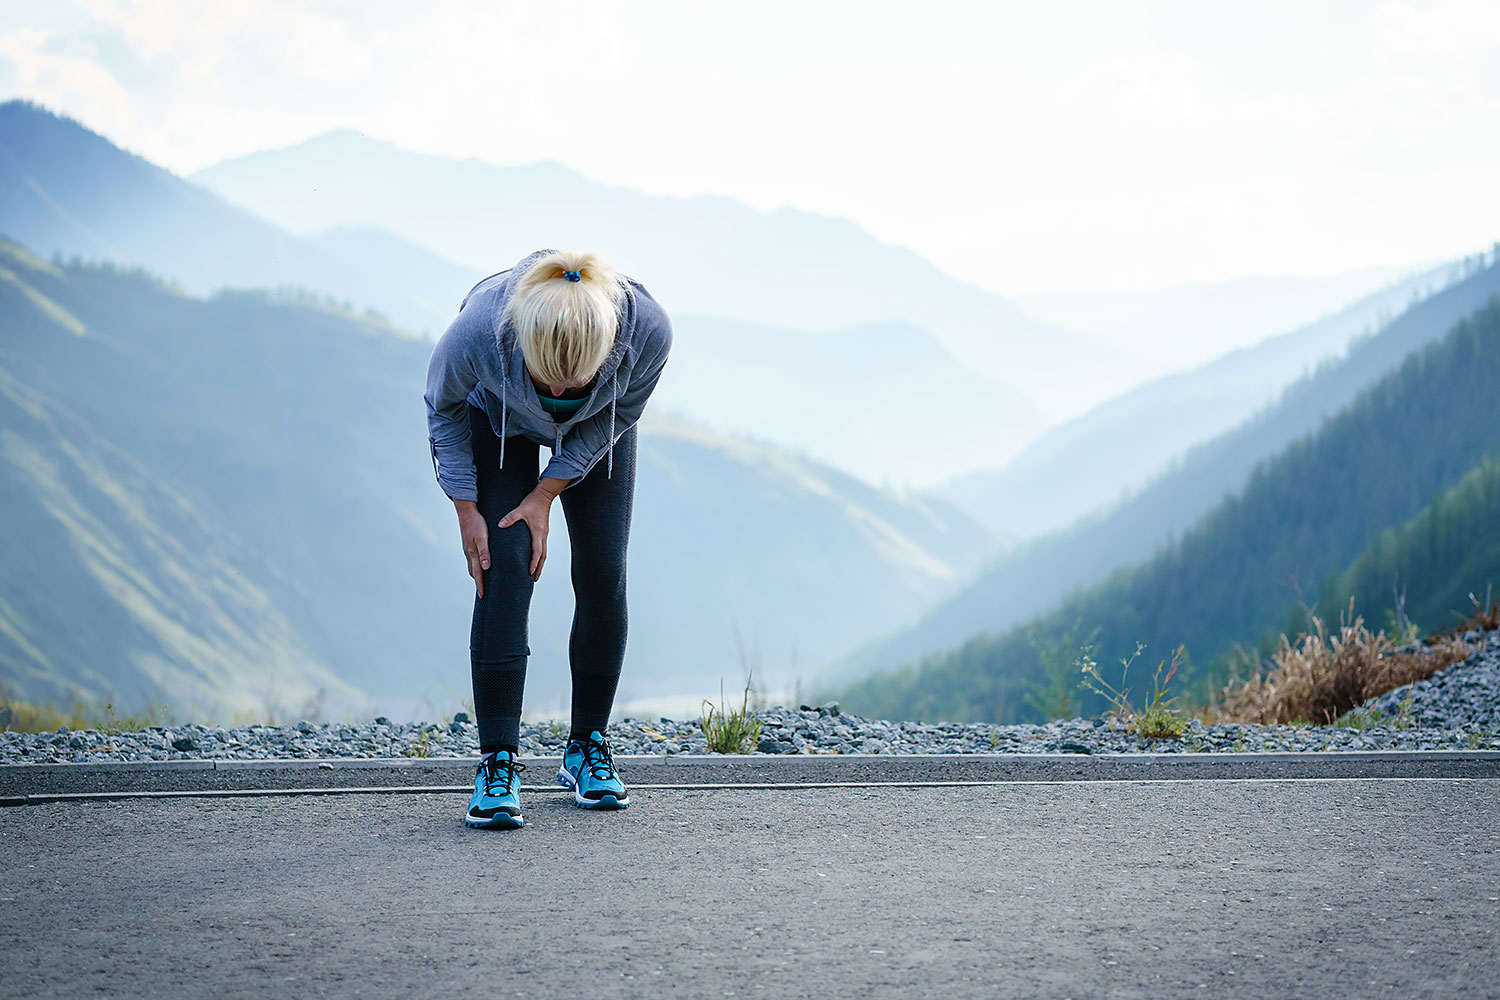
Knee complications and knee injuries are so common, that it is considered as a quiet epidemic. Knee pain can be experienced by youths as well as adults and older people, and is not only caused by injuries. Knee pain is often the result of “inappropriate biomechanics” leading to increased force on the knee like patellofemoral pain syndrome or knee conditions like osteoarthritis. Often, patients feel restricted in their abilities to perform household or recreational activities and are scared to push their knees due to fear of causing further damage to their knees. Even after treatment, it takes a lot of work and patience to regain trust in the injured knee. Anterior cruciate ligament tears are common among athletes. These can cause significant emotional distress due to the long downtime from sport as well as predisposing the patient to the development of earlier knee osteoarthritis. Some ACL injuries require surgery with months of post-operative rehabilitation.

Treatments can vary a lot, depending on the type of injury or knee pain. After an injury, resting, applying cold, compression and elevation is recommended, followed by rehabilitation when the condition gets better. For chronic knee pain, it is recommended to see a specialist such as a physiotherapist, and creating an exercise program personalized and adapted to the patient's pain. Psychological treatment can be taken to learn to better distinguish hurt from harm and to counselling to reduce fear of movement. Drugs and medications can provide temporary pain relive, but do not contribute to improve the patient's condition.

Reserch and planning

I feel it's important to talk about my journey from the beginning, since I had so many doubts. I knew from the start that my projects were ambitious, and that it's hard to get something working as I would dream of in so little time. With the covid-19 pandemic, I had to work from home most of the time. Getting oragnised was not an easy task! My research notes and planning is still available, I used my very chaotic miro board to take notes during the process.

First design

For the first idea, I had in mind that I wanted to help reduce the pain caused by a knee injury. By supporting a bit of the weight with inflatable robotics, and by stabilising the knee, It would be an everyday solution.

...But all ideas are ment to evolve, right?
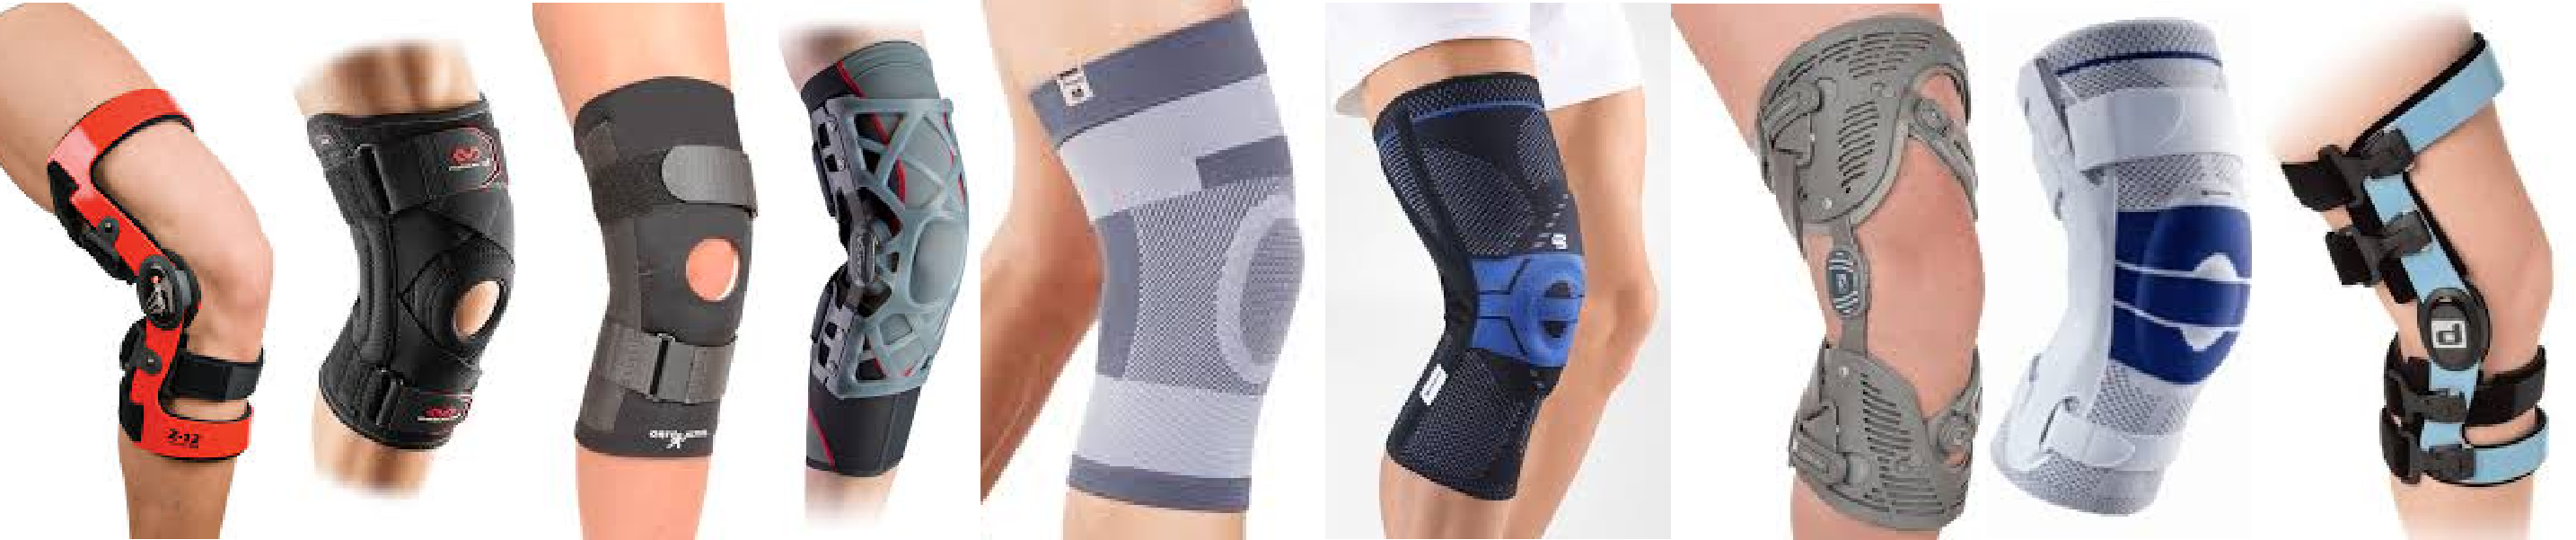
I booked an apointment with a physiotherapist, for myself, but also to talk about solutions and elements to help ease the pain on the knee. The last thing I want is to create something that could be dangerous for an injured knee! First things first, knee injuries are unique to each individual. There is no such thing as "the most common type of knee injury" so I would like to concentrate on my particular case; I got injured when I was 16 years old, while speed skating. A stretched ligament. Ligament never fully heal, so I was at risk of hurting myself again, wich I did, a couple of years later. After this injury, the pain stayed everytime I skated, and no treatment from specialists could help me. Radio or magnetic resonance imaging could see a clear problem. Since then, I use a knee brace for sports and activities that could pu my knee at risk.

Since each injury is unique, and since we can't really see what is the problem inside, physiotherapists have to listen to their patients and their reactions. It's hard to prove that something is helping, and that we really found the source of the problem. Injuries like mine are usually due to muscle imbalance. A proof that we discover more about this topic each day: my phisiotherapist told me that we recently dicovered that most of knee injuries are actually caused by back problems. It's also hard to make a difference between something that is working and something that gives us a placebo effect. He told me that ice and heat are not prooven to help reduce the pain. It might help some people, so they still recommend patients to try it, but it might just be recomforting. It has ben prooven that ice can reduce inflamation tho, but in my case, it's not prooven that it would have any use.

What worried me the most is this (I definetly should have tought about that before): Knee brace are mostly designed for right after an injury, while you want to give it a rest, and rehabilitate it slowly. During the healing stage, the knee is delicate, and is at risk to get hurt again with a wrong movement. It's best to protect and stabilize it. Once the healing stage is complete, the knee needs to be stronger to prevent future injuries. Doing some exercices, and then using it nomally should do the trick most of the time. It's not recommended, at this stage, to use the knee brace regularly. It can be used in exeptionnal situation where there is a high risk of injury, but if a brace is worn at each workout, the knee will become lazy. Muscles will be weaker, and this could not only lead to muscles imbalence, but to another injury too.

So my knee brace simply cannot be designed for a regular use.


Second design

My product had to be better attapted to the reality of the patient. The firsts weeks of my project were dedicaded to the development of an idea that would really help the costumer, and that would still be acheivable in the time left. My Miro board evolved with my ideas; and to better guide my decision, I made a list, and did a bit of research, about everything I could integrate in a kneebrace to help the condition of the patient. my ideas were presented in a group so we could discuss the adventage and dissaventages of each one.

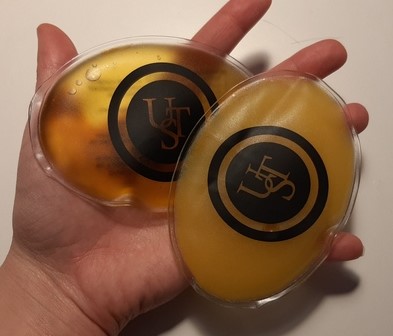
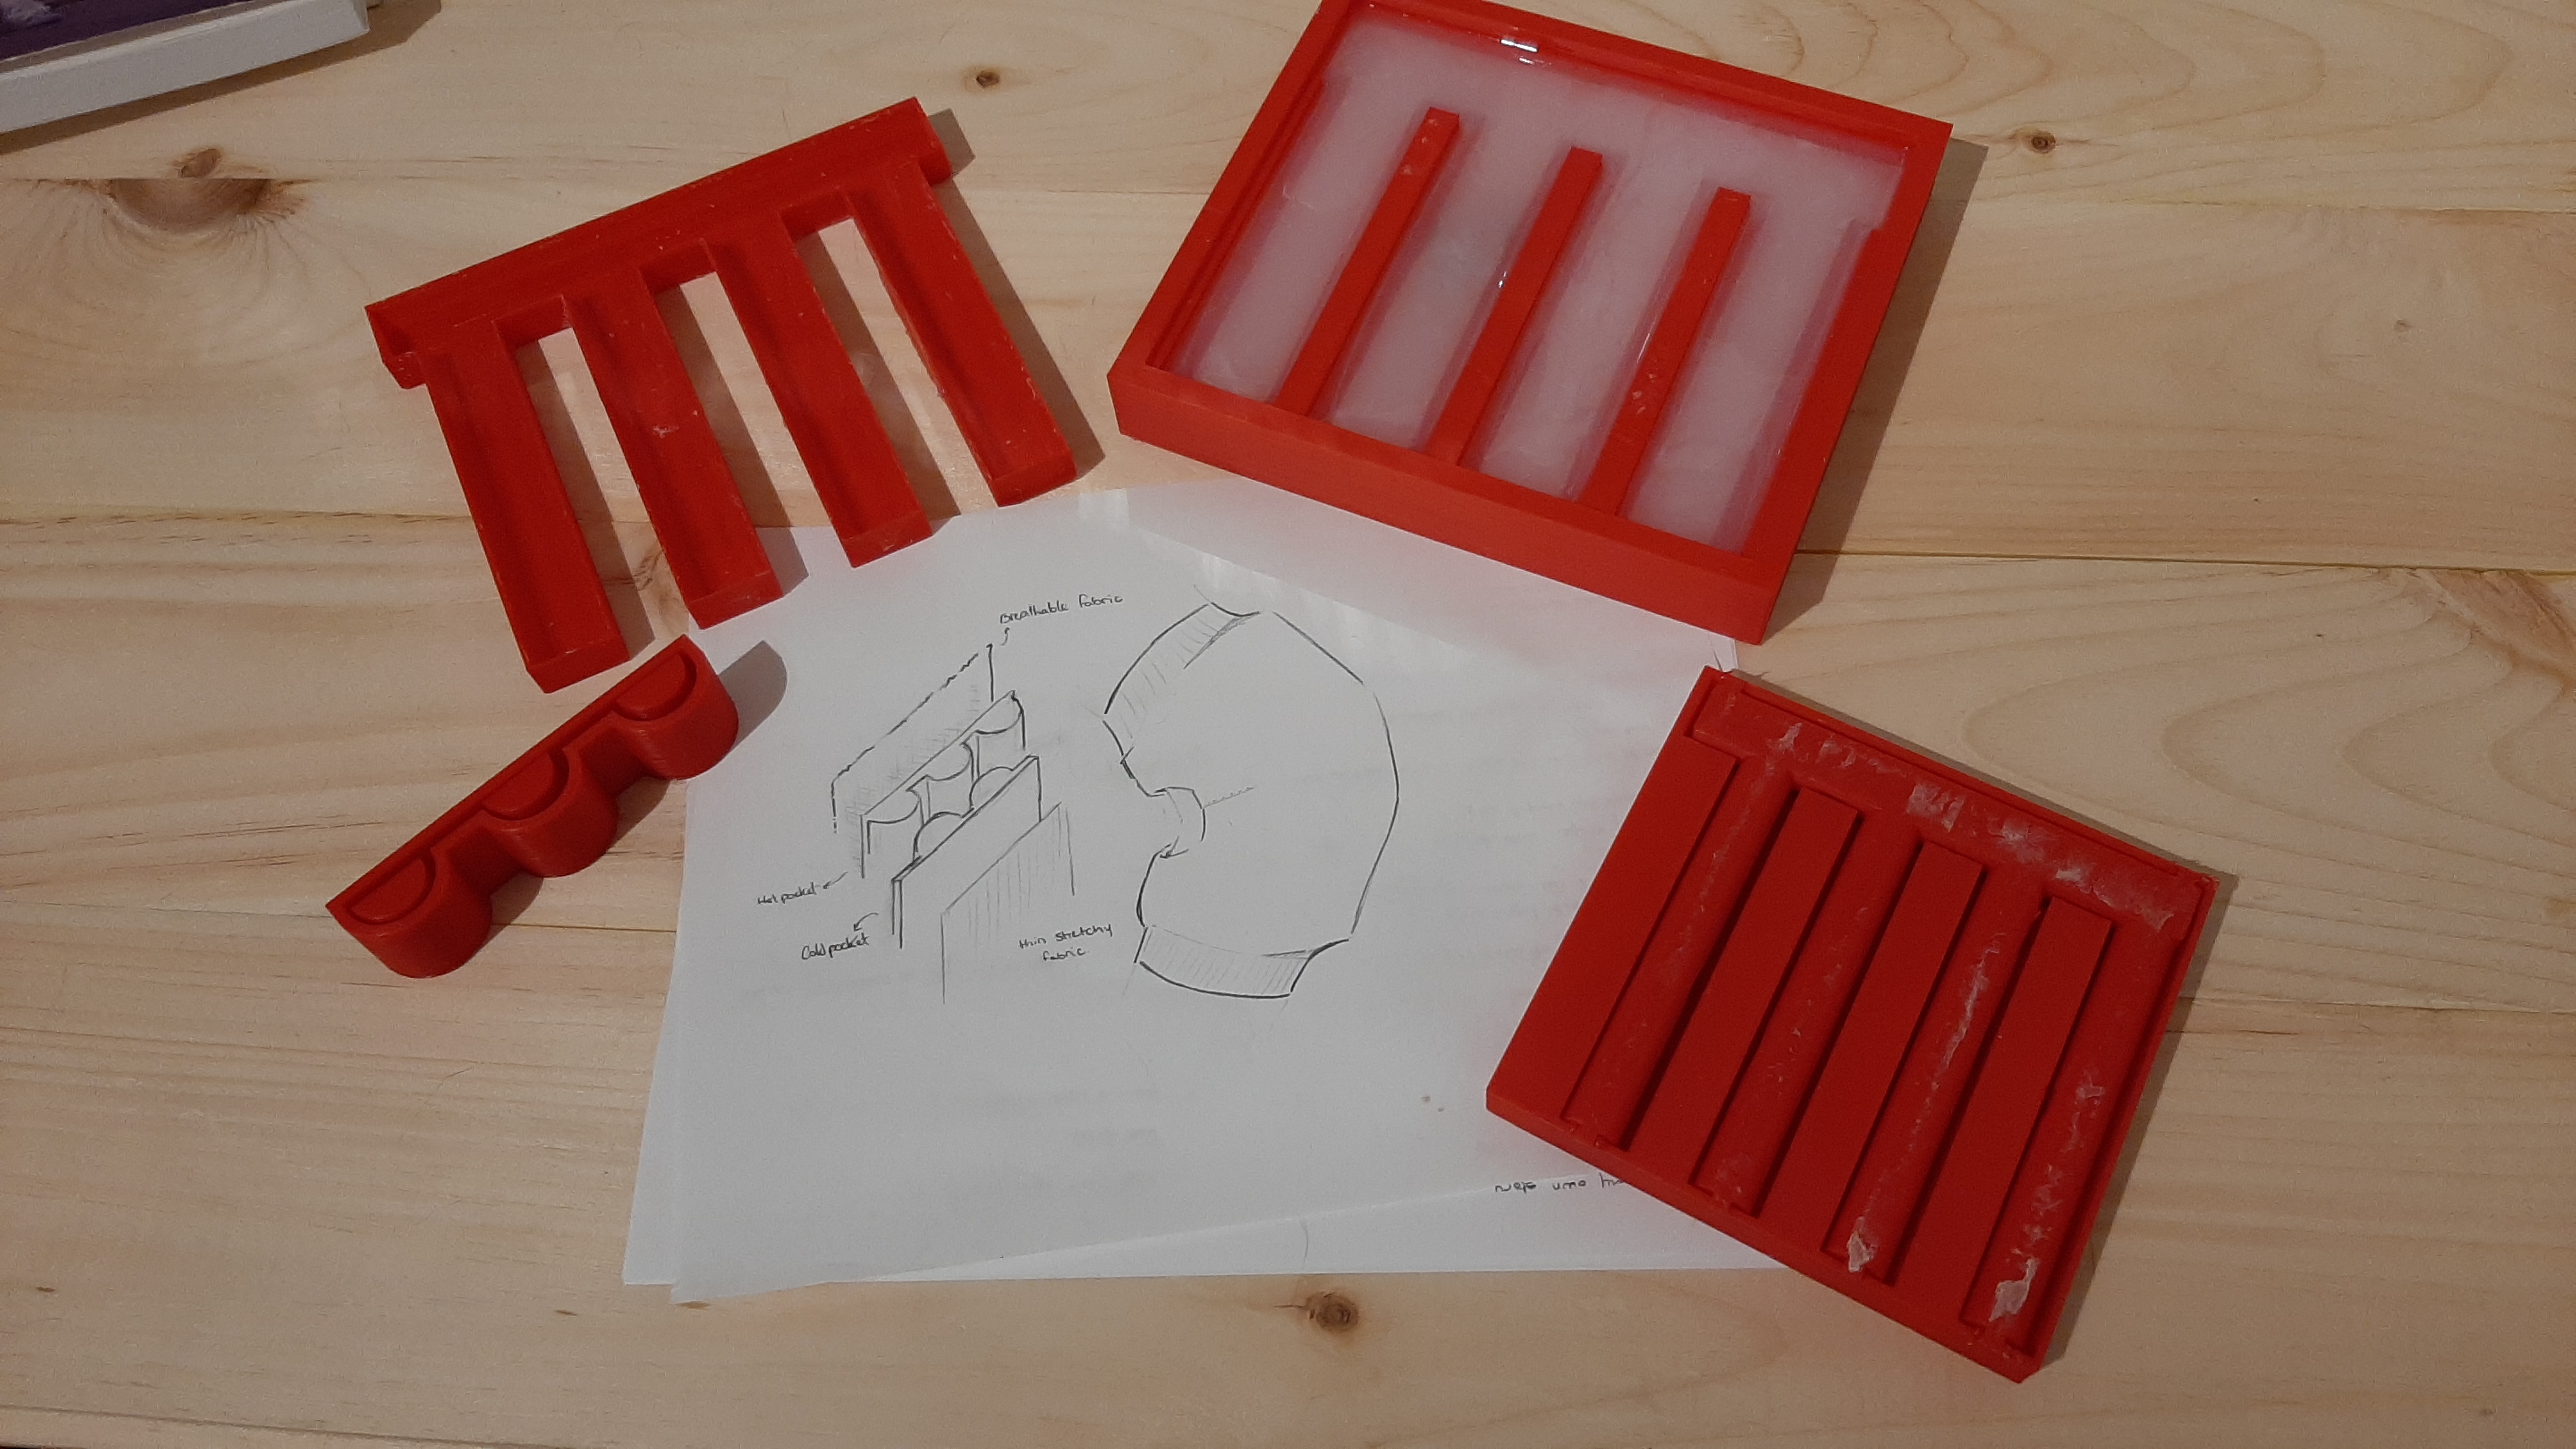
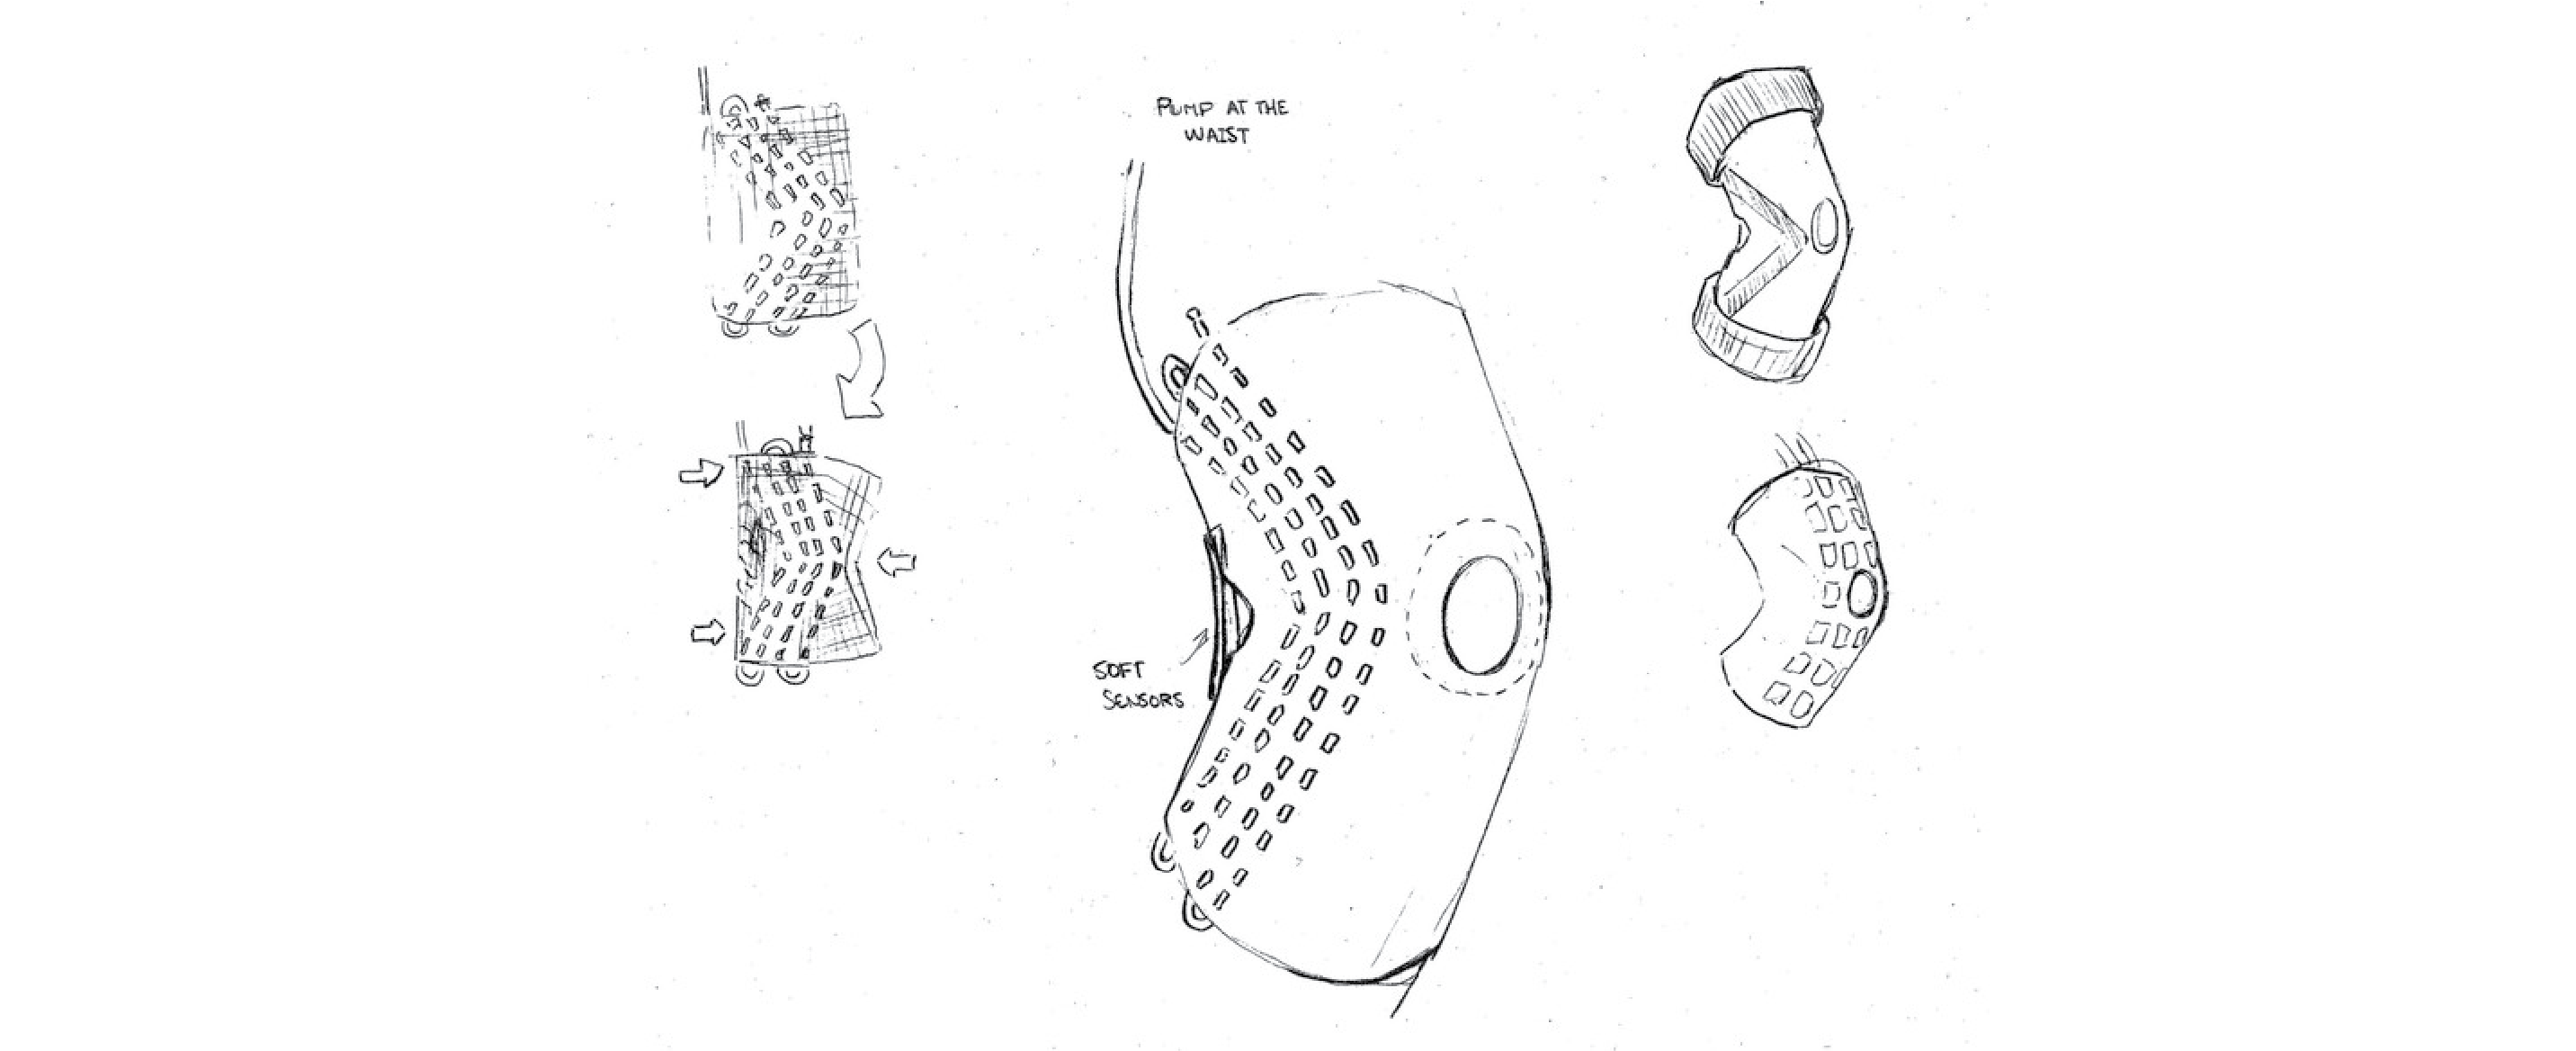
Heat and cold were the elements I choose to integrate in my final project. They can reduce pain, but aren't too technical, so it's easier to create a working product and to get it approved. They are also nice elements to wear, and it would be a nice thing to develop.

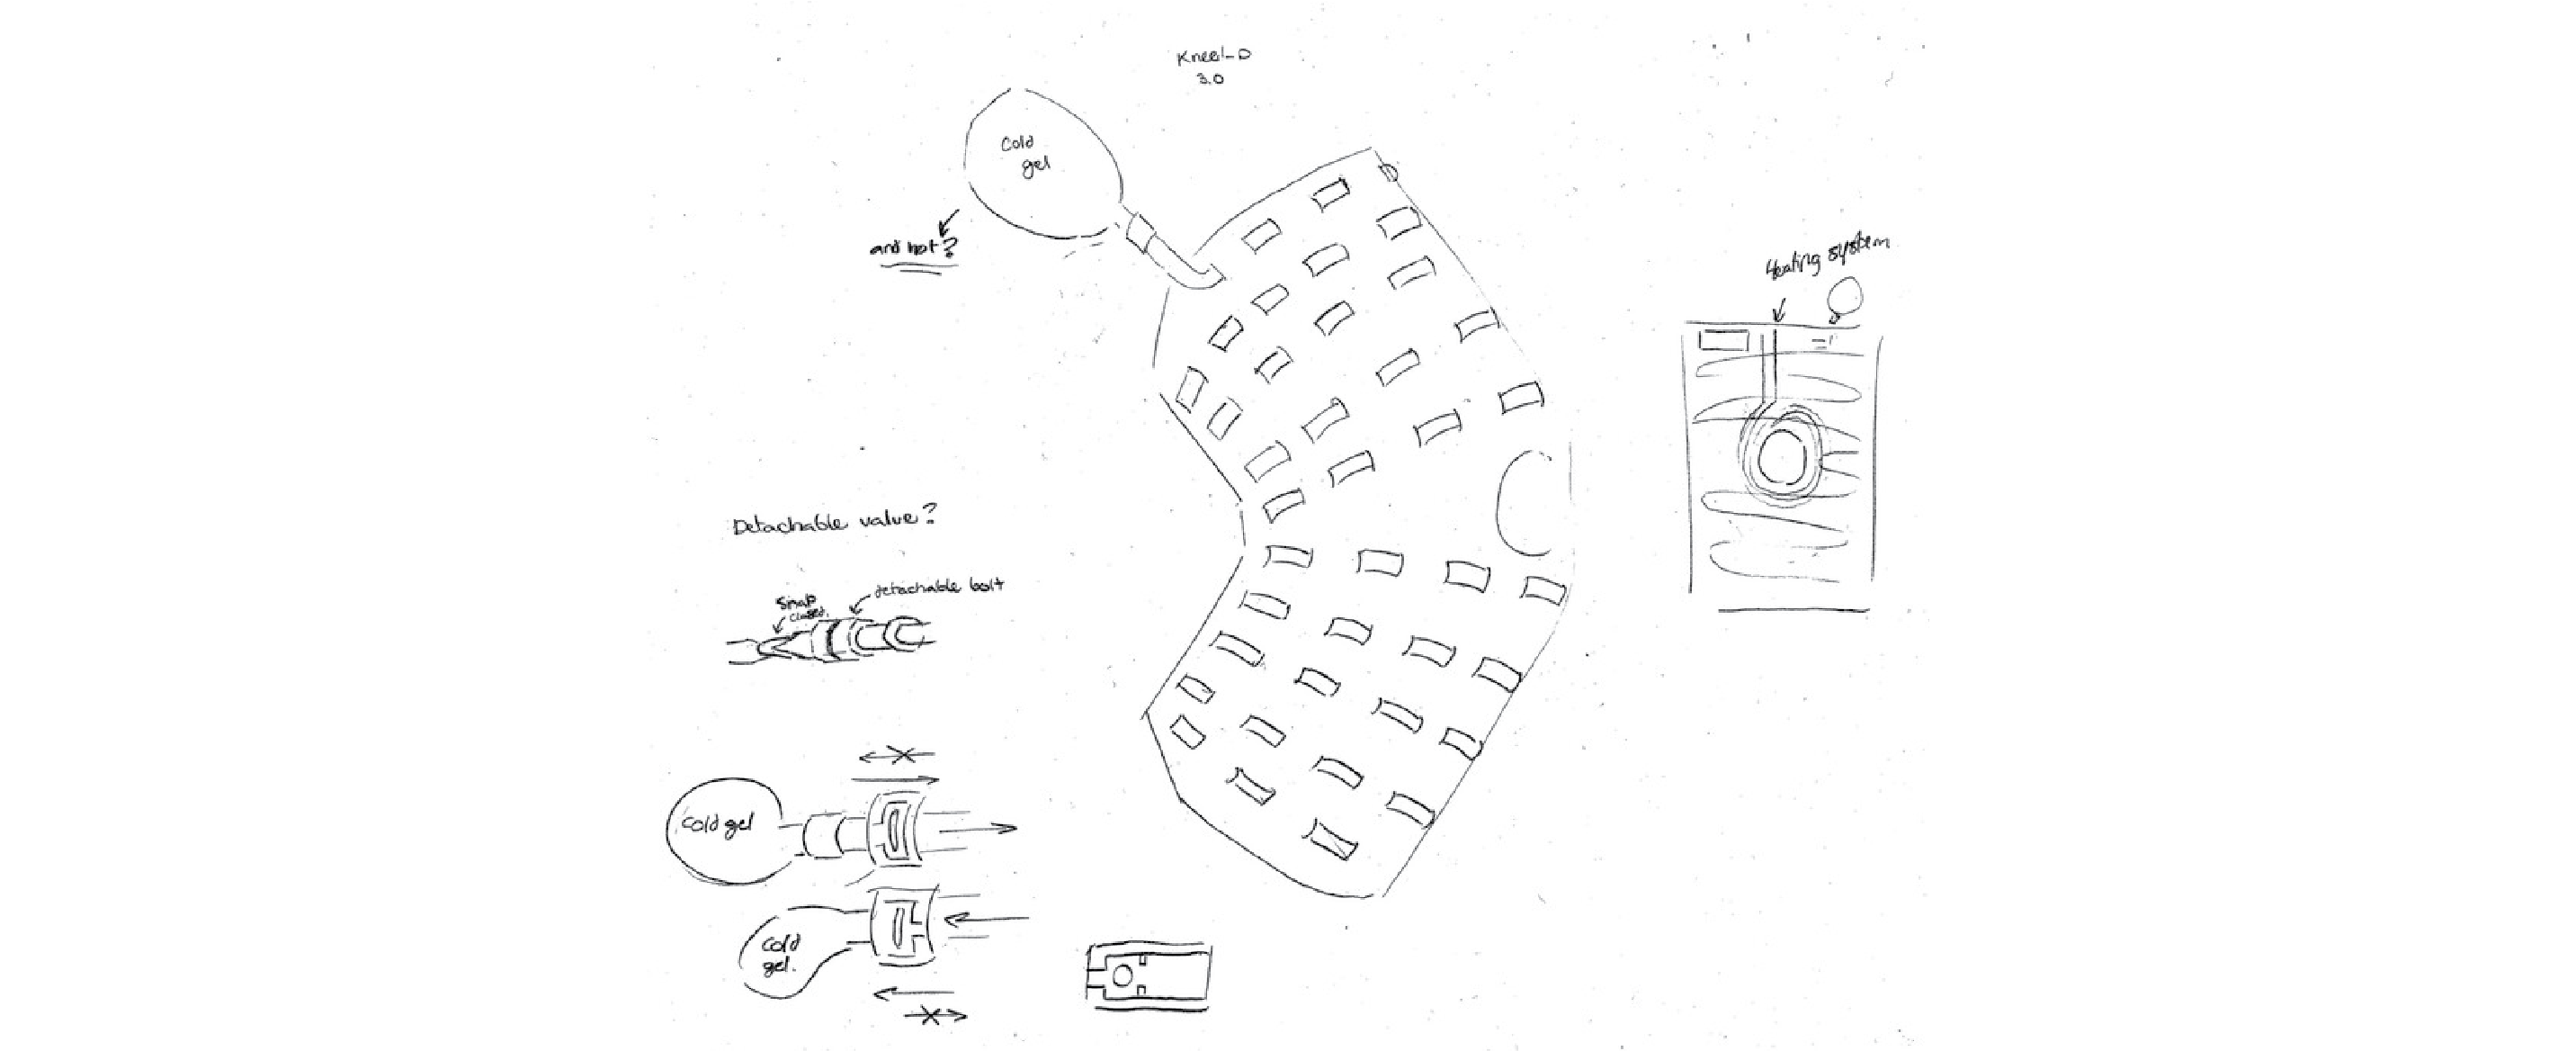
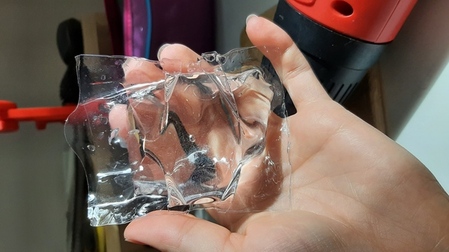
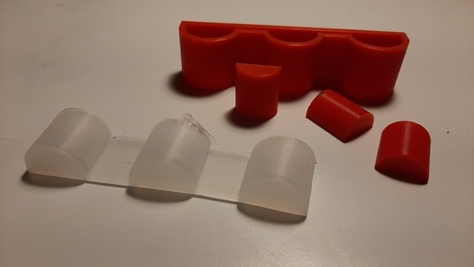
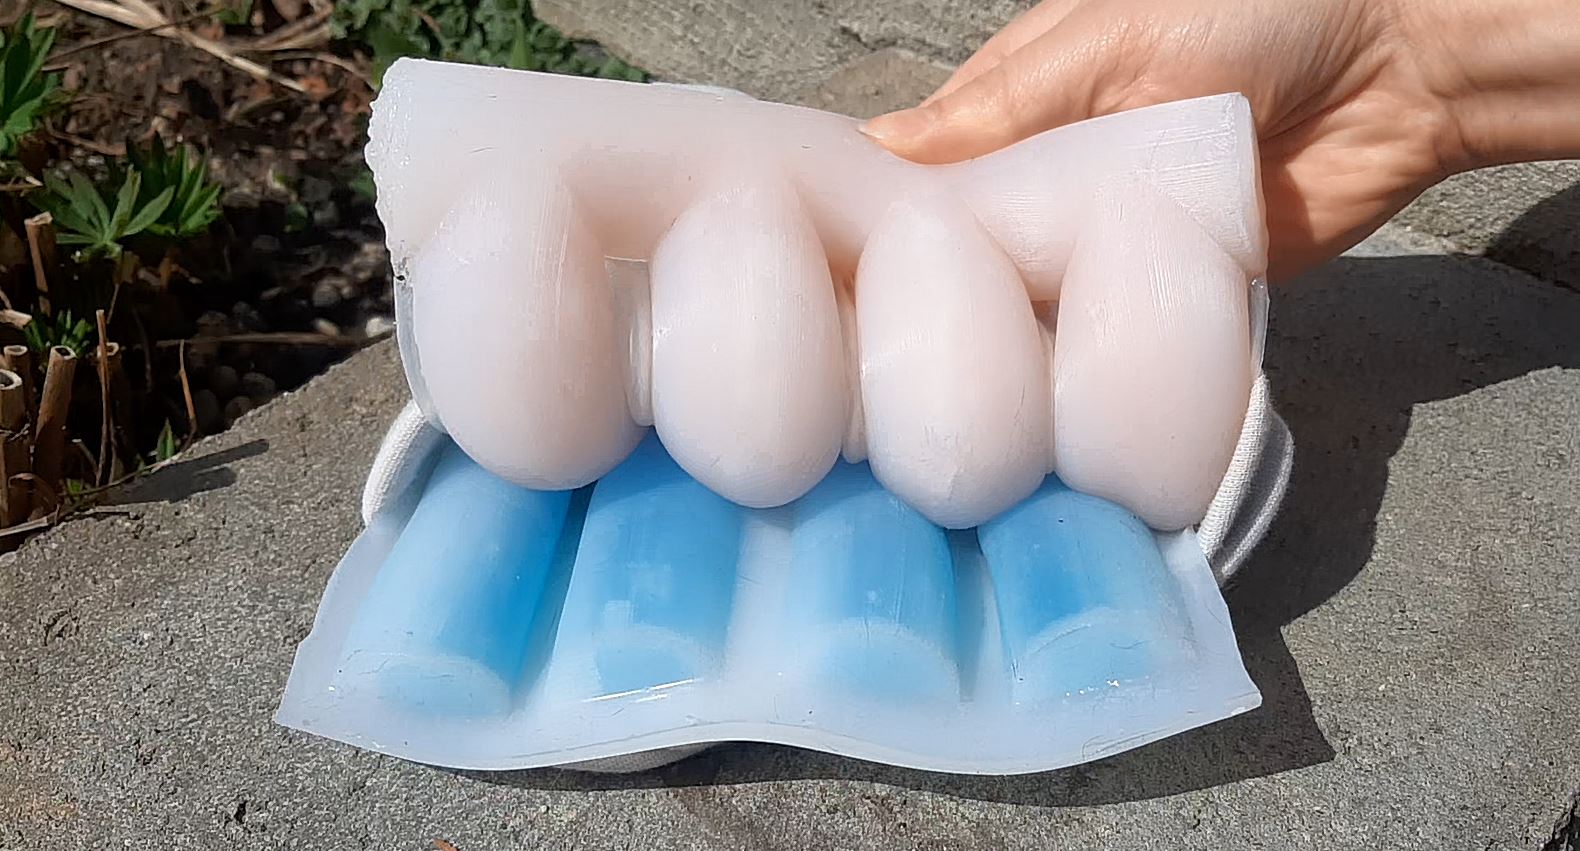
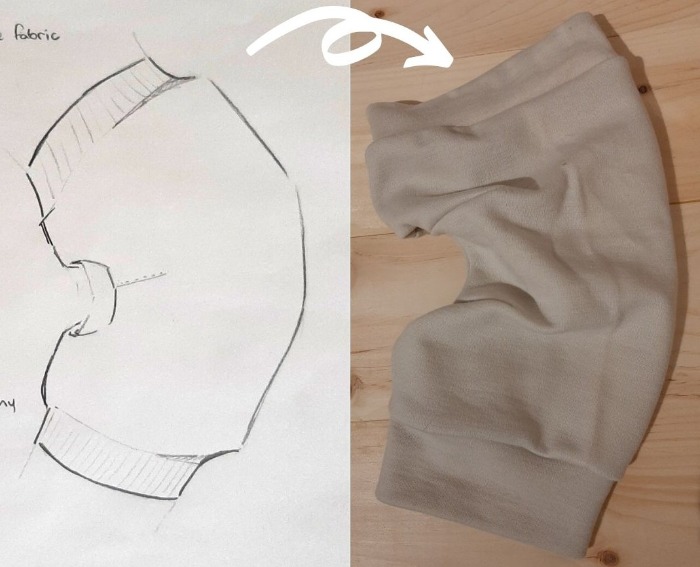
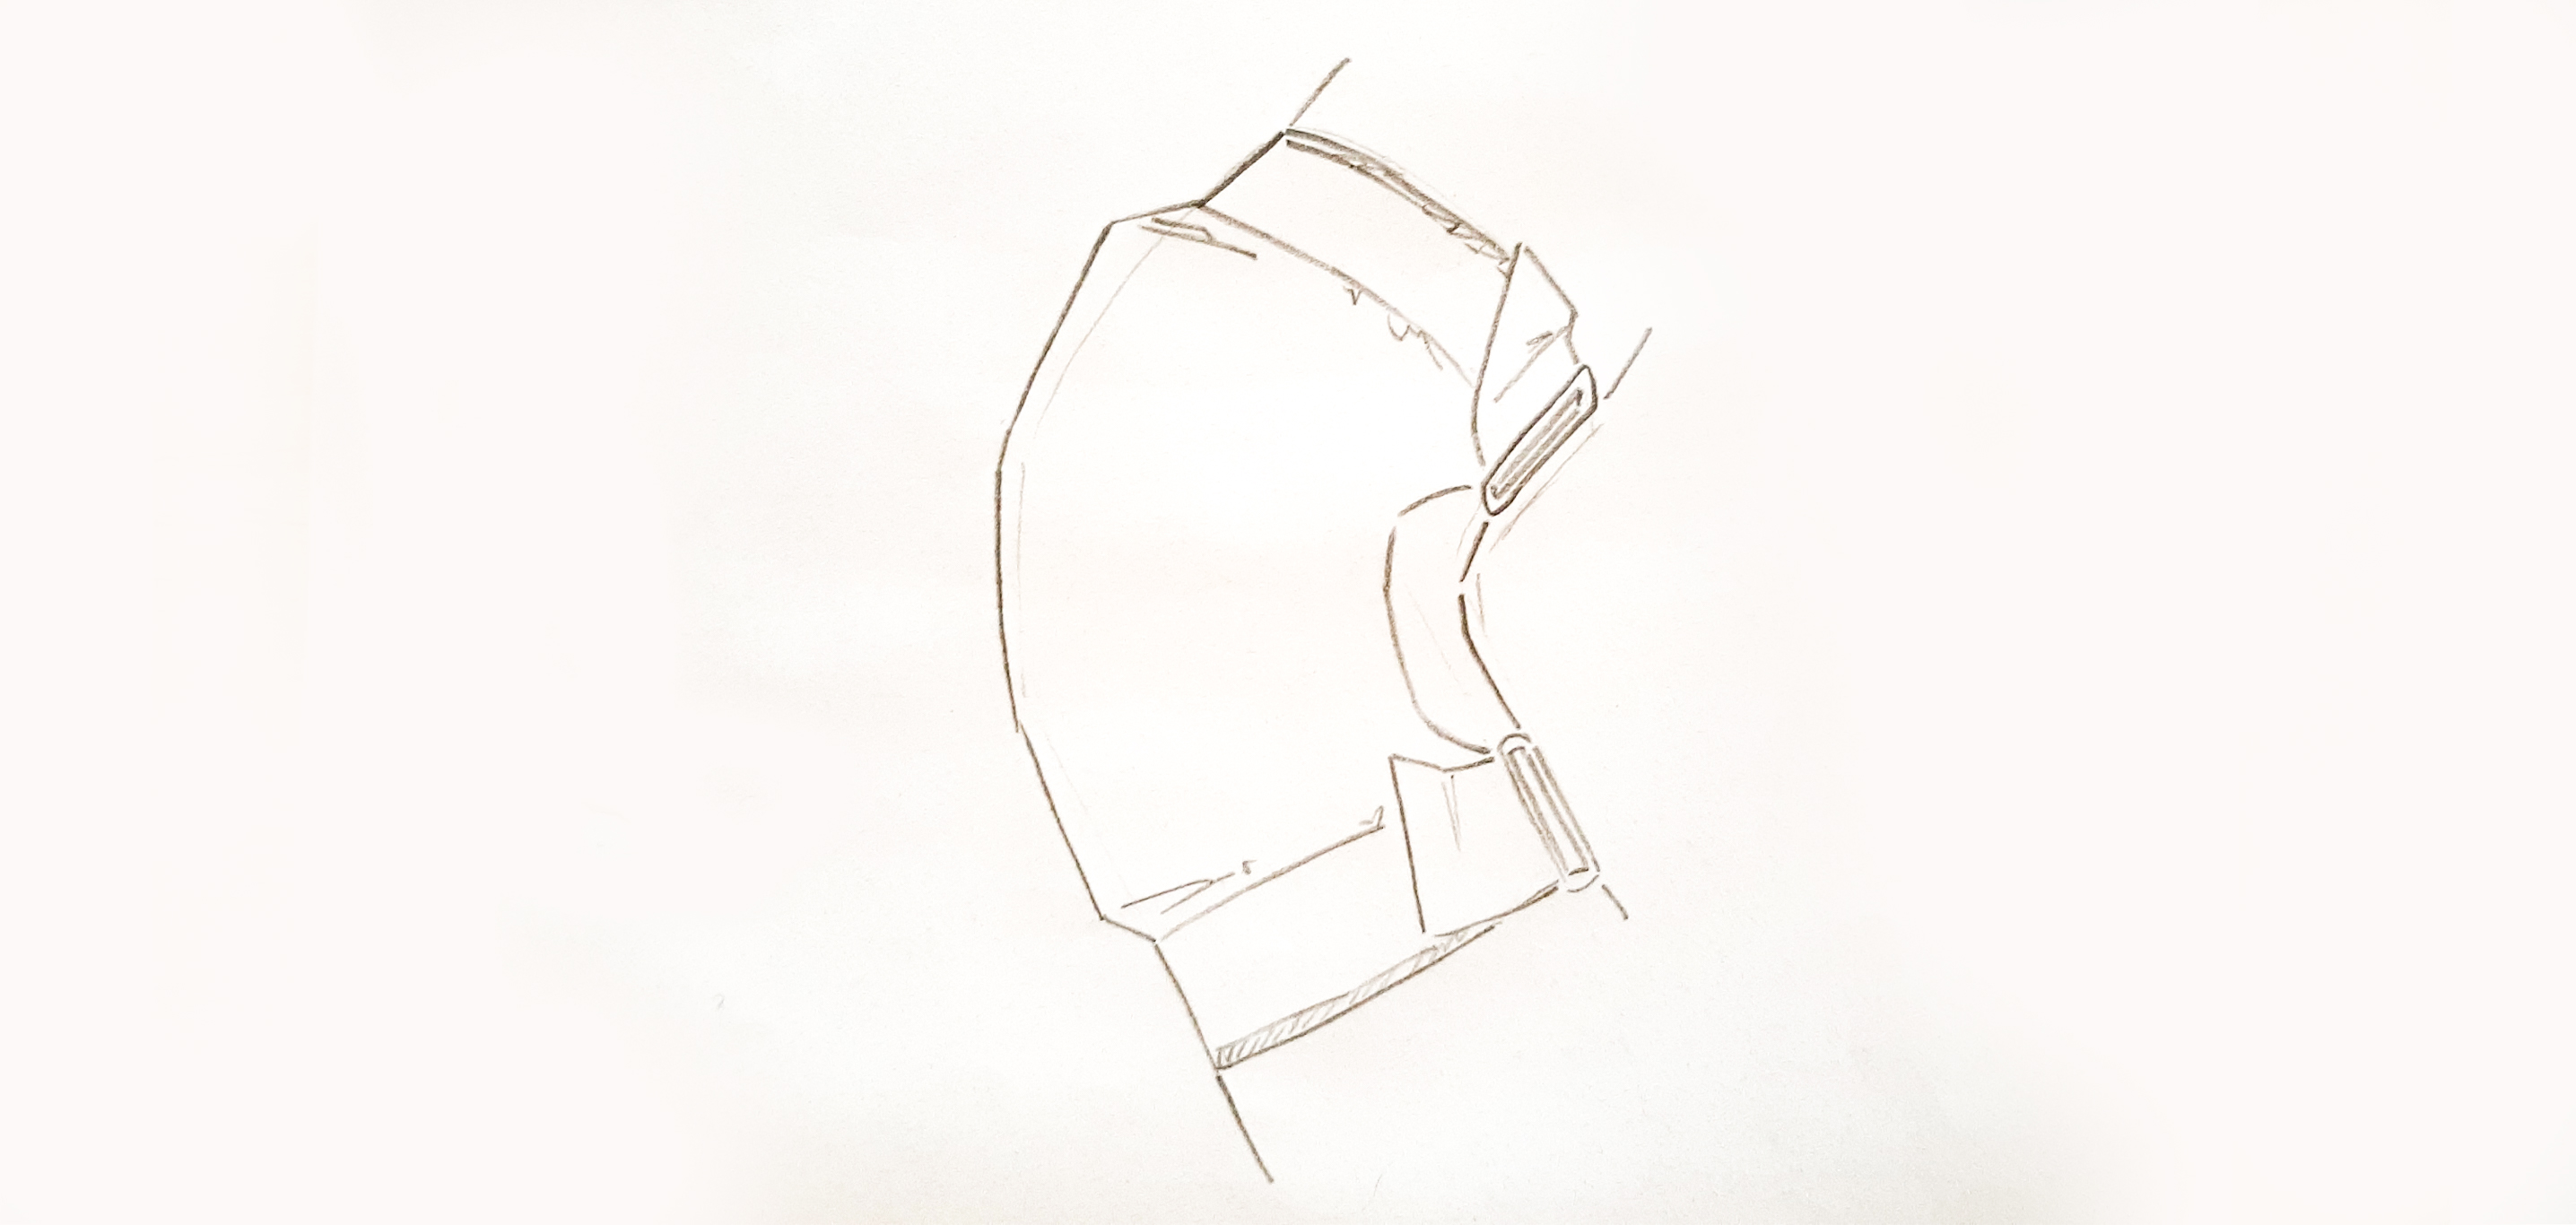
The second design I presented had silicon tubes weaved into it. An external pocket could be heated or cooled, and the mateterial (liquid or gel) coud be pumped in the tubes. The tubes, as they inflate, would apply a pressure and help stabilize the knee. It turned out to be complicated for nothing. My final idea turned out to be very similar to this one.

Final idea

It was already week 20 of the fabricadmy last year project when I finally started working on my final idea. It's half because I wasn't completely satisfied with any of my previous ideas, and half because I was disorganised working from home. Here in Quebec we even had a curfew and a complete lockdown from december all the way to march. It was really hard to work in these conditions, but thing got a lot better when we were able to work outside. I spent a lot of time at the libray, and had access to the lab from time to time when I needed it.

The knee-d is a product meant to follow the user anywhere he or she might go. Better adapted to the patient's reality and everyday life, it can be used at any stage of the healing, and with any type of knee injury. It's soft but stable design is to increase the felling of comfort, helping create that confidence on the injured joint.

Heat

Sodium acetate trihydrate

This wonderful material is known as "hot ice" and has many uses. It's most common use is hand warmers; this little pockets that you keep with you heat your fingers or toes in cold winter temperatures. The principle is simple: inside these hand warmers is water, oversaturated with sodium acetate. Since it's holding so much sodium acetate, it's balancing between liquid and solid state. A little component inside can be "snapped", and triggers the chemical reaction: the material cristalize in seconds! What is interesting in our case, is that it is a exothermic reaction. Since it's only a switch between liquid and solid state, the material can be heated in boiling water, until it goes back to it's original liquid state. This little wonders can be used as many times as we like! Yeah, sience!

The idea was inspired by a previous Fabricademian final project, Icy Haute, by Stephanie Flores Zopf. She experimented with Sodium acetate, and did a wonderful job documenting all about it.


Sodium acetate trihydrate can actually be made in your kitchen at home, with only household ingredients and kitchen tools. Vinegar and baking soda are the only ingredients needed! Some safety precautions are necessary, such as wearing gloves and glasses. On the left you will find a video of someone making it. I really hope I will have the time to make one myself. In his case, the result is already in it's liquid form, so there is no need for him to work with the dried, powder form of the chemical.


For my first time experimenting with this material, buying the material already in it's powder form is a safer bet. The video on the right is the work of Kevin Dodge, making hand warmers with sodium acetate powder. The most unique thing about his work, is how he makes a snaping activator from a snapping bracelet.

Sodium acetate trihydrate turned out to be complicated to get in canada (at least with a 60$ budget). I finally found the Sodium acetate sold by S.T.E.M Canada that seem to be a company that sells porduct for school experiments. The product lacked information, and it didn't look like sodium acetate trihydrate, but was advertised to be the material used to make hand warmers. I bought a small quantiy to make my prototype and tests.

While waiting for my own material to arrive, I bought Sodium acetate hand warmers, to have an idea of how the product works. I was particularly intrigued to see how the metal snap would work. It turns out that you need to "snap" the component a lot of times, and the reaction is pretty hard to start. But once it's started, boy is it impressive! and really warm! But I doubt it will stay warm for 4 hours as the package proudly state.

This material also bring two new element to take into consideration: one, the cristals needs to be boiled to return to their original state, so the pocket's material needs to be resistant enough. Two, it is not possible to freeze this material. When freezing, the water separates from the other components. I froze one to test it, but saddly, once frozen the chemical reaction is a lot harder to trigger, and even when it does trigger (I spent 15 minutes straight clicking the metal component) the cristals are not as hard as their previously were, and I suspect the reaction is just less hot. So cold damages the warmers. I will have to think of a way to separate these two components and create two pockets, one for heat, and one for cold.

Before getting to the fun part, here is some important safety rules to follow when manipulating sodium acetate: Clean your workspace before and after. Use gloves and safety glasses when manipulating the product. Watch out not to inhale the product, and work in a well ventilated area.

The recipe is simple; add water until you see a thin layer of cristals forming at the surface. Results may differ from one case to another, but I personally started with 1 cup (250ml of tap water) and added 500 gramms of sodium acetate! I felt like I could add even more, but the cristals were forming so I stopped. I ended up with more than 2 cups of oversaturated mix.

Once the material has cool down, it's ready to be tested. If the mix is hot, it will stay in it's liquid state. Once it is cold, anything can trigger the change of state. In my first attempt, you can see the liquid solidifying by itself, simply because my bag wasn't sealed well enough. The reaction is easy to trigger, anything that disturbs the mix can cause it to crystalise. Luckily for us, it can always be returned to it's previous form. Boiling it and waiting for it to cool down can be a bit time consuming tho.

My second attempt was much more succesful, since I took the time to seal it in a thick vinyl bag, with as little air as possible.


Cold

The cold mix was simple. If dangerous chemicals are out of the question, we are still left with a lot of options. Water is a material that stays cold for a long time, but it becomes hard solid when frozen. The only thing left to do is to find a way to prevent it from becoming this solid, and voilà! It becomes wearable.
To do so, I used 70% isopropyl alcohol, at a ratio of 1 part alcohol, 3 parts water. But there are other options too, like salt.


Pocket

Vinyl

I knew the thermoforming vinyl I used in the inflatable week would not be solid enough to cover a knee like I want it to (it also had a lot of leaks). I whent to by this stronger transparent vinyl material, the same that is used to cover chairs, tables and furniture.
PVC craft vinyl is a dangerous material to burn or heat, as it relases pure chlorine gas. Chlorine gas is a poisonous gas and pulmonary irritant that can cause acute damage to the upper and lower respiratory tract. (It was even used as a chemical weapon during World War I). There is also the heat sealer at the lab, to make stong and lasting seals. I still wanted to experiment with folds, curves and so on. To do so, I had to find a way to heat the material: not too much, so it stays safe, but not too little either, since I want long lasting seals! After a lot of tests with heat guns, heating elements, lighters... the seals were still weak and irregular. The couple of pockets I made had a lot of leaks and were not beautiful at all! Time to turn to another solution.


Silicone

The first thing I wanted to check with silicone is to see how it would react if boiled. I didn't find anything on the subject on the website of the company, so I tried it myself! I reacted very well, it didn't look like it changed at all. The other thing to test was if the silicon would react well with all the stong chemicals I want to use. everithing went well, time to modelize!
to be fully fonctionnal, my knee brace would need a silicone pocket for heat, and one for cold. The idea behind that first mold is that hot and cold pockets could intertwine one into the other. I used the software Thinkercad to create the first prototype, since it is easier to use. When I'll have a good idea of the final design of the pocket, I will definetly make a parametric design of it on Rhino6.

My second prototype wasn't much of a success, since it was impossible to get the silicone out without breaking the 3d printed mold. After some work on rhino 6 and grasshopper, I ended up with a wonderful solution. There is two molds, the smallest one is for wax. the wax shape is used to fill the inside of the silicone on the second mold. this method is much easier to unmold, since the wax inside can be broken, melted down, then used again. Since the wax is not fixed to anything, the thickness of the silicone is not precise. some parts are thicker, and some parts are really thin. no worries, I can work with that!

My grasshopper code is a bit complex... I used the fonction pipe to create the shapes I needed. By playing with an outline with the fonction offset surface

Here is the whole process of the pockets. I first melted wax, enough to fill the small mold. It is better to wait for the wax to be completely cold before unmolding, or the shape will bend a bit. No worries if some parts break, they can be reasembled if needed by adding wax in the desired areas.
Casting the silicone is easy, but time consuming. I used Ecoflex 00-20 for most of the cast (not the best choice, we will see why later). My very last layer is Ecoflex Dragon skin, a material that is a bit more stiff, to better control how the silicone will deform. The first layer is only to elevate the wax, or else there would be no thickness at the bottom. The second layer needs to be about half the hight of the wax mold, so the wax mold is fixed in place for our next pouring. If we were to cover all our wax in one shot, the wax will float and would be hard to center correctly. After this second layer, I covered the wax completely. The last layer is made of Echoflex dragon skin, and needs to fill even the parts between the tubes.
The sides (where I will be inserting the syringe) were thin, so I could insert the seringe and seal it temporarily with silicone.

Humm... the material is definetly not ideal! Further developpement might be needed.

Knee brace design

The first prototype's pattern was made by hand, and inspired by an existing knee brace. The design is still not exactly what I imagined in my head, but took me only an hour to make. (personal achivement right there! :P) Unfortunatly, it could have been tighter, and more stable. I might need to devellop another design to support all the weight of the liquids.

The second design is actually less stable. It can be attached with the elastics, so no need to pass it on your leg to get it in place. Any future design will need a reinforcement on the side, so the material stays in place better. I was thinking of a piece that is called a "baleine", and it is also used to stabilize corsets.

What next?

Overall, this project has a lot of potential of being an open souce project or some kind of workshop.
Imagine, creating the brace adapted to your needs, when you need it? The chemical recipe can be realised form commun household items. If we adapt the product a bit, we could use vinyl instead of silicone, making the process a lot more simple, with the use of only a heat sealer, and the materials a lot cheaper.

Download

This is an open source project. Feel free to use all the files you need!

Want to know more?