Weaving loom
My documentation for this week only represent a part of the work we did together. We did a lot of thing together, as a team, switching tasks and helping each other. We all had different specialities, and we made good use of them! Me and Annie have very similar documentations, since we made it together. Francois had a more technical aproach, so he completed the documentation with infos about our CNC cut, and the grasshopper code.
Research
We want to create a loom, if possible an automatic loom. So we start by investigating what a loom was and how it can be automatized. Many ideas came, but we figure that we can code with grasshopper a shape that we can move the needles a little bit like a music box. From there we all began our research to figure the mechanic behind this mythic manual machine.
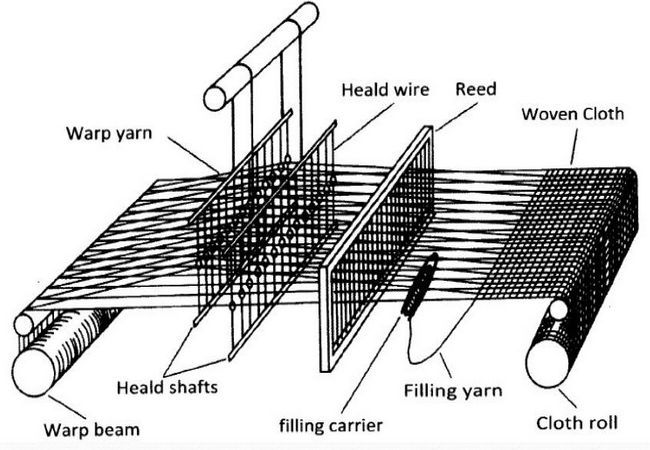
Because we need to talk the same language and we didn’t know at the time the technical terms (we mostly talked in french, then had trouble translating it for you guys!), here is the translation: needle=heald wire, the comb=the reed, the filling carrier=the boat or the shuttle or the spaceship and the warp yarn is the vertical threads. So if during this documentation we get mixed up, you can refer to this translation section.
We all emerge ourselves into one part of this machine. Isa (from home) works into creating heald wire, François the transformation of a 2D black and white picture into something that we can generate a shape, Noémie the physical system of the shape and Annie the base structure of the loom.
The music box prototype and grasshopper code
In this part, we talk a lot about petals, flowers, and bouquets simply to better understand each other… we really did struggle to invent names for each part! Noémie and François were super excited with this new challenge in grasshopper! After a lot of brainstorms and failed attempts, we managed to do each one part of the code. Noémie created the basic shape and linked each “petal” to a boolean button and a colorful circle that shows the petal state. You can now individually control each one of them, but we are stuck at 6 sides with this specific grasshoper code.
We went event farther, and françois achieved wonders with reading images.
(From home) Isa started making all the heedles (or as we called them needles) and a 3D Cap that corresponded with Noémie’s “flower petals”. The idea being the top of the heedles would secure to a latch on it’s corresponding 3D cap. This cap when pushed by the flower, would also get pushed.
We still had one major problem with our design, and it was the size of our flower. The way we thought about it, we imagined the petals pushing directly the needles from under, so we had to make a difference of about 4 inches between the “petal” and “no petal” state. Including about 80 giant flowers to our loom is… not what we were going for.
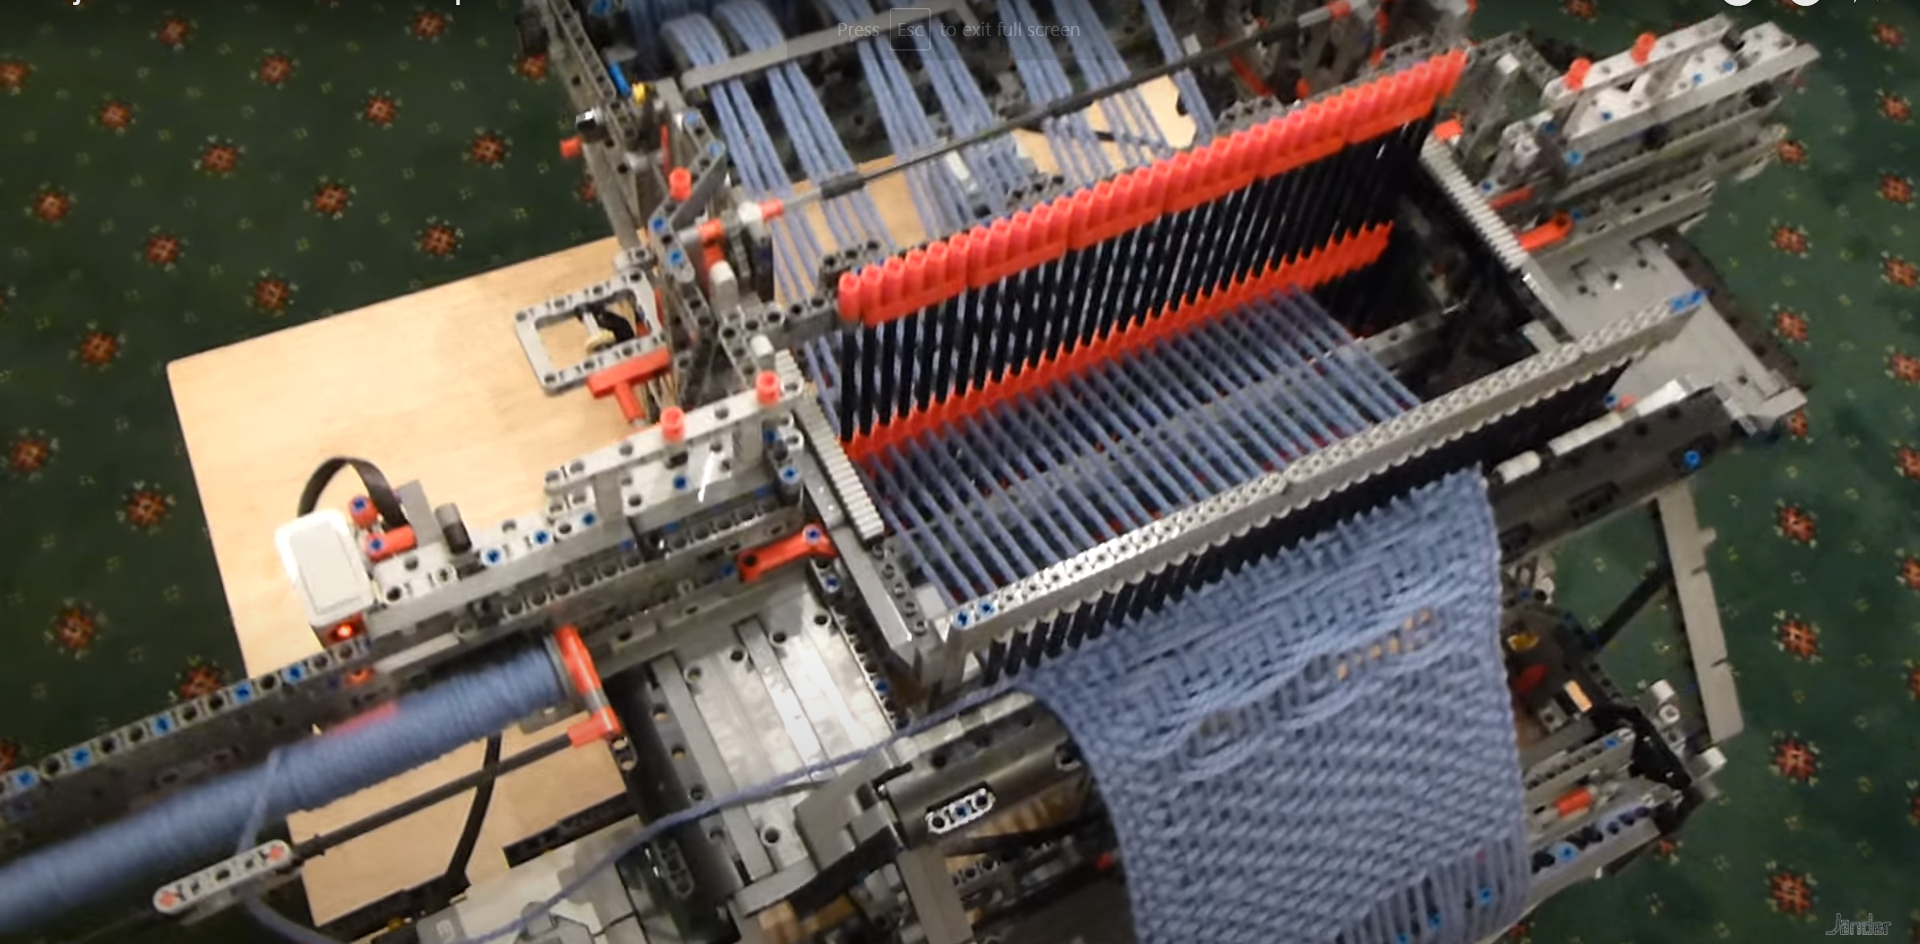
Annie play with that file to simplify and make it clearer first and found some tricks to have a cleaner geometry at the end. For the problem itself is still unsolved. At the last minute we discover some inspirations that can open new doors for solutions. (https://www.youtube.com/watch?v=K6NgMNvK52A&list=PL6tMOCifUfFTgtqKMA7uwOqt6hd5_Ri1g&index=34&t=128s)? Based on this video of Pashmina, the heald wires are not lifted but horizontally pushed. To resume, the main problem that we have is to create a geometry big enough to make the shuttle pass, but if this same geometry is horizontally pushing the needles on the heald wire like the paper design, well what we create can work like a charm!. Next step, prototyping this idea.
The structure
At the beginning Annie dreamed crazy! Multiple arm that can connect everything. She try first on Rhino to modelize...than habit come along and she test the geometry with fusion 360. Test done, nothing will work with this geometry, proof of concept fail, let’s go with something more traditional.
She draw it on Fusion 360 and figure to create sandwich of 2 rail of ¼ in of plywood that can be stabilized with the perpendicular rod. Base on our inspirations, many of them use this size of wood. She also add some gear that can be cut in plywood too to allow the rod to adjust and keep the tension of the warn yarn. She think the key of this type of machine is this tension. If you listen to some tutorial to set up this machine, it takes some effort and time just to make sure the tension is right and constant.
She prepares the drawing for the laser cutter and waits for the access to the lab. During that time, she figures she can give a extra time to draw it with grasshopper. She add also some improvement. Add the same 3D gears use in this project and adjust the side to have a better connection with the wood stick.
Time to laser prepare the file for the laser cutting….mmm not so simple like fusion, Annie switched place with Francois.
Our tech guys worked really hard to export our files in .svg, since we all had this perticullar problem all at the same time!
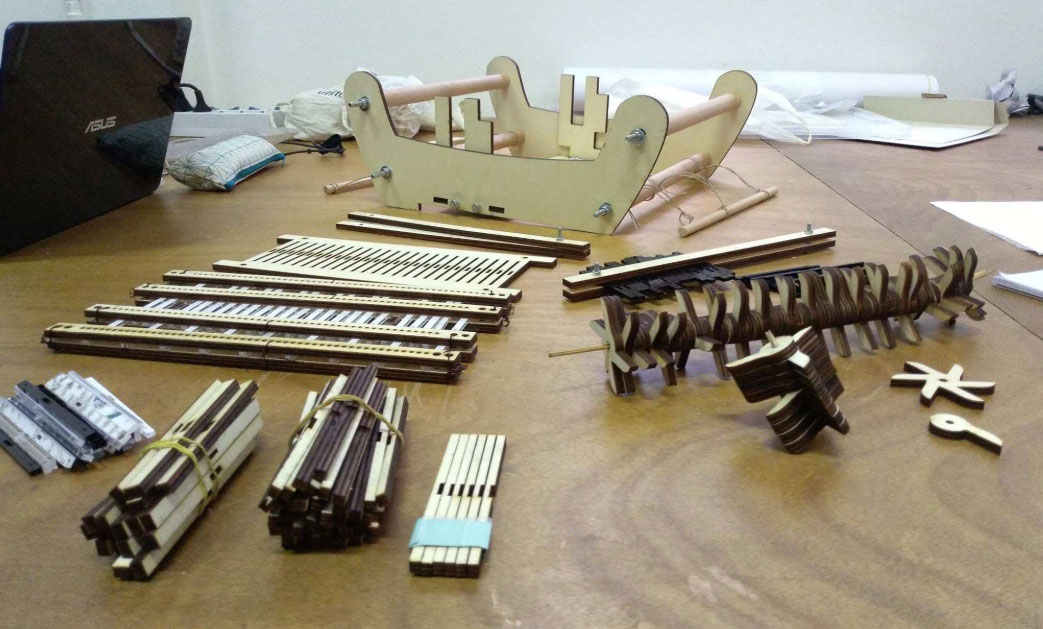
The laser cutting is done, we glue everything and assemble the wood rods. But the rods were not exactly the same size, it was bent in a weird way and the rest of our components didn’t fit inside! It was clearly not strong enough, let’s go CNC.
We decided to go 3/4in HDPE and add a base in the same material. This base can be widther so in the future the electronic can stand on it.
We screw everything together and the structure was finally solid, parallel and align. And colorful too! ;)
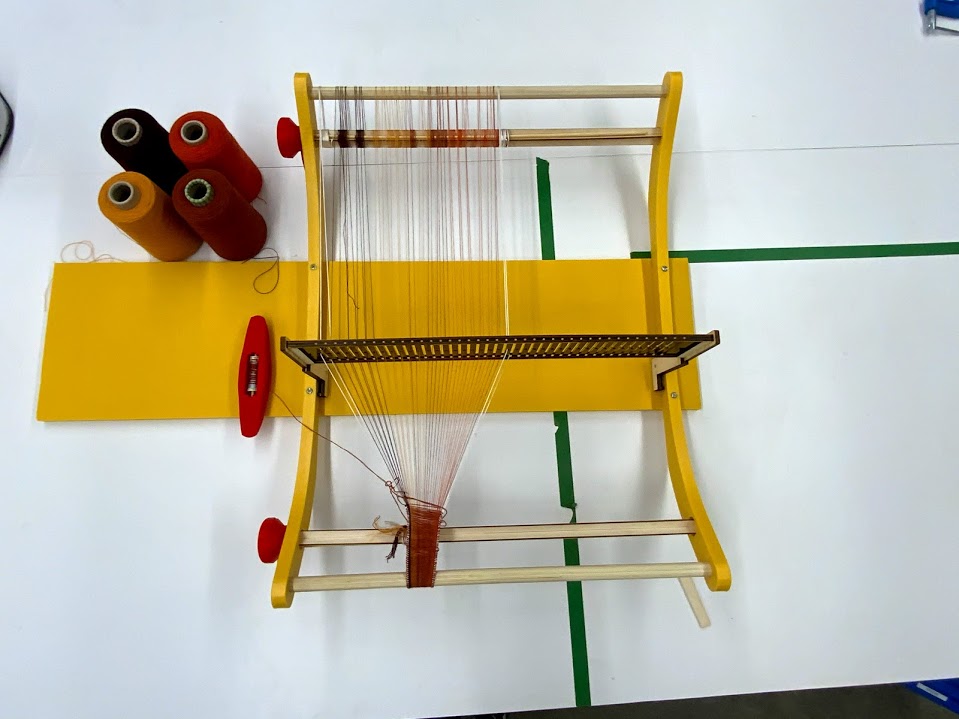
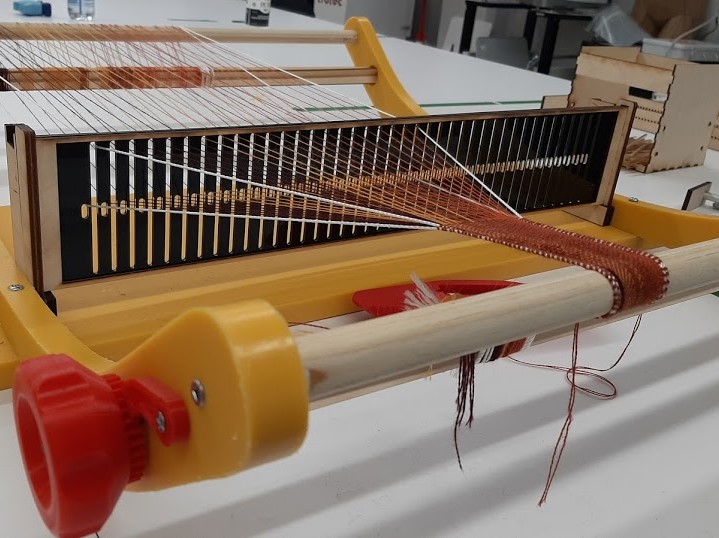
The Reed
We were running out of time so we decided to work in spirals; finish a manual and normal loom first and replace the central section for the future iterations.
The reed is designed in alignment with the hole created to receive the needles. It respects the same width distance. For the rest of the dimensions, this piece needs to act like the reed and act like the heald wire for this first iteration. So the distance of the holes need to be adequate, we learn as we go and in prototyping. So before Annie got it right, we did 2 iterations.
Noemie figures also after 2 iterations a system to hold the reed in place for each steps, one position up and another one down. The final model is a base stable enough for the user to weave without worrying too much about the reed falling.
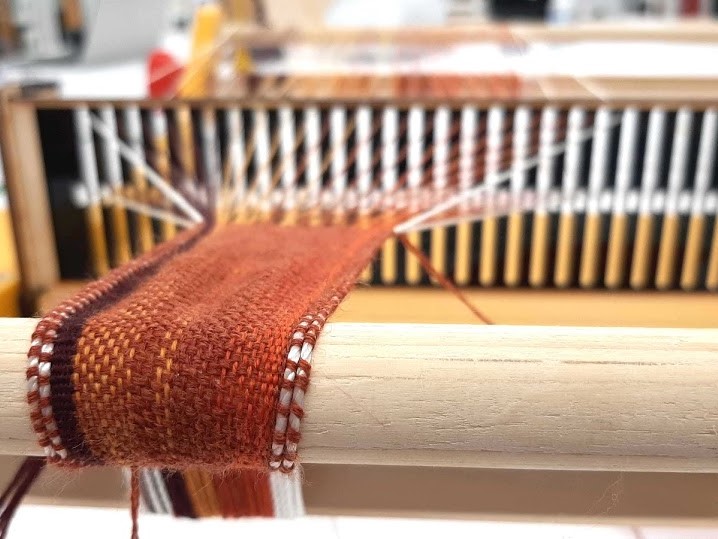
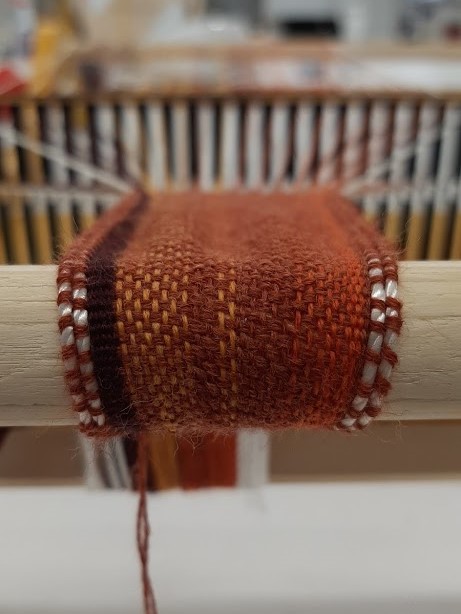
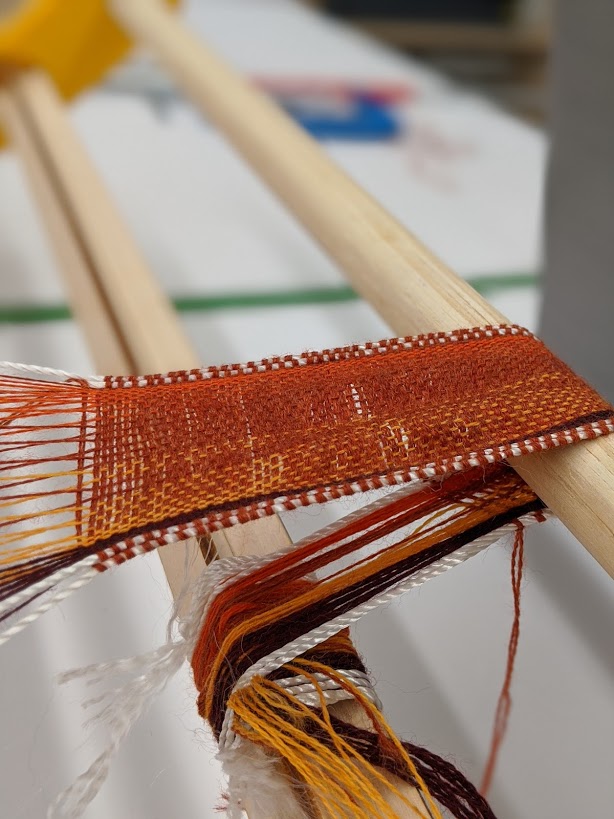
When Noemie gave a try to weave with the machine, we learned a few things. First, we’ll have to think of a way to fix all the warp threads so they don’t slide. For the loom to work right, we need the treads not only to have a good tension, but to have all the SAME tension. Second, the reed was too wide to place the weft thread. It was still possible to do it by hand, but it takes some agile hands to do a regular length. And lastly, We’ll need to use bigger threads or to reduce the size of the loom in general.
Shuttle
For this part, we used this wonderful resource called the internet. Since we only want a classic shuttle, Noémie printed the work of MHypotetical. https://www.thingiverse.com/thing:1571254 .
We scaled it up a bit so our thinnest model of bobbin could fit. In a future iteration, it would be practical to scale it to the size of a small bobbin, the one you can load using a sewing machine.
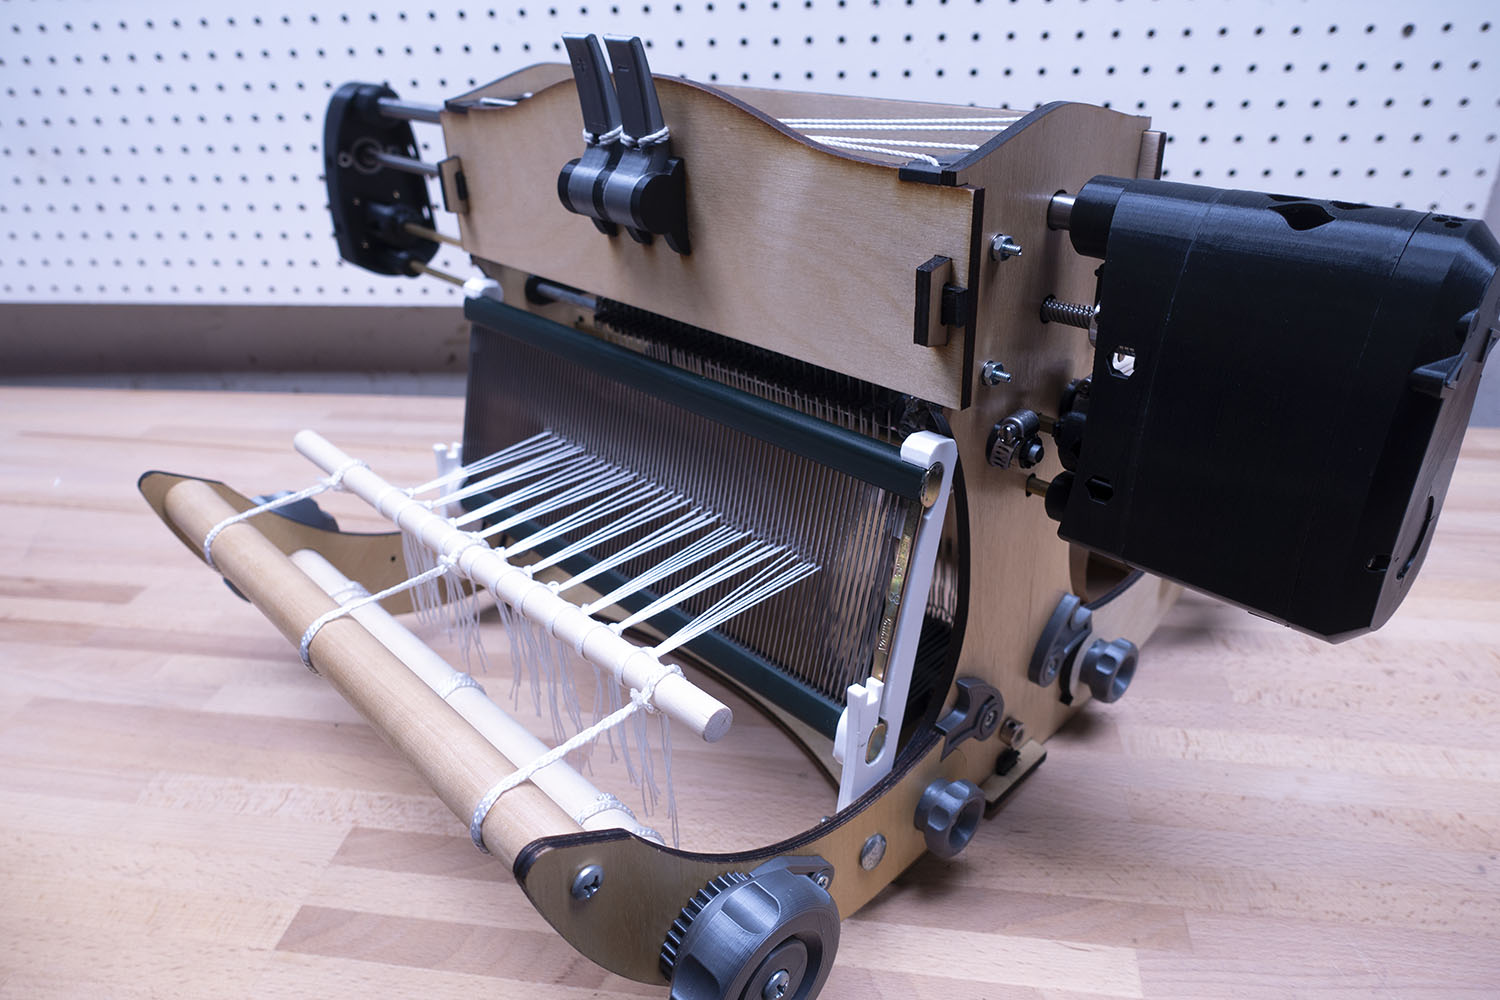
Final Result


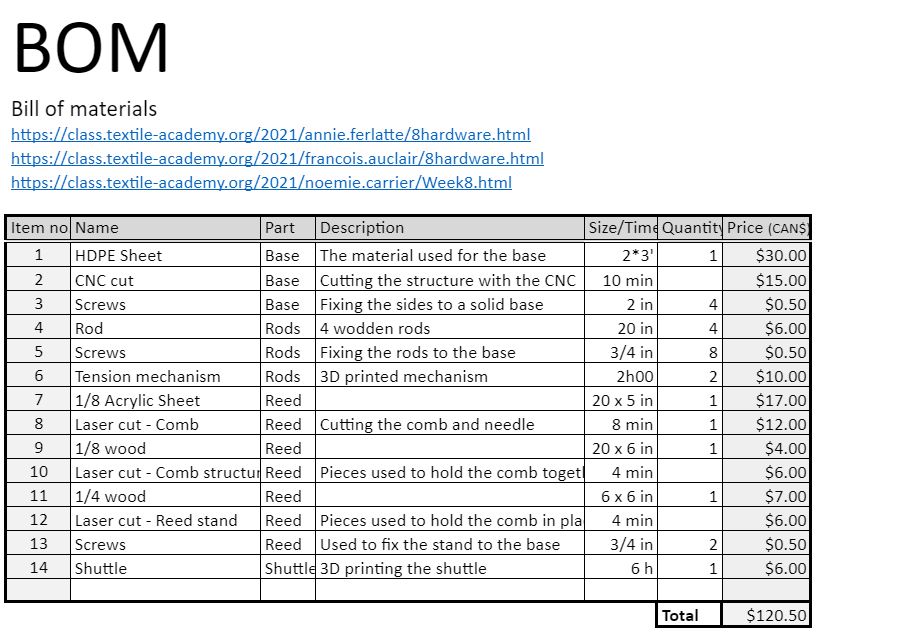
BOM
Here is a bill of material we made. All prices are approximated, since we mostly used scraps from previous projects.