This project was very interesting, I truly belive that fashion would be better if it was a sharing and welcoming comunity. This is probably the issue that concerns me the most. I personaly studied the ways of the industry, how the companies were greedy and competitive. We were teached that every company grows, and at some point, the garments have to be produced elsewhere. It's the case for a lot our local companies. It was so relieving to hear people with the same opinion than me, and to hear about solutions! As I see it, the fast fashion industry evolves on traditionnal believes, that are clearly outdated.
Since I wanted the solution to work so much, I needed to produce a pattern I would be proud to share with the world.
The patterns and creations of the past students got me inspired. I started by searching harmonius patterns that got me inspired.
Rafael Araujo's handwork
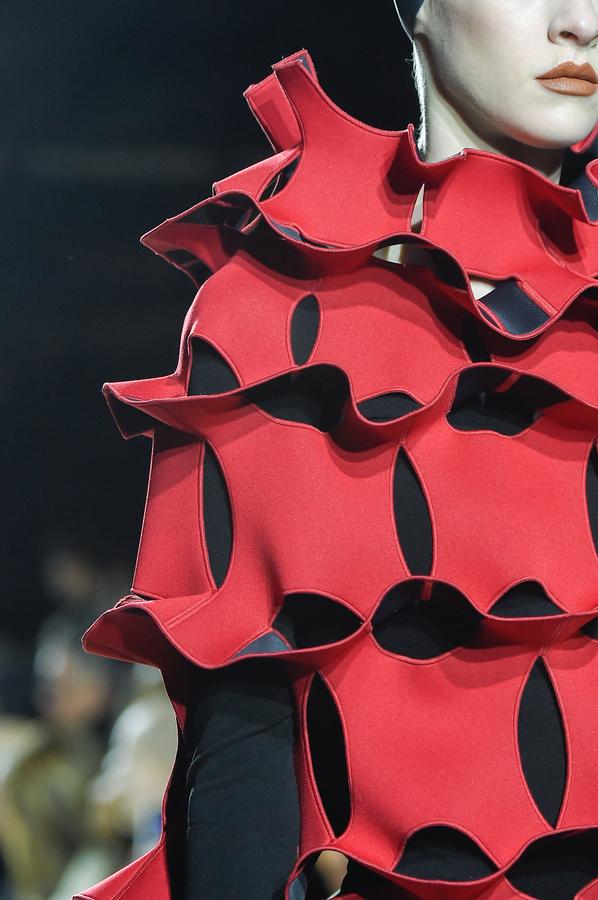
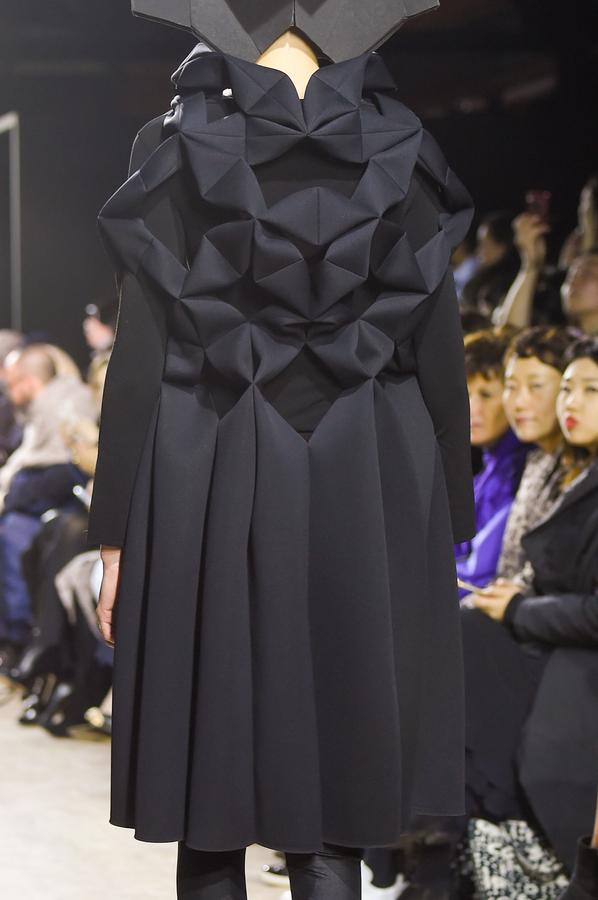
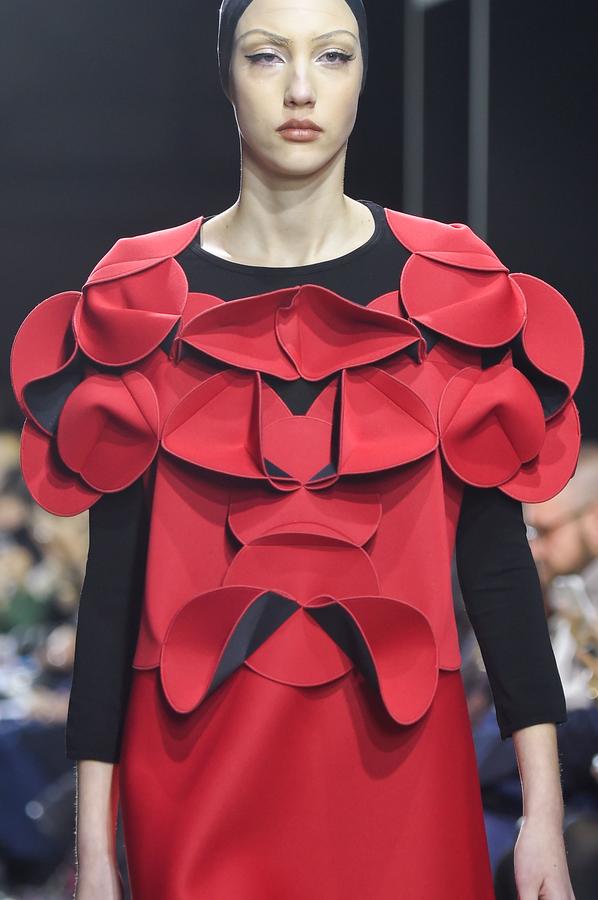
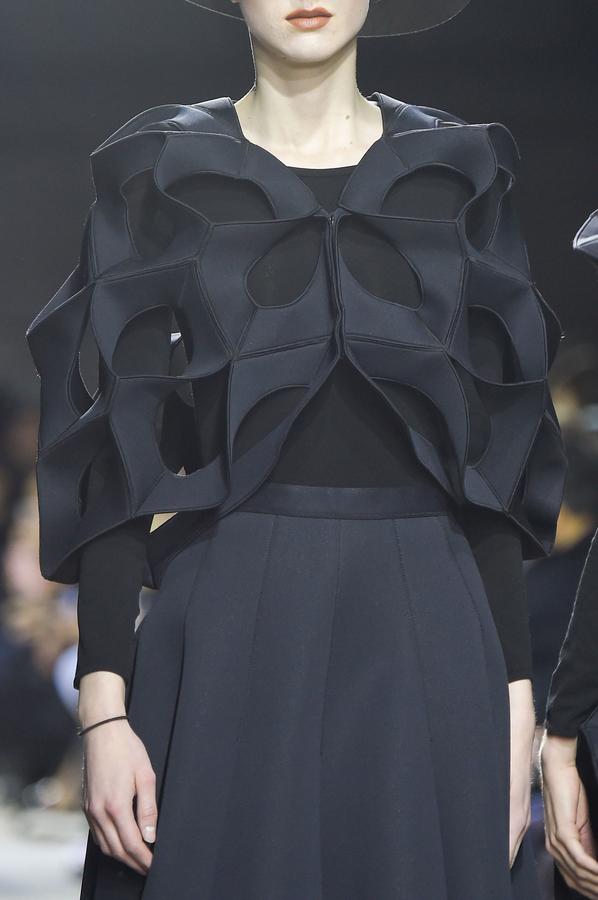
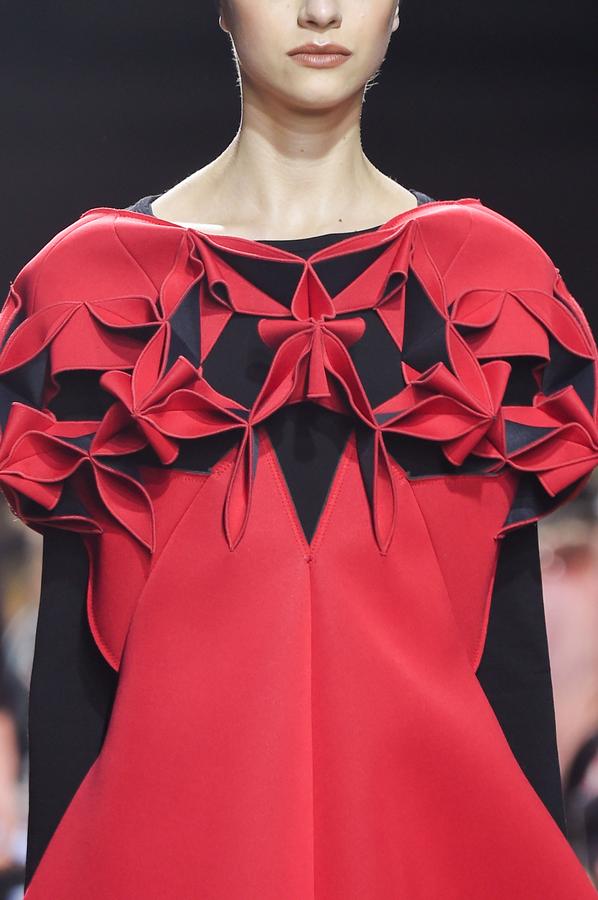
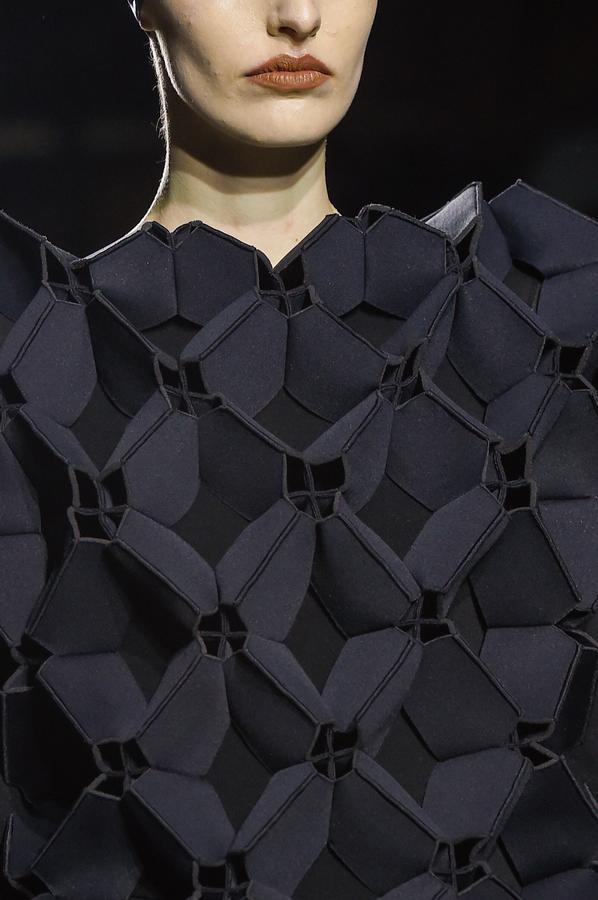
I came across an old fashion show from Junya Watanabe, a japanese fashion designer. I was impressed with the patterns, even if some were sewn, I felt like it was still interesting to see the different patterns he used.
Here is also the work of Matija Cop, from the collection "Object 12-1".
Development
Prototypes
At first, I wanted to make more complicated stuff and do my prototypes digitally. It's so complicated for nothing! I also had trouble getting the paper out of the cricut cutting pad, ruining the little pieces before I could do anything with it.
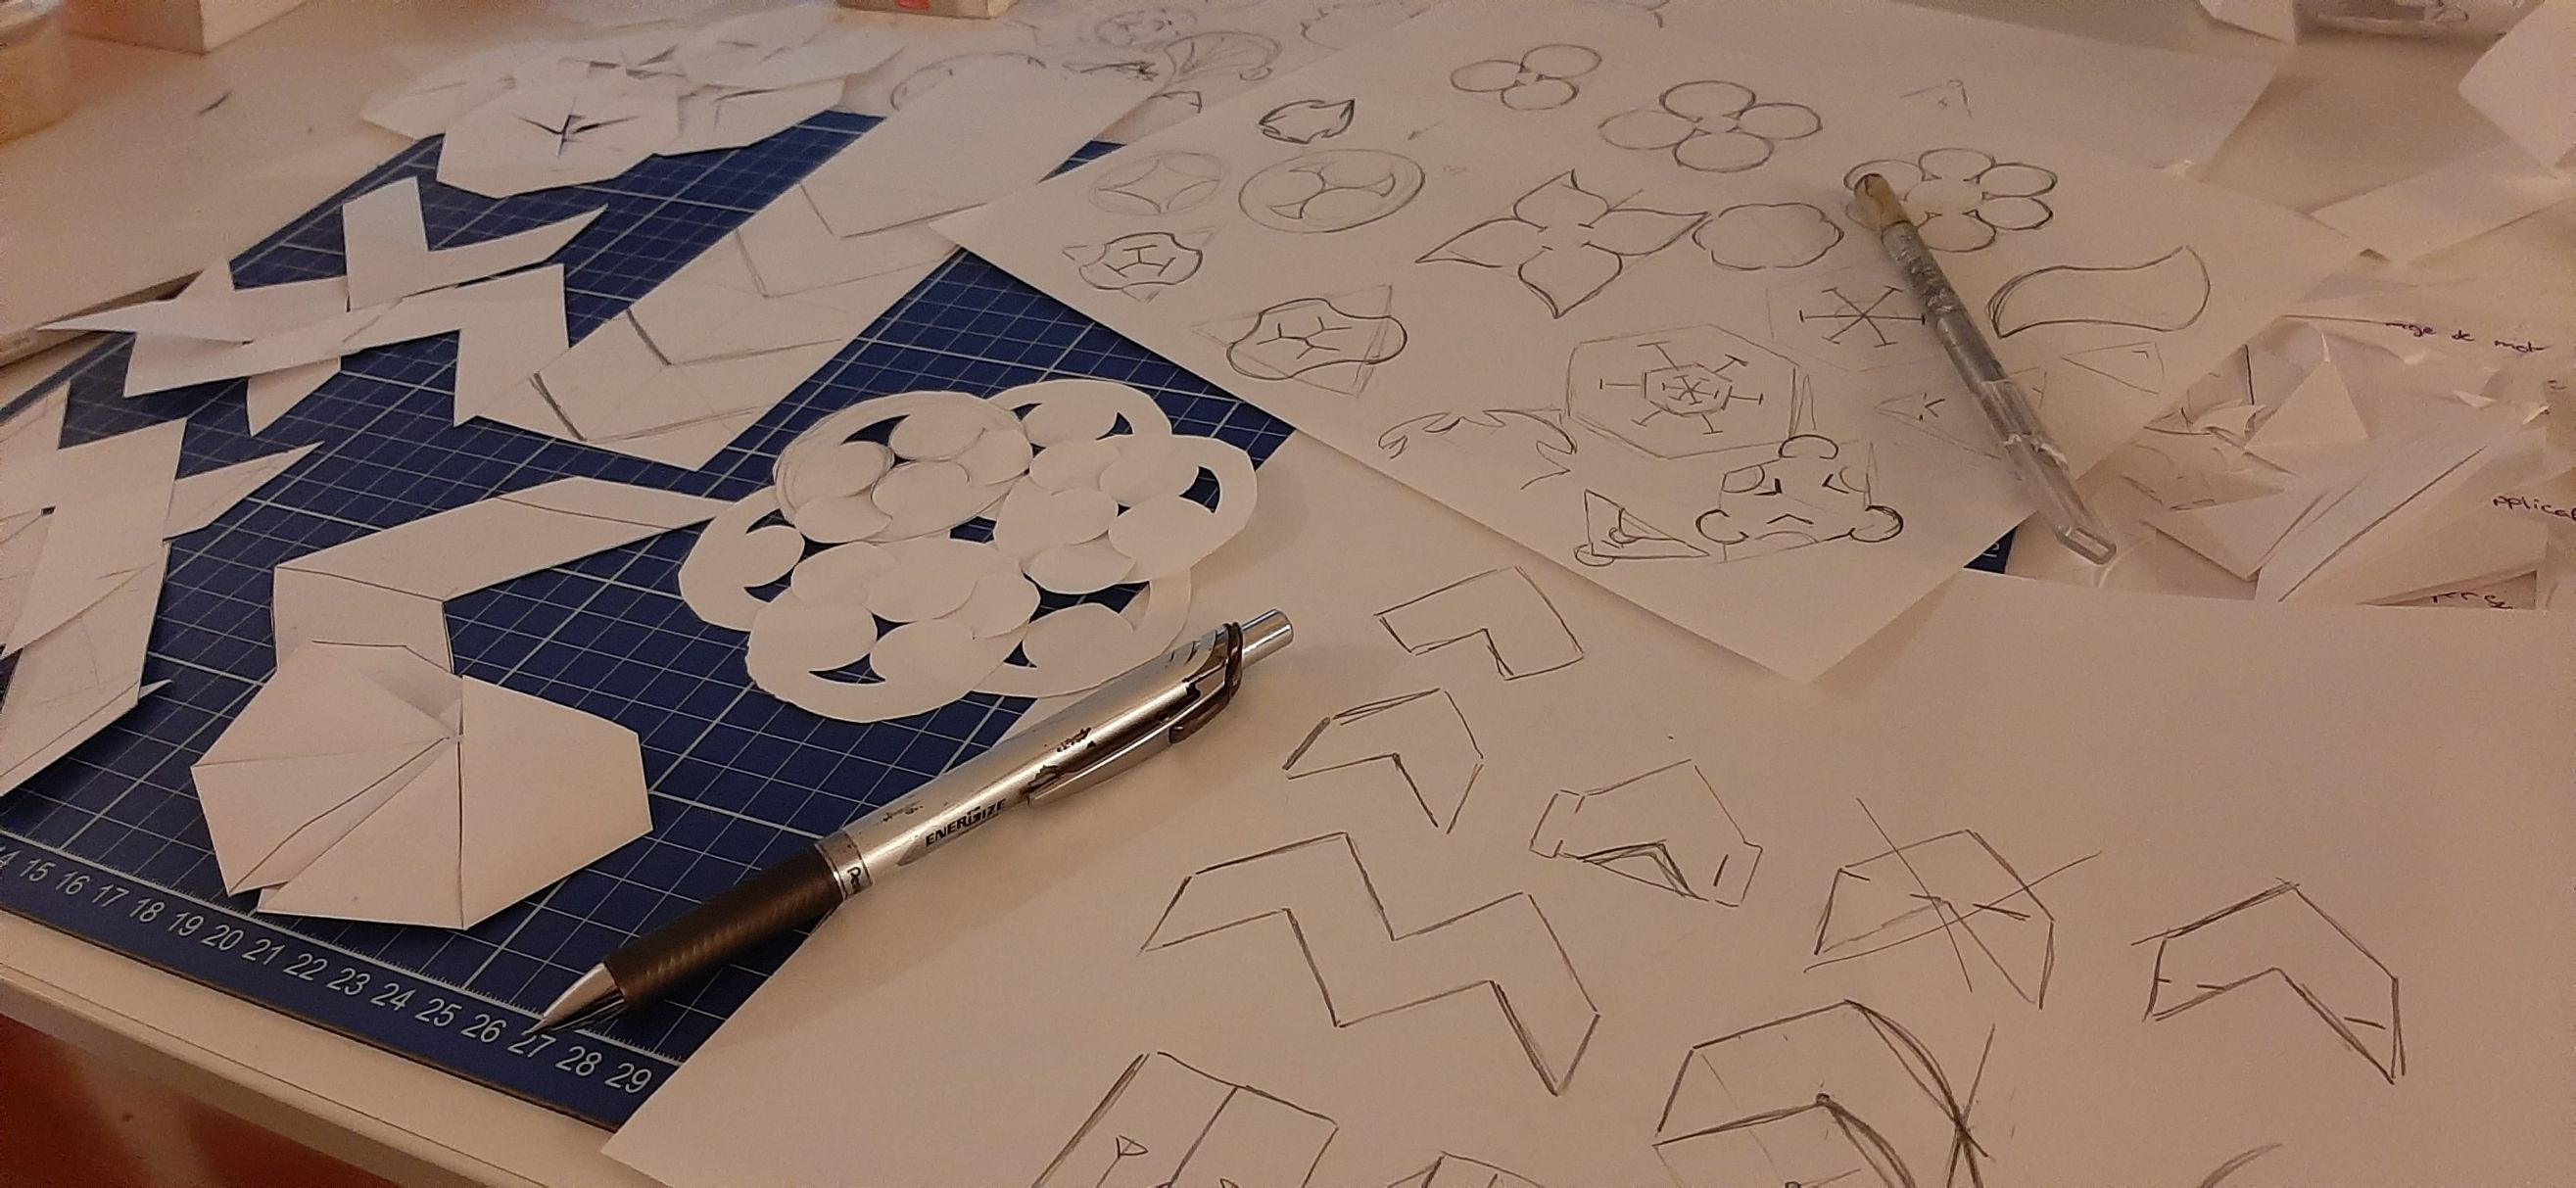
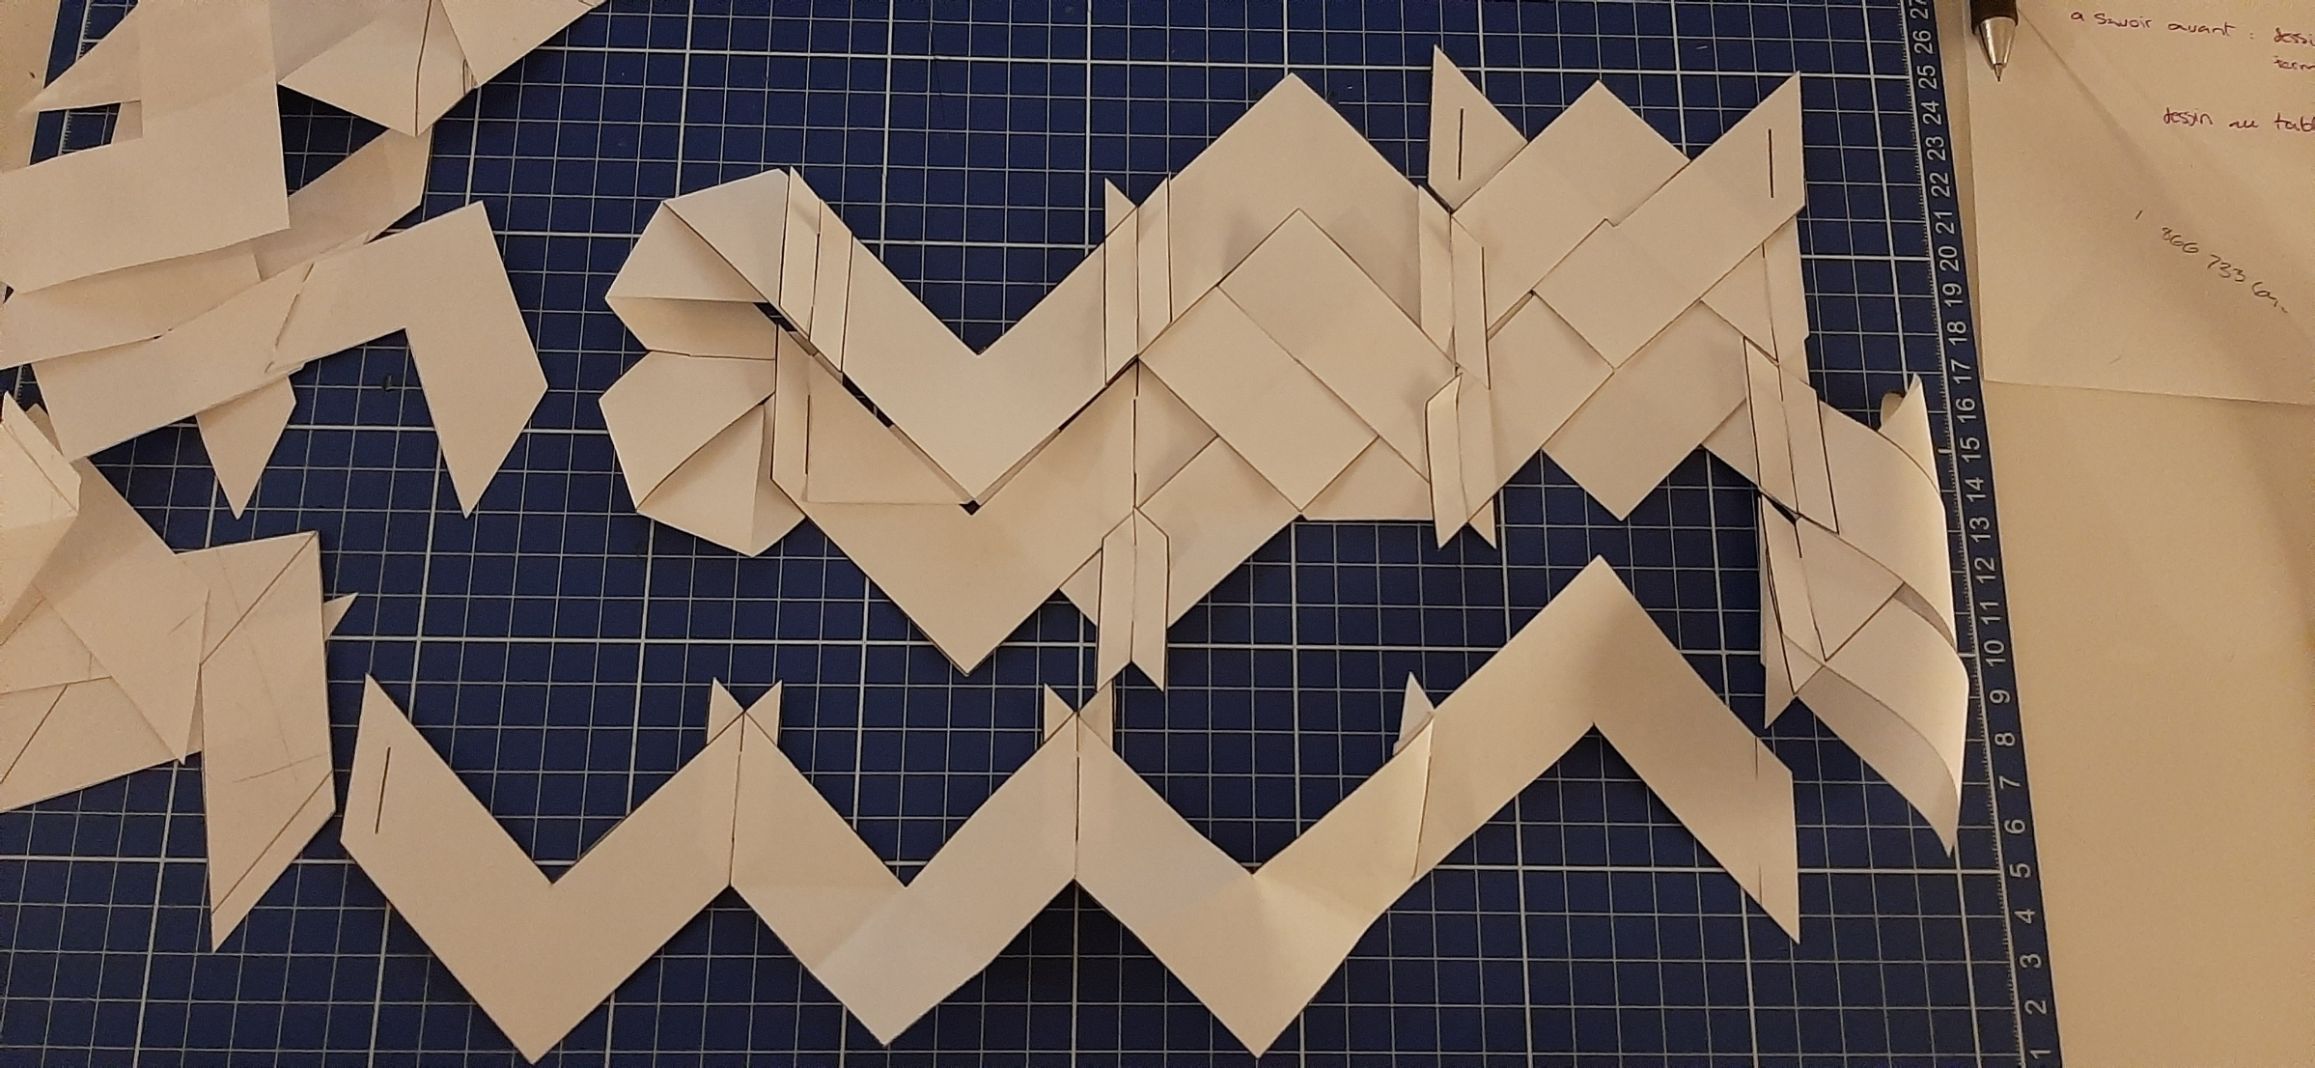
My first mistake was that I underestimated the importance of prototypes. A lot of my first sketches did not work, so I ended up trying the patterns that already exists. Trying existing stuff helped me better understand and plan my own designs. I always tied to optimise the space I had to produce as less waste material as possible.
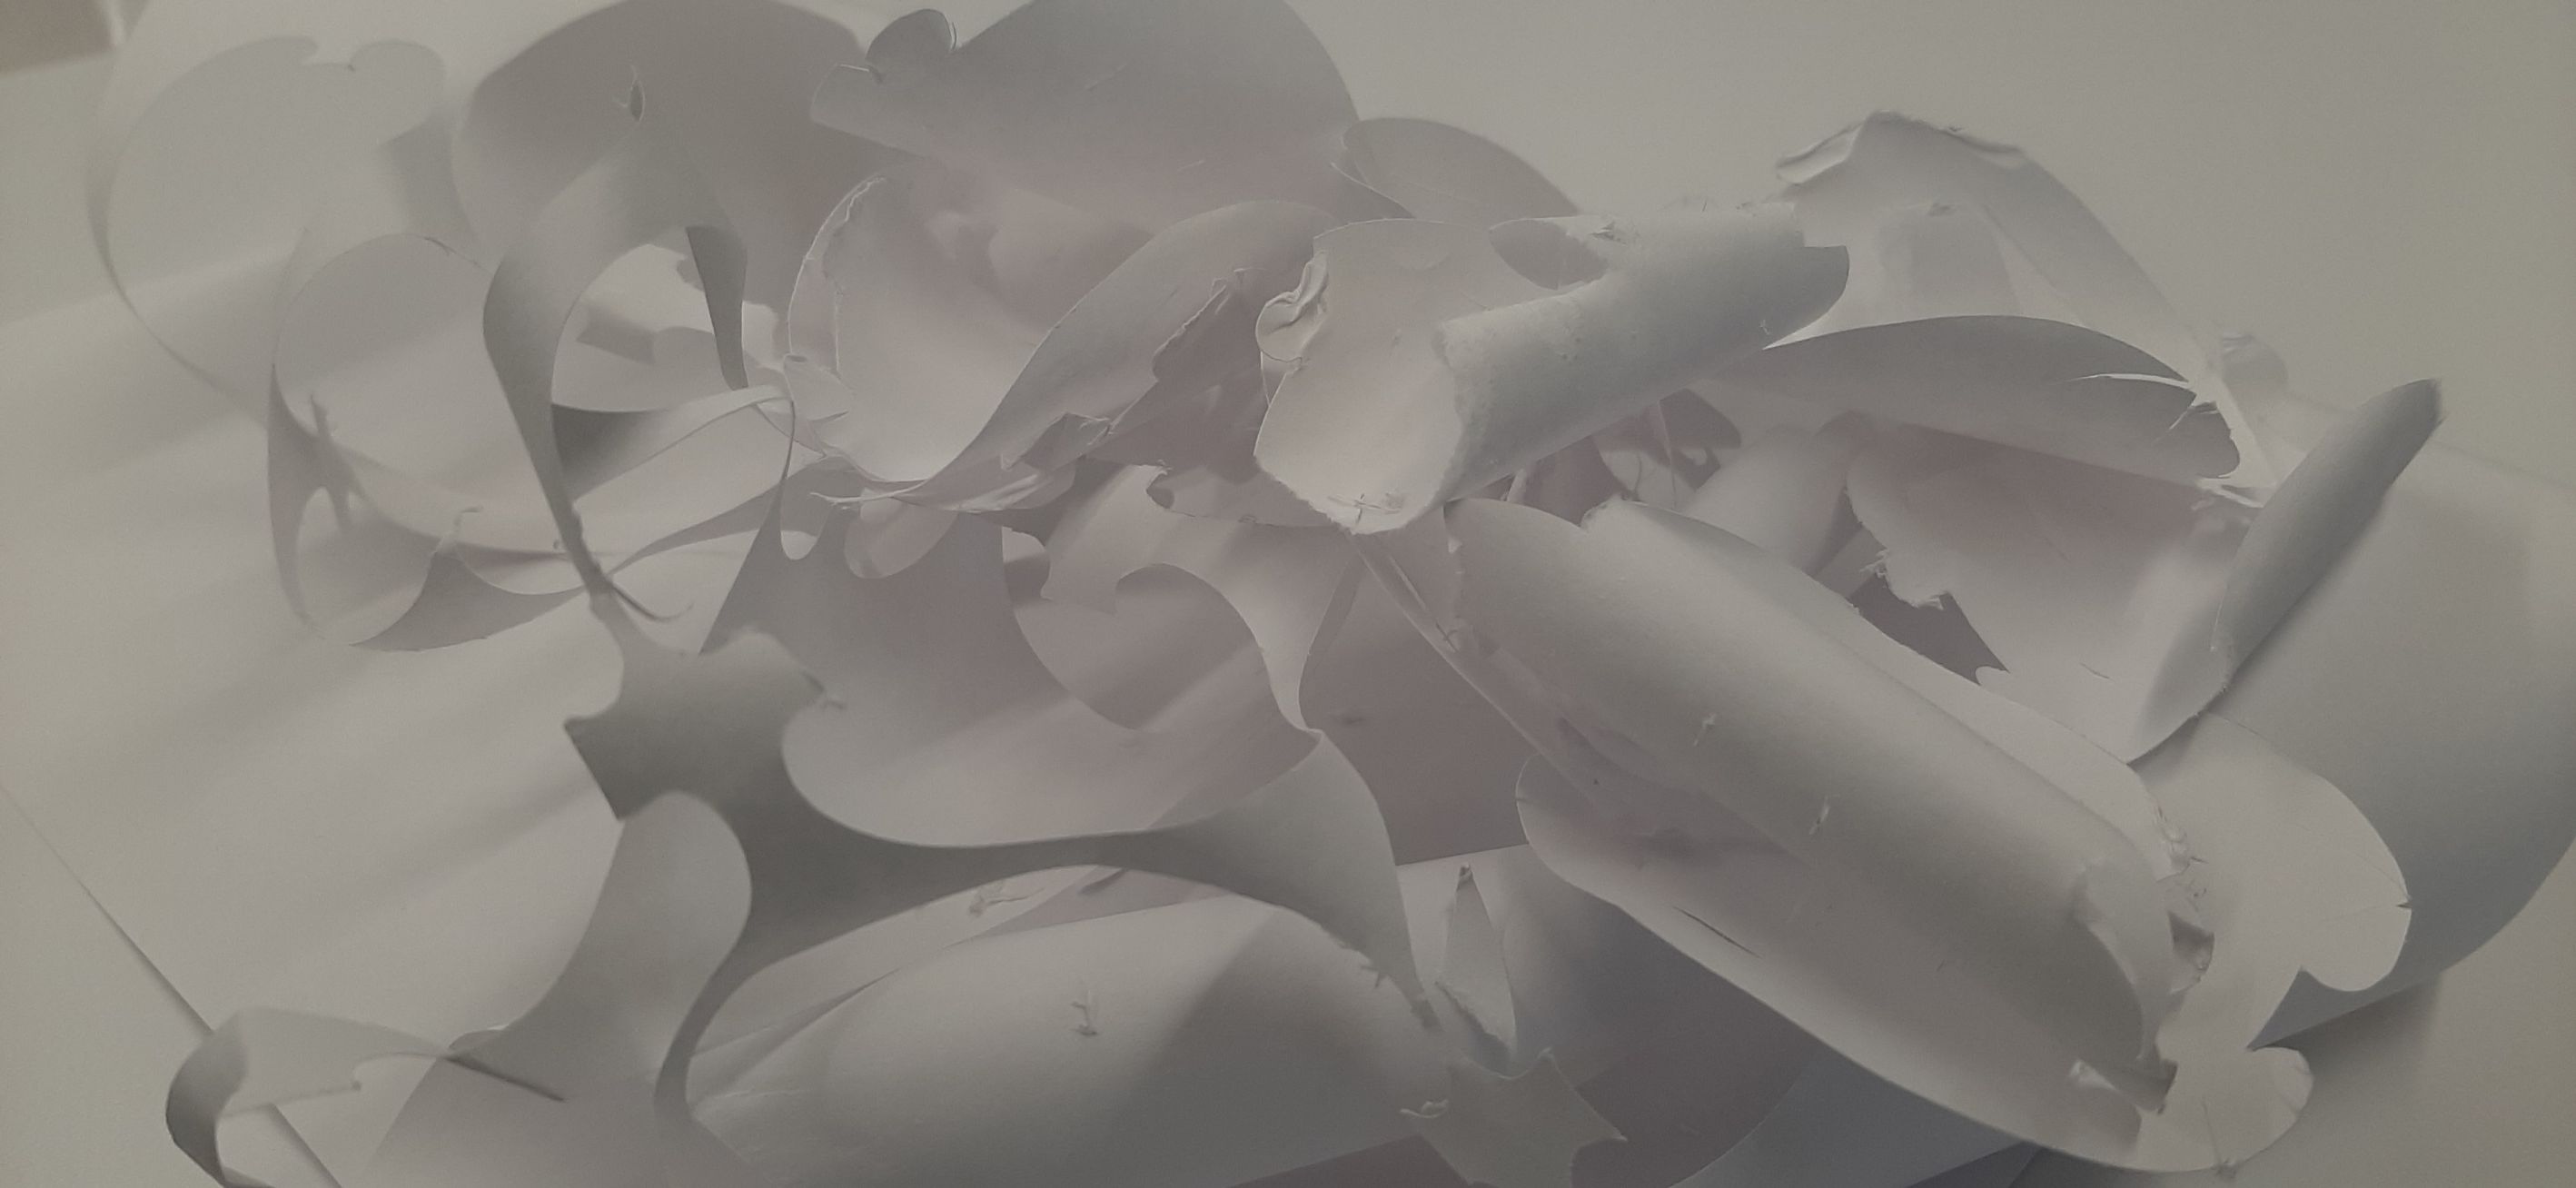
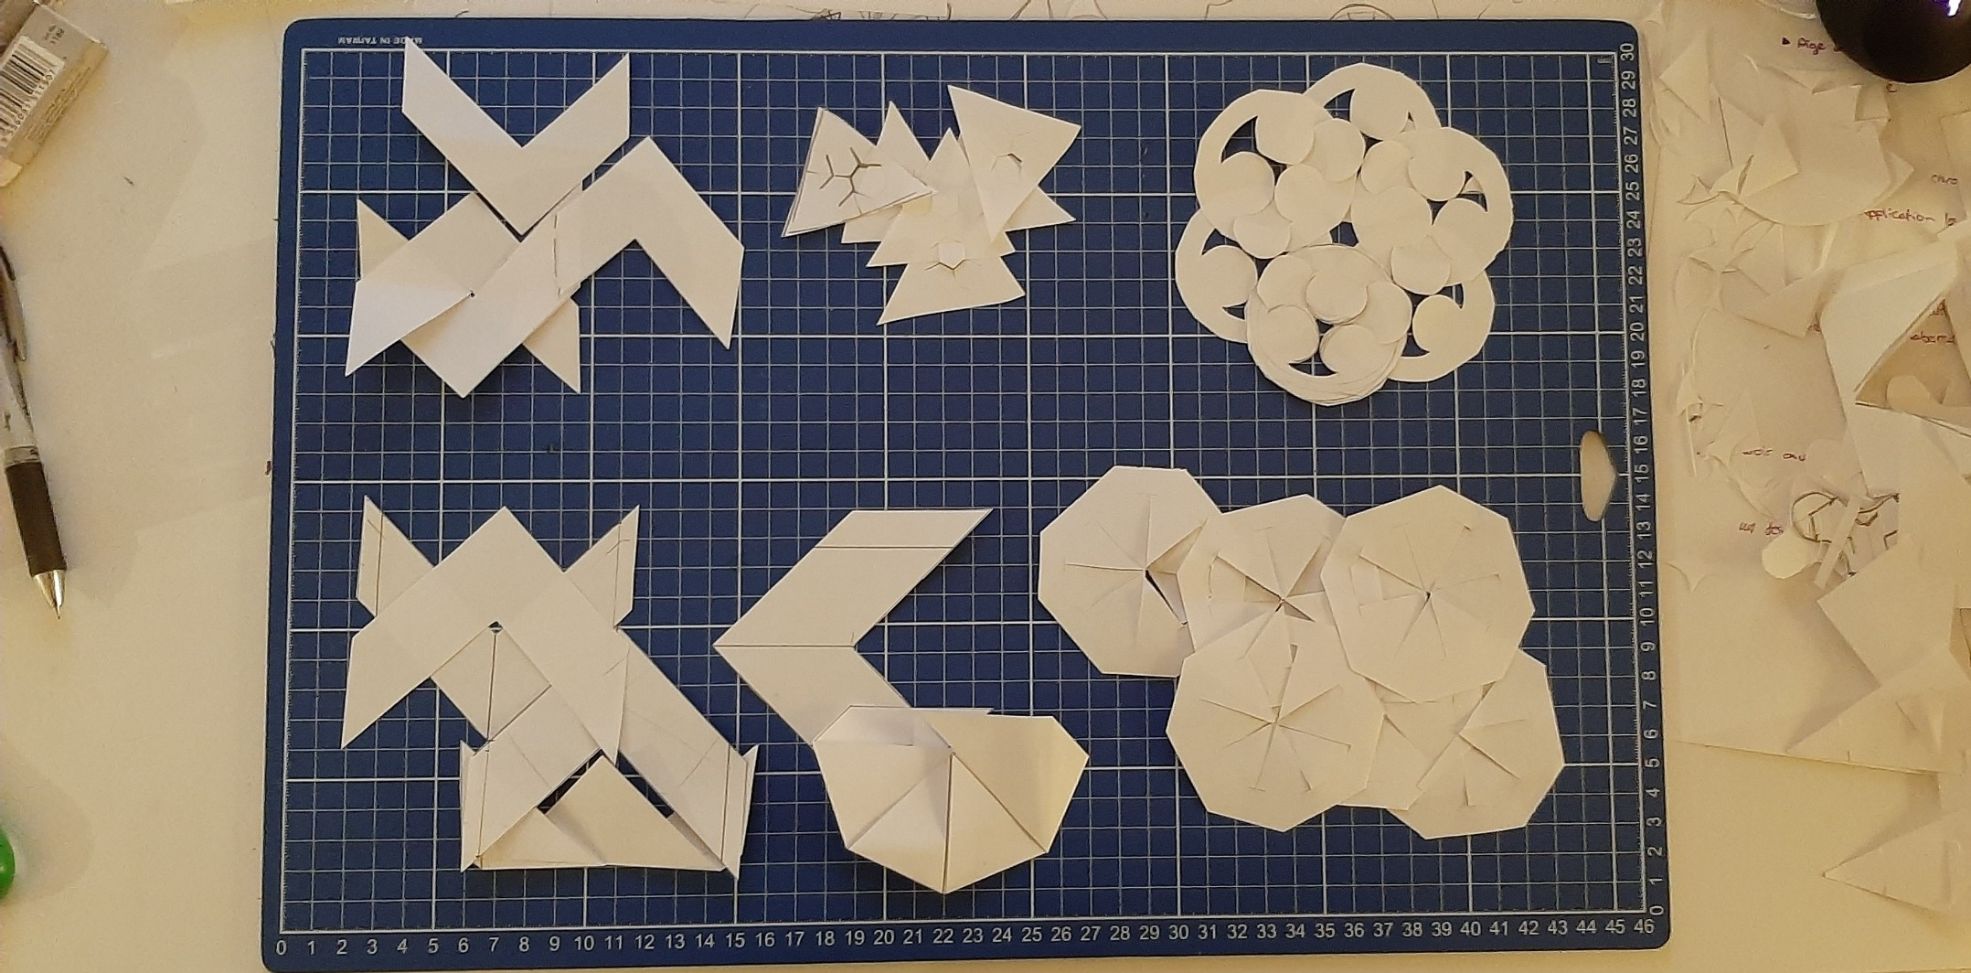
Here is some of my final tests on paper. I choose the simplest design and tied one last design alteration.
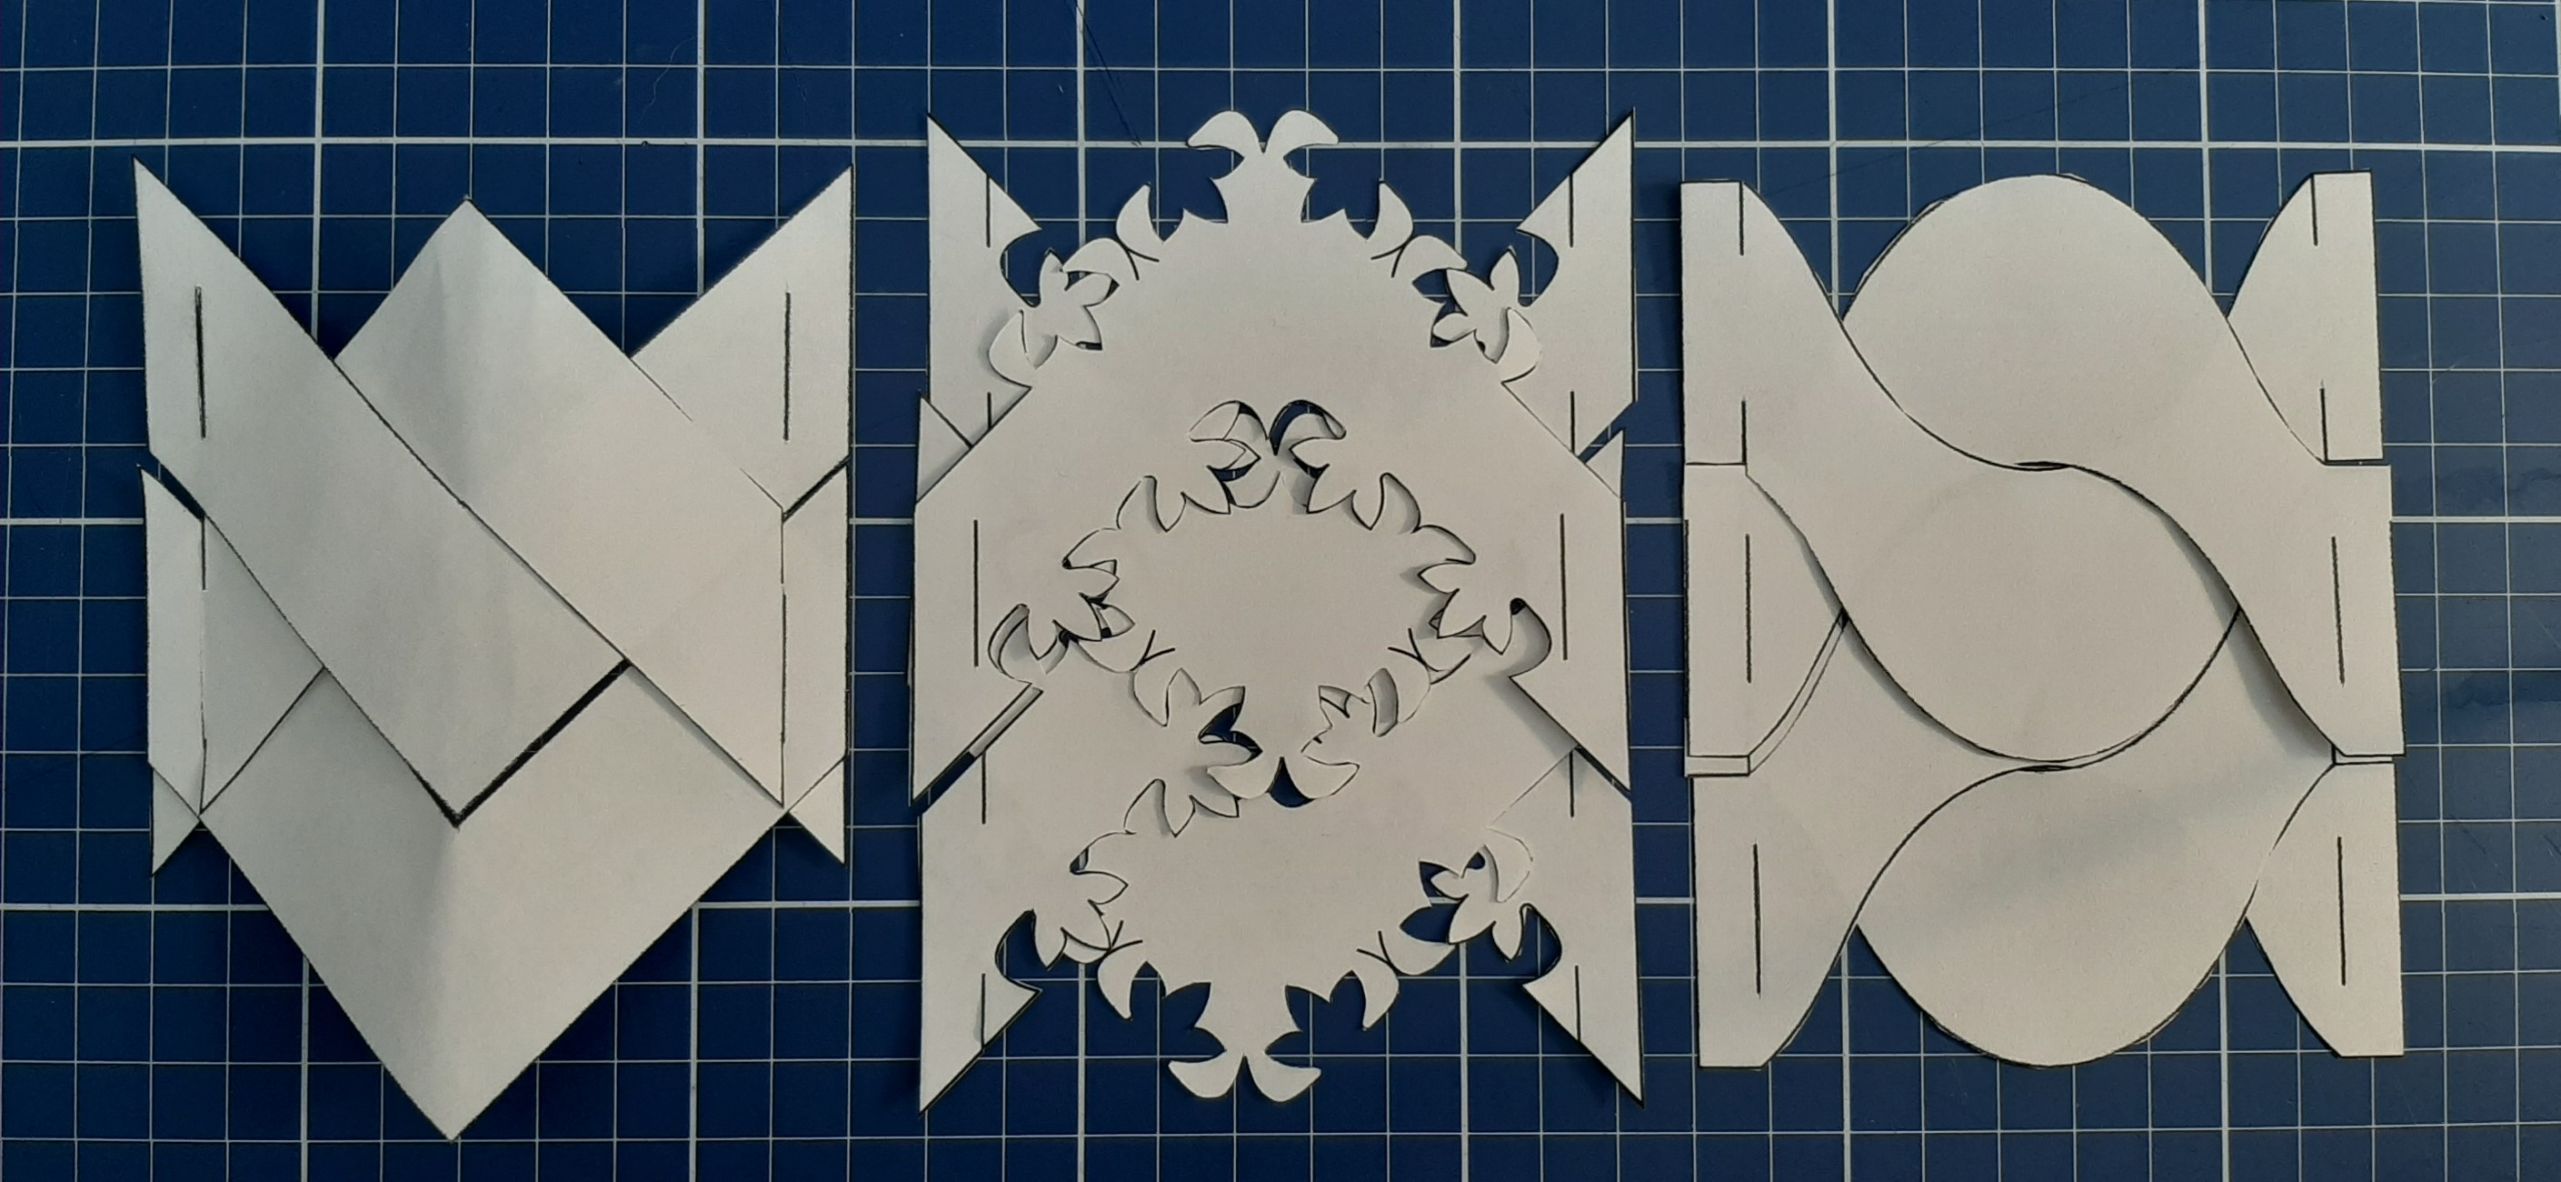
I printed my final design to test some effects, to know how to assemble it. I found some funny way to make a hem, and to reduce the size of the pattern. Unfortunatly, reducing the size of the pattern is okay on paper... but it wouldn't be strong enough to hold on fabric.
Making the Garment
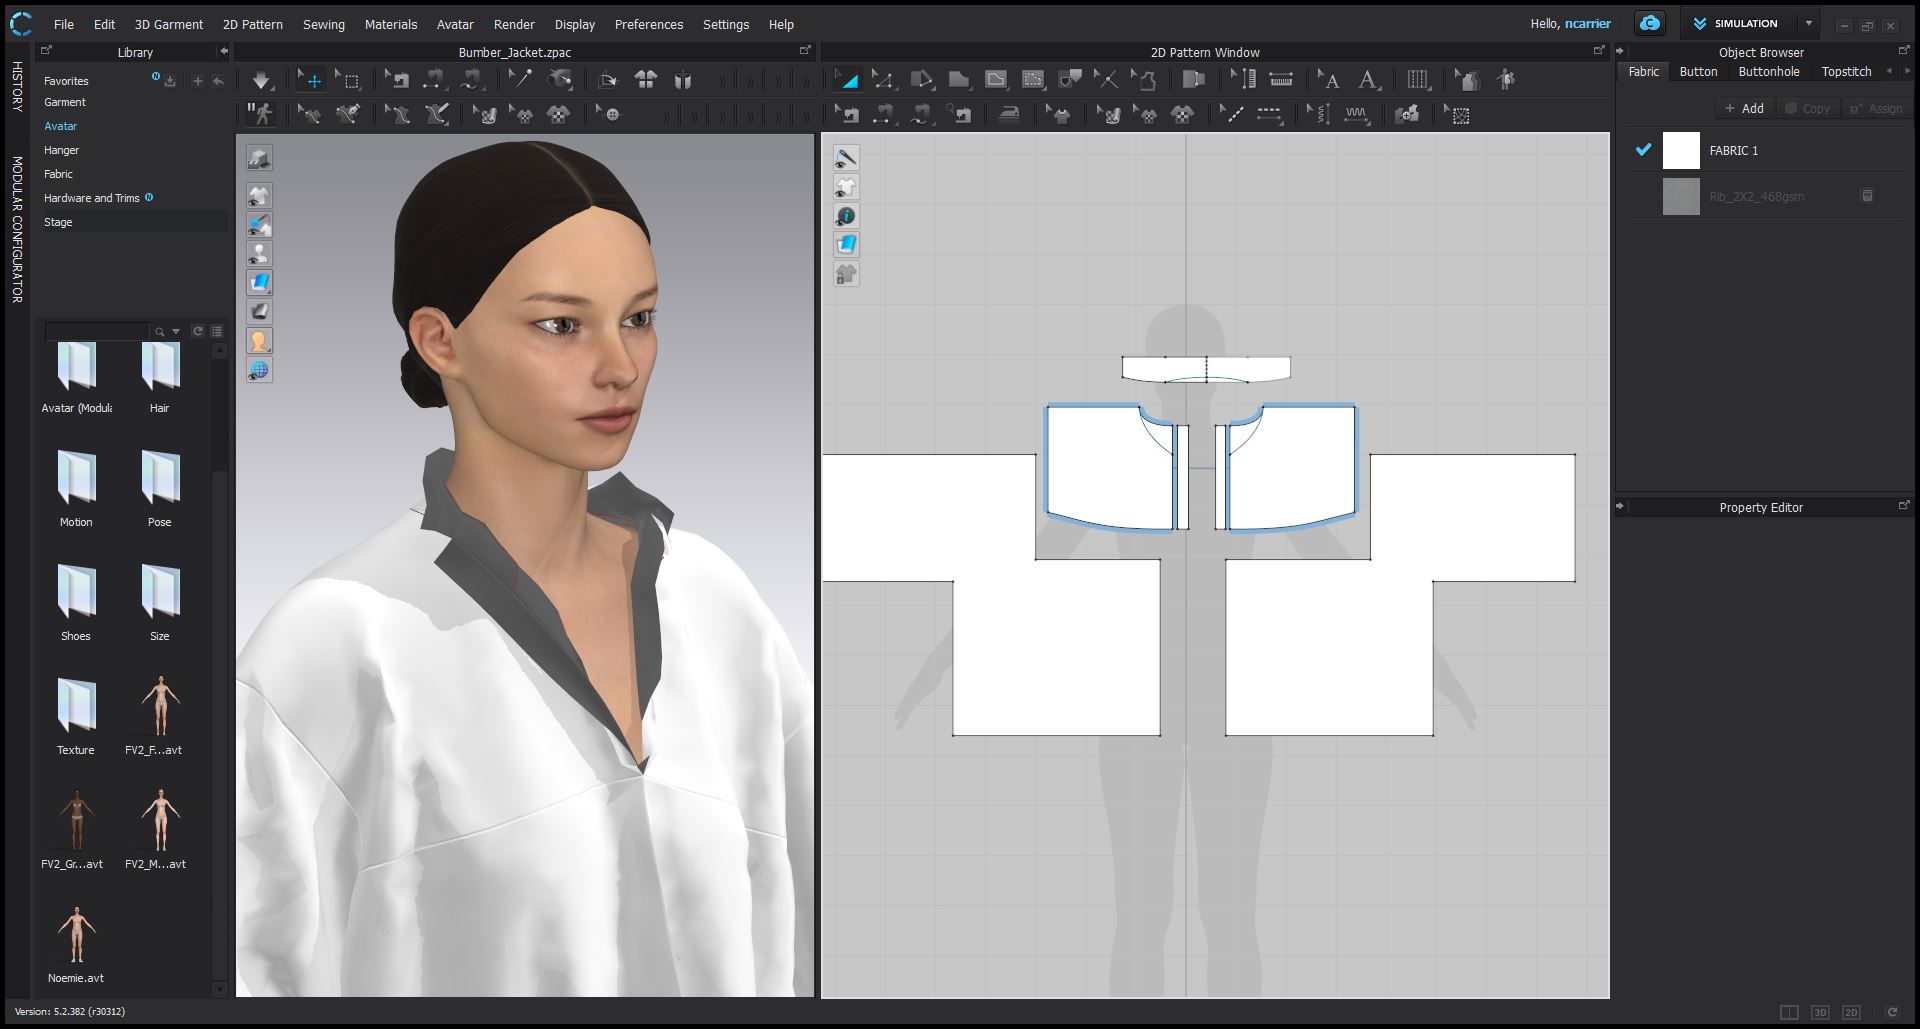
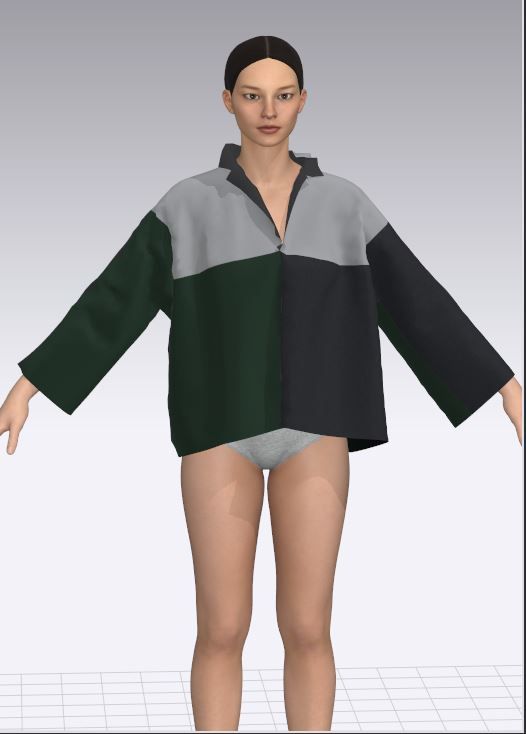
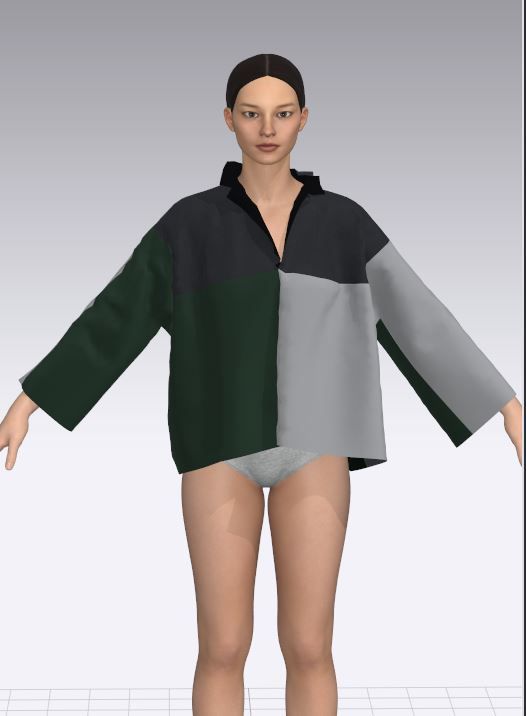
For the pattern of my garment, I used Clo 3D, since I already knew the basics of the program, thanks to a personal project I did right before the begining of the Fabricademy. The Top is pretty simple, I was restricted to use only squares and rectangles for the pattern. To save me some assembling time, I designed the top of the garment to be cut in a more traditional way. I took the opportunity to have a first draft of the colors virtually.
Laser cut
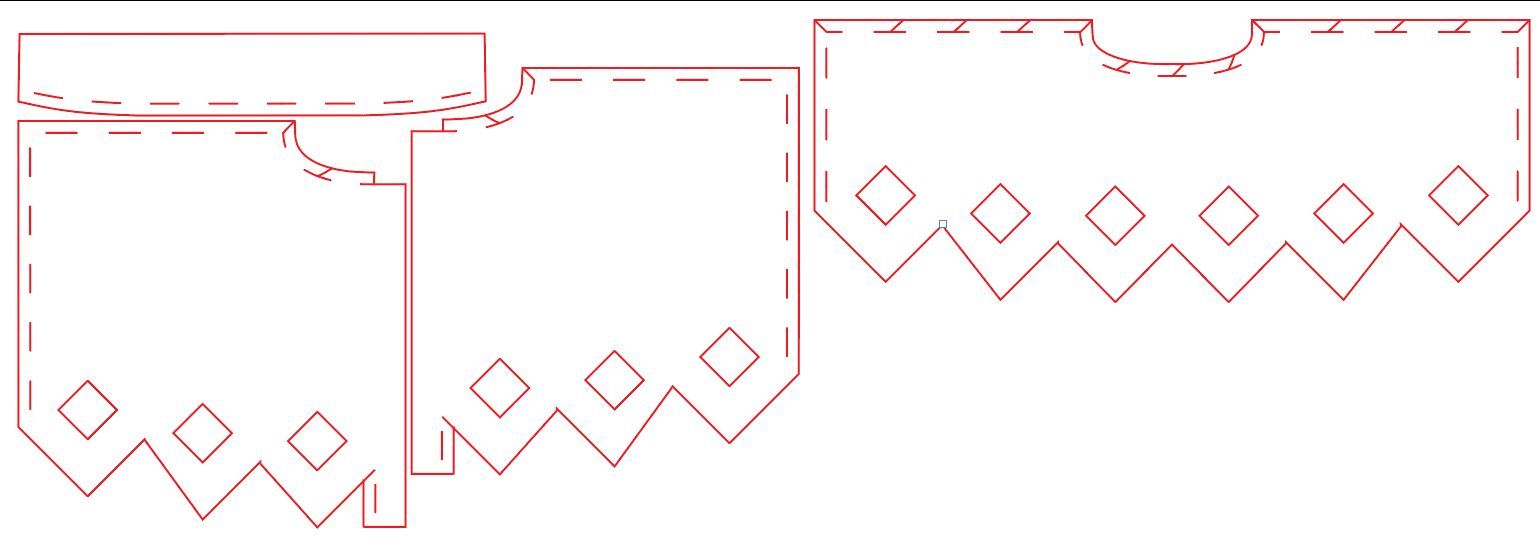
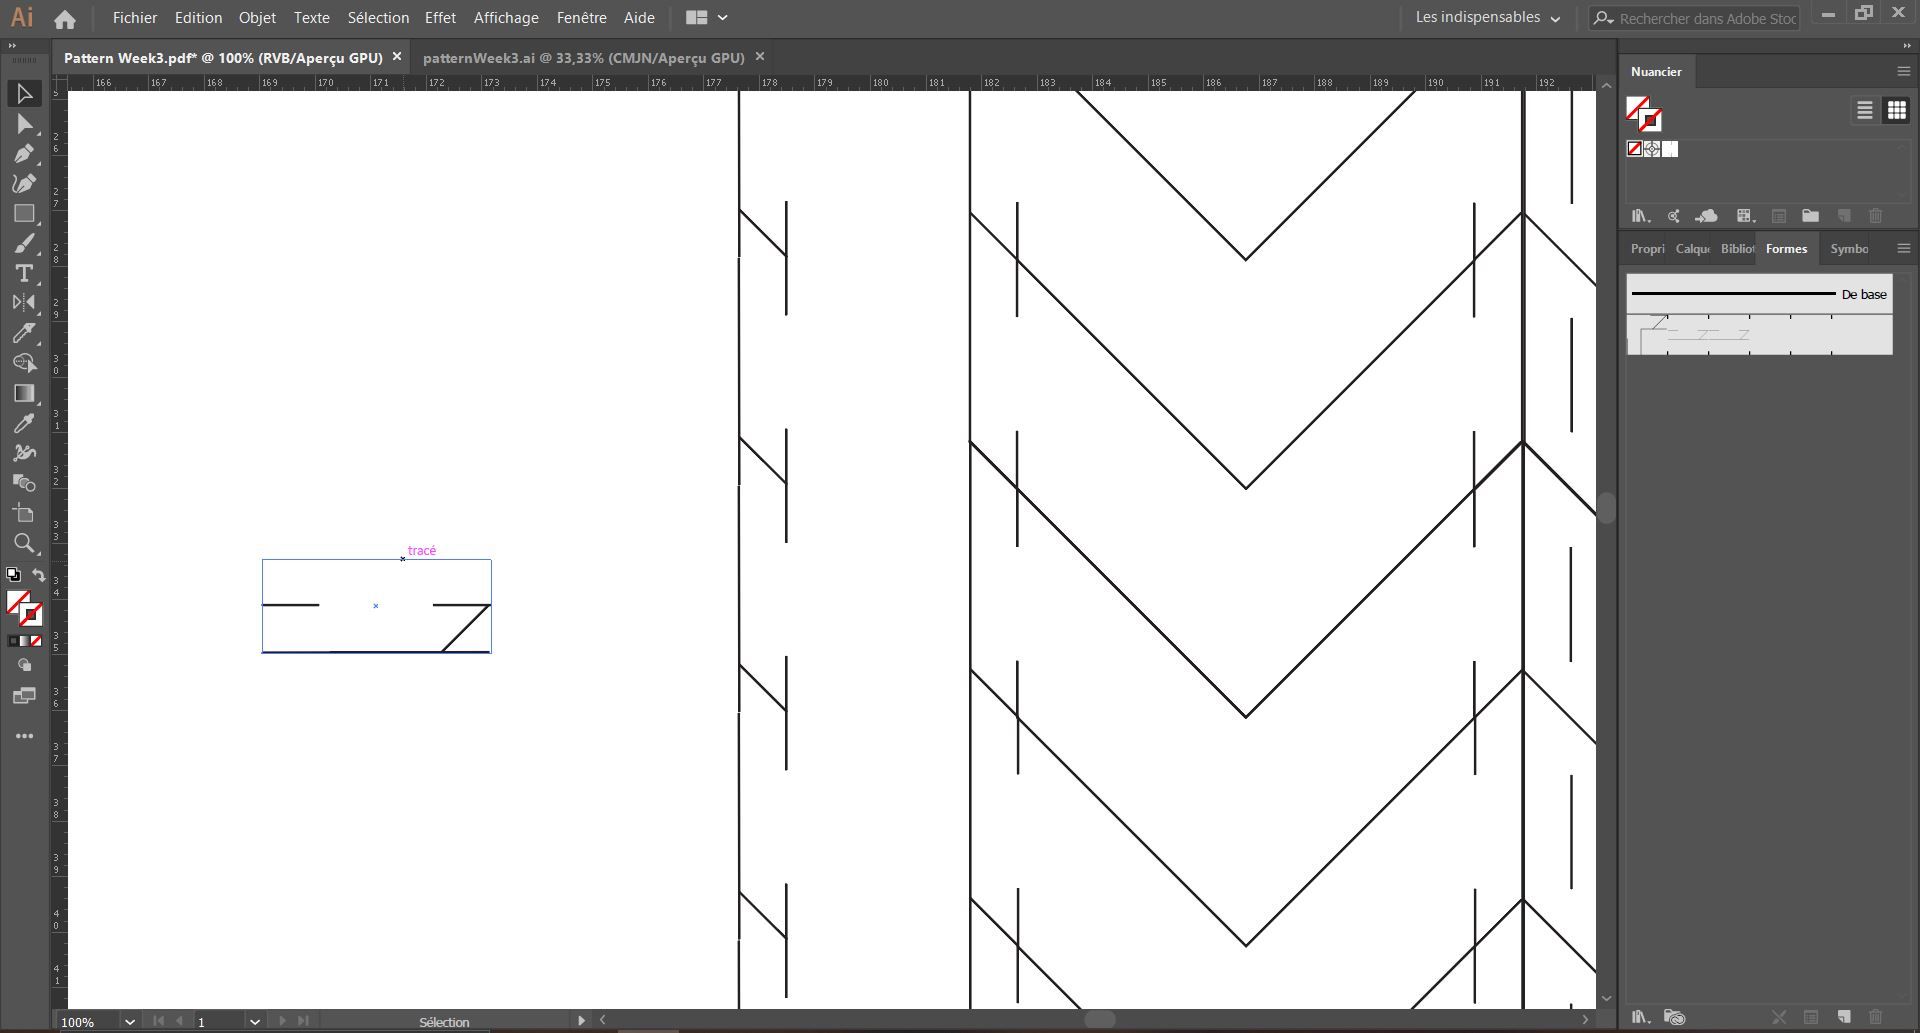
To prepare the files for the laser cut, I used Adobe Illustrator. I began by scaling my modular pattern pieces to fit nicely the legth of the garment pattern. After that, I
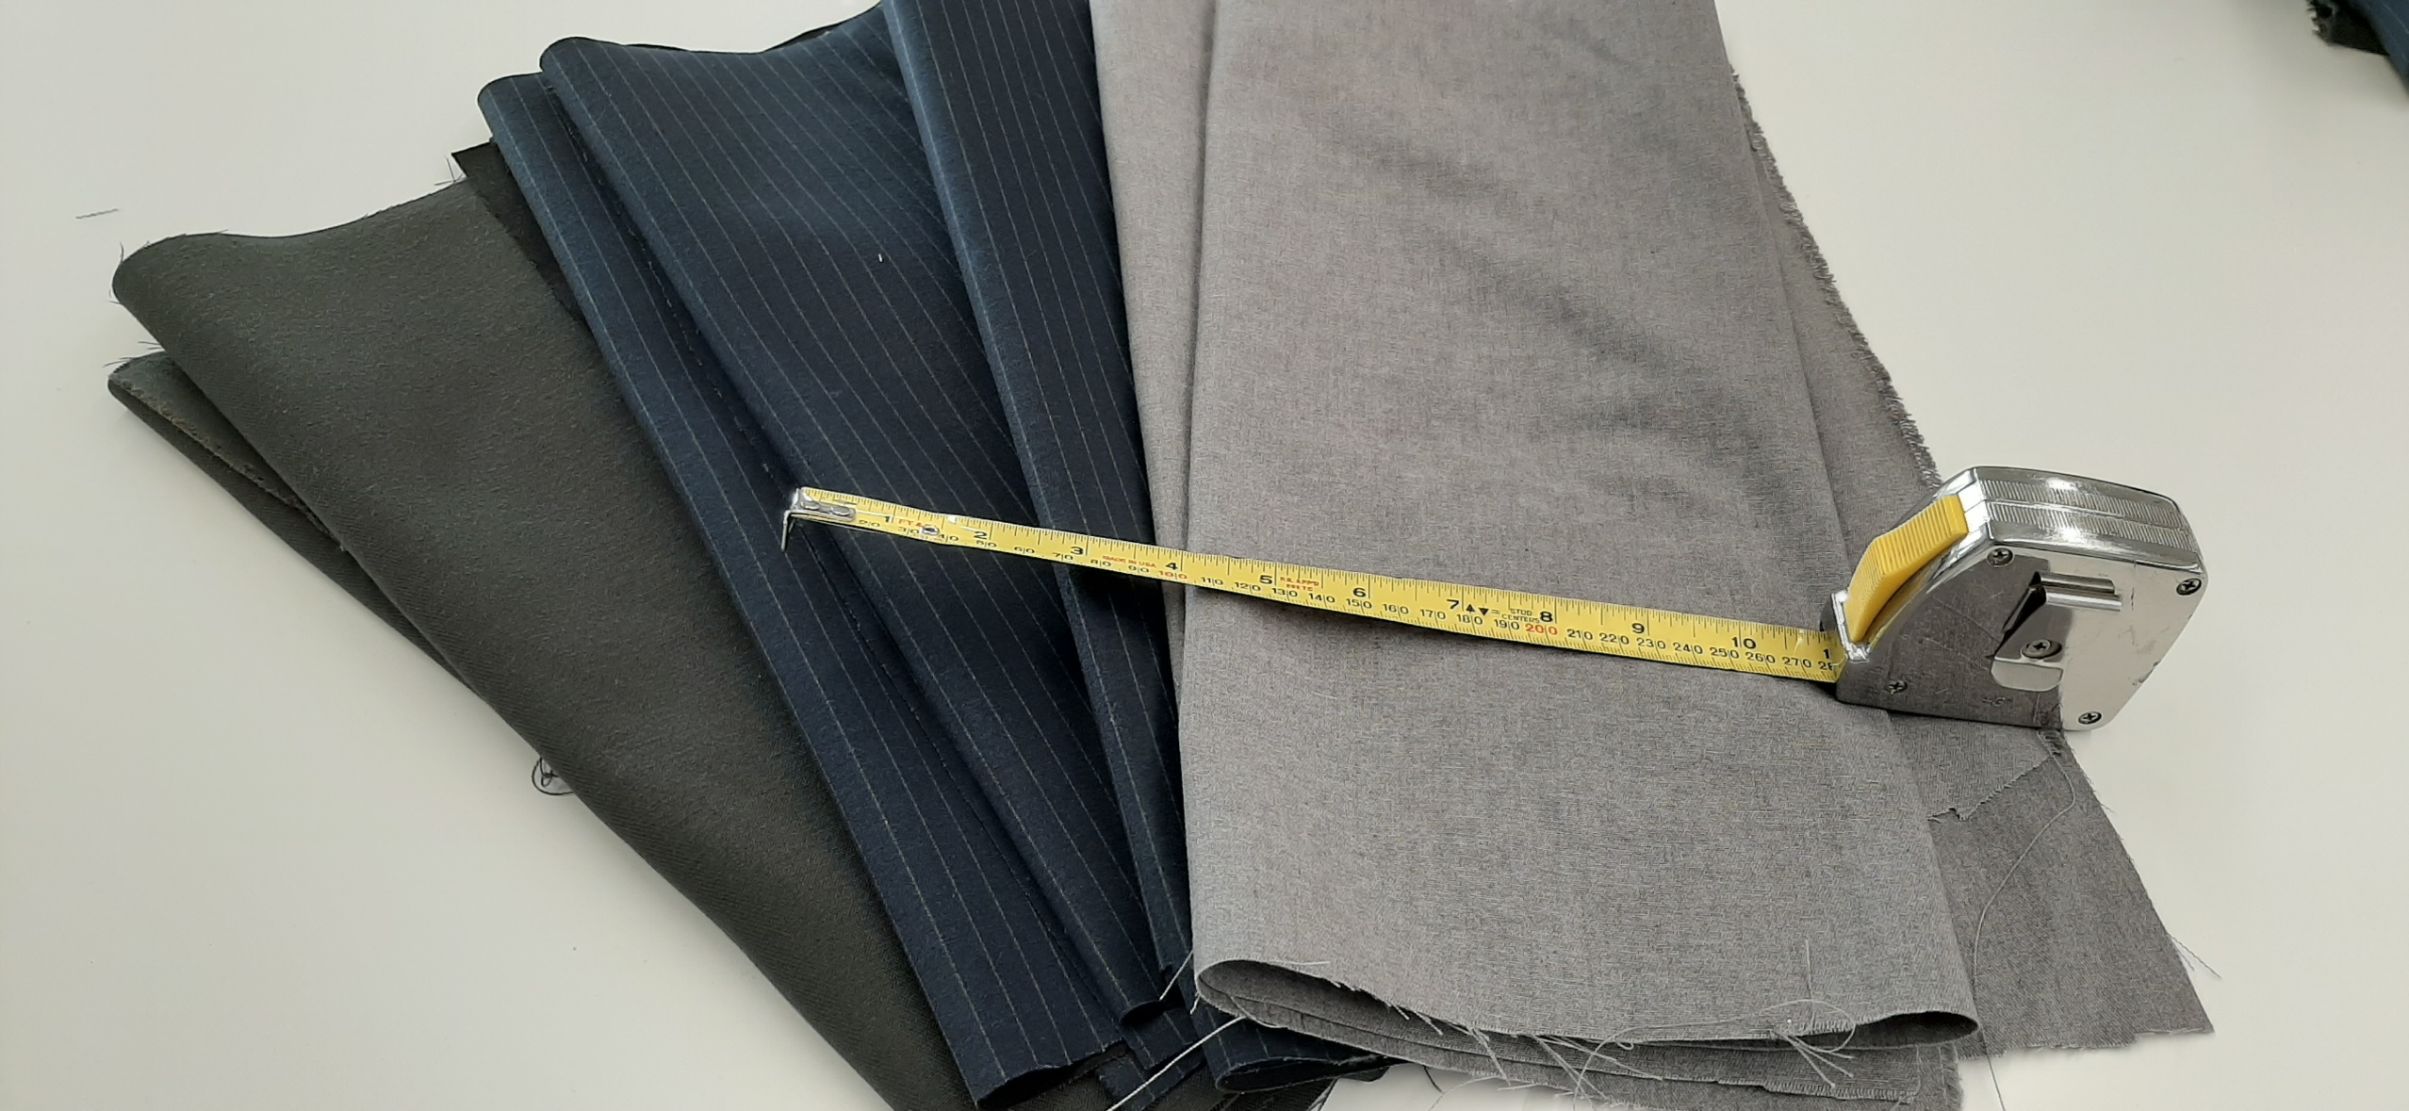
Fabric
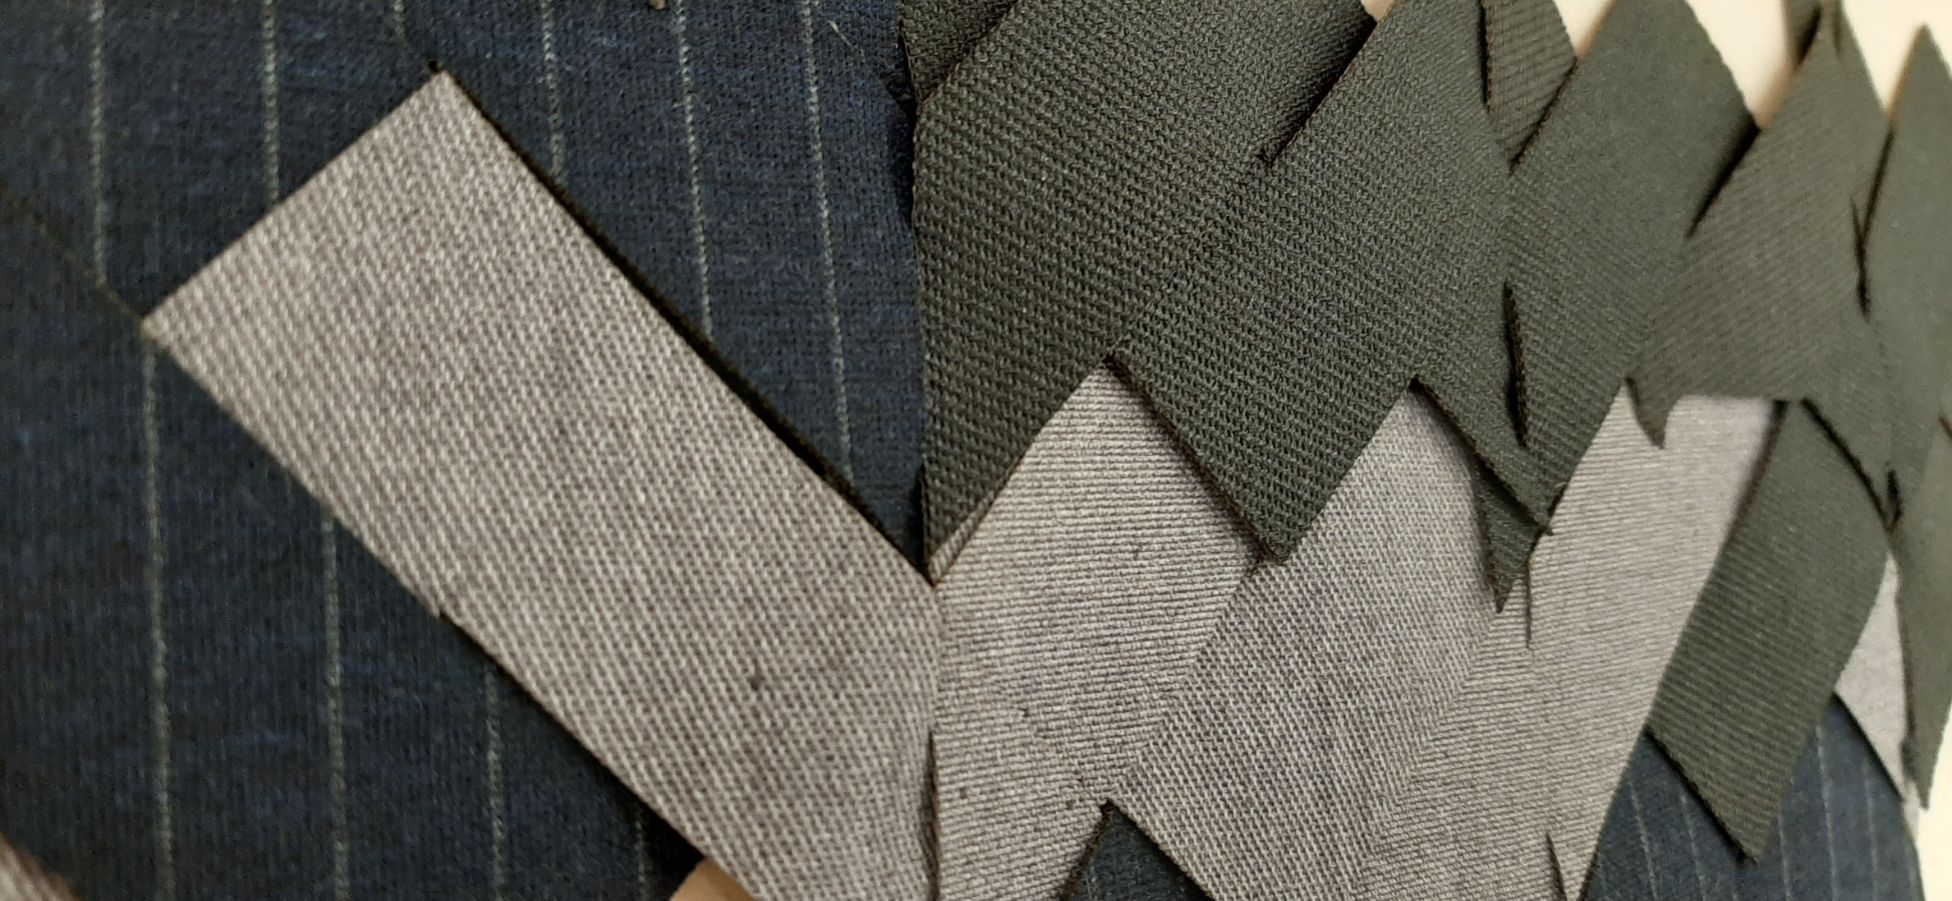
Now to select the fabric. Luckly, we have a fabric supplier on the other side of the road, me and Annie went to get samples (only materials we could burn safely. Watch out for vinyl and other toxic material!). When we got back, we started running tests at the laser machine, to see how every fabric reacted. I started with parameters similar to cardboard (Power: 90, Speed: 1.20), and adjusted a bit the strength depending on the thickness of the fabirc. Every fabric has a different texture, and will react differently. Always be careful and make plenty of tests before stating a batch. Some still frayed, some metlted a bit too much and ended up beeing itchy on the skin. Some stretchy materials would even crack. Only then was I able to chose the best materials of my selection. Thick, non-stretchy knitted polyester fabric were my favorite to cut. With my pattern from clo, I had and estimation of the fabric I would need, so I prepared pieces the size of our laser cutting machine.
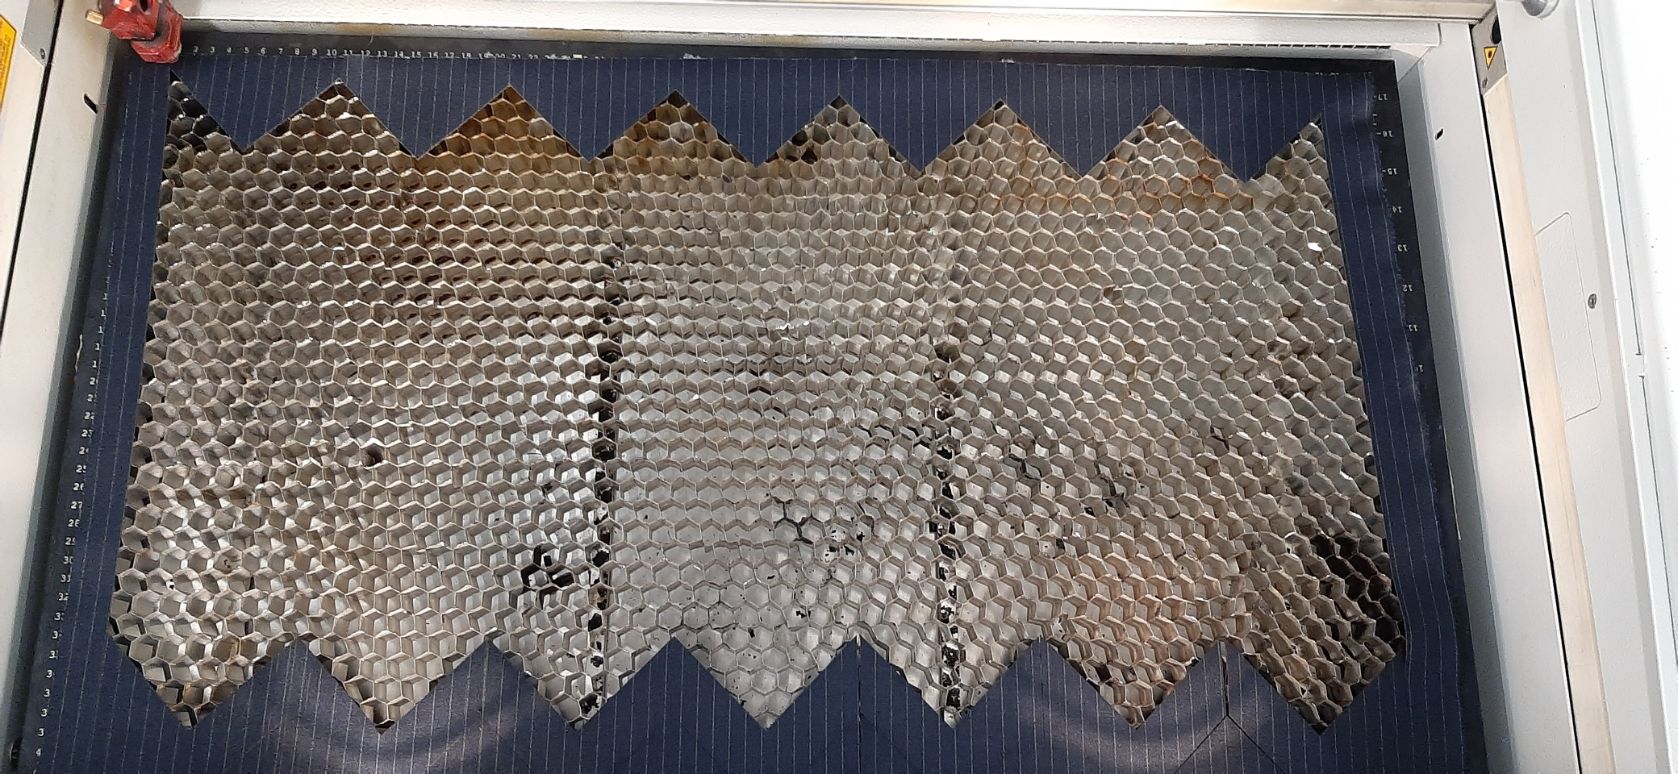
The laser cutting went swiftly, especially since I already knew all the instructions from last week. I had to use Inkscape to do the cutting, and since I worked from Adobe Illustrator, I changed the color and ungrouped everything in Inkscape to avoid any problems. My design was engeneered to have as less waste as possible, so I was a bit disappointed when I saw the waste I created.
Assembly
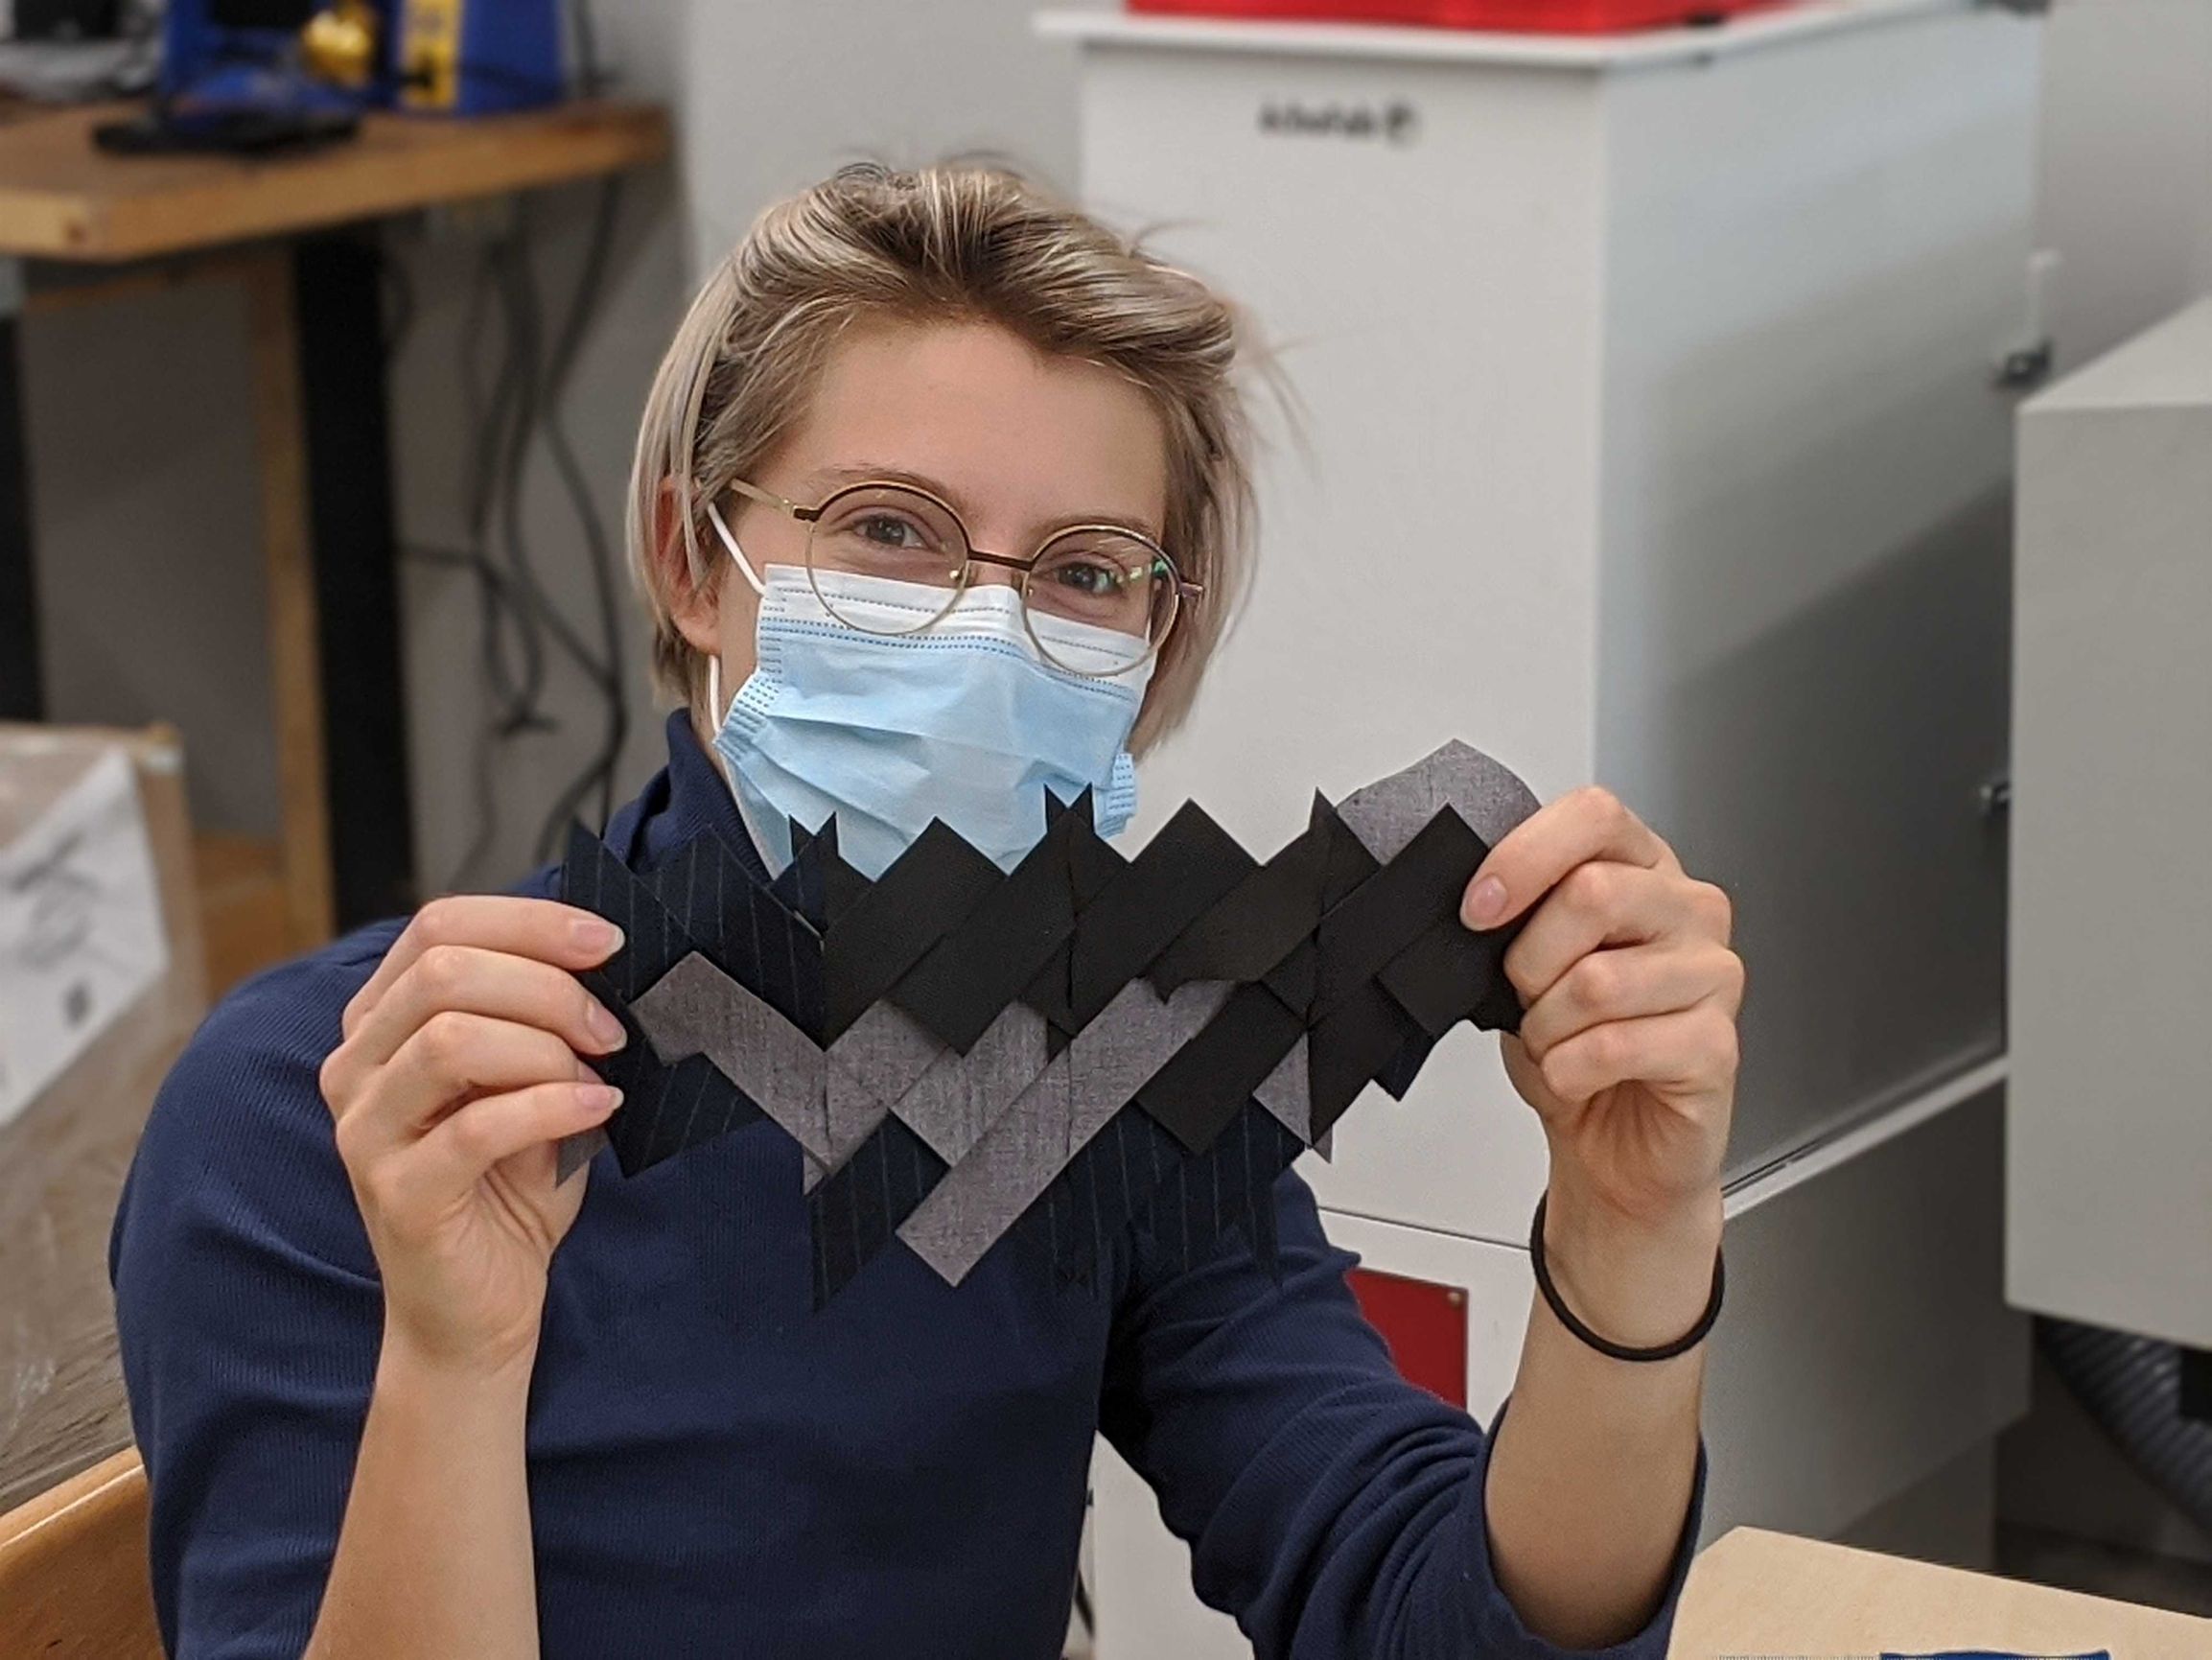
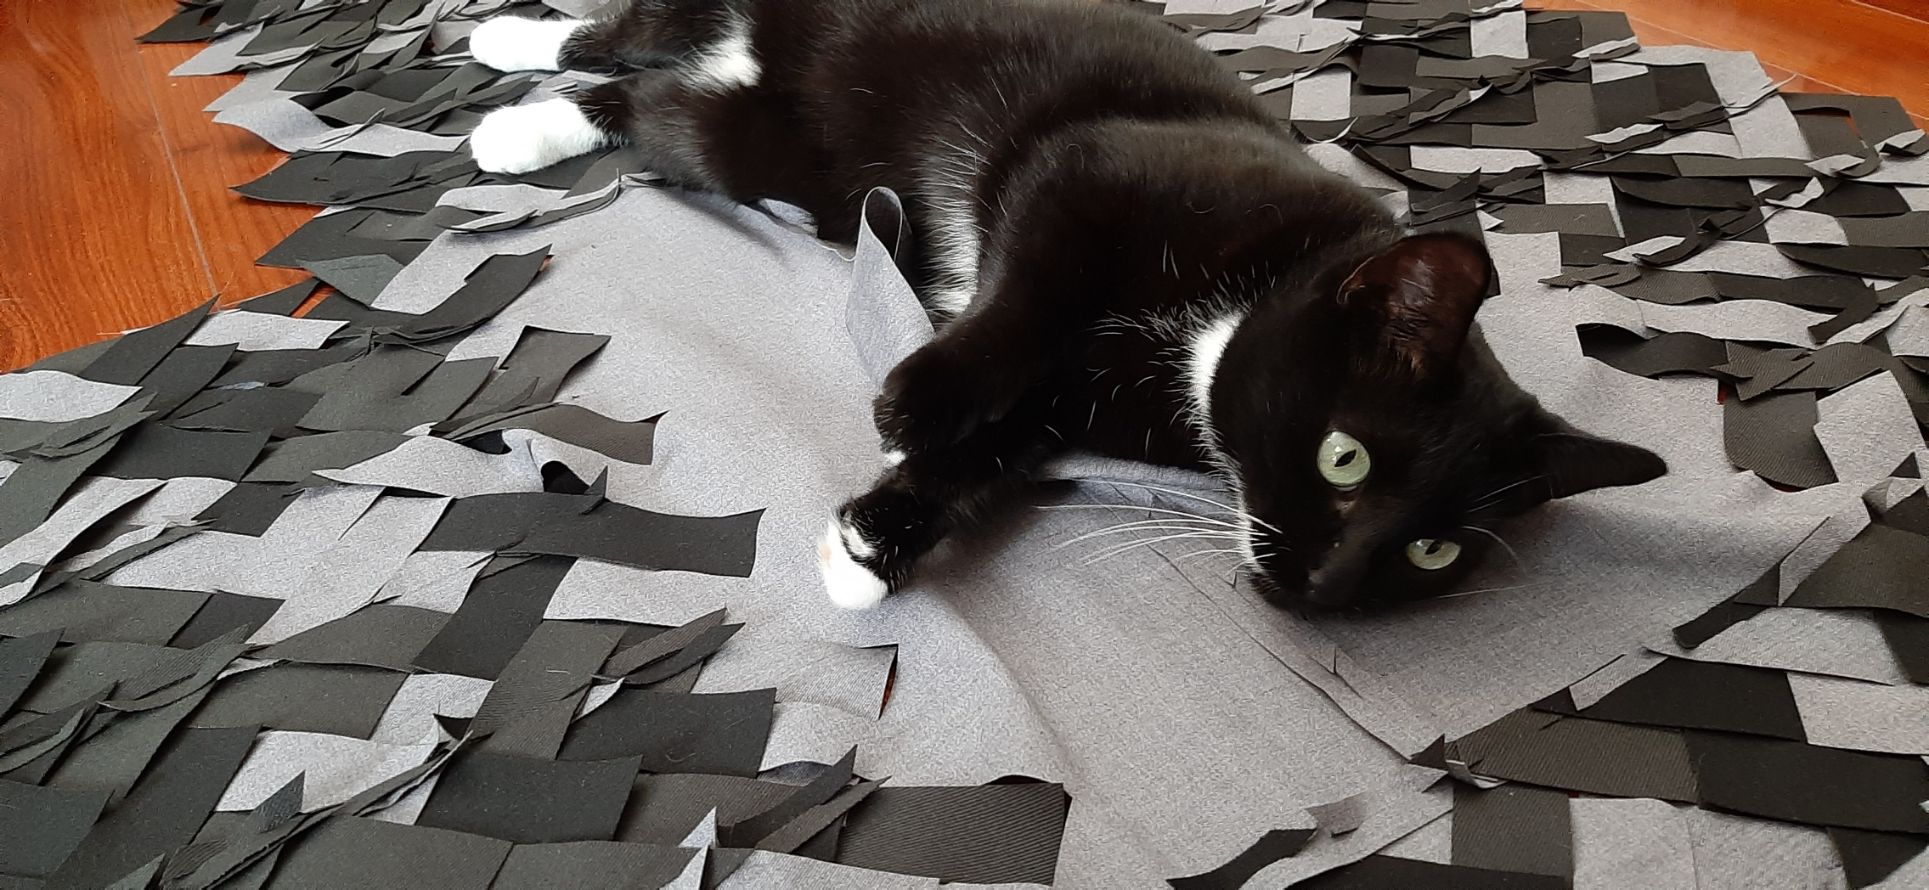
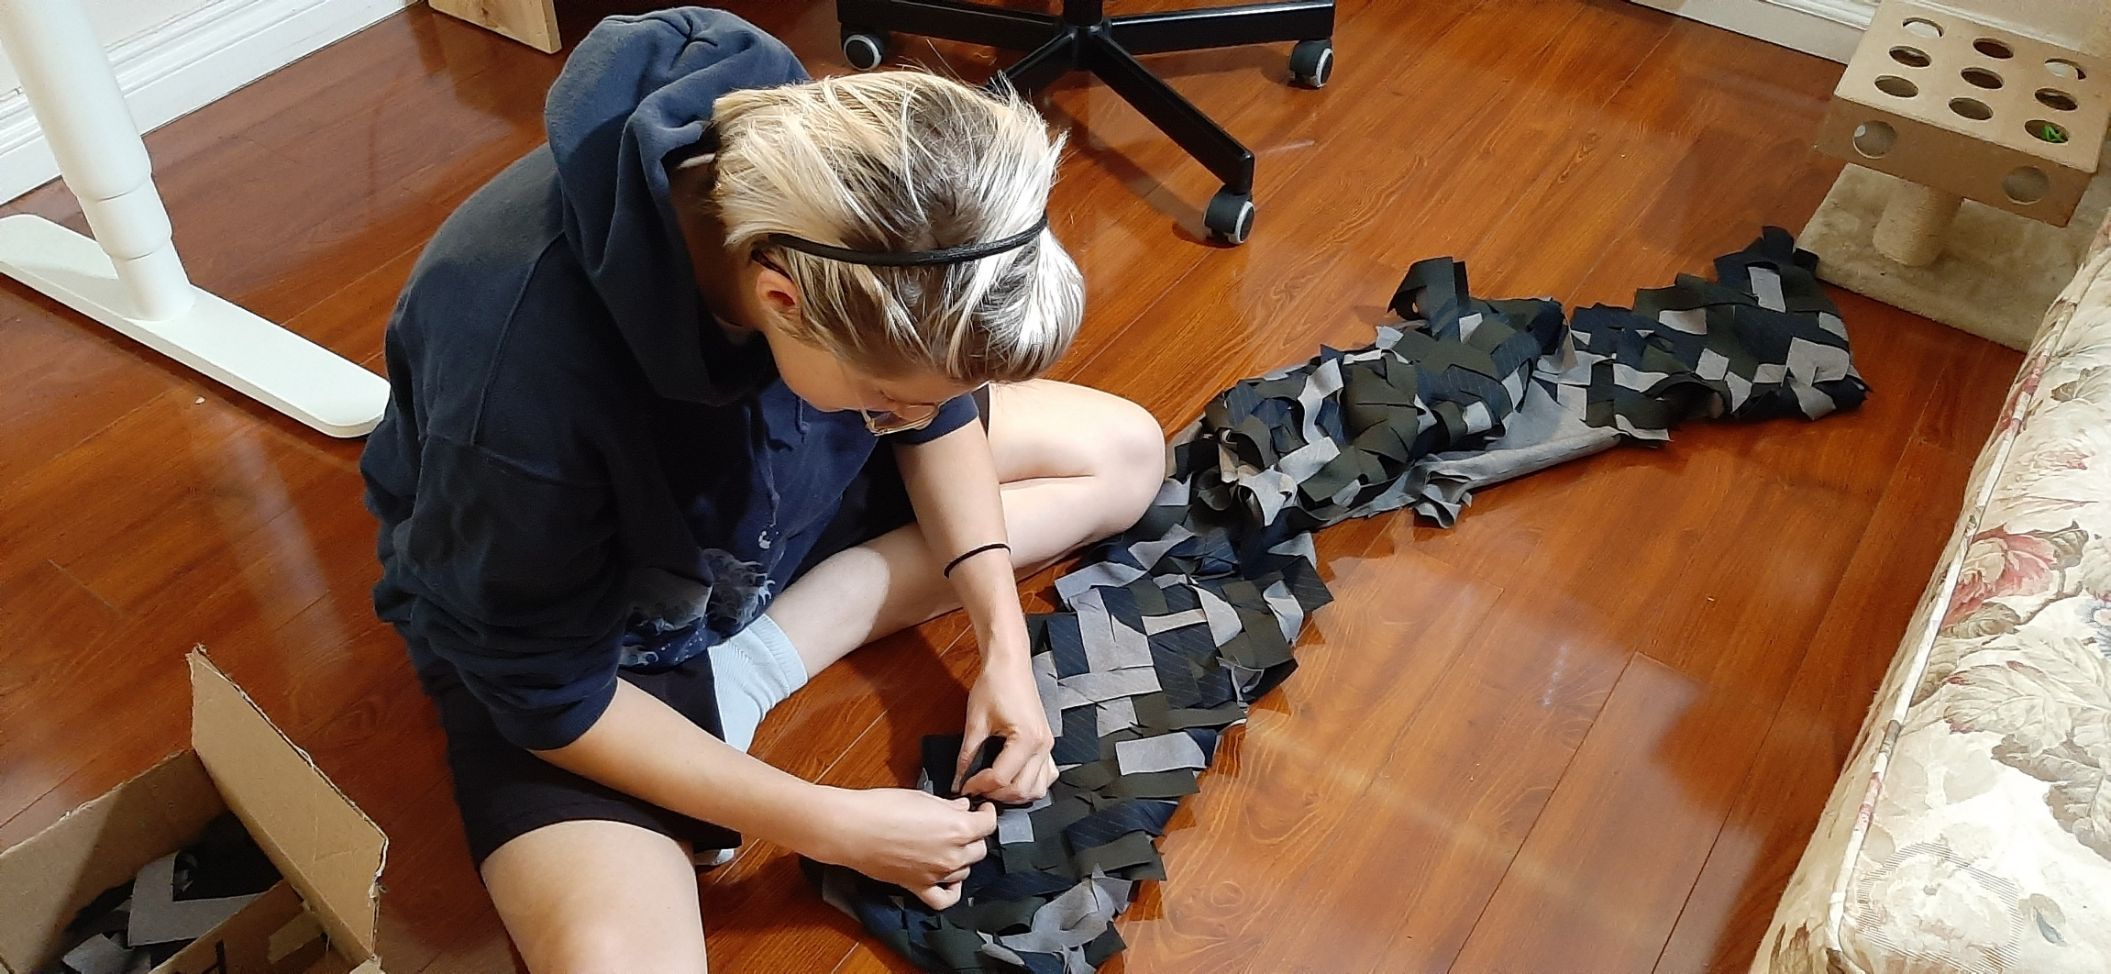
I did not realise how big was my project until I had to assemble it! I did most of the assembeling with a hot chocolate, a big blanket and a kid's show. It took me the whole afternoon, and part of the night.
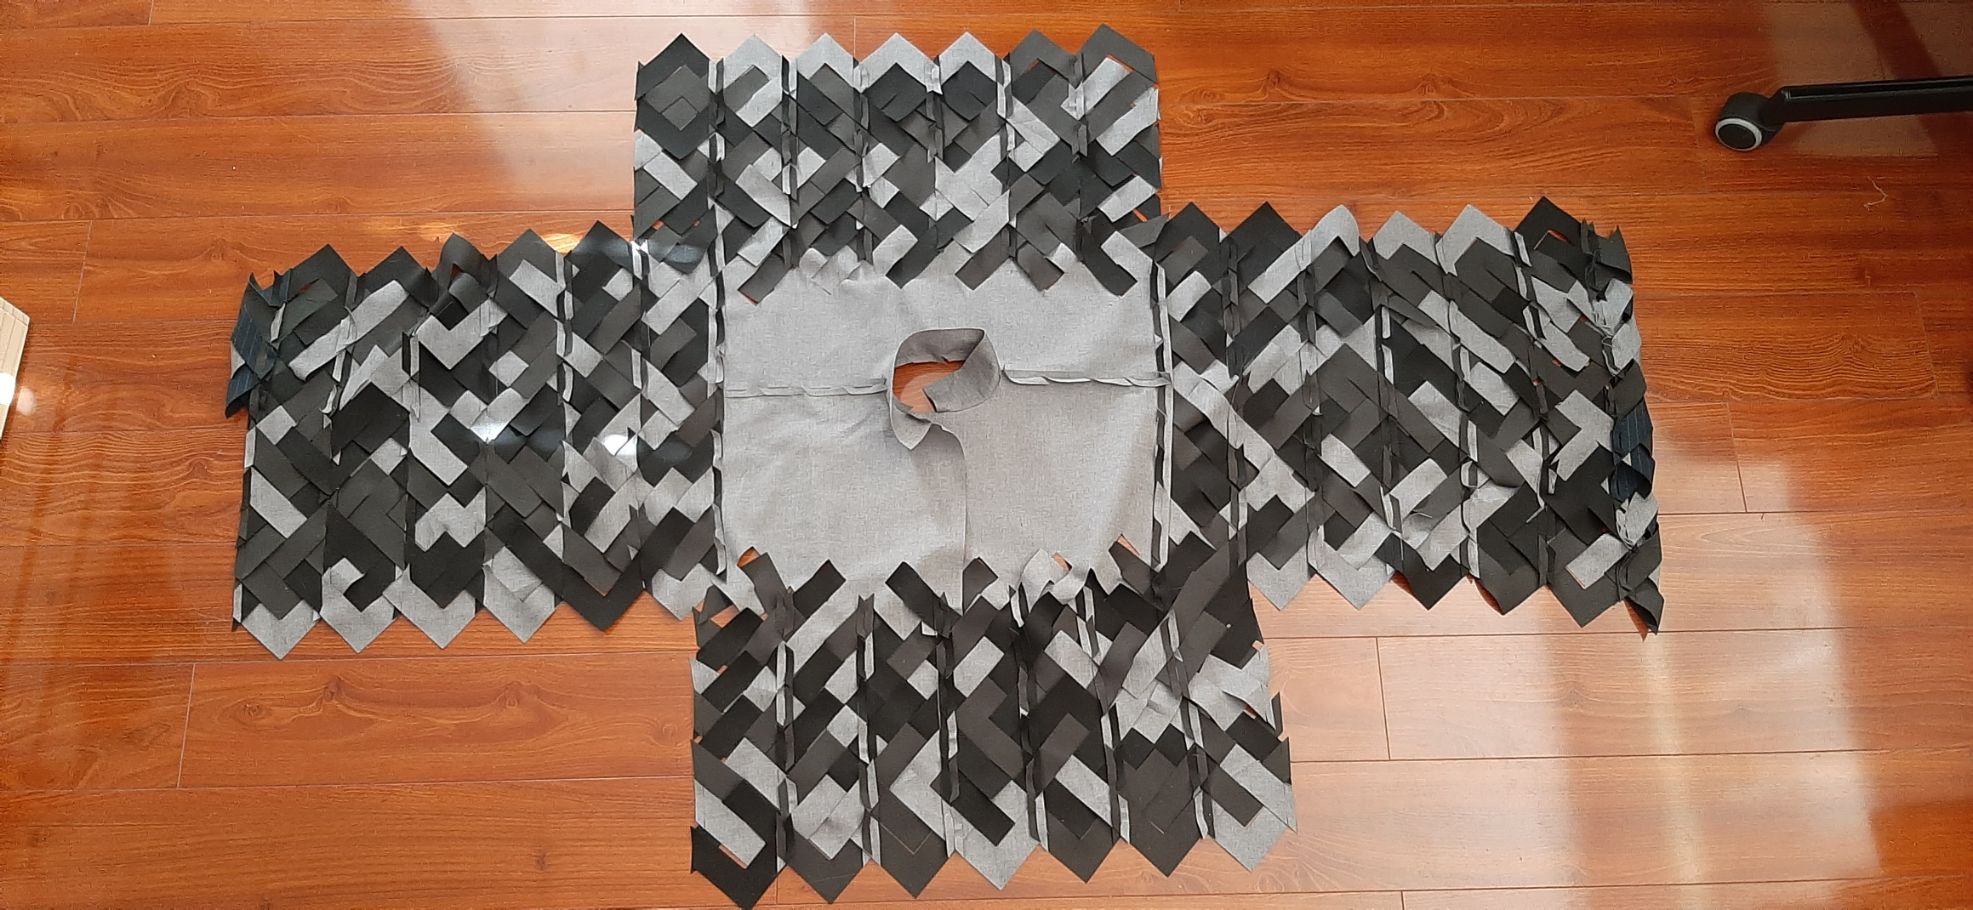
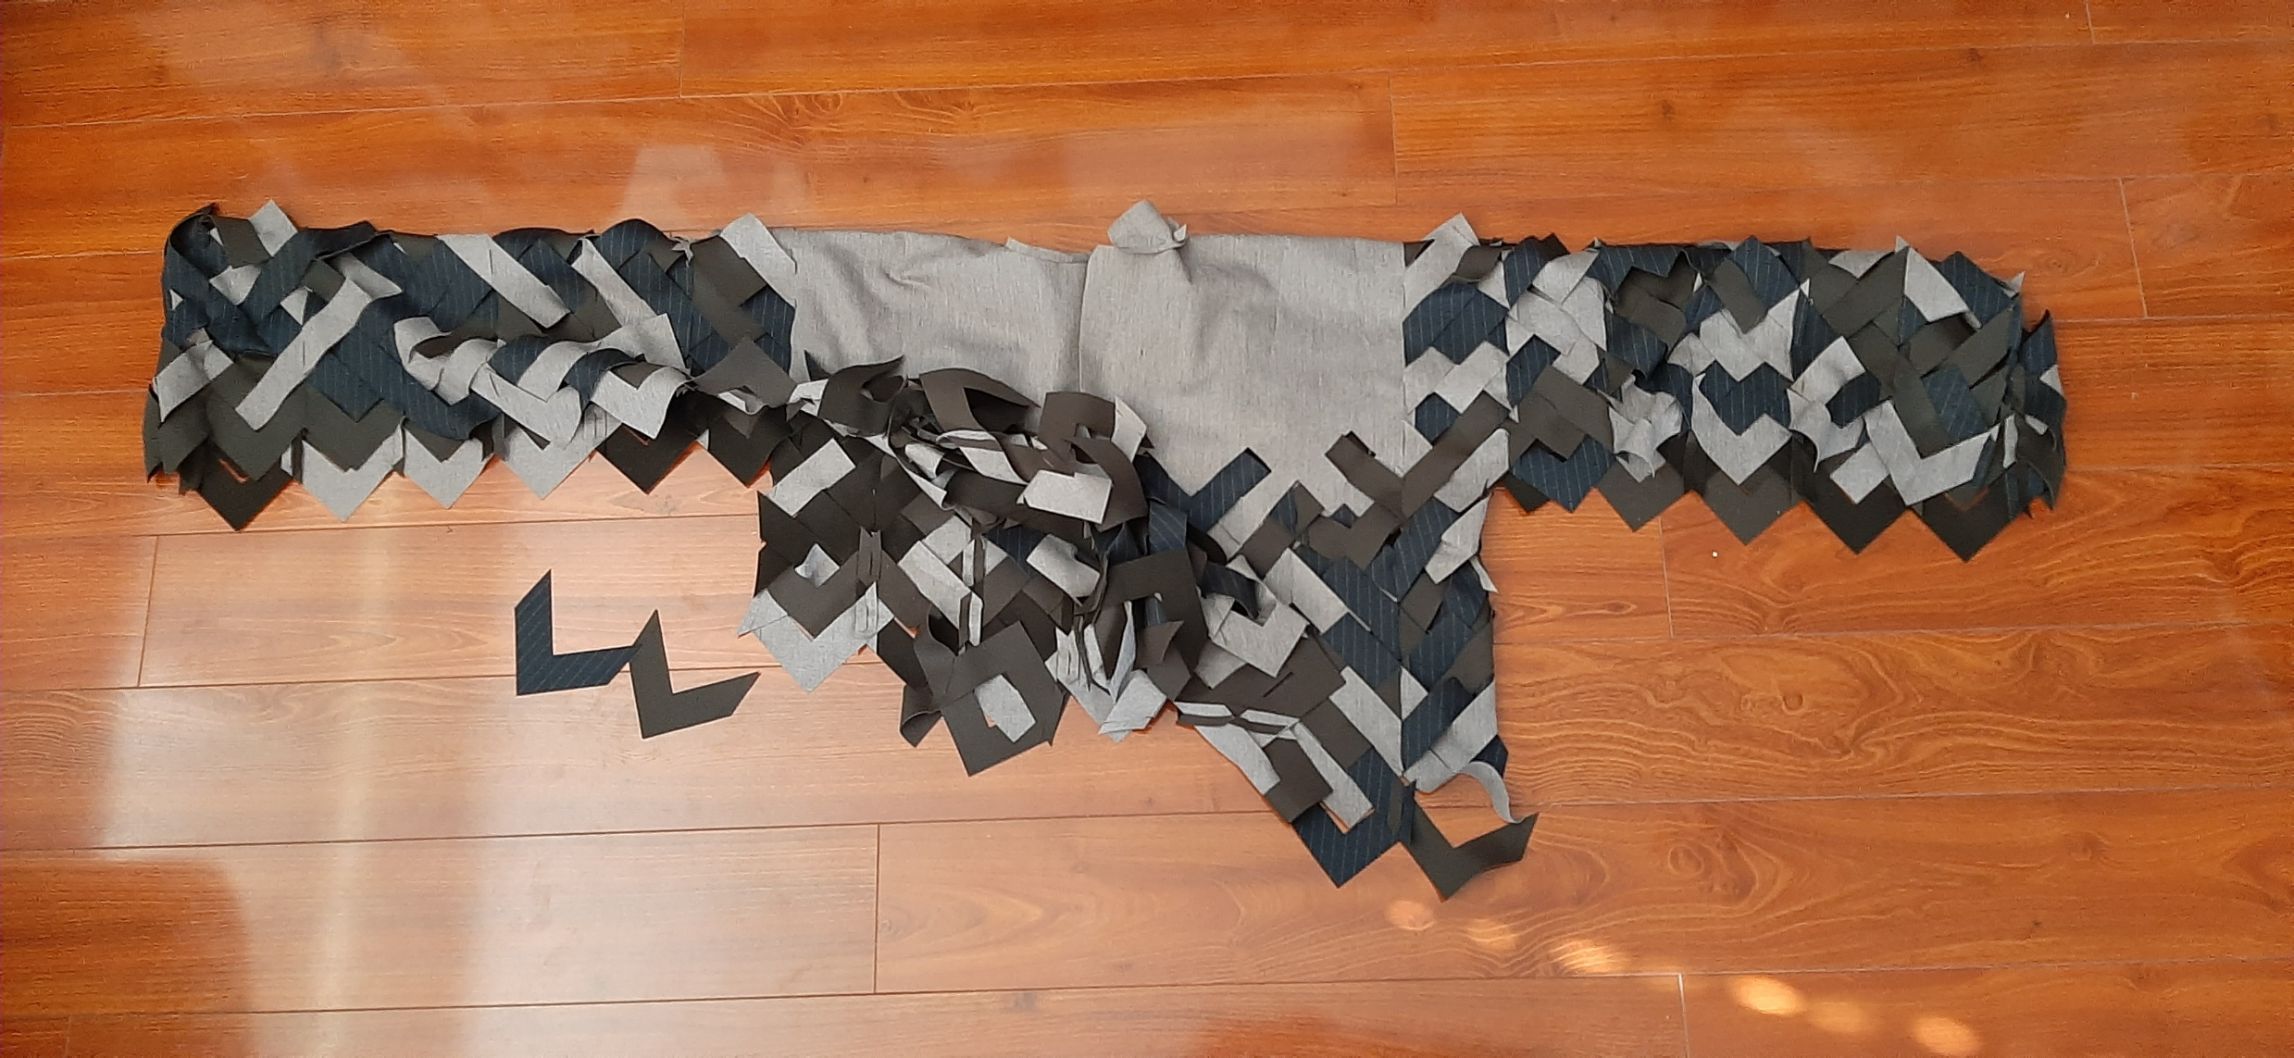
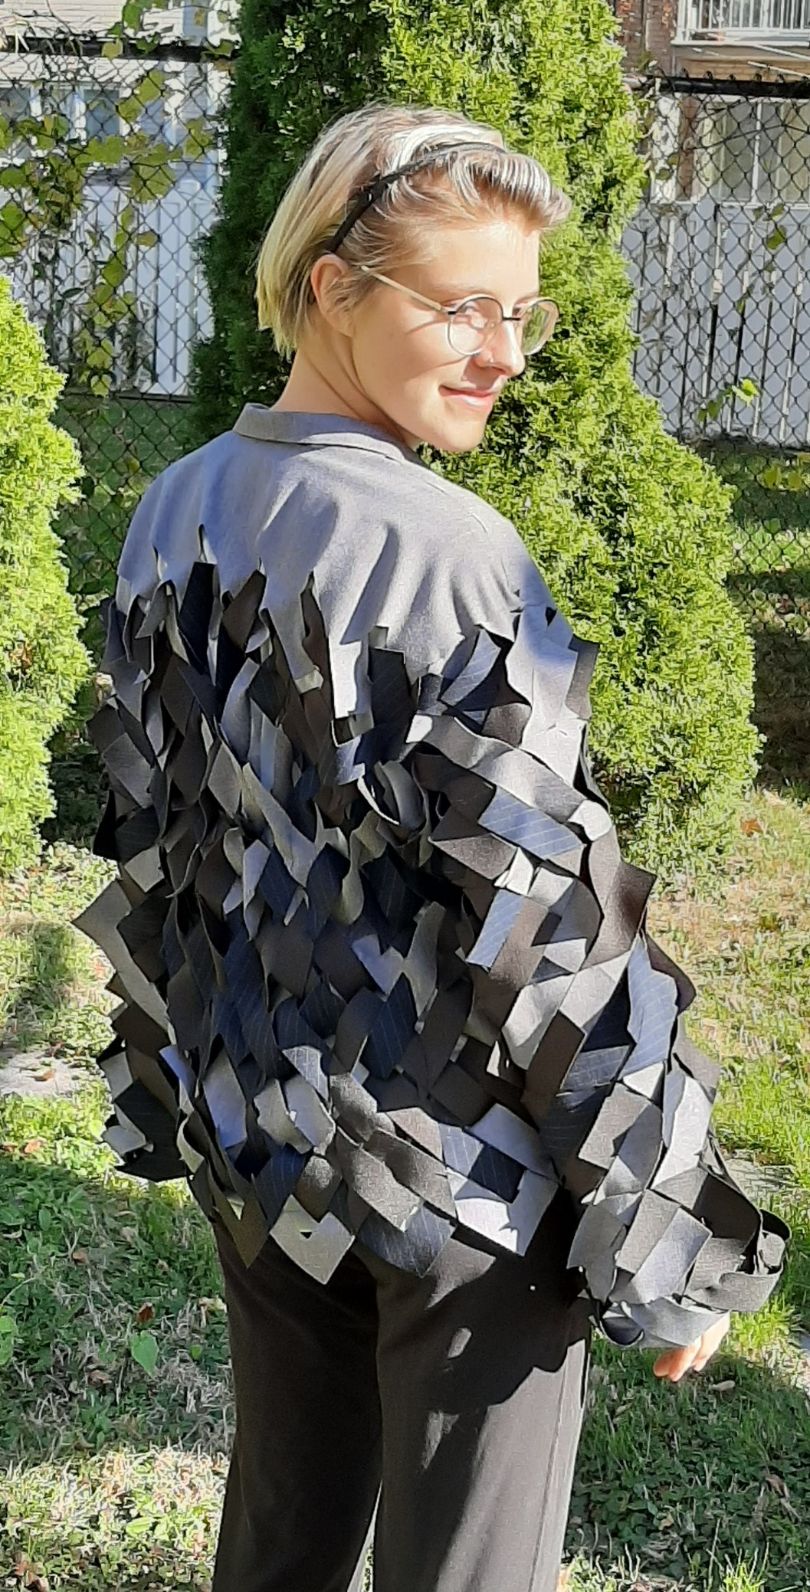
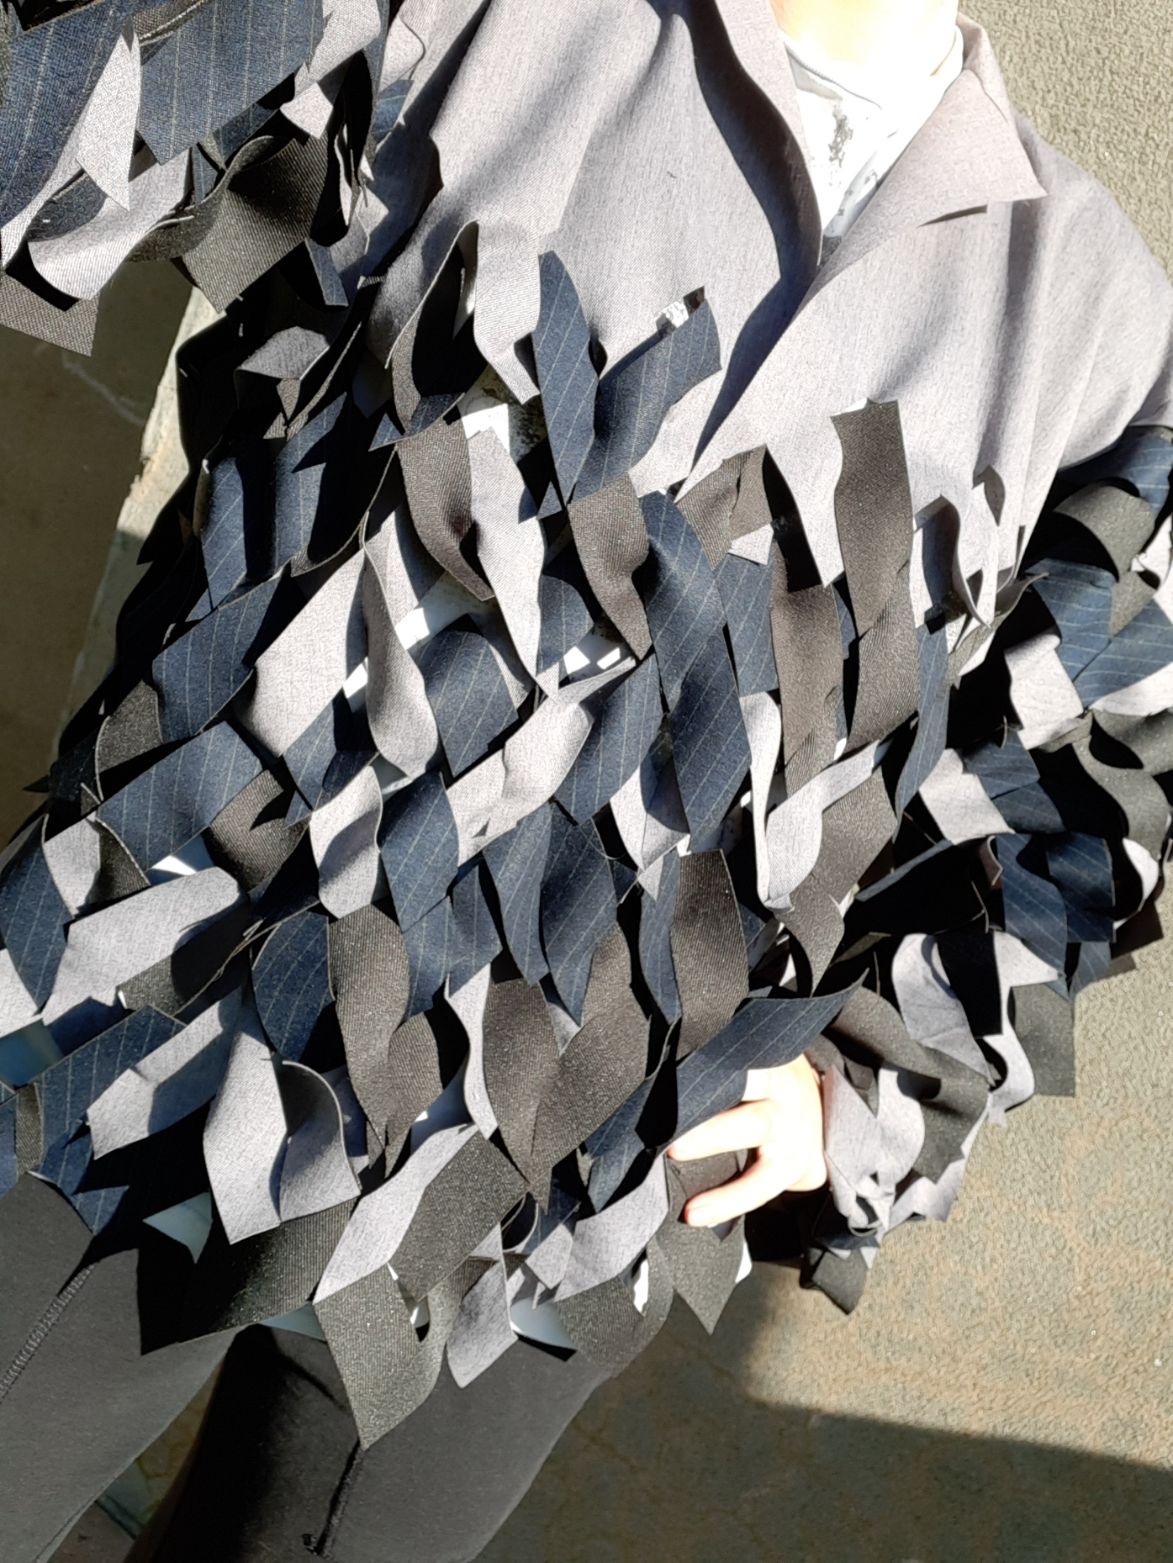
Final Result
Download
This is an open source project. Feel free to use all the files you need! This week's design is also available on oscircularfashion.com.