Studies and Innovations
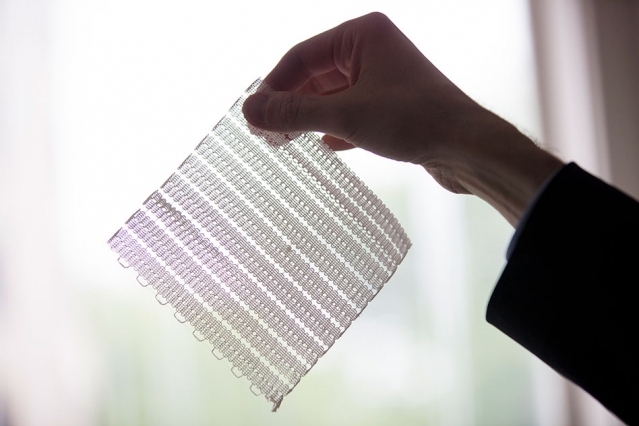
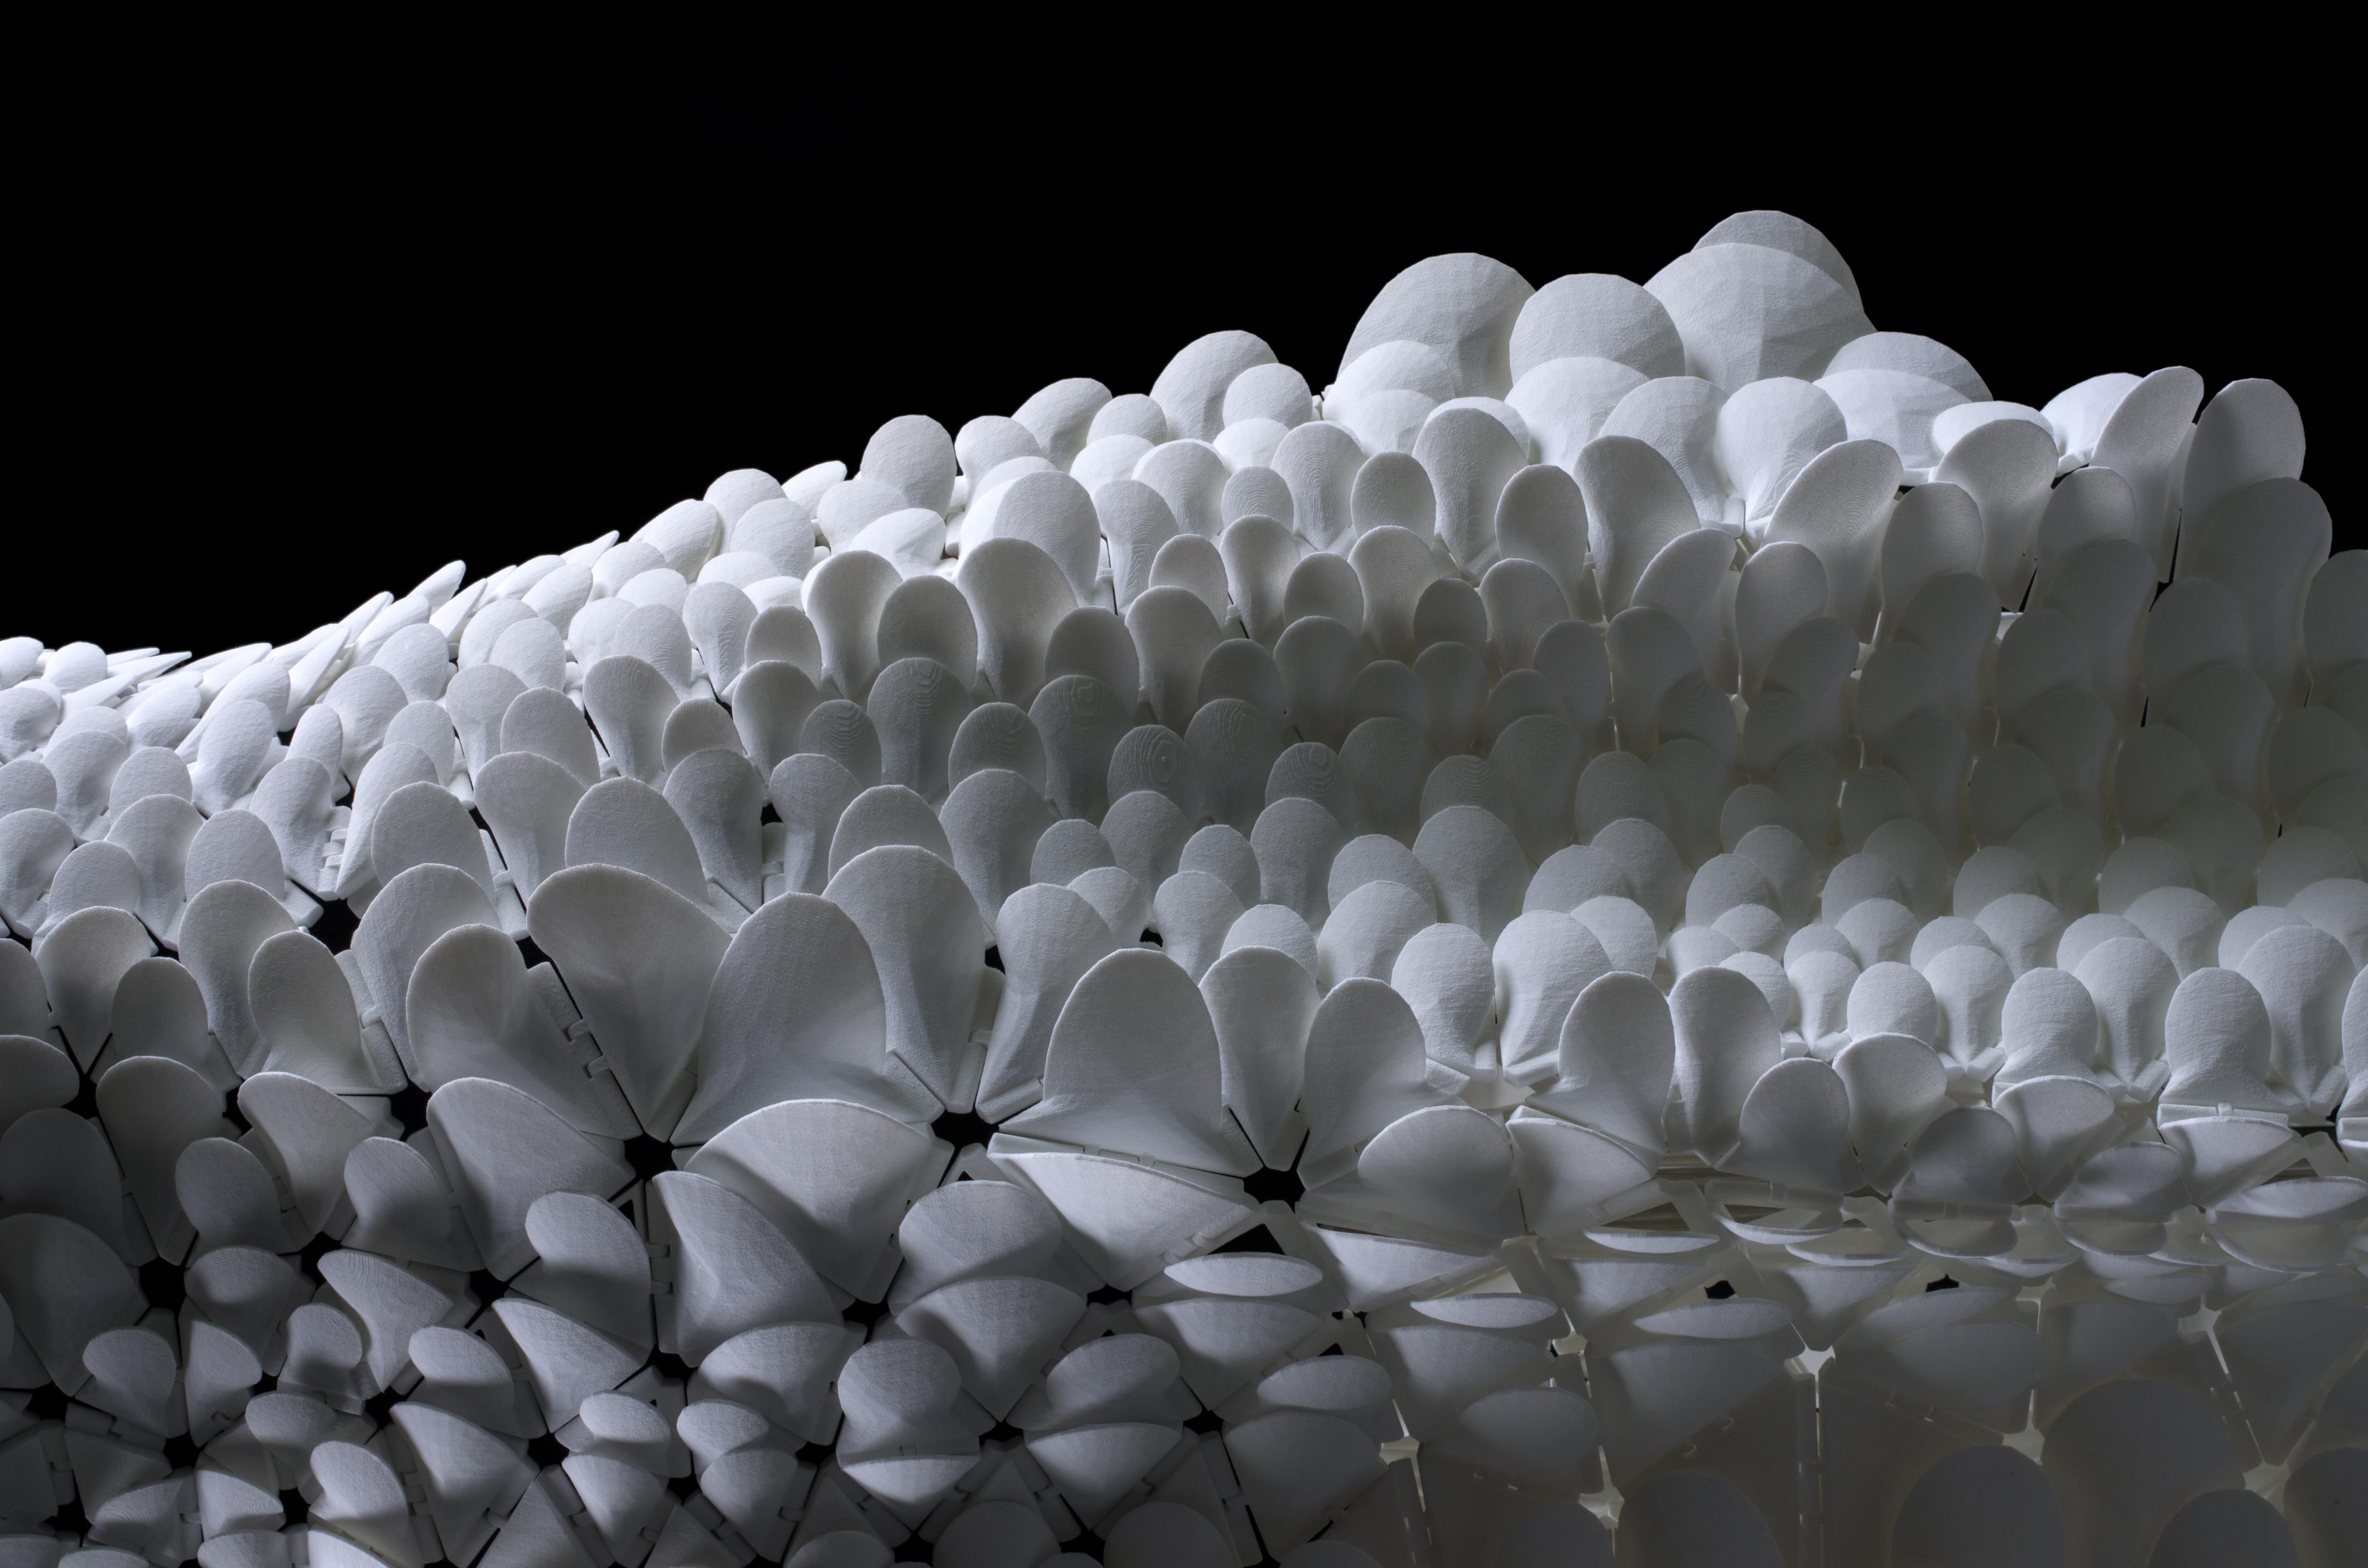
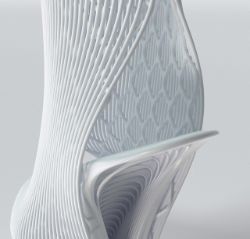
This week's lesson reaches a lot of differtent fields in the fashion industy. Not only the material can be 3D printed (wich brings a lot of positive changes) but it also changes the way we sell, design and customise our product. Grasshopper is such a wonderful thing to learn! I got inspired by the woven-looking texile designed by an MIT student. In this project, the design is created by controling the quantity of plastic extruded, and requires to make a gcode from scratch. The project has a lot of potential thought! Other studies at MIT were oriented toward the design of flexible paterns and designs, wich are gorgeous and inspiring! The last image is the project Of Ruth E. Carter was a wonderful inspiration for me. The costume was shown in Black Panter, and won a lot of prices and awards in the cinema comunity.


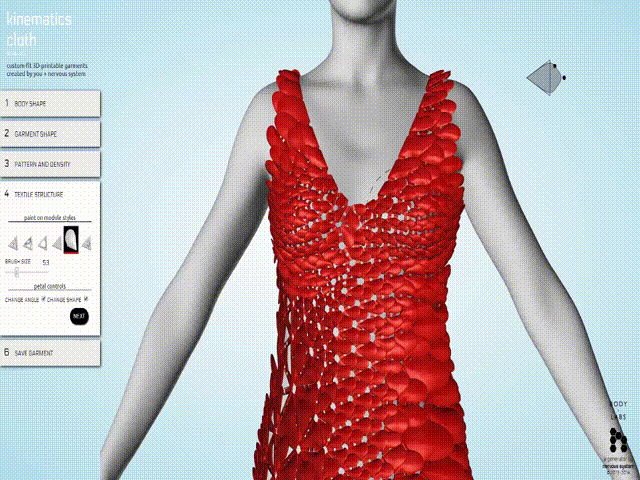
My biggest inspiration was the Kinematics project, with their fully parametrical dress, that can be 3d printed. I didn't know this project before, and it was a big revelation to me, Before that, I never realised the magnitude of application and potential parametric designs could have.
Grasshopper
3D Shapes and Patterns
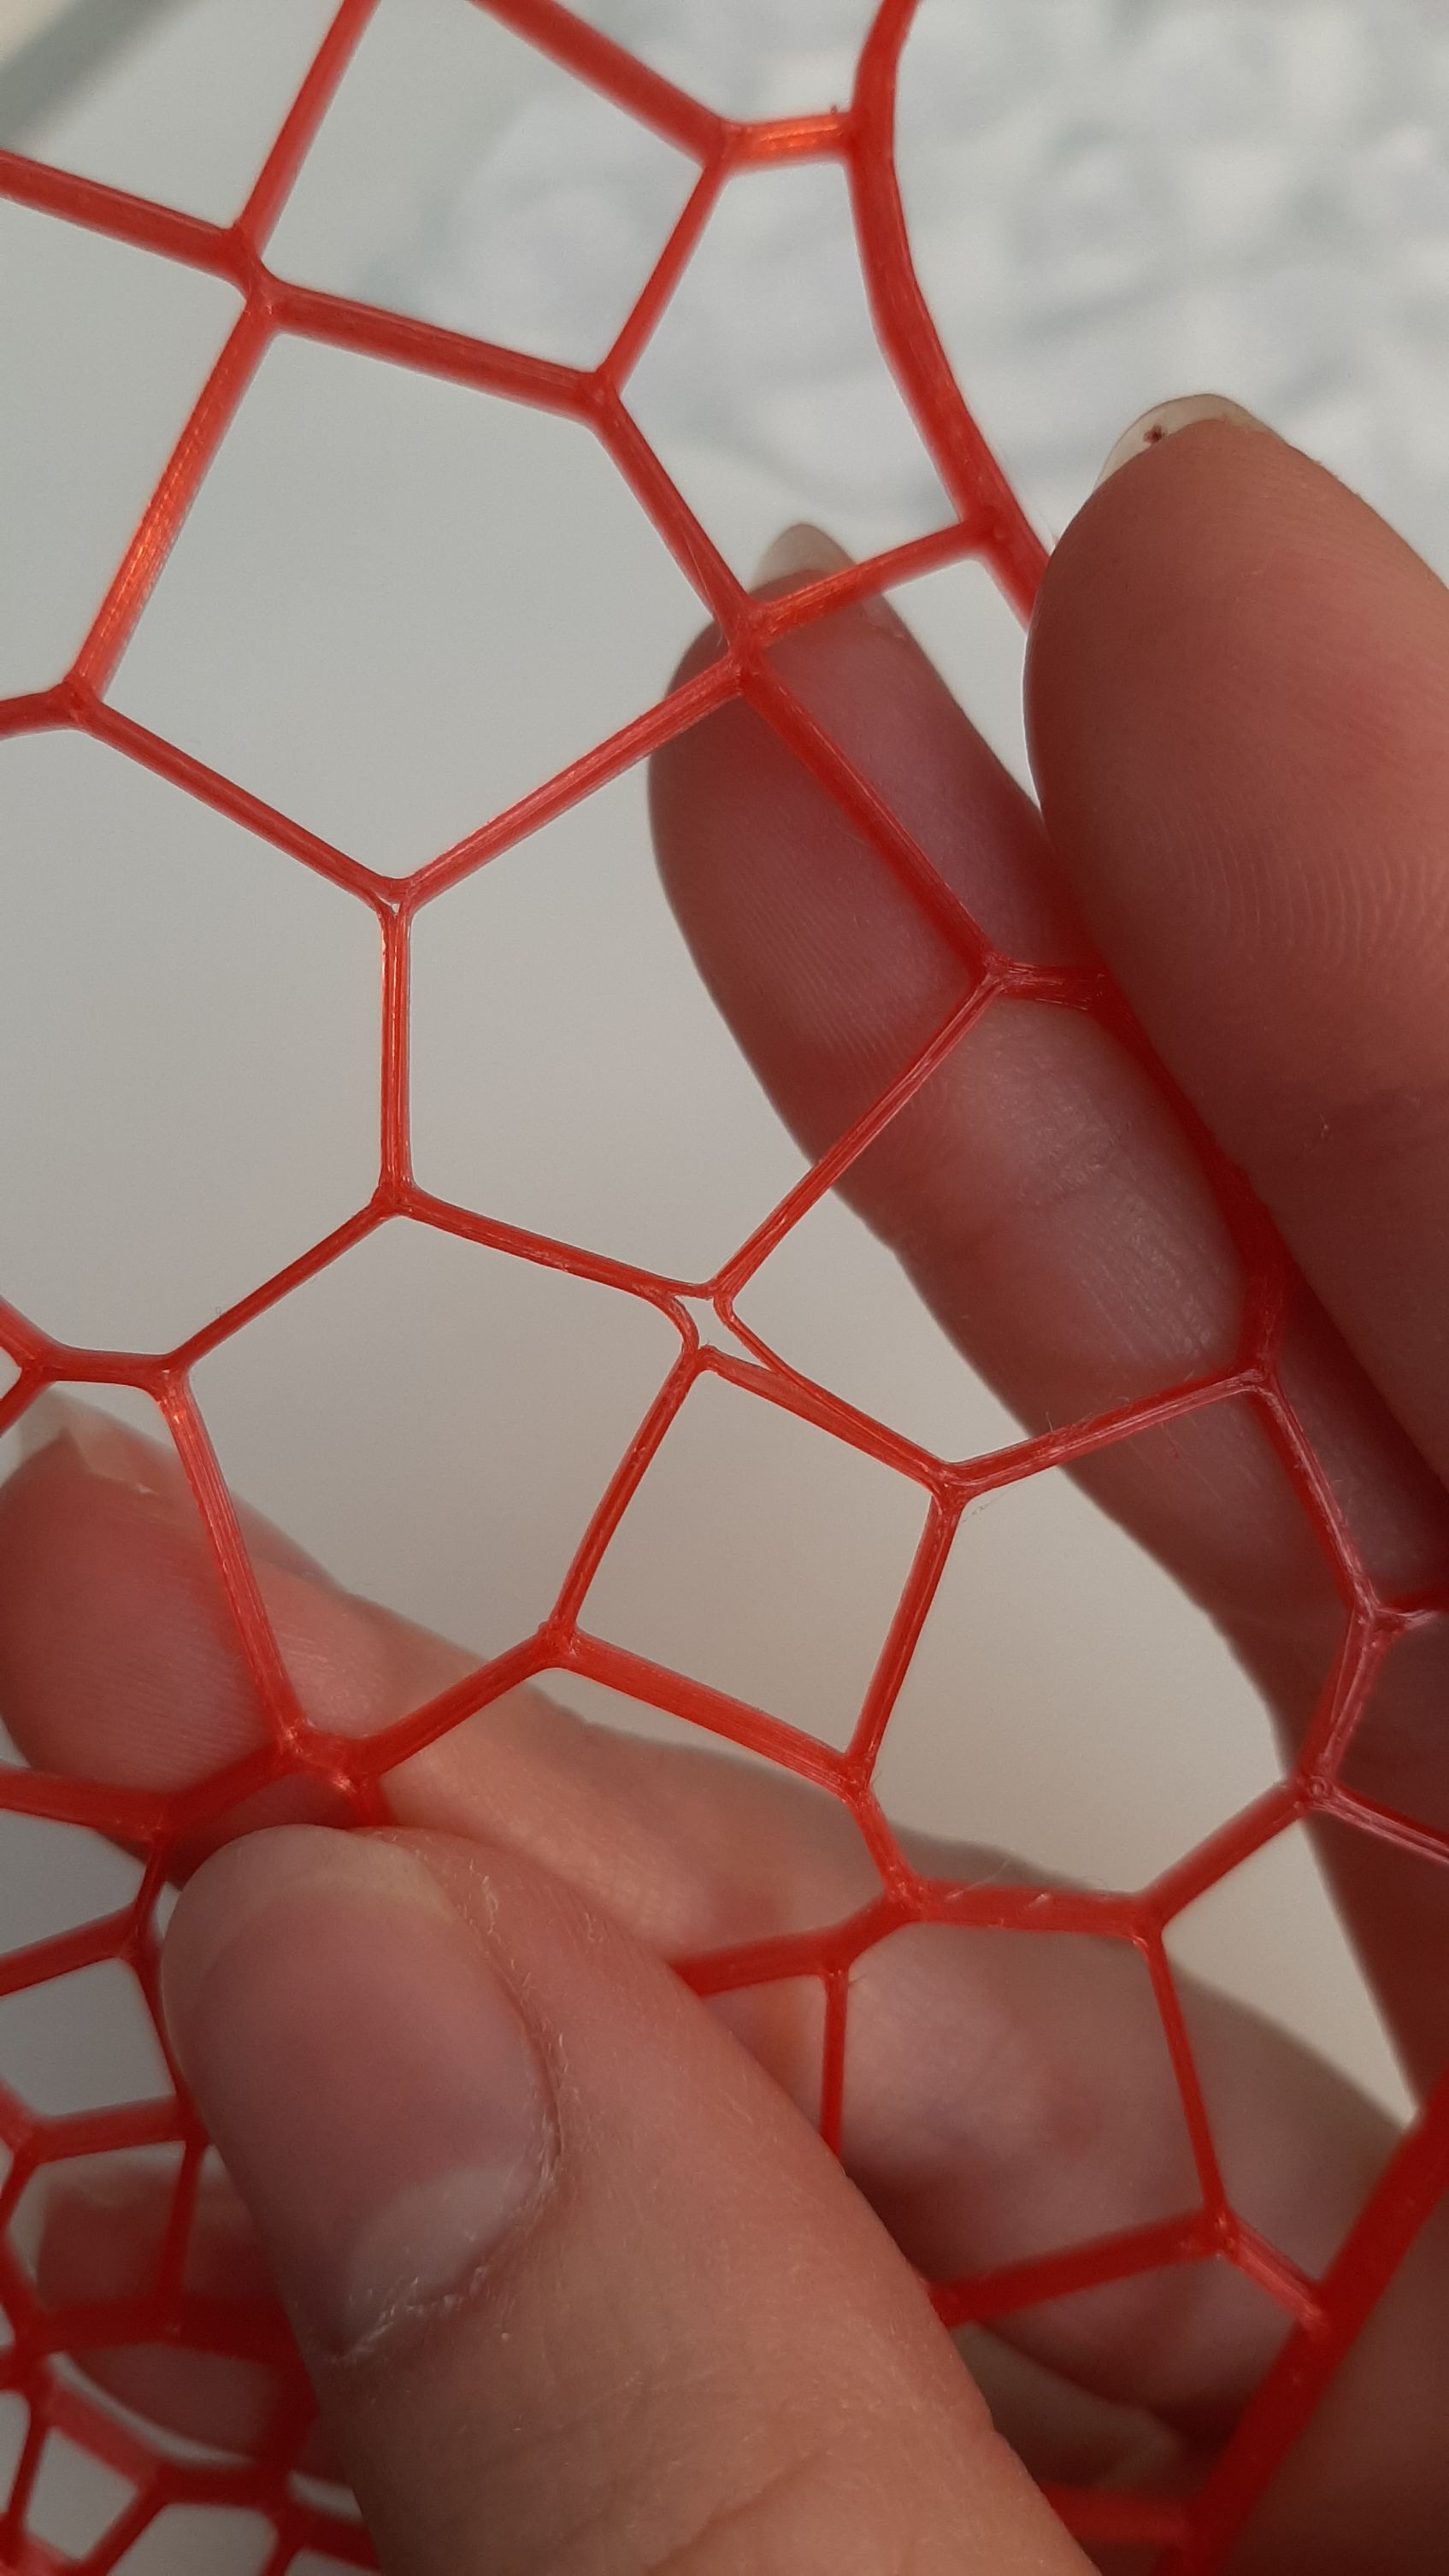
I learned to do parametric designs with grasshopper folowing the tutorials. I was super exited to discover all the possibilities this software could give us... but found it really hard to understand. I learned the hard way! Mostly by clicking too mush stuff and ending up with weird problems that I had to fix. I followed Aldo Sollazzo's tutorial on how to parameter a mask design. (You can find all fabricademy Grasshopper tutorials here).
 Getting inspired by the work of others and trying myself stuff that already exist was the best way to learn. The next design was in fact a tutorial on how to make a 2d pattern I found. I hopped to do a design similar to the one used for the 3D printed shoes ILABO, by Ross Lovegrove.I used blogs for debuging. some of them were hard to follow, but most of them were really helpful!
From there, When the 2D pattren is done, we can use the fonction extrude, cap holes and group objects to be sure our shape is ready to be exported as an stl. When the design is at my liking, I simply use the fonction "bake" to make it apear in rhino as a 3d shape ready to be exported. To transform the stl into a gcode, I will be using Cura.
I learned how to create pulling points from the same tutorial, and did some attempts at making another pattern. This is mostly me enjoying the grasshopper program. If you want to create something similar, you have everything you need to know in the previous tutorial.
3D Printing
Machine Reparations
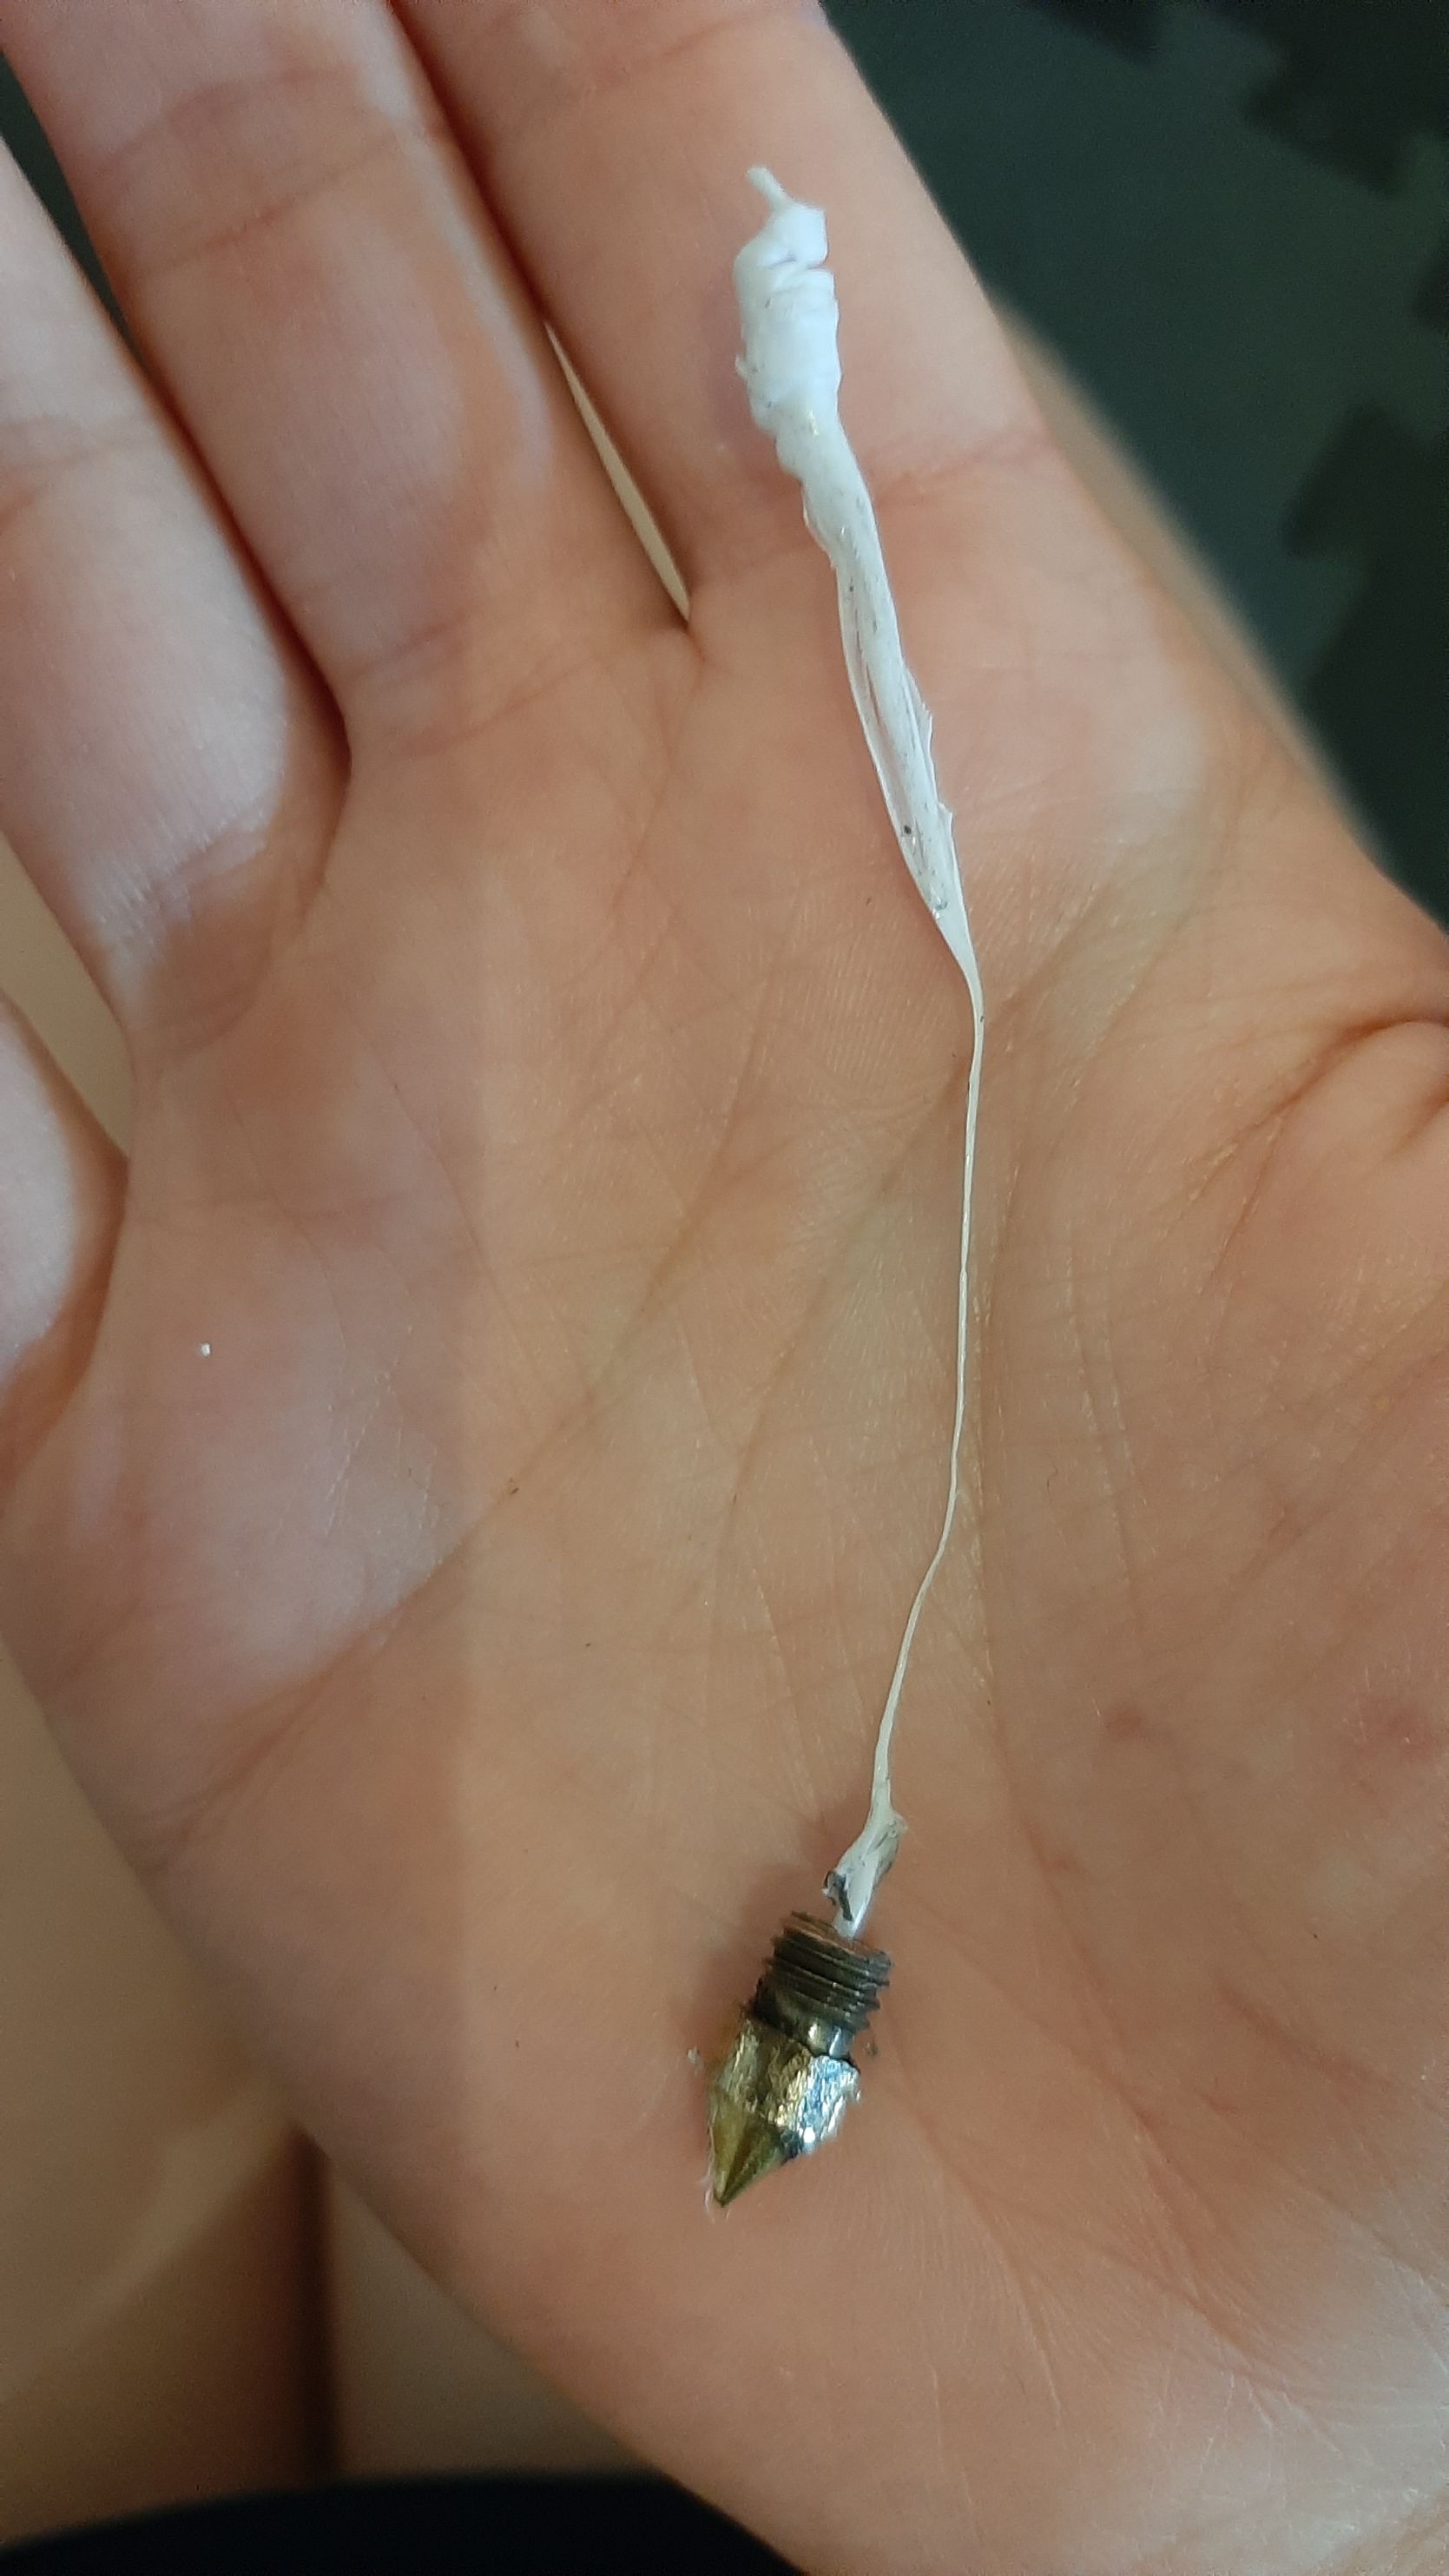
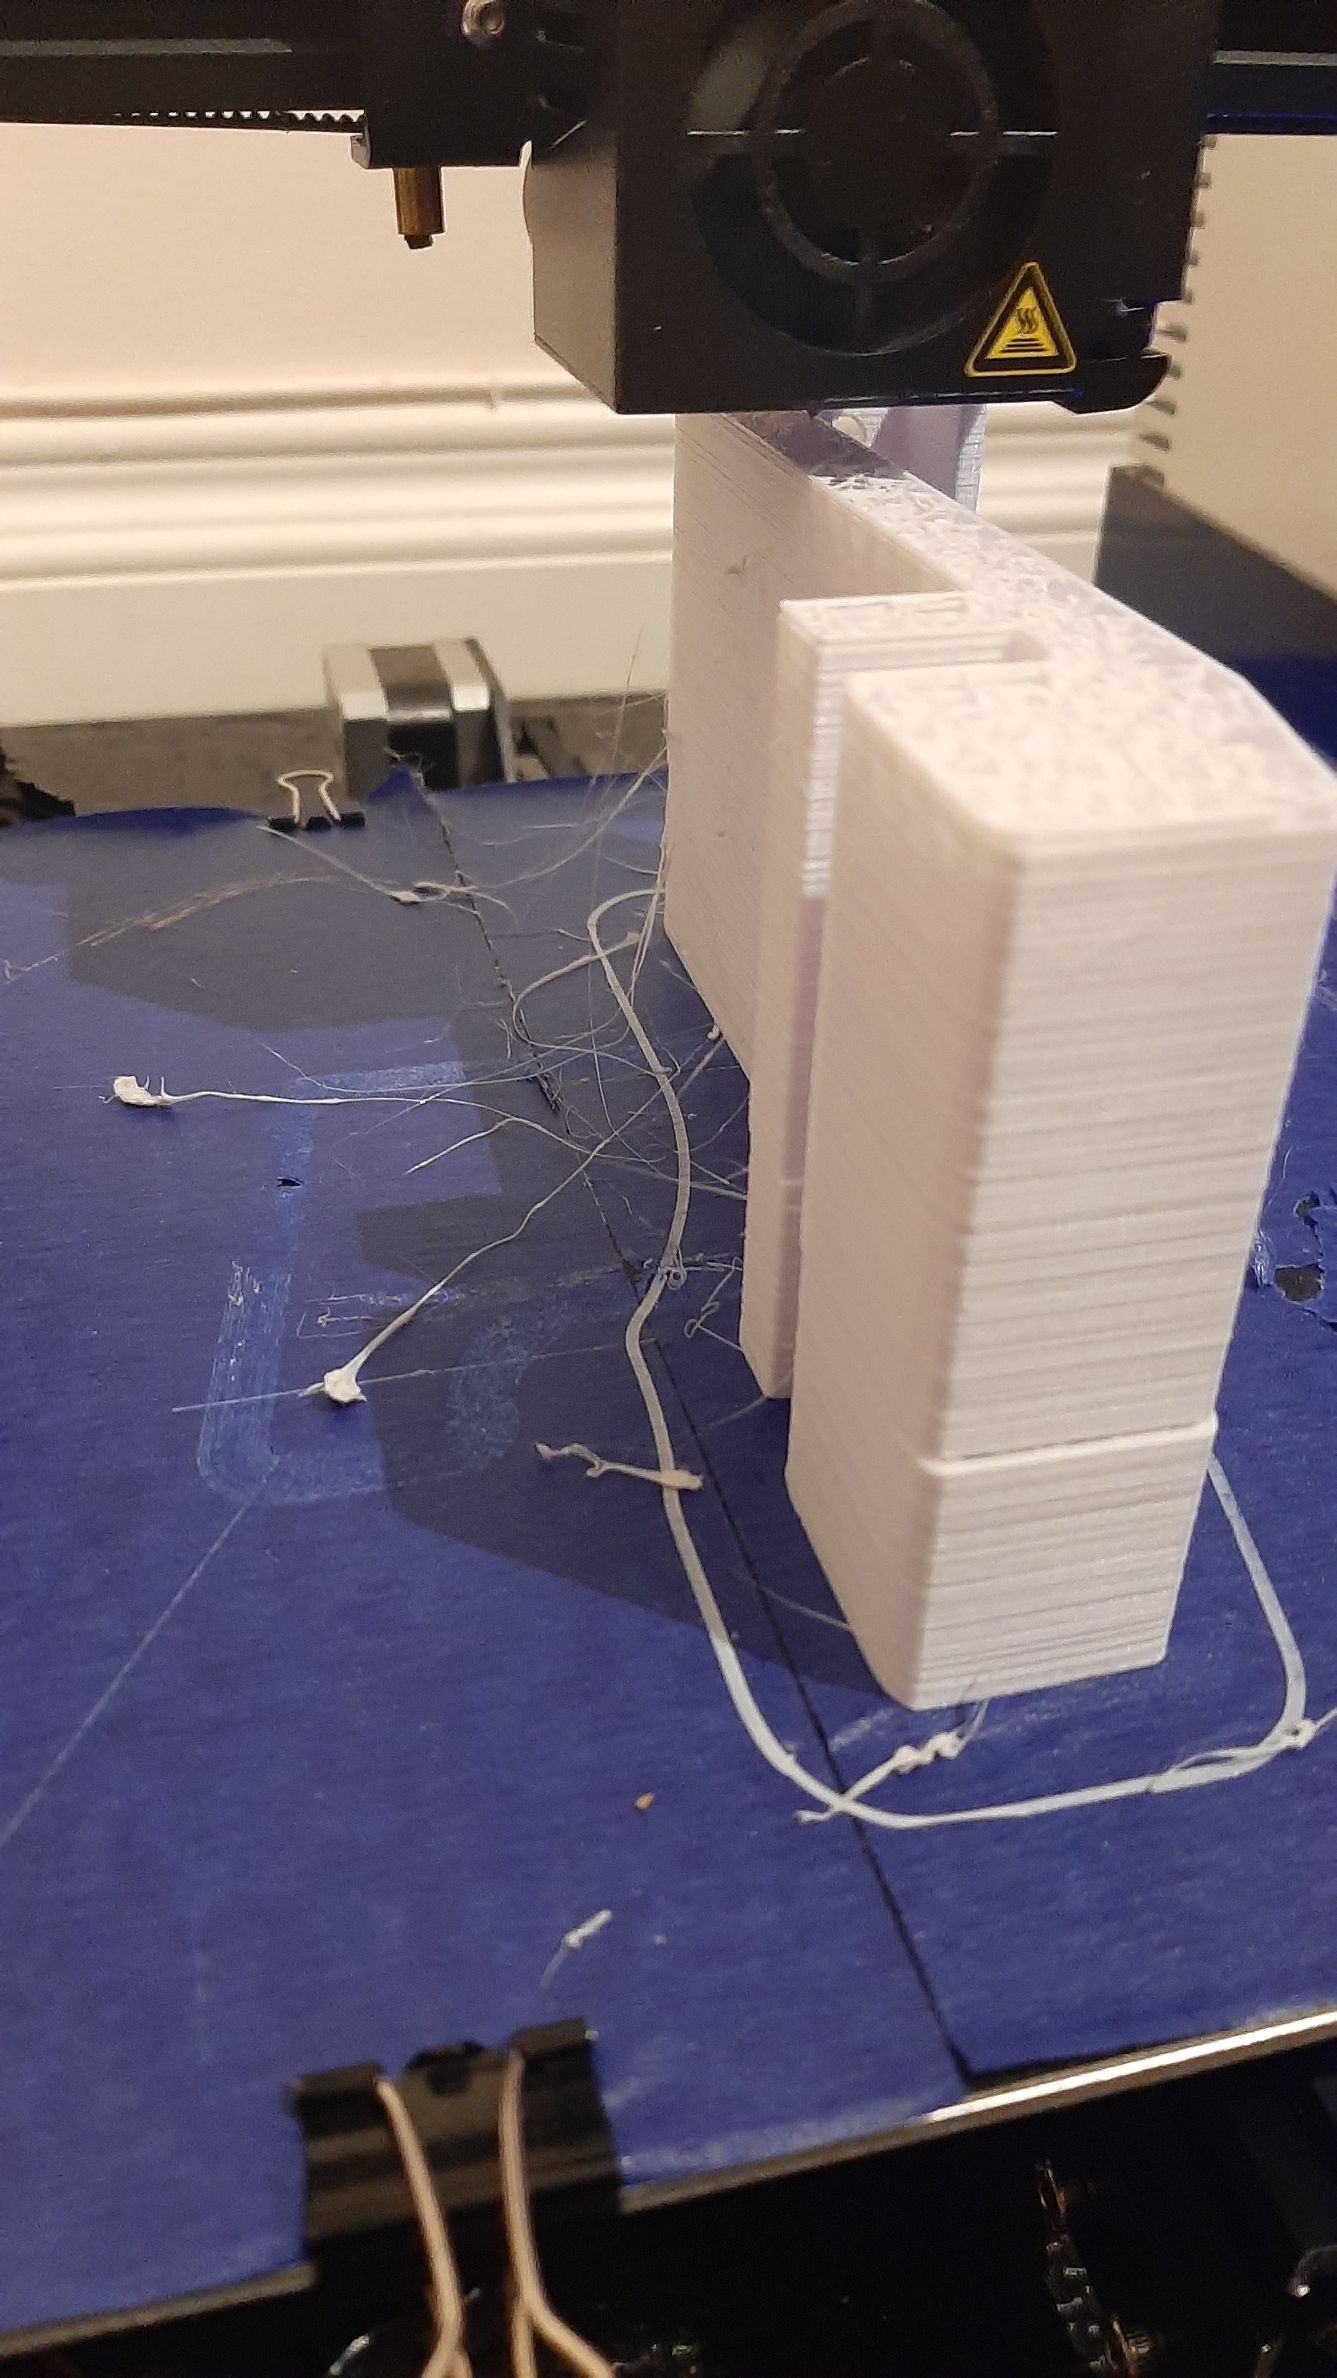
For this part, I had my own 3D printer I borrowed from a relative, a creality ender 3. But i had some problems with it. At first, the extrusion was weird, put it wasn't the temperature or a setting of the machine. When I tried to get the filement out of the tube, it was jammed. I opened the heating element and mannaged to getting the plastic out following a tutorial. I brought it to the lab and we changed the tube, since the part close to the heating element was all black and in a bad state. We did a quick test print and everything seemed to work correctly. But when I got home, I realised that it didn't solve my problem. The nozzle gave me only half the amount of PLA it was supposed to. when I opened the machine, plastic was pouring from everywere; on top of the heating element and around the nozzle. I was thinking maybe the nozzle wasn't the right size or wasn't tight enough. That wasn't it! Desperate, I asked for help at a local 3D printing shop. For anyone living in Montreal, Please visit this place! The guy fixed everything while explaning to me what the problem was, he did a hole checkup of my machine and he even took the time to remplace some part I was worried would worn out soon. For about 5$, he saved me so much time! My machine was like new! In the end, the problem was this; there was a big gap between the tube and the end of the nozzle. It's a common problem, so I tought I'd share. Here's a wonderfull video explaining the problem. The guy from the shop explained to me that to close this gap, the nuzzle actually needs to be tighten to the tube, instead of the heating element.
https://news.mit.edu/2020/defextiles-leveraging-3d-printer-defect-to-create-quasi-textiles-1020
https://3dprintingindustry.com/news/the-mit-scientists-making-3d-printed-fabrics-as-soft-as-skin-157609/
https://www.dezeen.com/2019/02/27/black-panther-best-costume-design-oscar-3d-printing/
He found out that the "roulettes", the ones from the Y axis, were loose. By tightening them, he fixed another problem I had from time to time when making big prints (those weird stairs were not part of the design!).
PLA and TPU
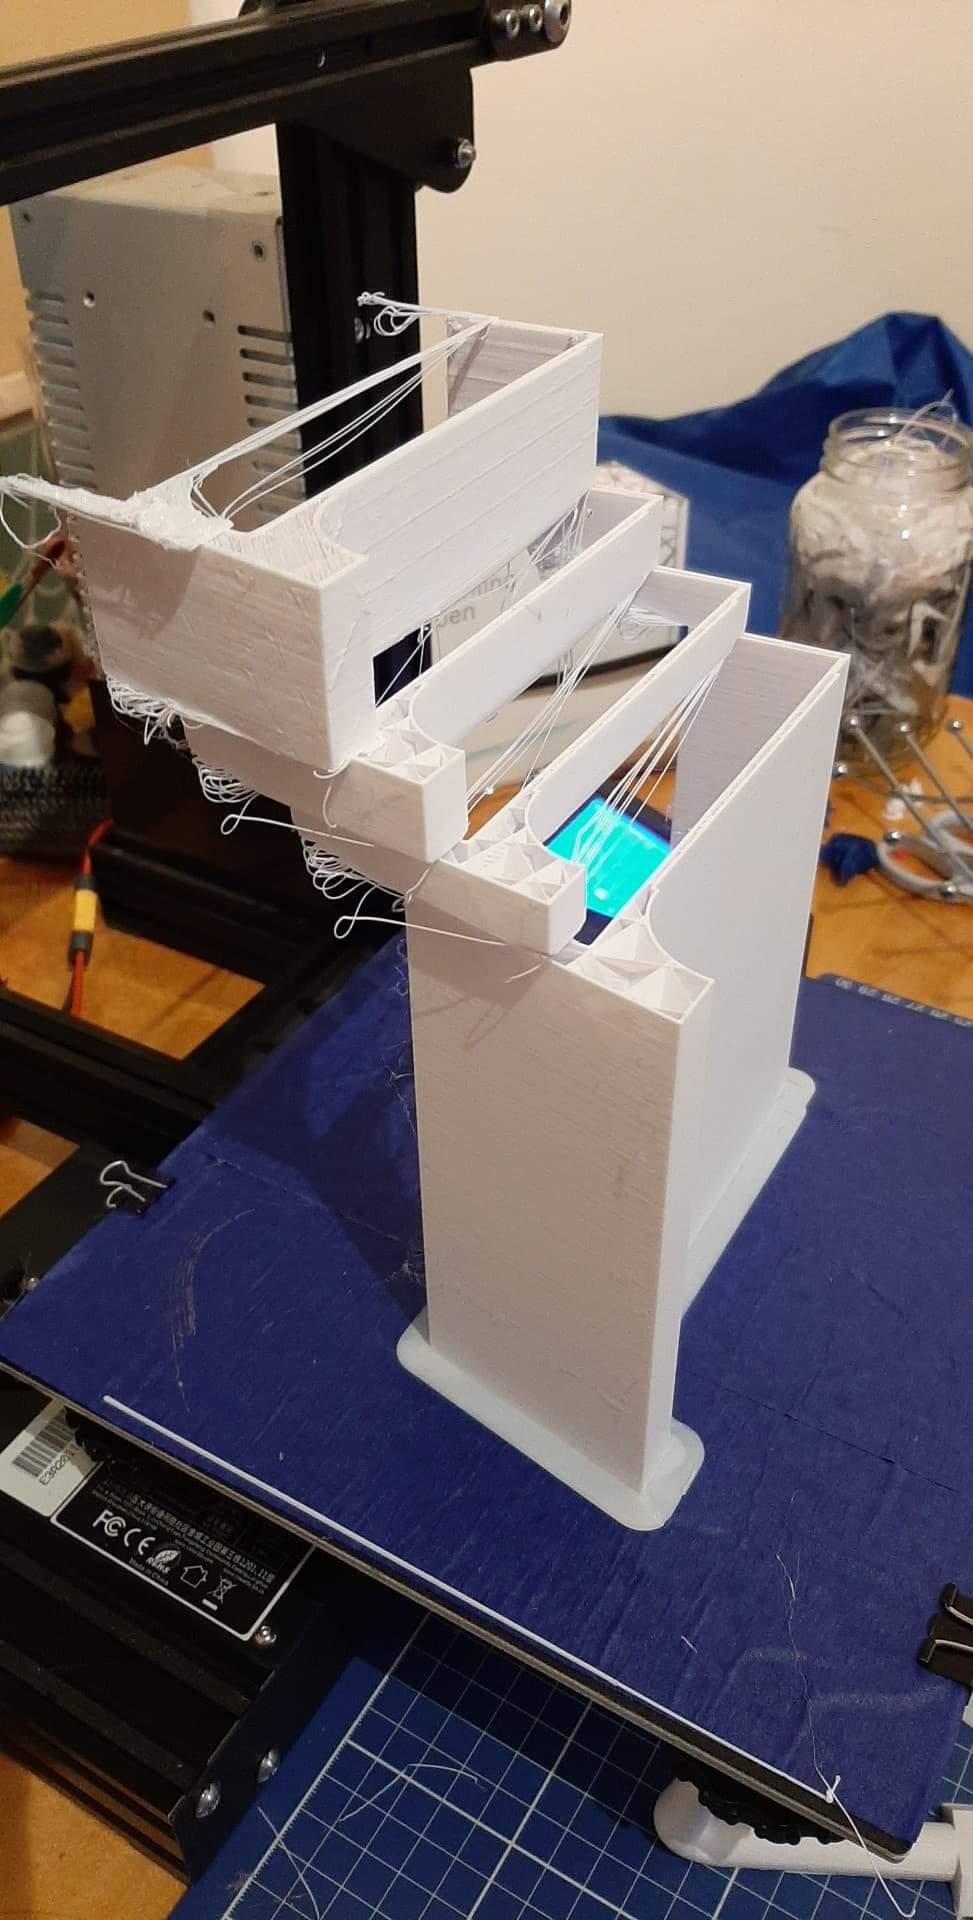
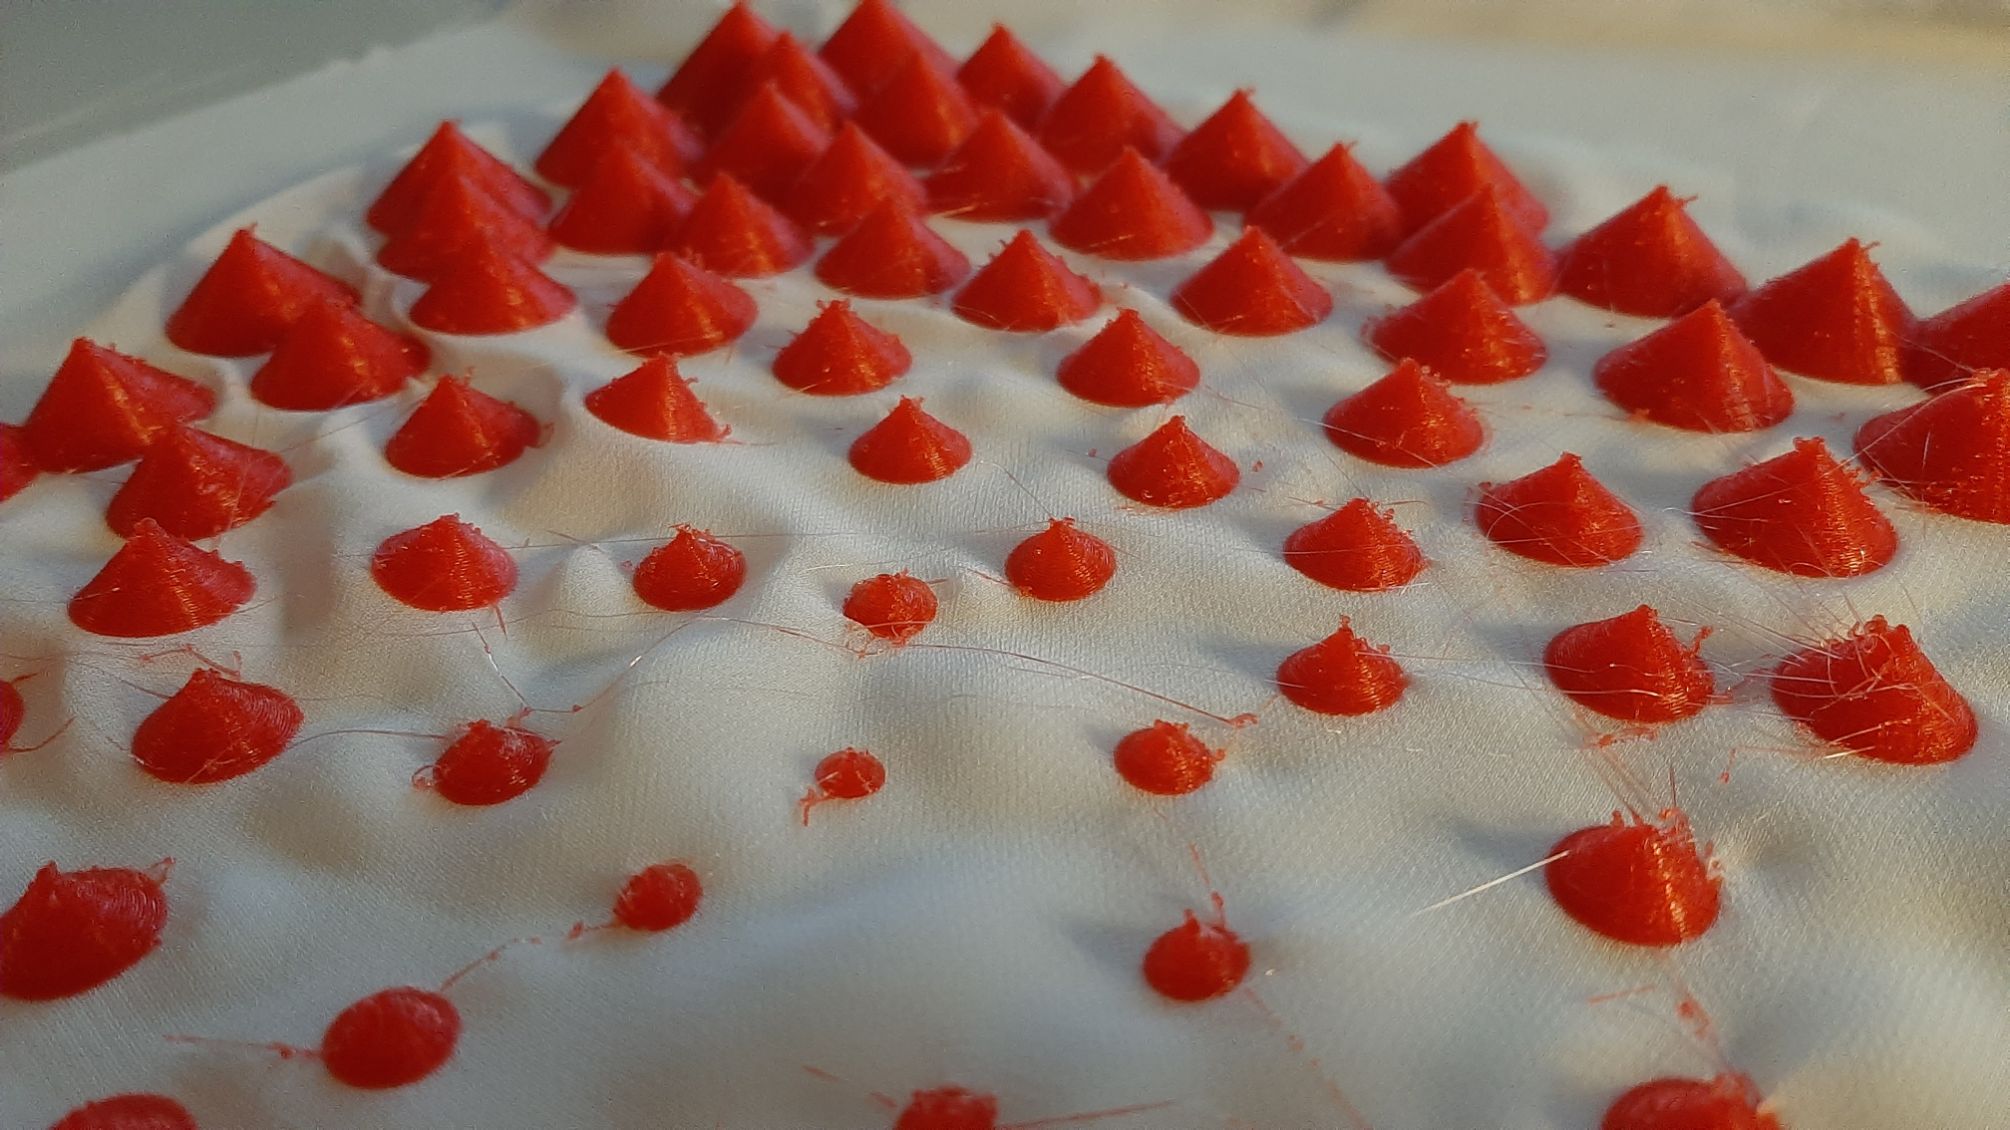
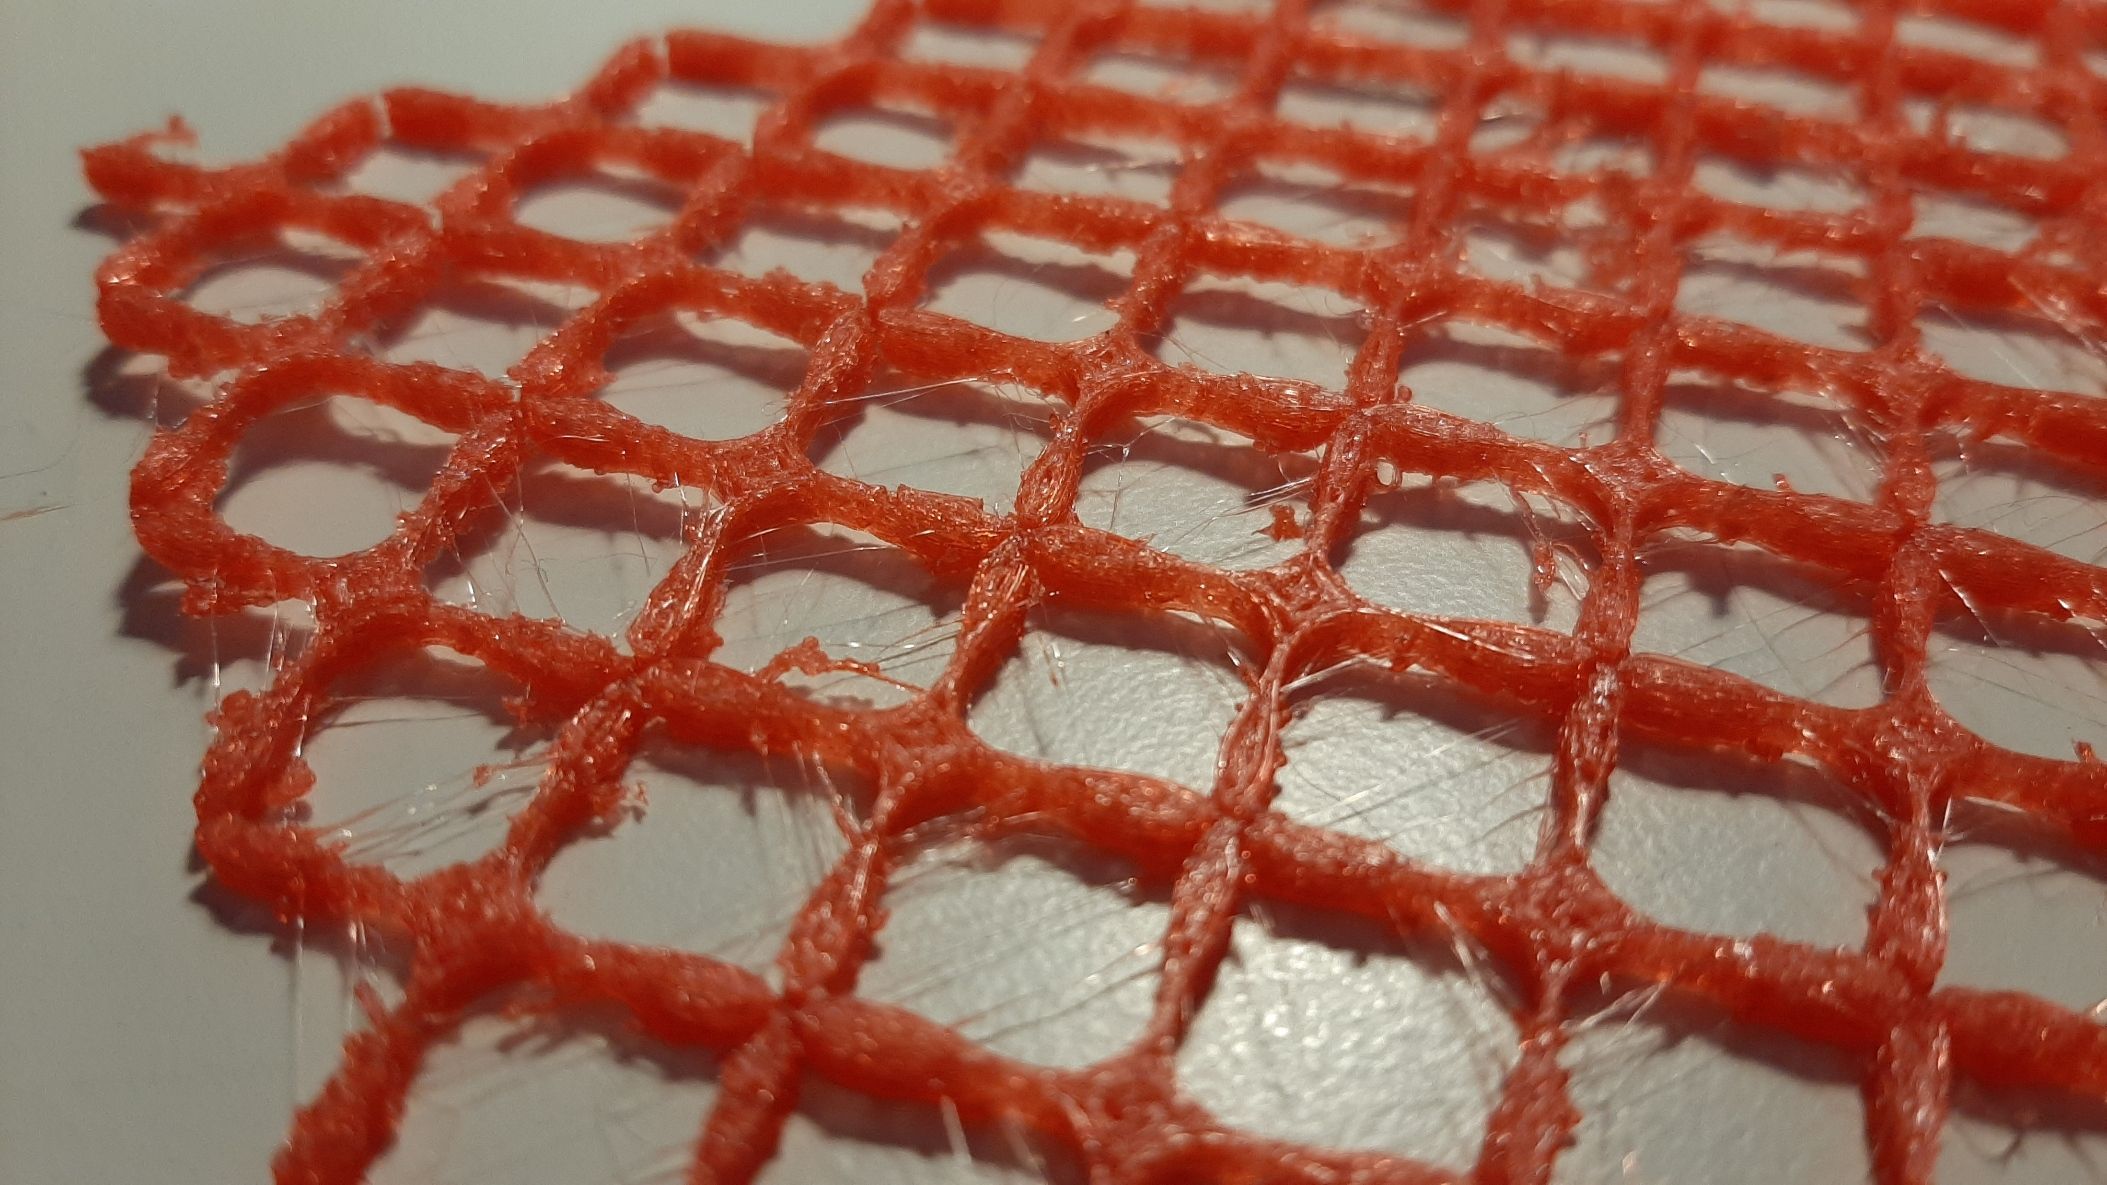
I first printed with PLA on fabric (white) It works very well, even if the 3D shape is so thin. I waited for the printer to complete the first layer before putting my fabric. My fabric is a non-strechy, thin polyester, so the print is impossible to get off! I made sure that the infill was set to 100% for this small design, but kept a normal nevel of details (layer height 0.2mm).
My first test with the TPU was for the mask, and I made sure my settings were okay for this filament following this tutorial.
1. Slow the printing speed (15mm/s).I exported my 3D object from grasshopper in .obj file format. From there, I opened it with Cura: a software to transform any 3D file in Gcode. It's pretty easy to use, I only had to search for my machine and material and the setting were all perferct (I double checked). It printed great, but the filament seem to have touble sticking to one another.
2. Making sure the first layer height is not too close to the printing surface.
3. Disable retraction.
4. Increase extrusion multiplier.
5. Disable supports and rafts.
6. Increase the extruding temperature slightly.
When I used TPU to make smaller shapes, a lot of problems came up. I know my printer (creality ender 3) is not ideal for TPU since the filamment is not pulled in, but pushed into a tube. The print is not super clean because I disabled the pull back from the printer. In the end, I had more problems with TPU than trying to fuse the print to the fabric.
Mycelium Print!
Me and François wanted to try 3D printing mycelium. I had a lot of nutriment mixture ready from last week.
Nutrient mix
The nutrient mix is made of
- 3 gramms of malt extract
- 3 gramms of yeast extract
- 5 gramms of peptone
- 10 gramms of sugar
- Mixed in 1000 ml of distilled water
- With 5 gramms of glycerine
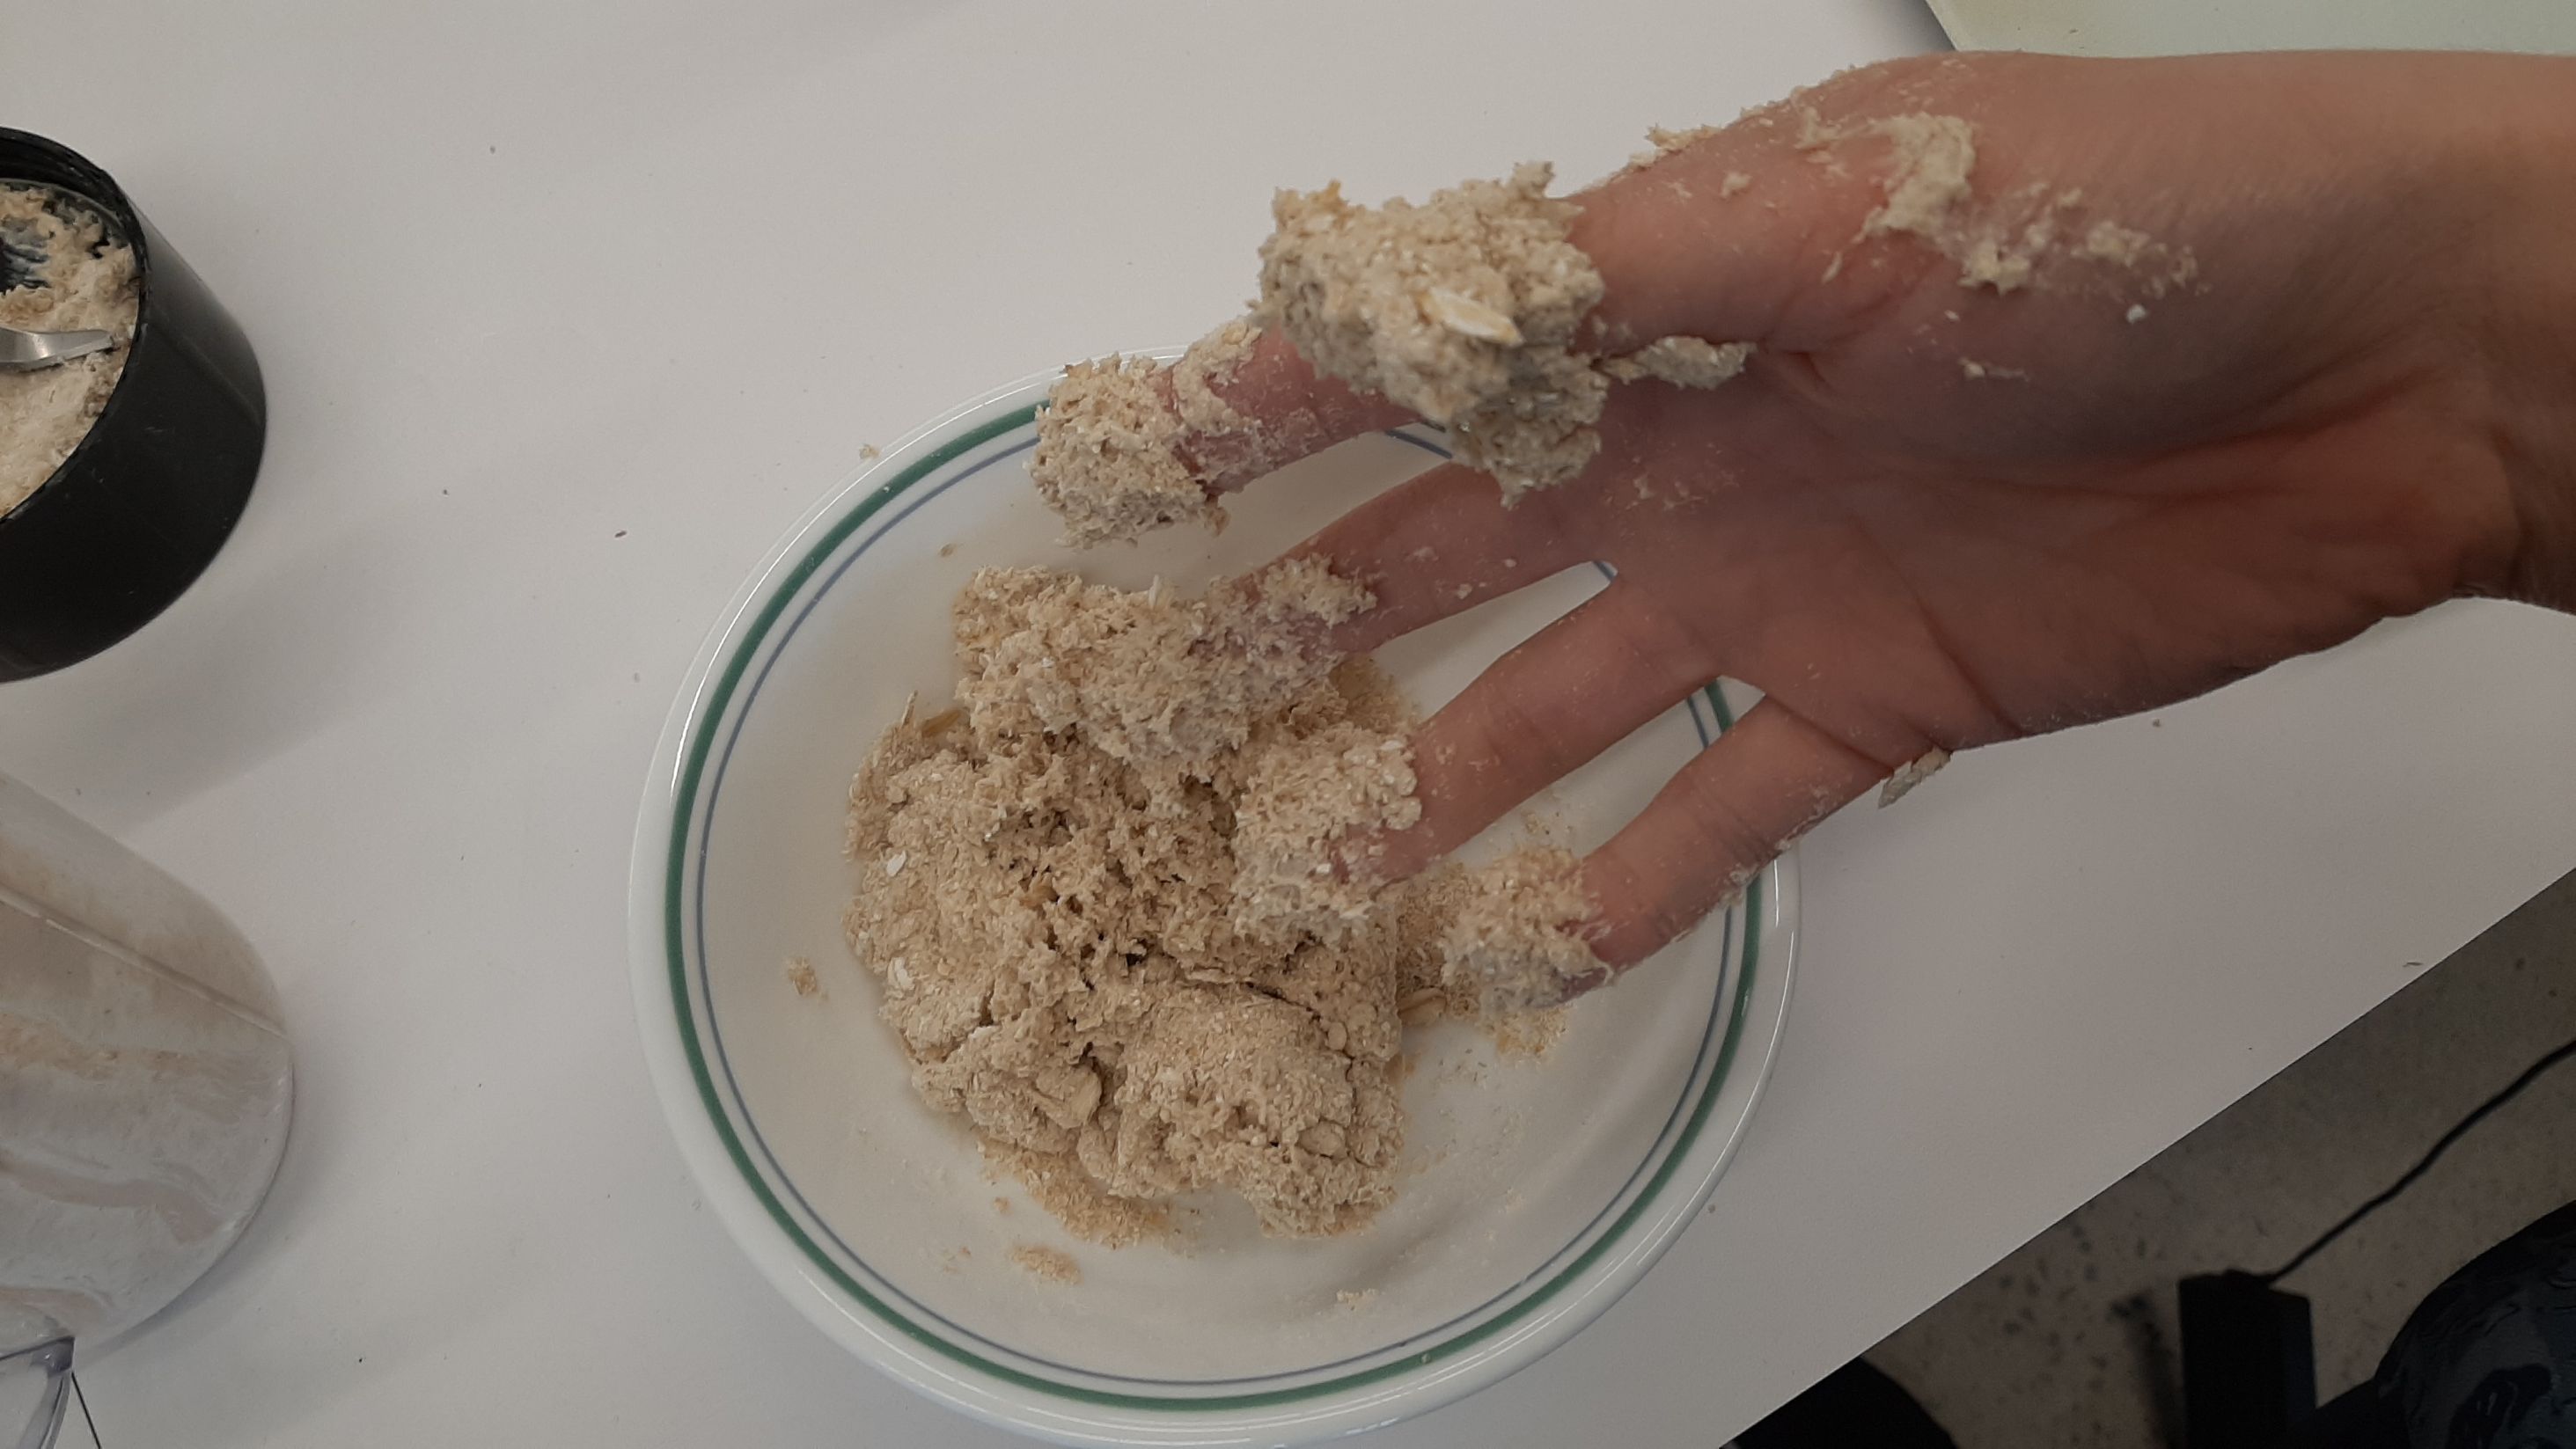
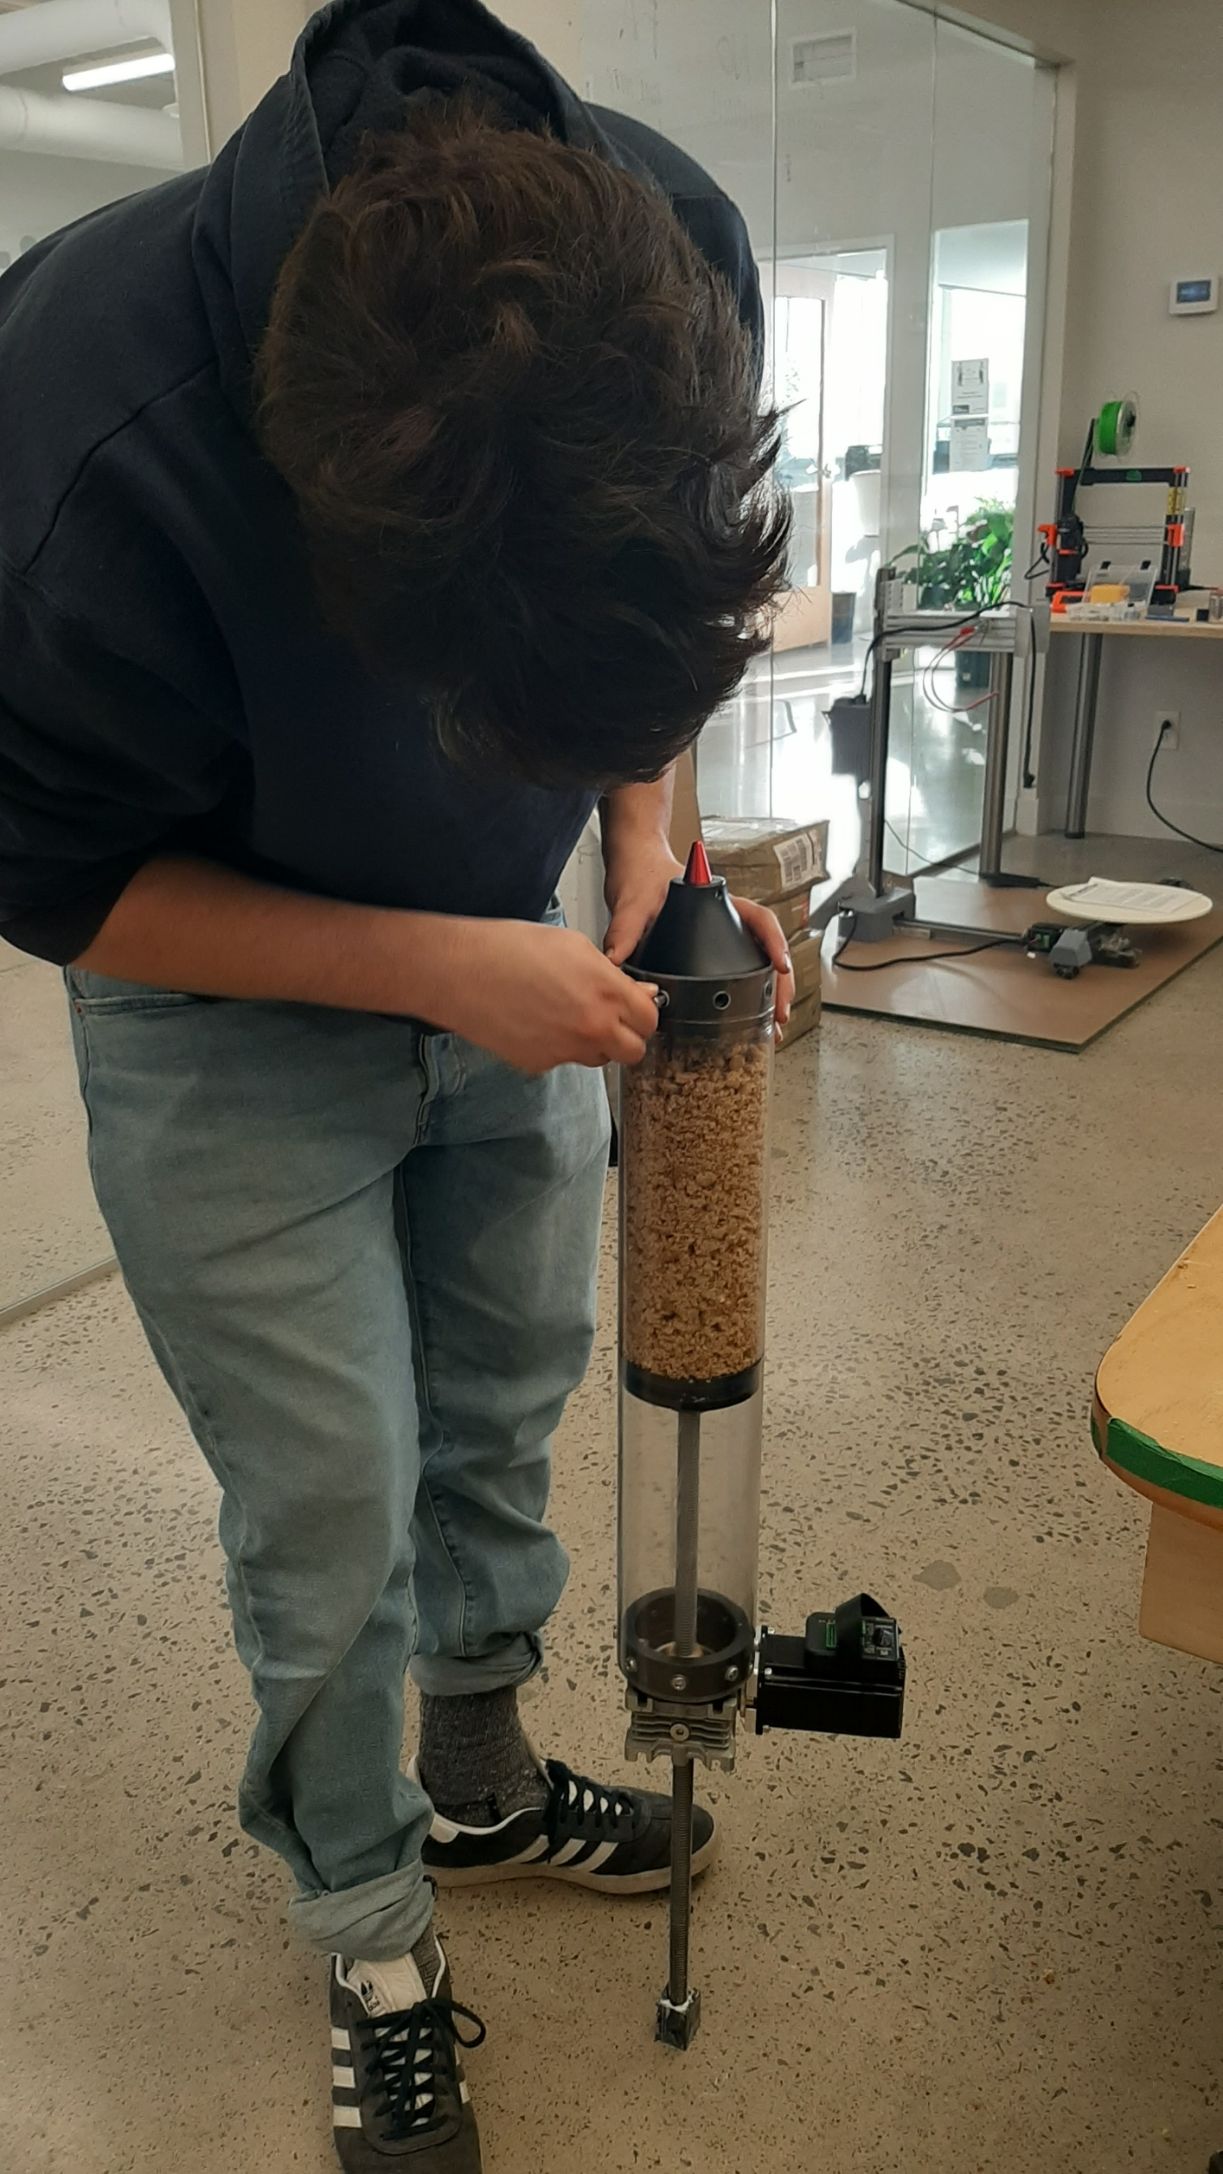
I worked on creating a (very) thick paste we could put in the clay 3d printer. I added oatmeal as the dry component and got my hands all dirty! :D
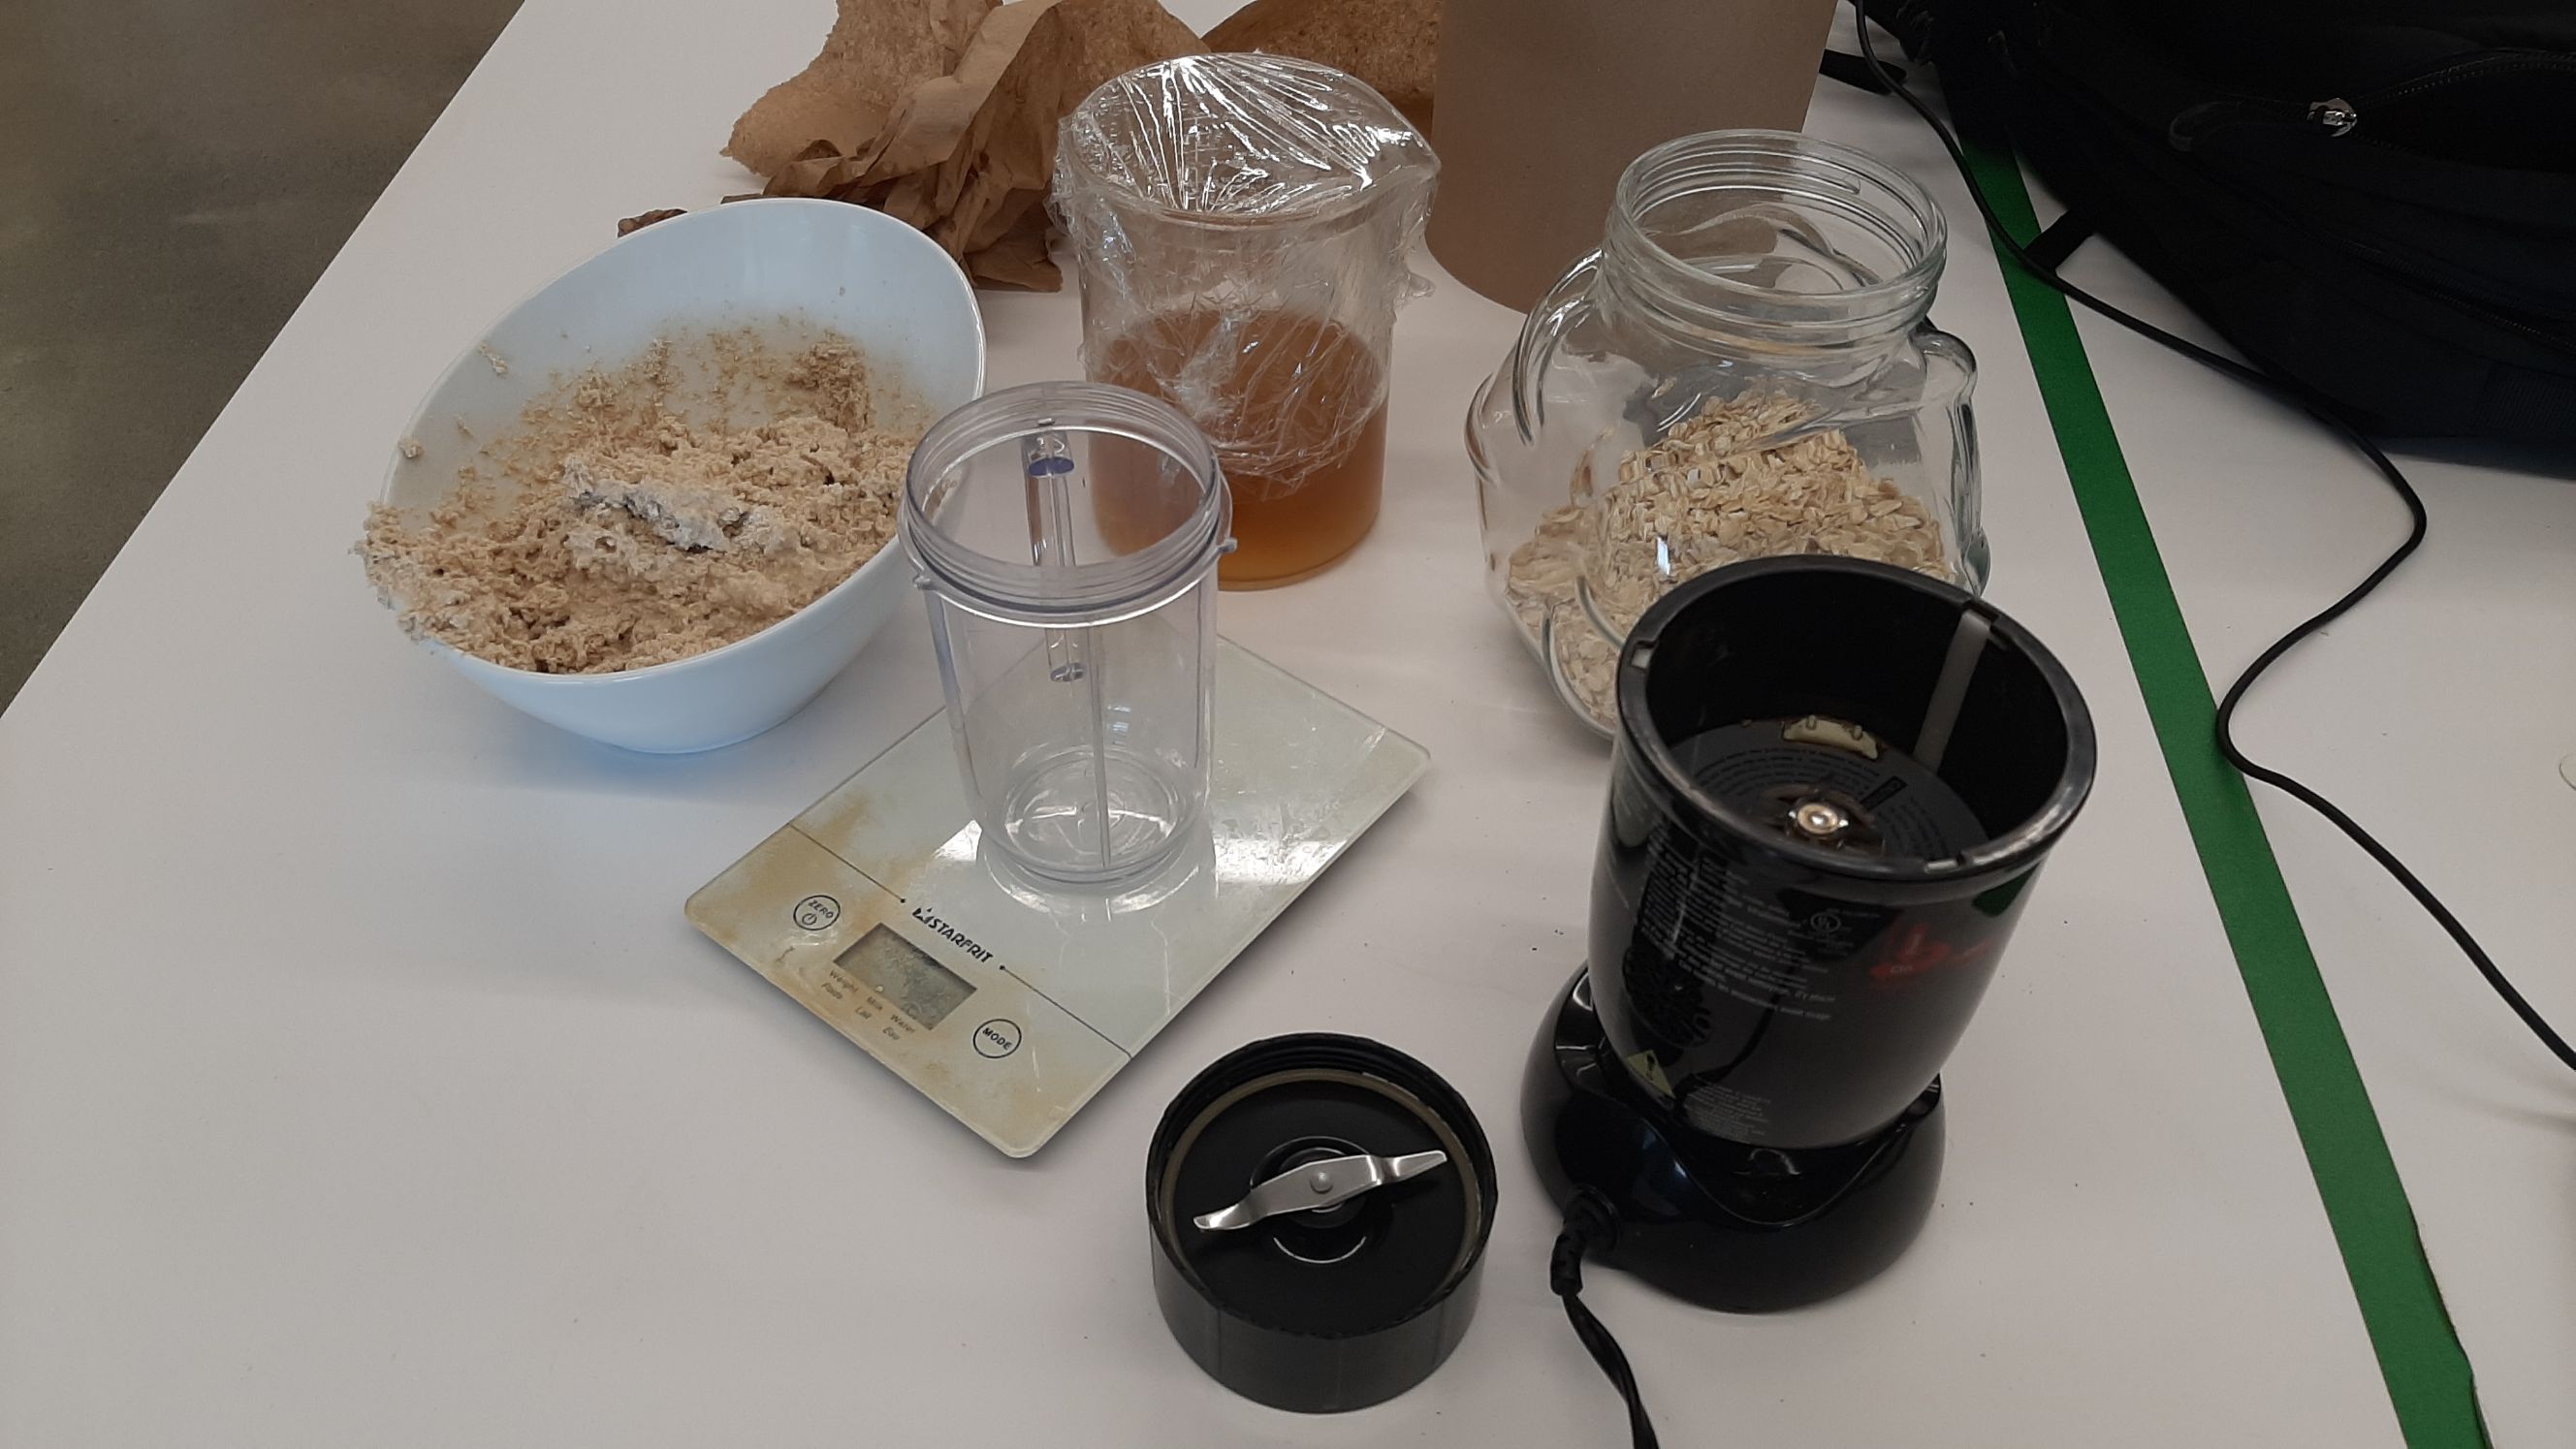
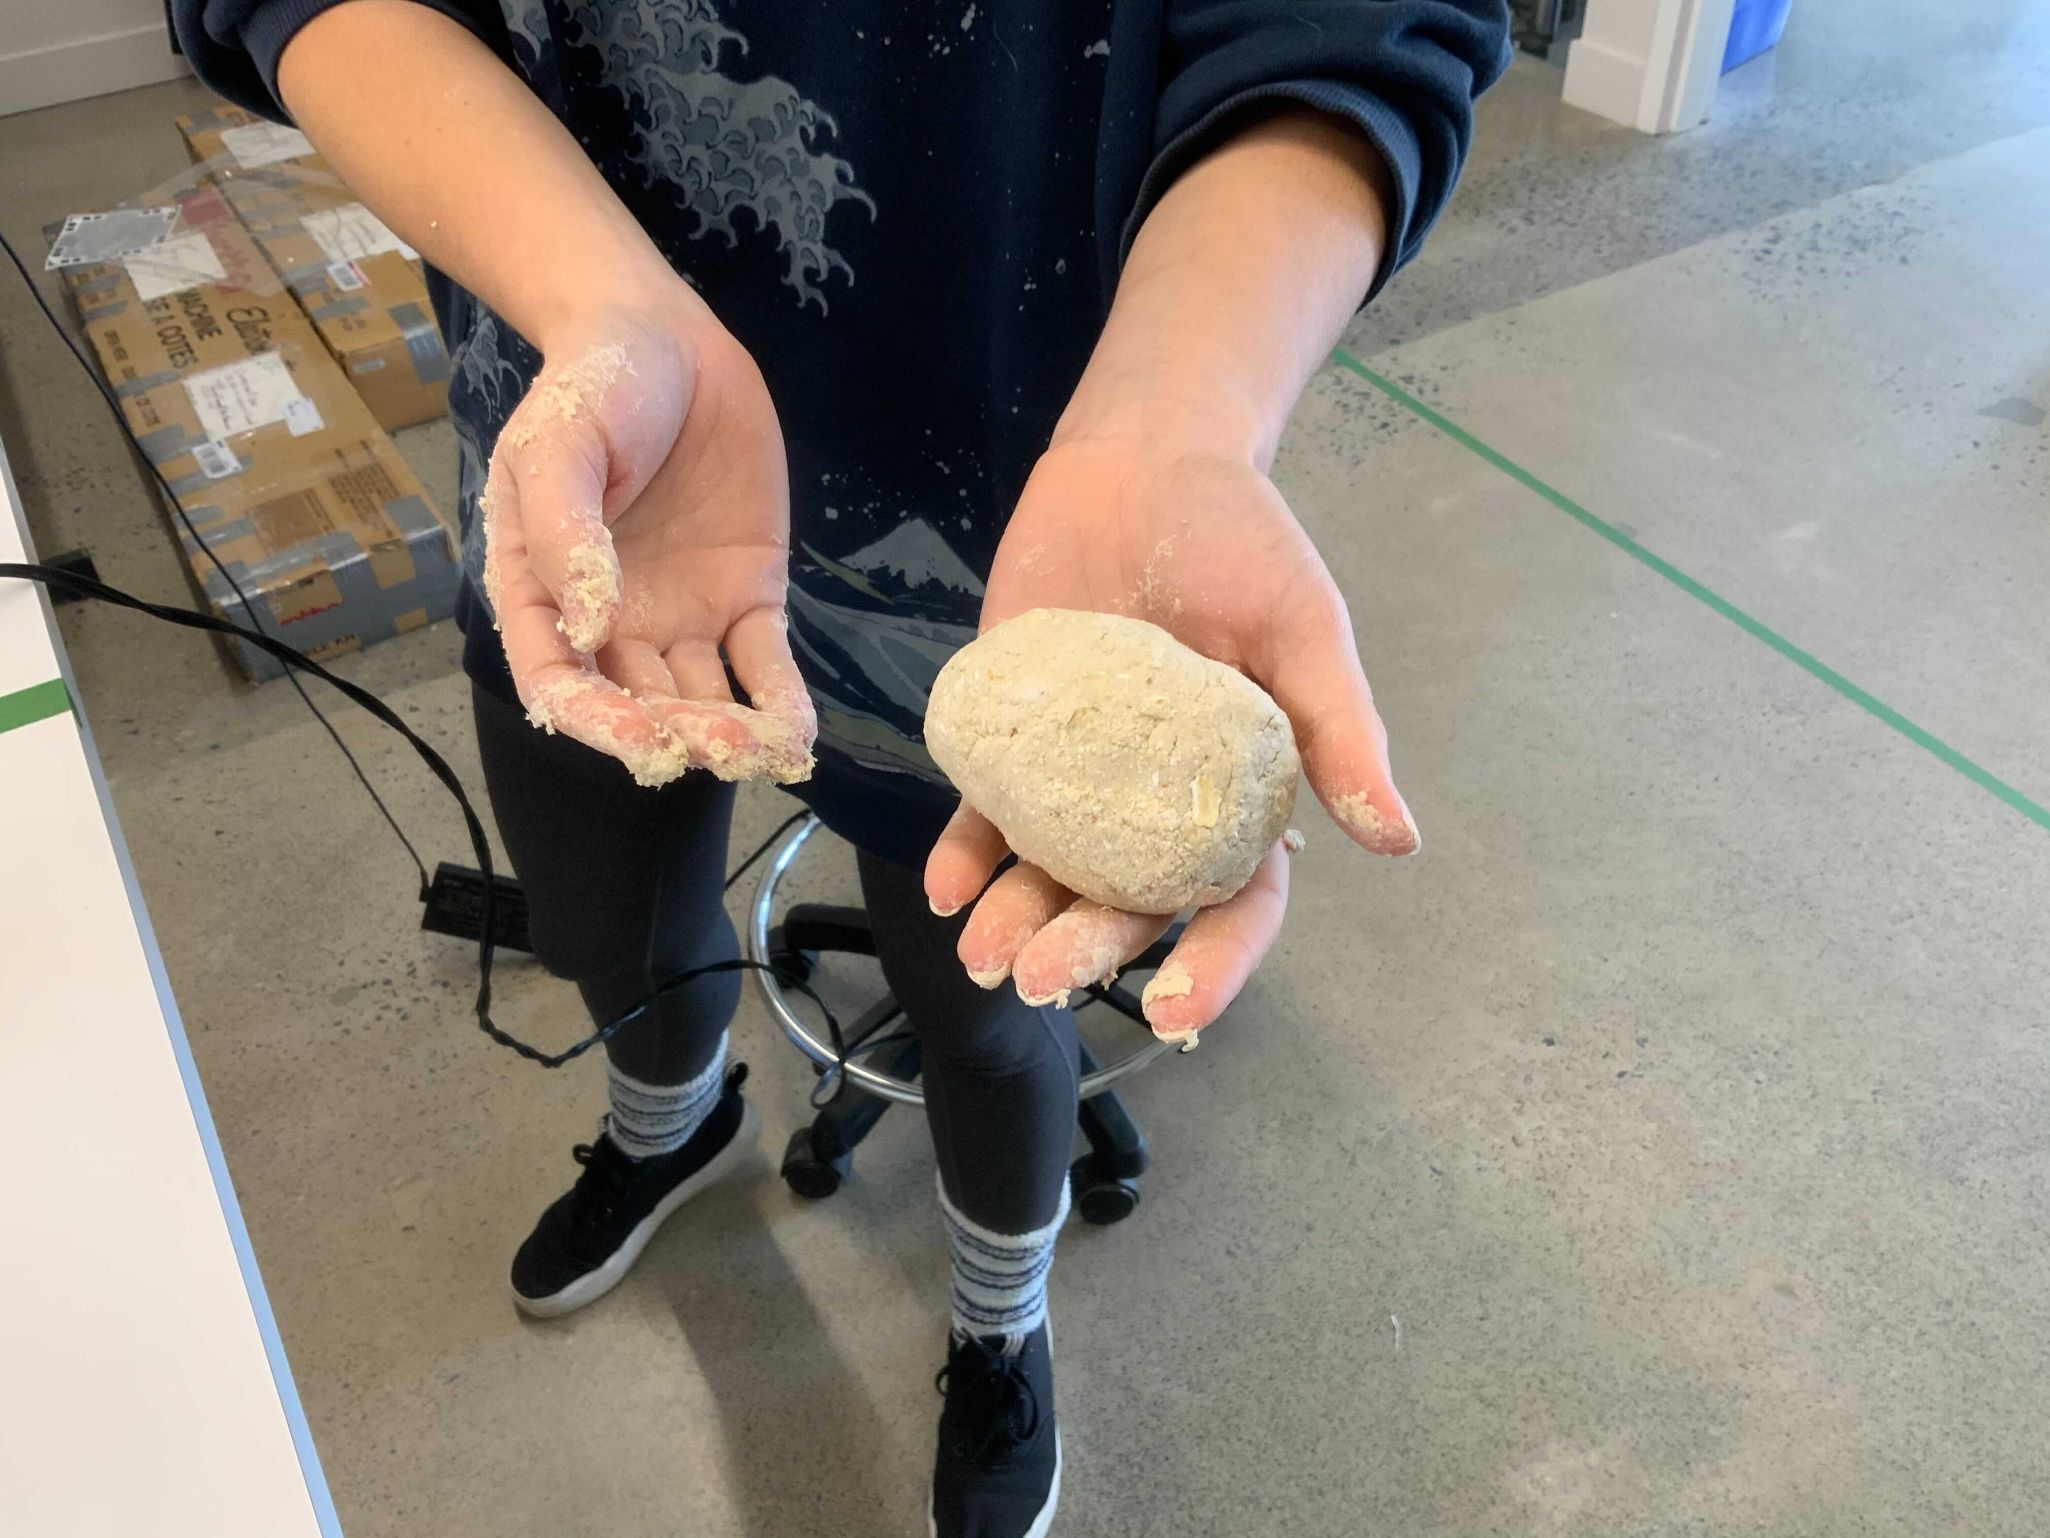
My first experiment was with the foodini, a 3D printer for food. But the software associated with it is hard to use. It turned out that my dough, (that I made hard for the print to hold it's shape) was too hard for the machine to extrude it. I tried to add water to it, but the water and the dough didn't want to mix together at all. I trew away the mix, and kept only a small sample to test if the mycelium would like it. IT LOVED IT! I had mycelium growing everywhere!
Later, I made a bigger version of the exact same mix.
550g of oatmeal
400g of nutriment mix
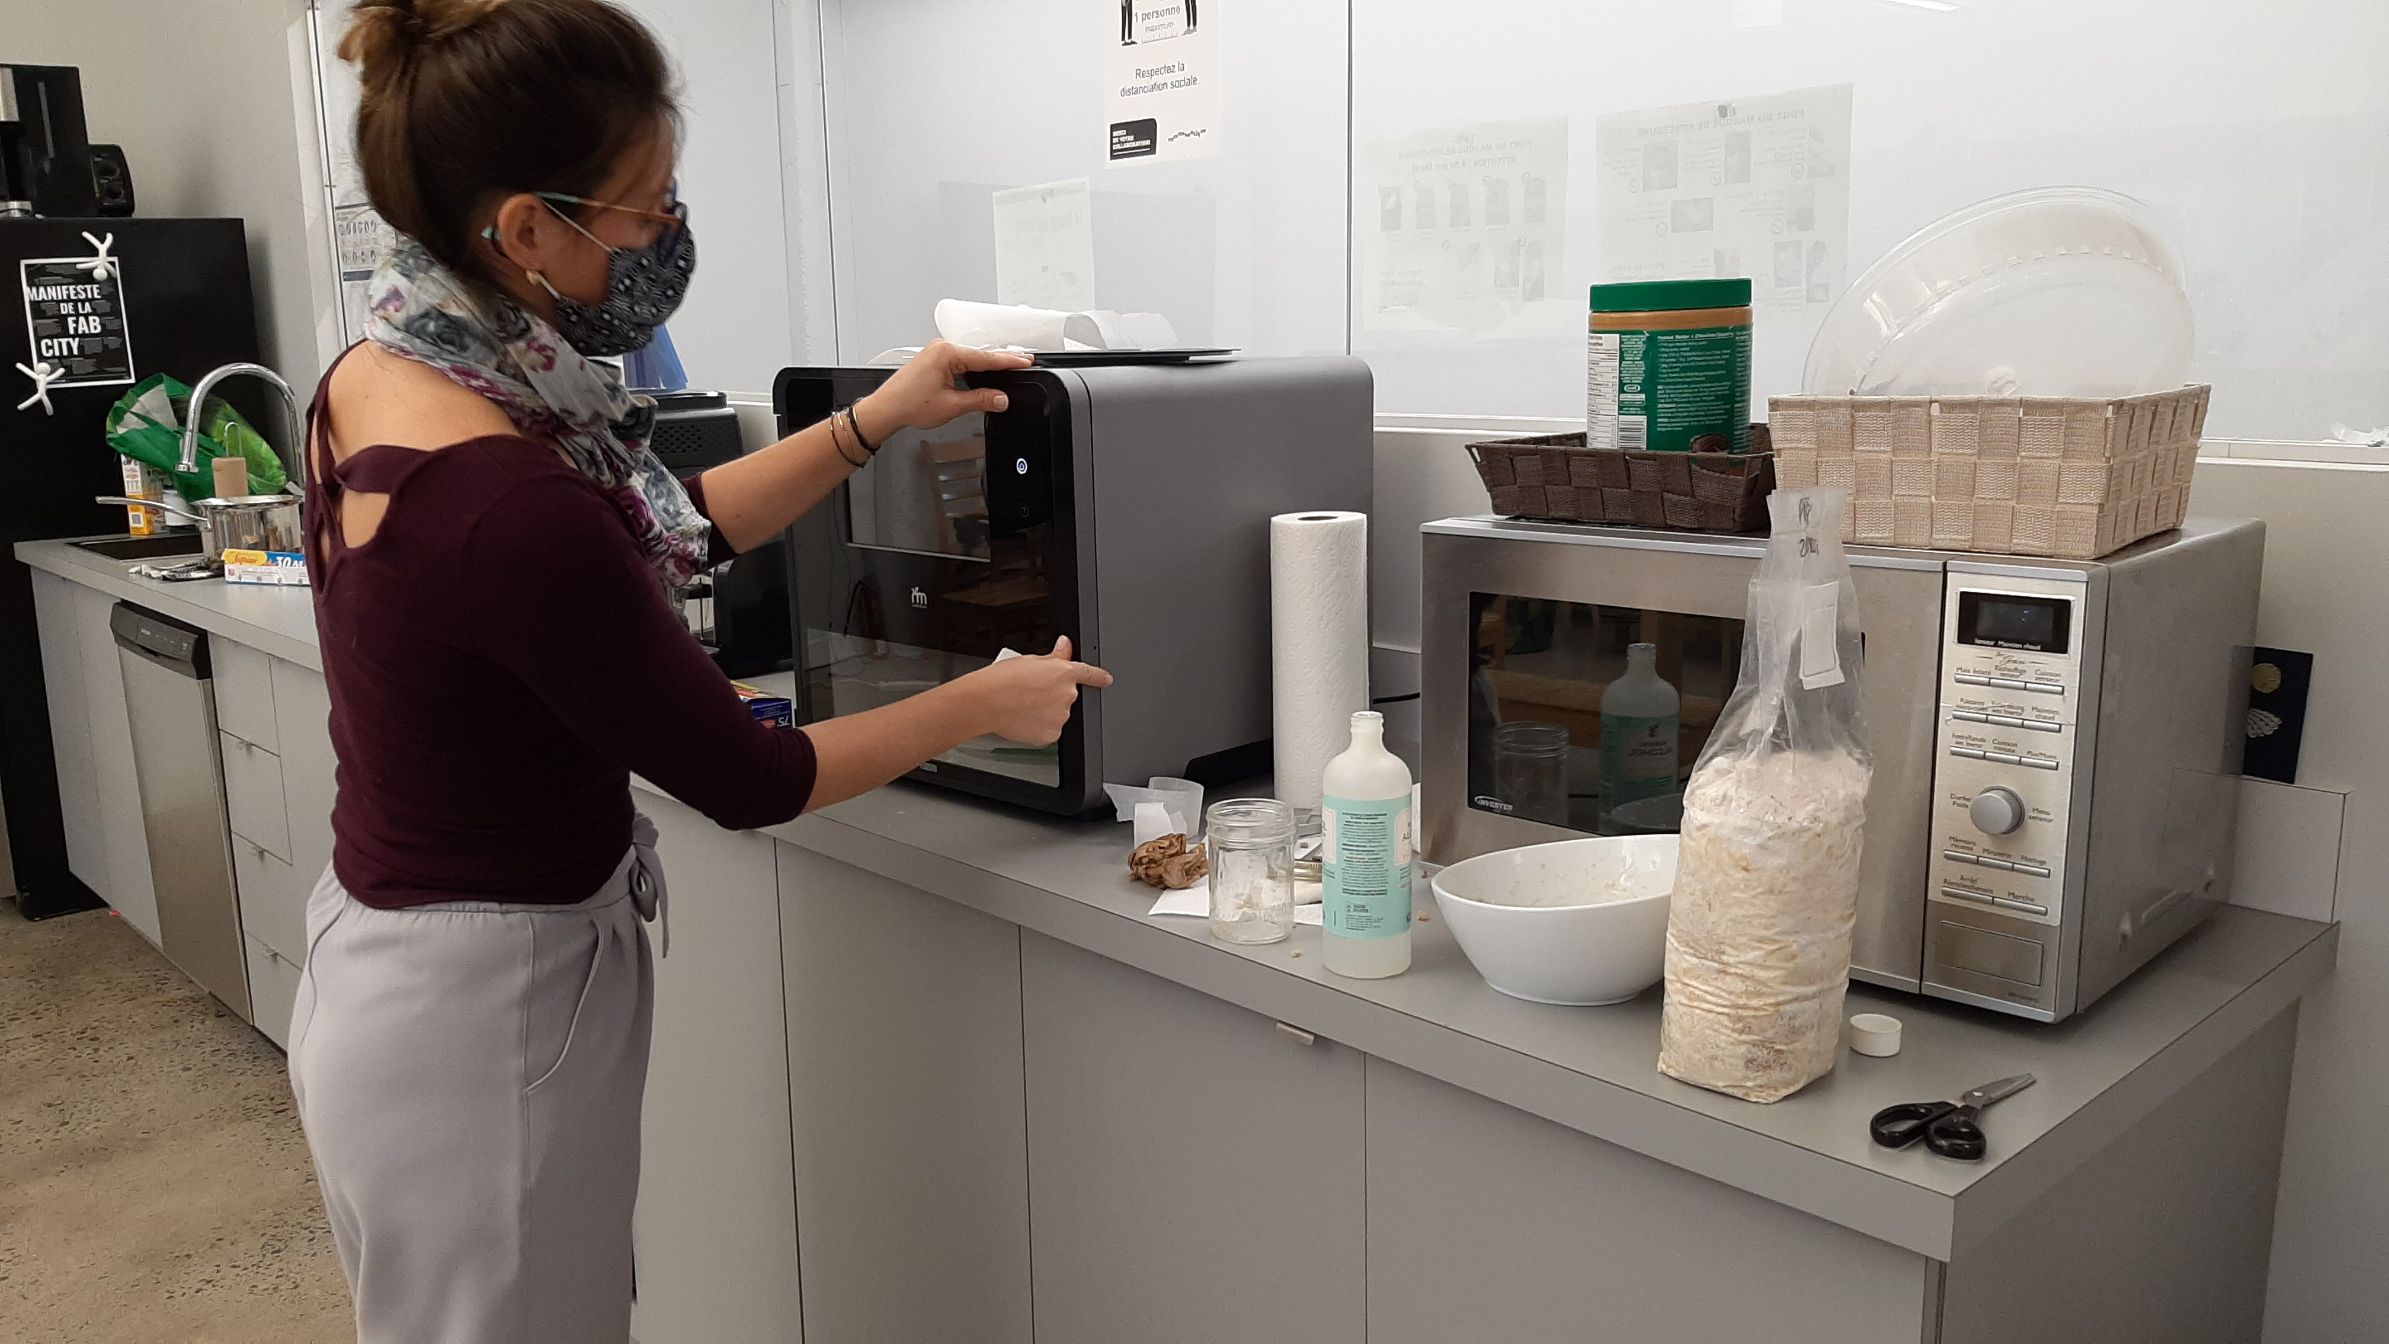
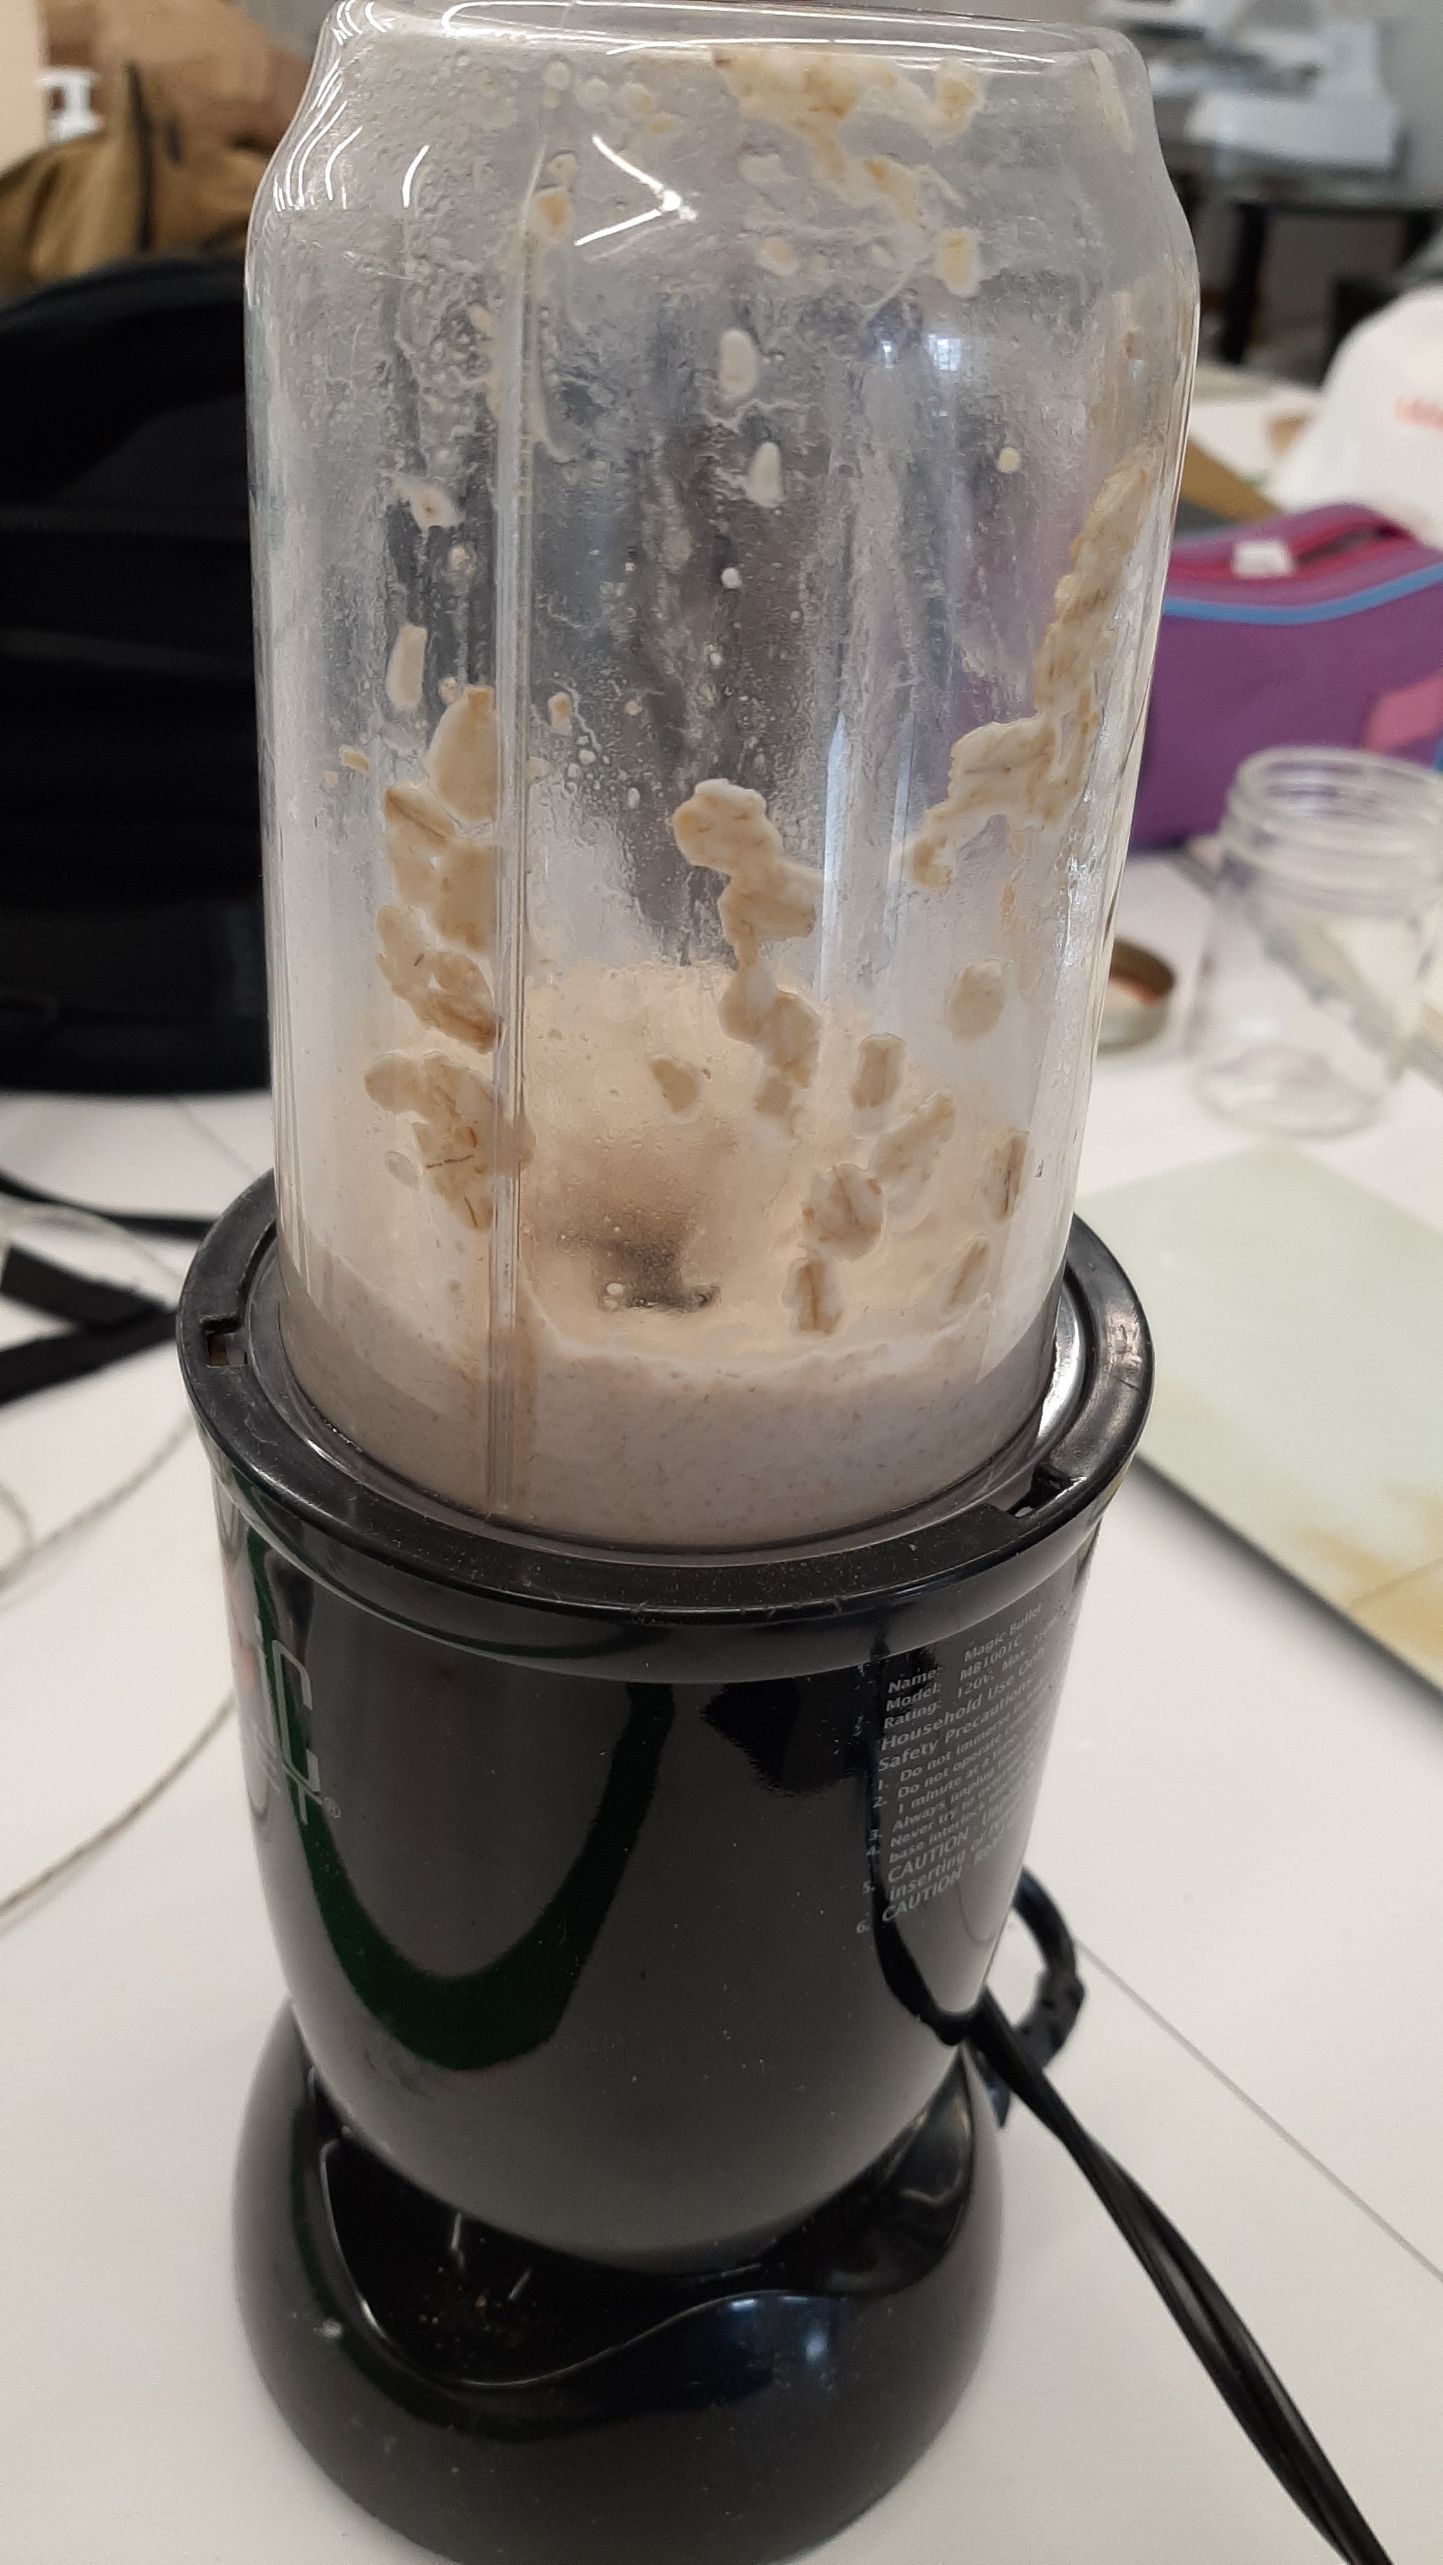
I mixed everything in the blender, and ended up with a thick dough, like plasticine. I put everything in a big jar, and boiled the jar for two hours, instead of the pressure cook. While it was cooling, we prepared a space and sterilize everything, our workspace, bowls, tools and all the parts of the printer that would be in contact with the mycelium. Once my dough was cold enough, I got it out and added the mycelium, by carefully breaking it in small pieces (our mycelium was growing in sawdust). After mixing it and making sure ther was mycelium everywhere, we loaded the tube of the printer.
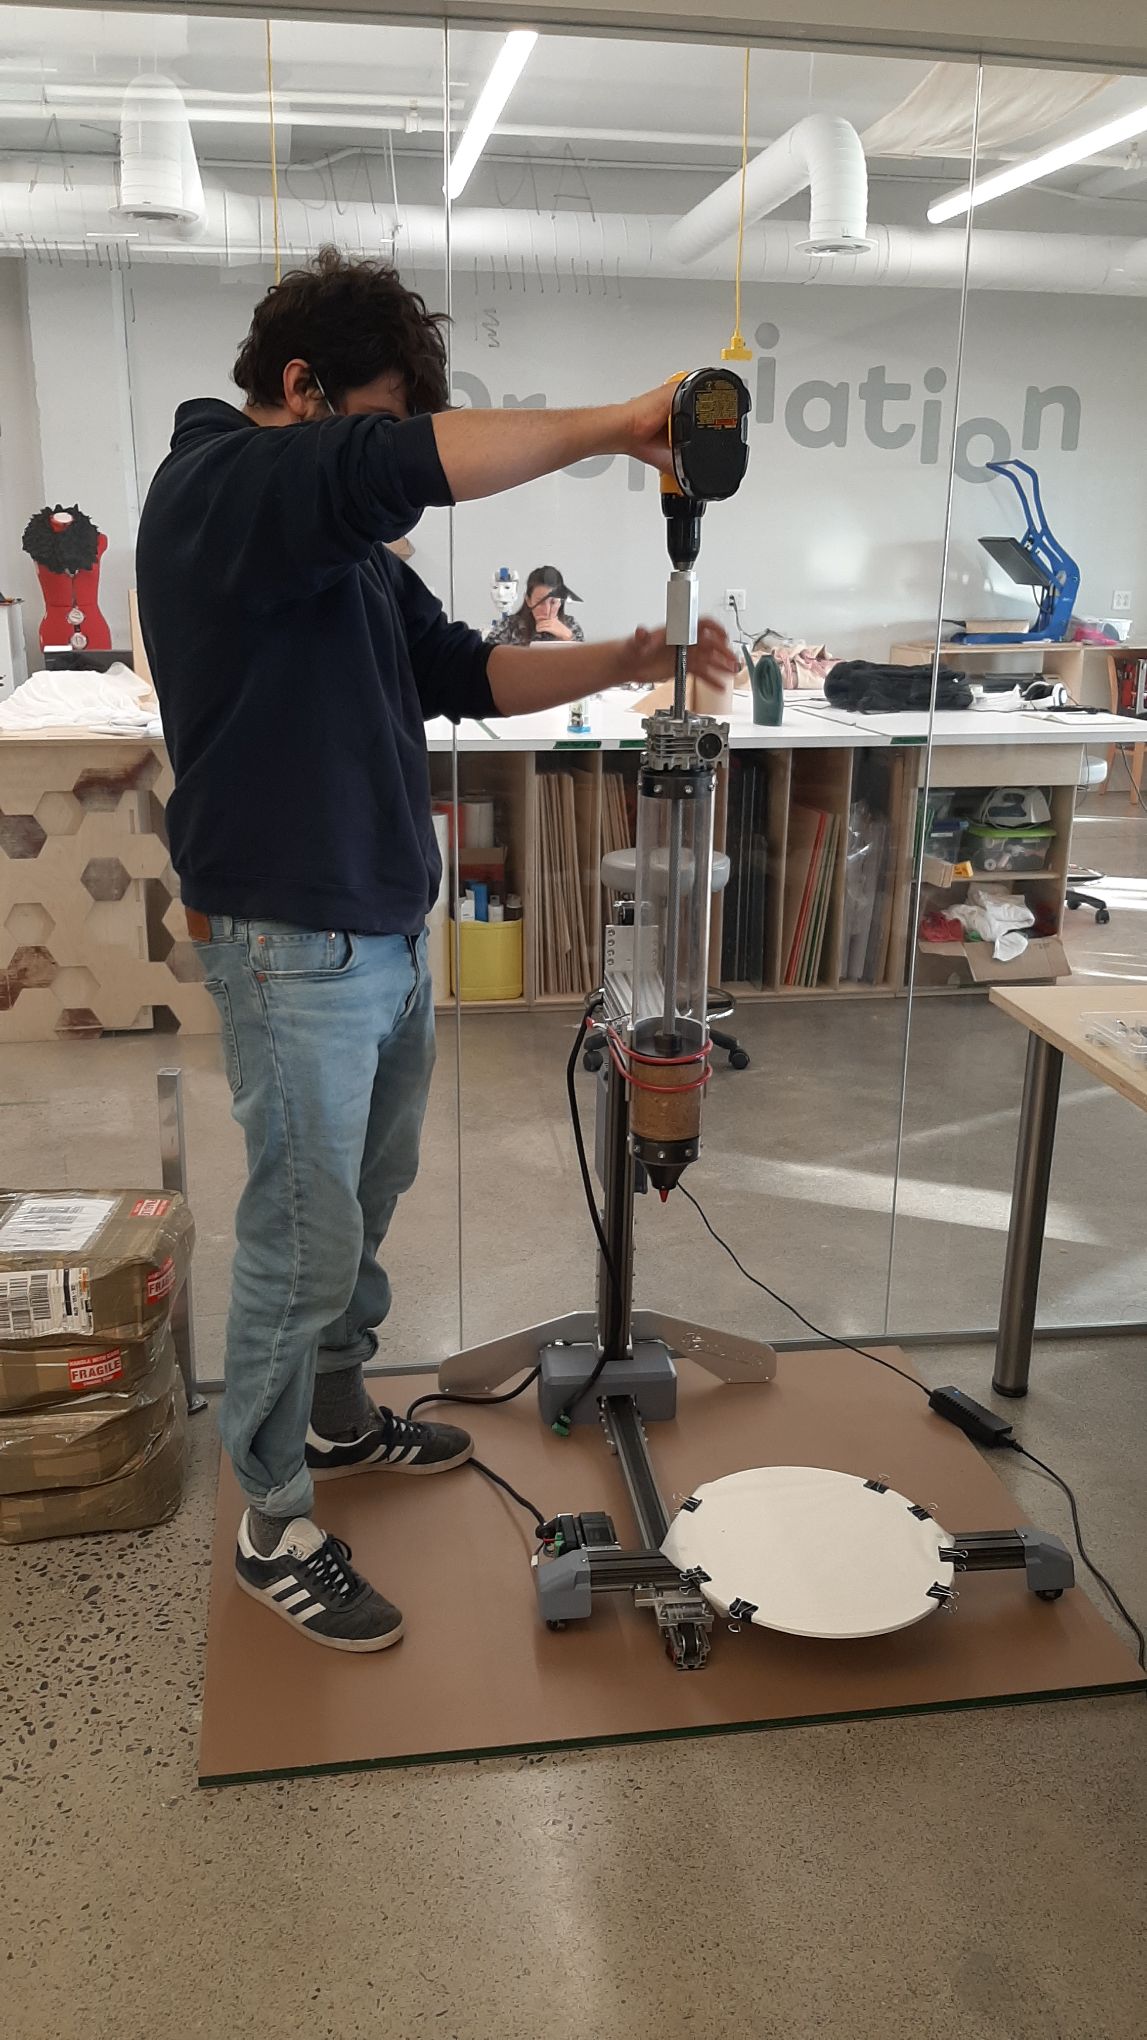
The clay printer was harder to deal with than we tought, and most of the time, the documentations were incomplete... It took longer, but we managed to get the hang of it.
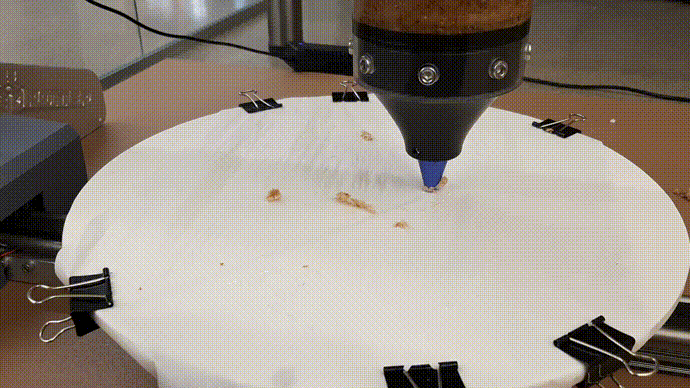
To load or onload the material, we used a drill. the machine can control this part, but the extrusion is adapted to the clay, and very slow. the zero of the machine had to be set by placing the tube in at the right hight. This is why our firt test is a bit too low. We had a lot of problems, and even when we changed the extruder head for a bigger one, the extrusion was super stiff, irregular and didn't stick to the board. We took a sample of that mix before changing our recepie.
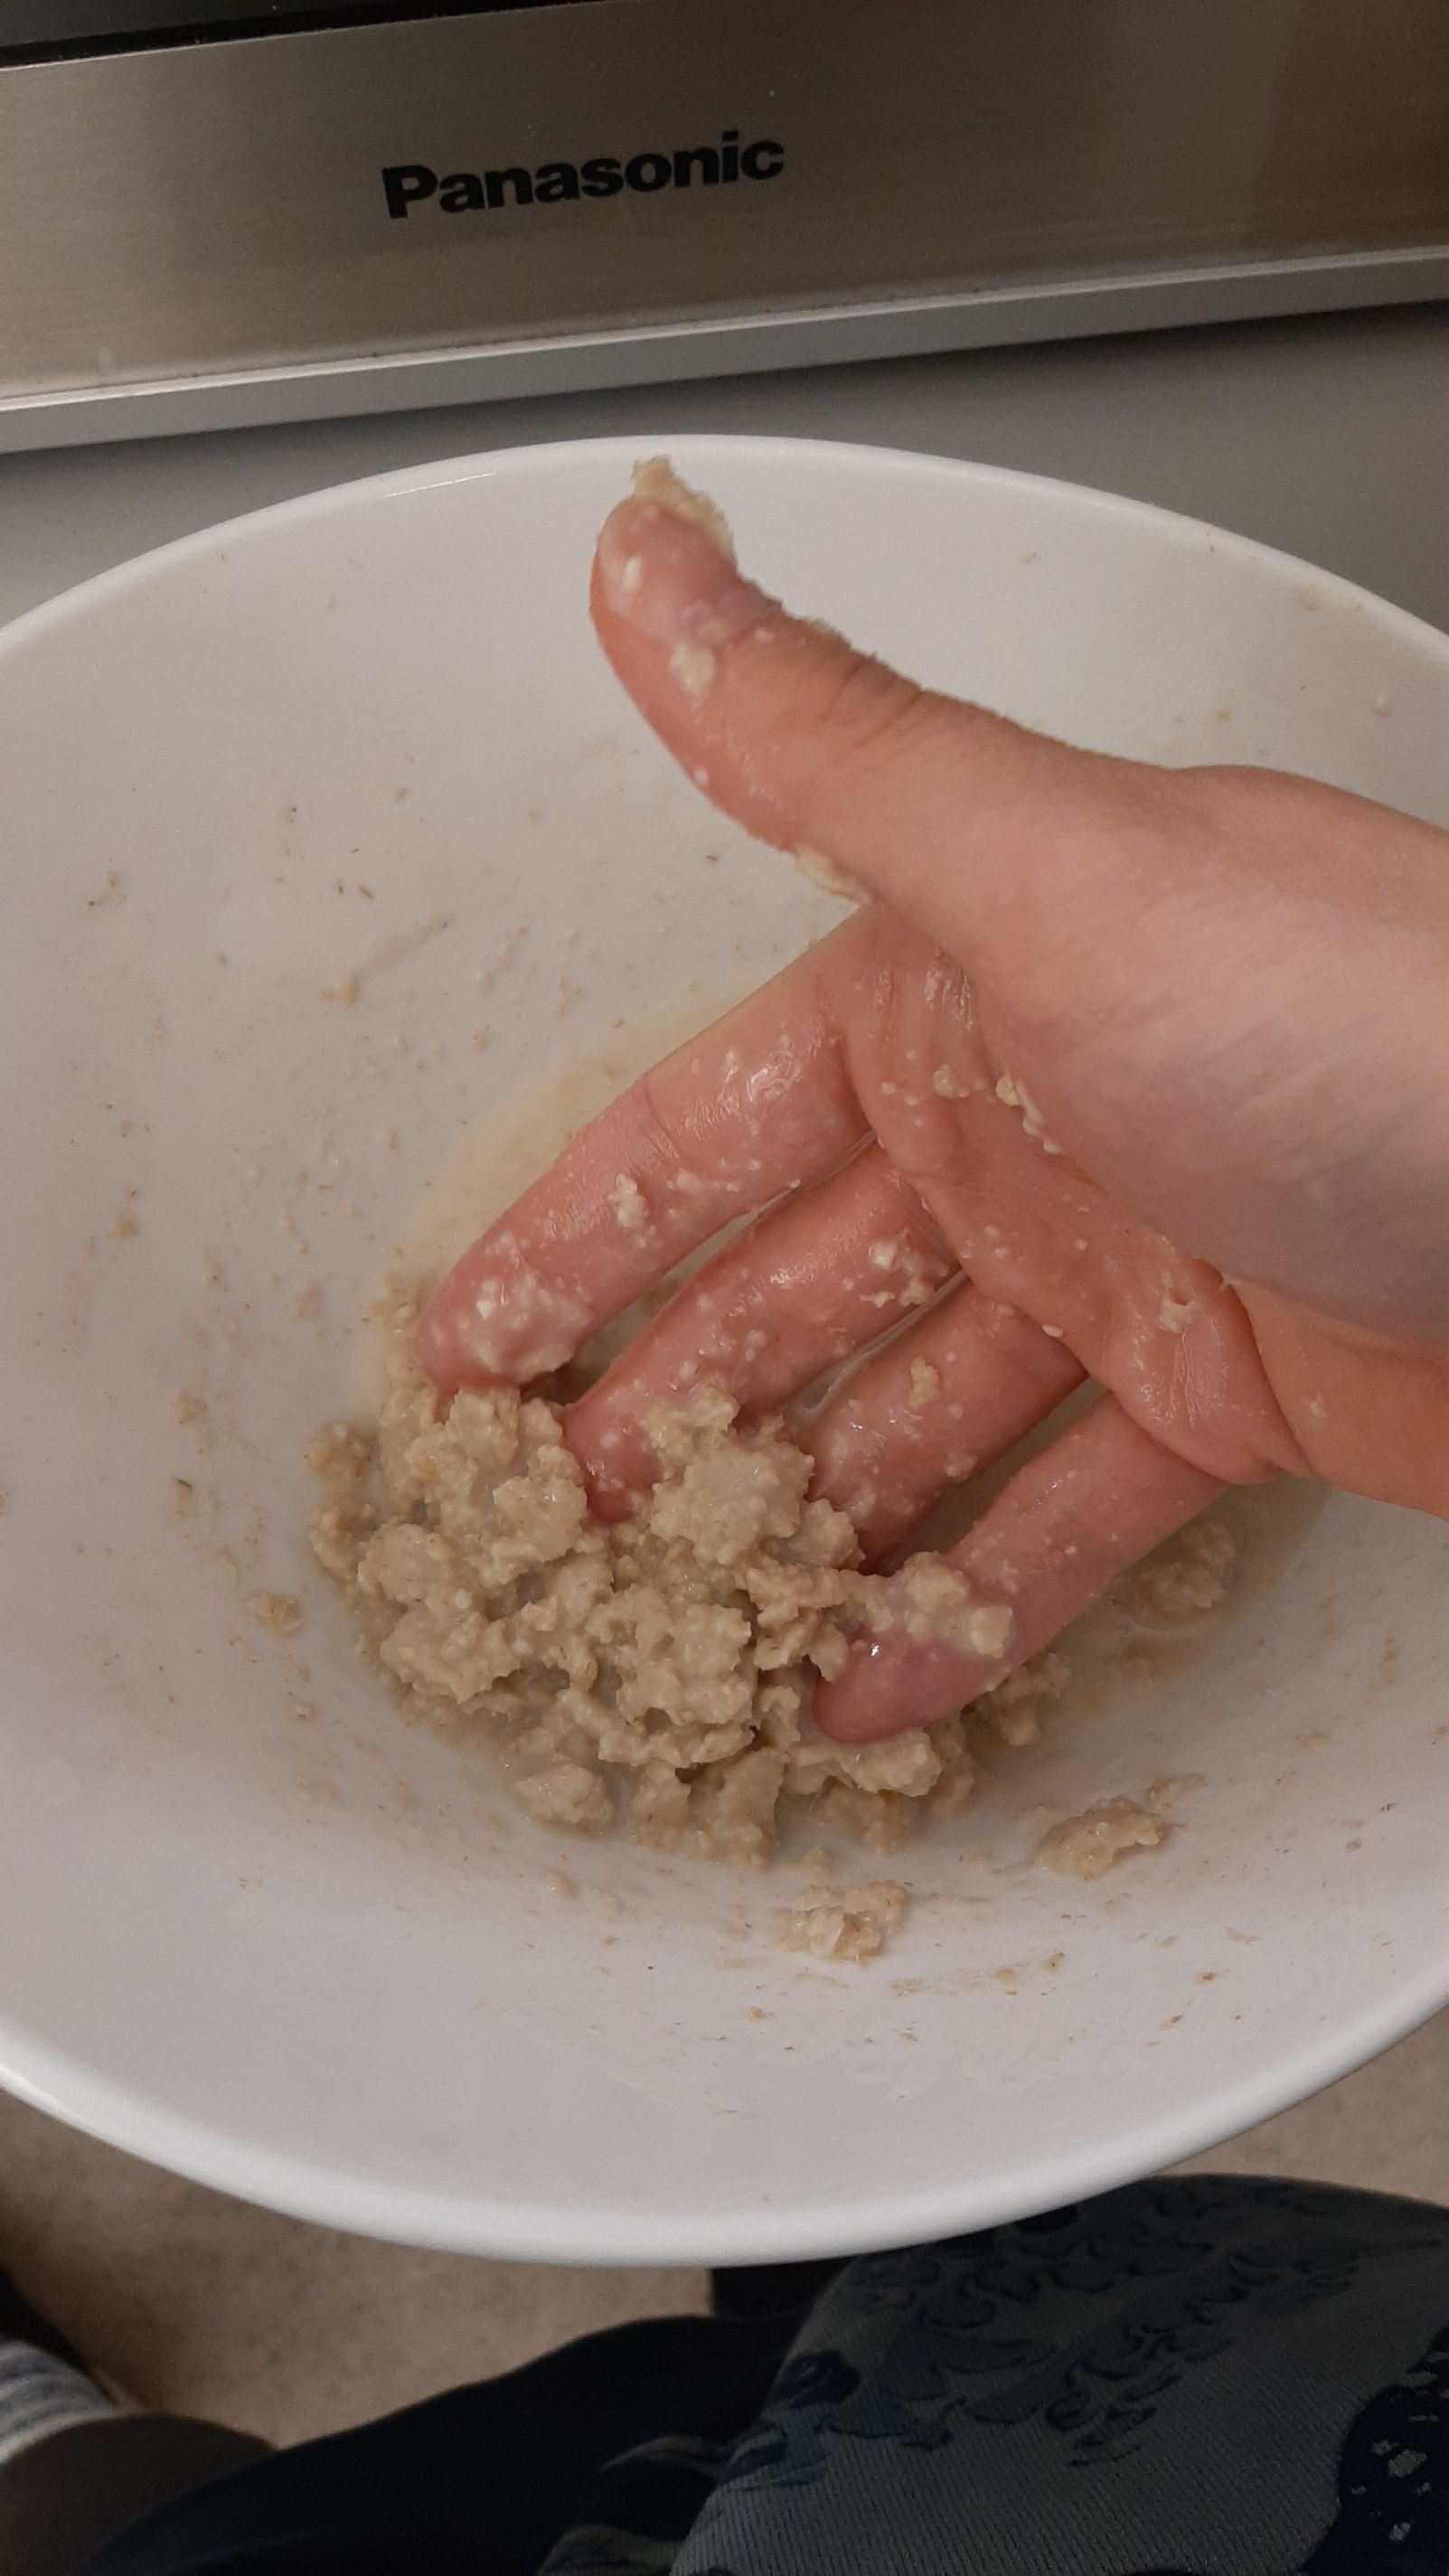
After watching videos of the machine in action, we realized that the clay was a lot more soft thant we tought, a bit like cake icing. We did our best sterilizing everything as we got the dough out of the machine, added demineralized water. We used the blender to break apart all lumps, but our mix was still not as regular and perfect as it would have been if we had the right texture the first time. Also, I'm not a scientist, but I bet my poor mycelium didn't really like to be blended apart.
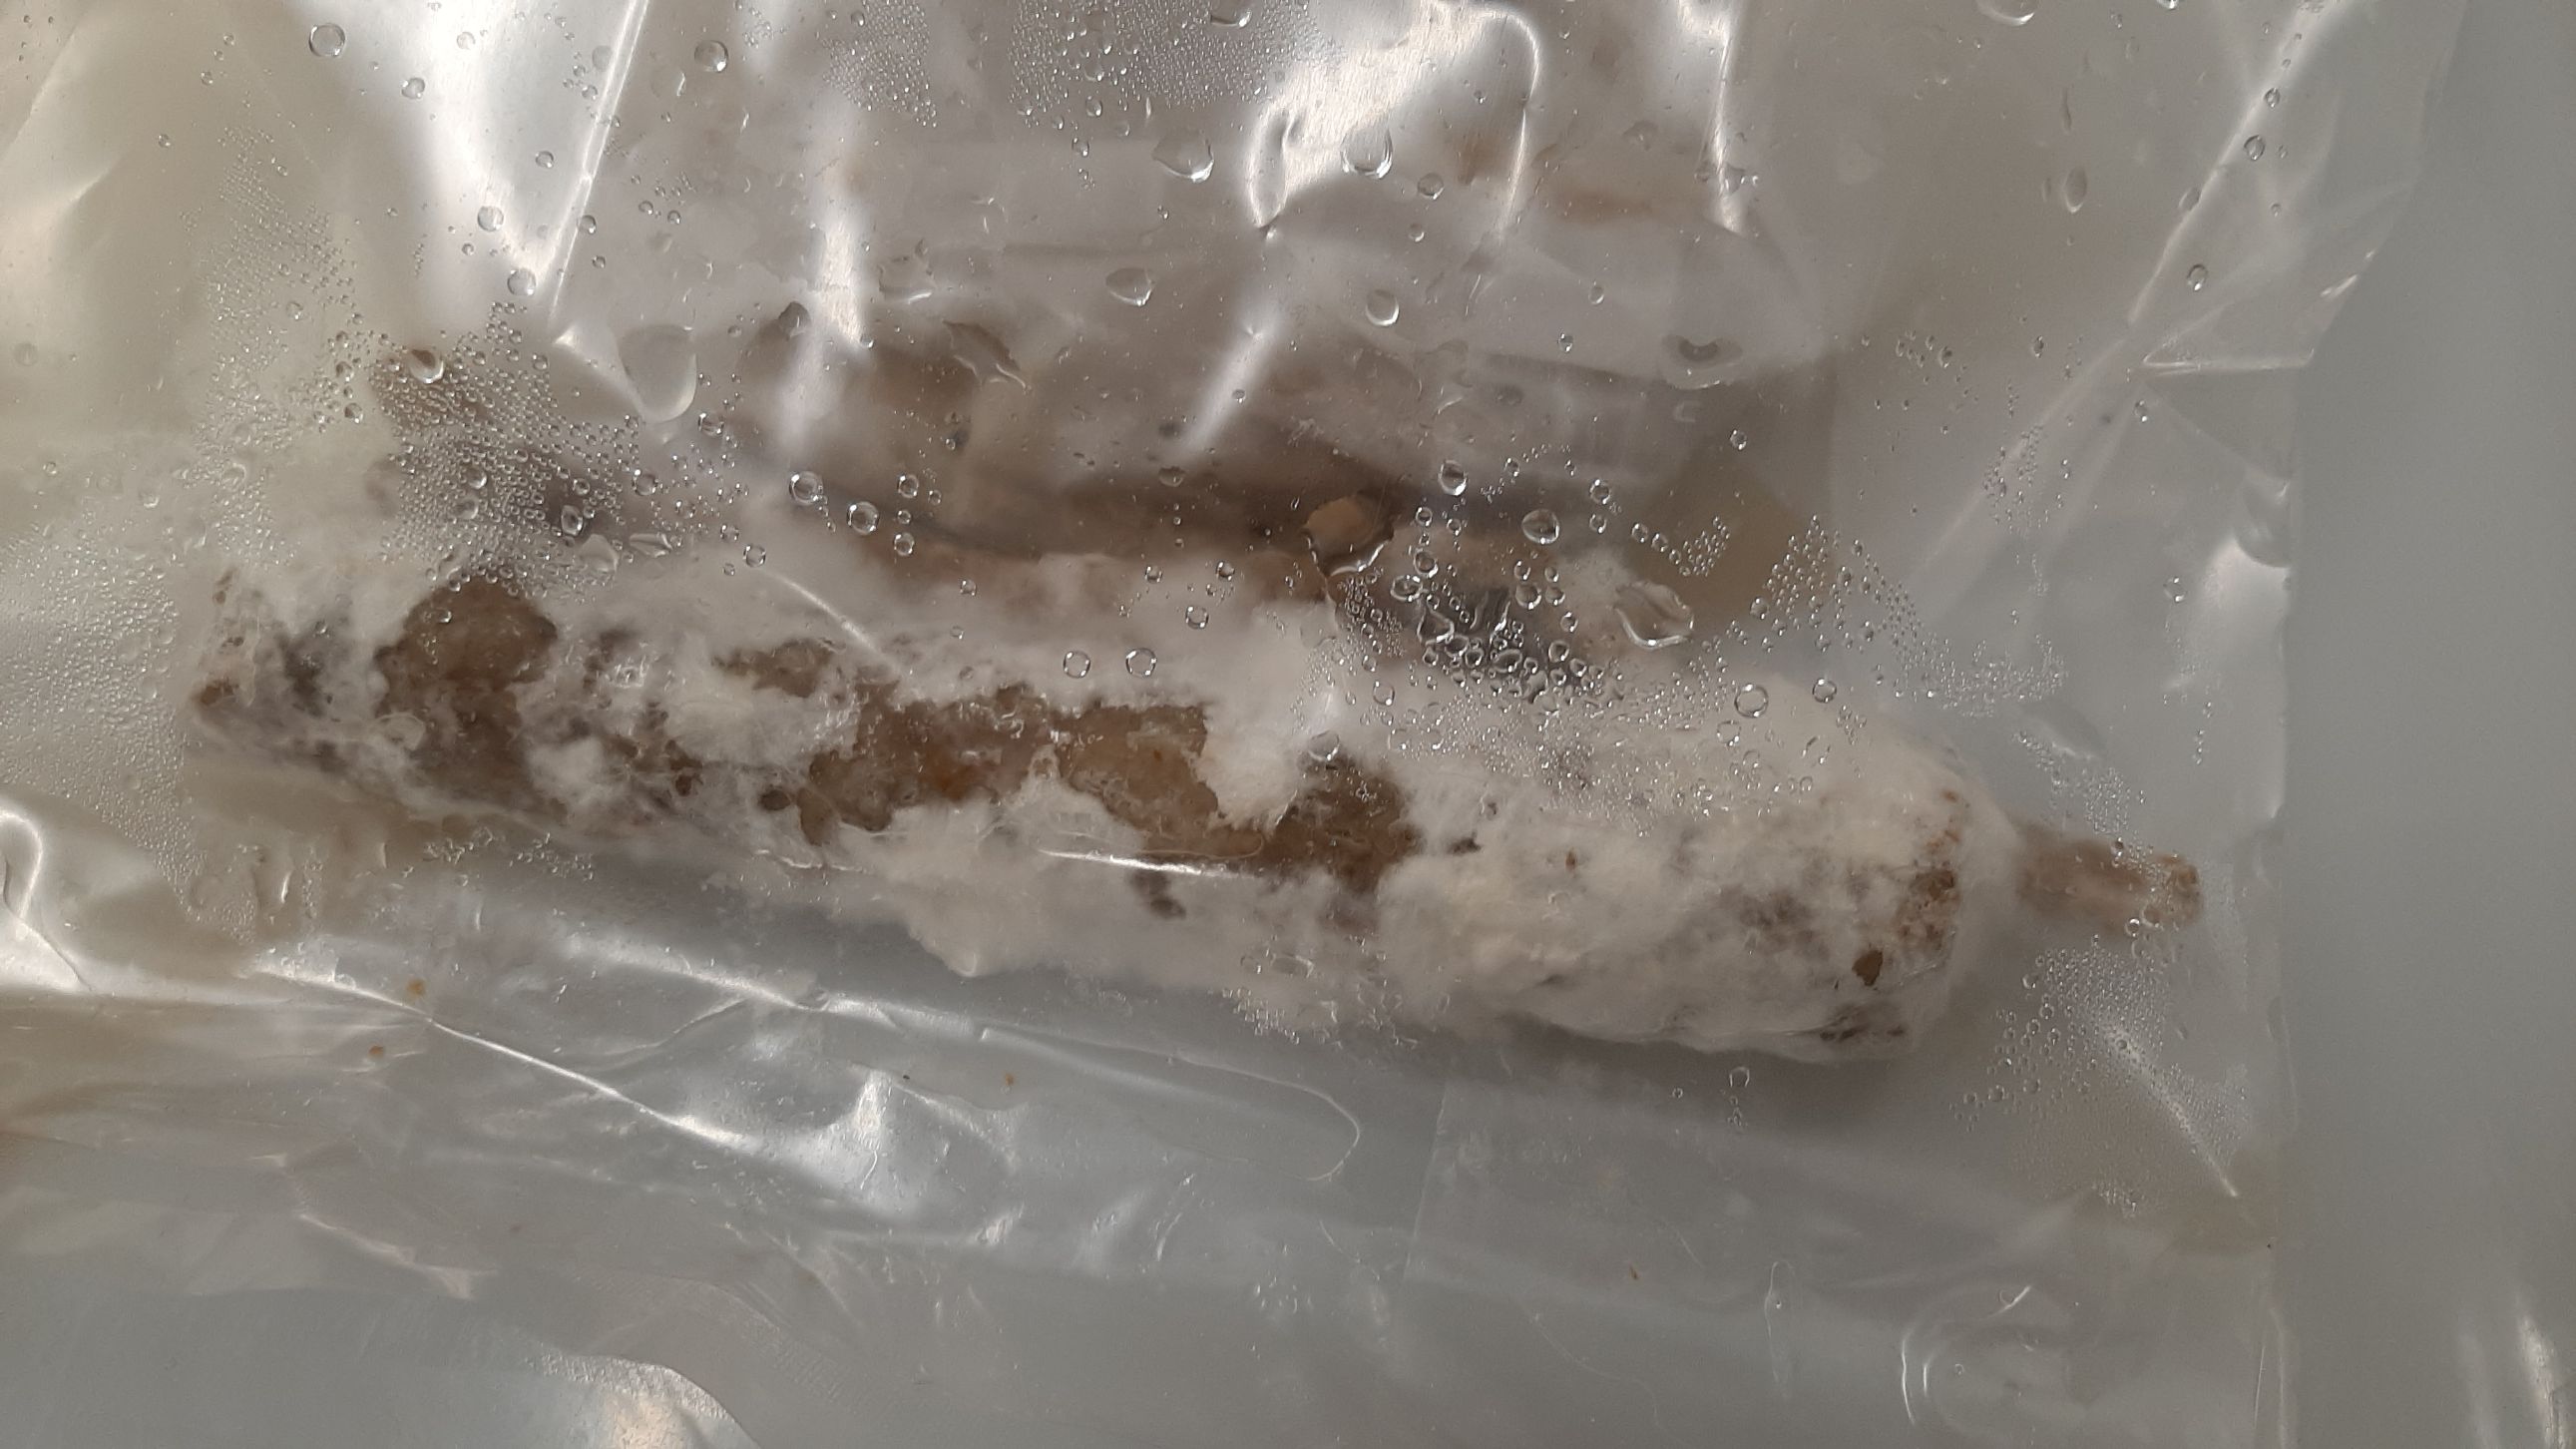
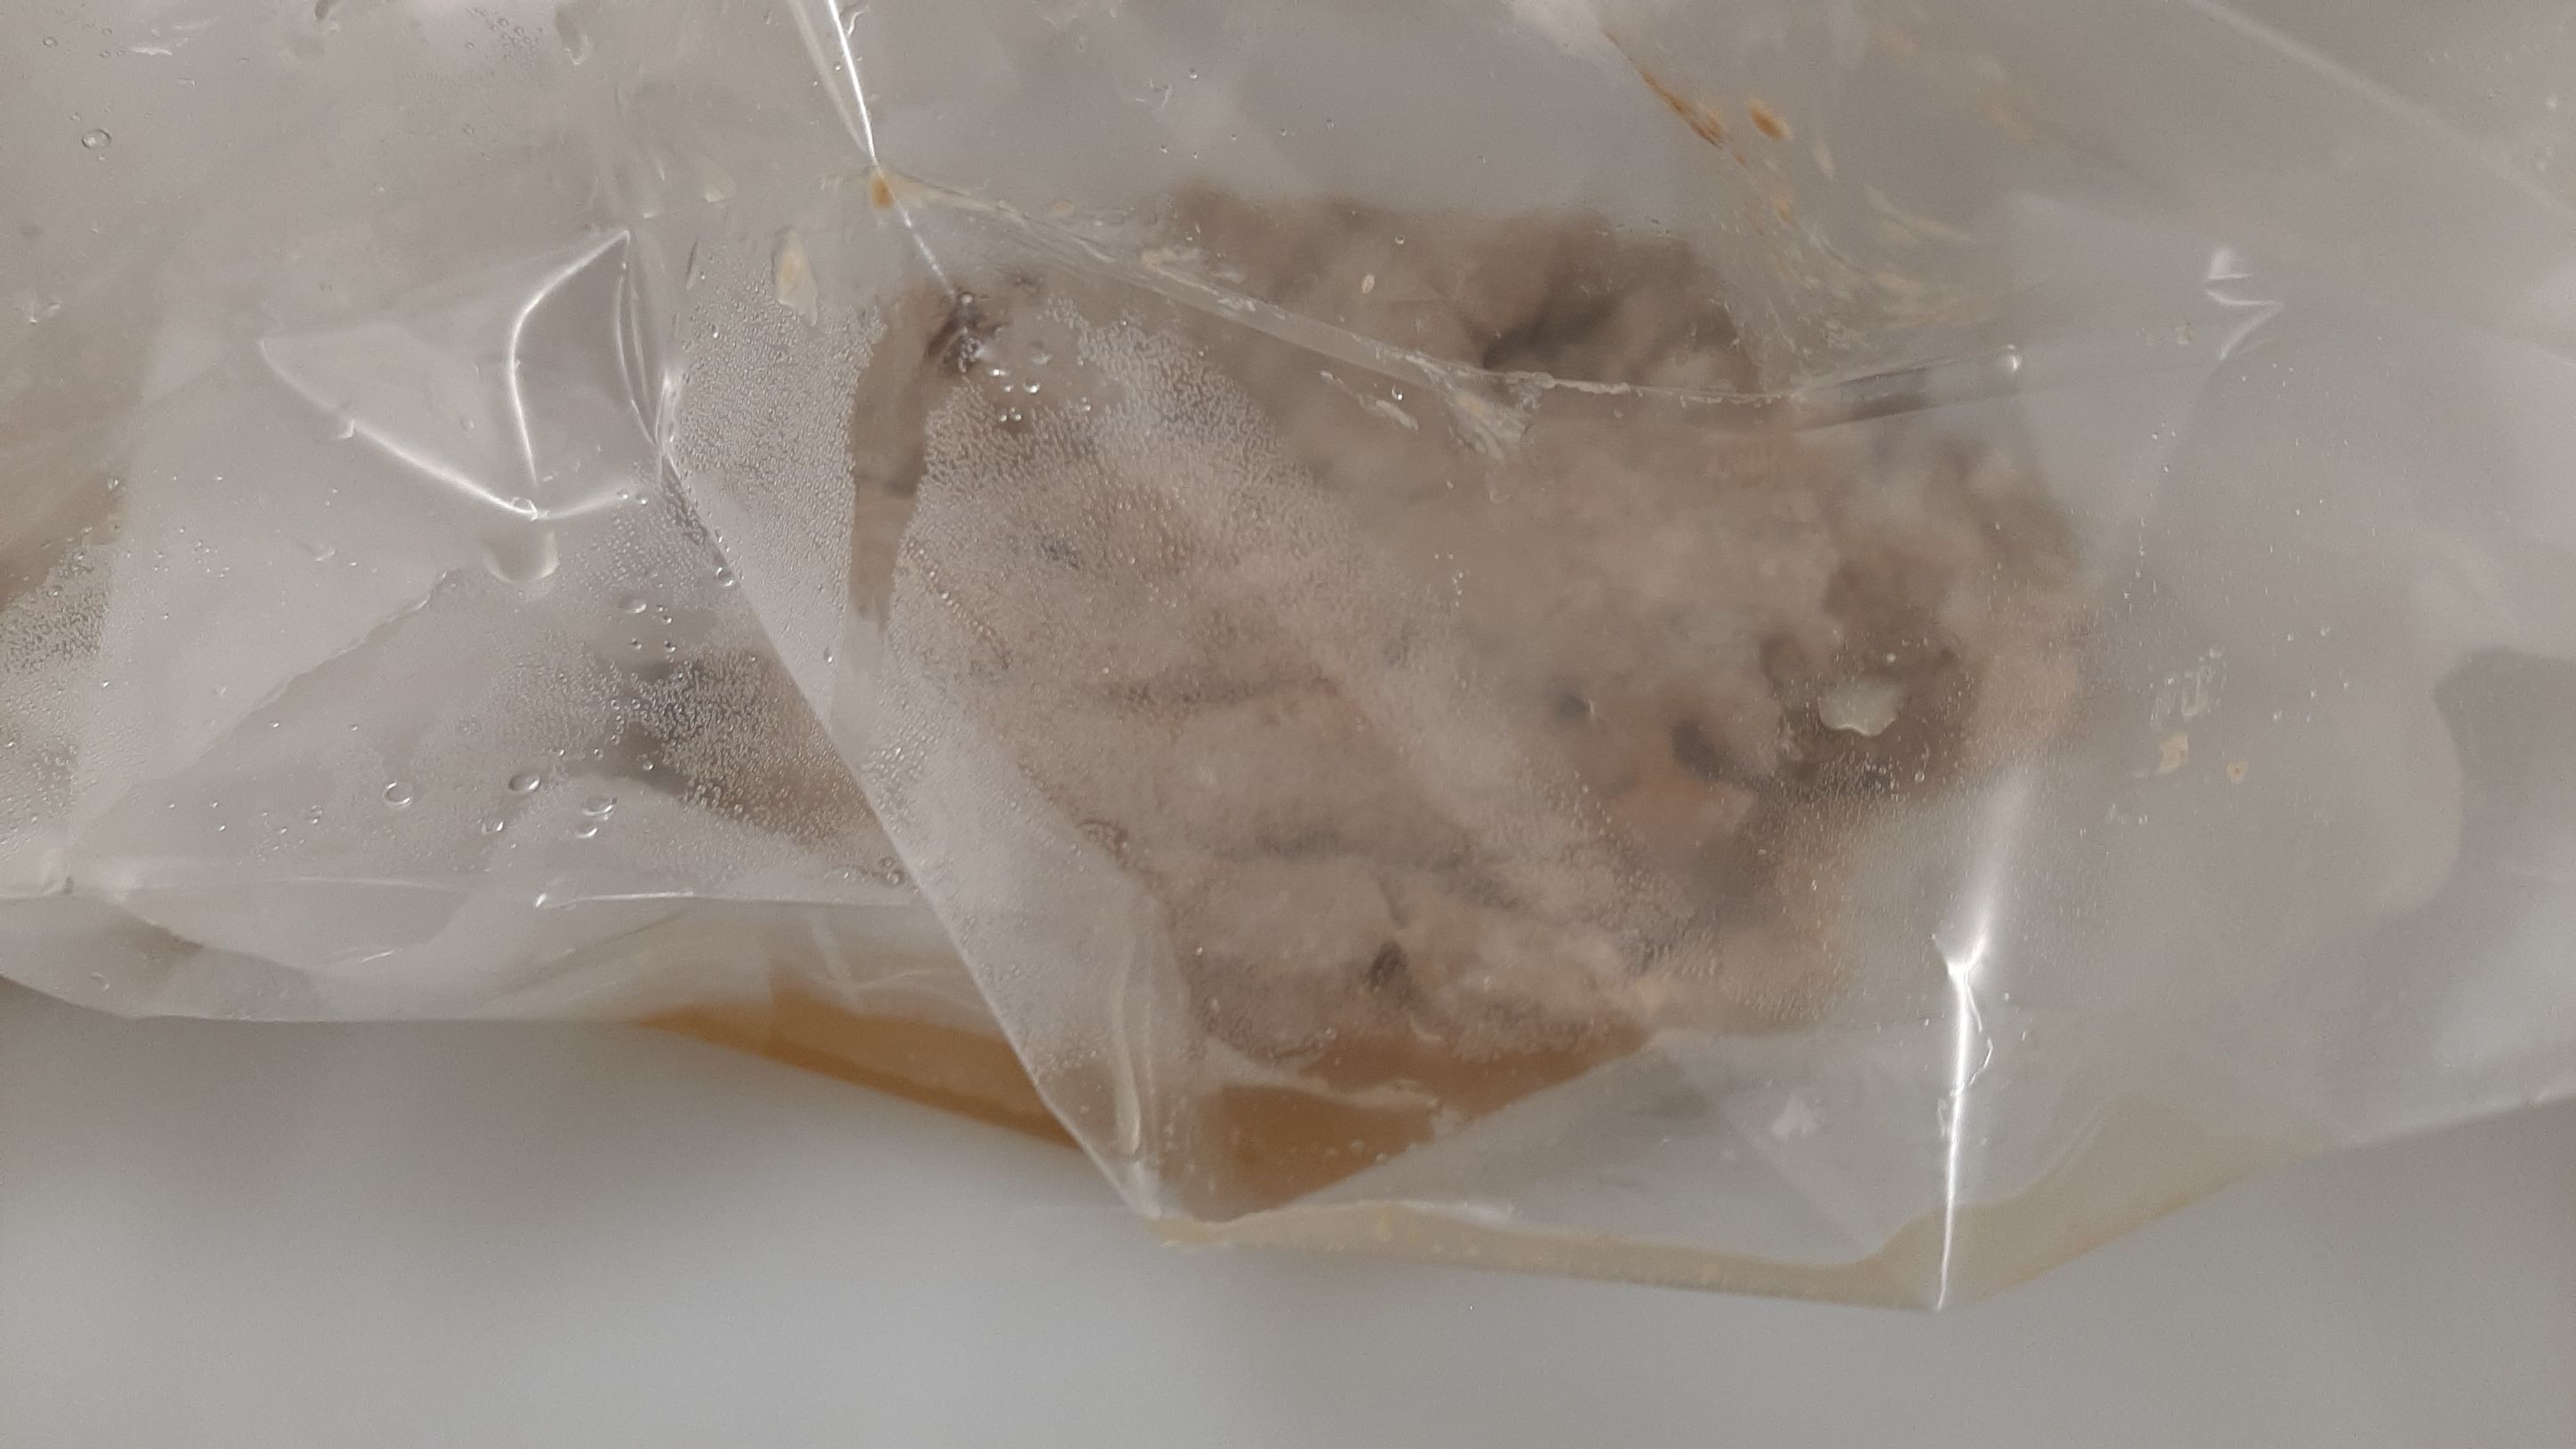
Our second try was much more sucessful! The texture was much better, and stiked to the board this time. We still had irregularities, because when the extruder gets jammed, the pressure still rises, until *POP*, a big chunk gets out all at the same spot.
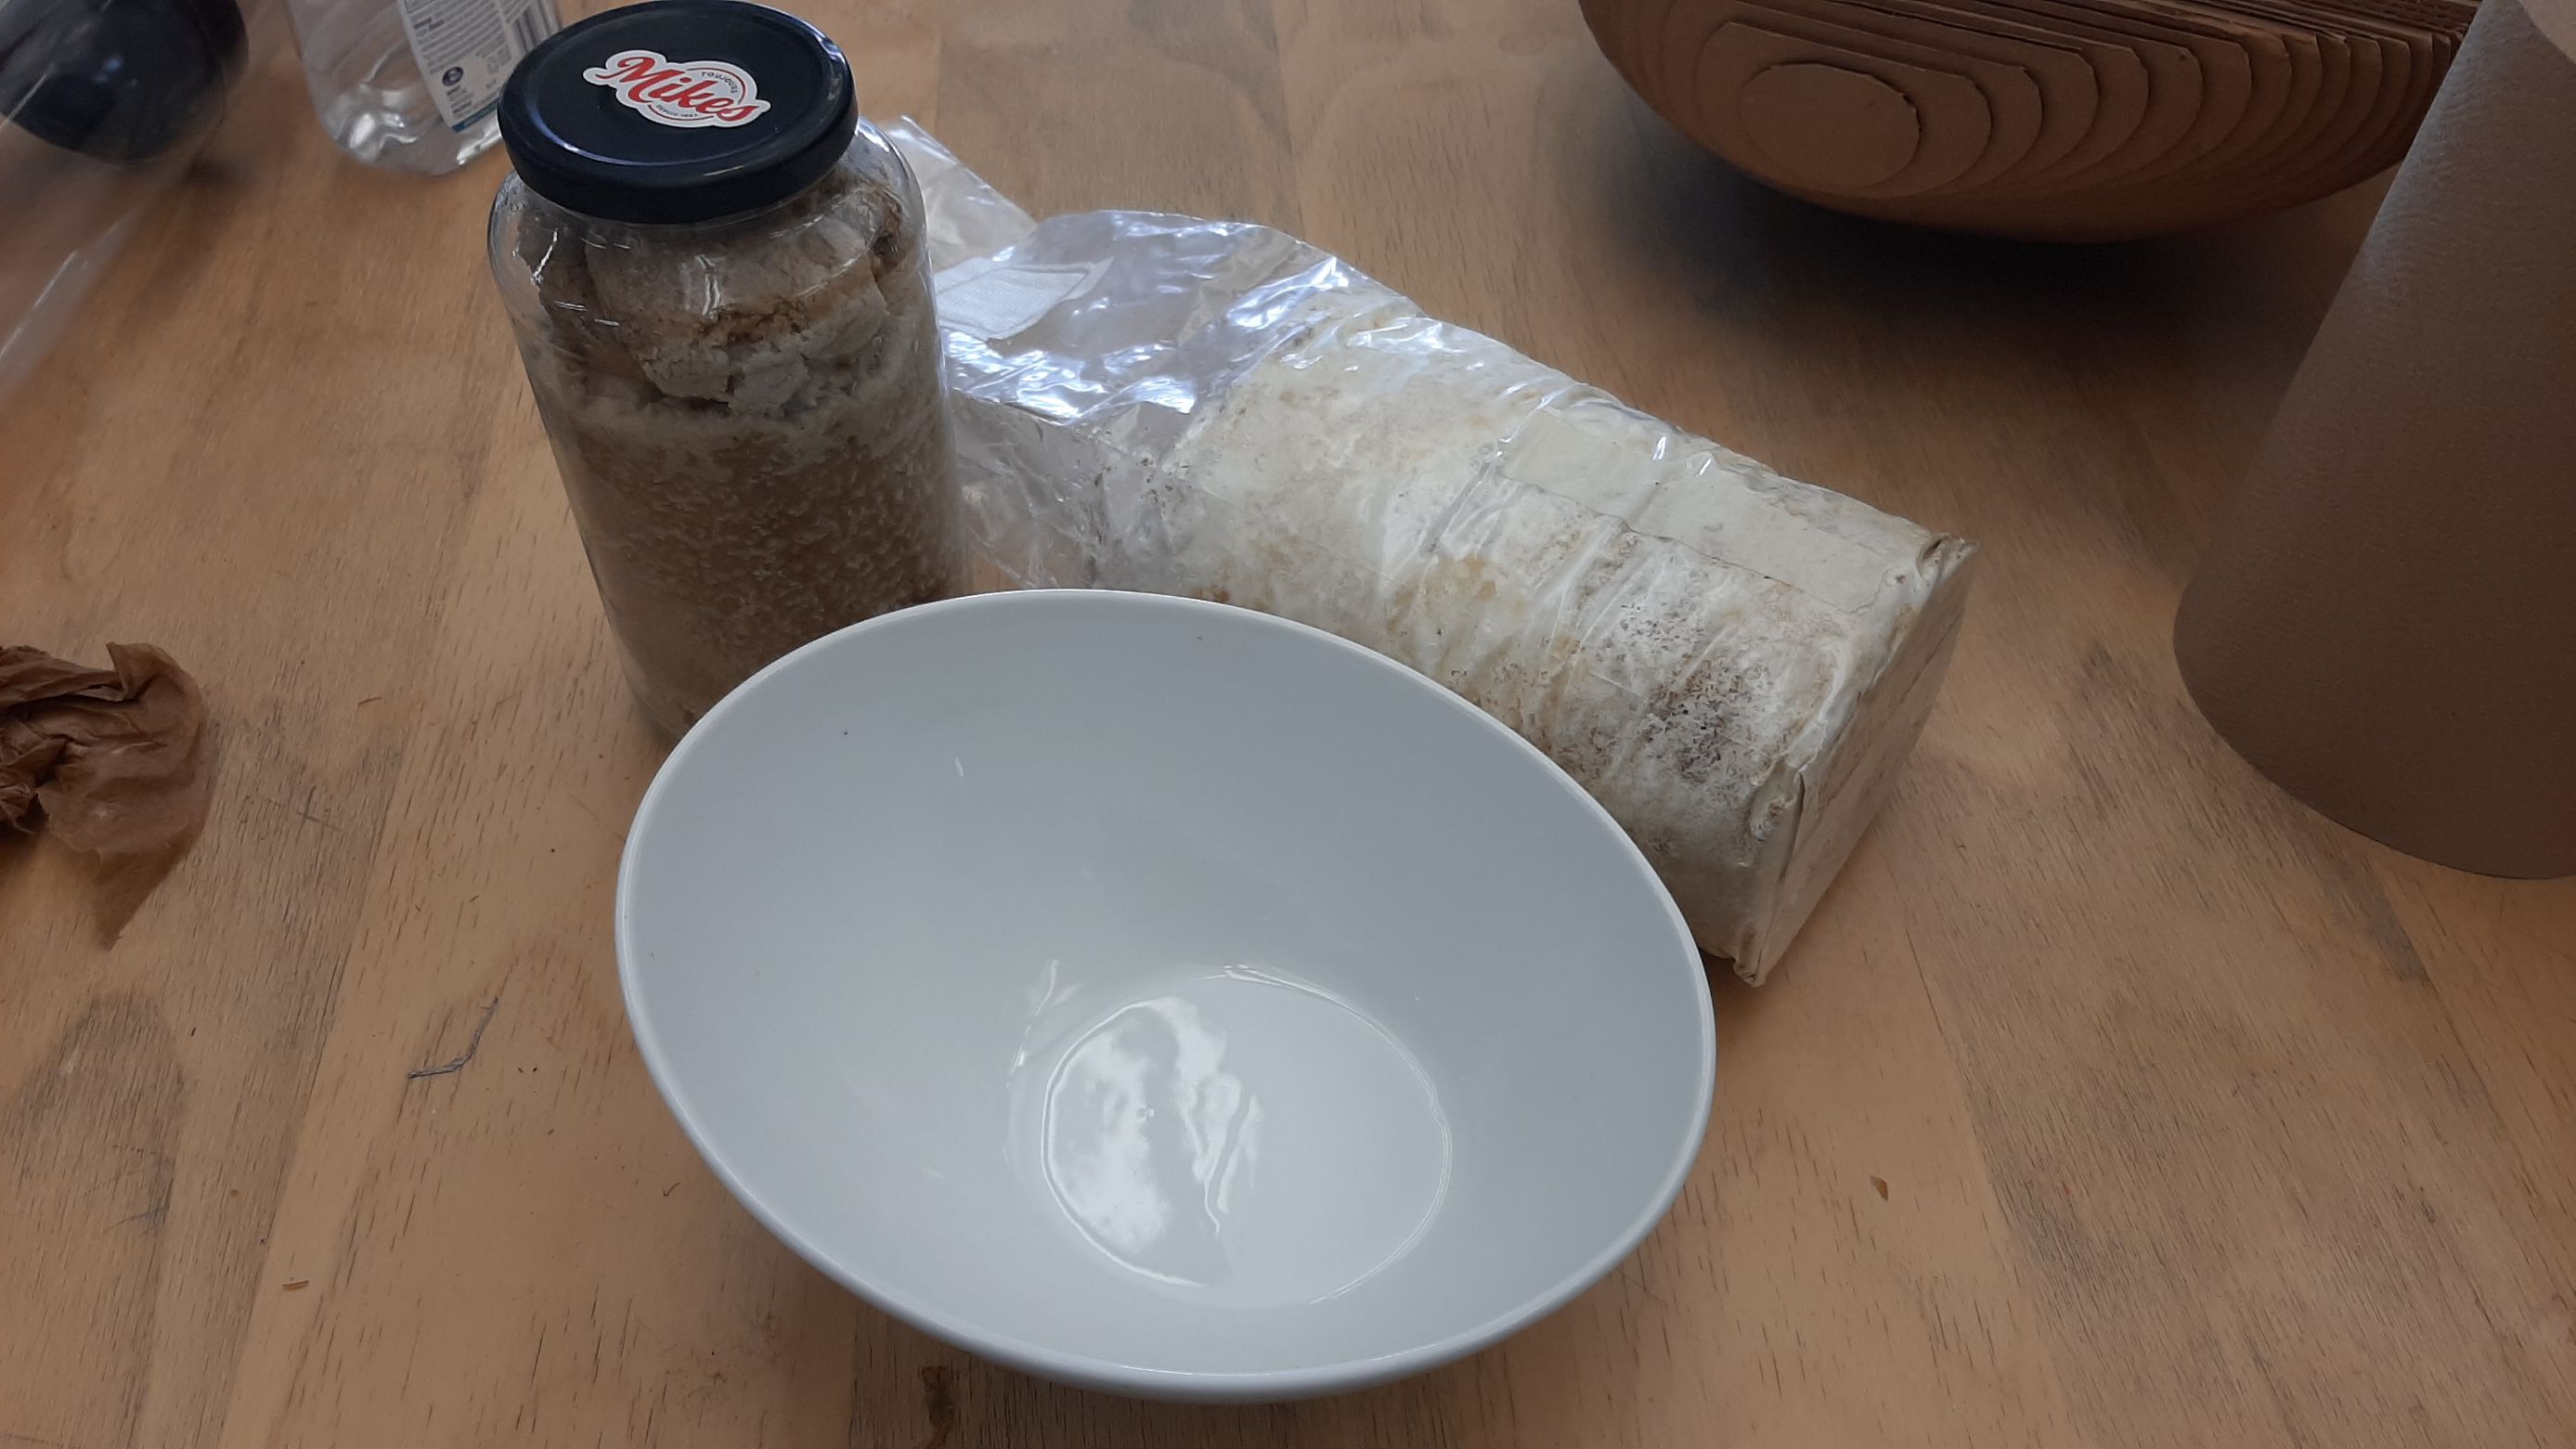
About a week later, we had interesting results! The mycelium didn't get contaminated, and the sample of our first mix was almost completely white! It was a big extrusion tough, the samples that we squized to fit in the tiny extruder were not as gorgeous. Our second mix was a big fail. The mycelium didn't rally grow on it, the shape collapsed and most of the water got out, so the heap was in the middle of a liquid nutriment puddle.
Miam!
3D Pen
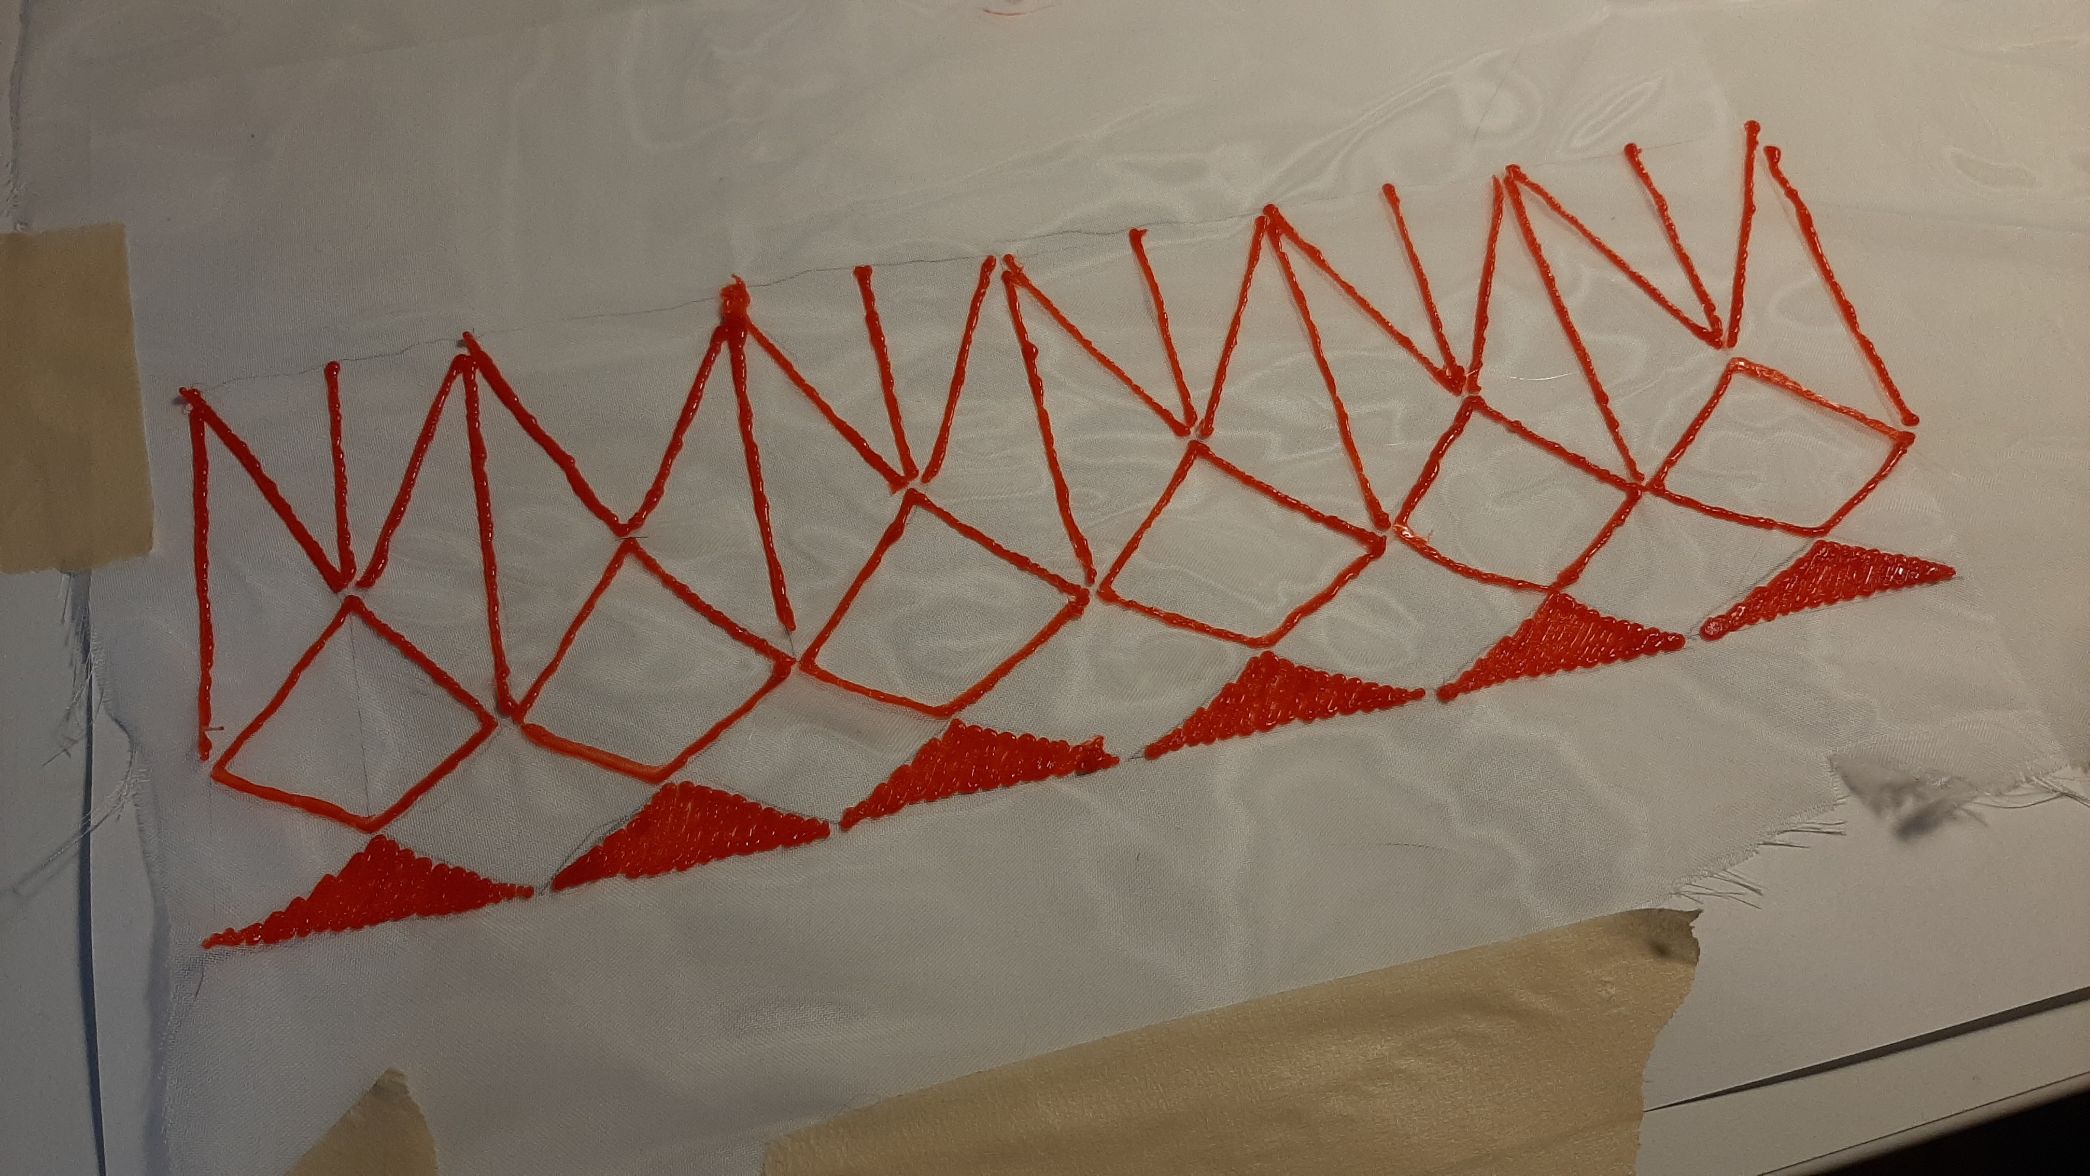
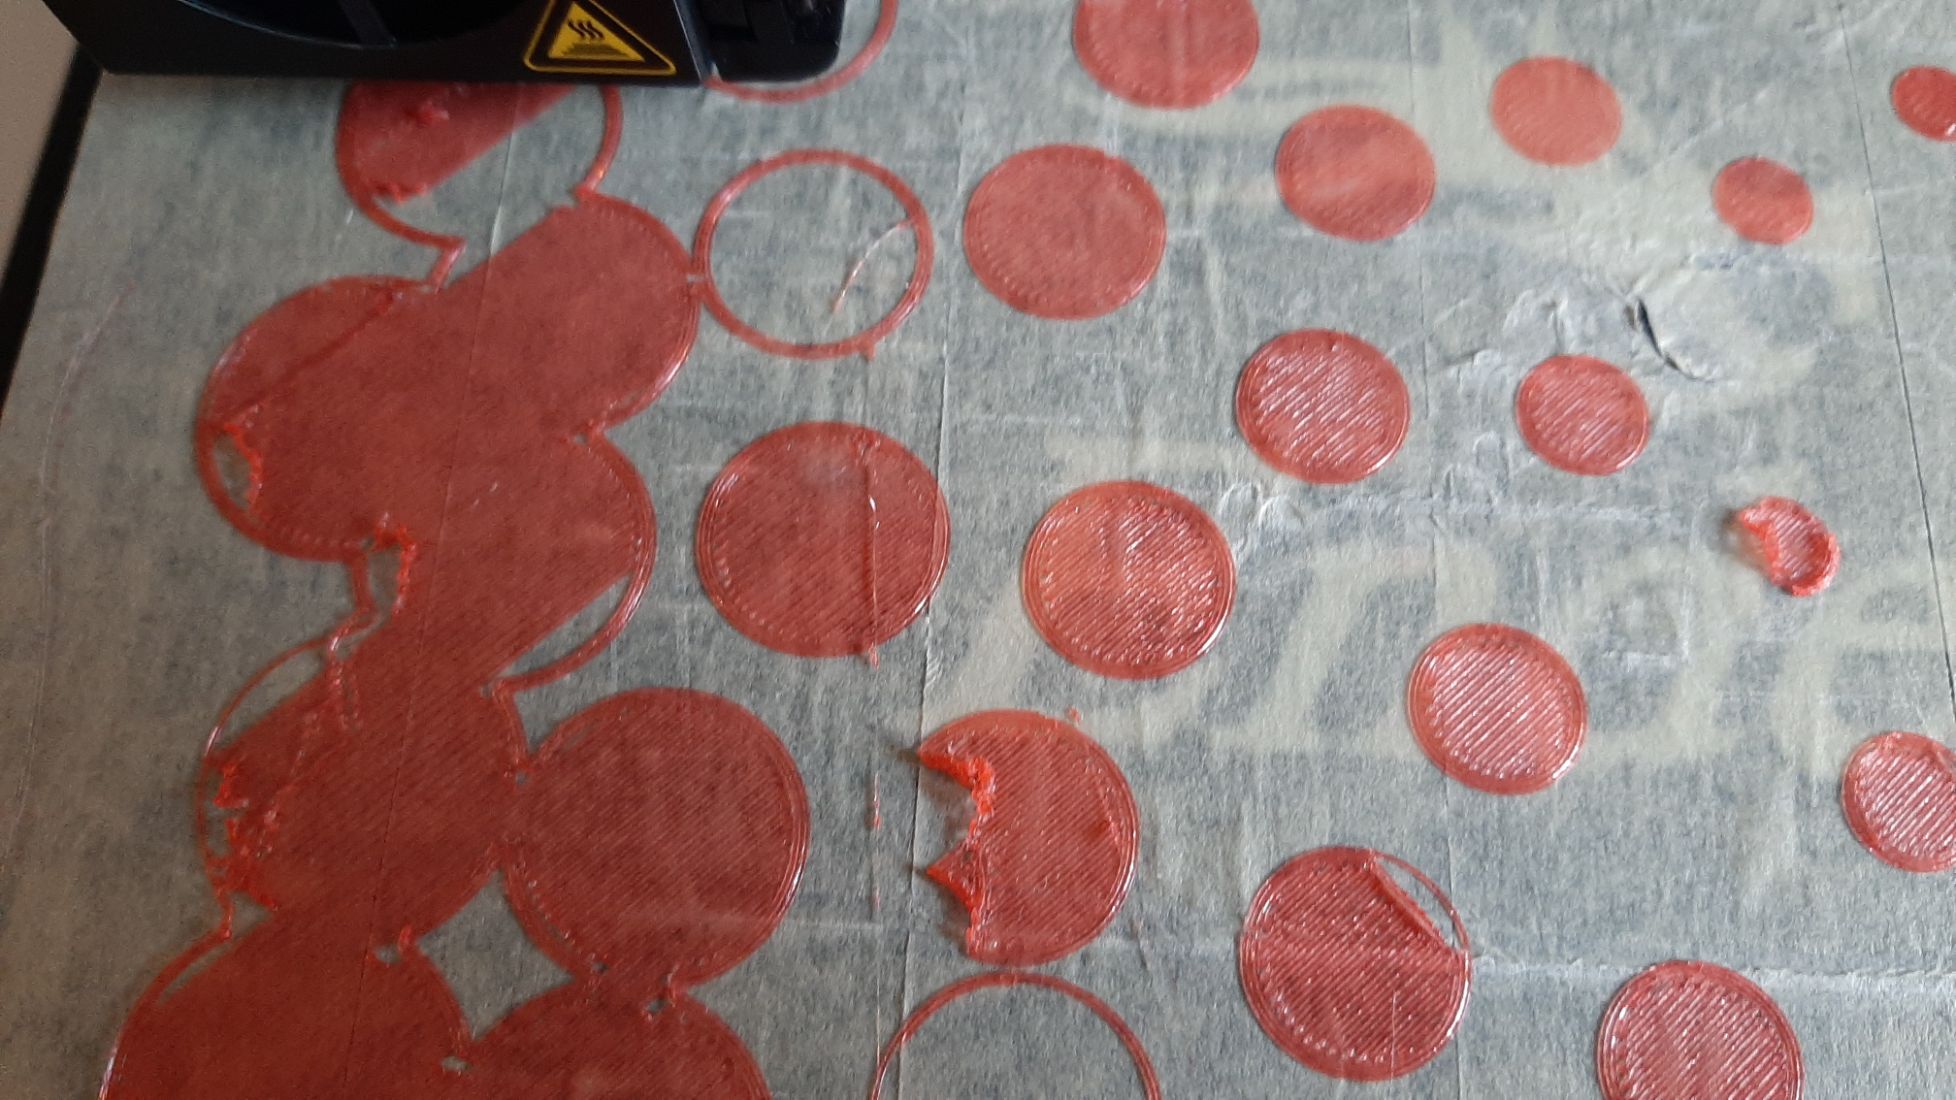
I made some tests with the 3d pen. I had really high hopes, I made an origami-like design in PLA just on top of the fabric... but it was so fragile and the print was easy to take off. I definitely need to change some parameters before going further with this.