The first step is to get all the chemical products and treatments off the fabric.
Vegetable Fibers
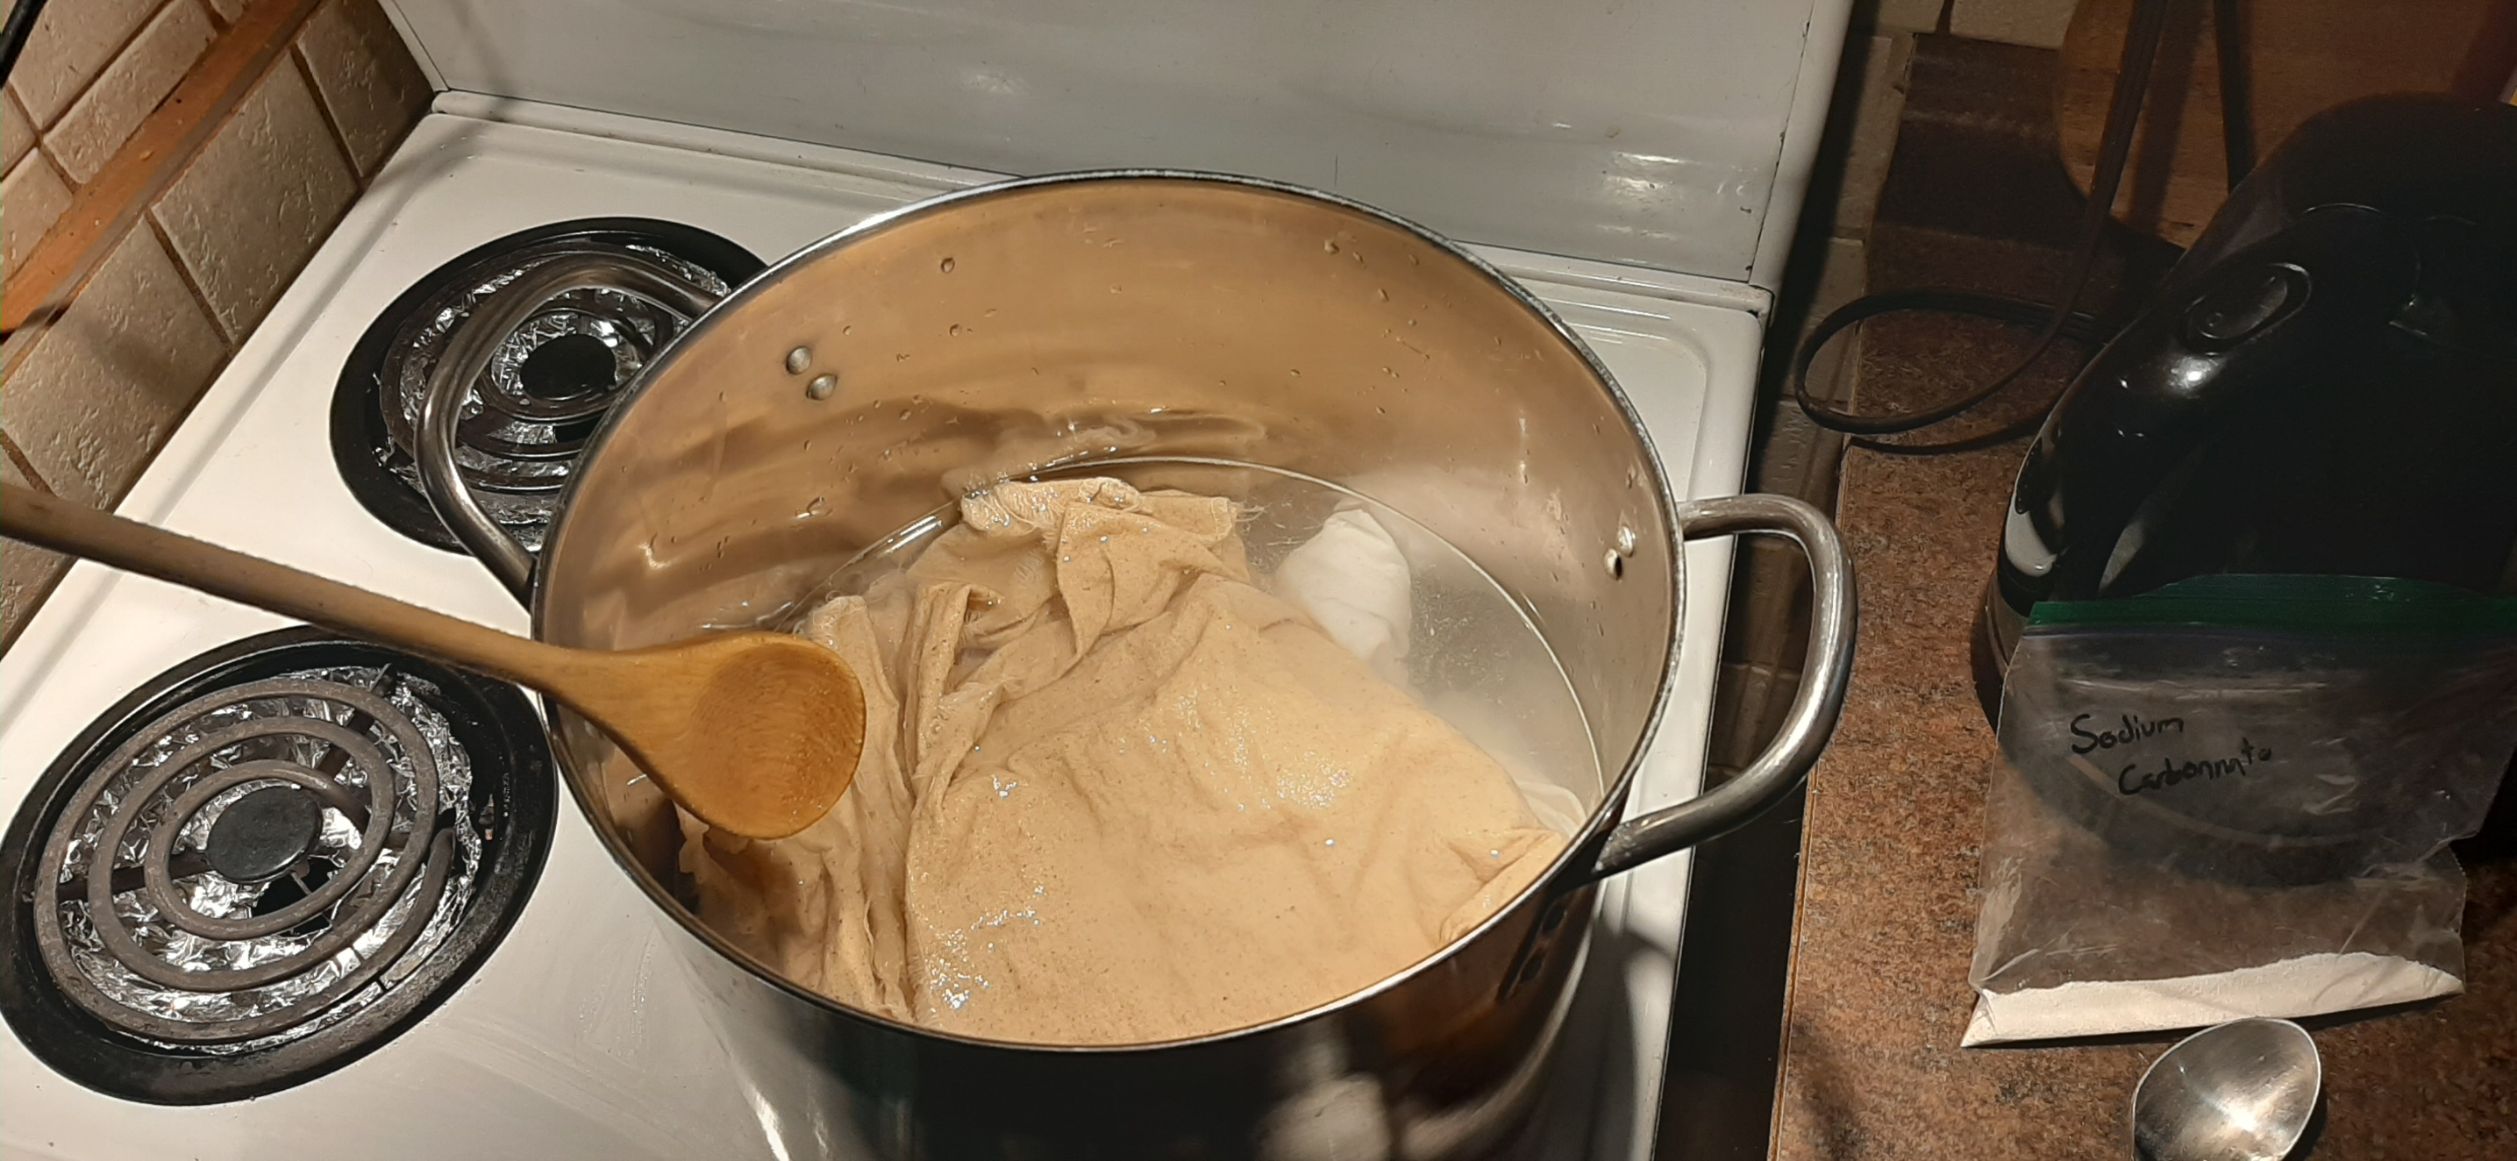
I separated the cottons that already had bright colors, so I wouldn't risk to contaminate the other ones with color. Every steps listed here, I did it two times, once for the colored ones, and onece for the rest of my vegetable fibers. I fist washed them in my washing machine with cold water without any soap. I boiled them folowing the instructions. For my white fibers, I needed a 5L of water and 2 spoons of sodium carbonate. For the colored cottons, I mixed one spoon of sodium carbonate with 2L of water. I then boiled the mix for an hour. I hanged them to dry.
Animal Fibers
I only rinced the fabric very softly in warm water. Even if I was delicate with it, my hands were full of fibers that detatched from the fabric. It's normal, since the fabric has a felty look. I hanged it to dry.
Mordant
I tried 2 types of mordants, soy and Alum. I was working in my own home, so I had to be extra careful since these components are dangerous.
Alum
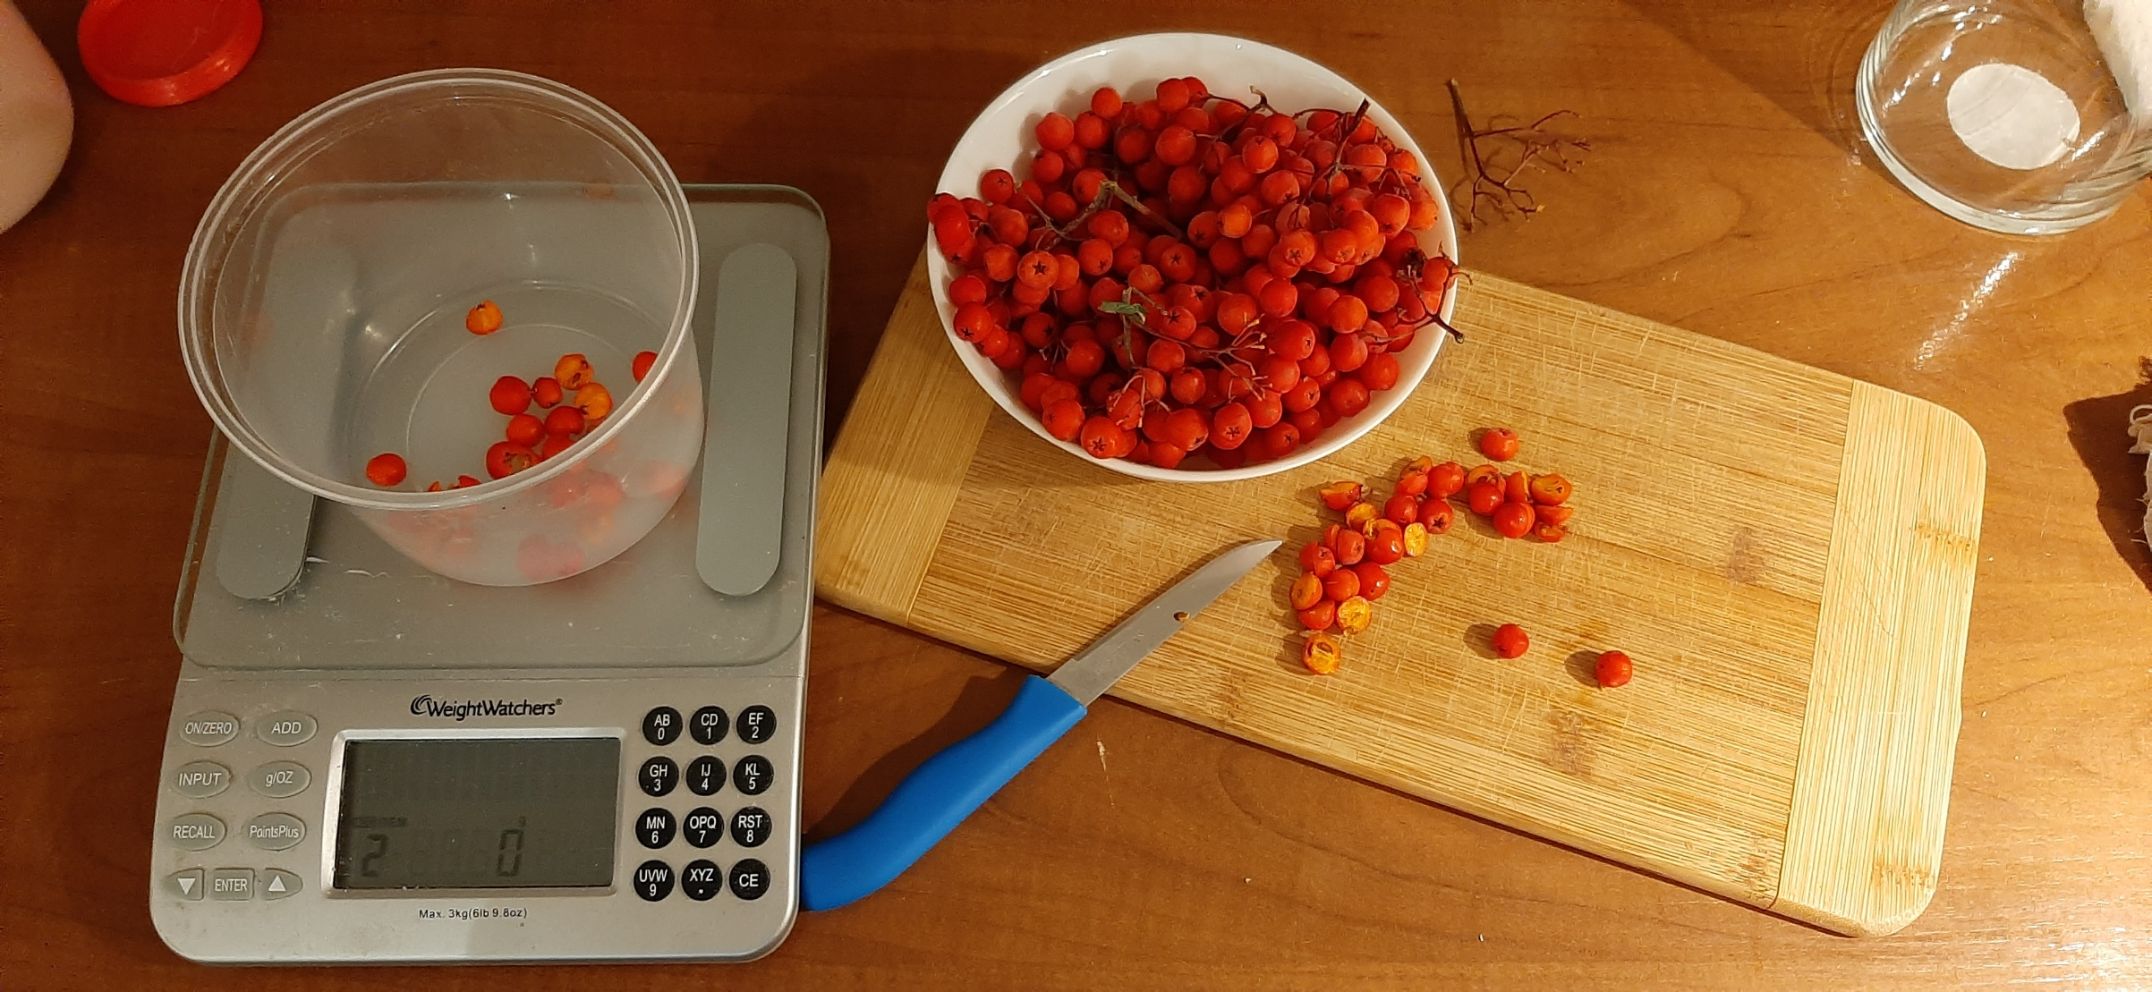
I first took all my vegetable fibers and weighted them.
126g of linen
17g of cheesecloth
108g of raw cotton
88g of bamboo
26g of blue cotton
19g of red cotton
20g of yellow cotton
For a total of 404g of fibers. I took 41g of alum (about 10% of the weight of the fibers), and dissolved it in a bit of boiling water. When all the alum was dissolved, I added tap water and my fabrics. I let it rest for an hour before rinsing everything in my washing machine and hanging the fabrics to dry.
My animal fibers needed a slightly different recipe. I weighted my 88g of fibers. To mordant it, I would need 13g of alum (about 15% of the weight of the fibers) and 5g of tartar (about 6% of the Weight of fibers). I dissolved my solution in a bit of boiling water, and then added tap water and my fabrics. I let everything rest for an hour before rinsing them by hand and hanging the samples to dry.
Soy Beans
My soy bean mordant is more of an experiment than following instructions, since I had acess to the instructions only afterwards...
I began by weighting my fibers.
72g of linen
14g of cheesecloth
31g of raw cotton
23g of bamboo
64g of wool
I prepared my fabric in my container, and guessed the quantity of water I would need. I knew I needed about 50g of grinded soy beans per 1L of water. I wanted to pass my grains trow a sieve, but it was only letting through half of my powder, and after a lot of work, I gave up, and put in the bigger grains, that were still very small! It gave me 108g of (almost) powder. I mixed it with 1,4L of water before adding the mix on top of my fabric samples. It looked terrible. I thought the powder would kind of dissolve, but it created a dicusting deposit at the bottom of my container and on top of my fabric. I still let it rest on my counter for 48 hours, and hoped for the best. At the end of the 48 hours, I rinced the deposit and let my fabric dry.
Dyes
Mountain ash, or Rowan
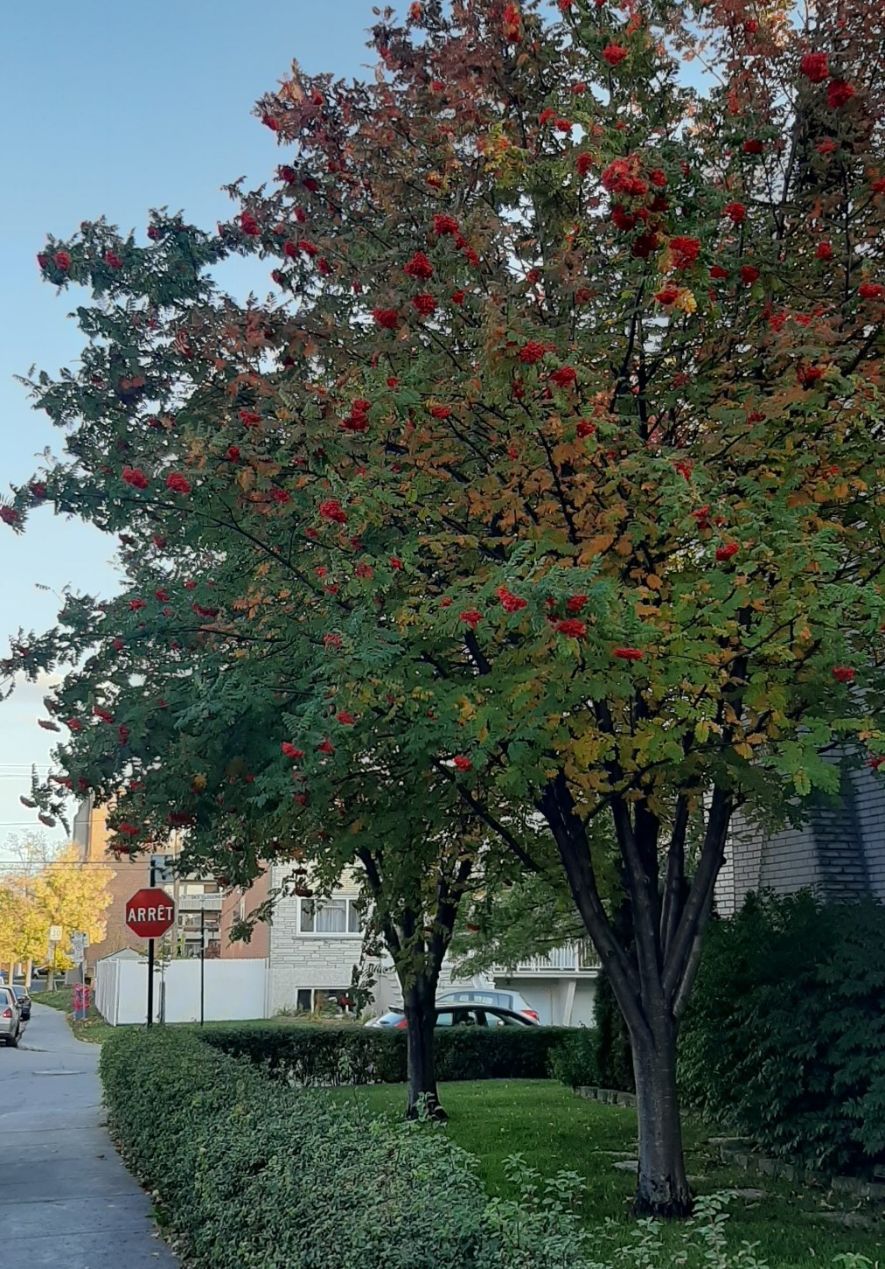
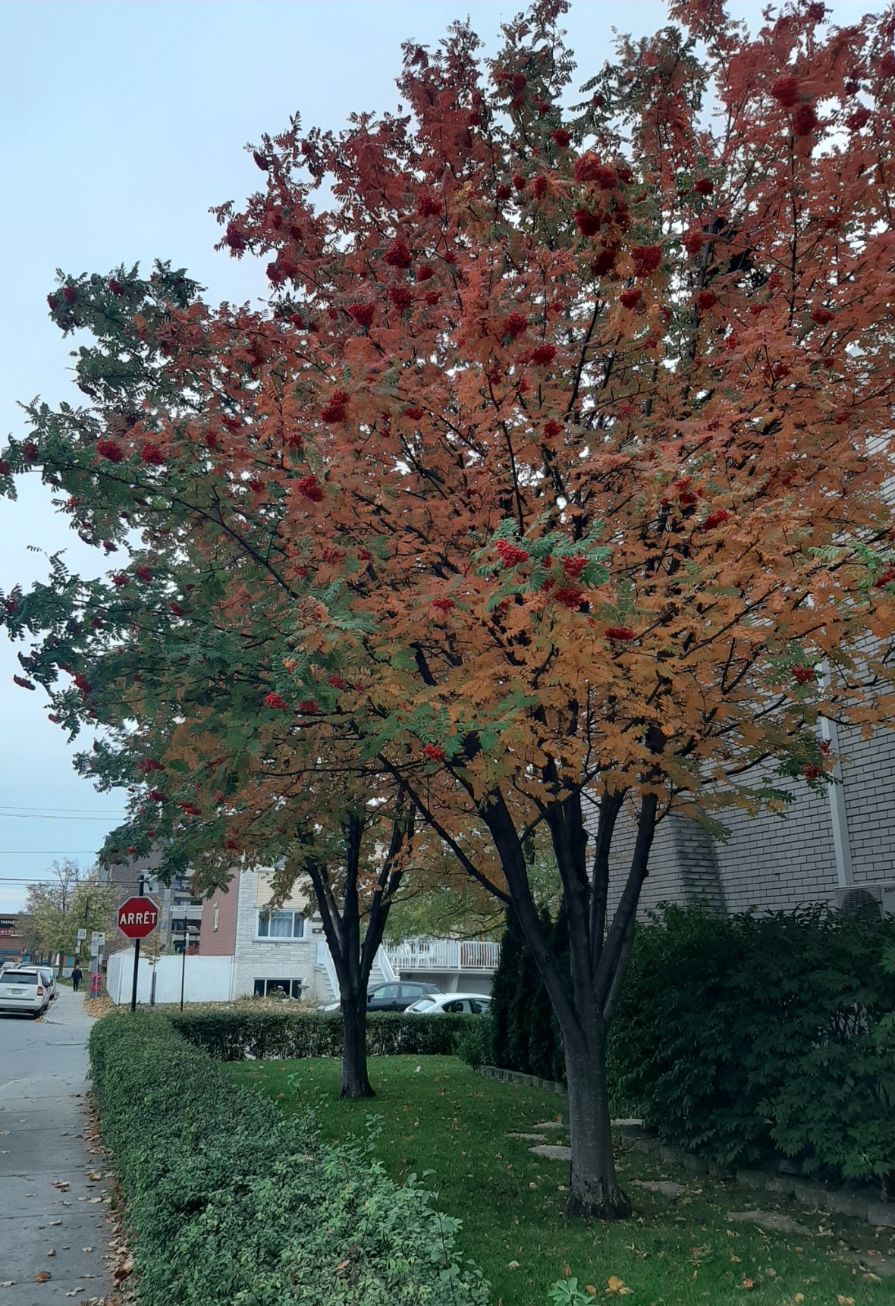
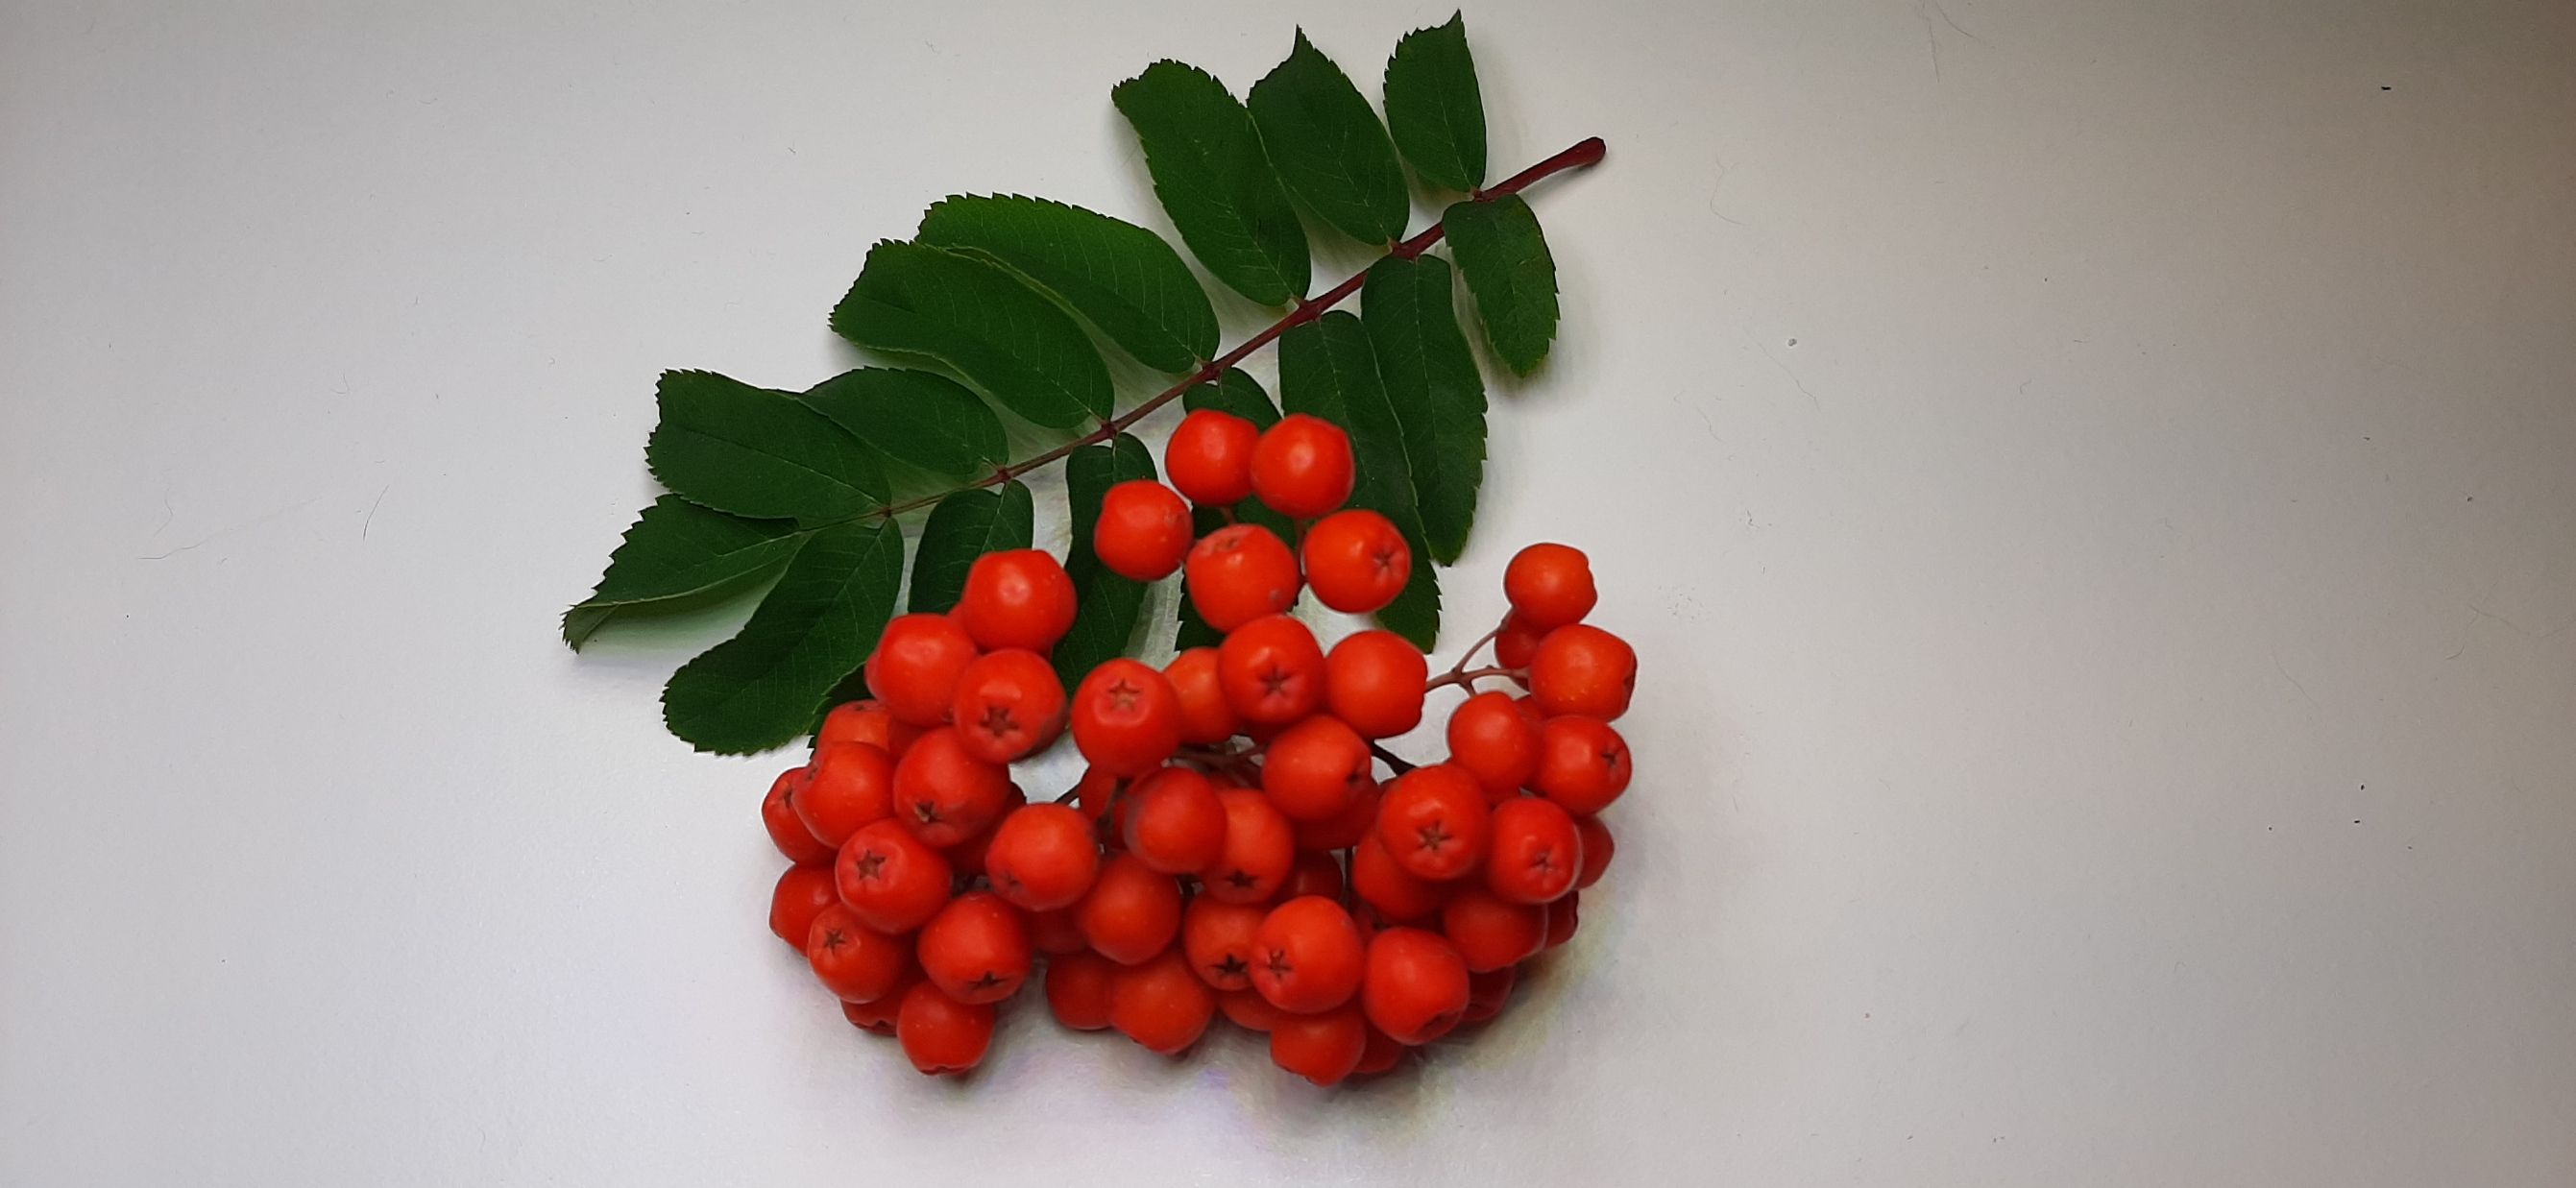
Our forest in Quebec are wonderful at this time of the year. I took a small trip and saw all the bright automn colors, so I decided I would try dyeing with a local plant. I was going to walk in the park to collect some samples. In the end thanks to covid, there was so many people outside in our local parks to see the colors that it was strongly recommended to look at the trees close to were we lived or in the streets.
I was on my way to do groceries when I spotted a wonderful tree I never noticed before.
I got back home and started to do some reseaches about it, to find at least the name of the tree and it's fruits. I discovered that it's called a Sorbus subgenus Sorbus. There's 2 varieties of it; one from UK, called rowan, and the other found in Ireland, North America and the UK, is called Mountain ash. My researches also told me that these trees were used for dyeing by north american natives, and then by the europeans that came here.
I was so exicted to try it out, that I went outside and got a bowl of the fruits. I realised afterwards that usually, they used the fruits for jellies, or some drinks like hydromel or wine, and that they were using the leaves for dying bright yellows and beiges. It was too late to get some leaves, and the recipe I found needed a ratio of 4 times more quantity of leaves than fabric. http://www.vanwaffle.com/2014/07/23/natural-dye-from-mountain-ash-leaves/ Since I had so much fruits, I was going to find something to do with it. I tried different solutions to see wich one would do a better job extracting the color.
From left to right; Leaves in boiling water, crushed fruits in a 50% ethanol 50% boiling water solution, fruits in boiling water.
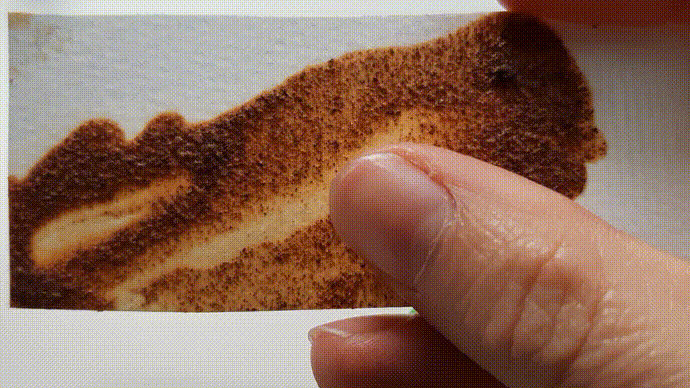
I let the solutions rest for a day, and then dipped paper on the pots to see more clearly the colors it gave me. The leaves gave me yellow, the crushed fruits gave me a light pink, and the fuits that hasn't been crushed did not extracted any color. For some reason, the paper I dipped in pink faded away and turned into a light green... almost blue. I guessed that the color changed when it dried. I took the same paper swatch and dipped it a second time. 1 day later, it was still pink. I left this as an unsolved mystery for now.
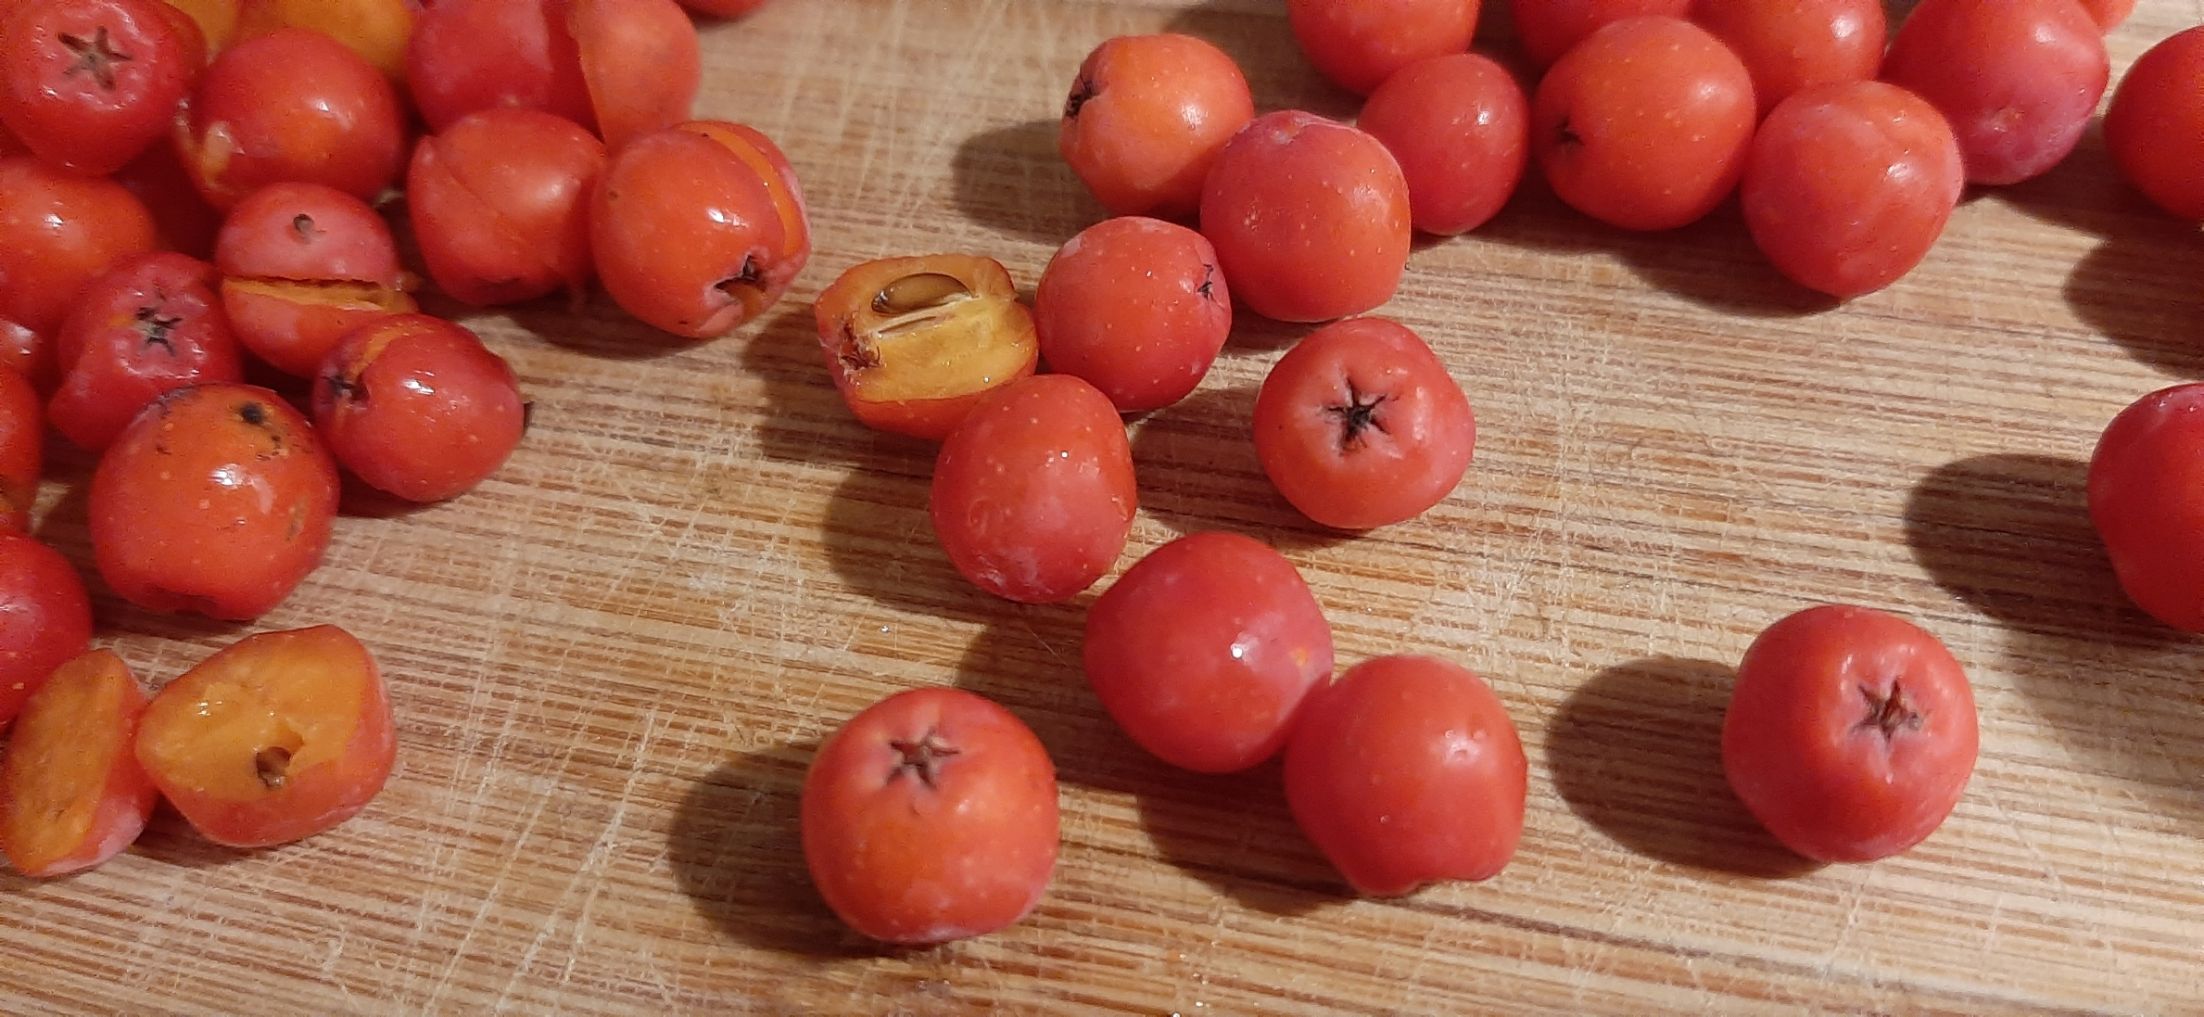
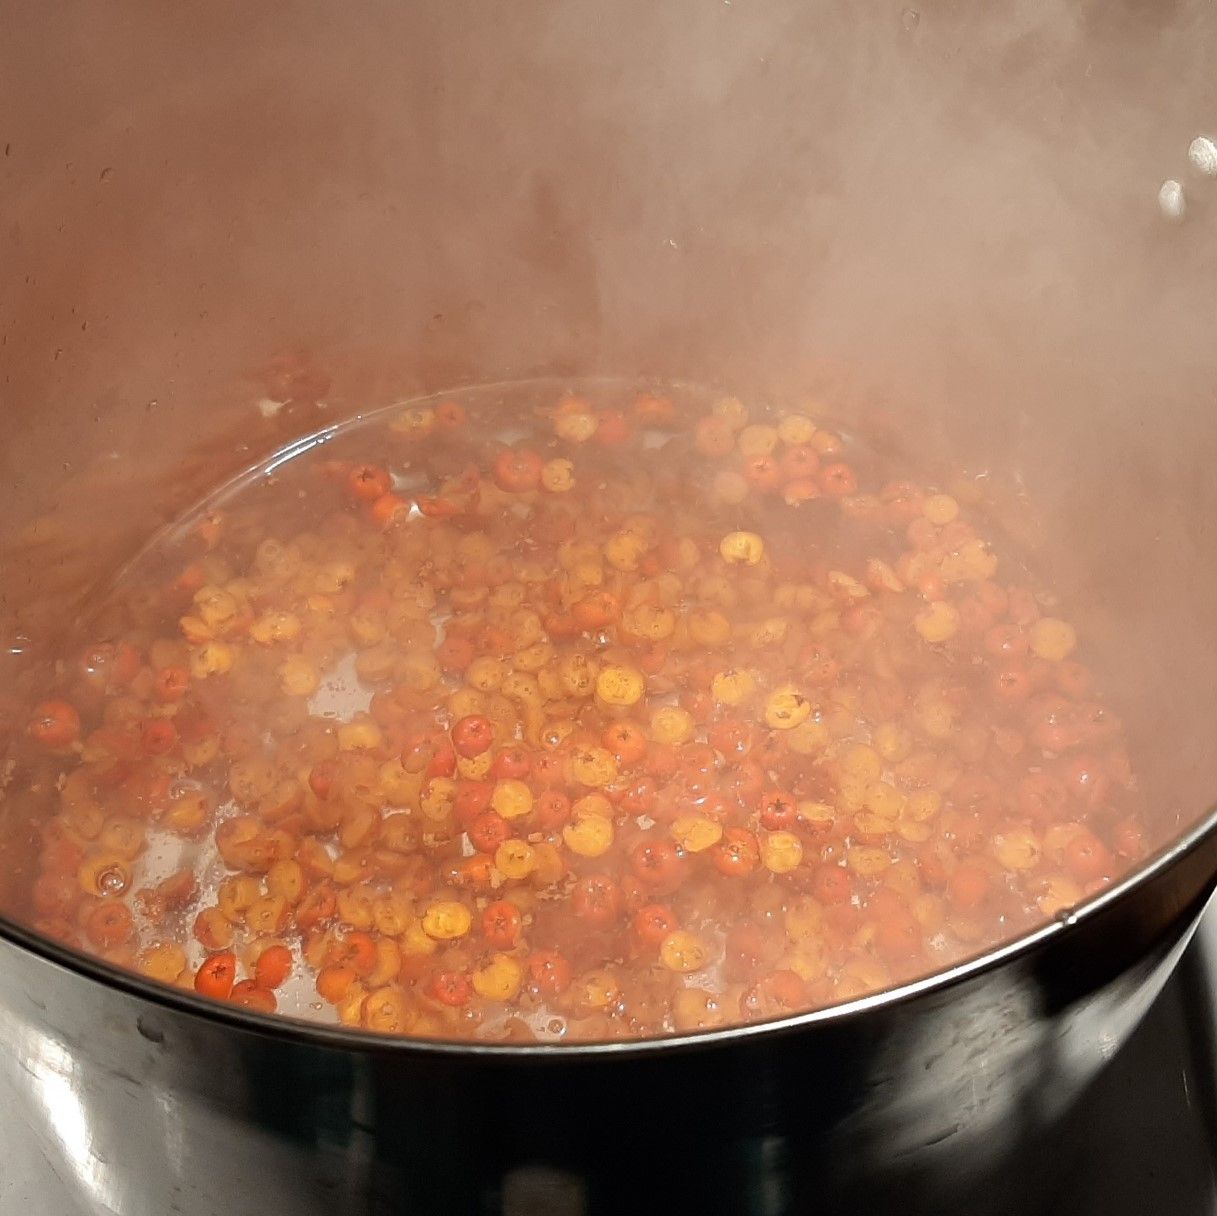
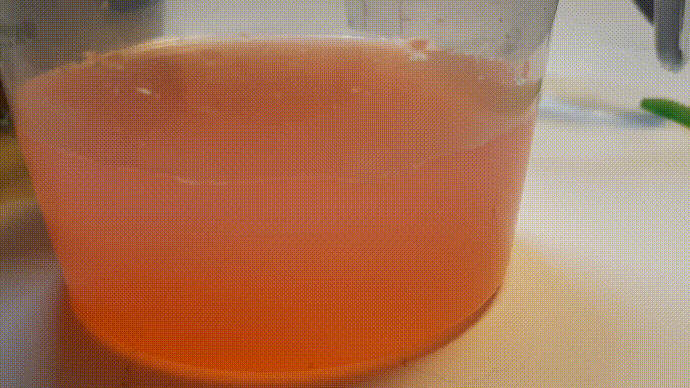
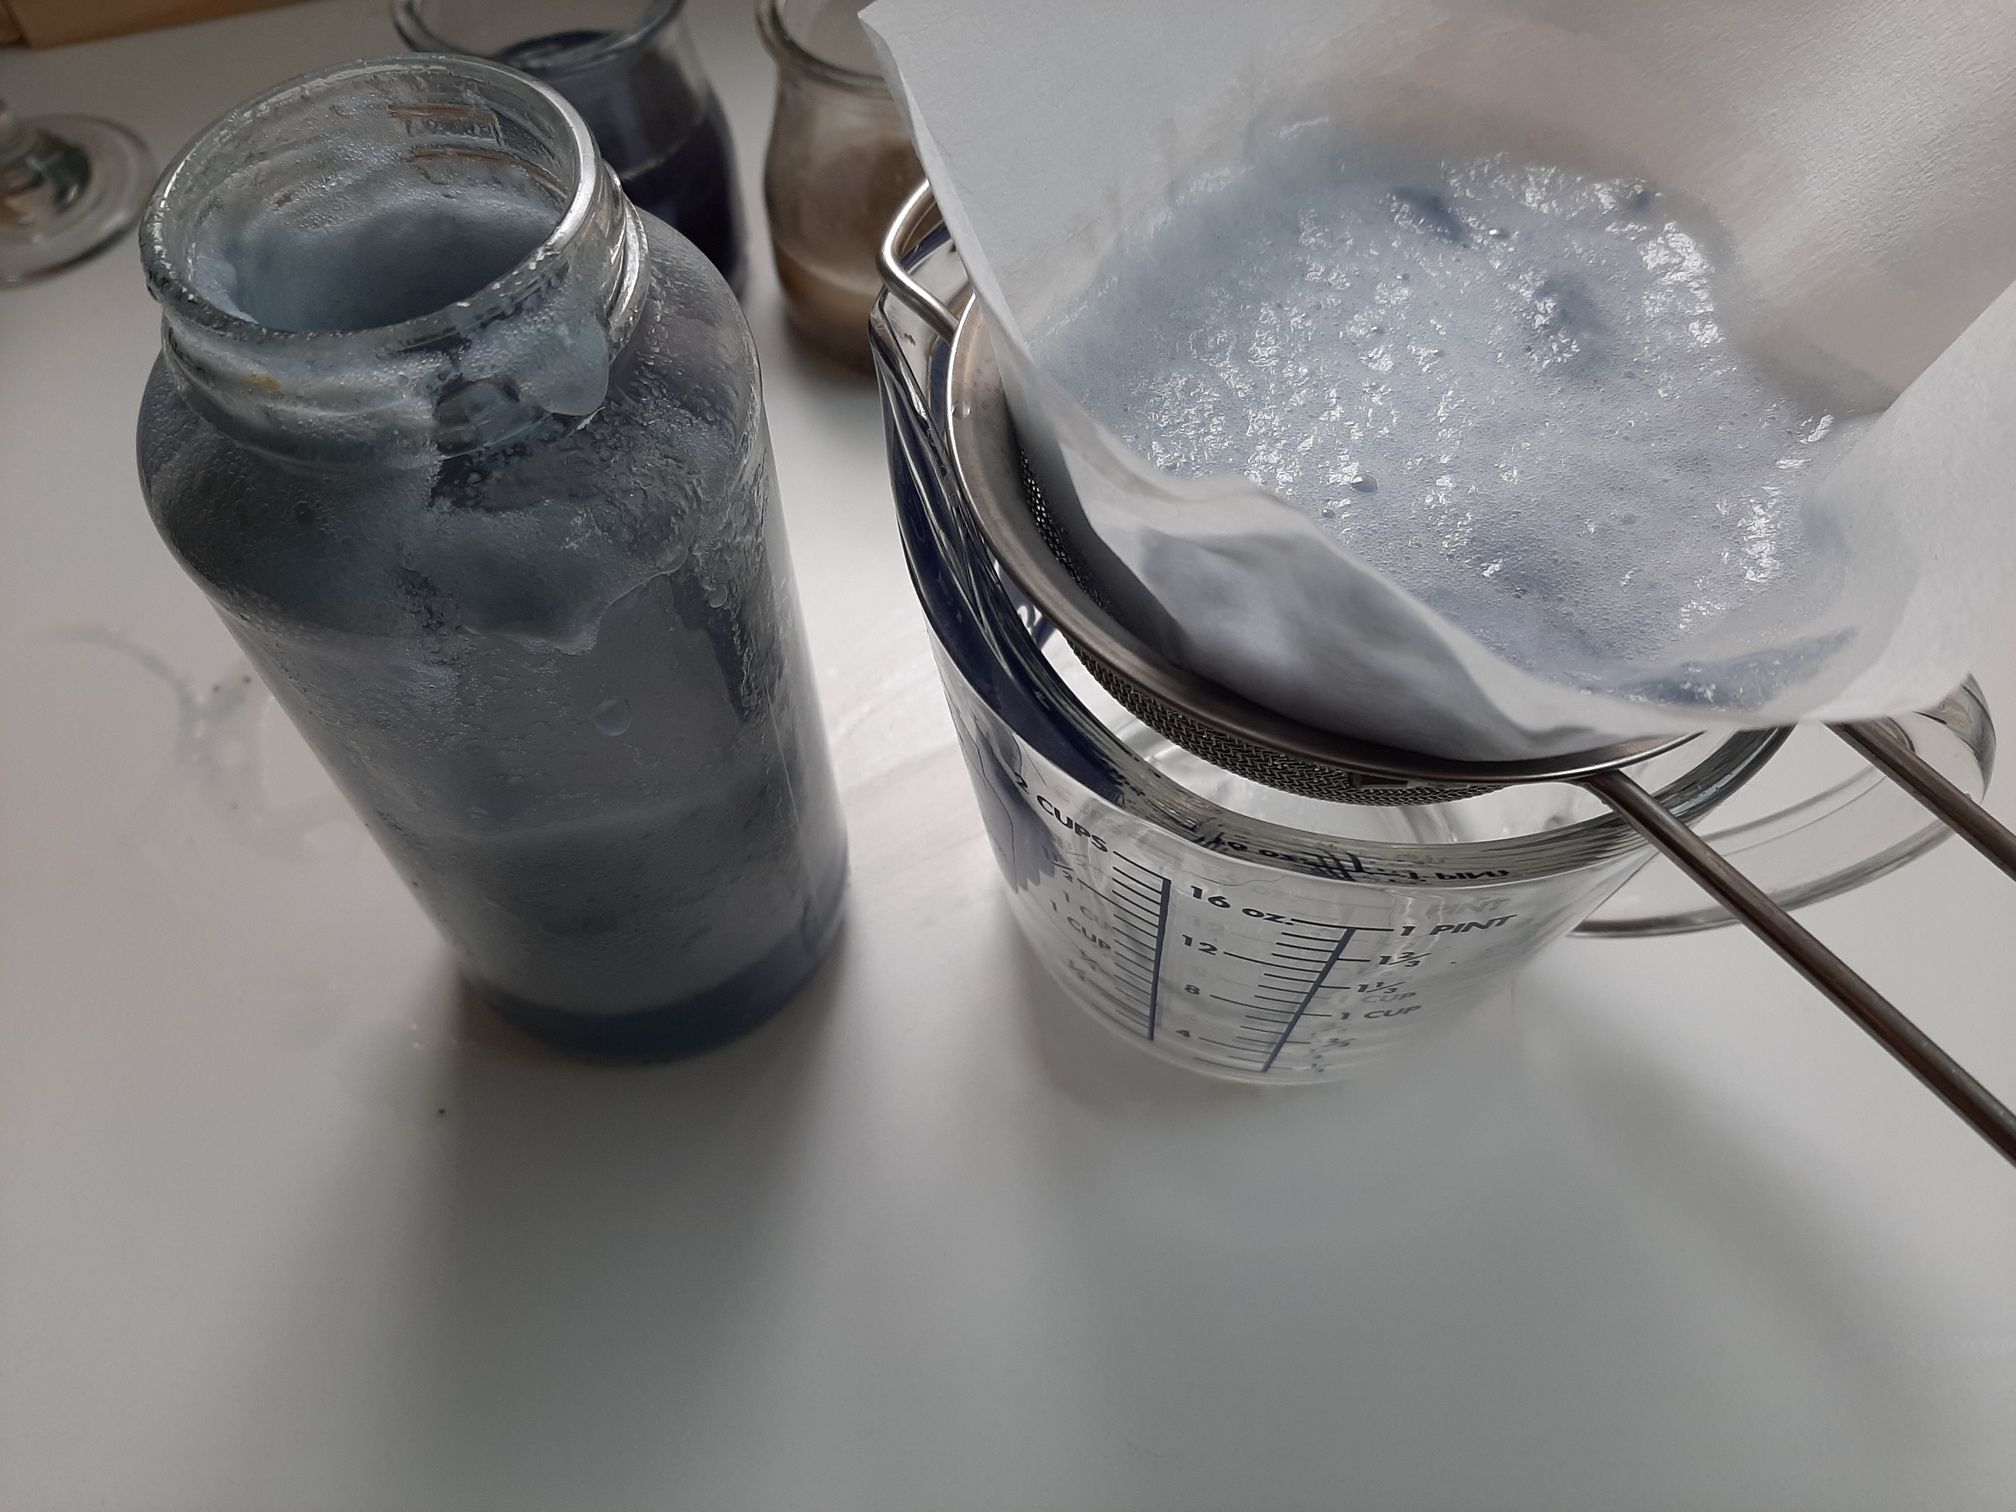
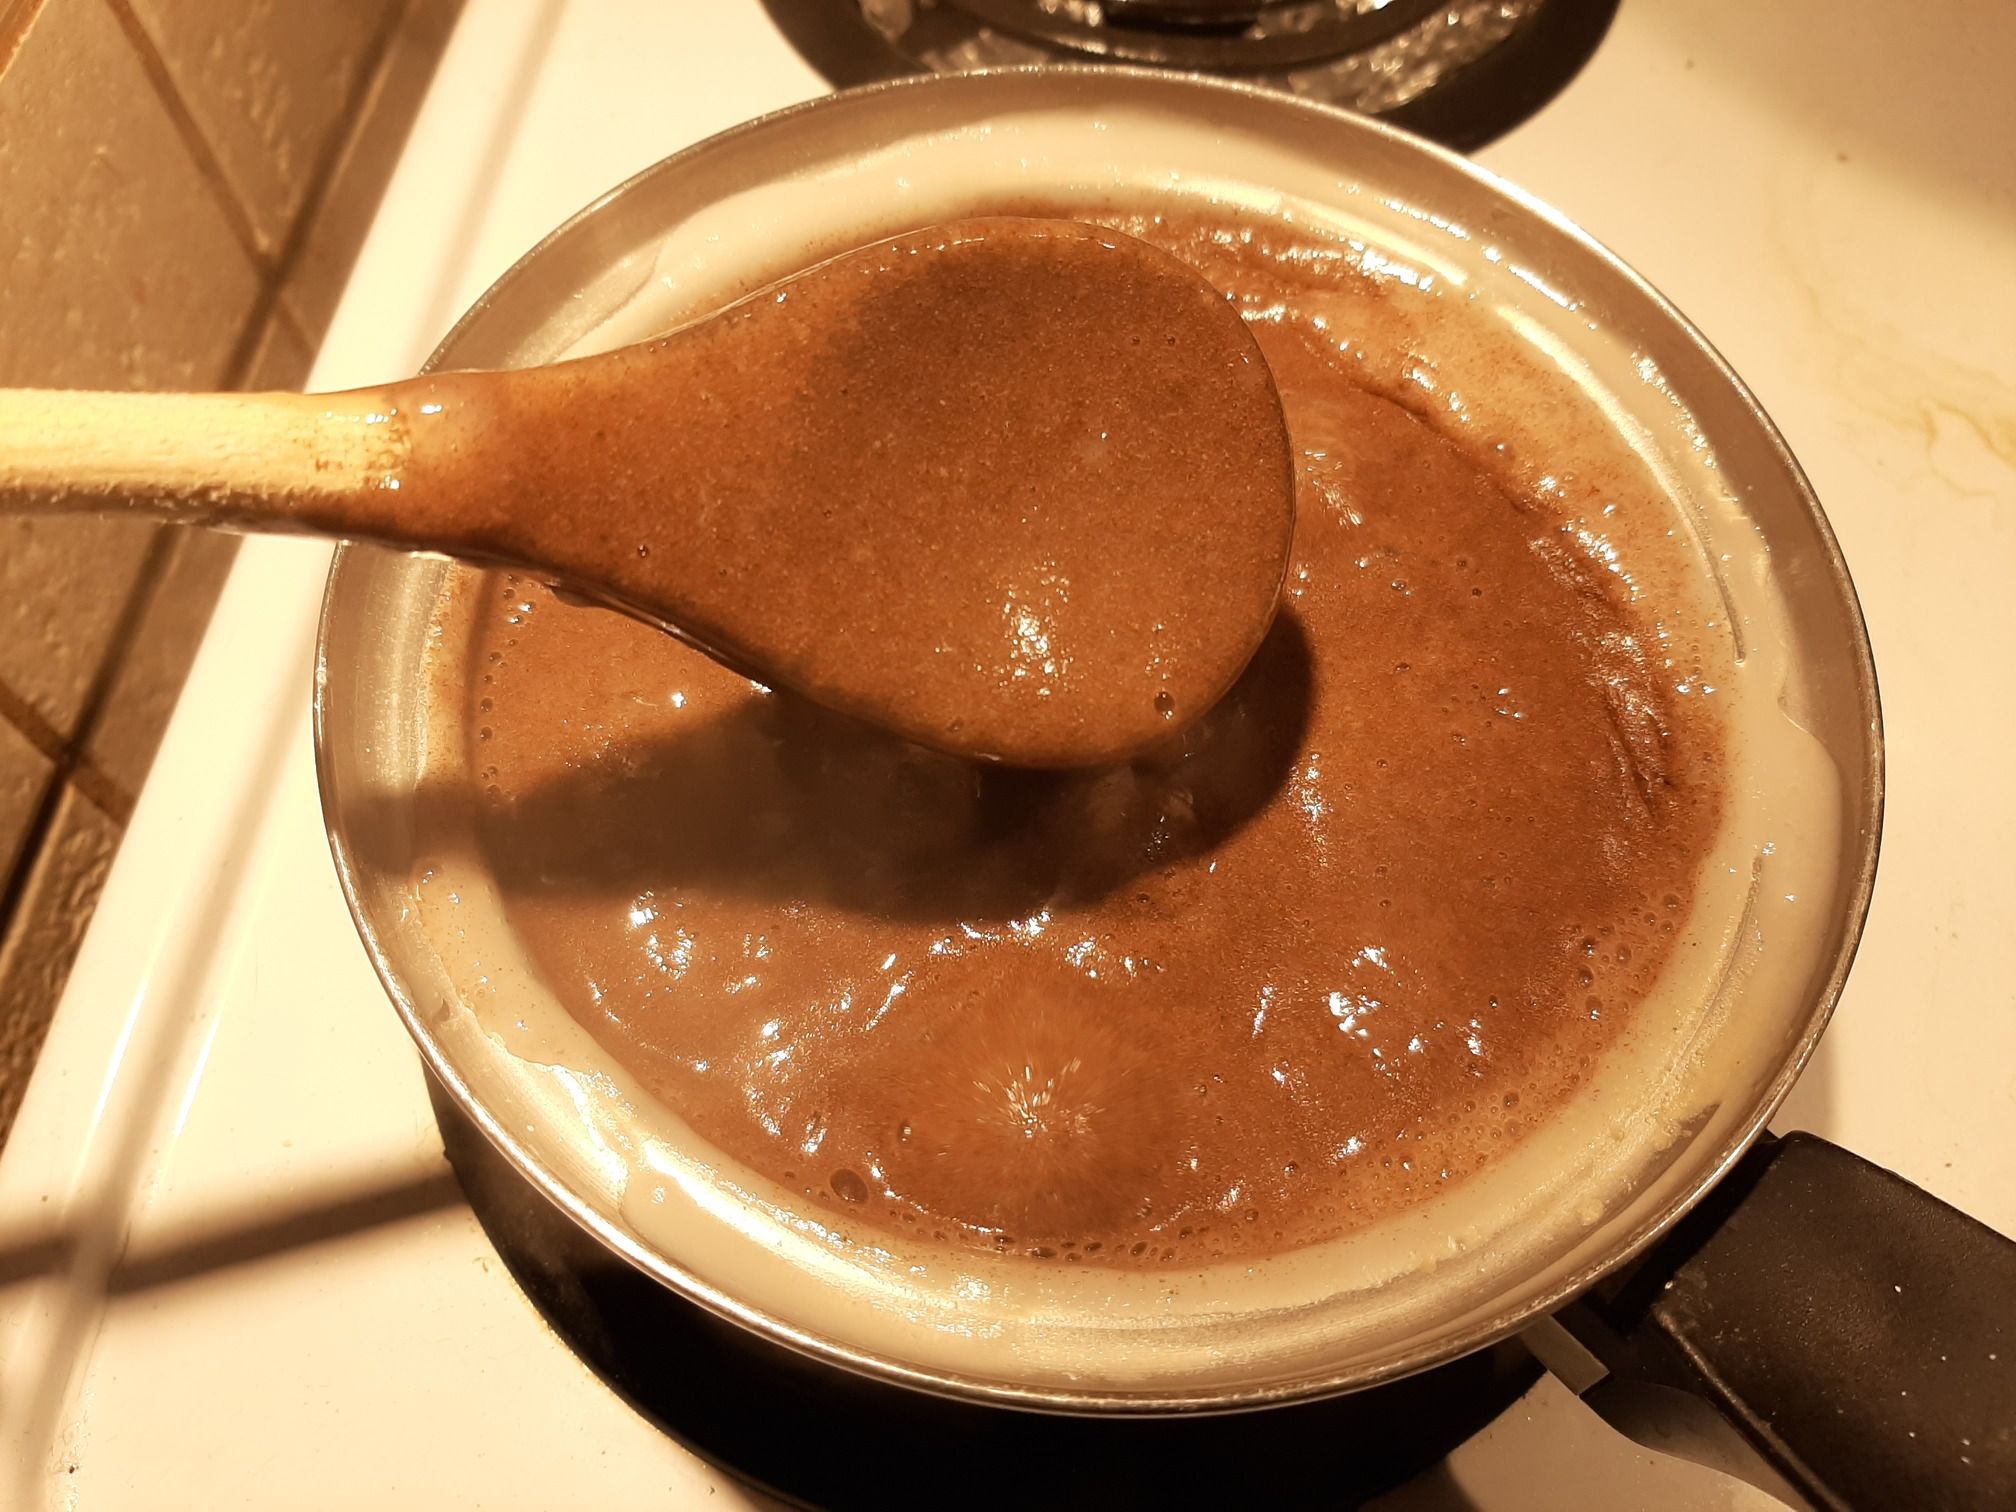
To get the mix ready for the dyeing process, I cutted every berry in half. It gave me 277g of fruits, that I added to 2L of boiling water. After only 10 minutes, the water was turning pink and it was still clear. After 20 minutes, I weighted my fibers; I had 57g of alum mordanted fibers, and about 171g of soy mordanted fibers... but they were still wet. it was about 2 hours after I got them out of the soy milk mix. I started dyeing my vegetable fibers. When I added them, I stirred a bit, and the water became foggy and full of little fruit particles. It smelled good tho, a bit like apple jelly. I wanted to be sure the color would transfer, so I left it, still boiling, for 45 minutes. I turned off the heat, waited for the water to be cold enough for me to tuch the water safely, and then added my little wool sample. I let everything rest for 24 hours before getting my samples out. I strained trough a coffe filter most of the colored water for later use, and rinsed my fabric with cold water. At the end, all the fruits were left with only yellow or orange colors.
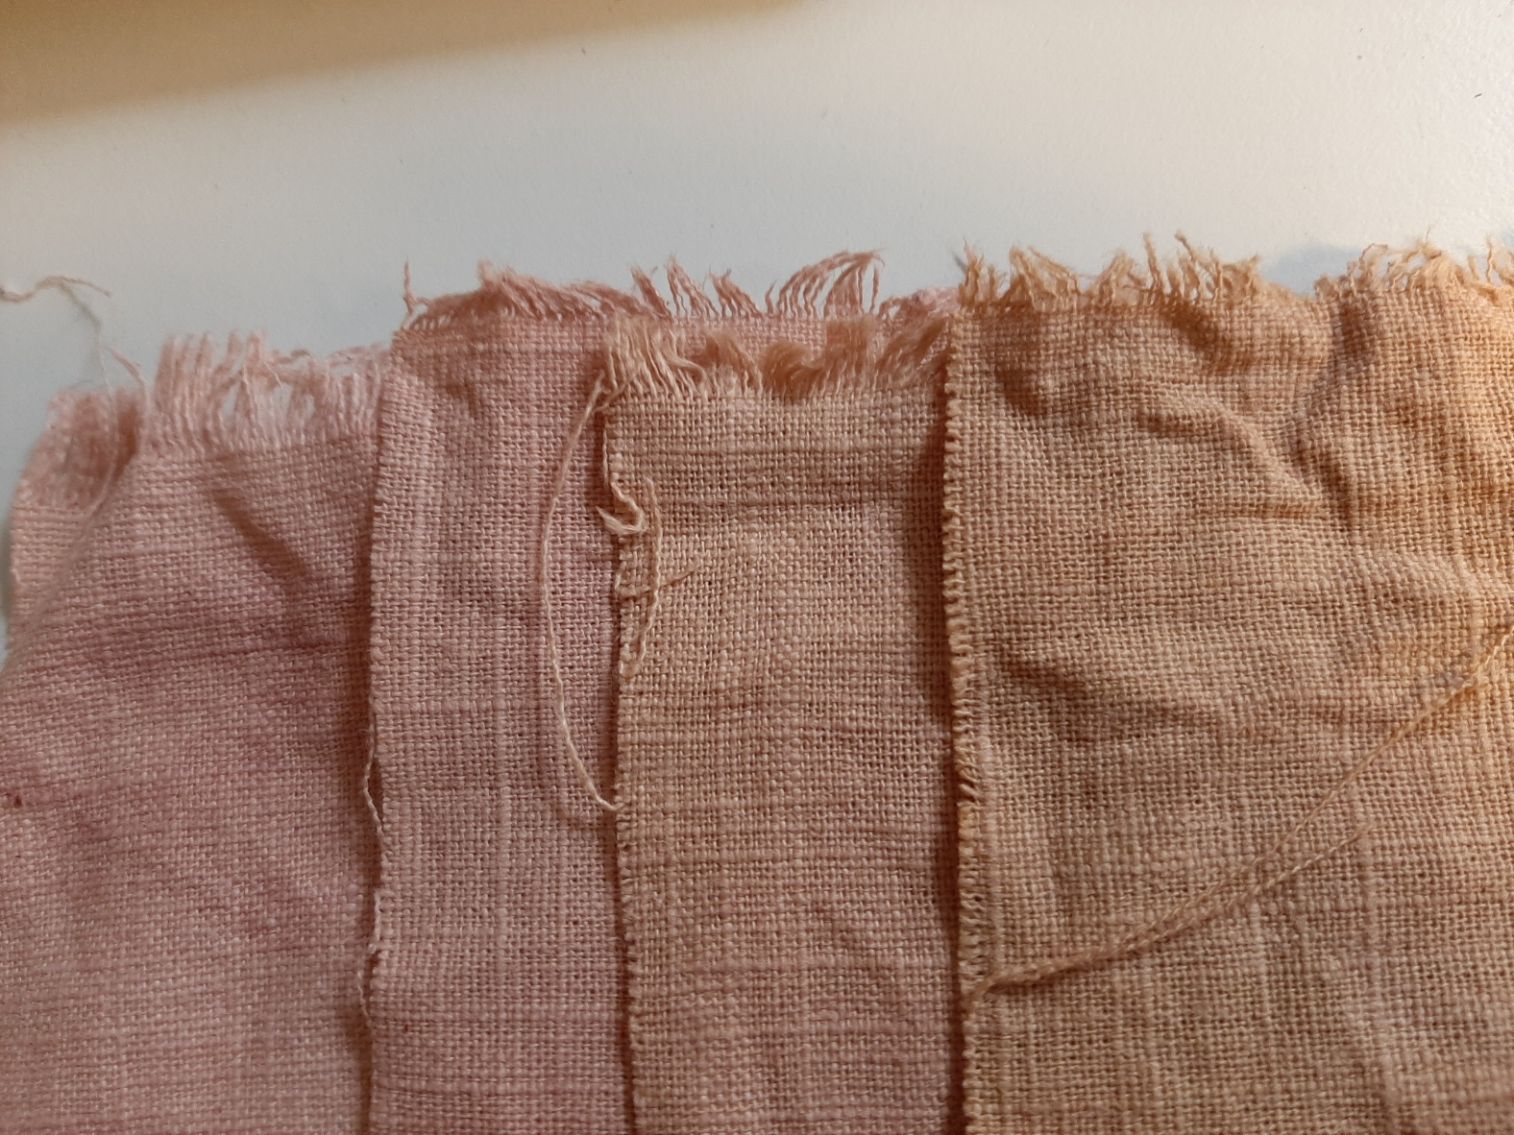
Results on the linen were better than what I expected. Tere were some bright pinks on the linen samples! Unfortunatly, after about 3 or 4 hours of drying, the linen sample that was mordanted with soy beans list about all color. When the fabric dried completely, event my alum mordanted sample lost it's color. This is the picture of my sad results, once they were completely dry.
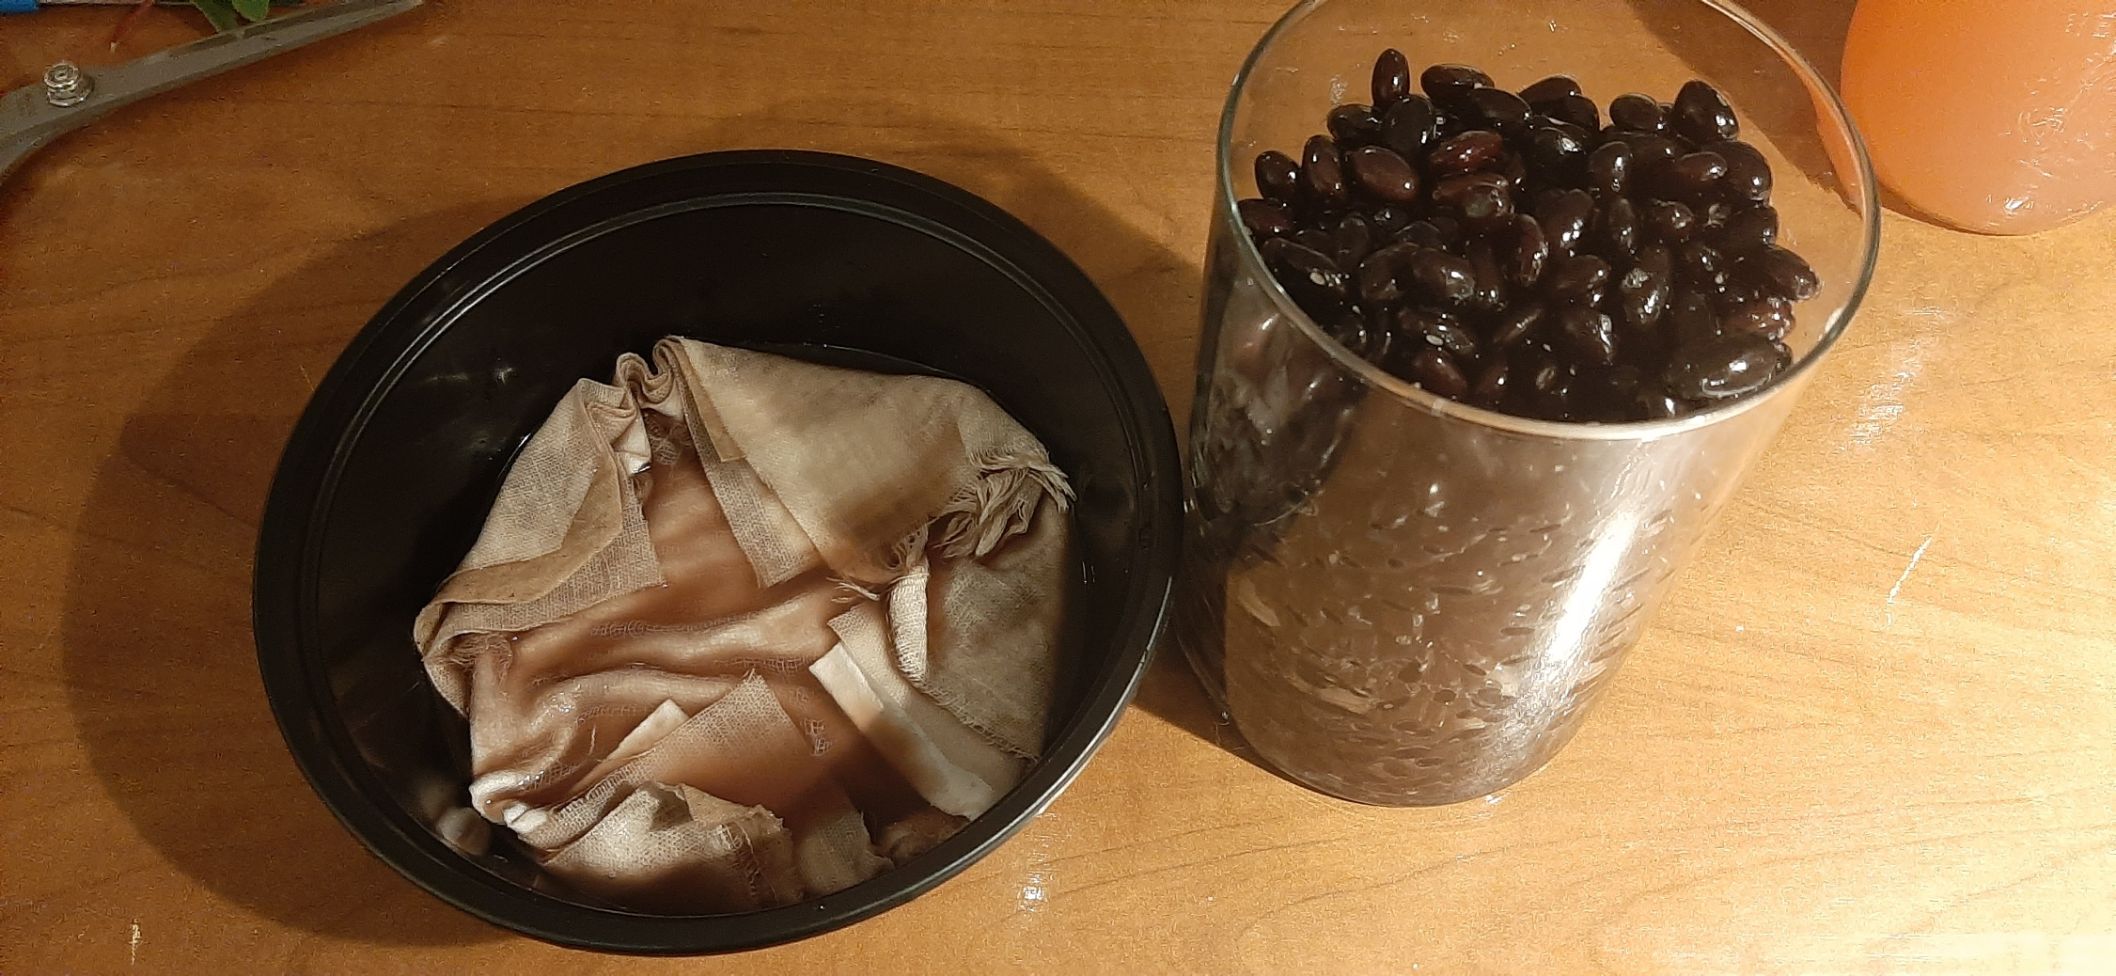
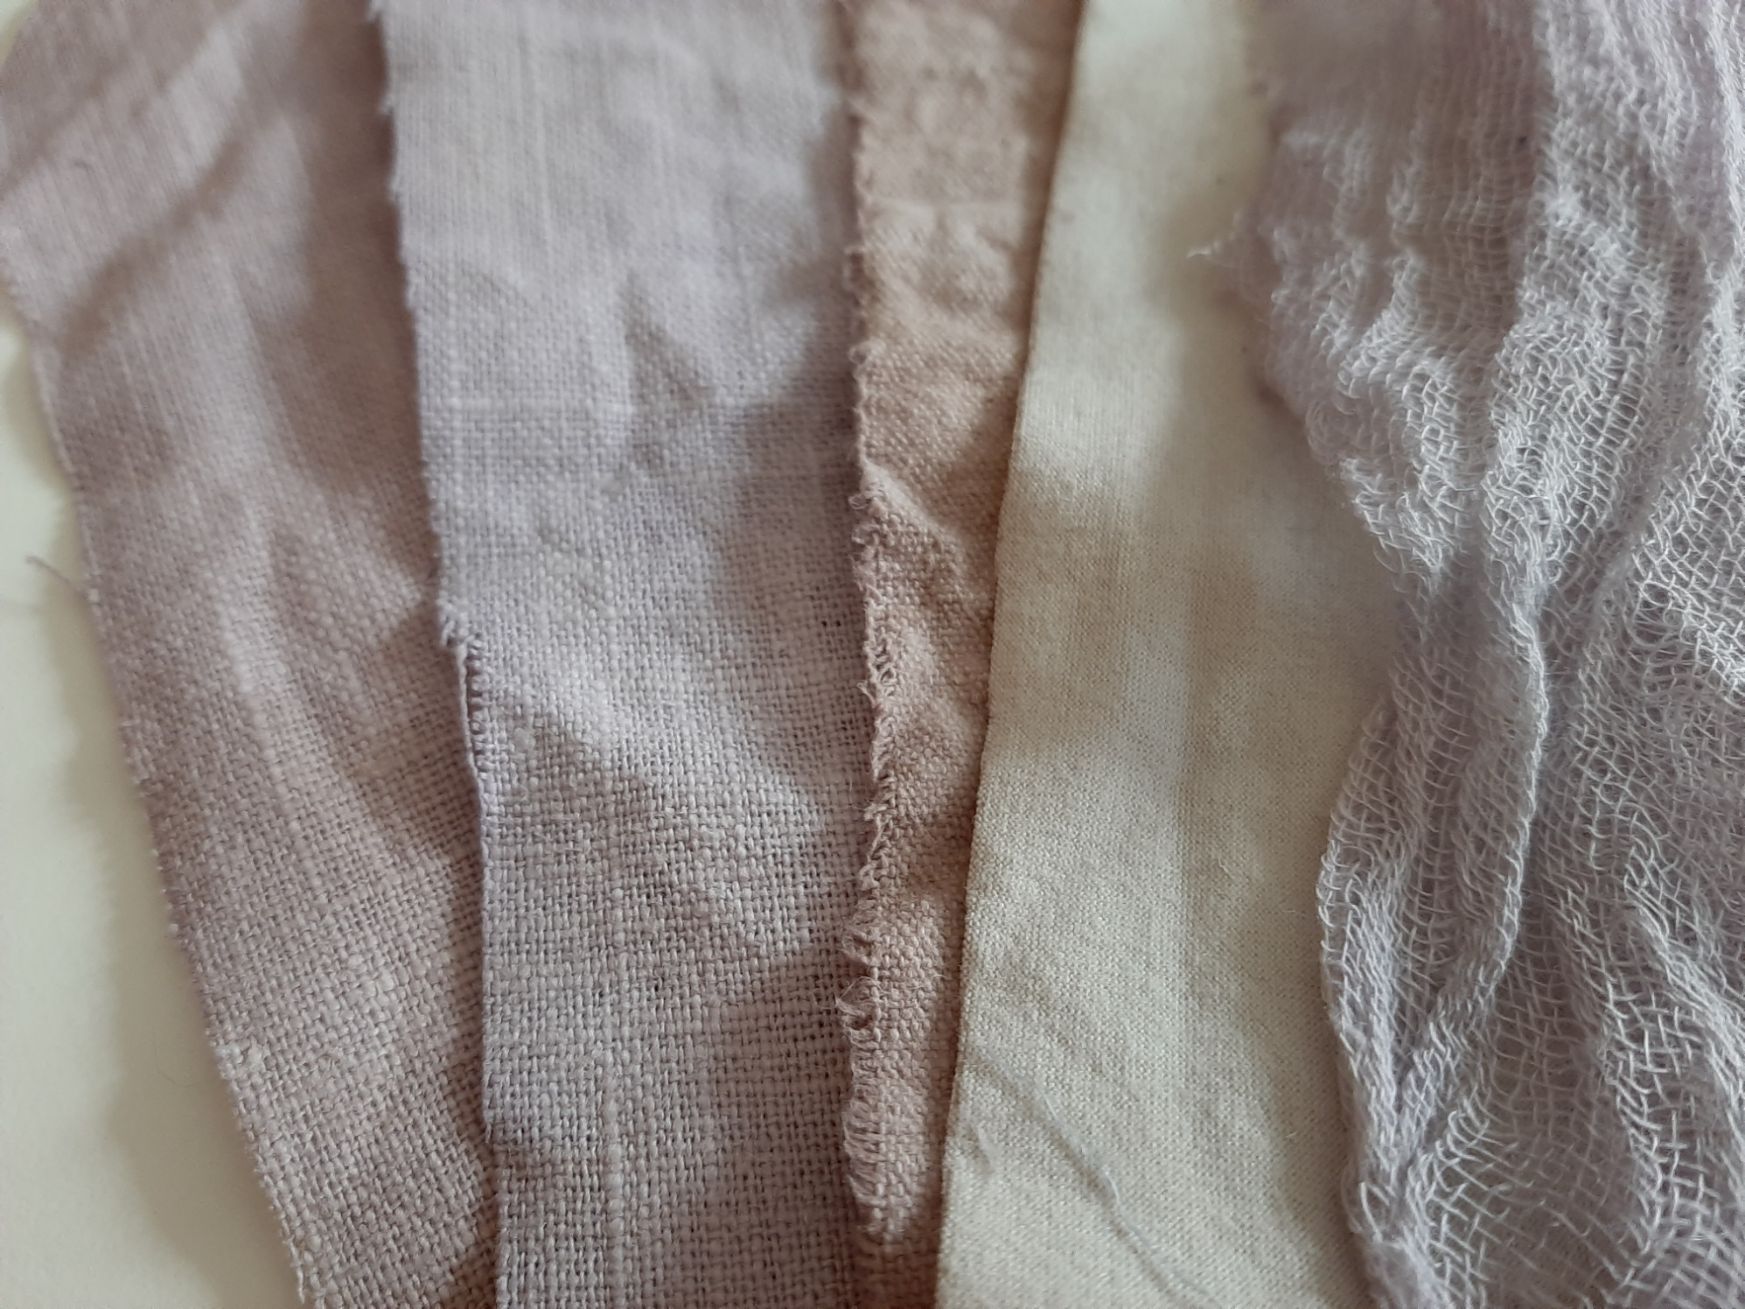
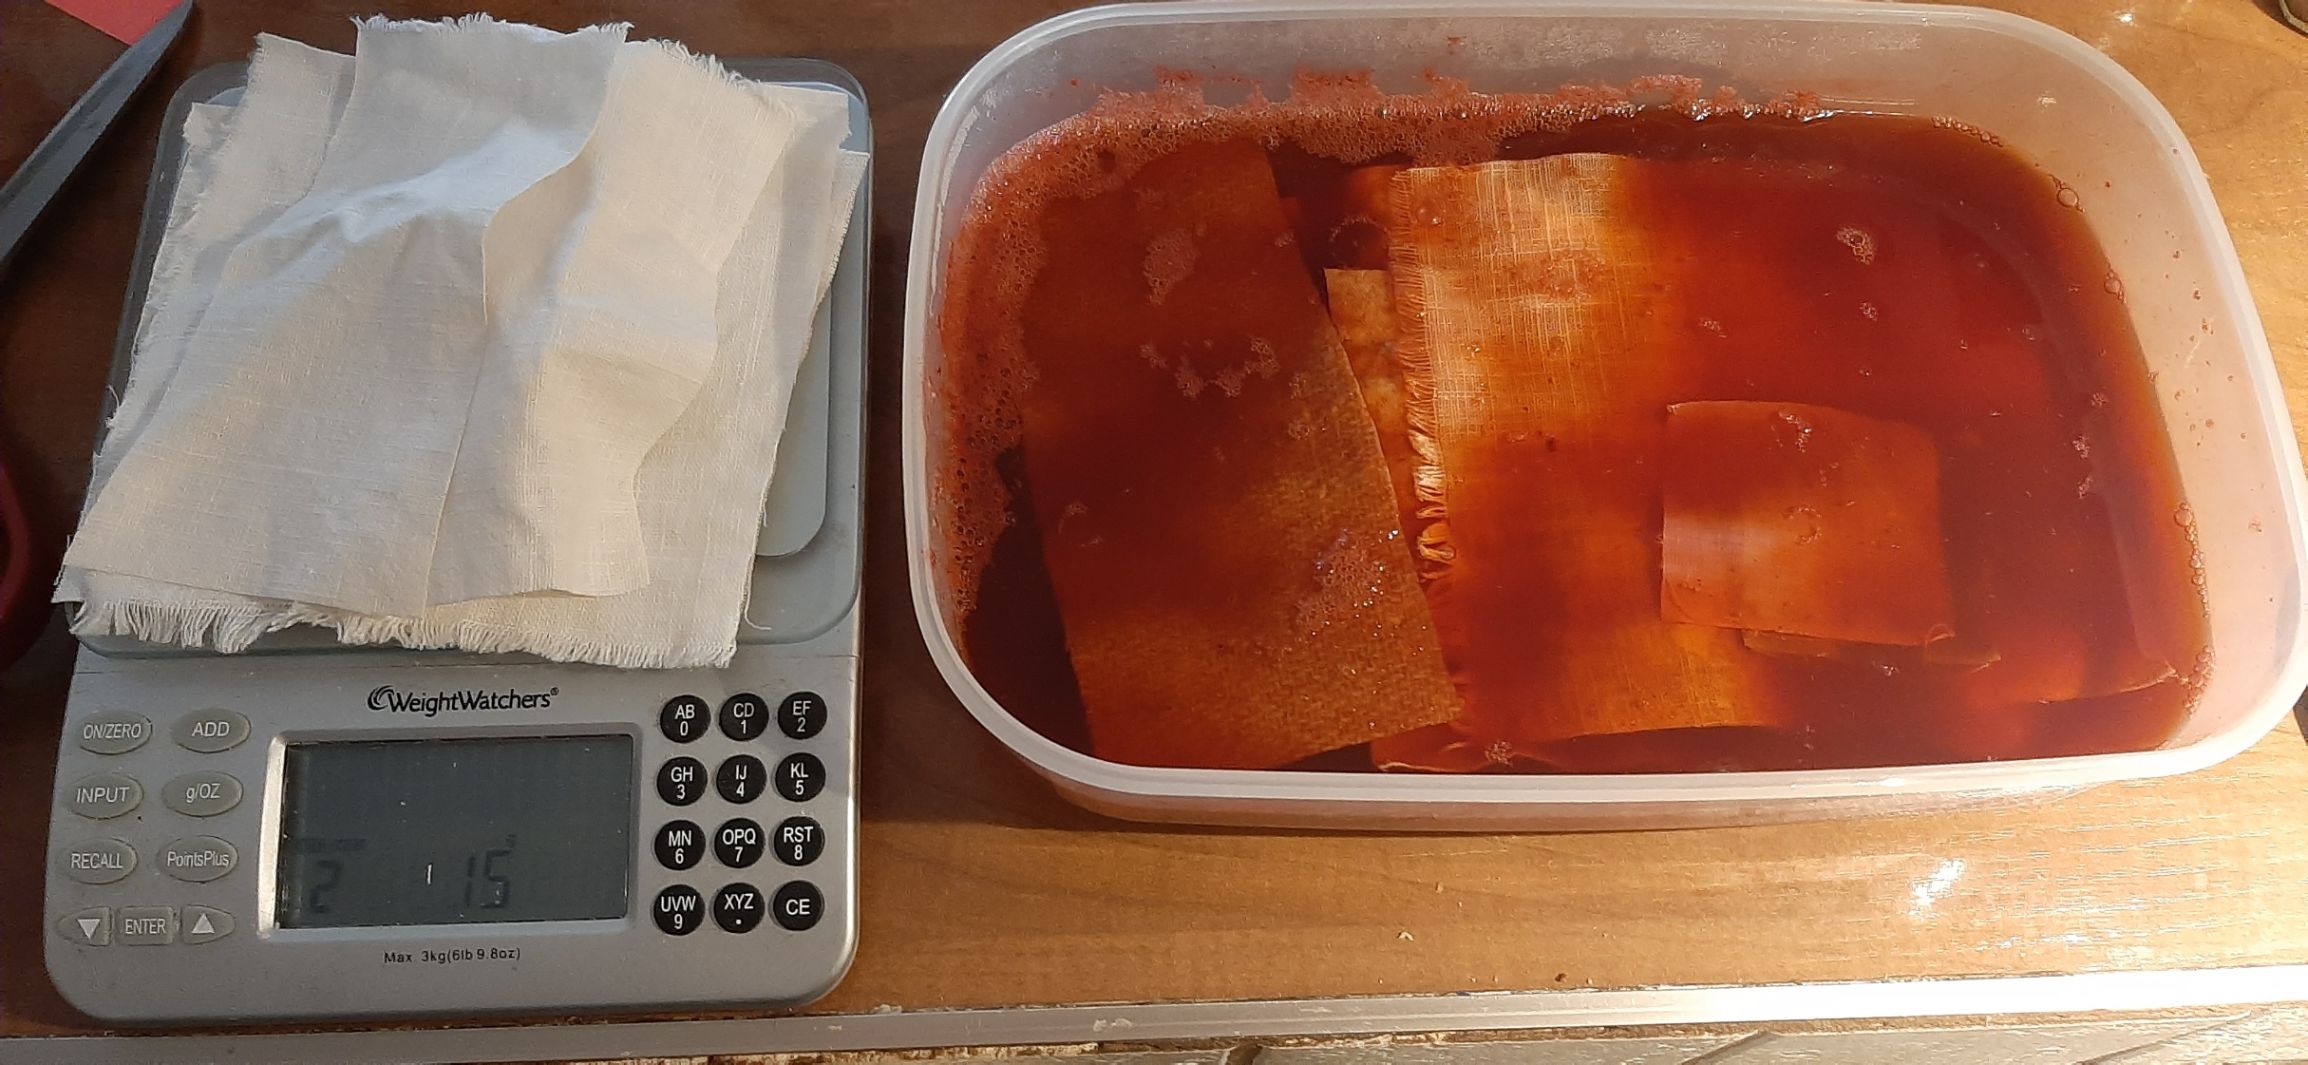
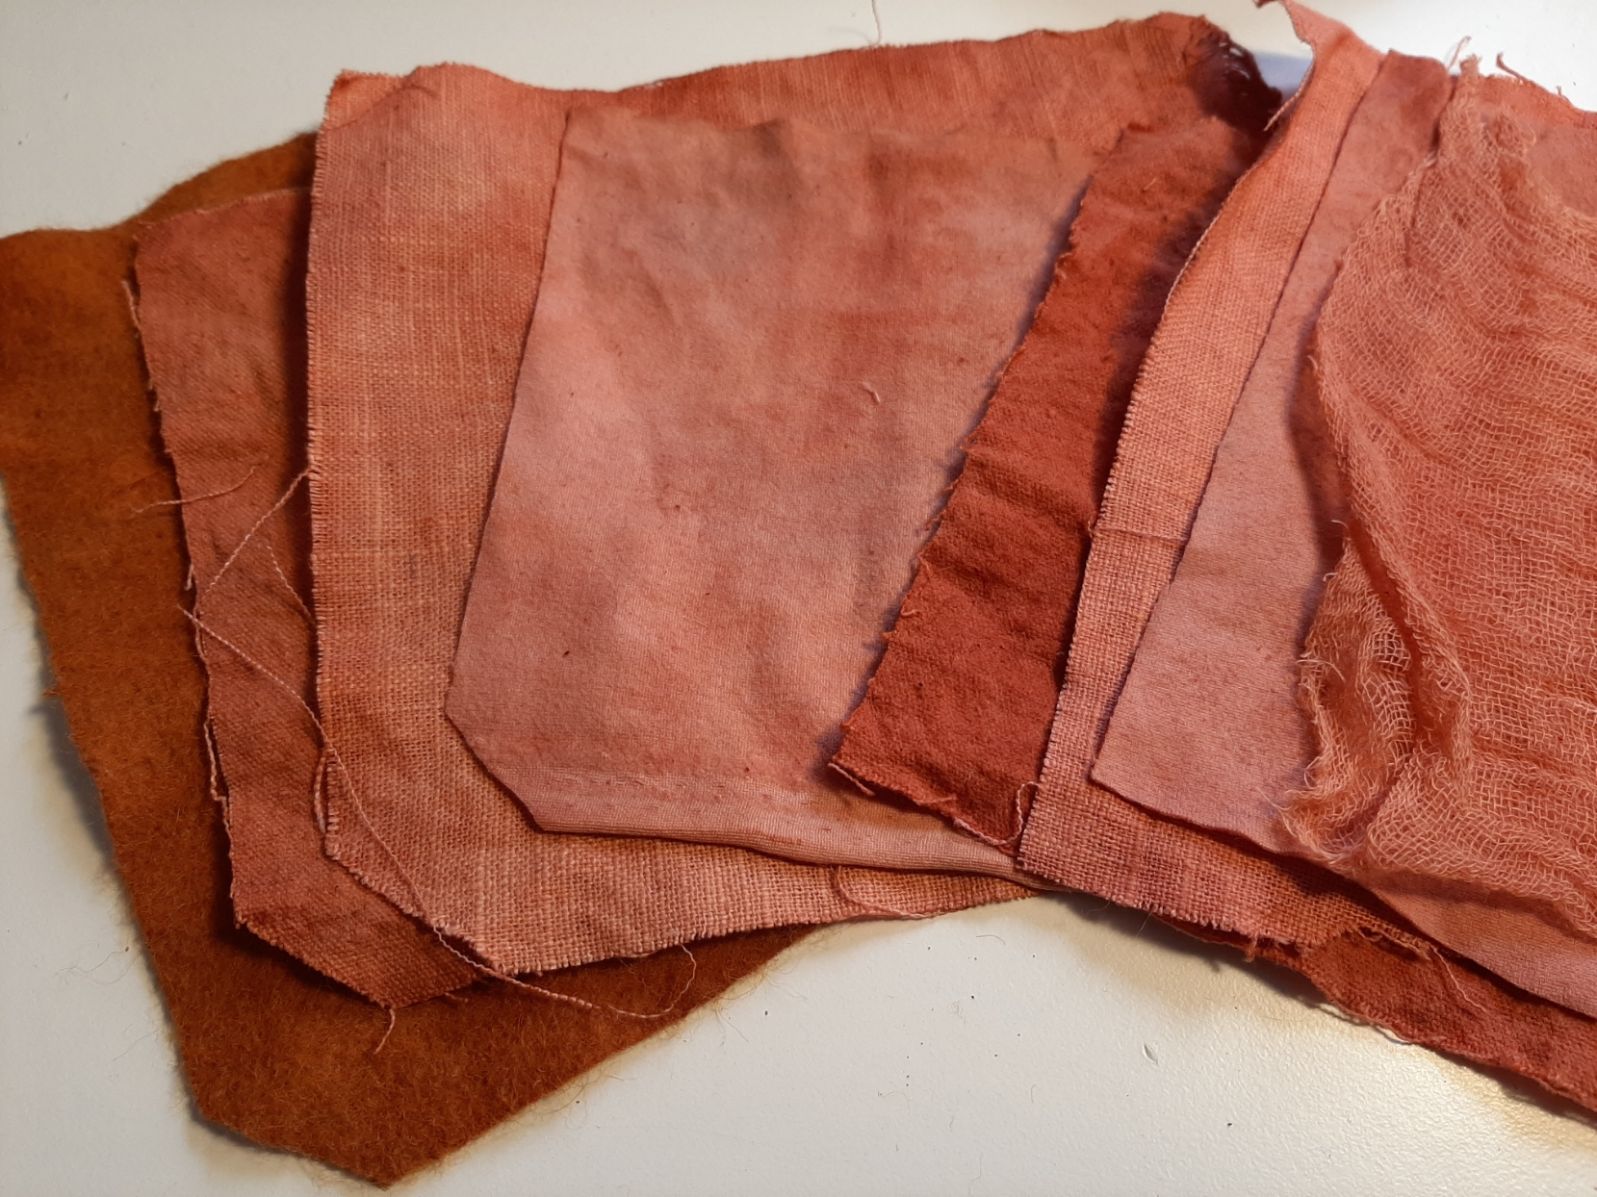
Black beans
I bought black beans from a local zero waste grocery store. They were harvested here, in Canada. I began by covering my black beans with water. At the beggining, my contenant was half empty, but after some time, the beans took so much expantion that I had to add water. I left everything on my counter for a total of 25 hours. I separated the brown colored water from the beans with a seive. I kept the beans to eat later, and prepared some sample to be dyed. 30 gramms of fabric was ready to be dyed, and this time, I cutted out a corner of each sample that was mordanted with soy beans so I wouldn't mix them up. It's been about 28 hours since I got the fabric out of the soy bath. There was so little water, that I had to and some again, just enough to cover the fabric. I left my samples in for 17 hours on my counter.
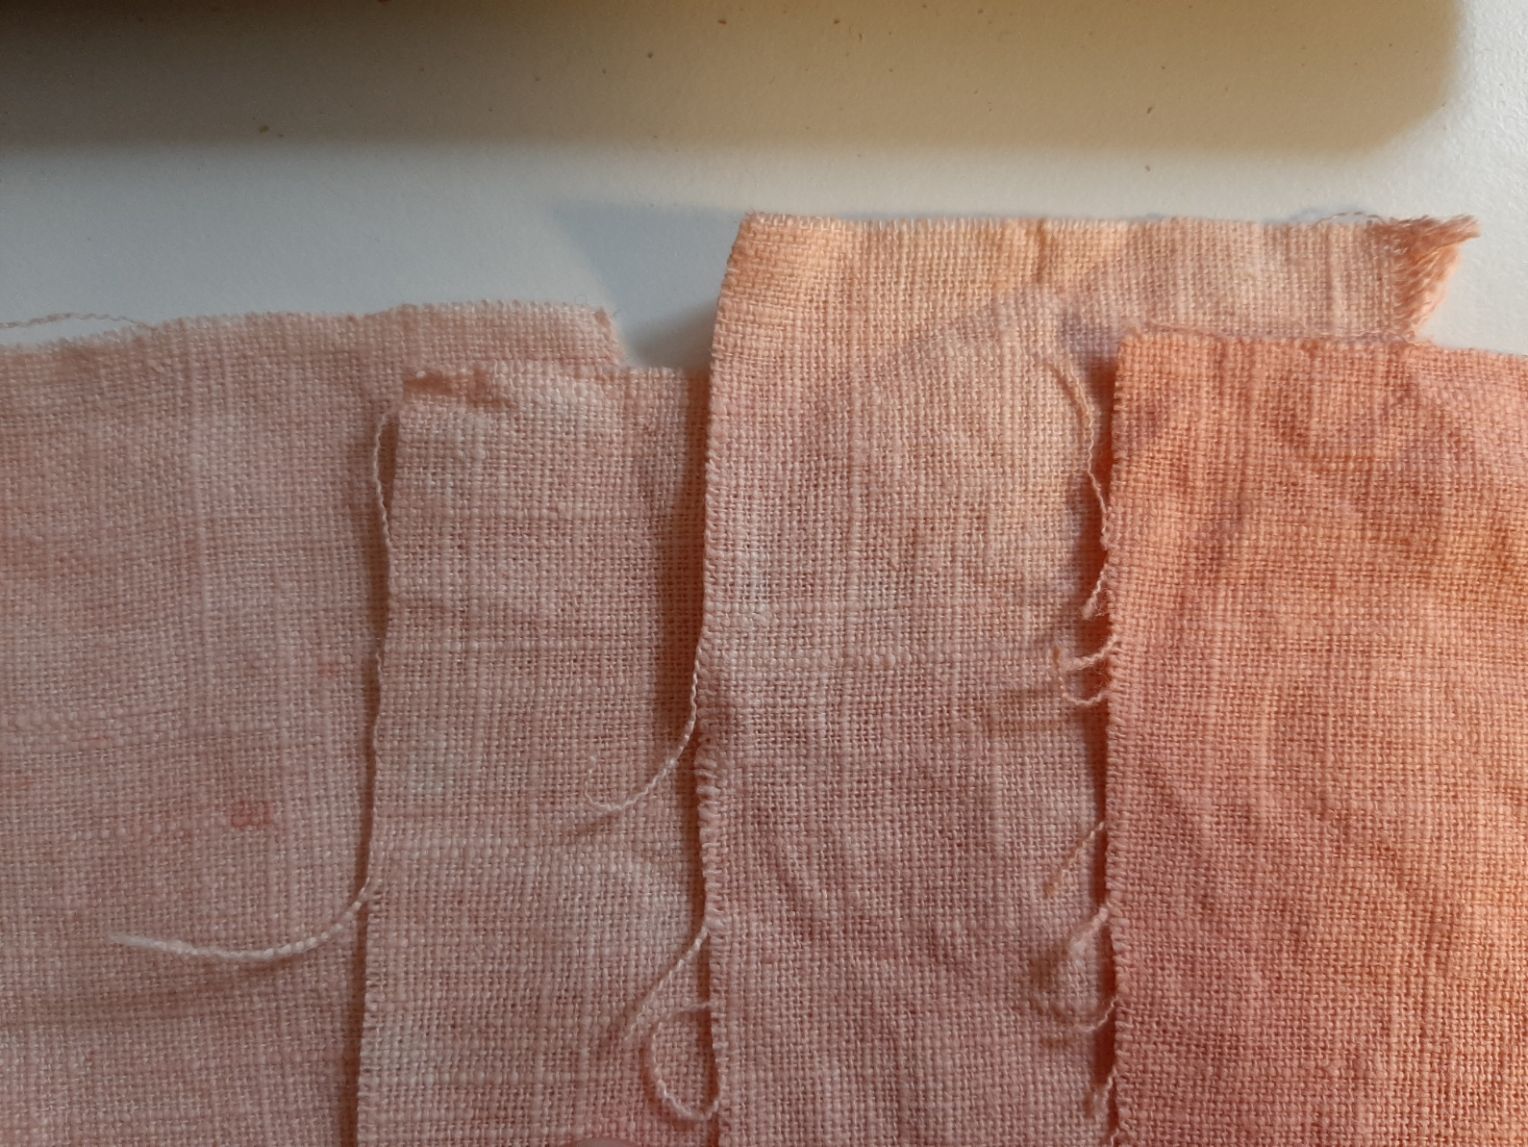
My samples were very colorful, and they kept the color even after they dried. The purple was still very light. I did not have any chance with the semi-synthetic fibers, the bamboo sample stayed white. the two linen, one mordanted with soy, and the other one mordanted with alum turned out about the same color.
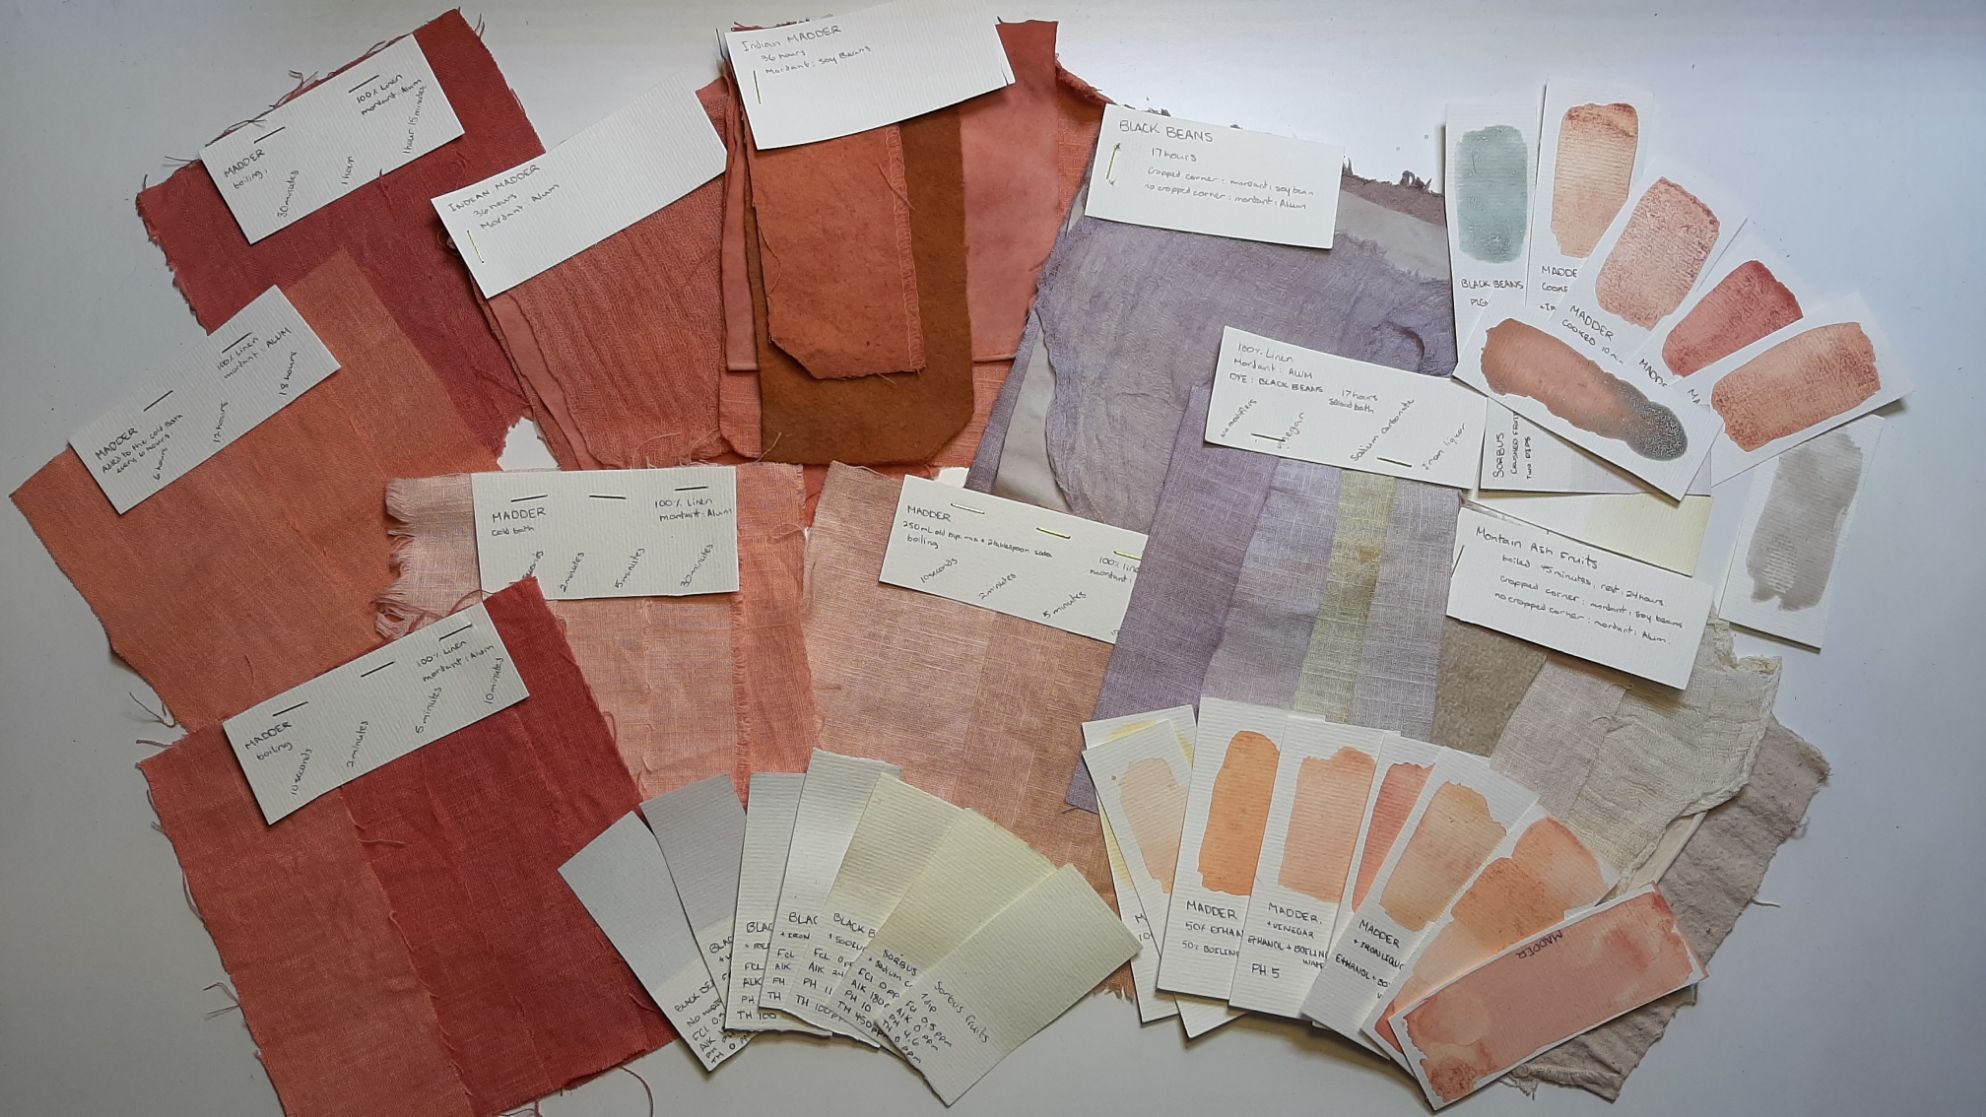
Indian Madder
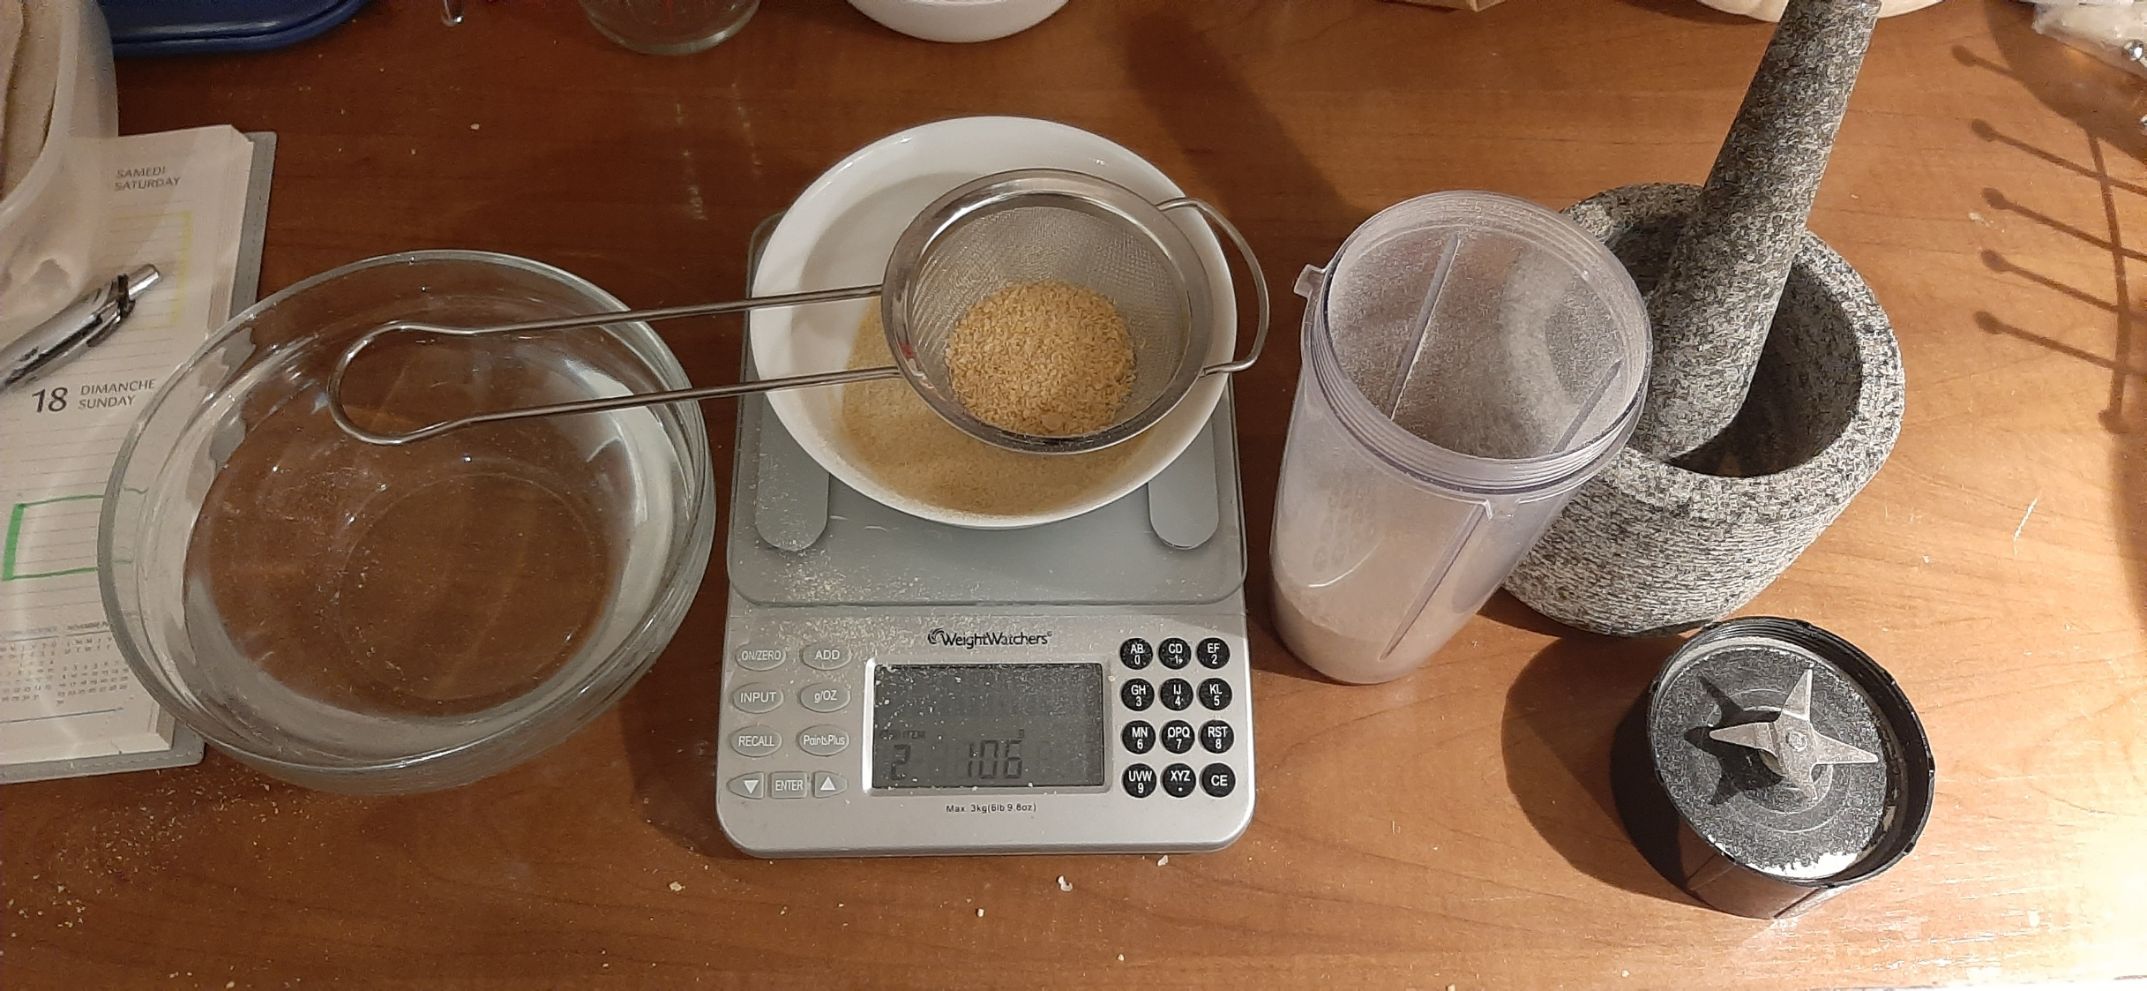
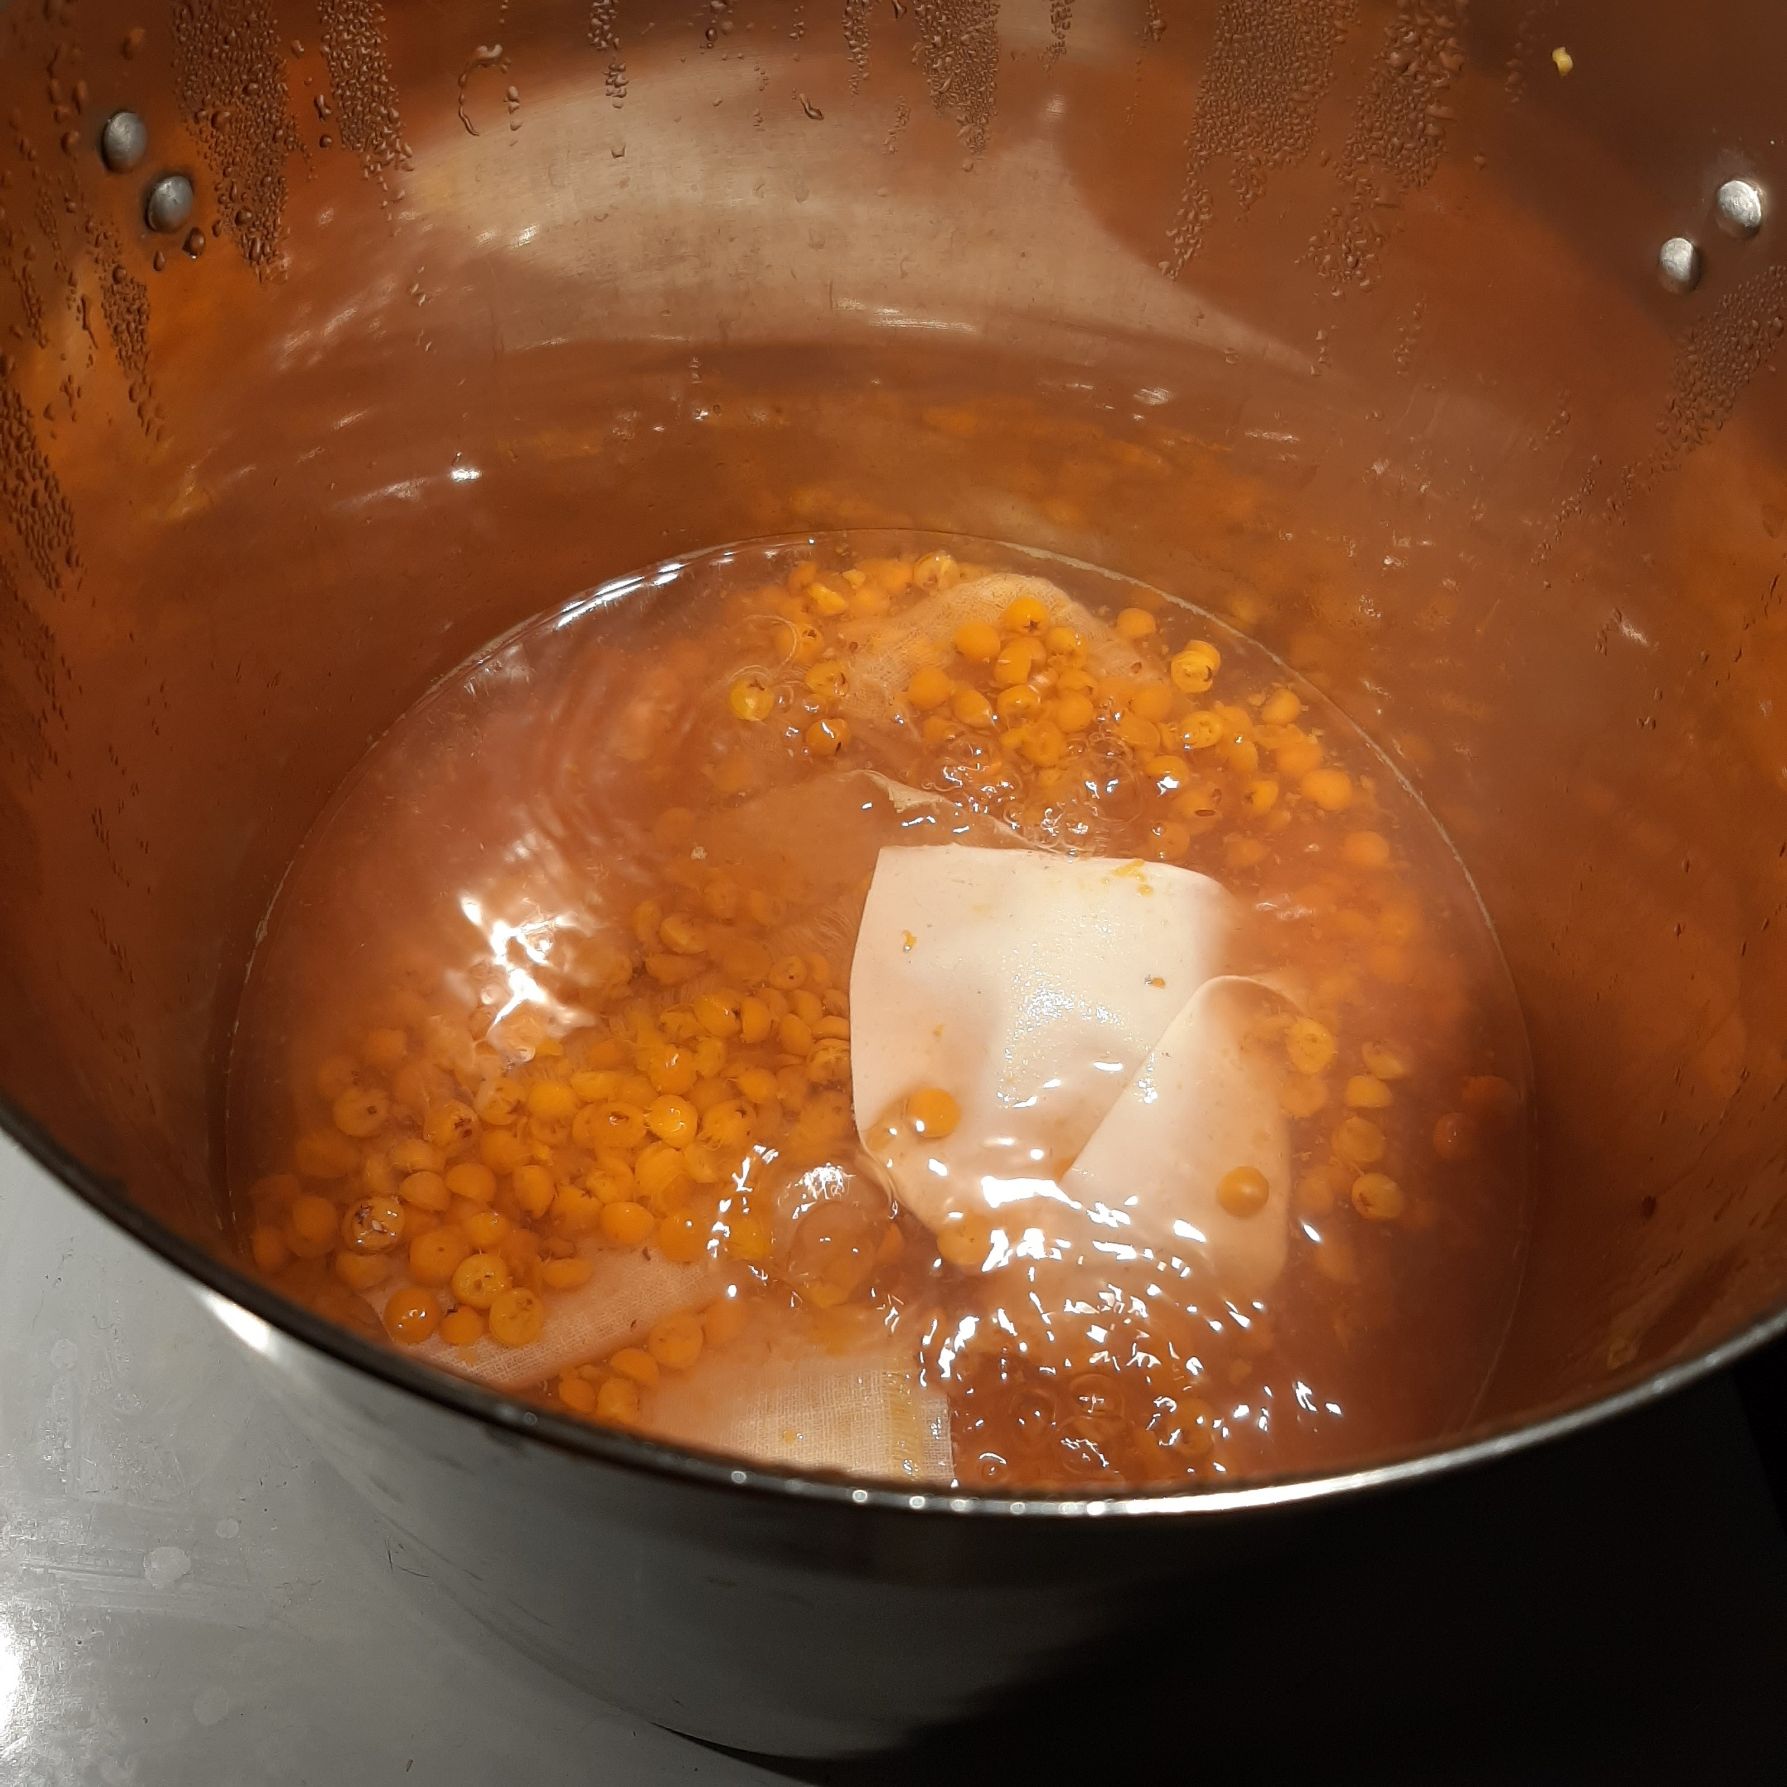
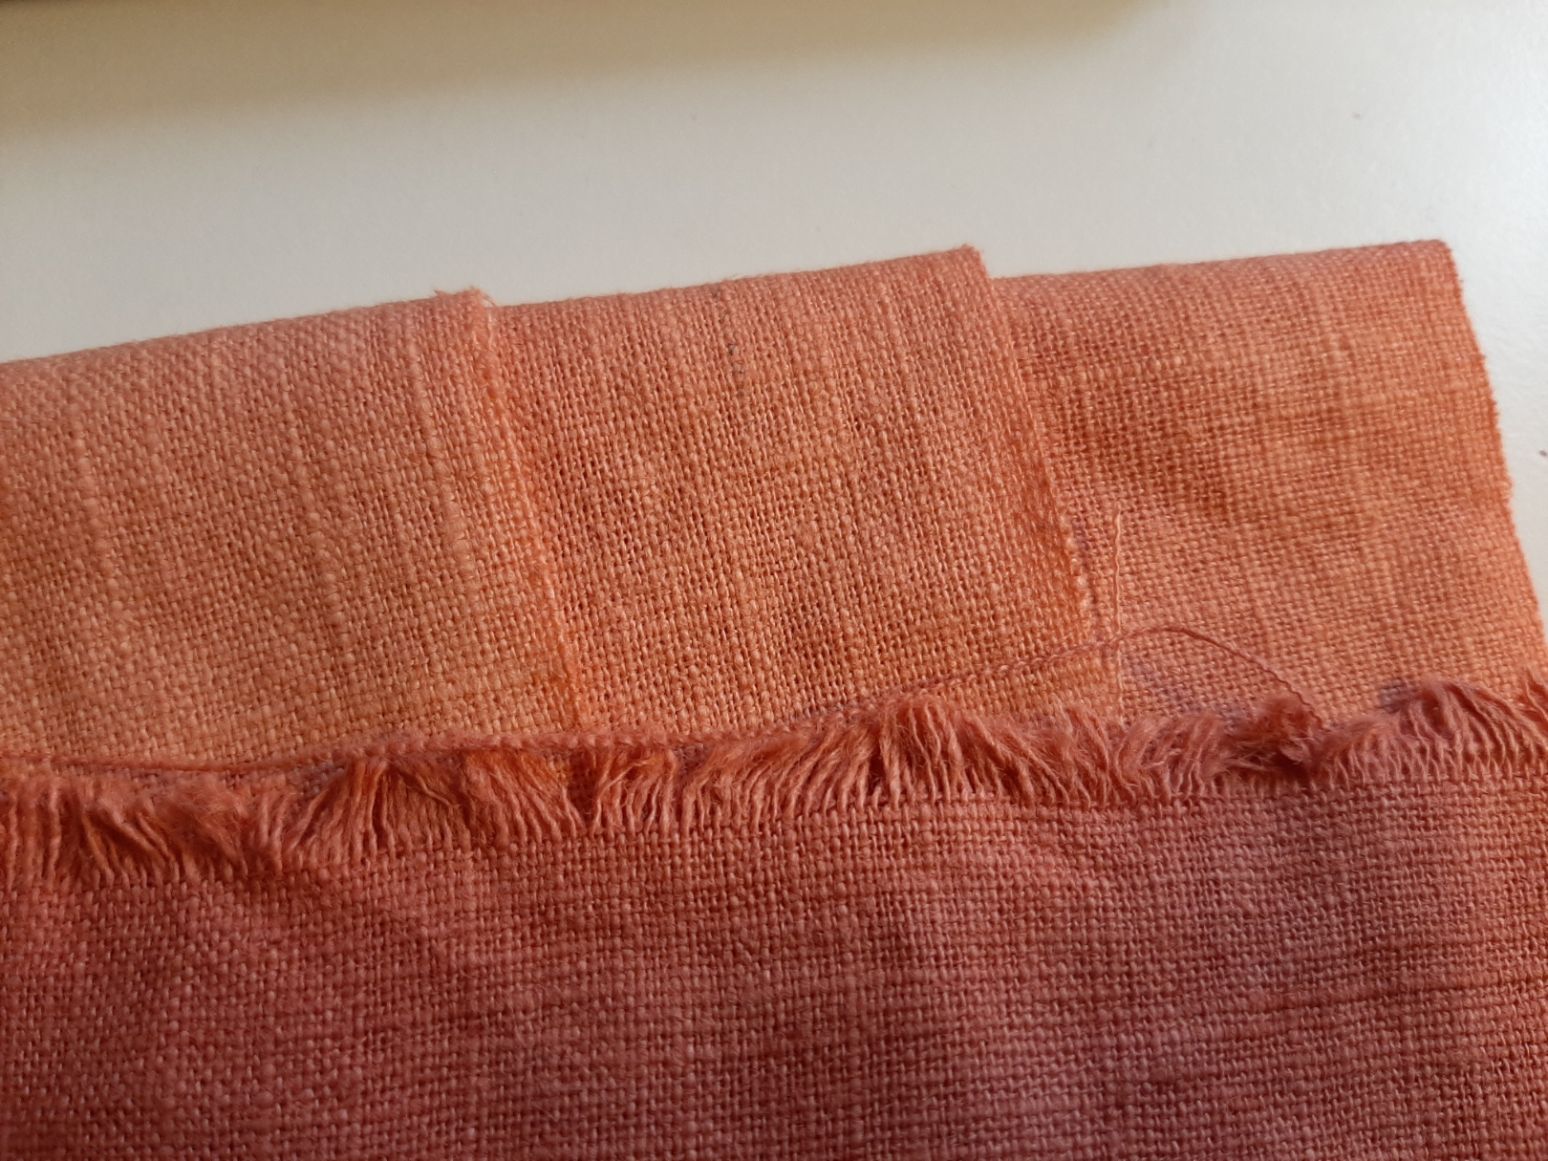
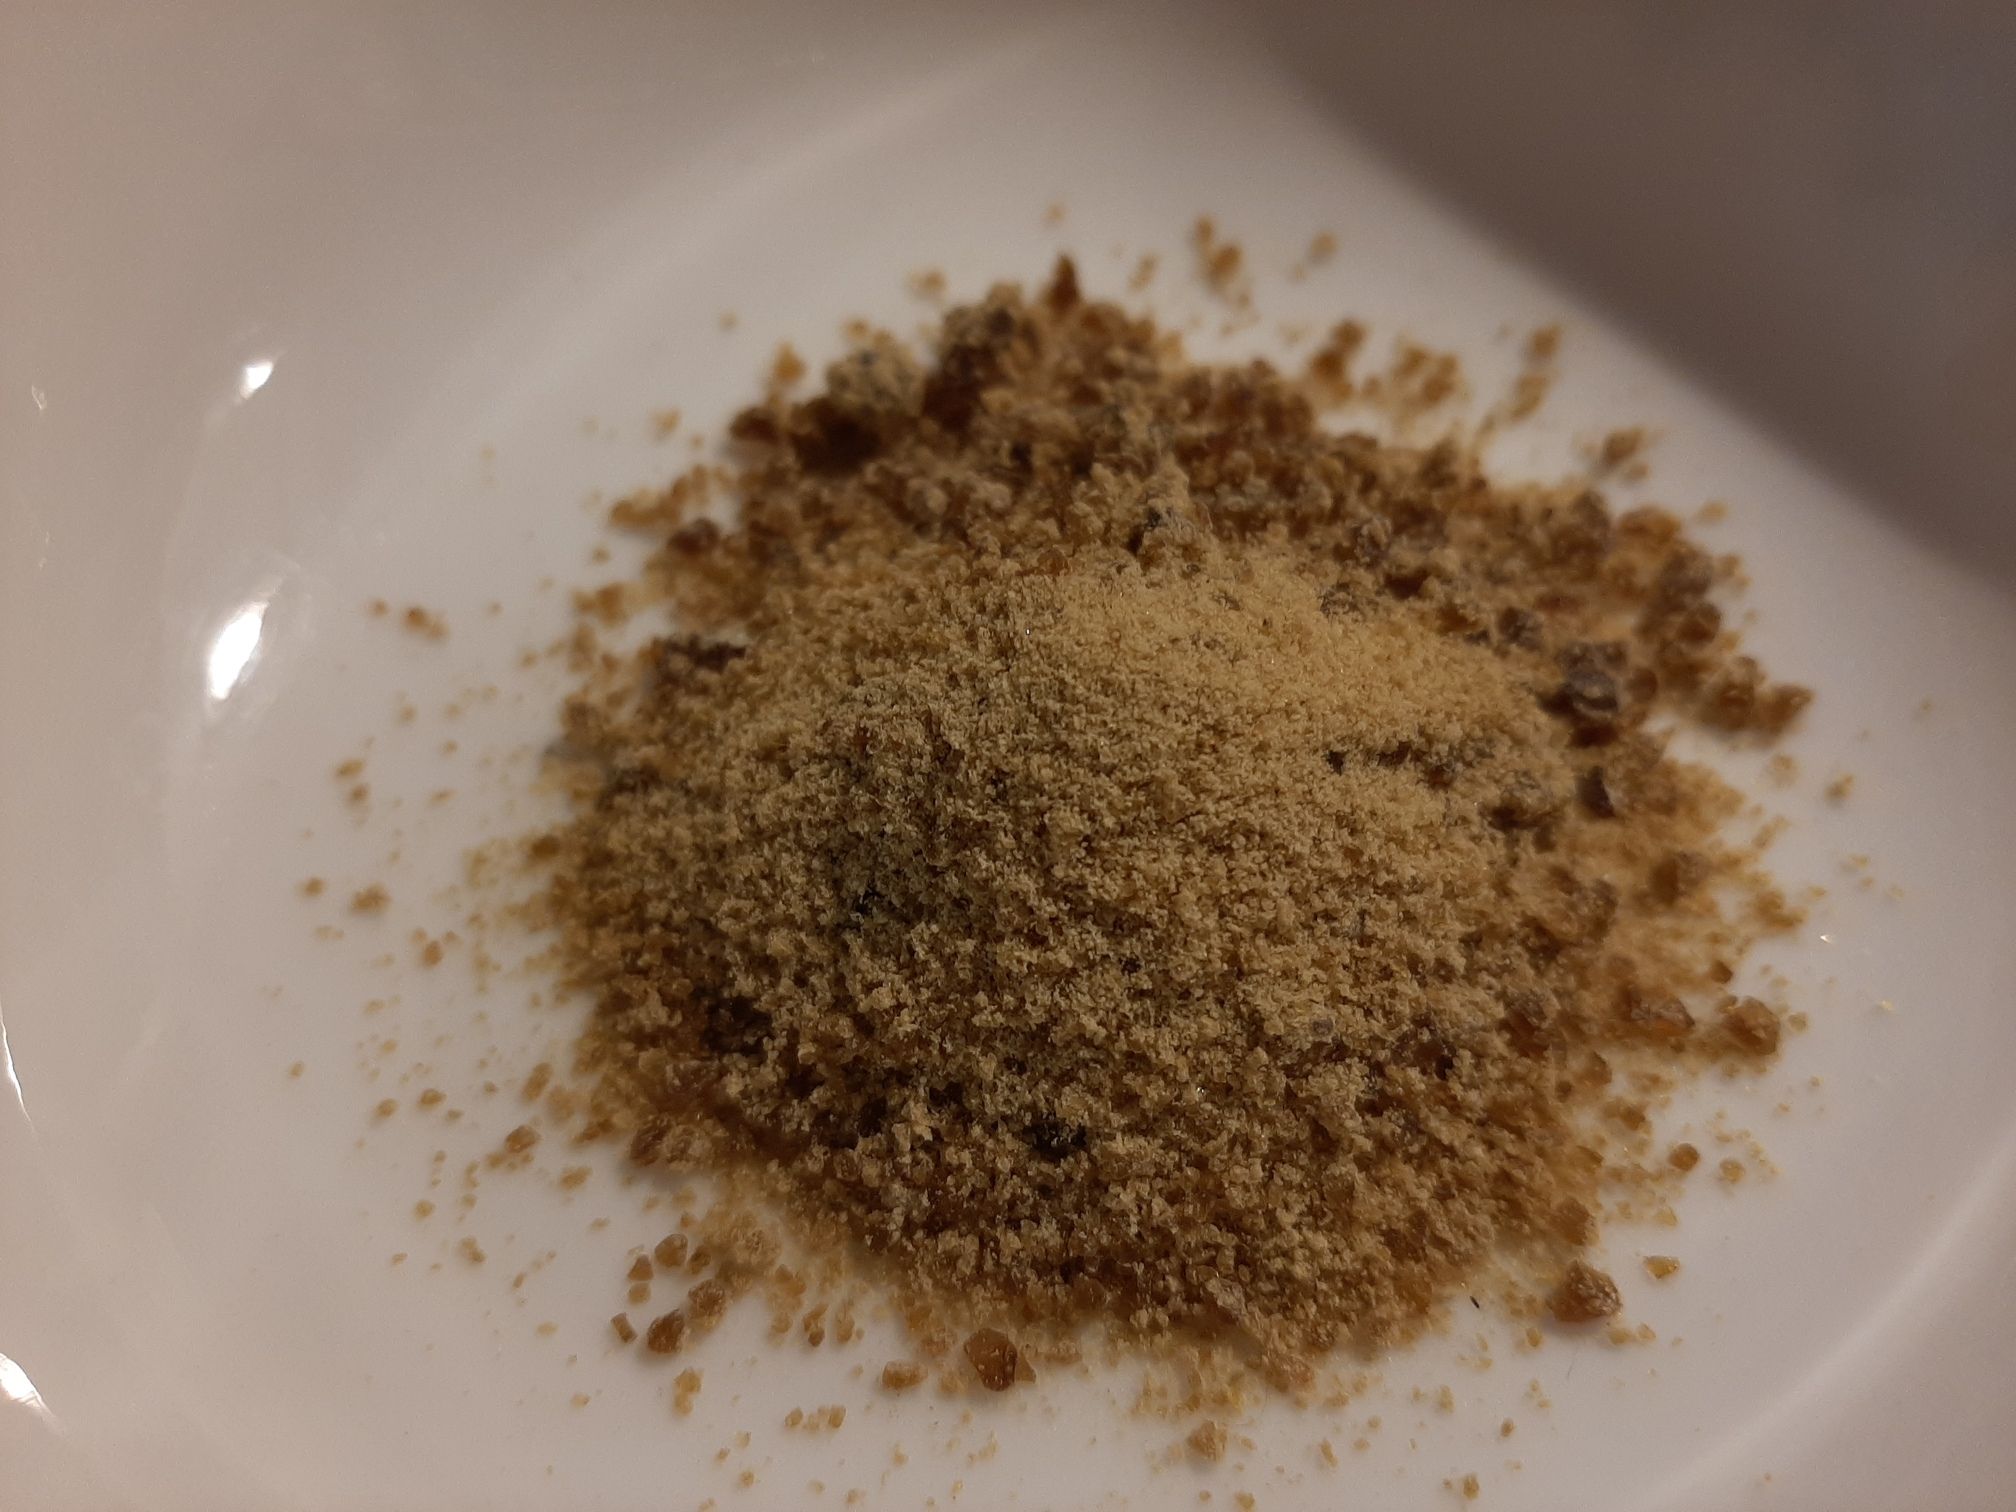
The madder we have is indian madder, in powder. For the dye, I prepared a container and put 33g of madder, and about 1.5L of hot water at 52 degrees celcius. I let the whole thing rest for 20 hours before adding my 33 gramms of fabric. It's been 45 hours since the soy mordanted samples were out of their bath. I also prepared 15g of alum mordanted linen. I added one of these little swatches every 6 hours to see the color variations. After 36 hours, I got my fabrics out, rinced them with cold water, and hanged them to dry. These were wonderful results! Even the bamboo sample got some of the color! Surprisingly, the wool sample turned out orange. In fact, all the samples that were mordanted with soy milk were just a bit more orange.
The samples I got in every 6 hours did not give very impressive results. From left to right; 6 hours in, 12 hours in and finally 18 hours in. They do have a more notable difference with the sample of linen I put with the rest of the samples (the sample at the bottom). Maybe that's why usually, you put all your samples in and get one out every two hours insted. Ah. Oups.
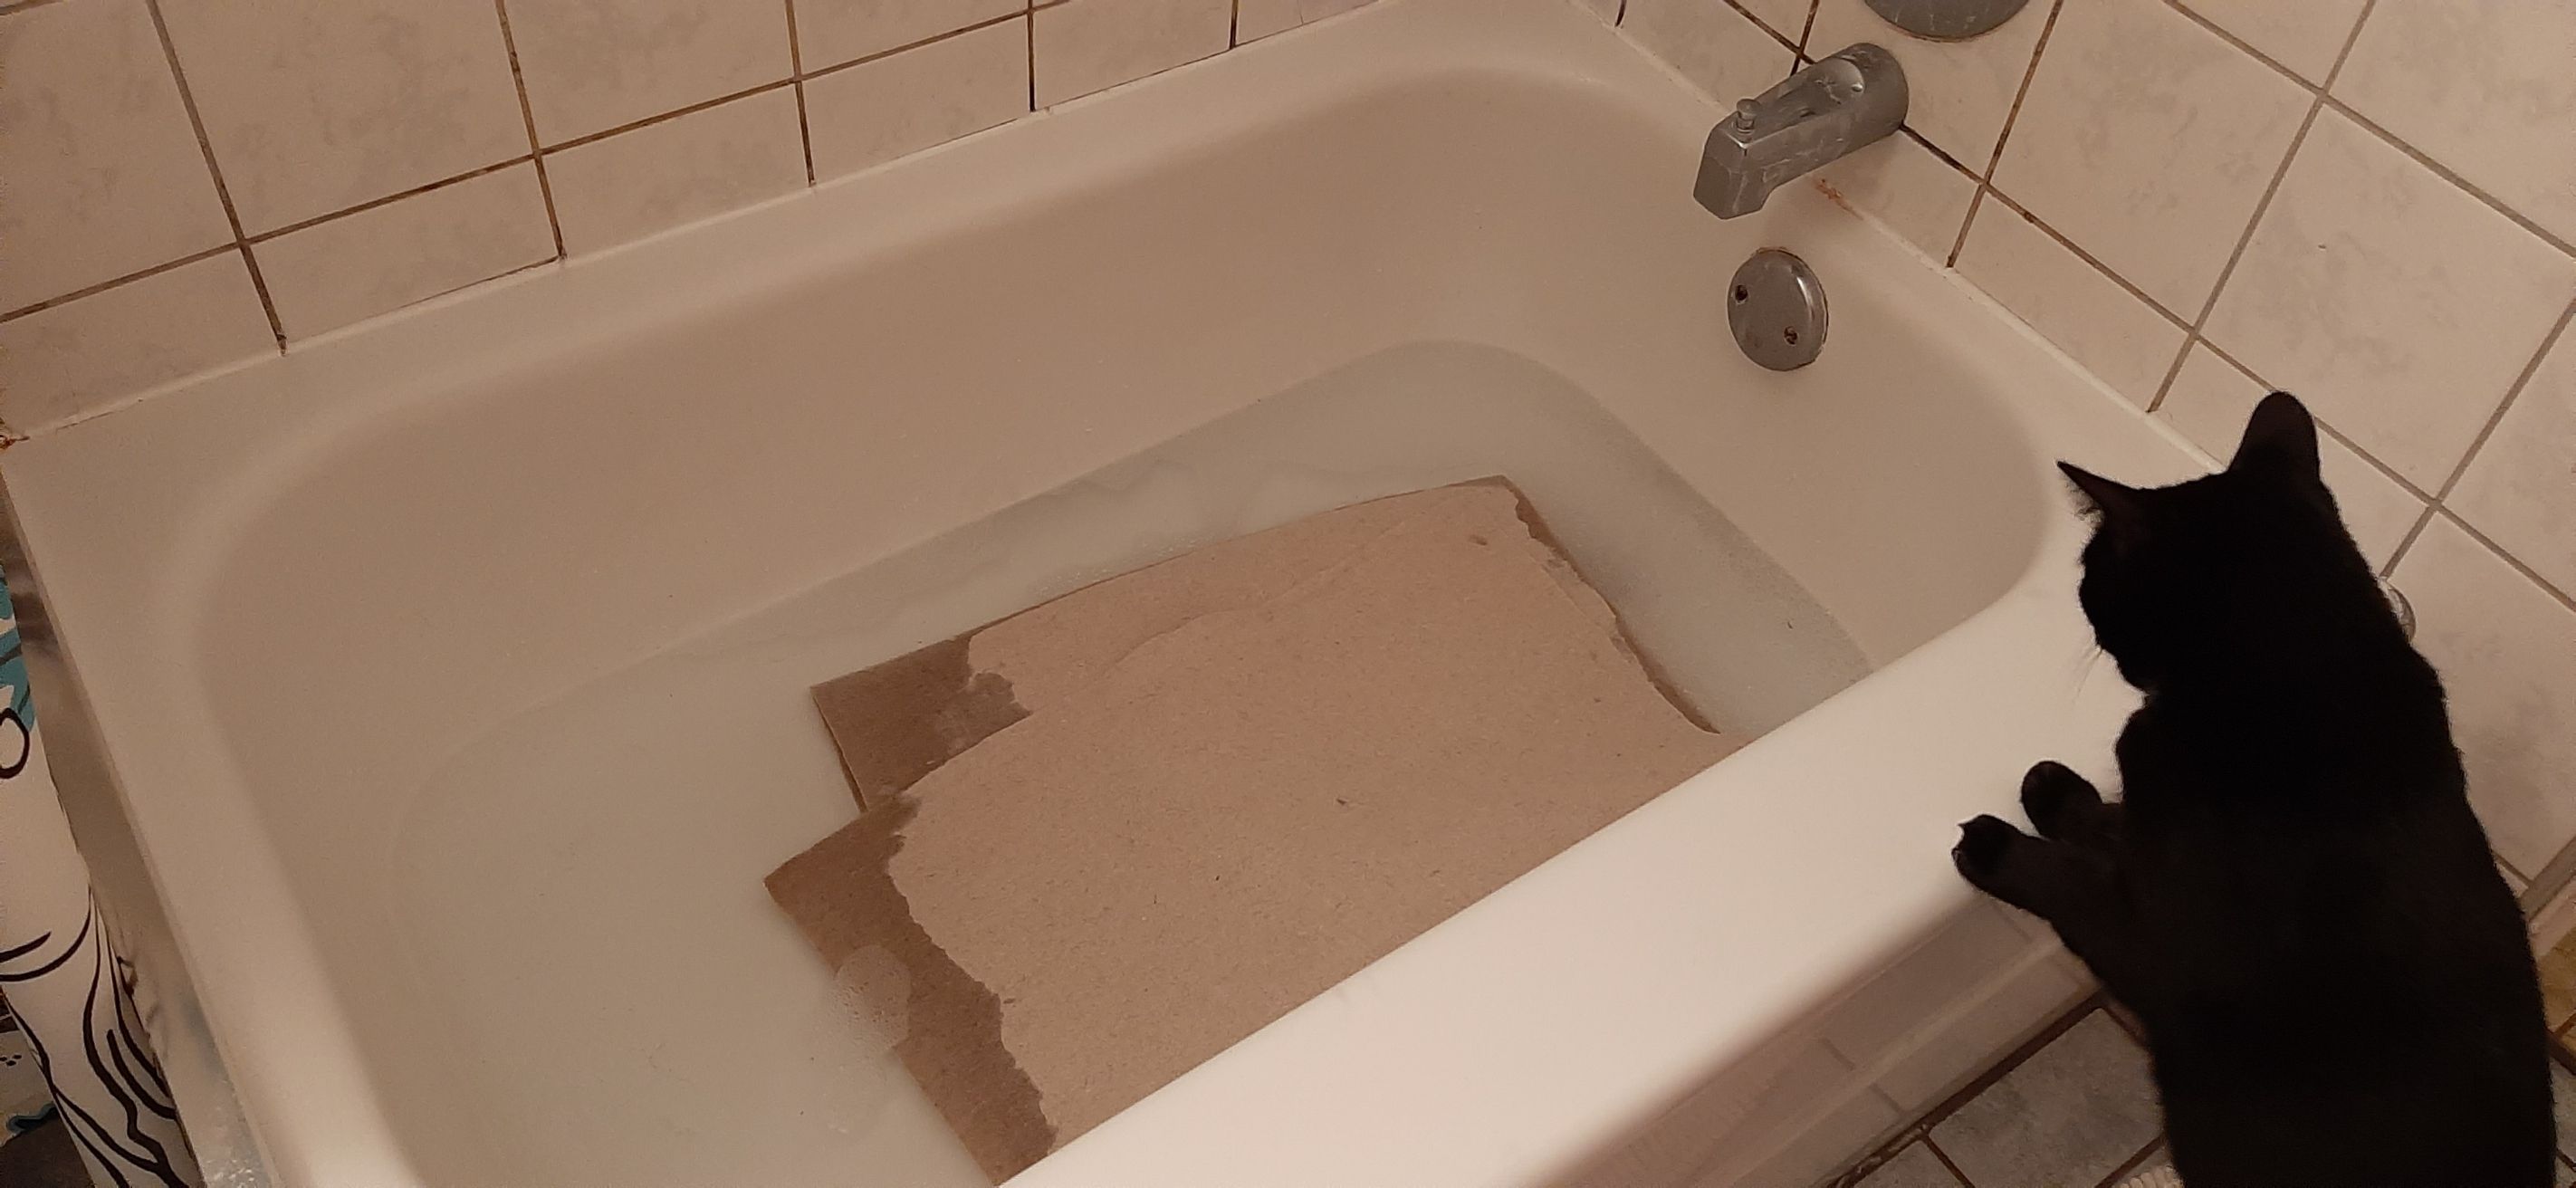
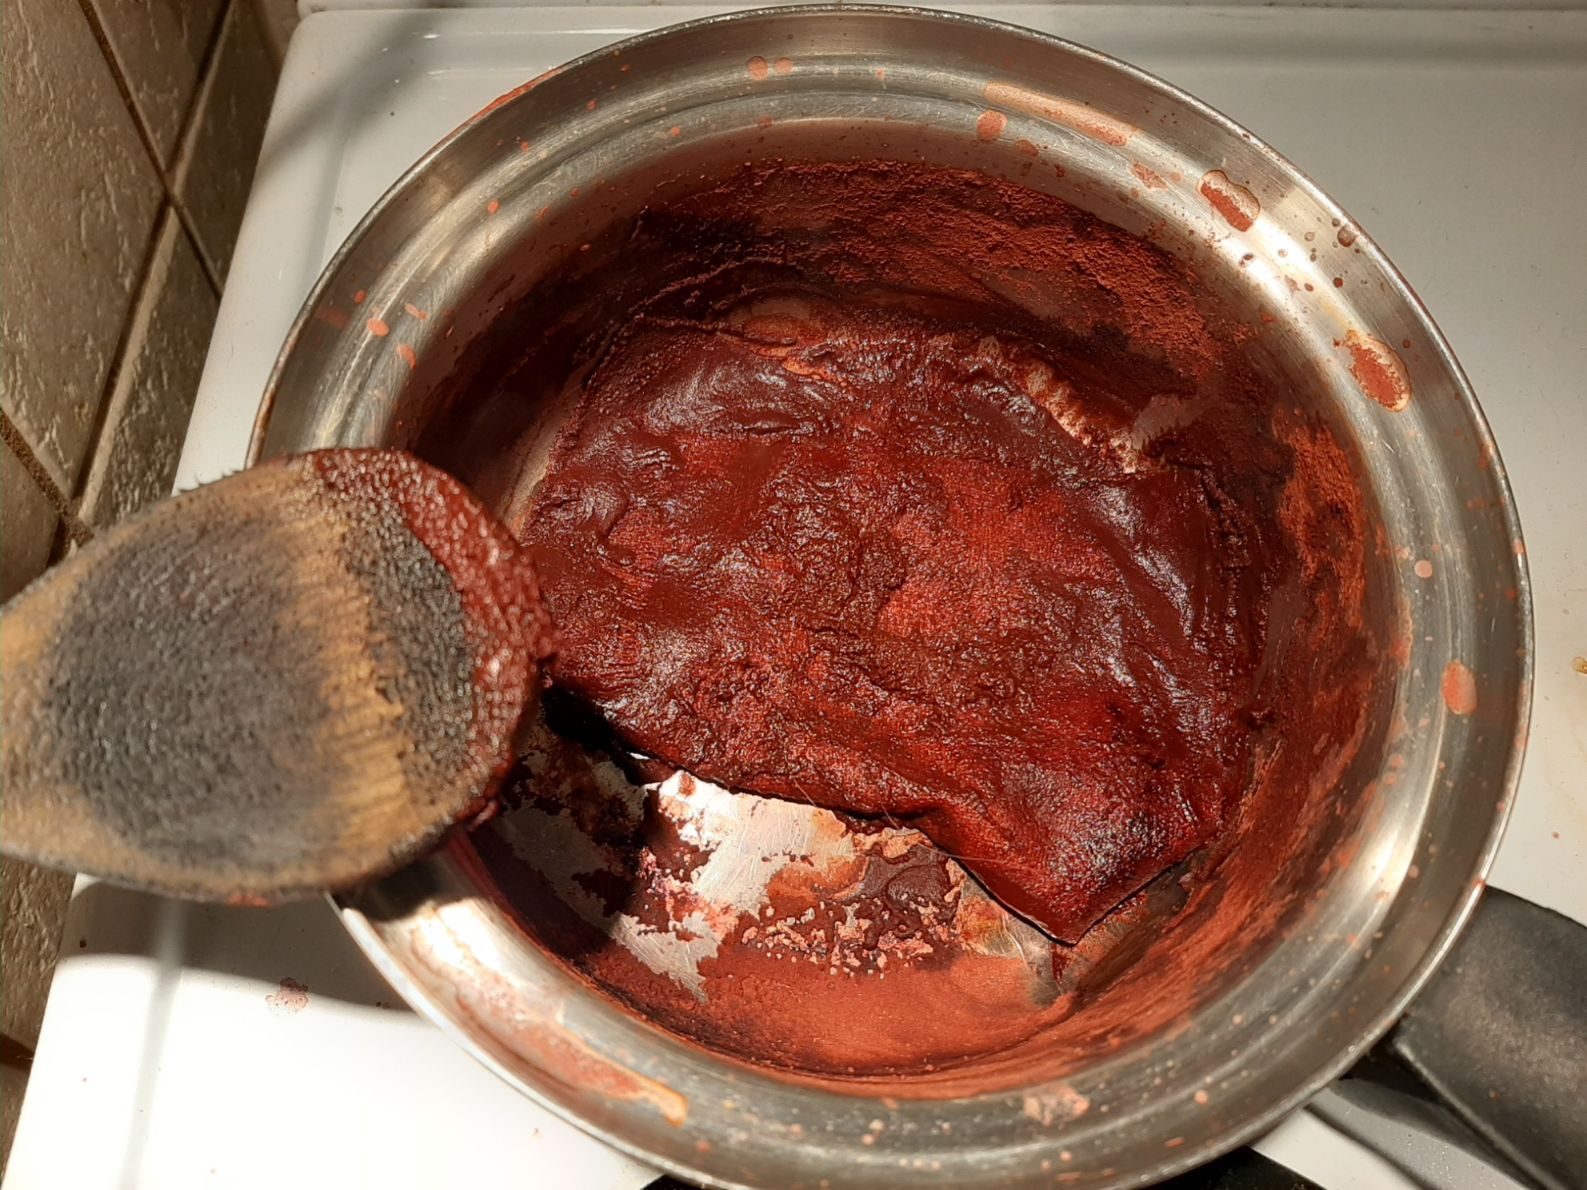
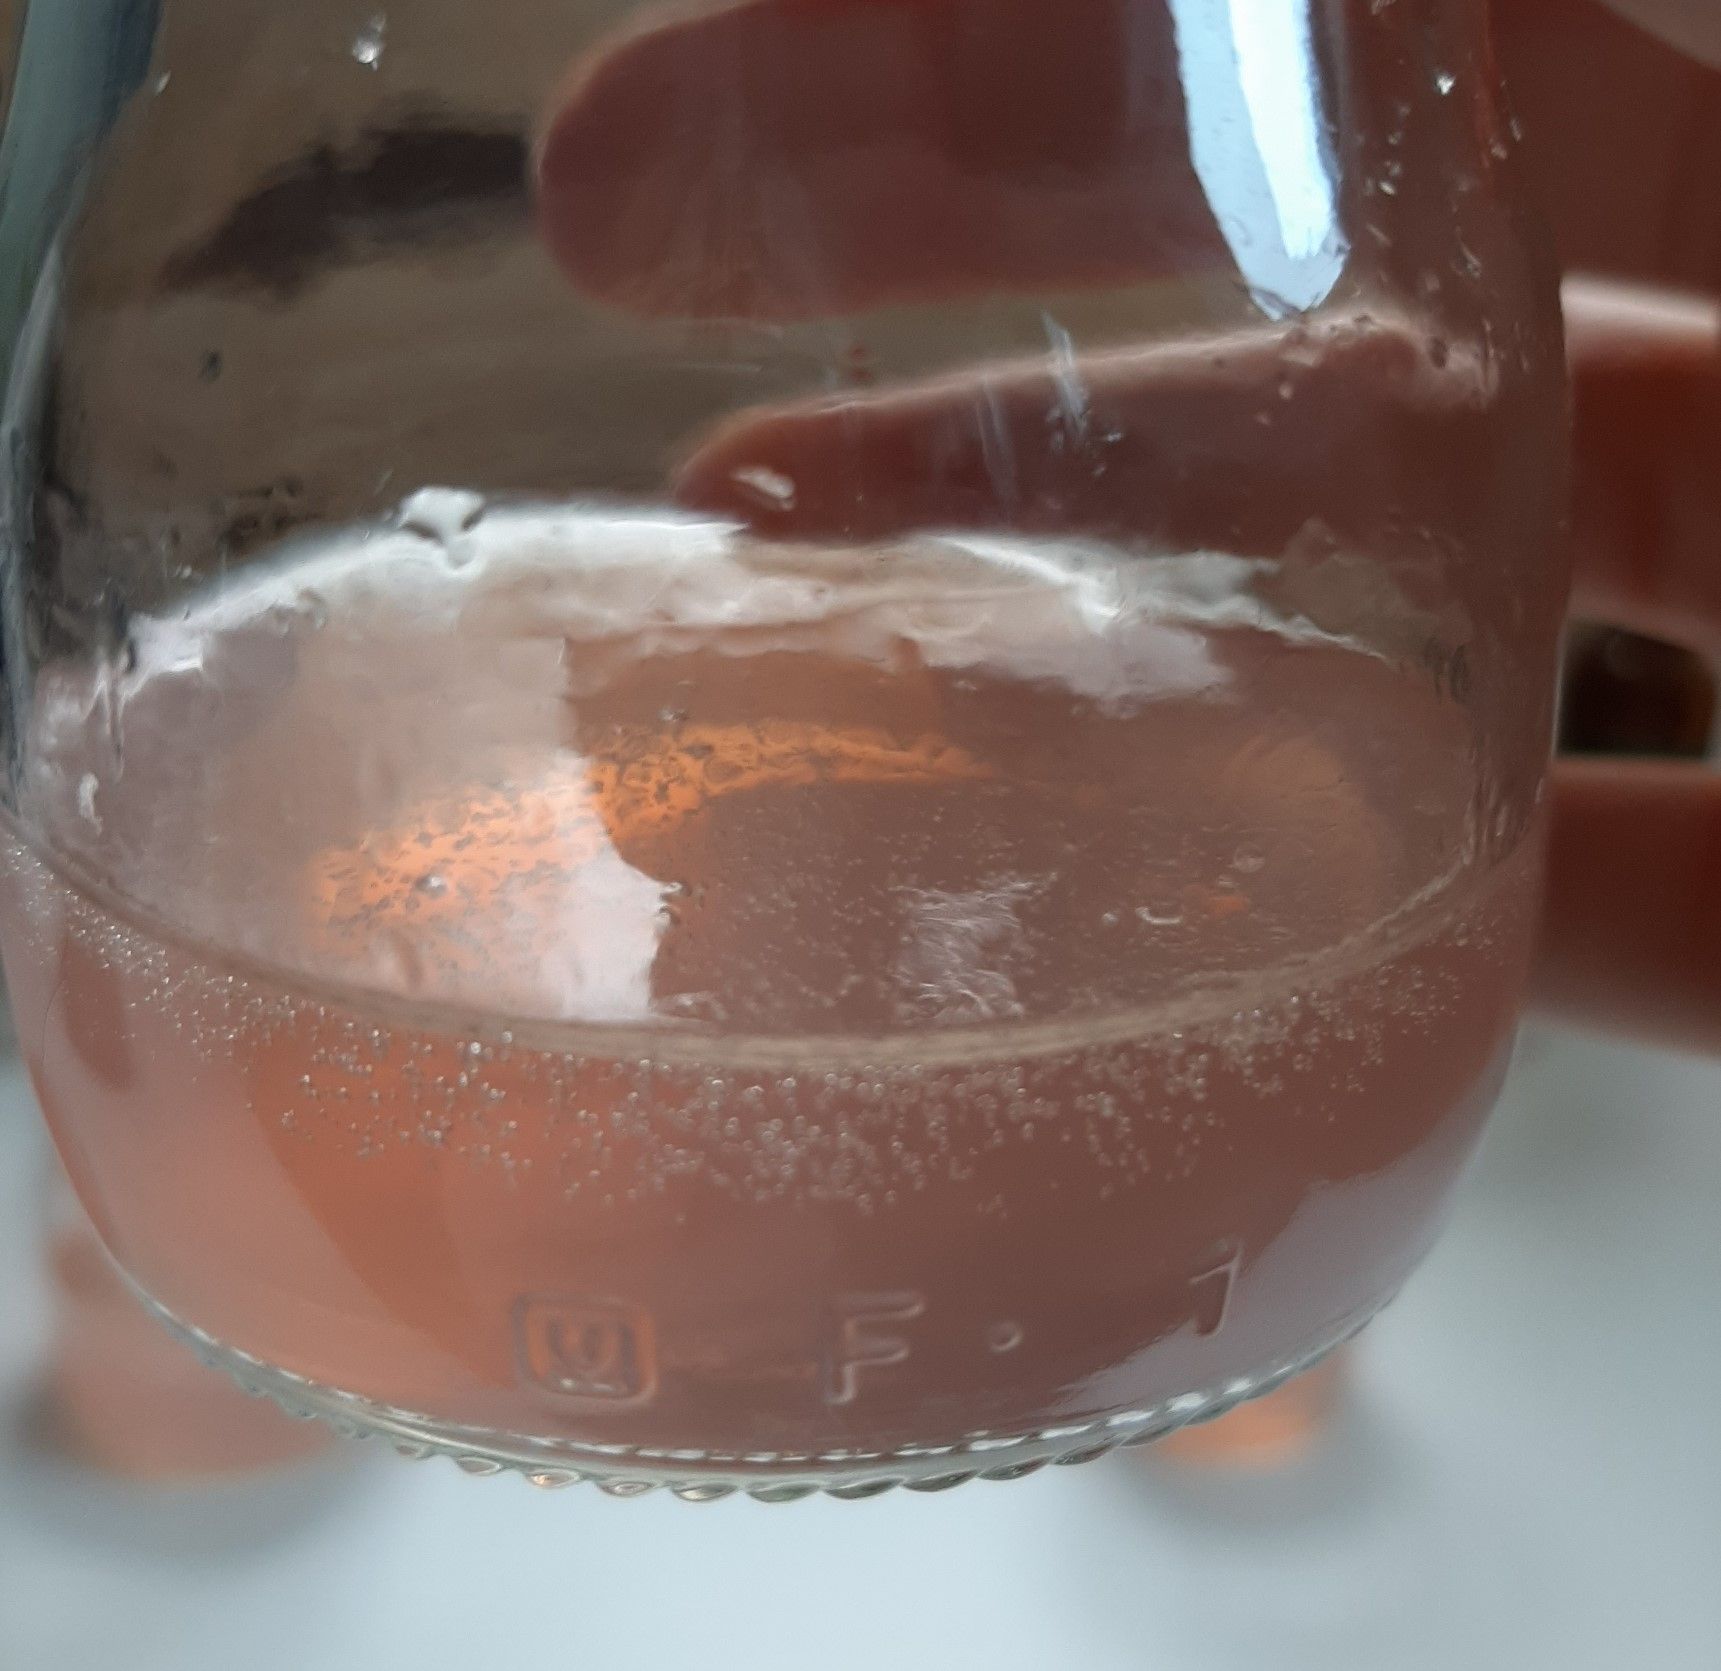
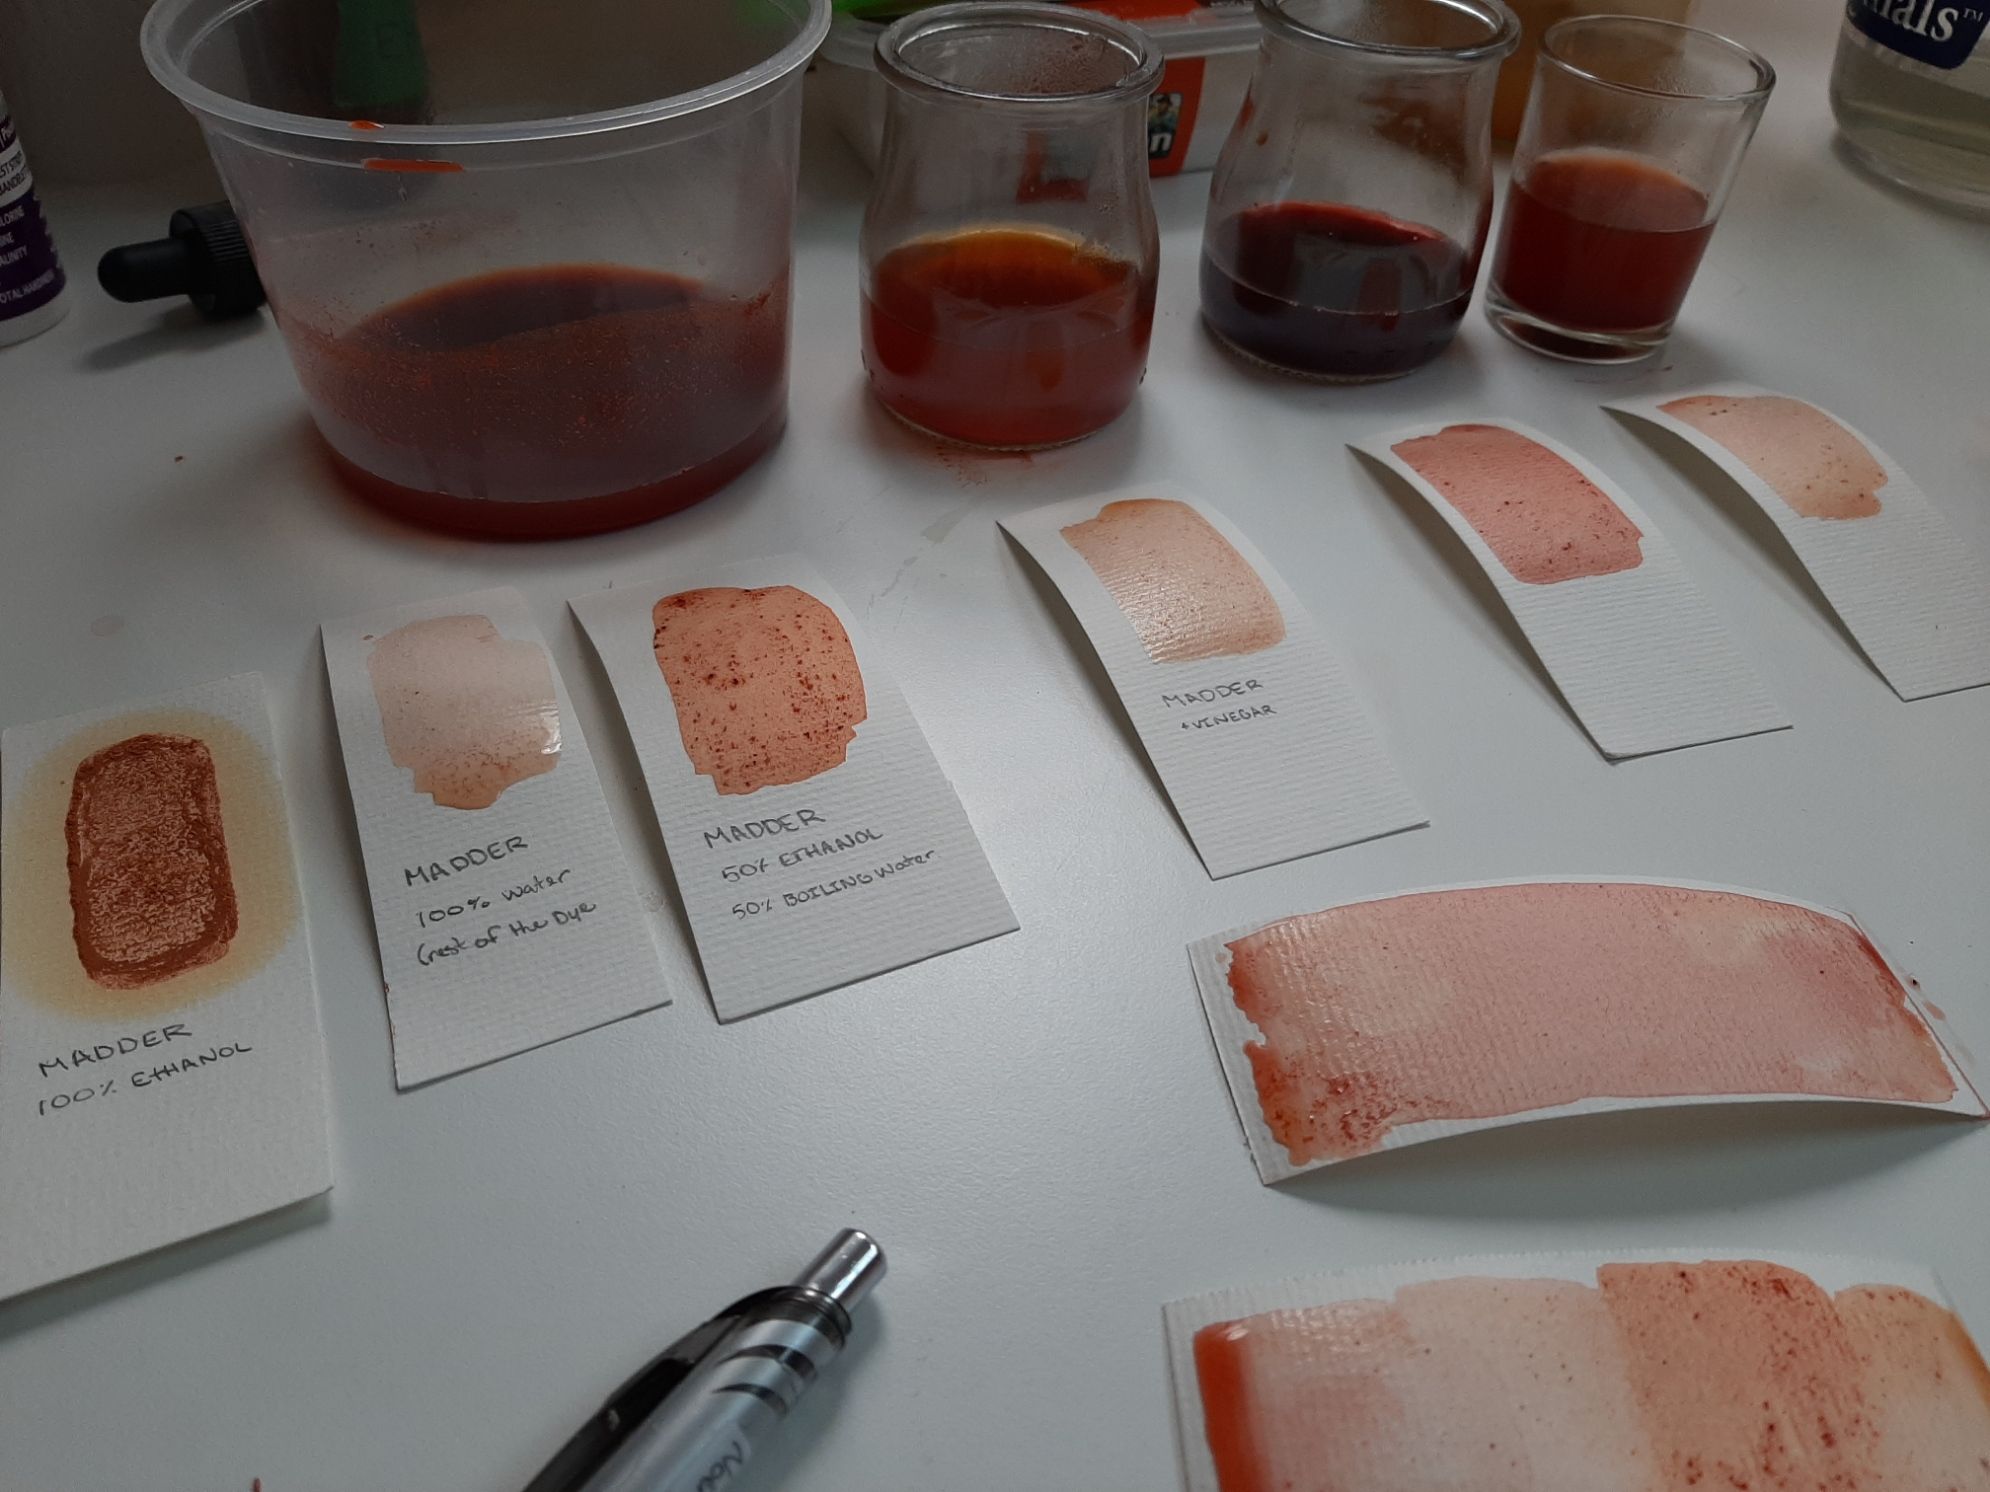
I was curious to see the effect of intense heat on the color, so I did a second bath with about a quarter of my original dye bath. The madder was still in the mix, so I had to stir very well. This time, I prepared 4 swatches of alum mordanted linen (14g) and dropped them all into my boiling dye bath. I turned of the heat a bit to about medium-low, and got one sample out every 30 minutes for a total of 2 hours. At least that was the plan. After 45 minutes, the water was so low I had to add some of my original dye bath, and when I got back after 1h 15, there were no water at all (see picture). I rinced every sample with cold water as soon as I got them out. In the end, I got 3 swatches that looks about the same color. But it was a really strong red!
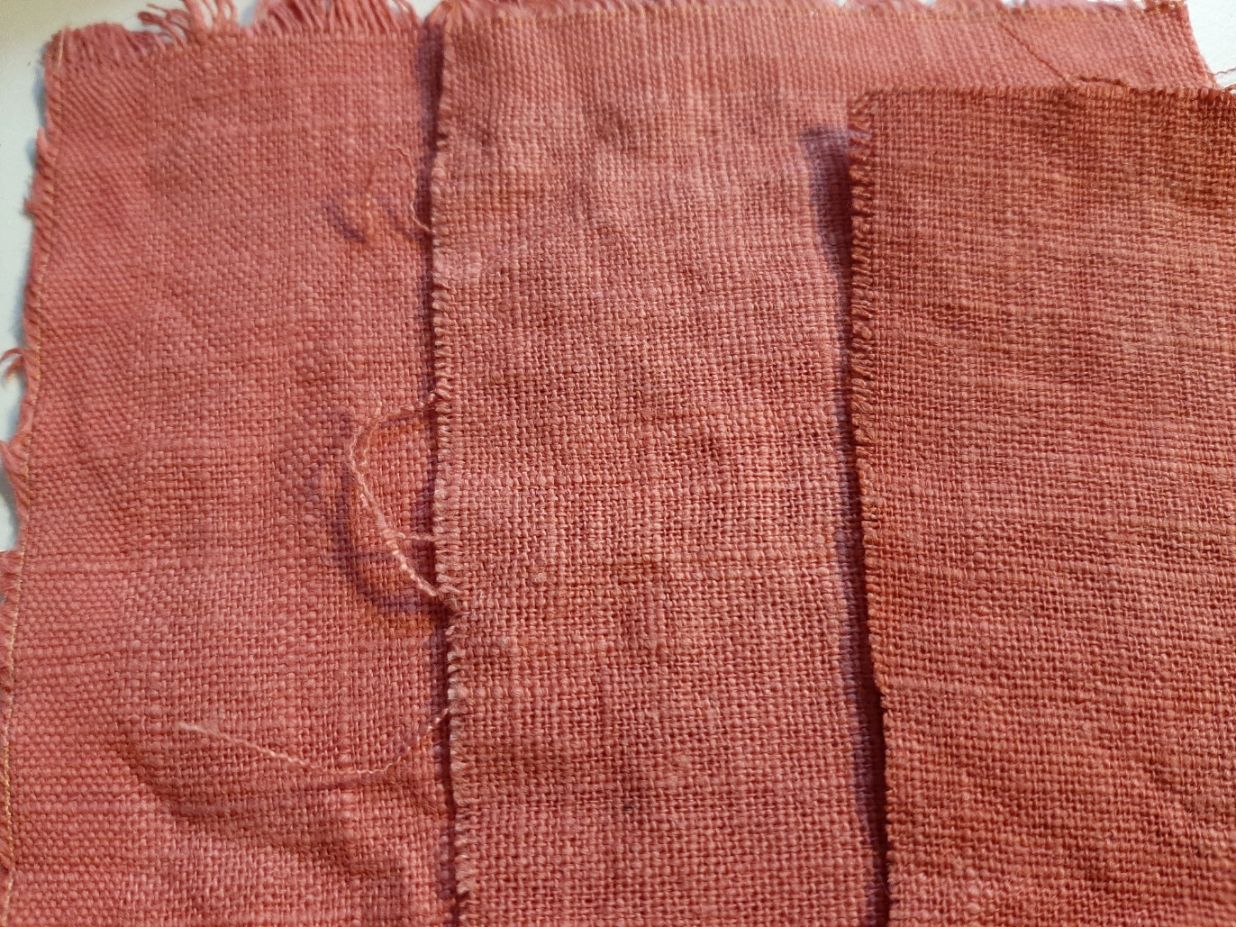
I also wanted to try oranges. I took another quarter of my original bath and put in on the stove at medium. The swatches I prepared were about 10g, and were, again, linen mordanted with alum to have a good comparison. I put 4 swatches in when the mix started boiling. I got the first one out after 10 seconds, the second after 2 minutes, the third after 5 minutes, and the fourth after 10 minutes. I rinced every sample as soon as I got them out and hanged them to dry. The results were impressive! I achieved the same bright red in 10 minutes than my 30 minutes sample from earlier. Maybe the process is faster than I thought, at least when the dye is boiling.
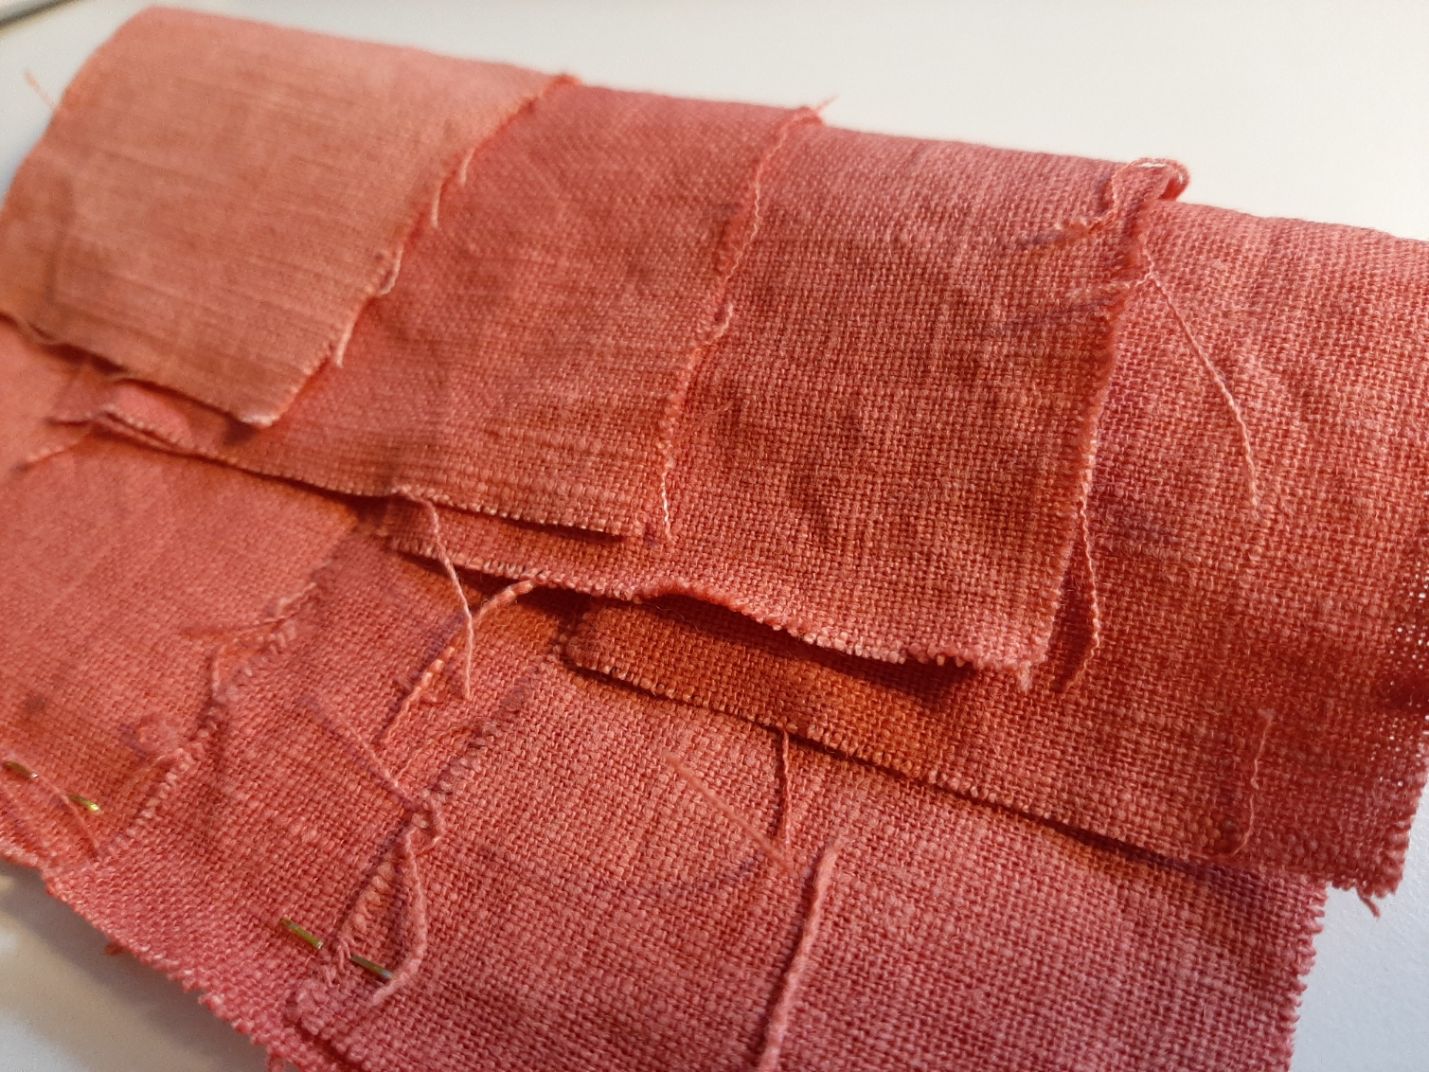
It's official, I fell in love with these colors! I had to try another one! This time, I took the rest of my madder that had been cooked for 10 minutes and tried modifiers. The red with sodium carbonate was gorgeous! I took anther quarter of my original cold dye (about 250ml) and added two spoons of sodium carbonate. I prepared 4 swatches (19g) of alum mordanted linen and added them to the mix when it stated boiling. I got one out at a time; the first one after 10 seconds, the second after 2 minutes, the third after 5 minutes, and the fourth after 10 minutes. I rinced every sample as soon as I got them out and hanged them to dry. What a lovely brown! it was unique to see that when I let them in longer, it was the color that changed, not the intensity.
Still no yellow or oranges! I had to try again with the cold mix! I still had another quarter of my original dye mix, so I prepared 4 swatches (13g) and put them all in. I got the first one out after 10 seconds, the second after 2 minutes, the third after 5 minutes, and the fourth after 30 minutes (oups). I rinced every sample as soon as I got them out and hanged them to dry. The samples turned out more pink than orange... And belive me, the difference between the samples is a lot more obvious than what you see in the picture.
Modifiers and Inks
Ingredients
Sodium Carbonate
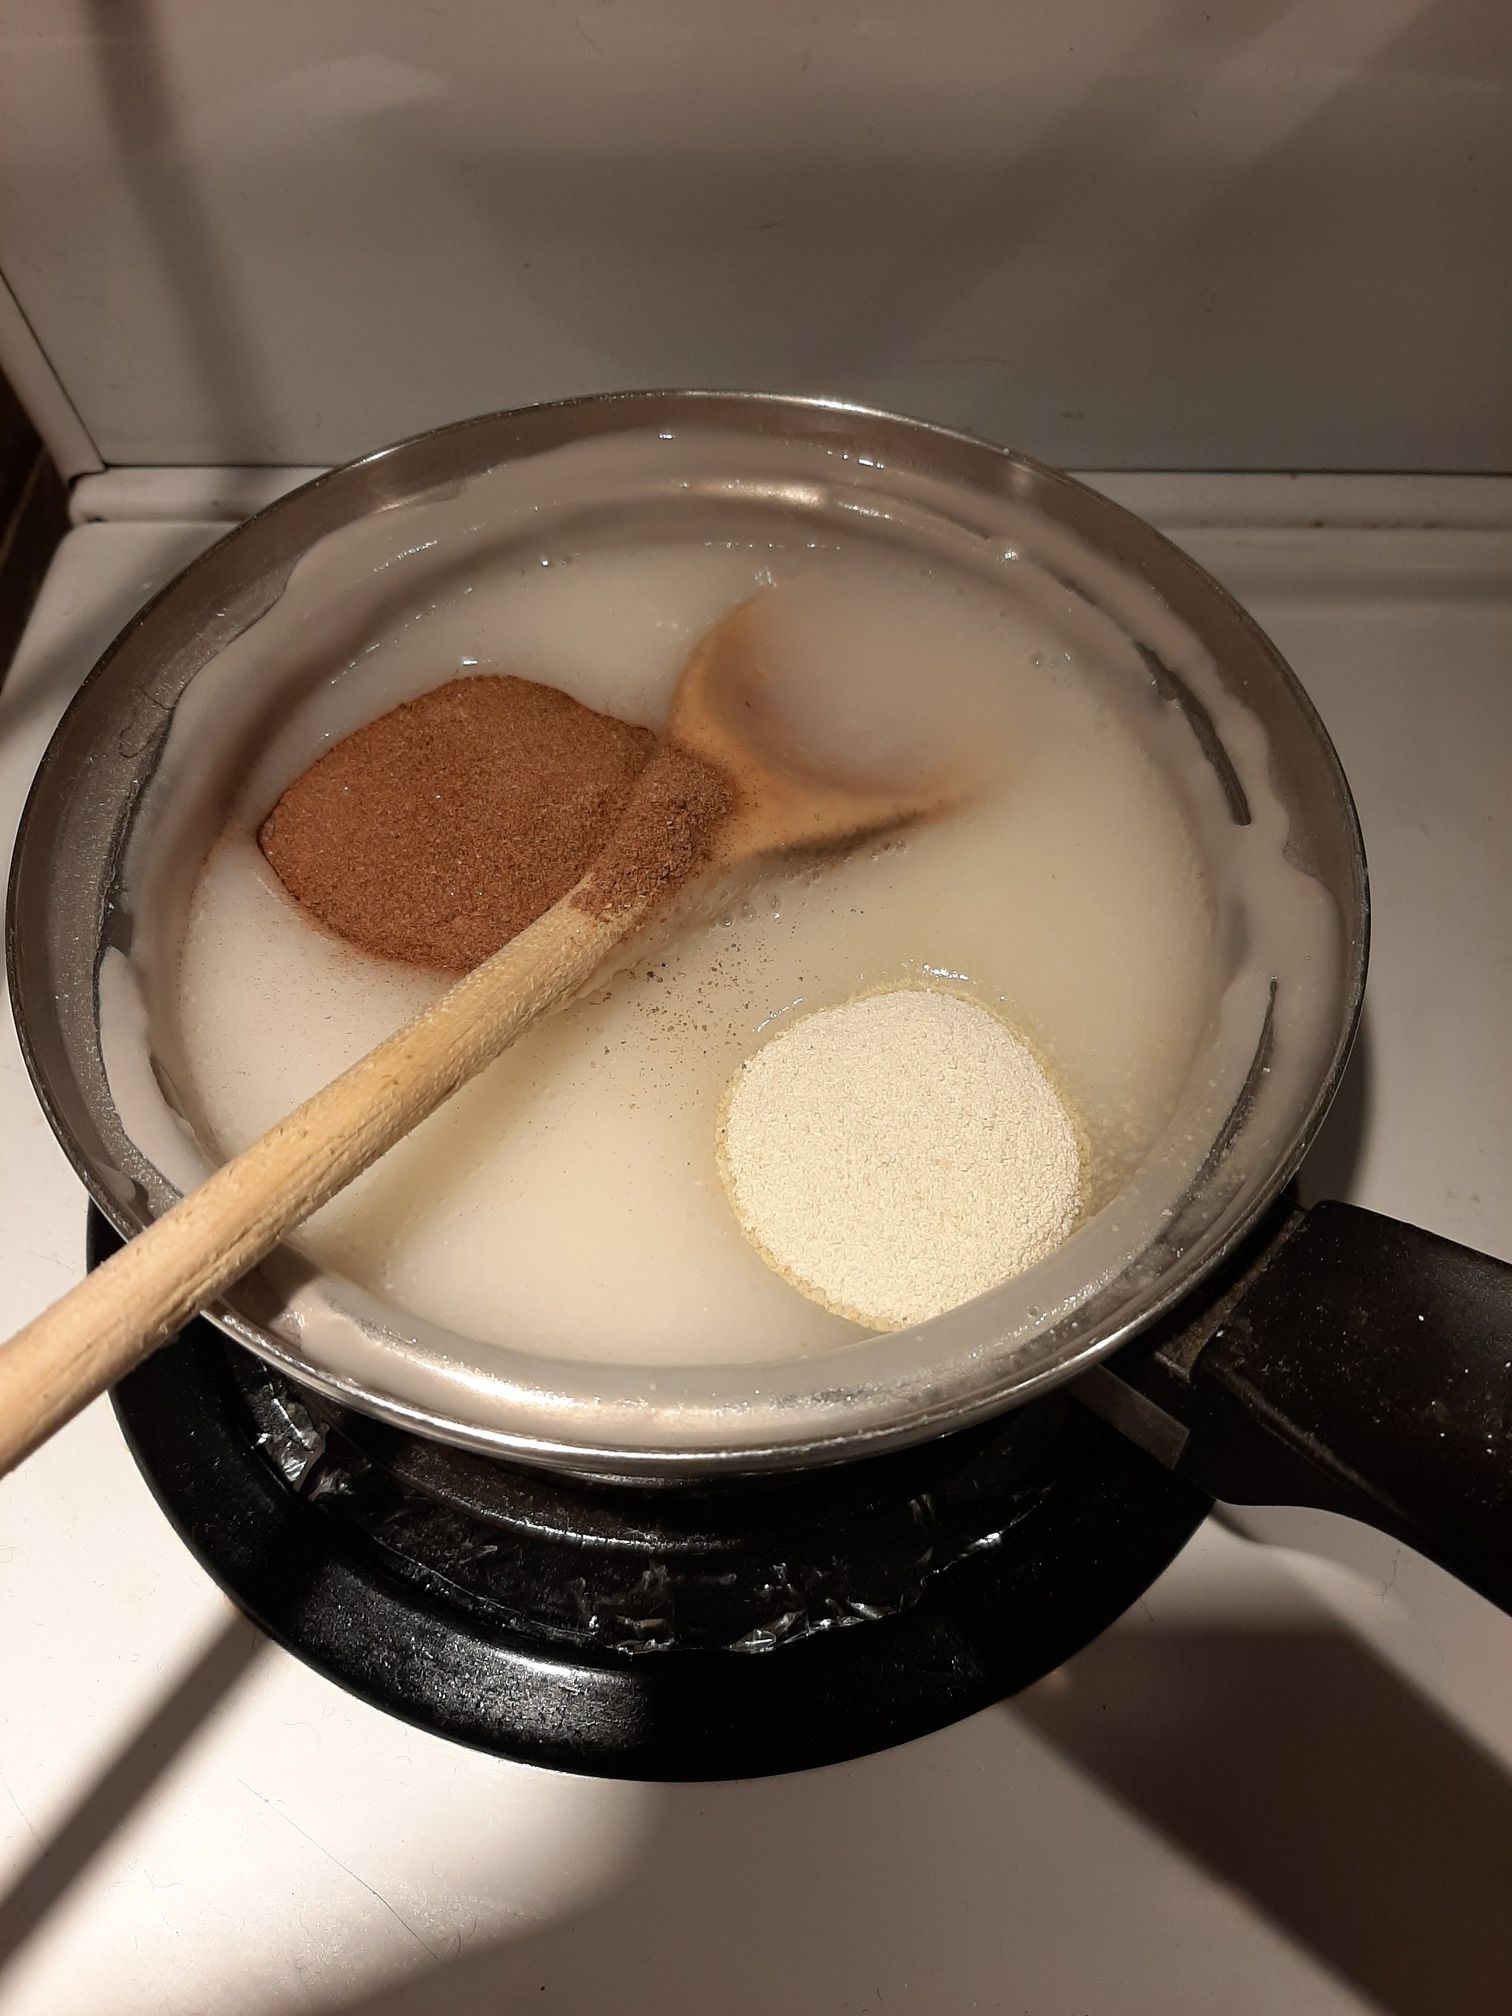
No more sodium carbonate! What to do!? Easy! I fond this marvelous tutorial on youtube (sodium carbonate recipe; https://www.youtube.com/watch?v=cpGEc-pLXN4) I did exactly what the recipe said and it ended up beeing a cool experience!
Iron Liquor
I had some rusty nails I got from a wood palette and that spent about 2 months outside. I collected 6 nails, added water and left my bottle laying sideways so the nails would be in contact with air. I let them about 4 days before using the mix on my modifications experiments
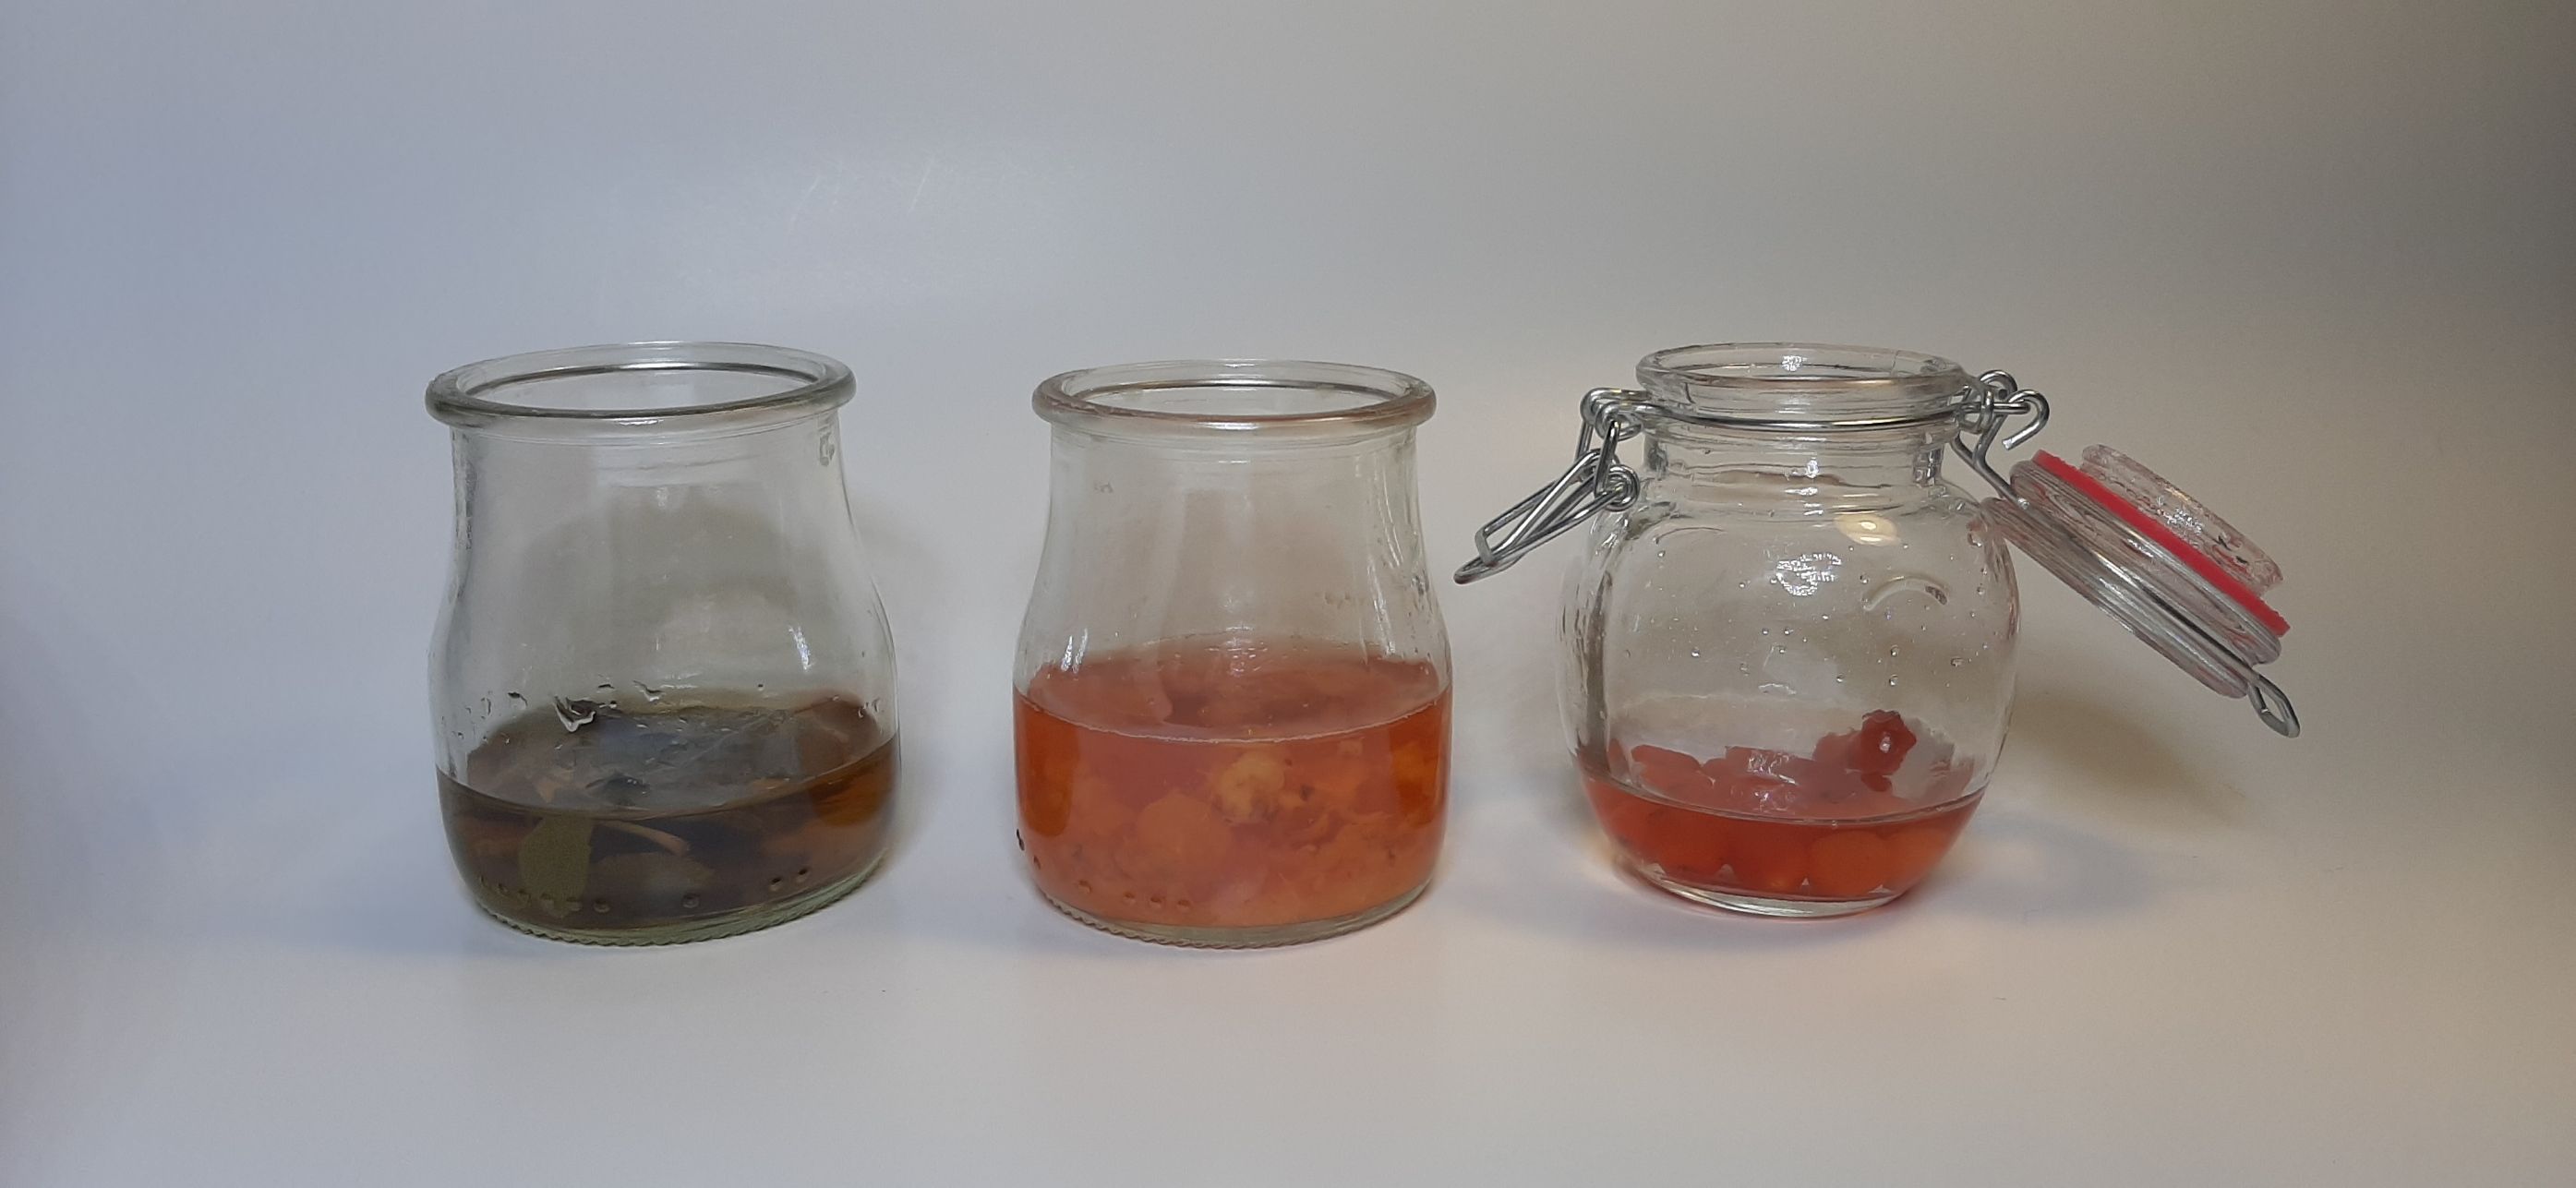
Mountain ash
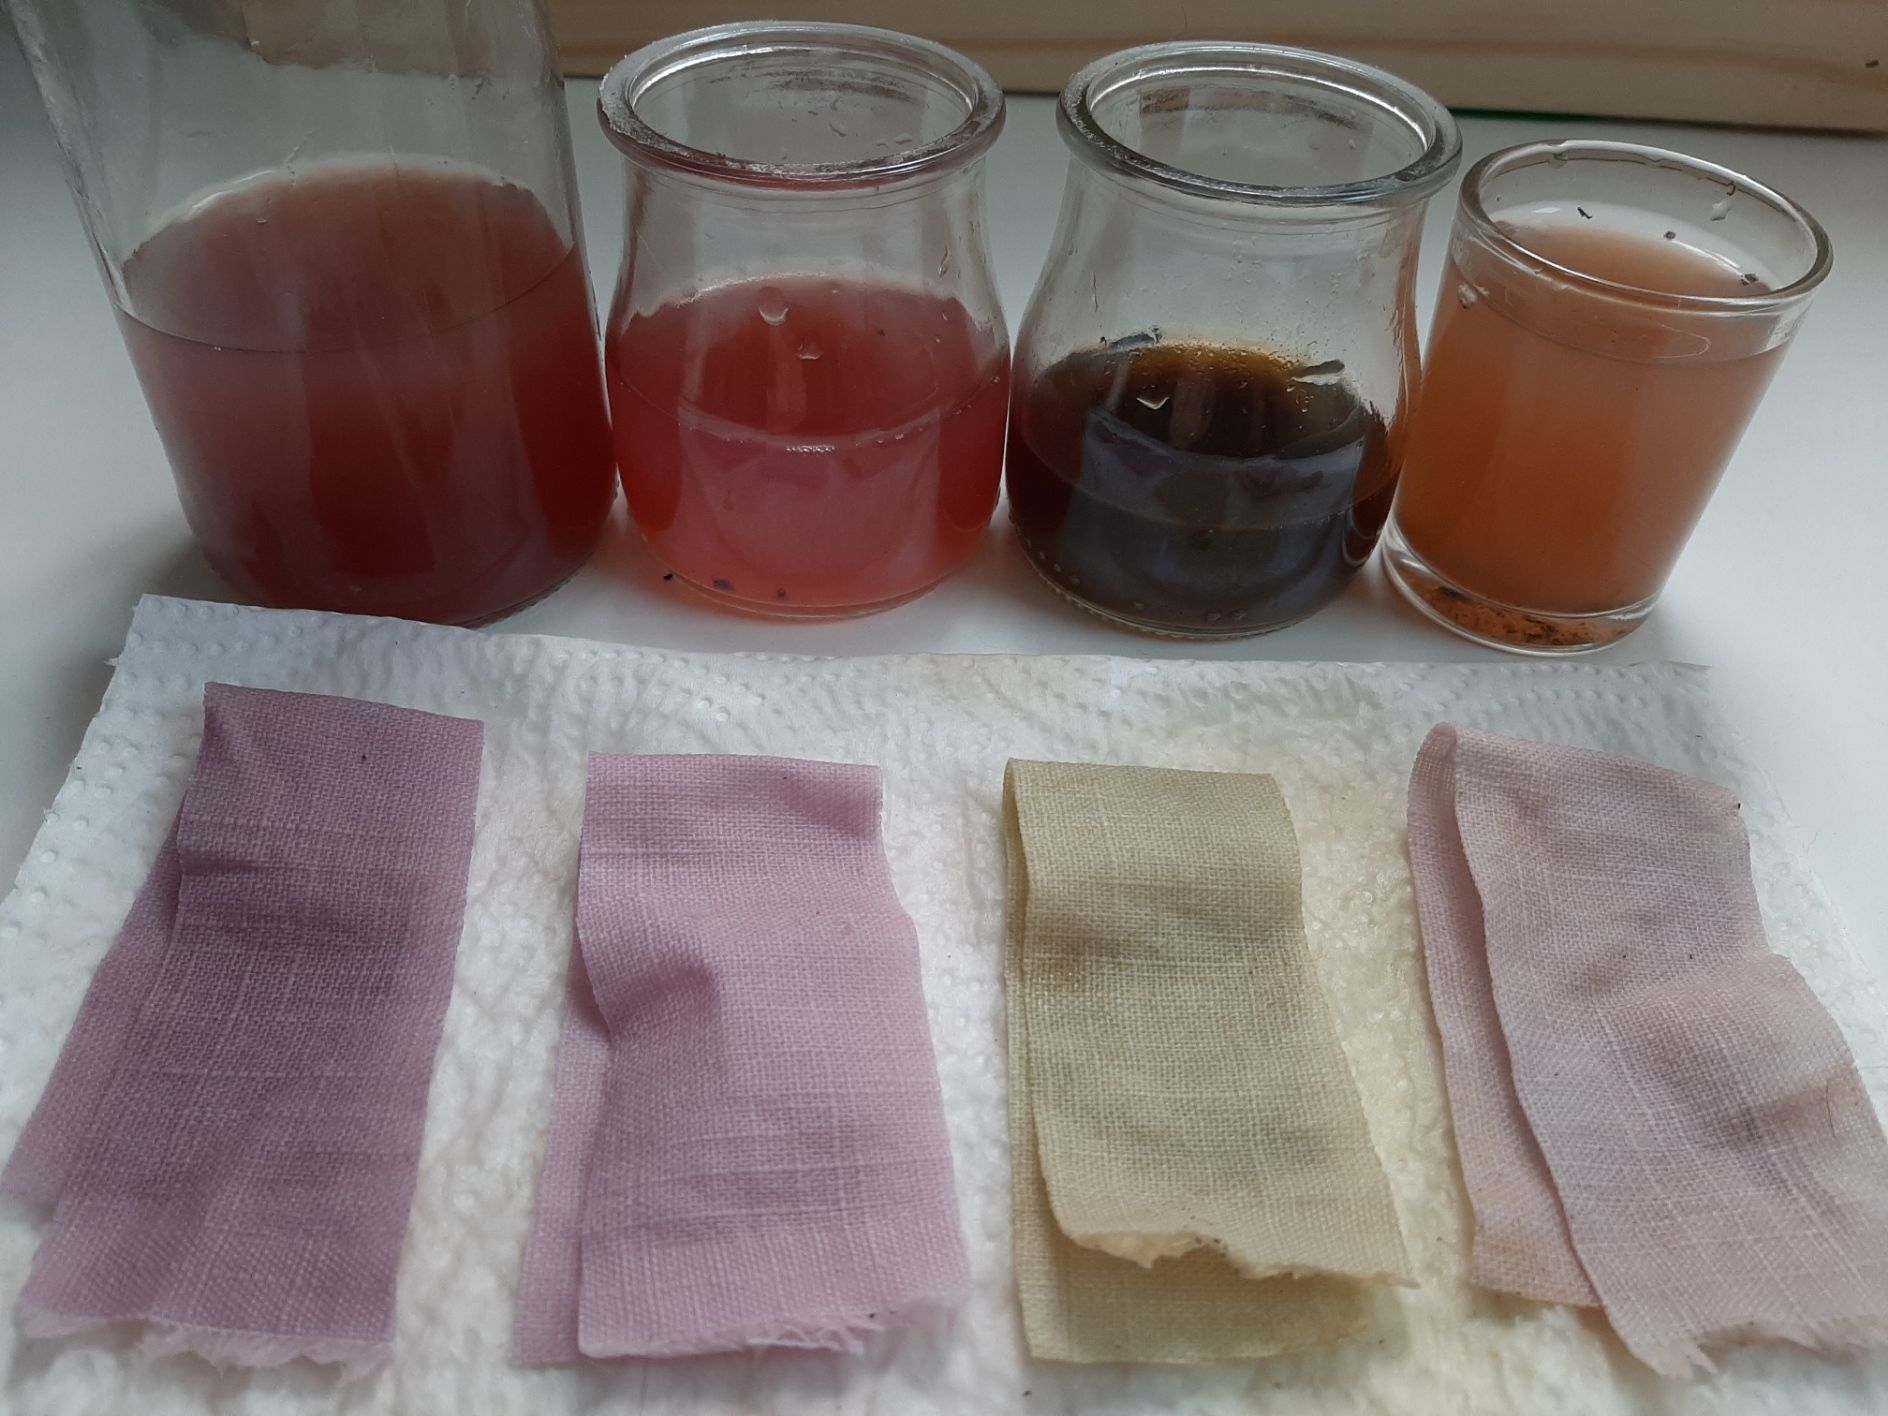
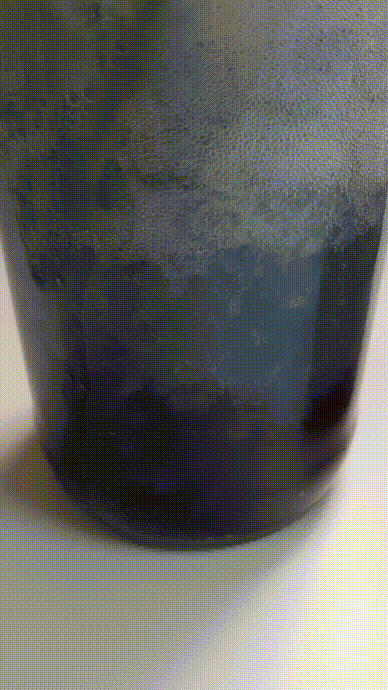
I got the rest of the dye I passed trough a coffee filter 3 days ago. I got my modifiers ready. From left to right you can see a fancy glass of vinegar, my own homemade sodium carbonate, and a bottle of Iron liquor. I first dropped a bit of my dye in each container, and added 1/3 of ethanol to make some ink. I noticed that when I added ethanol, there were little bubbles appearing ont top (see picture). Weird. The mix reacted strongly to sodium carbonate (green) and to iron liquor (orange). I made some little samples of every color that I made, but the colors were so light that even my camera couldn't see them.
Black beans
I prepared littles samples of my original black bean dye bath.
Every mix is about 2/3 dye mix, 1/3 Ethanol. From left to right; Original mix, modified with vinegar, modified with sodium carbonate, and finally modified with iron liquor. I left alum mordanted fibers in for 18 hour. Once completely dry, the colors were a bit less intense.
Indian Madder
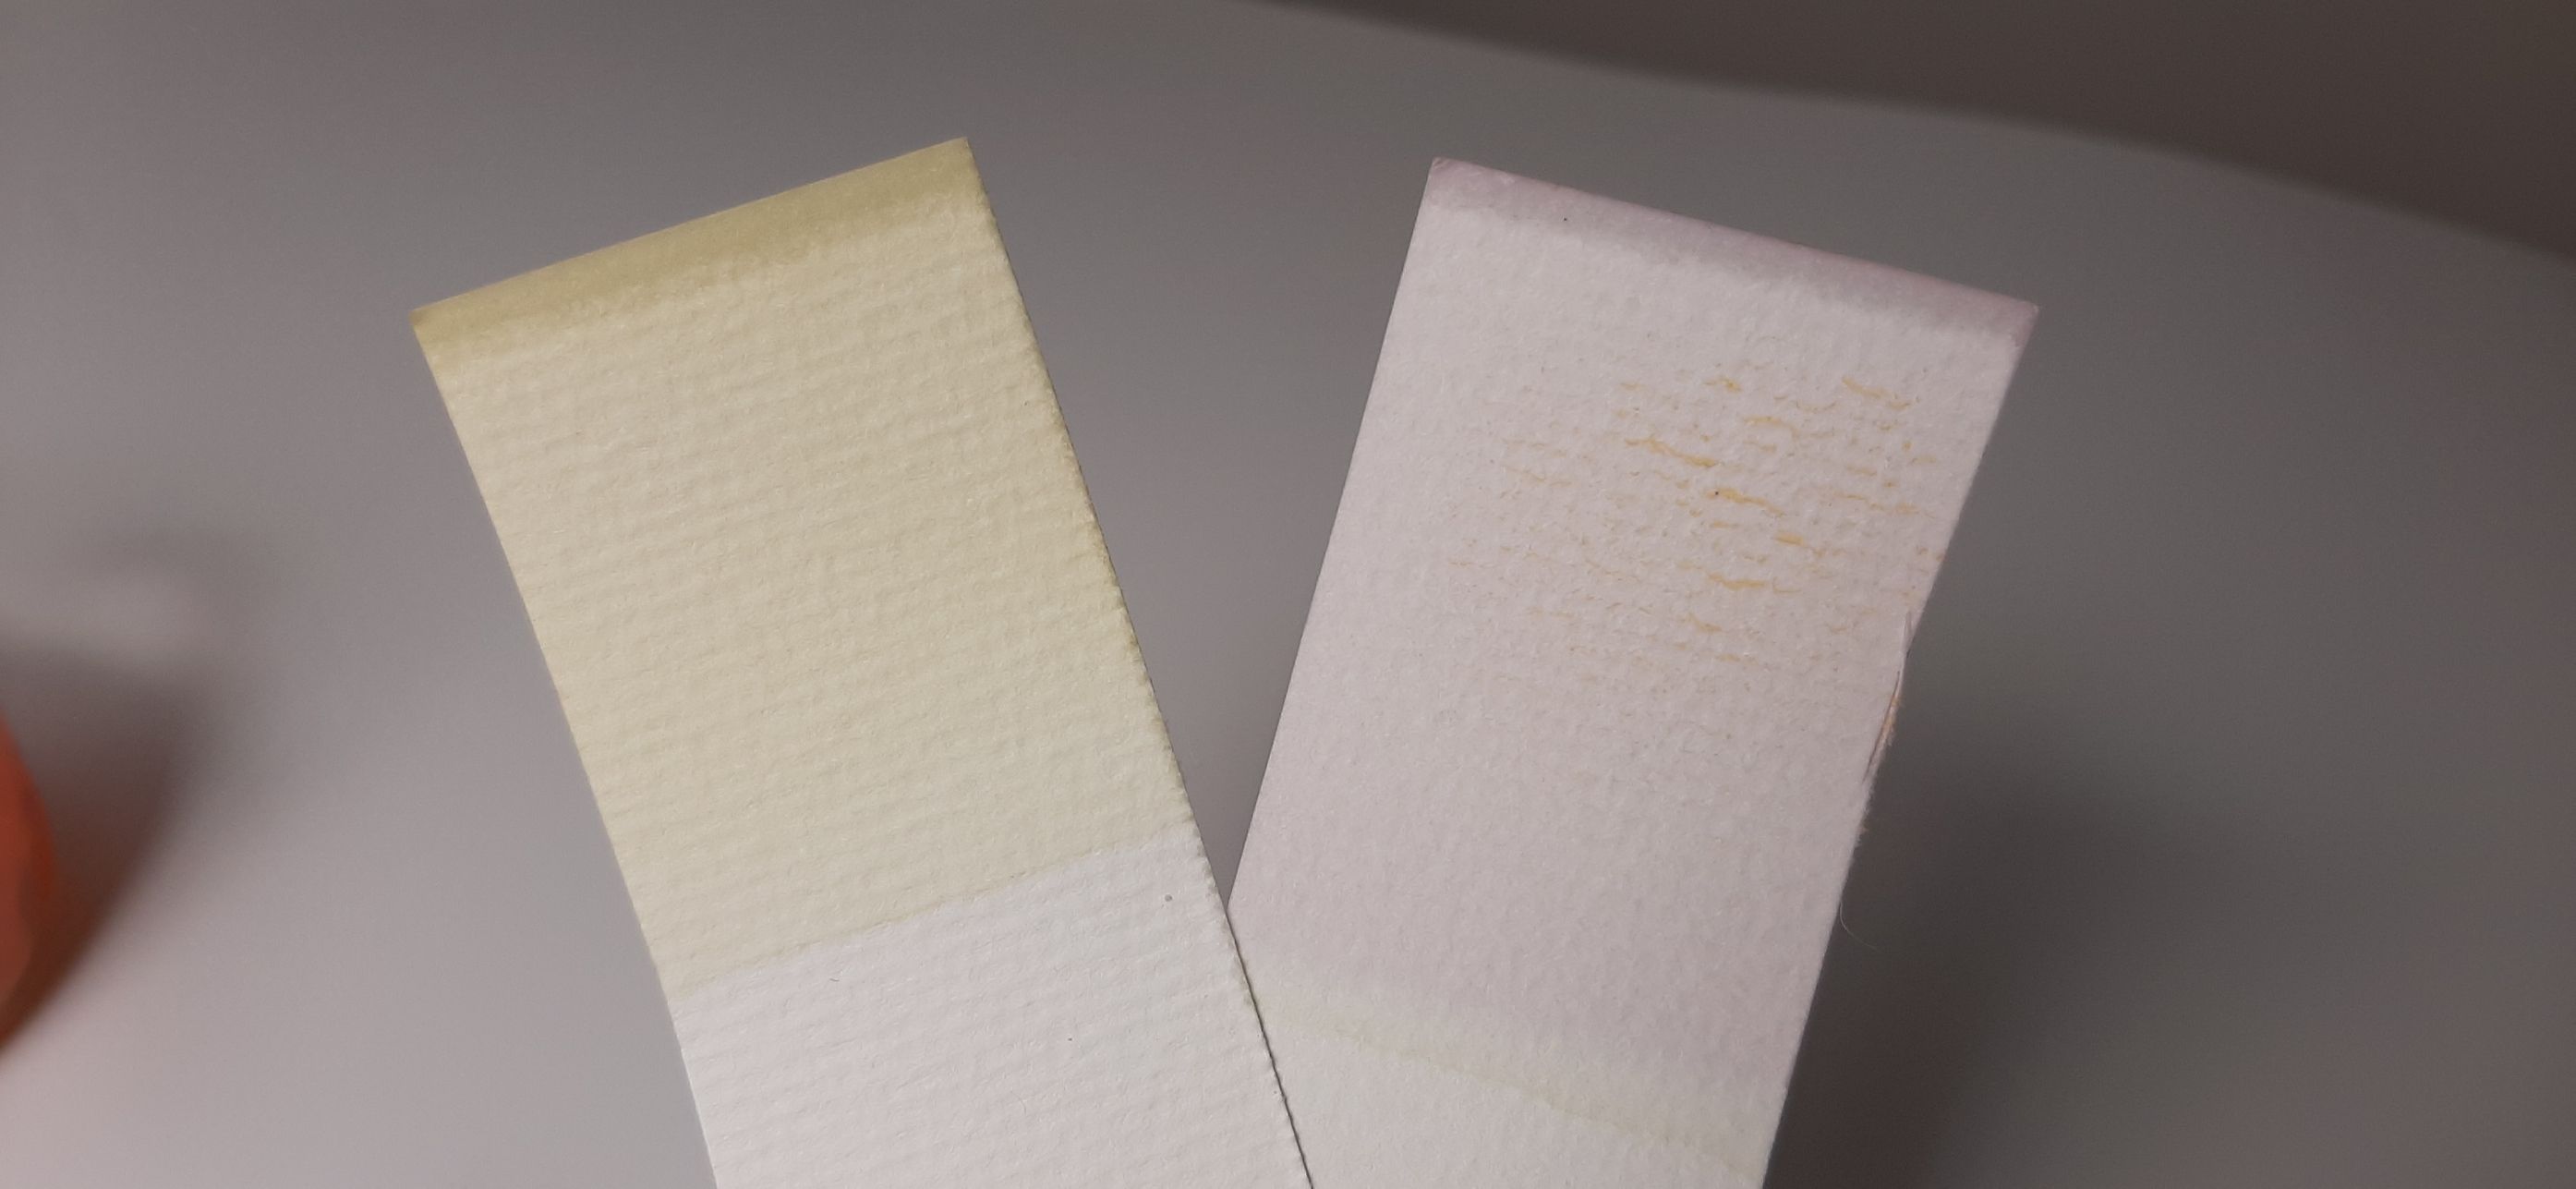
I made a new indian madder mix with the powder I had left and a bit of boiling water. My samples are 2/3 Indian madder in water mix and 1/3 Ethanol. I left the madder powder in my mixes, it's the powder that didn't dissolve that you see in my samples. I decided to make paper samples of every color I made this week, but the madder was the only one that was so bright. I made a dye from the modified madder (see dye section).
Pigments
Mountain ash, or Rowan
This one was my first experiment with pigments. I only took a little part of my original dye mix and prepared the recipe. In another container, I prepared 20 gramms of alum and dissolved it in very little hot water. In another container, I did the same with sodium carbonate. I mixed the dye and the alum mixture together before adding the sodium carbonate. It had a very strong reaction, and it ended up being a not so fancy green... It is probably because I played with the PH by adding the recipe for pigments.
I did not belive this mixture would dry on it's own, so I help it up a bit with the dehydrator. After grinding it, I ended up with pretty pigments (I was proud of the pigments, not the color).
Black beans
I did half the recipe with the rest of my black beans dye mixture. I didn't mesure the quantity of dye I had left, but it was really small, about 100ml. This time I left the mix plenty of space to expand... I did enough cleaning last time! The color didn't change this time, and I was SUPER exited to use this pretty pigment! I letf it in my counter to dry for about 4 days, until it smelled so bad I couldn't bare it any more. :(
Paint
Red Sand
Ok, so when I heard about Iron something in the tutorial, I automatically tought of red sand. In Canada, We have an adorable island called Prince Edward Island, where the shores and all the dirt is a bright red. The sand is actually filled with a lot of iron-oxides. Fun fact, the island is actually well known of its potatoes, because they grow well with soil rich in iron.
Me and my family went there for a bike trip once, and I tought the sand was so beautiful that I filled a ziploc bag with it and carried it around for 5 days. My mom tought I was crazy, But 3 years later, I finally found what experiment I want to do with it!
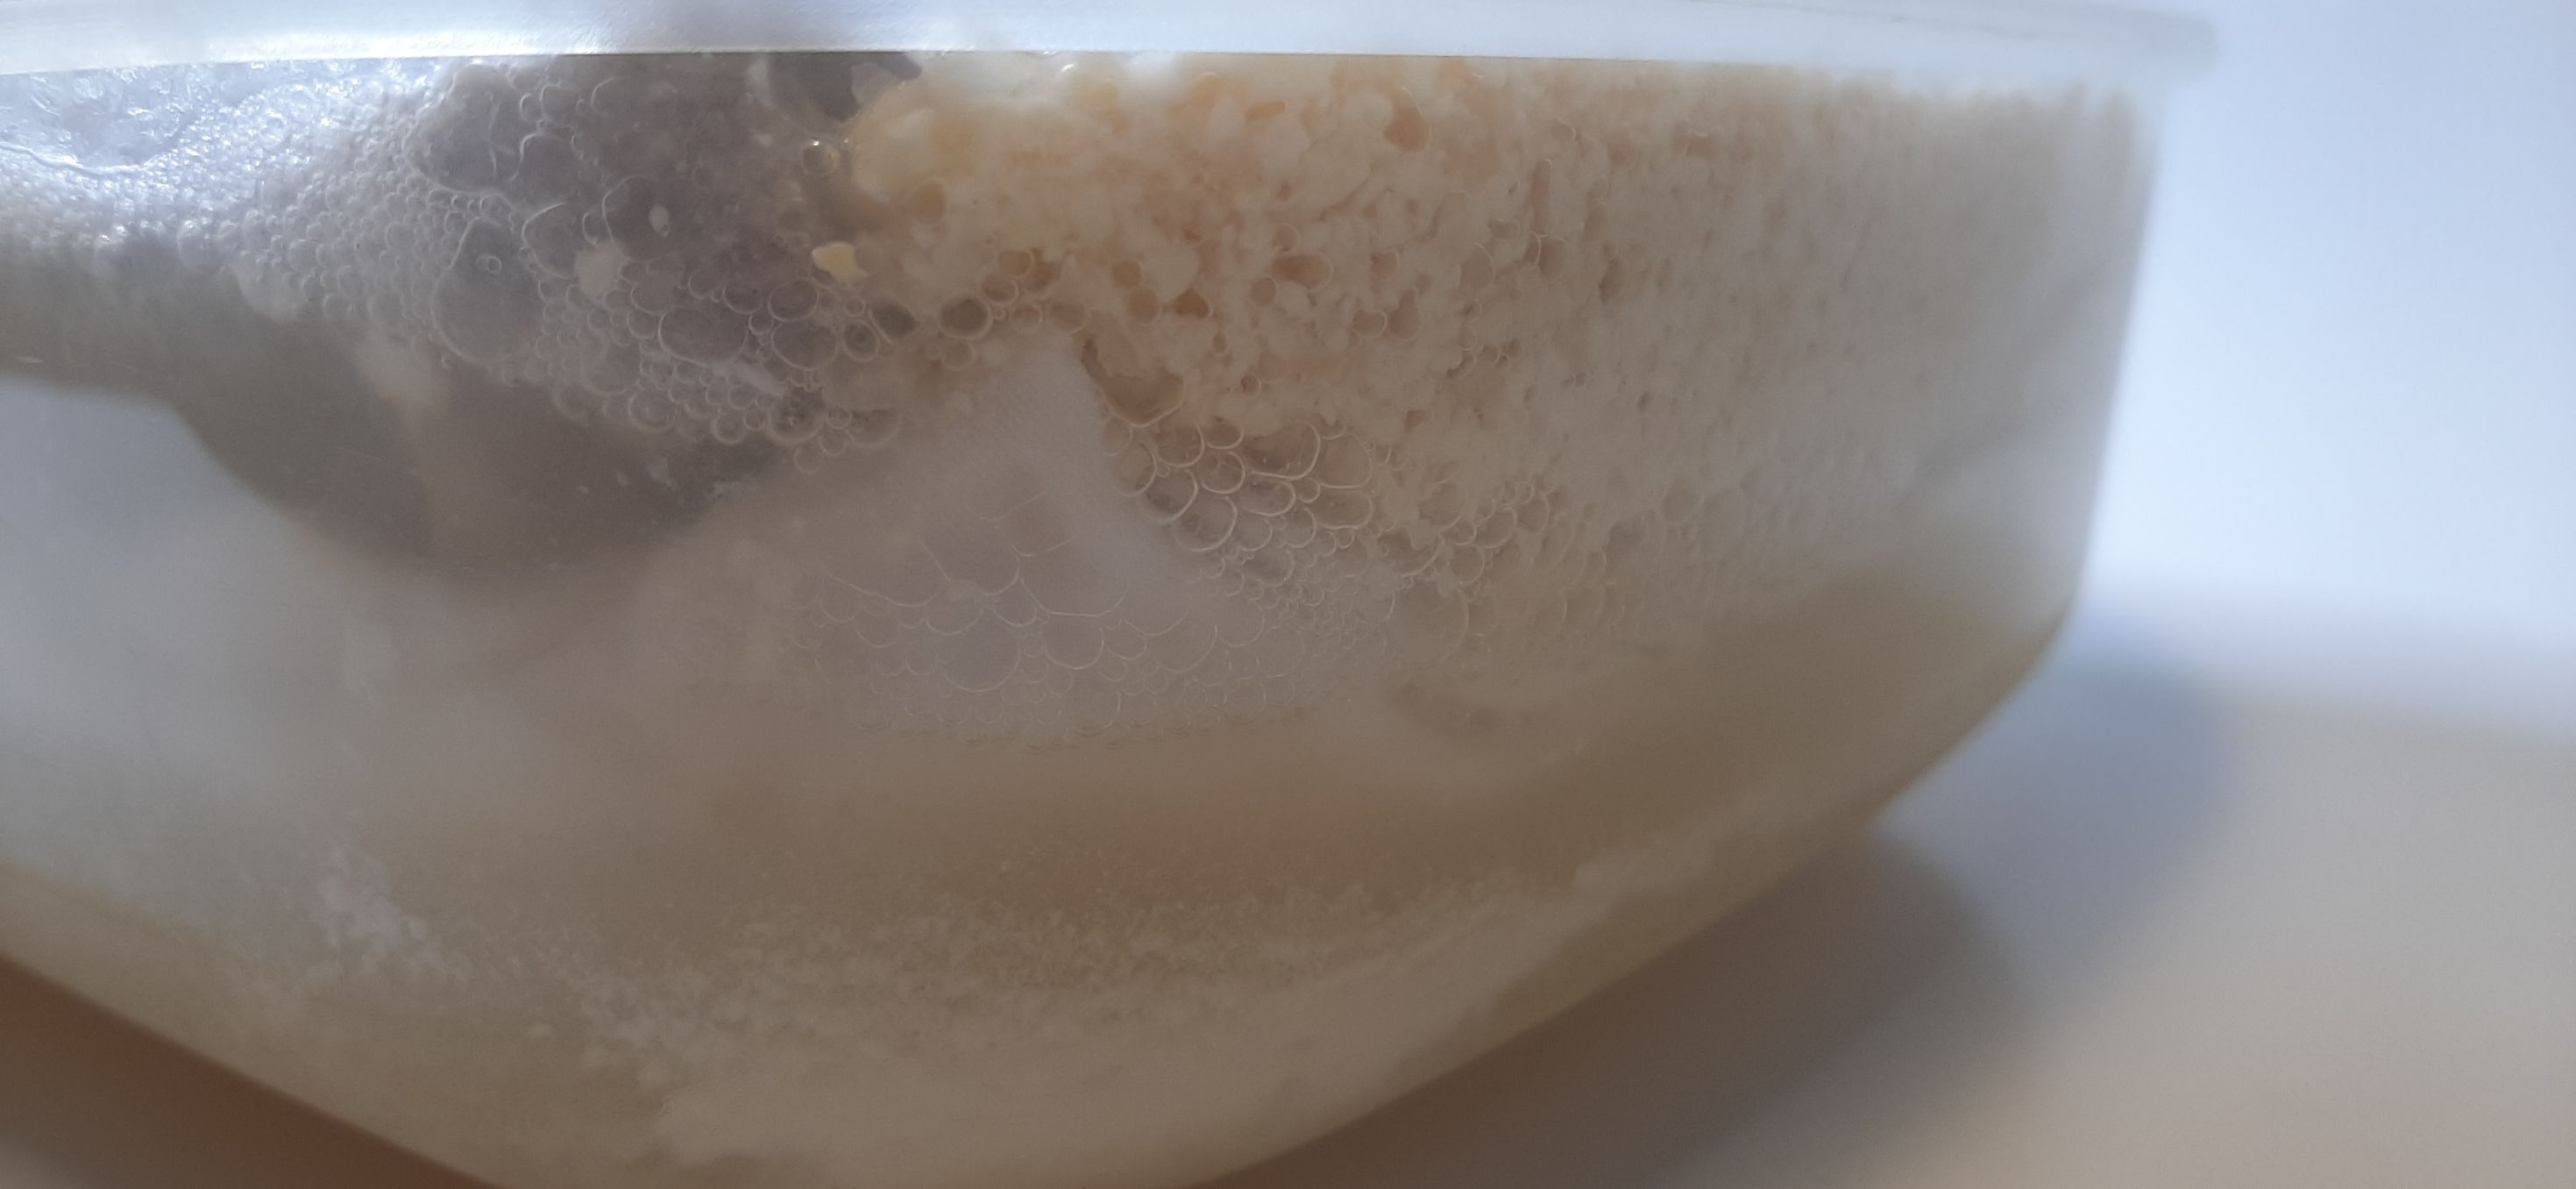
My original idea was to make iron liquor out of it and use it as a modifier. But no mater what I did, It didn't dissolve in water (I found the sand at the beach afterall). I Then tought I could use it as some quind of pigment. I found a tutorial to make flour paint, but I changed the recipe a bit. I had all the ingredients, but it was made to produce about one galon of paint.
1 liter of water 81g of flour 313g of Iron-oxides (my red sand) 13g of Iron sulfate 0.125 liters of canola oil 12.5ml of dishes soap
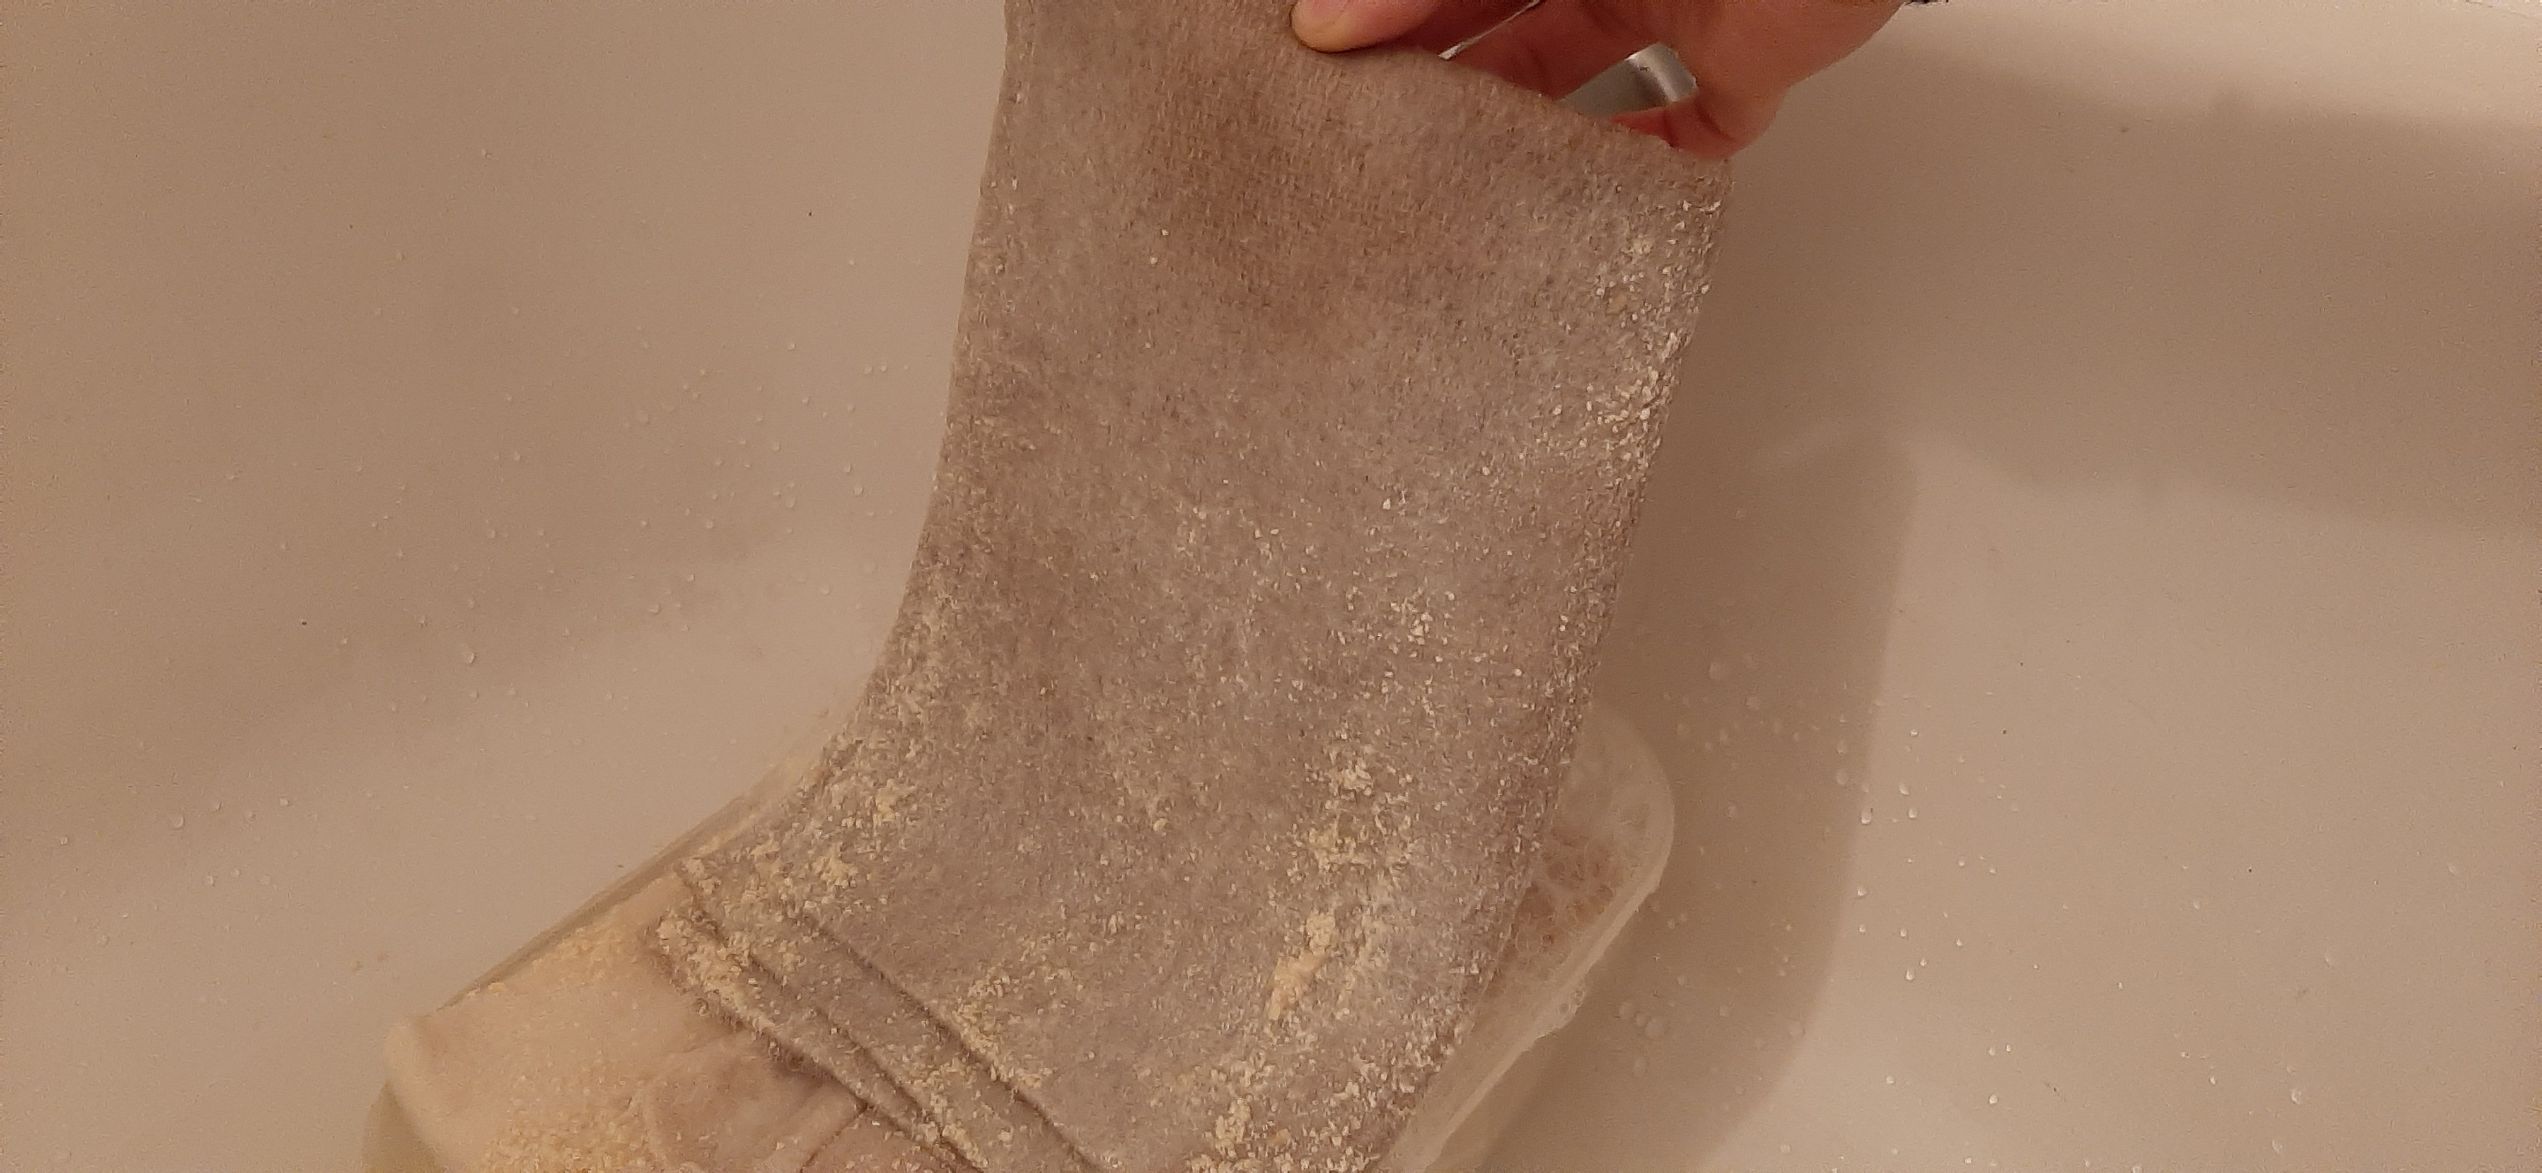
After following the instructions to the letter, I was left with a thick mixture. The sand did not dissolve, so it was a sand textured paint, but it was surpisingly strong. When it was dry, I could rub the surface with my finger and the sand did not crumble.
It would be a great idea to try with different pigments, or to find a way to separate the Iron-oxides from the rest of the sand.
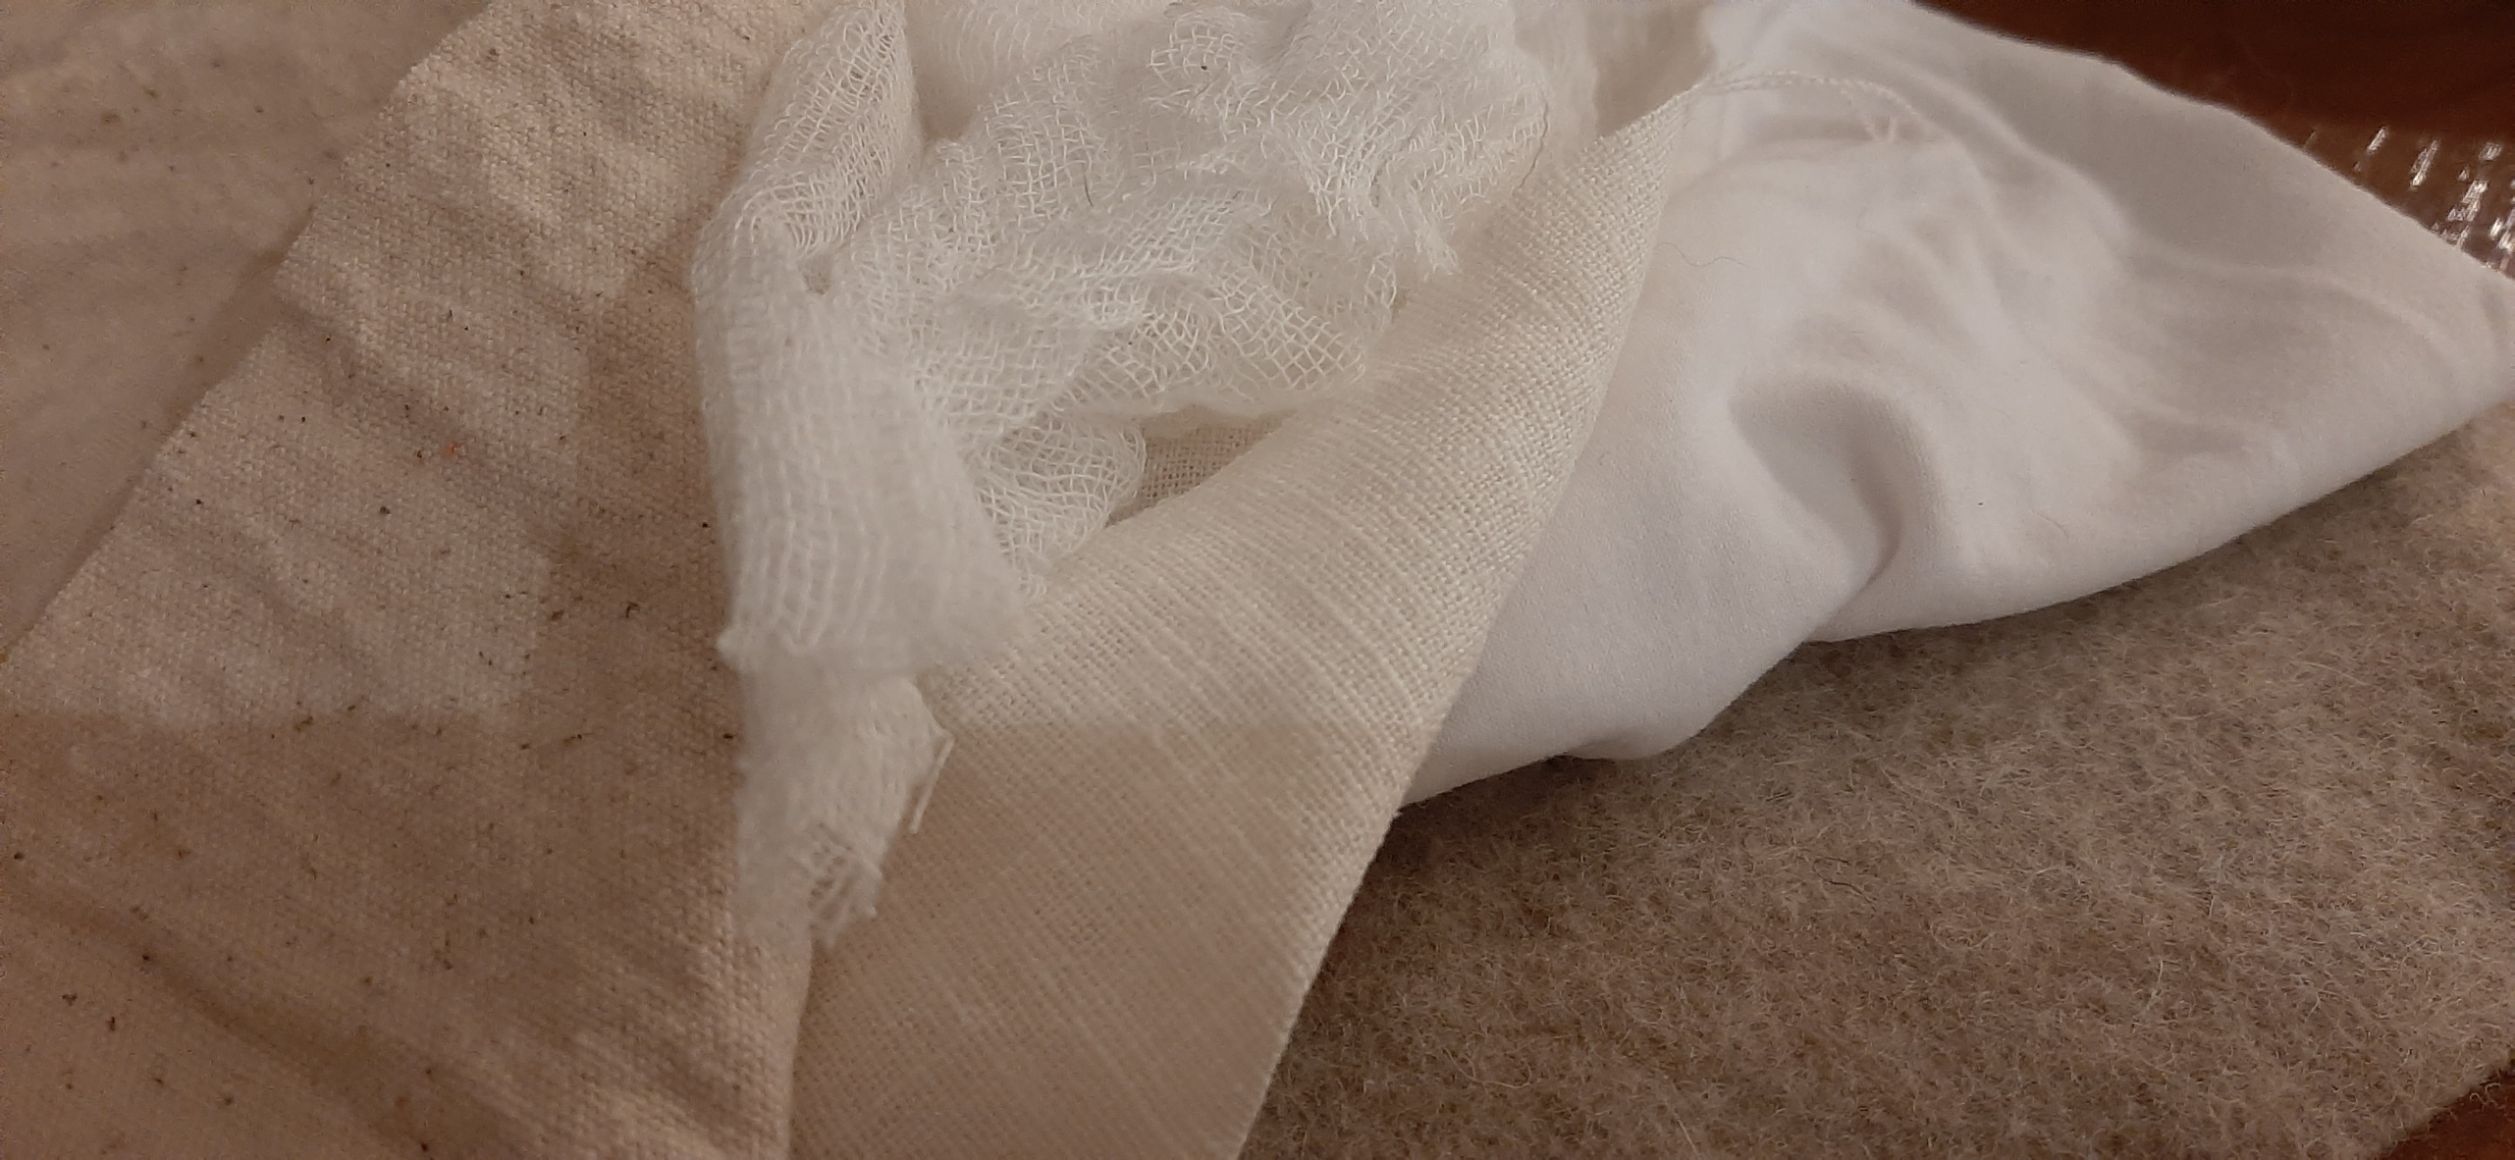
 Linen Canvas - 100% Linen
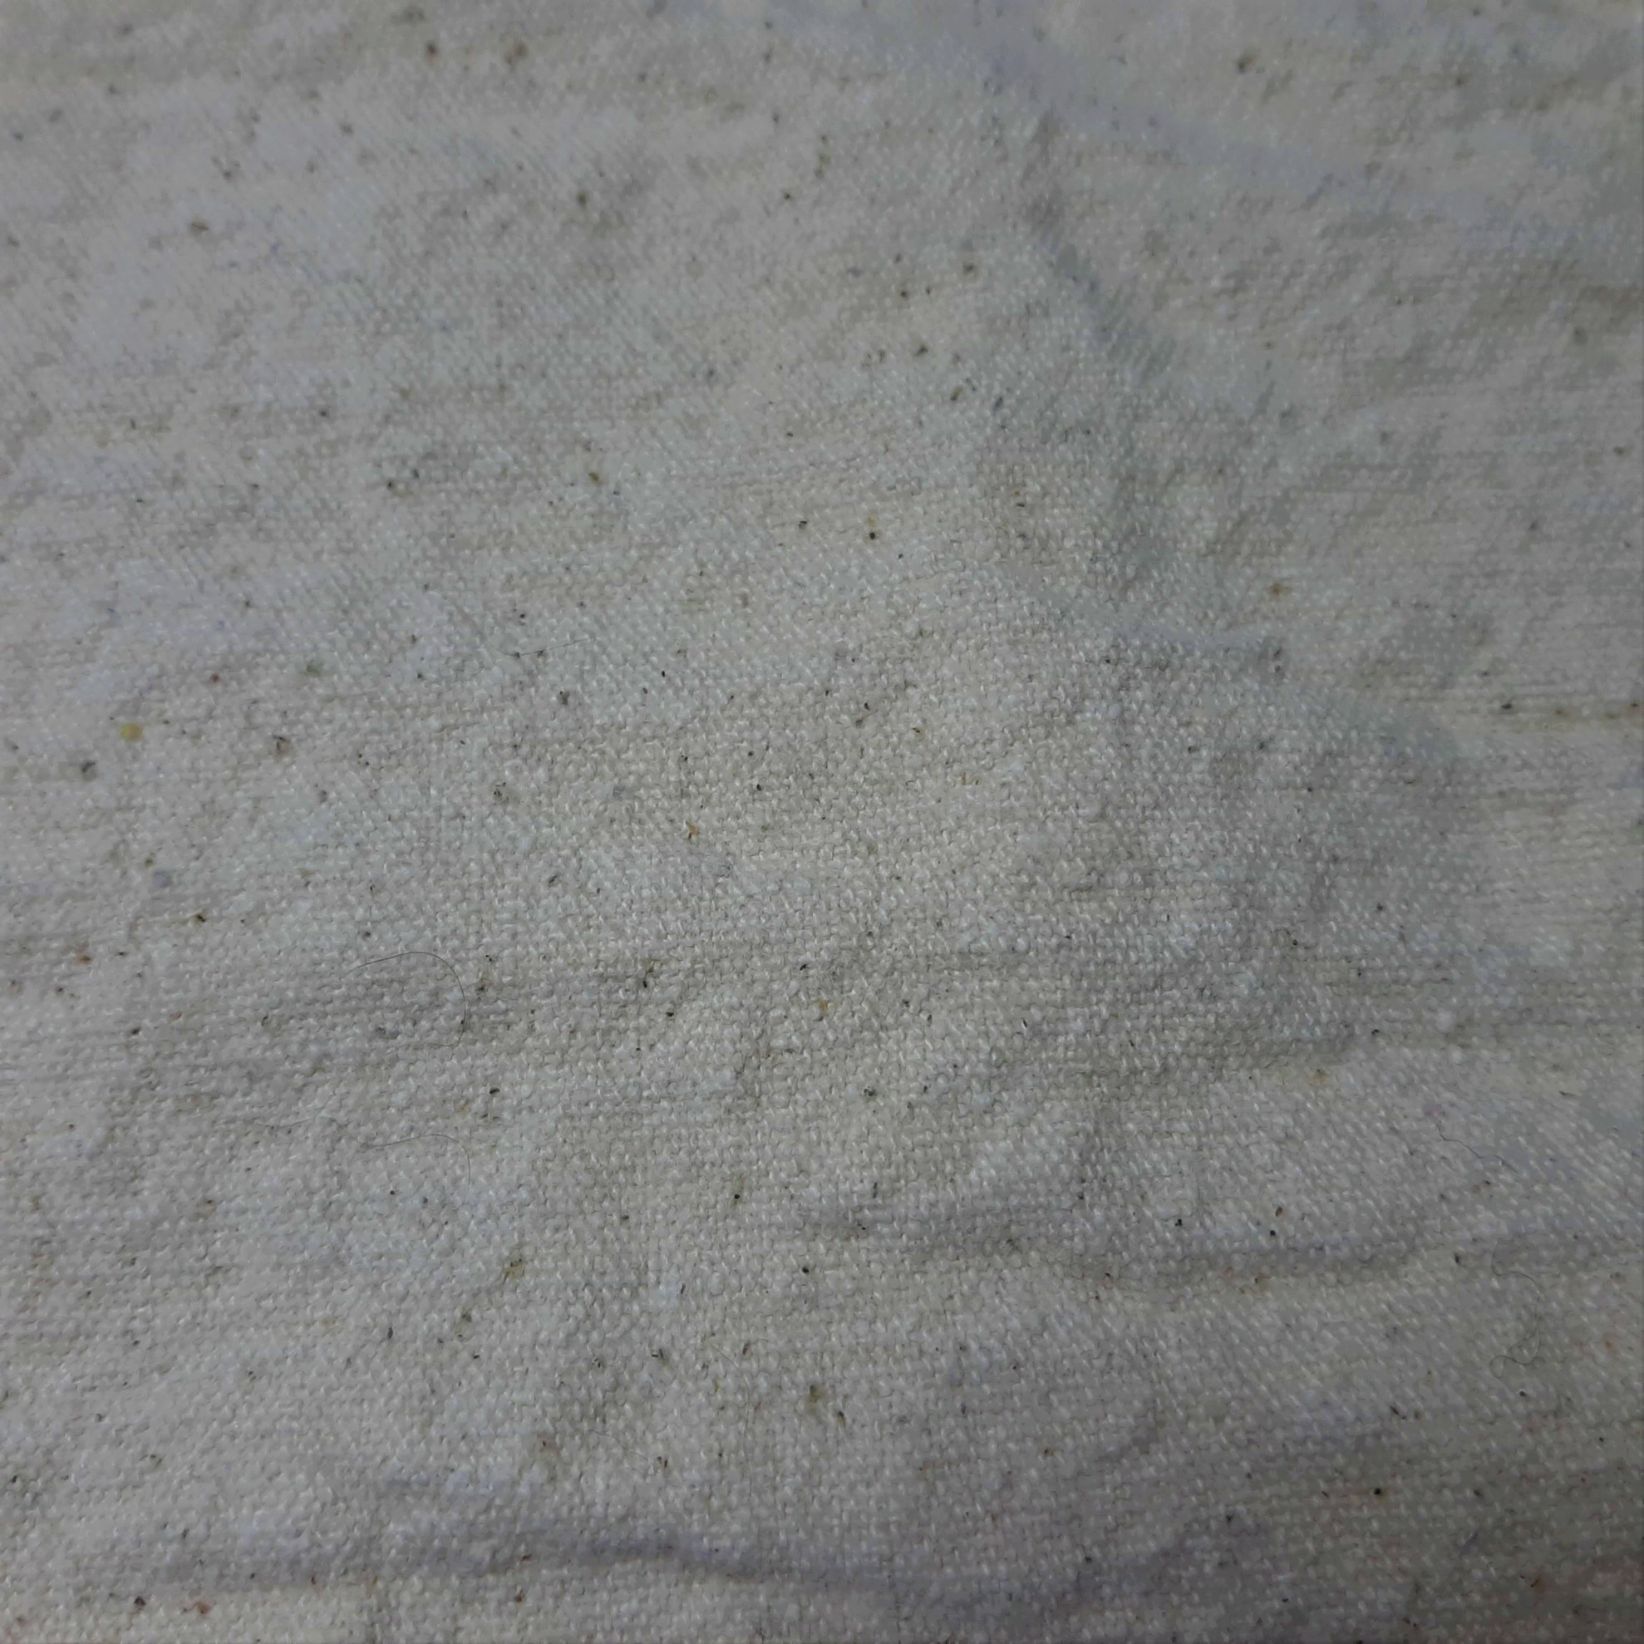 Cotton Canvas - 100% Raw cotton
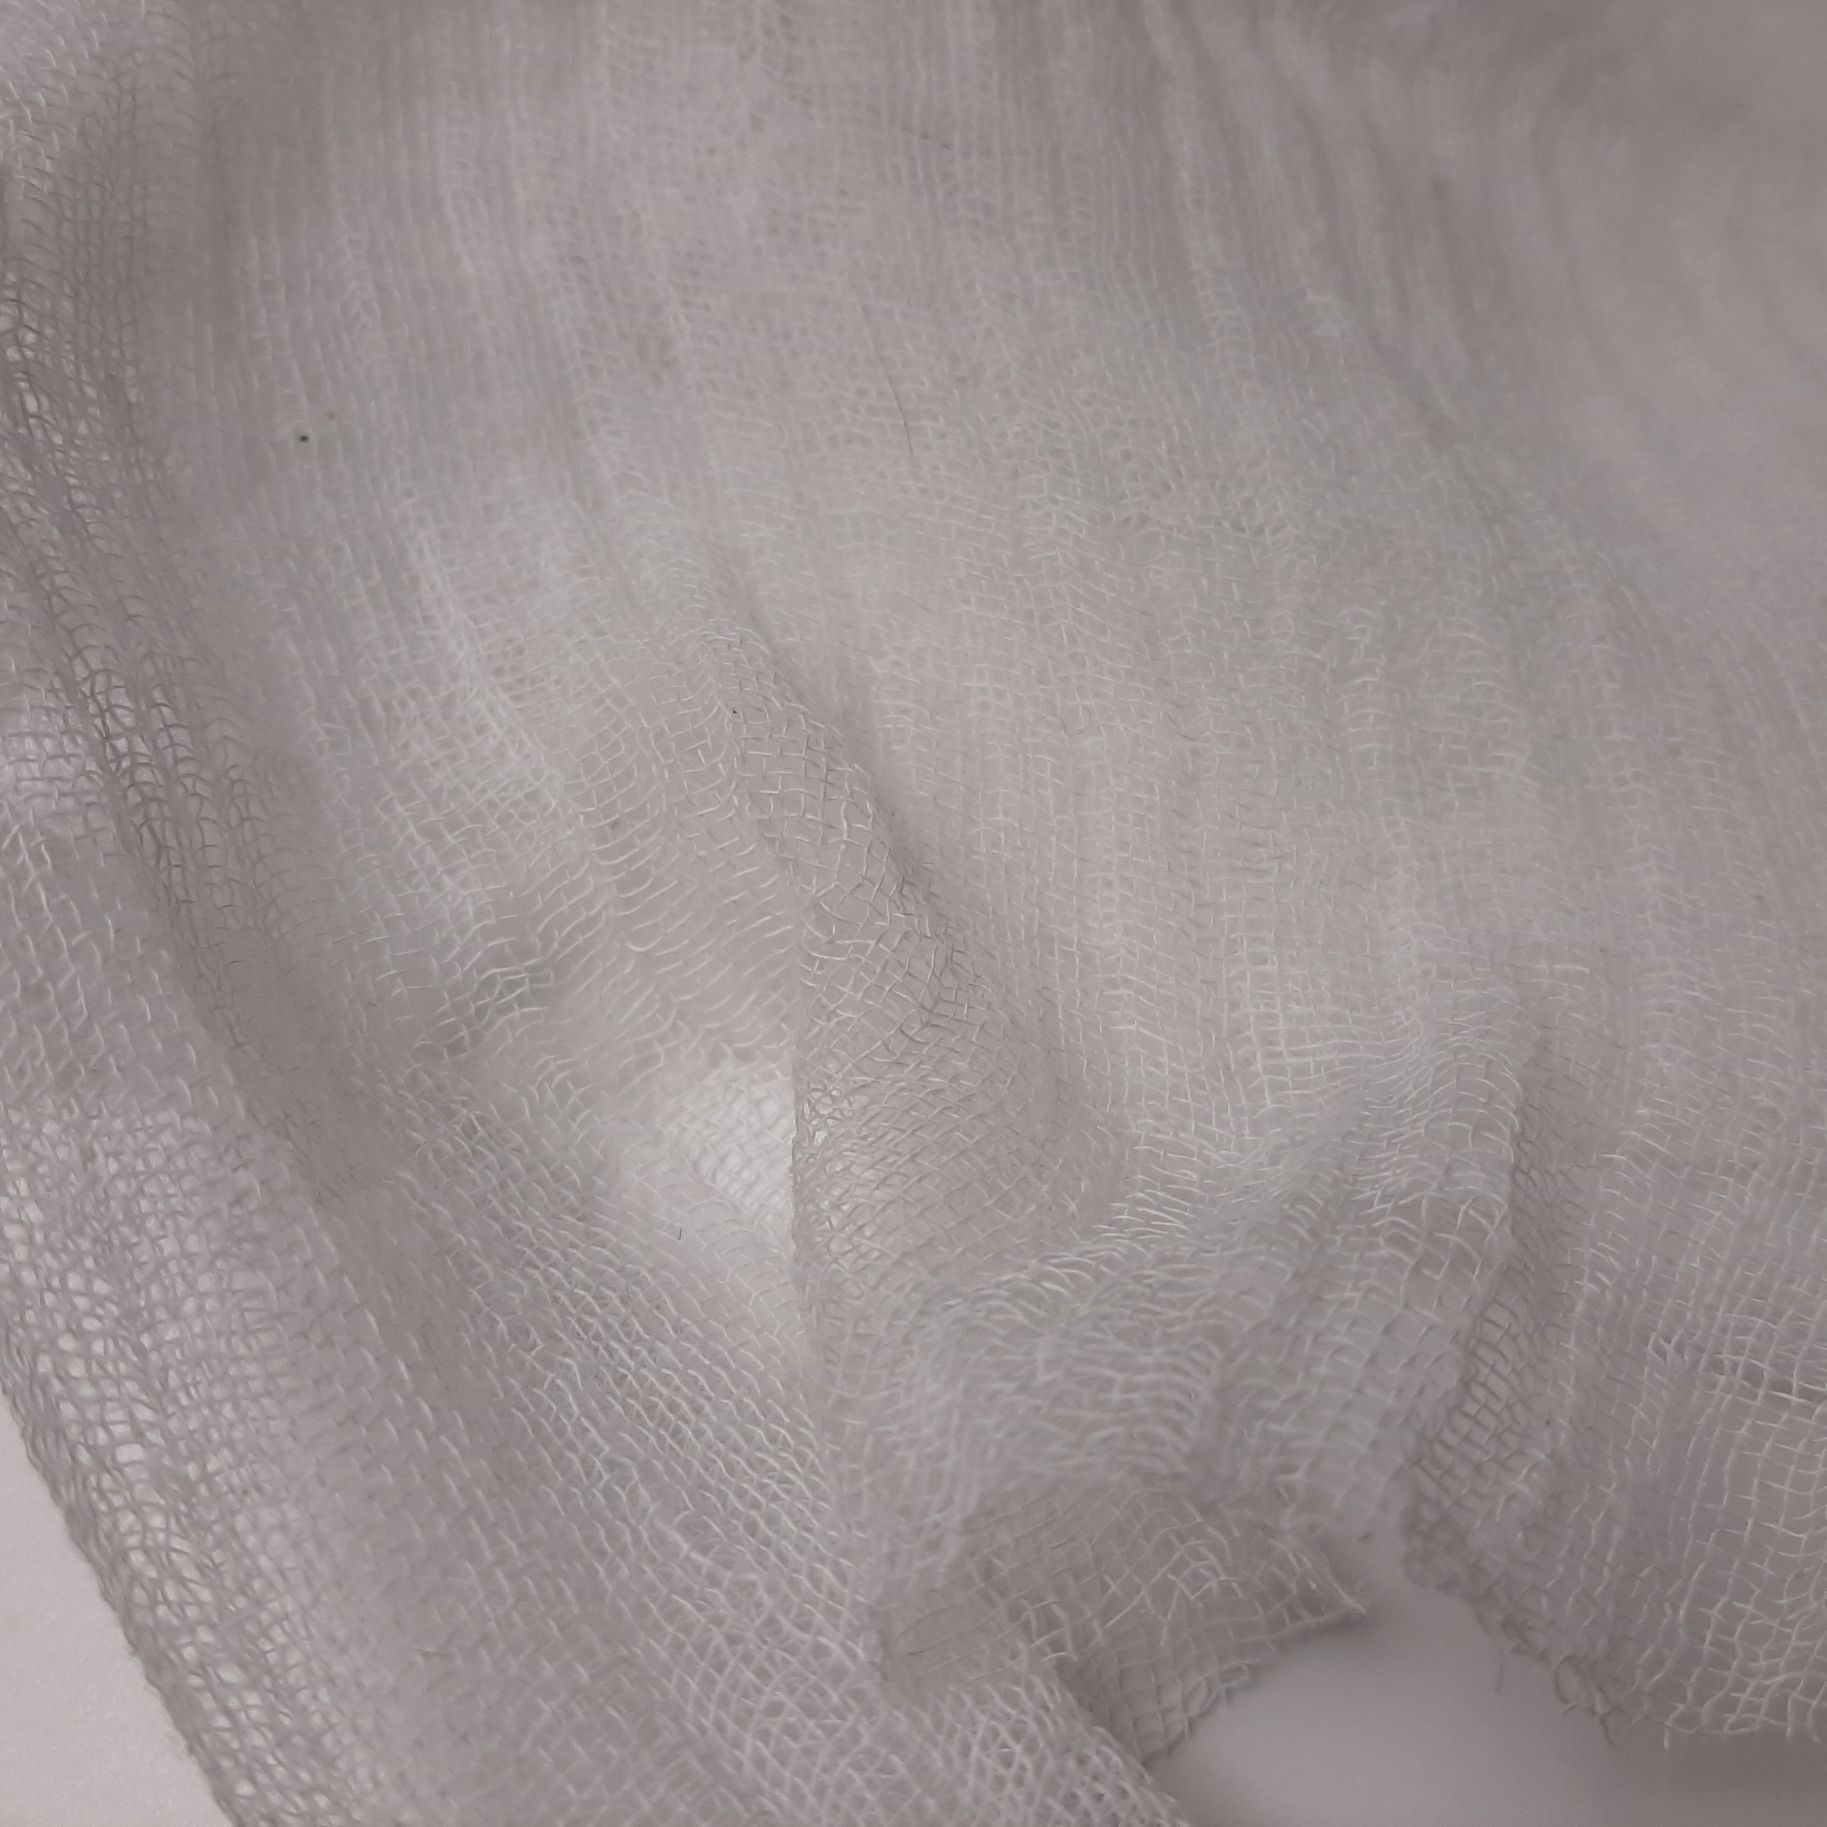 Cheesecloth - 100% Cotton
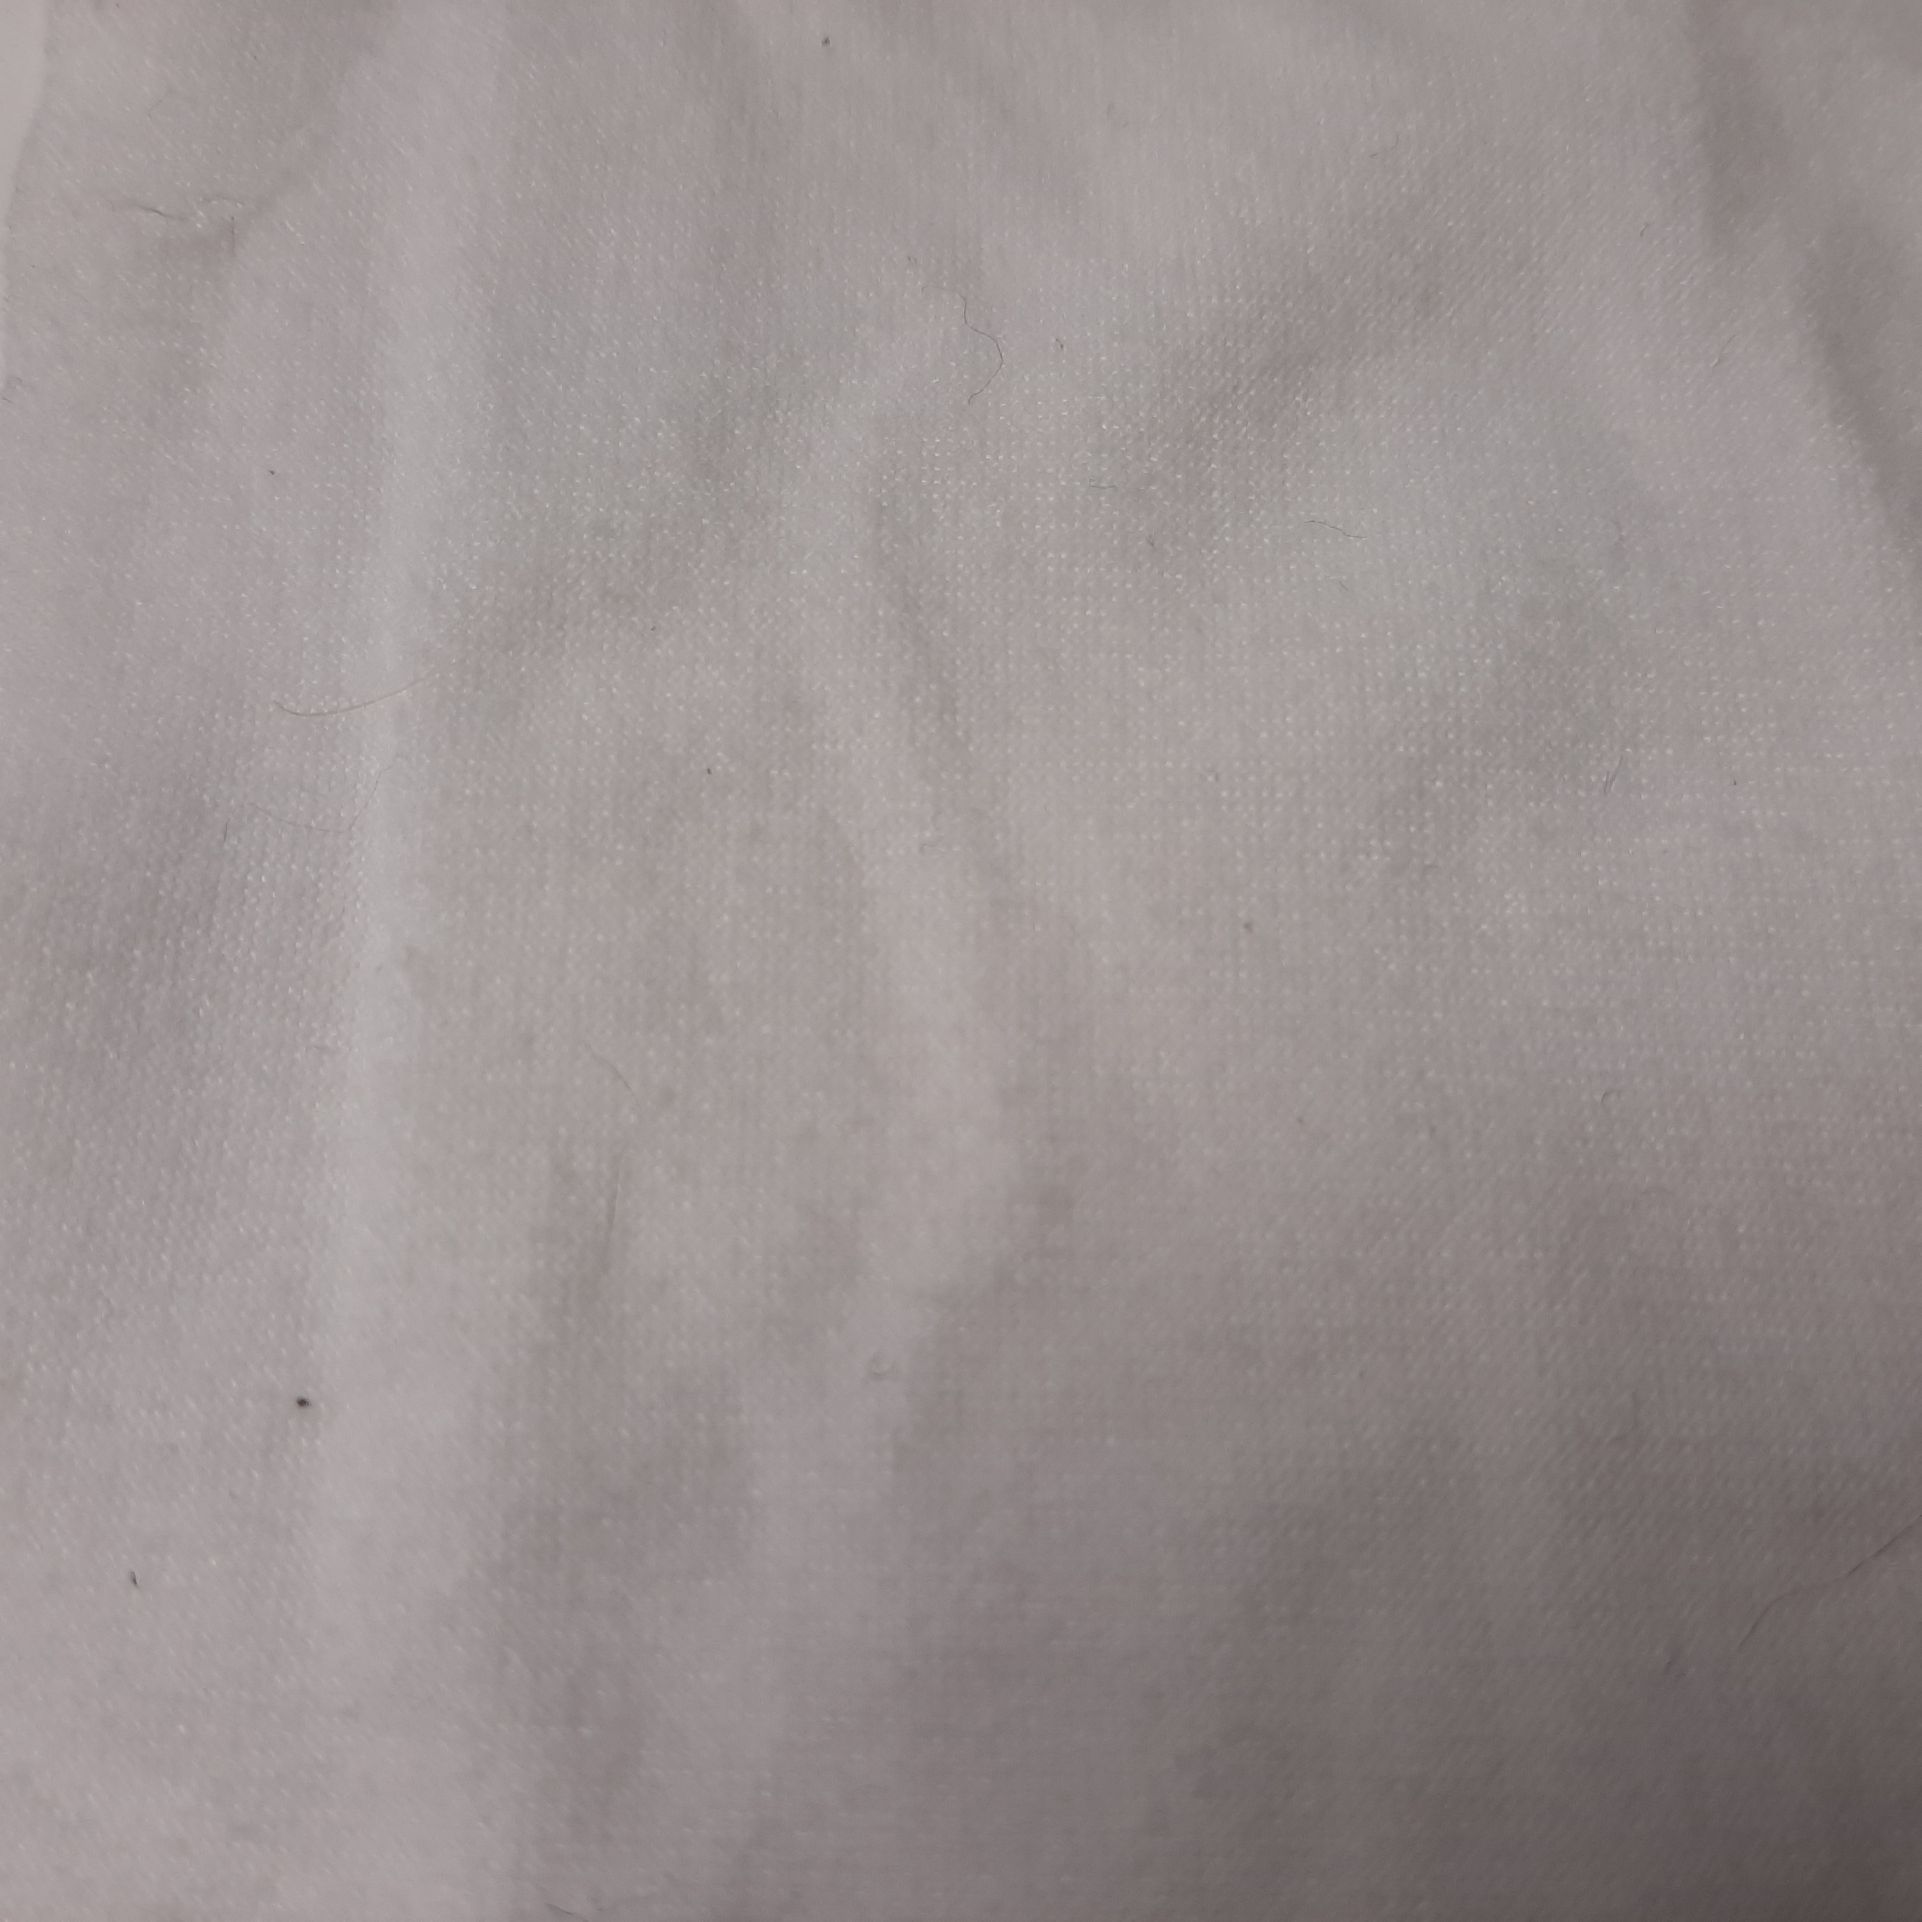 Soft Jacquard - 95% Bamboo 5% elastane
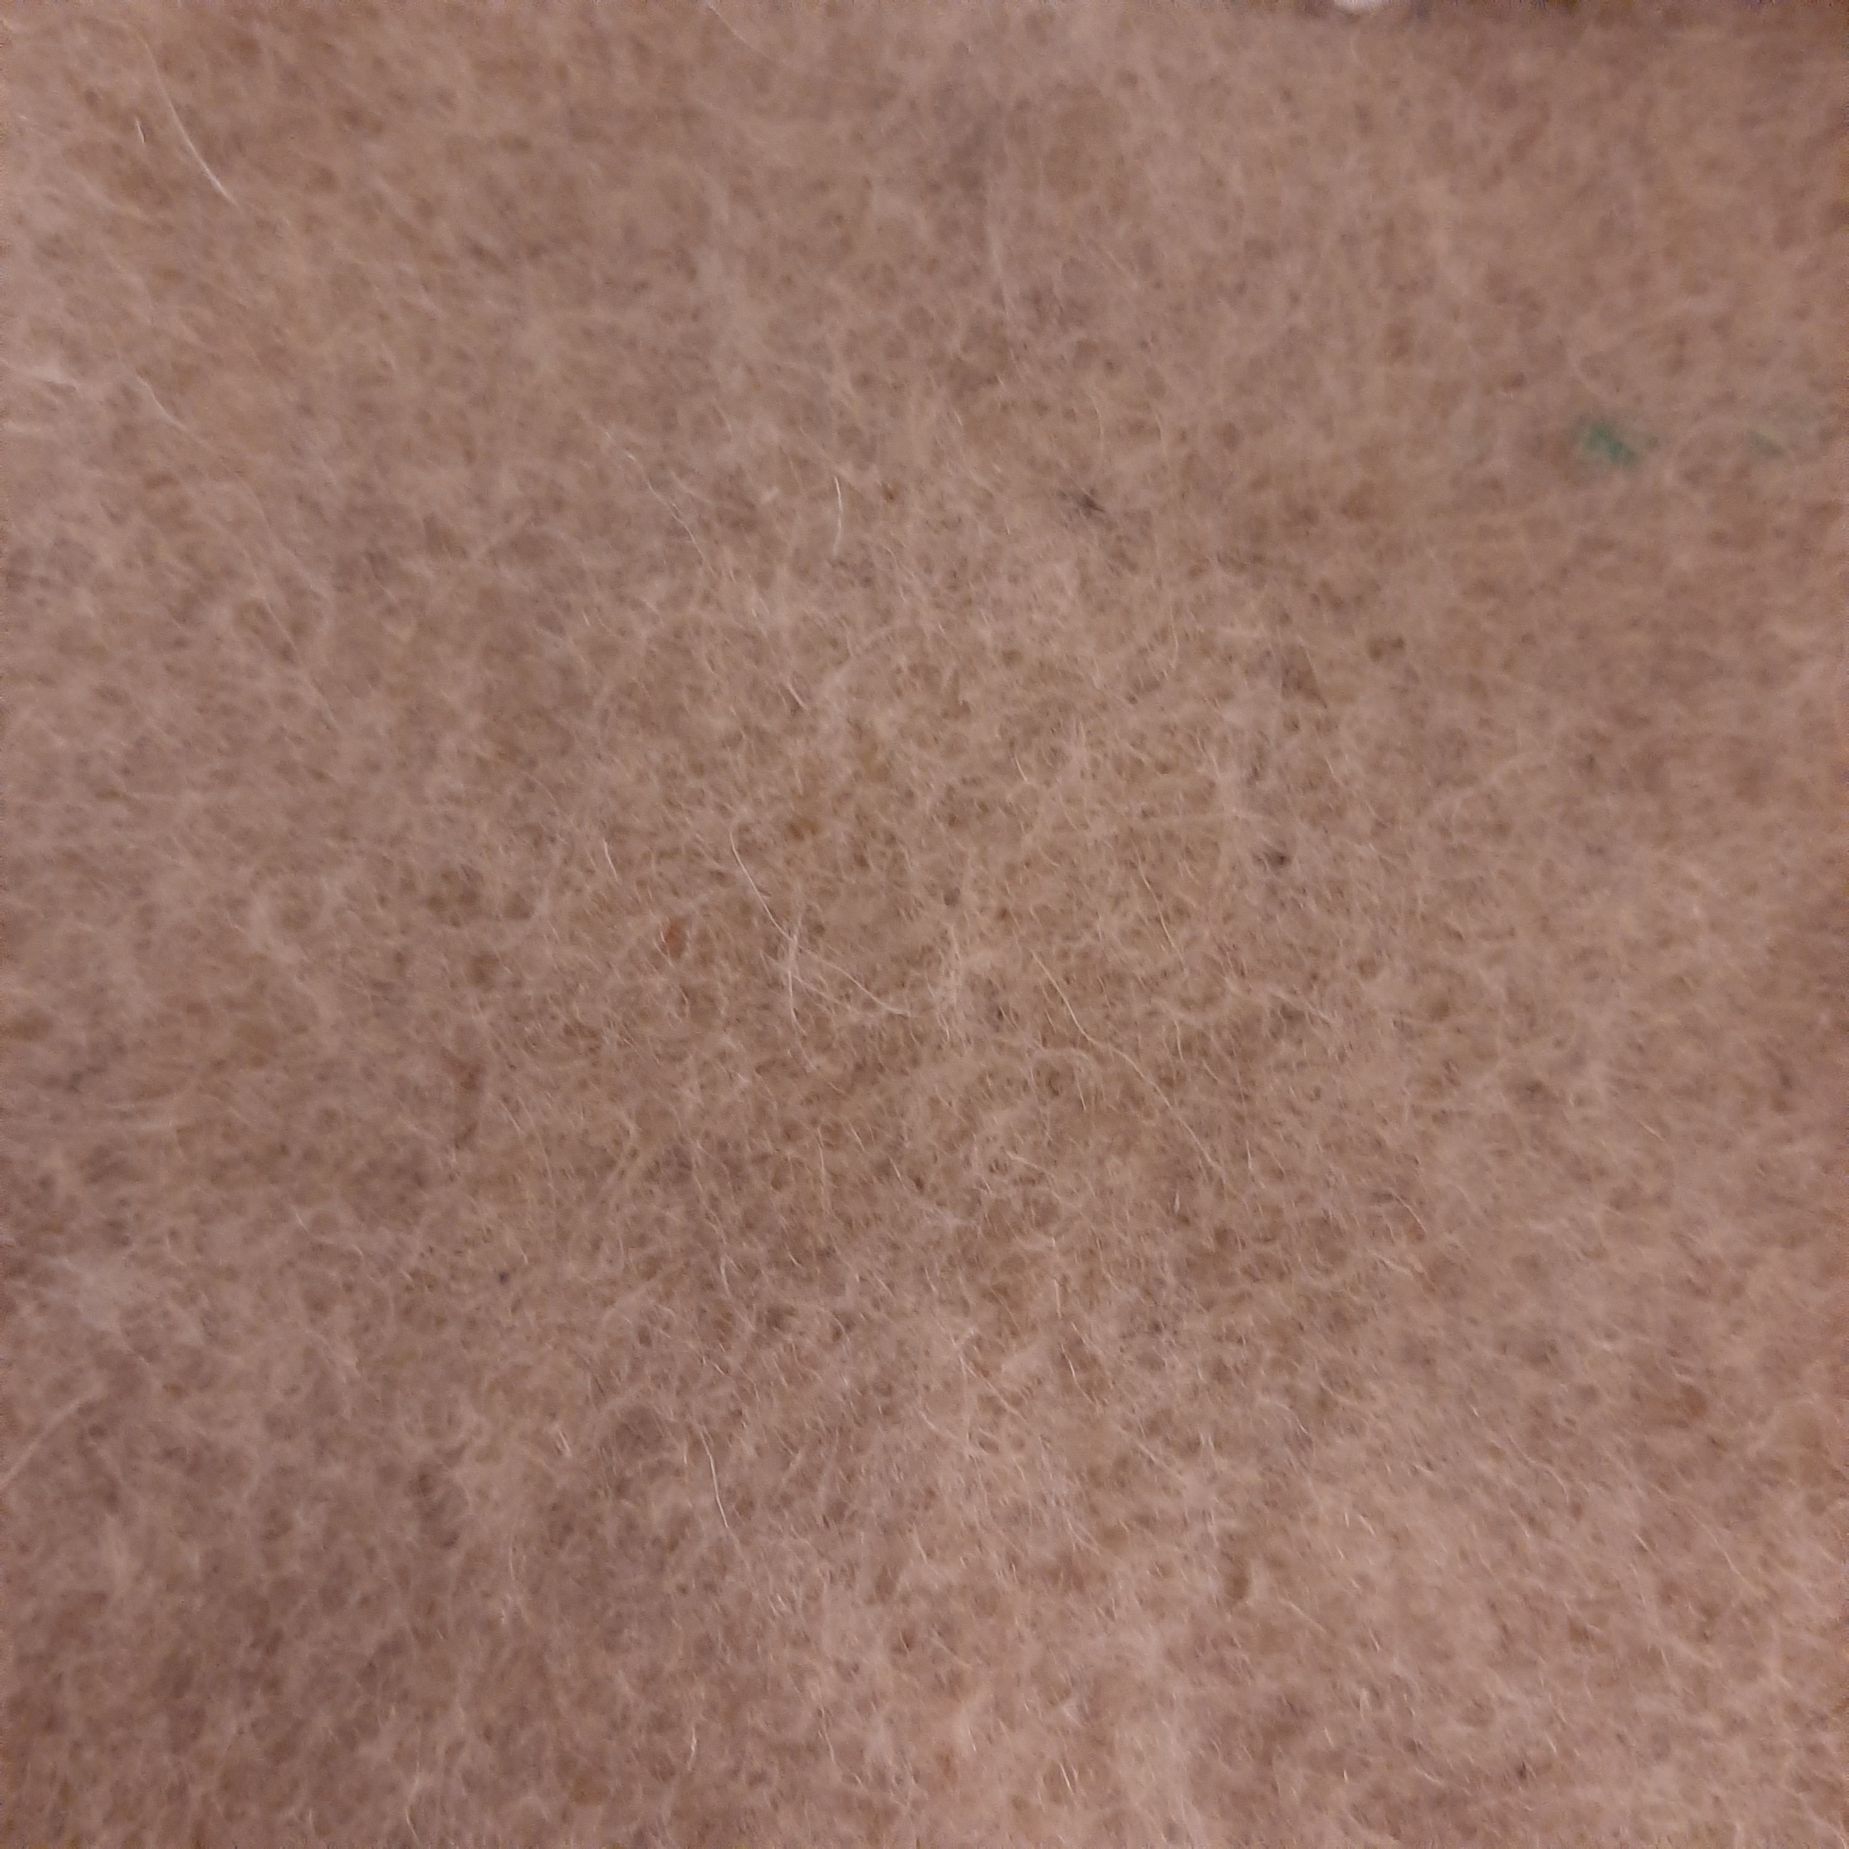 Wool Canvas - 60% Wool 20% Cotton 20% Polyester
 Thin Cotton Canvas - 100% Cotton