Process & workflow

for the 3D Printer Zmorph.
Step 1- Remove the wire from the nozzle
When there is the Single head nozzle 1,75
To remove it:
- Load the filament
- Preheat either PLA or ABS
- When it is hot > unload
If the extrusion head is in the middle: press change head.
- And then it proposes to go up or down
- Go up until it is out
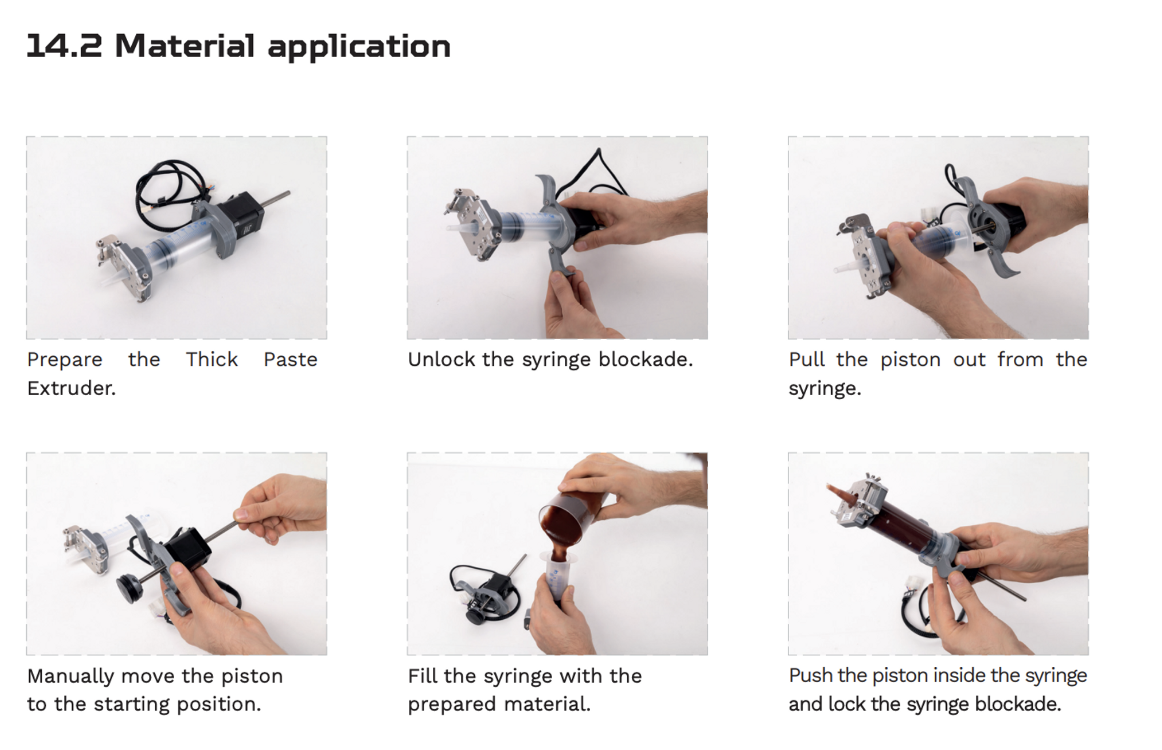
Step 2- Change the nozzle for the Thick Paste Extruder
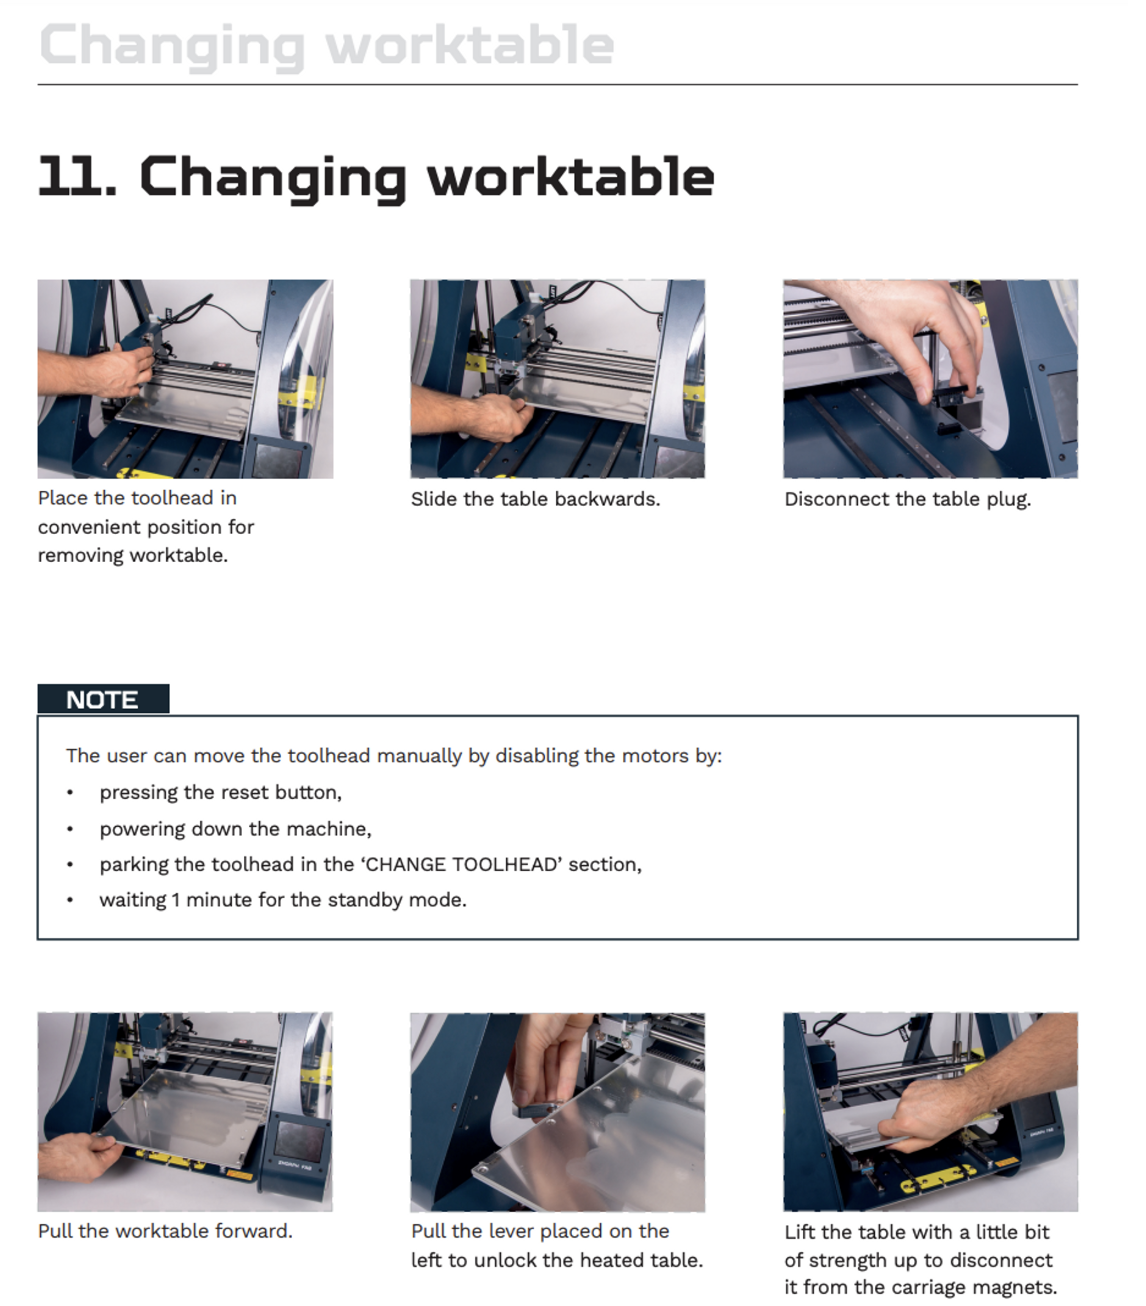
Step 3- Change the worktable
To can work with the thick paste extruder, we removed :
- the blocking device that prevented the machine from lowering further and can set it at 0 for the Z axe ;
- the windows from the openings to have an easier access to the whole machine.
We try to work with the hot worktable by fooling the printer when changing the head, It not only did not work, we broke the glass of the tray when the print head lowered unexpectedly :/
Step 4- Make the print file
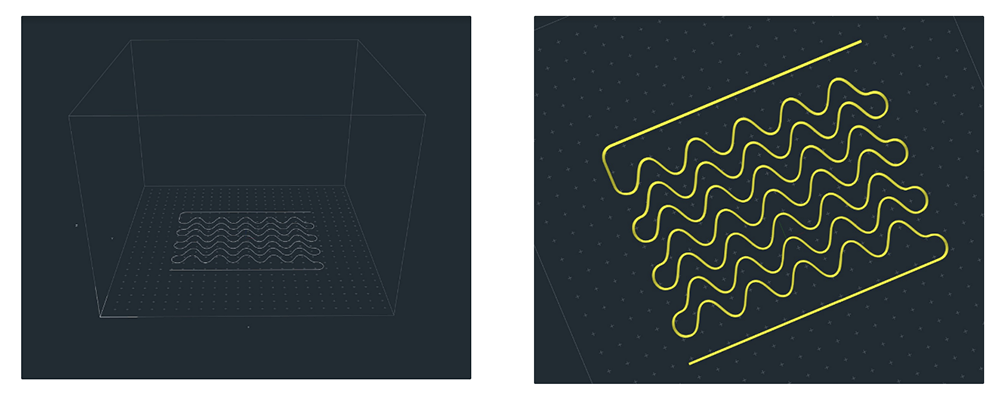
The challenge of choosing the shape for an adapted Gcode The Gcode of the Zmorph can't interrupt the printing, we have to make a continuous path to facilitate printing. That's why our shapes were coil, hexagonal, or continous line for the mussels paste on fabric. After getting the good shape, we work on getting a Gcode. These are our finals choices.
- Imagine a form
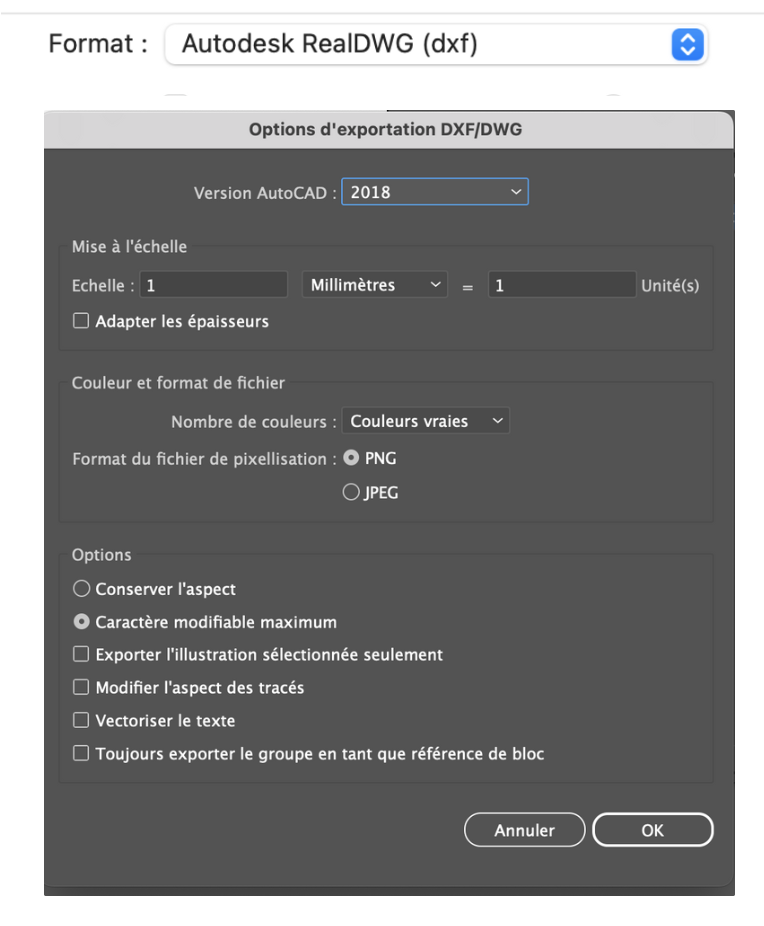
- 2D Vector File
- Export to DXF
Step 5- Voxelizer for make the link between the 2D to the 3D language
In Voxeliser - Open - Import - Drag file into display cube - Next - Settings - Use a USB/SSD card > Add the file on it
Travel speed = machine speed when not printing. Do not touch this setting.
Print speed = printing speed. Voxelizer produces a GCODE file giving XYZ coordinates for the nozzle. This is a dialogue between it and the machine. Cura software lets you add a pause if required, directly in the code.
Step 6 - 3D printer calibration
- Positioning the fabric
- Stretch it as much as possible. We tape it underneath to fix it to the plate before putting the clamps back on.
Step 7 - Print
- Add the SSD card on the 3D printer
- Make your settings on it
Step 8 - Clean the machine
for the 3D biomaterials recipe.
Step 1- Finding the recipe
- Tutorial Fabricademy 2022-23 TUTORIALS Bioprinting - Petra Garajova
- PDF tutorial of the 3D Bioprinting
- Materiom tutorial of Eggshell
Step 2- Make the recipe
- Make the filler