6. BioFabricating Materials
The way we have been neglecting the materials we're using in our daily lives and products didn't change the way it's negatively impacting the environment, our limited resources and ultimitly, us.
In this week we looked into biofabricating materials, taking a deeper dive into the different material properties, and their impact and footprint.
Similar to the Biochromes week, we worked together as a team and then indiviually.
References & Inspiration
Scarlett Yang's 'Decomposition of Materiality and Identities' speculates a simulated ecosystem where biomaterials grow, decompose and shift form through time and changing environments. The project explores sustainable design solutions through combining bio design, digital fabrication, 3D-generative simulation and traditional fashion design and was awarded the LVMH Maison/0 Green Trial 2020 prize.
A result of intense experimentation and development in a laboratory, the final outcome is a glass-like fabric crafted from algae extract and silk cocoon protein (an otherwise-wasted by-product of textile manufacturing). This sensitive, reactive material responds directly to its environment and is able to fully biodegrade in water within 24 hours.
Overview
BioMaterials
While there are many definitions for bio and how it relates to materials, for the purposes of this week we will focus on biobased materials while keeping in mind their life cycle and properties.
Biomaterials can be either crafted or grown and we will look into both of them this week. Let's go...
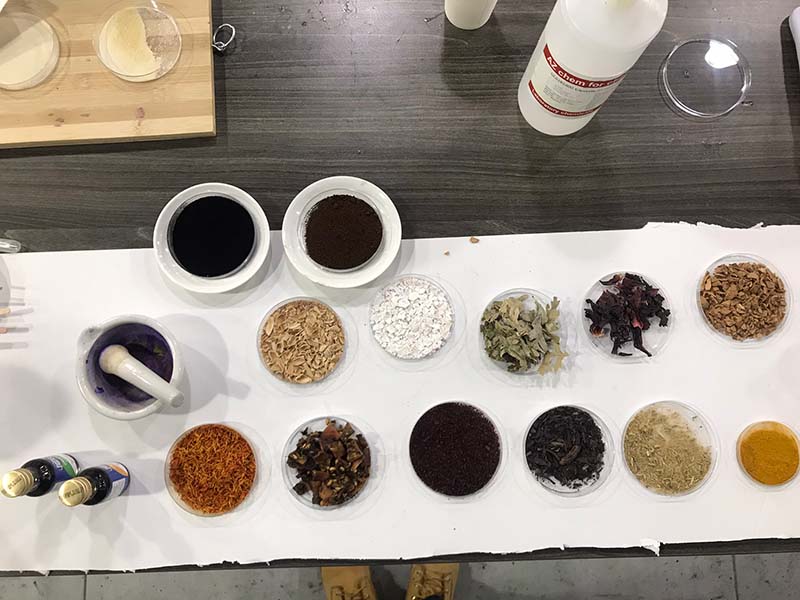
Crafted BioMaterials
Crafting biomaterials is fun and withholds endless possibilites, while there is always room for creativity and coming up with a new composition/recipe, there are many similarities between the recipes. Generally speaking you need a polymer, plastisizer, water, and filling agents (not nessecary but helpful sometimes).
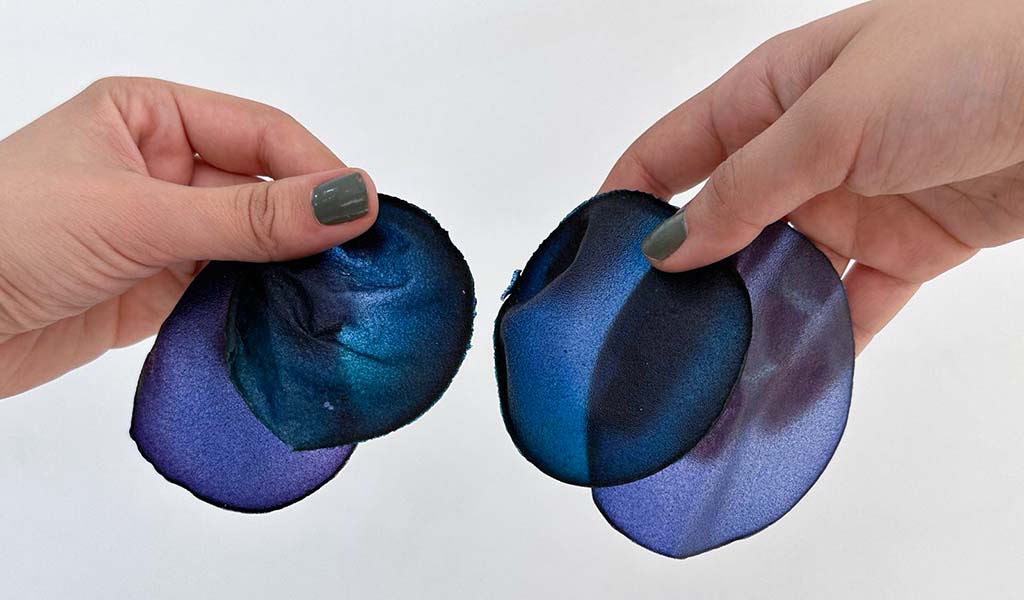
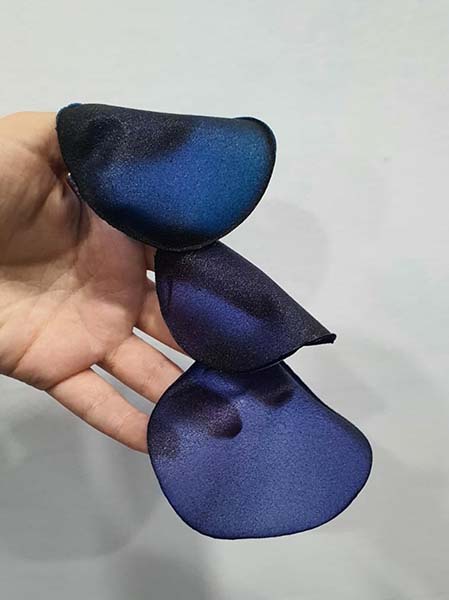
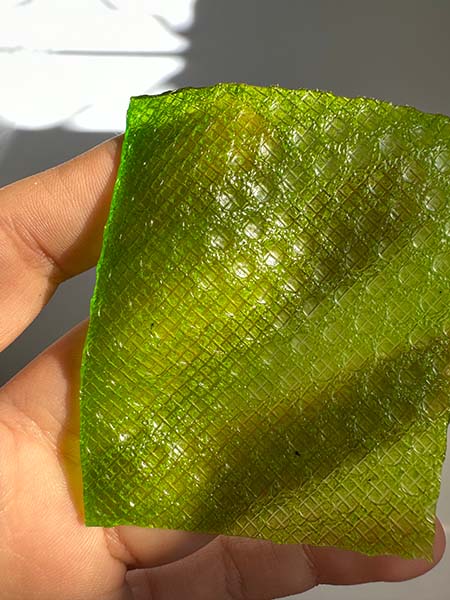
Gelatine
BioSilicone
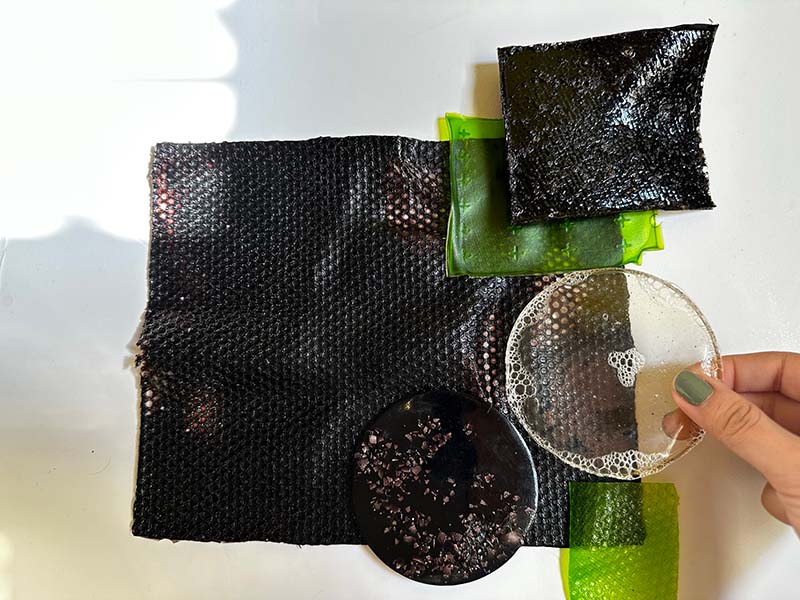
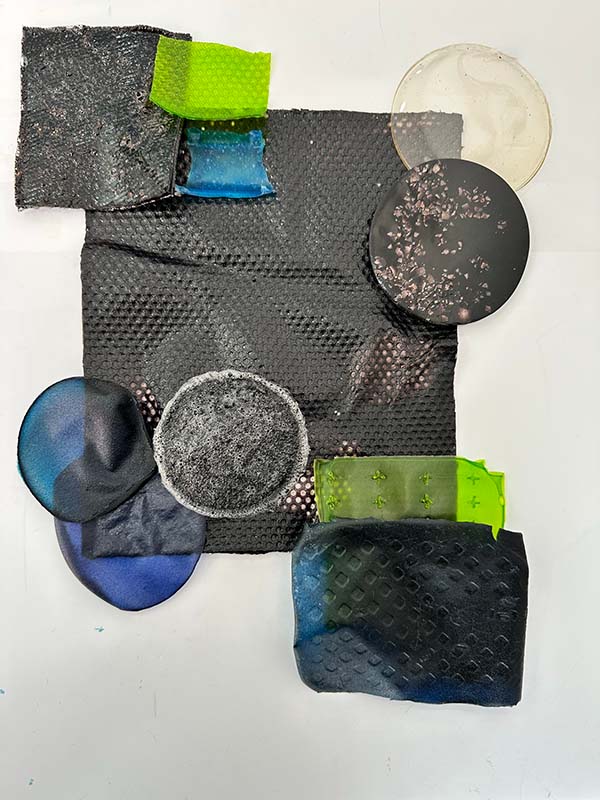
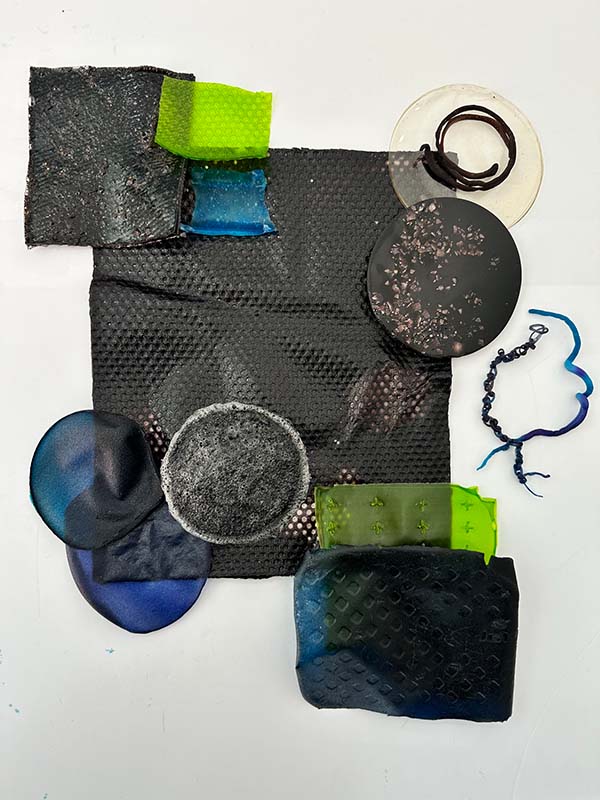
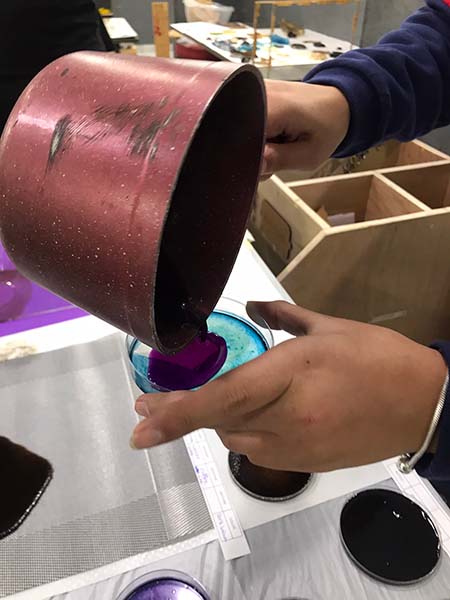
For the ones we did together we reused leftover dye baths from the BioChromes week as solivents. Specifically, we used the cabbage dye bath and the pomegranate modified with iron and vinegar dye bath. For the ones I made on my own I used another leftover dye bath; the acorns modified with iron and vinegar and I used food coloring on another one. Below are the recipes and the process:
To check out the varirty of colors we got from pomegranate, acorns, cabbage, and onion peels check out BioChromes week
For the pomegranate modified with iron and vinegar we used:
* 24 gr Gelatine
* 12 ml Glycerine
* 120 ml Dye Bath (Cabbage)
* Egg shells as an additive/filler for some of the casts
| Material | Quantity | Weight | Cost |
|---|---|---|---|
| Glycerine | 1 | 1L | 12$ |
| Gelatine | 1 | 450gr | 20$ |

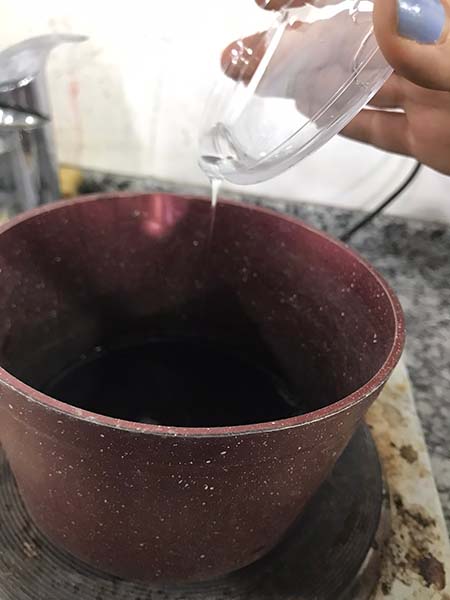
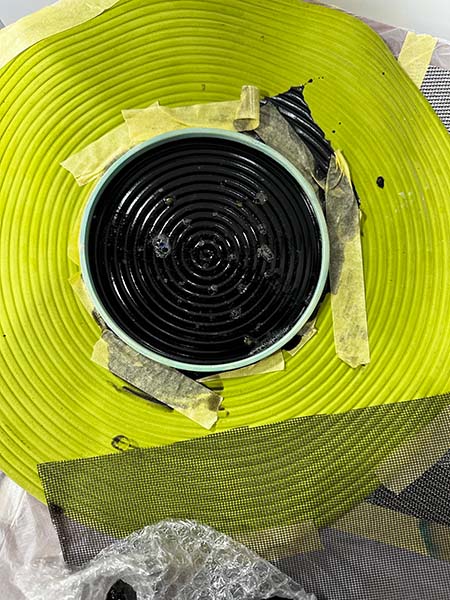
We started by heating the water up to almost 80°C then we added the plasticizer first (glycrine) and we stir real good and then we add the polymer (gelatine). For the few molds were we added eggshells we added them few seconds before casting and we stirred a bit to make sure the eggshells weren't oddly on the surface or at the bottom.
For the Acorns modified with iron and vinegar i used the following recipe:
* 48 gr Gelatine
* 24 ml Glycerine
* 240 ml Dye Bath
* Eggshells, leftover dried onion peels, and leftover crushed acorns as additives (added separately)
| Material | Quantity | Weight | Cost |
|---|---|---|---|
| Glycerine | 1 | 1L | 12$ |
| Gelatine | 1 | 450gr | 20$ |

Agar
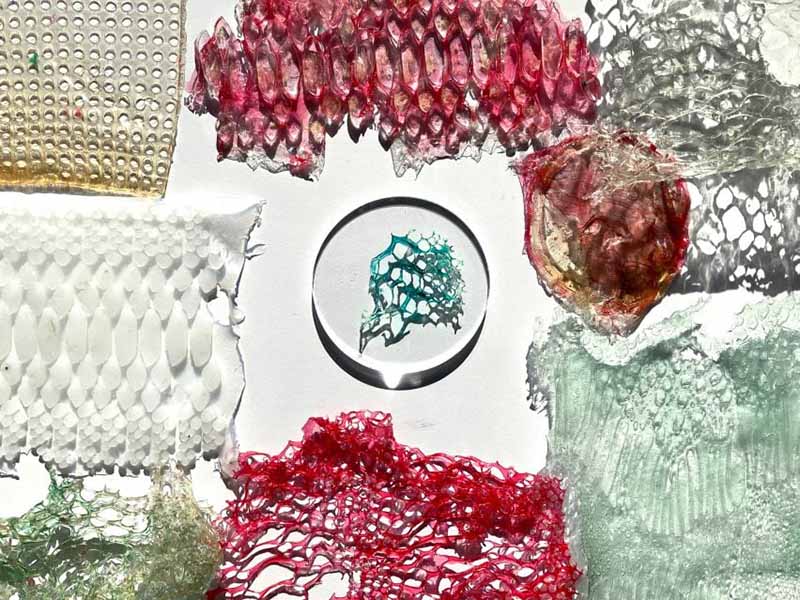
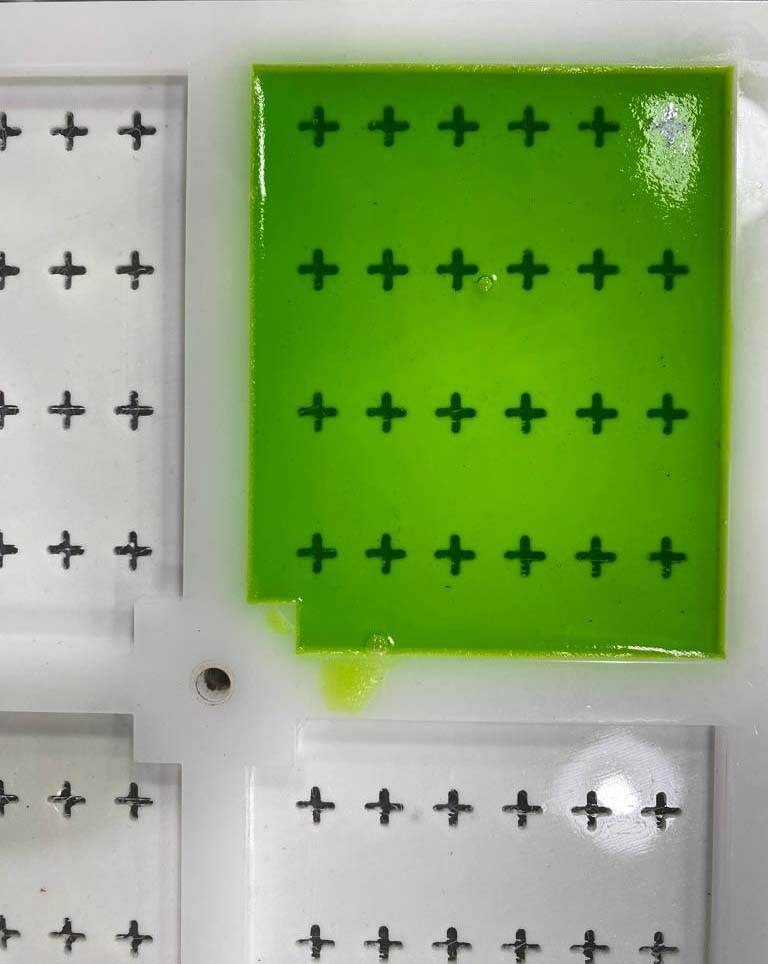
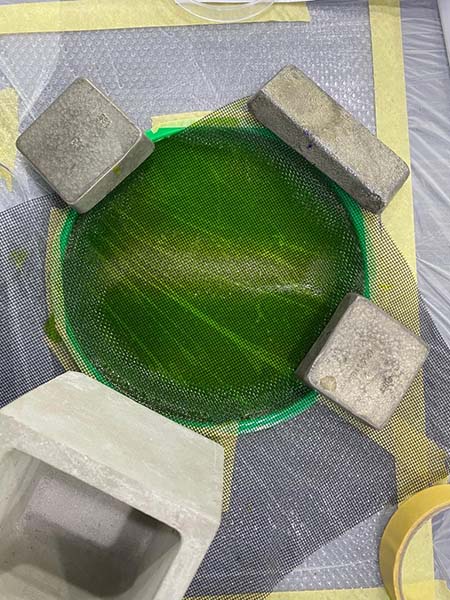
BioFoil
For the ones we did together we reused leftover dye baths from the BioChromes week as solivents. Specifically, we used the cabbage dye bath. For the ones I made on my own I used food coloring on some casts and others I kept clear. Below are the recipes and the process:
* 2.5 gr Agar Agar
* 7.5 ml Glycerine
* 125 ml Dye Bath
| Material | Quantity | Weight | Cost |
|---|---|---|---|
| Agar Agar | 1 | 100gr | 30$ |
| Glycerine | 1 | 1L | 12$ |
Similar to the previous recipes we heat the water, add the plasticizer first and then the polymer.
One cool thing we did with this recipe is that we casted the bio-foil on dried perti dished from the biochromes week, and the beautiful shades we got from biochromes week got stuck to the cast.
* 3 gr Agar Agar
* 20 gr Gelatine
* 15 ml Glycerine
* 400 ml Water
* Food Coloring (few drops)
| Material | Quantity | Weight | Cost |
|---|---|---|---|
| Agar Agar | 1 | 100gr | 30$ |
| Glycerine | 1 | 1L | 12$ |
| Gelatine | 1 | 450gr | 20$ |
| Food Coloring | 10 colors | 6ml each | 8$ |
This recipe needs patience, it took longer time to cook.
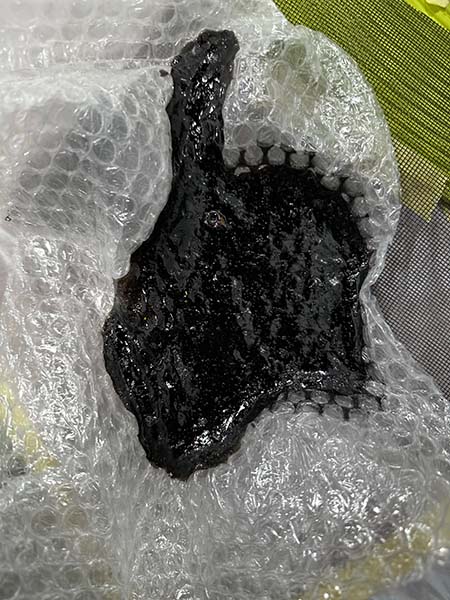
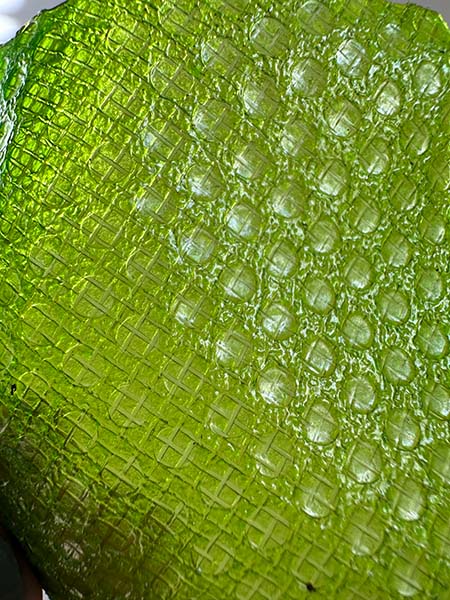
I casted some clear molds and I added food coloring for the rest. I tried to look for interesting textures around me, I played around with the clear ones trying to create some foam, and I tried a double texture on one of the casts.
Closeup to the double texture attempt results.
Soduim Alginate
BioPlastic
We used alginate for this recipe.
What makes this recipe different than the previous ones is that it's a cold recipe, meaning that no heat is required during preparation.
* 12 gr Alginate
* 10 ml Sunflower Oil
* 20 ml Glycerine
* 100 ml Water
* 10 ml Sodium Chloride Hydrate
| Material | Quantity | Weight | Cost |
|---|---|---|---|
| Sodium Alginate | 1 | 100gr | 18$ |
| Glycerine | 1 | 1L | 12$ |
| Sunflower Oil | 1 | 750gr | 15$ |
| Sodium Chloride | 1 | 500gr | 18$ |
* Note that one quantity of most of the products were used for all of the recipes in the documentation
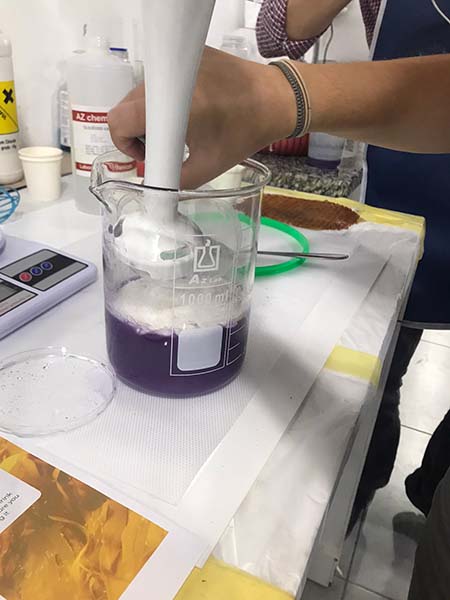
You need to mix the ingredient together really good (prefarably with a mixer) and it's advised to leave it to set for 24 hours or so, you can also leave it in the fridge for the bubbles to pop and the consistincy to improve.
We mix the sodium and the water alone and we spray it on the cast from all sides, this gives the bioplastic water proof features and longer life span.
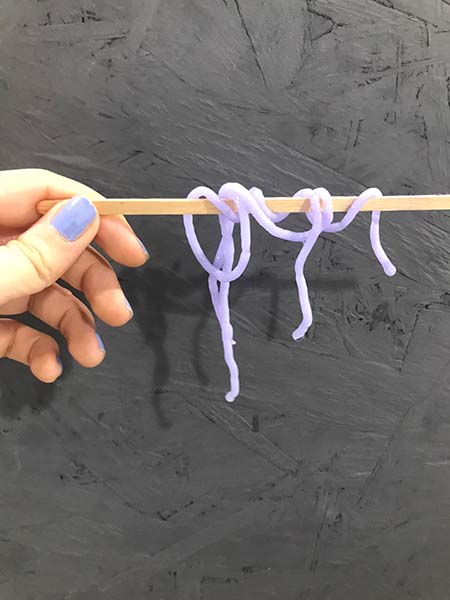
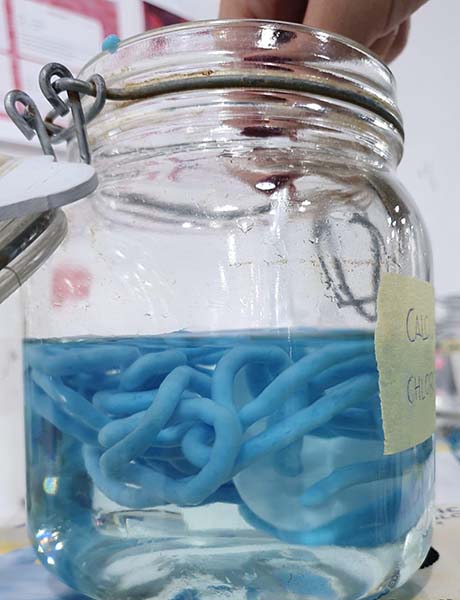
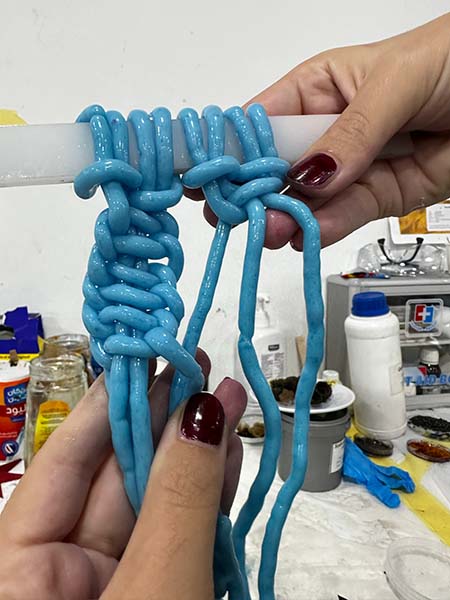
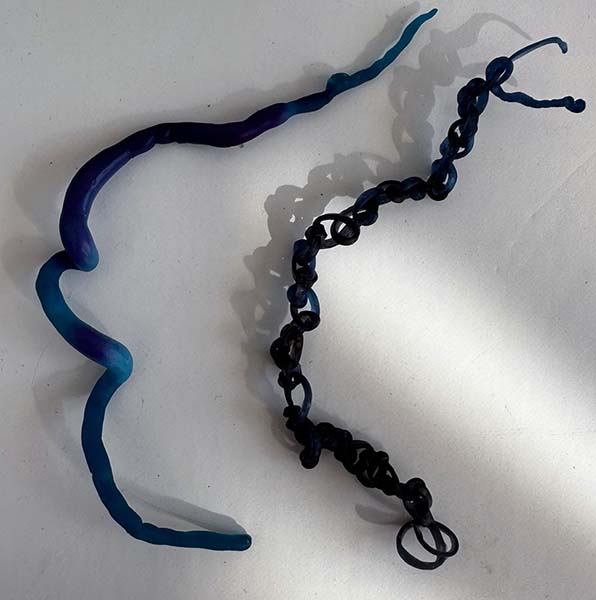
We can create bioyarns with this mixer, you just need to draw the mixture with a needle and cast it in a sodium chloride + water hydrate and then take it out and let it dry.

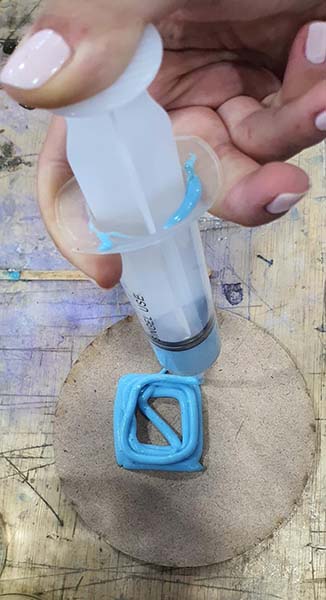
Bio Printing
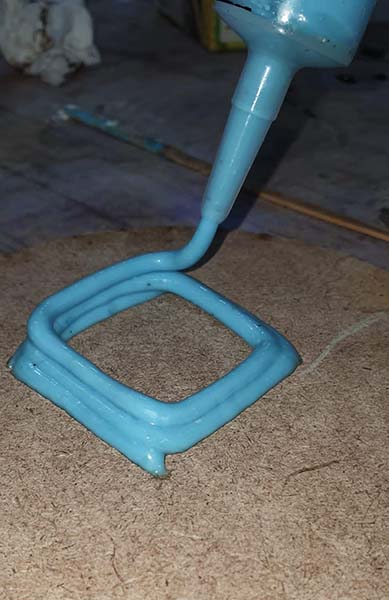
The trick with bio printing is to ge the right consistency, on one hand you want to mixure to be felxible enough to shape and cast but also you need it to be consistant and strong enough to hold (mashed potato consistancy is the best). We tried coming up with our own recipe but that didn't work out super good for us, so we used the alginate mixer to try out bio printing.
Grown BioMaterials
Kombucha
Research and Inspiration
kombucha, beverage made of fermented green or black tea, usually consumed as a health food. The fermentation process involves a number of microorganisms, including a variety of yeasts and bacteria, and the resultant probiotic drink is slightly effervescent with a mild sour or vinegar flavour. The tea has a number of reported health benefits.
The exact origin of kombucha is uncertain, though it likely originated in China and spread with tea along the Silk Road.
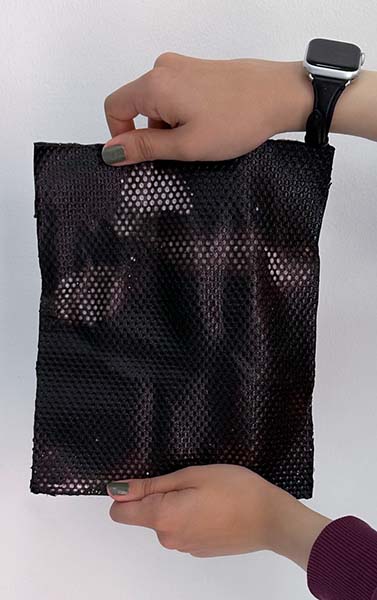
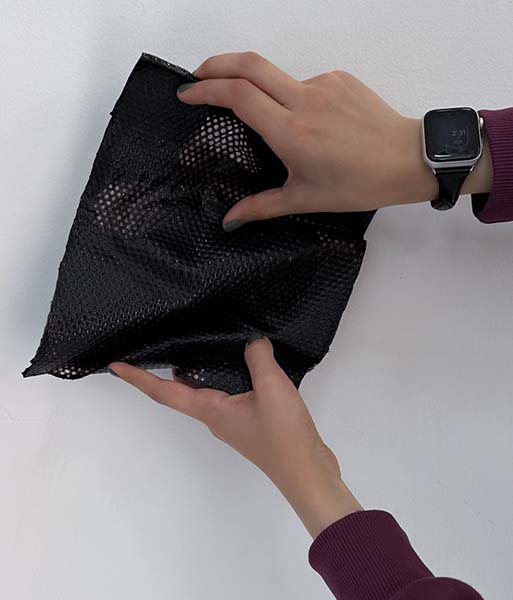
Kombucha can also be grown and becomes leather-like and that's what we're gonna do!
Susan Grey, in her Grow your pantry blog goes through the steps of growing SCOPY among other stuff, definitely worth checking.
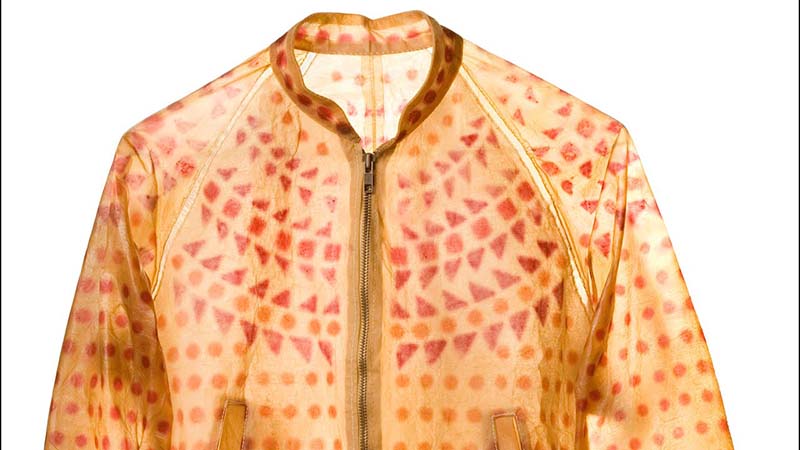
But when it comes to fashion and using biomaterials especially kombucha leather, Suzanne Lee is the pioneer. Here's my favorite piece.
Process
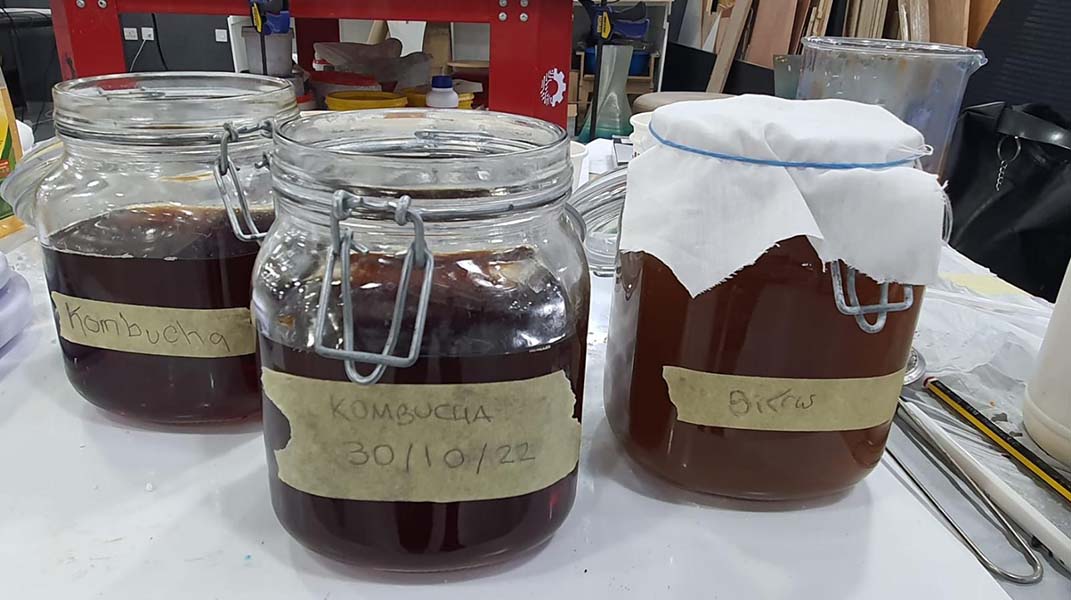
To grow a kombucha we needed a SCOBY (Symbiotic Culture Of Bacteria and Yeast) and since we didn't have any, we grown our own SCOBY, here's how:
* 500 ml Kombucha drink
* 1000 ml Water
* 6 Bags Black tea
* 200 gr White sugar
We also needed :
- Pots and heaters.
- Glass jars.
- Cheesecloth or cotton fabric.
- Rubber bands.
First, we made tea; boiled water, added sugar and stirred, then added the tea bags.
We let out tea cool because the heat will kill the bacteria form the kombucha, which is the last we'd want. After the tea cooled down, we added the Kombucha to the tea in glass jars, which we covered in cotton fabric and sealed with rubber bands.
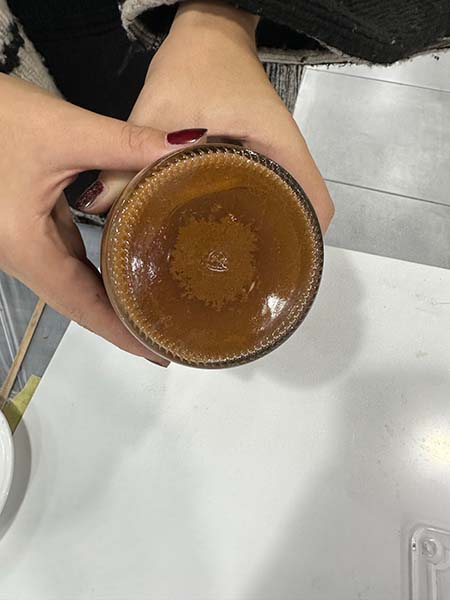
Harvesting the SCOBY
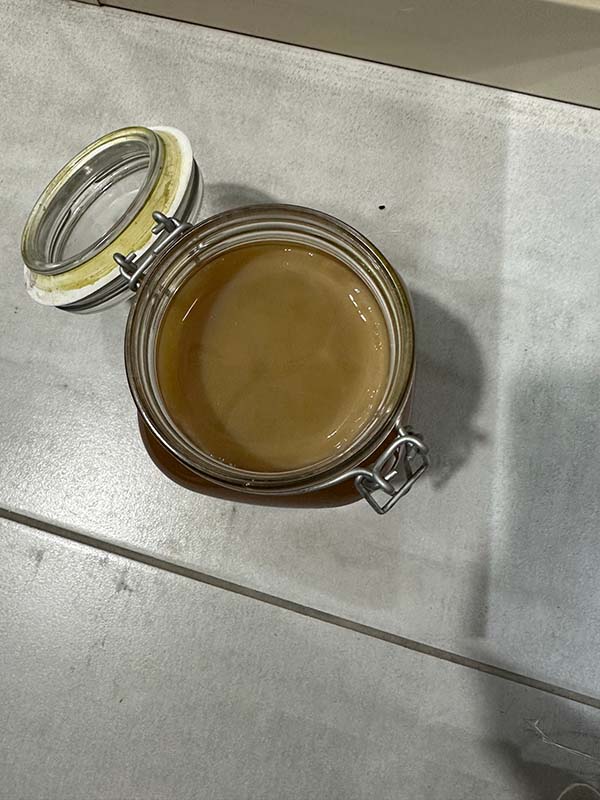
After letting the SCOBY grow for over a month, it was time to harvest it. It turns out that I got 3 SCOBIES and one of them was very thick.
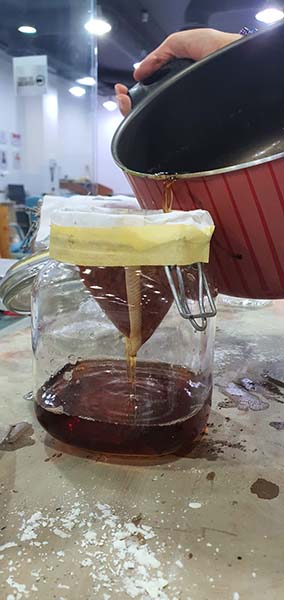
Next steps include moving the SCOBY into a bigger container so it can grow more, and once it reaches a decent thickness, we take it out and let it dry. Let's start by moving to a bigger container:
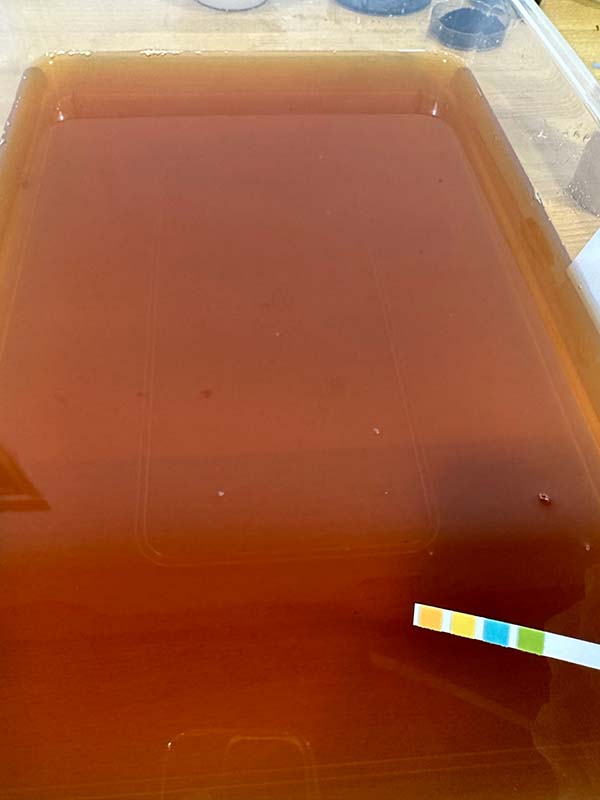
- Sterilize the container with boiling water.
- Make tea (I added 3L of water to 4 tea bags and 300gr of sugar).
- Filter the tea into the big container.
- Add 150ml of vinegar.
- I added almost half of the original solution.
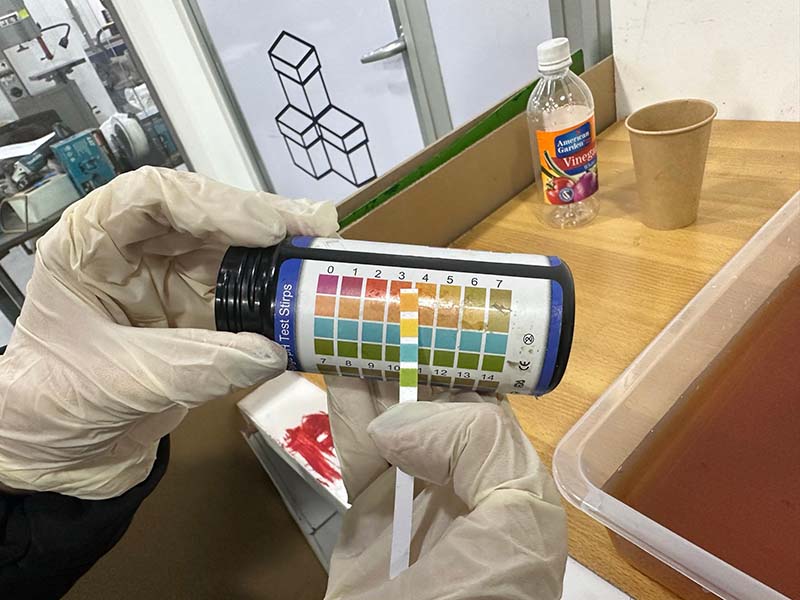
- Measure the ph (it should be around 3)
- If all is good, carefully move the SCOBY into the container.
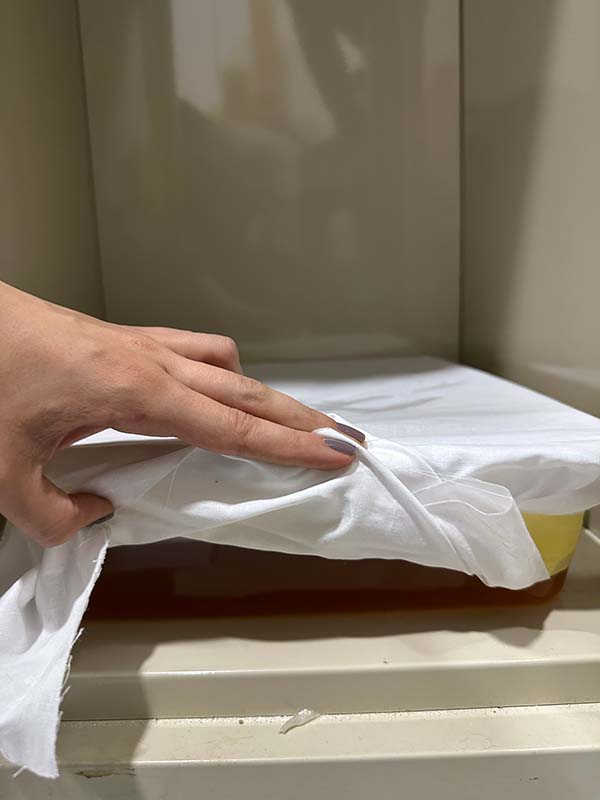
- Cover the container with cheesecloth or cotton fabric.
- Wait.
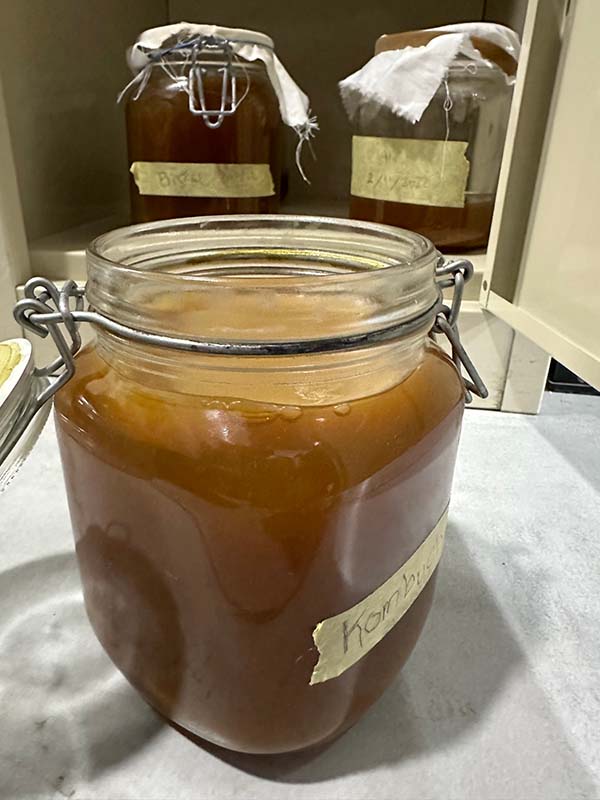
Here is the SCOBY growth after a few weeks.
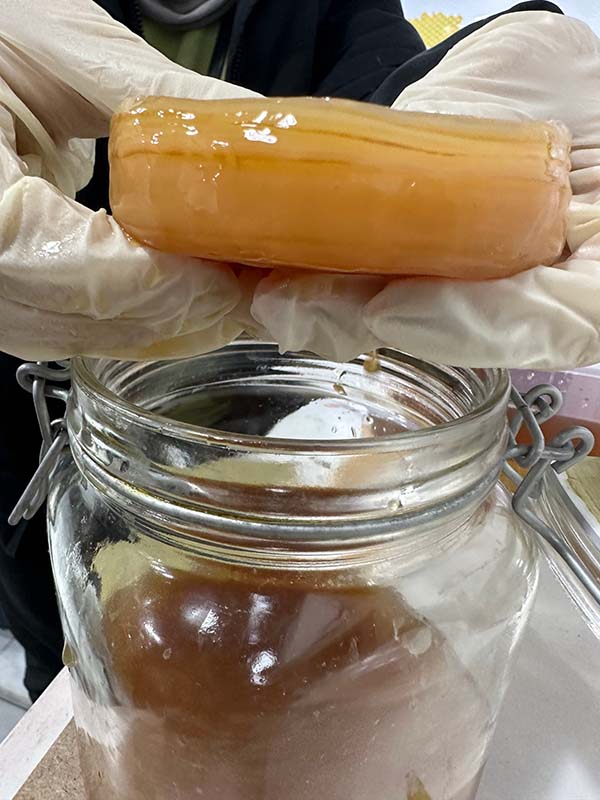
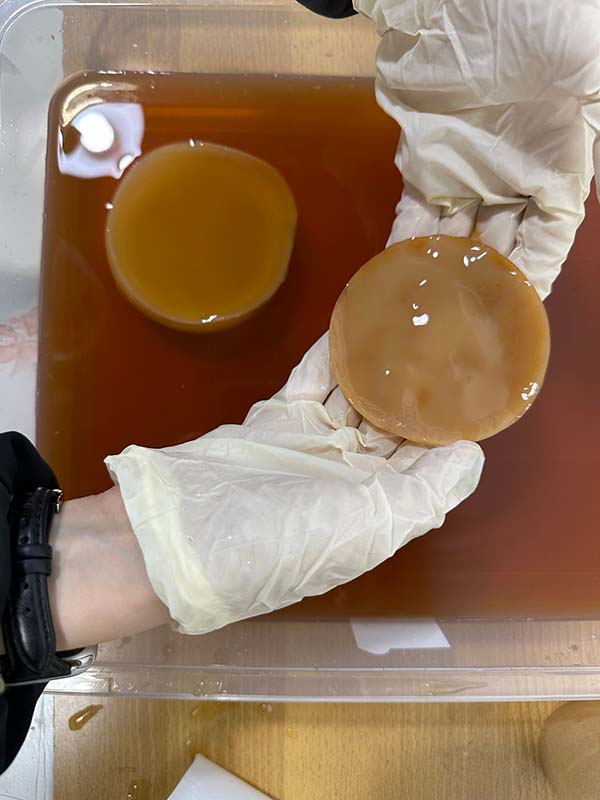
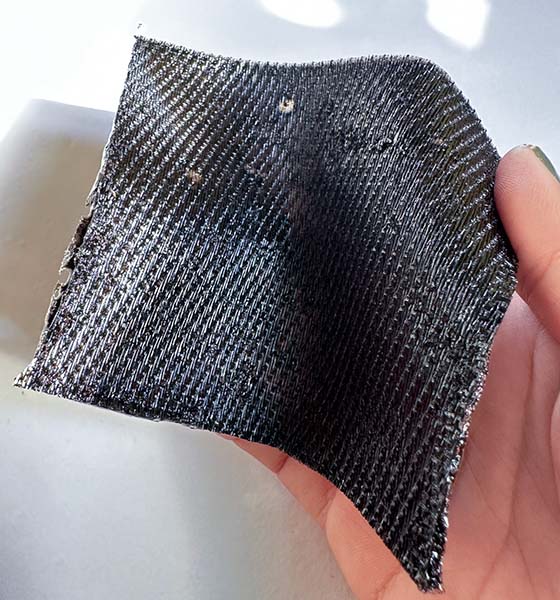
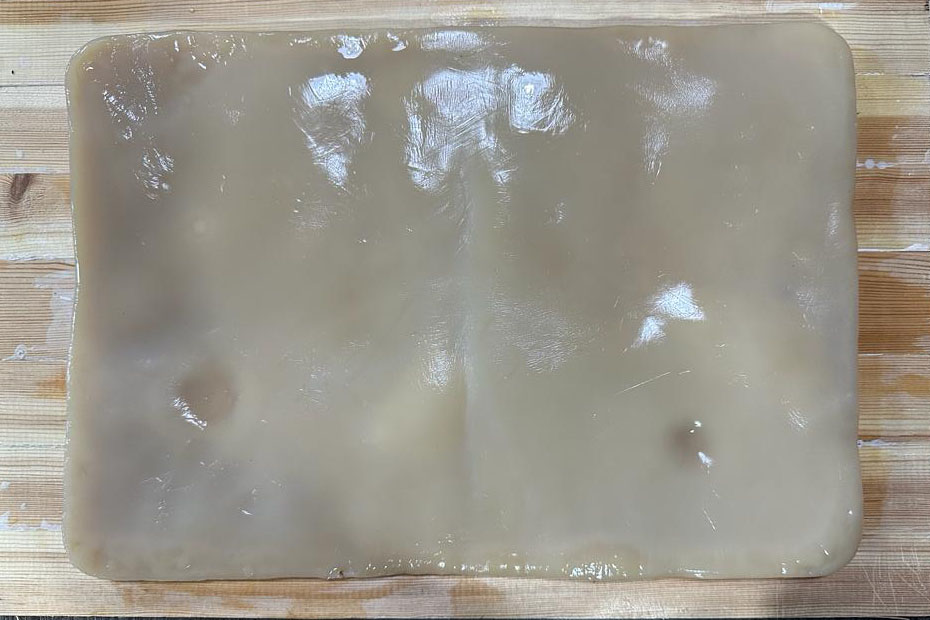
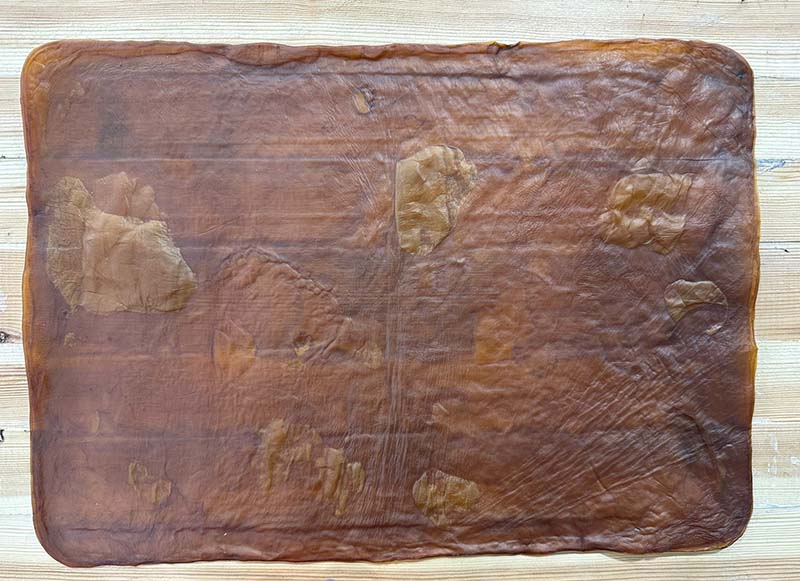
After few more weeks, the kombucha had grown and stretched to take the shape of the container. After it gained good thickness I took it out and washed it, then let it dry on a wooden board. Below are the results

Summary
| Material pic | Material name | polymer | plasticzier | filler | Solvent |
|---|---|---|---|---|---|
 |
bio-foil | Agar Agar 2.5 gr | Glycrine 7.5 ml | None | Cabbage dye bath 125 ml |
 |
bio-yarns | Alginate 12 gr | Glycerine 20 ml | None | Water 100 ml |
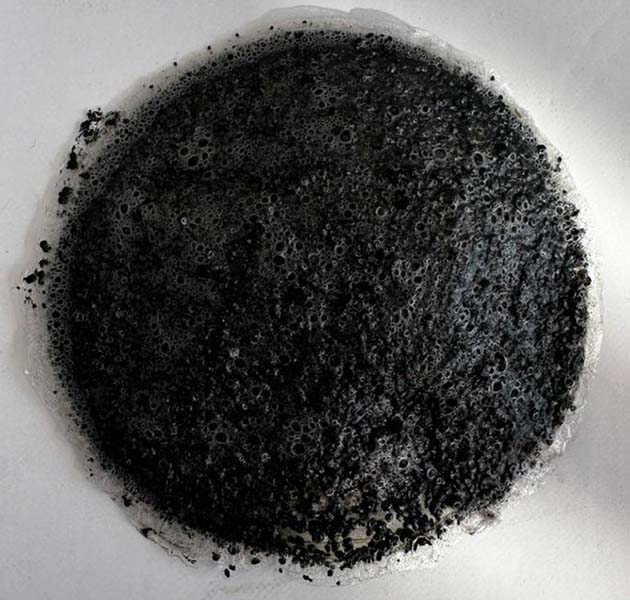 |
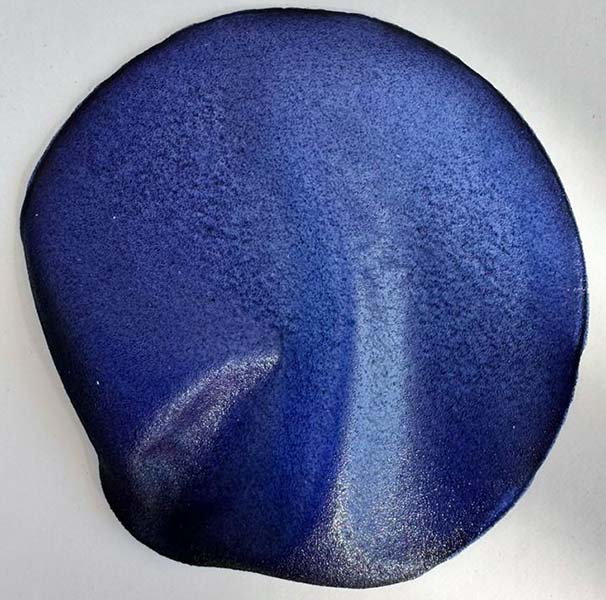
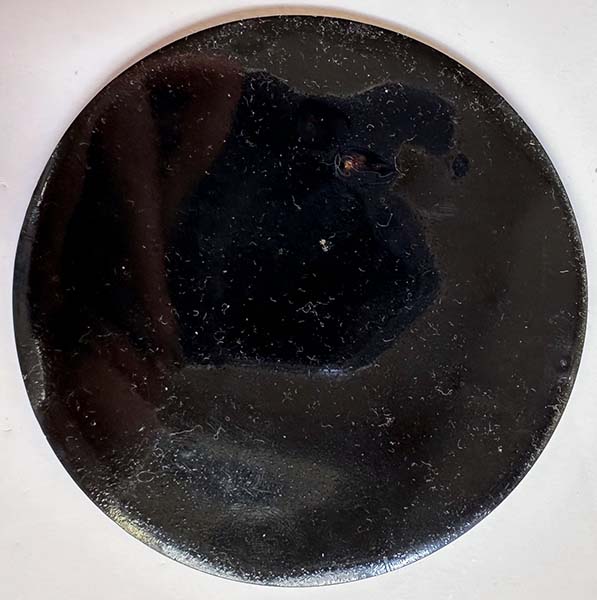
bio-resin | Gelatine 20 gr | Glycerine 8 ml | Activated Charcoal | Water 240 ml |
|
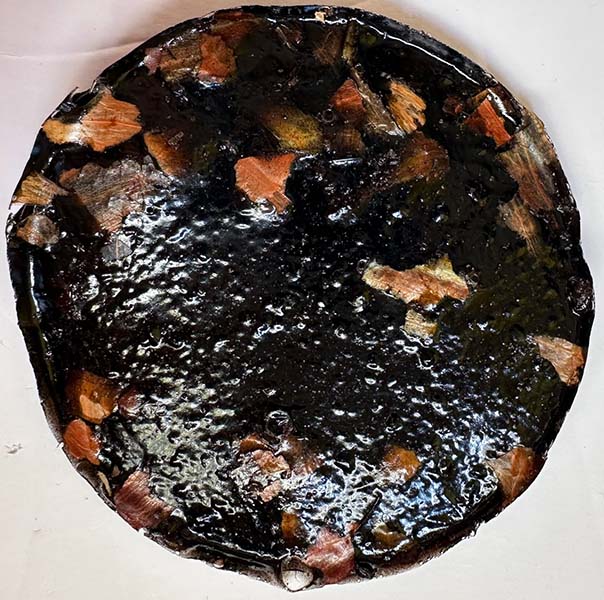
bio-foil | Agar Agar 3 gr , Gelatine 20 gr | Glycrine 15 ml | None | Water 400 ml, food coloring |
 |
bio-silicone | Gelatine 48 gr | Glycrine 24 ml | None | Pomegranate dye bath 240 ml |
 |
bio-silicone | Gelatine 48 gr | Glycrine 24 ml | Onion Peels | Pomegranate dye bath 240 ml |
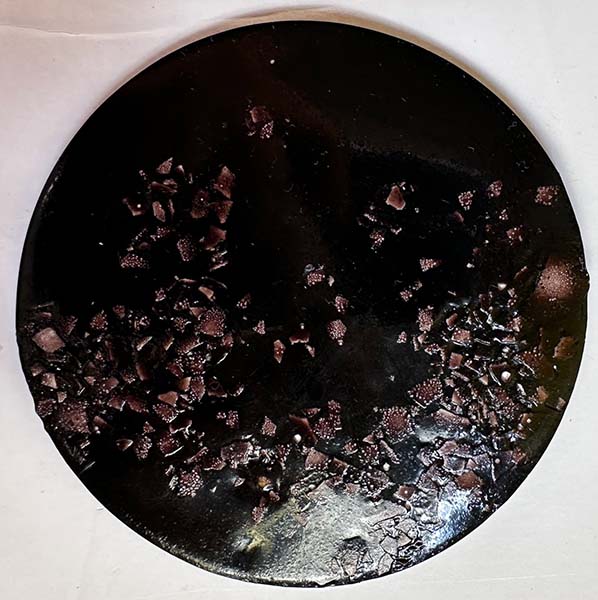 |
bio-silicone | Gelatine 48 gr | Glycrine 24 ml | Eggshells | Pomegranate dye bath 240 ml |
 |
bio-plastic | Agar Agar 4 gr | Glycrine 12 ml | None | Water 400 ml |
Results