12. Soft robotics
When you think of robots and robotics that rigid, stiff, moves-pauses-moves again movement is what probably comes into your mind. But what if it was soft? what if that movement was somewhat seamless, gradual, and smooth? That's what soft robotics is all about.
This week we got to work with movement and try to predict it, lets see how it went!
Research and References
Before working on physical models and prototypes, it's totally worth it to spend some time reading about the latest in this field. I have to say, the endless possibilities and potential is truly inspiring.
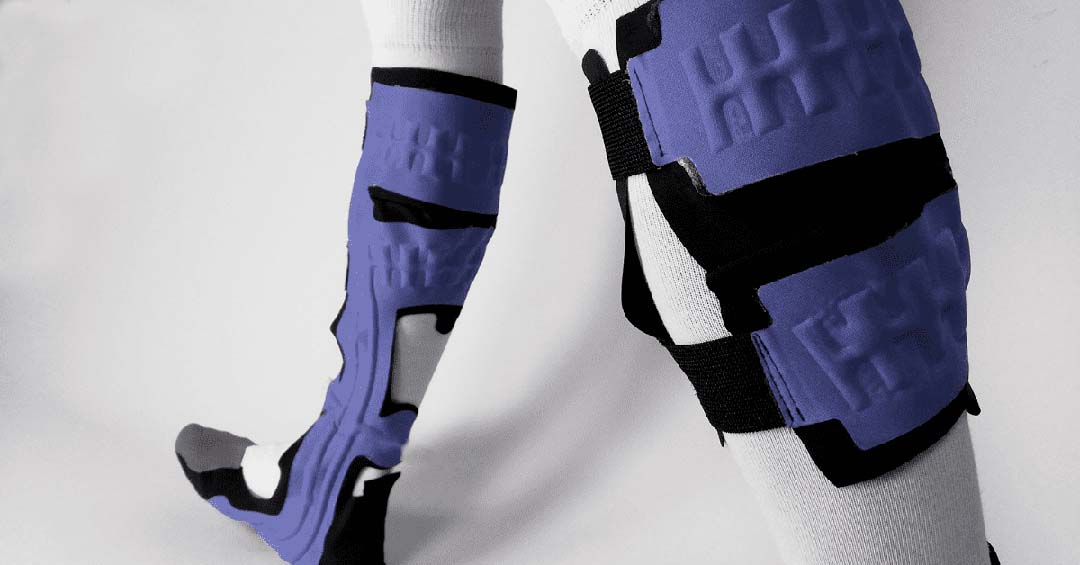
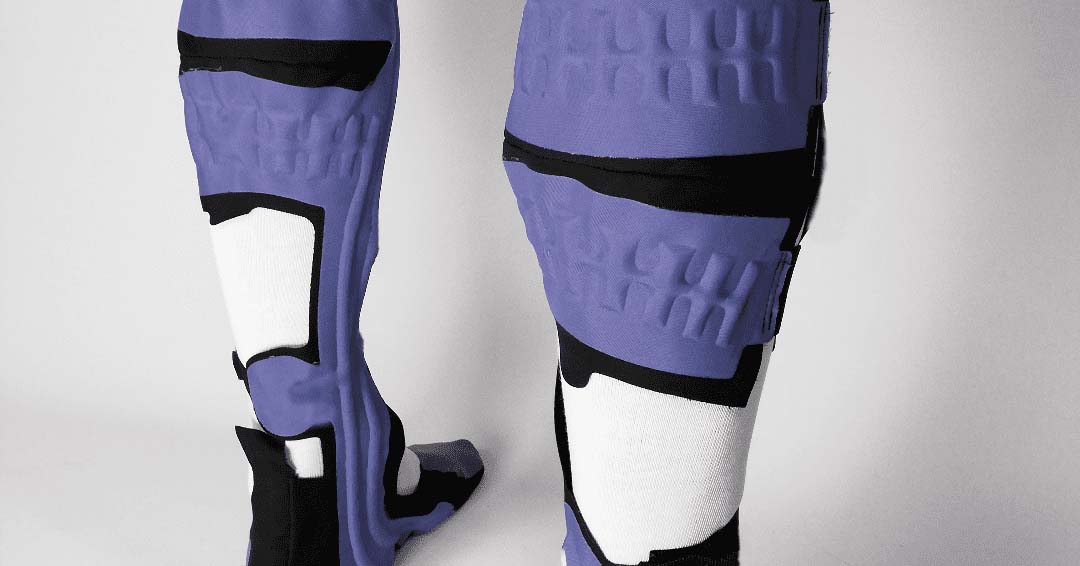
I liked the work of MotorSkins the most. They specialize in textiles with embedded fluidics for human-machine interaction. They also have a dynamic massage garment which provides gentle compression to the calf muscles while walking. Intermittent compression has been shown to improve circulation, help with oedema, accelerate recovery after sports and even prevent deep vein thrombosis.
Also, another interesting paper Embroidered Inflatables: ExploringSample Making inResearchthrough Design presents 27 samples that explored distinct challenges related to designing actuators for soft wearables through the combination of silicone casting and embroidery techniques. Check it out here.
Quick and dirty Prototype
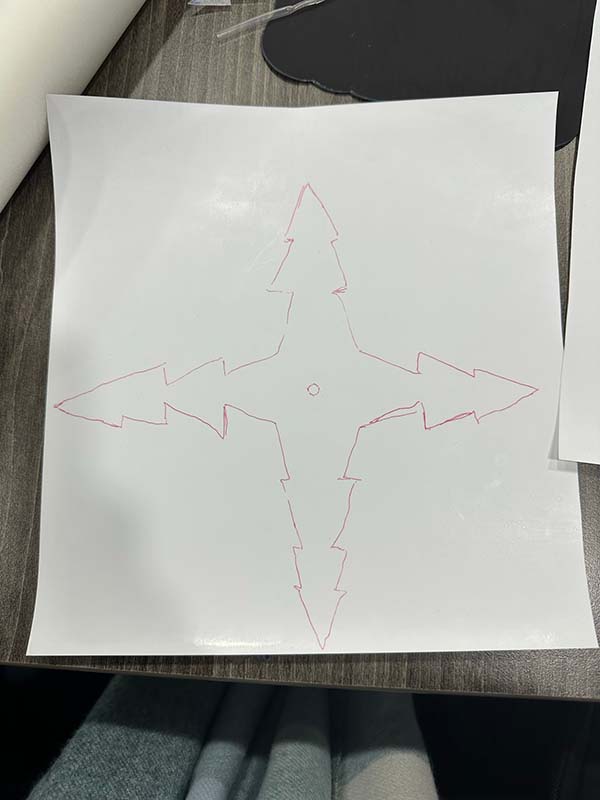
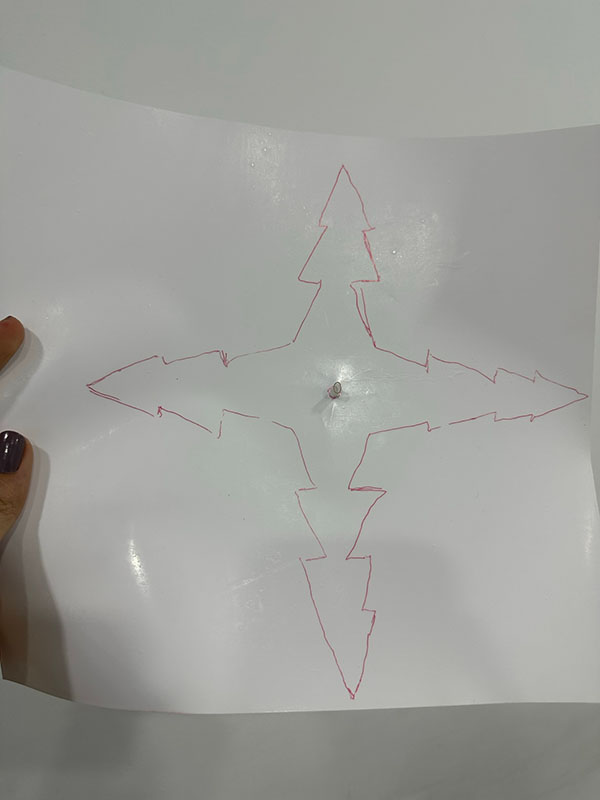
We met after the lecture and decided to do any design with thermal adhesive vinyl sheets and baking paper. So we didn't really had the time to think of something creative or sketch it properly I did this thing that sort of turned out like a Christmas tree (in my defense, Xmas was right around the corner...).
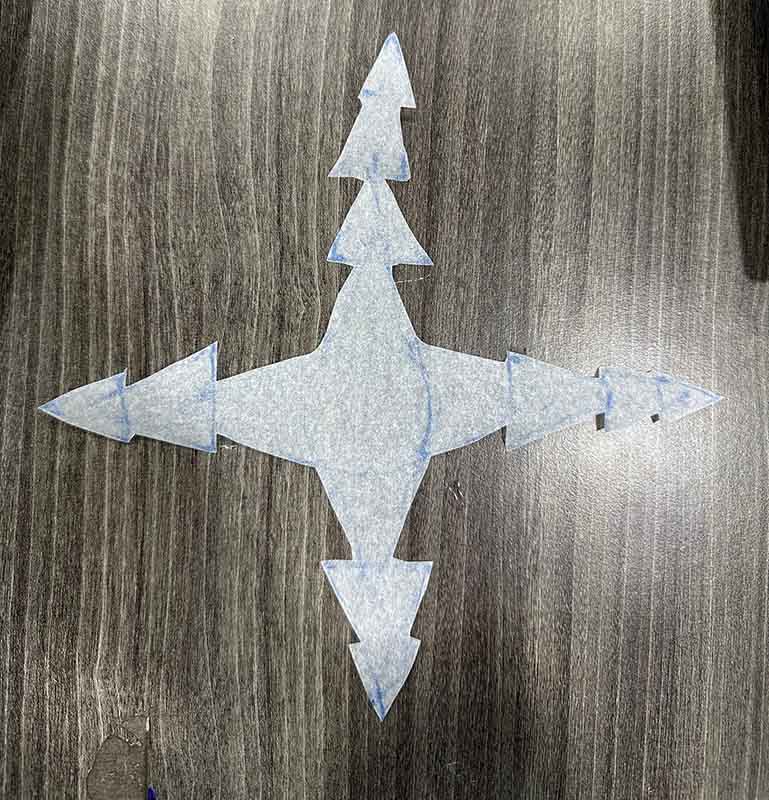
So you basically design the air path with the baking sheet, it's the part between two vinyl sheets that won't stick together. So you also need to think of the air source, where is it coming from? In my case I chose it to be centralized. So I opened a hole that fits the small pipe I'll be using to pump air and I only opened one of the vinyl sheets.
The vinyl sheets need to be cut bigger than the baking sheet so they stick together.
Remember to keep the glossy side of the vinyl sheet outwards, it's the part you peel off.
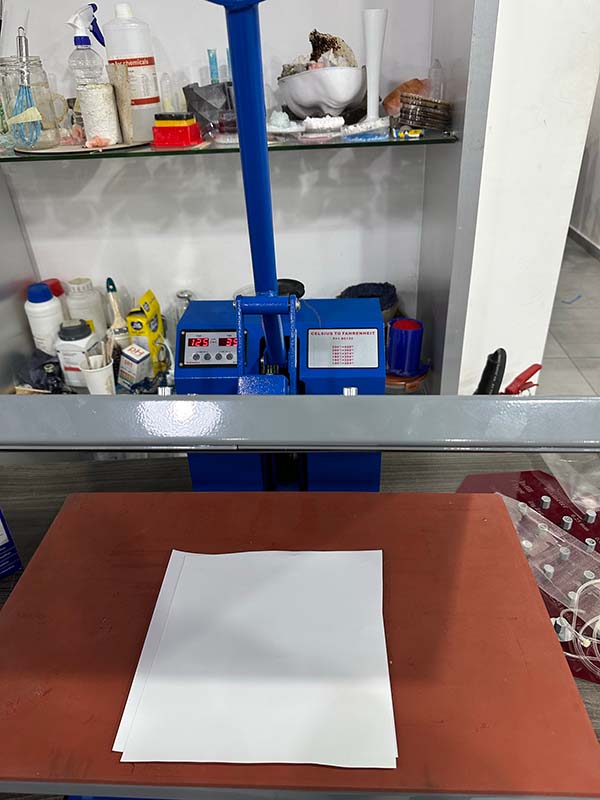
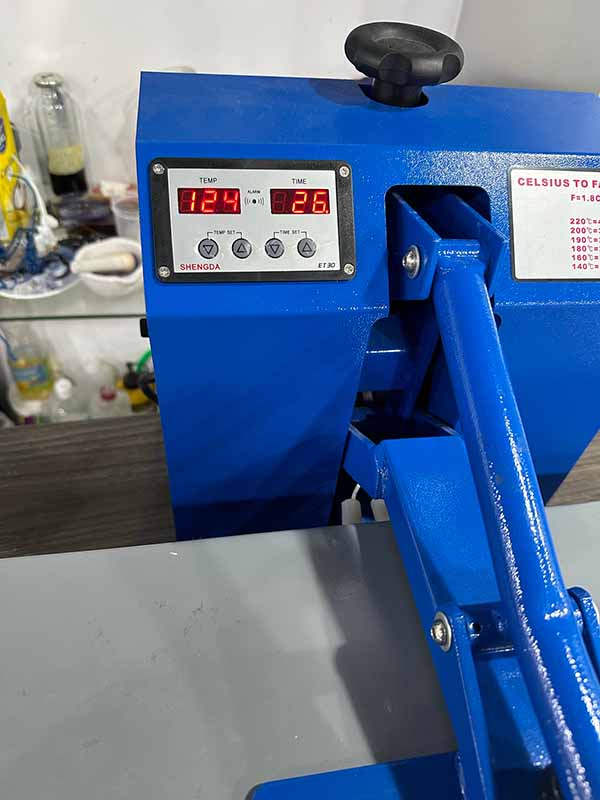
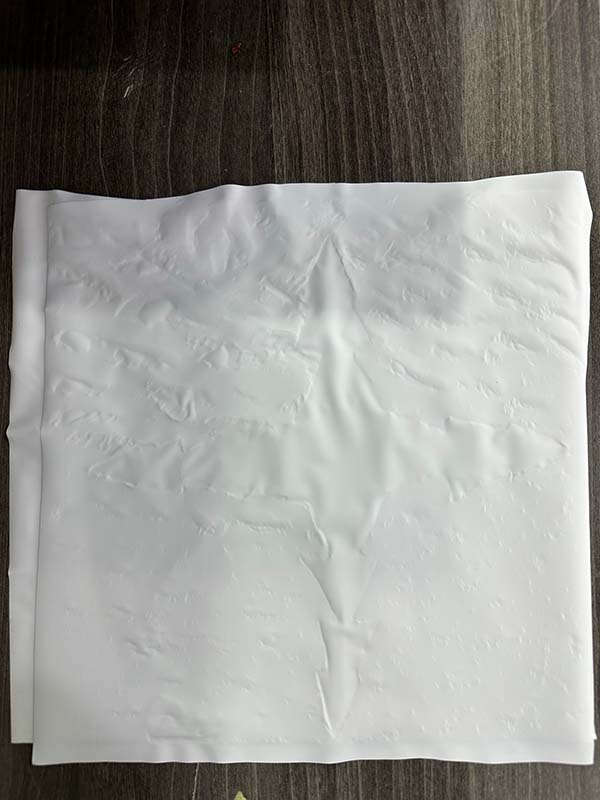
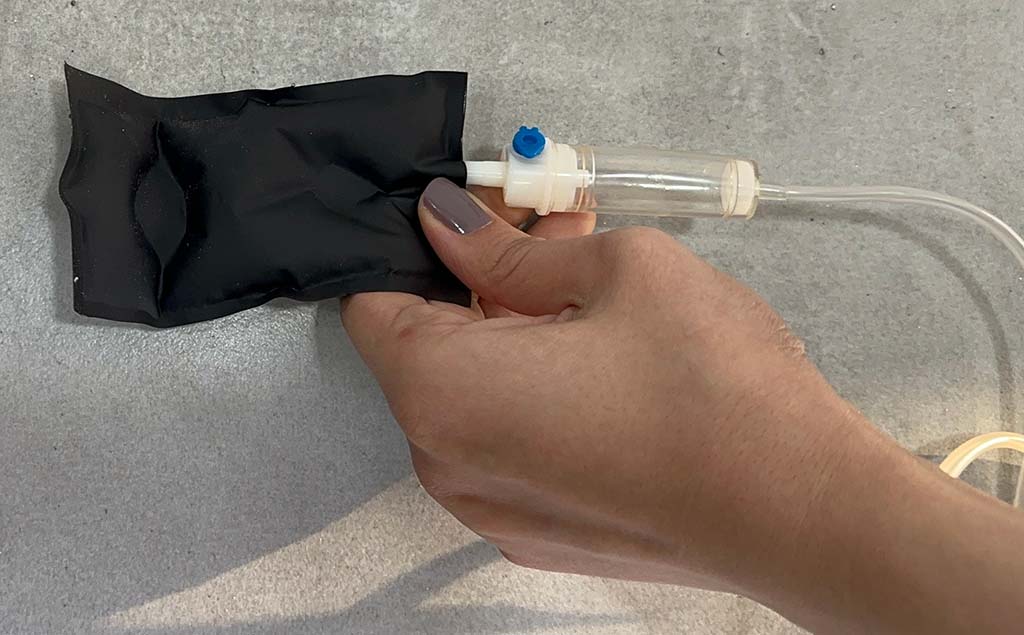
Using the heat press (Temperature set to 124) and for about 40 seconds we let the two vinyl sheet merge into one.
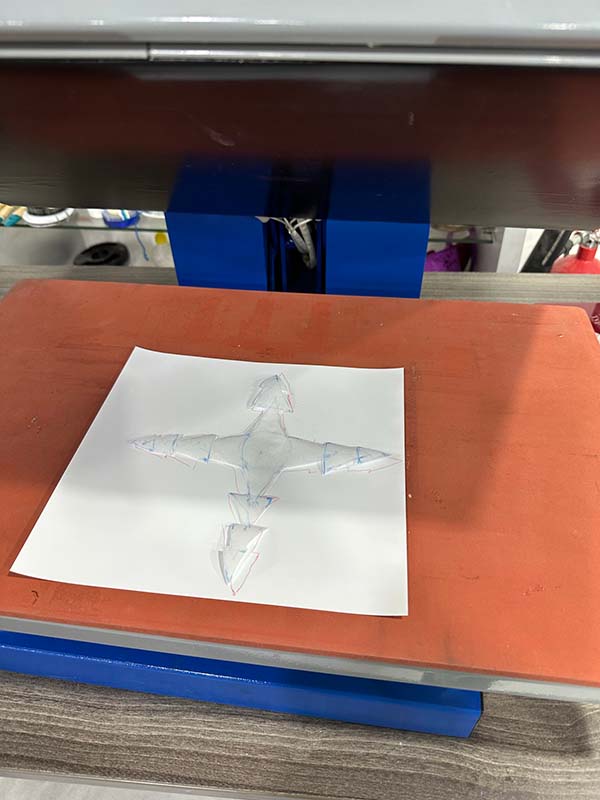
The output in the picture on the right. After we remove the sheet from the heat press we peel the glossy parts and it's ready to use
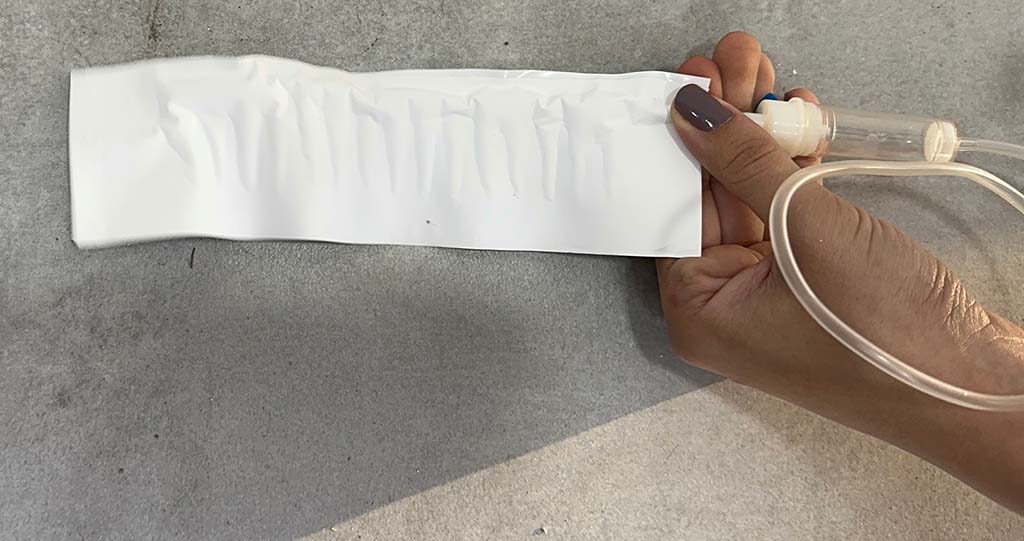
To increase the effect I cut the vinyl to align with the design.
Here's a video of it in action
Well-thought Designs
Now that I had a better idea of the process and the output, I could start a conversation with my instructor about the ways we can achieve different effects. Also studying other people's work helped a lot.
References & Inspiration
Saskia Helinska's final project Unflatables was a great sources of inspiration and information. It is a visual catalogue for the different movements that can be achieved with soft robotics.
After Studying Saskia's work I had a better idea about what I wanted to explore this week.
Vinyl Inflatables
Thermal adhesive vinyl is known for it's ability to stick to other objects, or in our case to it self, when heated. That's why this was the only type of vinyl that can be used for this exercise.
The process is exactly the same, you cut the airways design with the baking paper and then cut the vinyl to hold the paper in, and finally you heat press it.
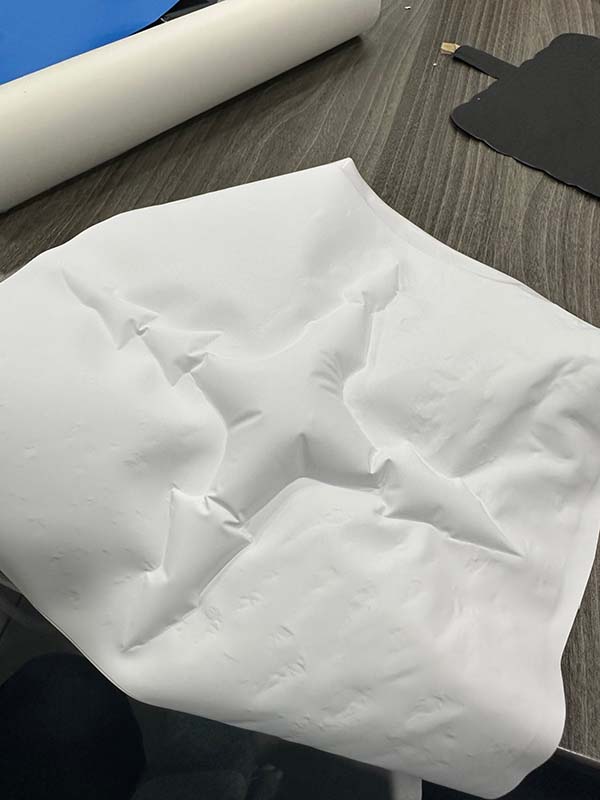
Expanding
I drew a pentagon and divided it to 8 parts in way that the air flows into each sigment equally and at the same time. This of course means that the air channel is at the center.

Bending
You can't go wrong with the basics but you can always experiment with different shapes, sizes, and angles.
Twisting
This design is credited to Saskia Helinska, I liked the twisting movement the she achieved and wanted to experience it for myself. However, I filleted the edges of this comb-like design.

It didn't twist as much as I hoped for but it's something still...
Silicon Inflatables
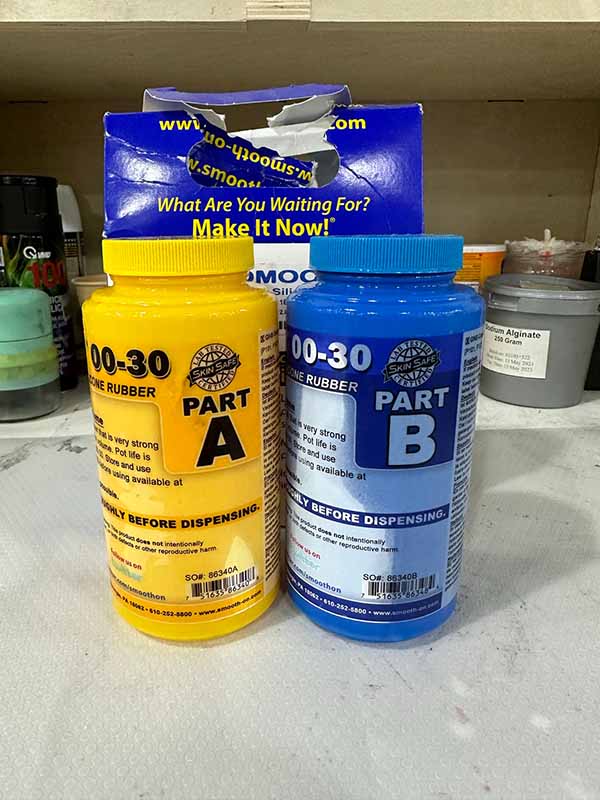
For the silicon inflatables to work properly ECOFLEX 0030 Silicon was used. This specific type is crucial for the experiment to work.
EcoFlex 0030
What makes EcoFlex special and crucial to this week's assignment is that it's very soft, very strong and very "stretchy", stretching many times its original size without tearing and will rebound to its original form without distortion.
Mixed 1A:1B by weight or volume and cured at room temperature with negligible shrinkage.
Check out safety instructions as specified by Smooth-on.
Silicon needs molds to be casted in, so I designed the 3D models in Rhino and sent them for printing.
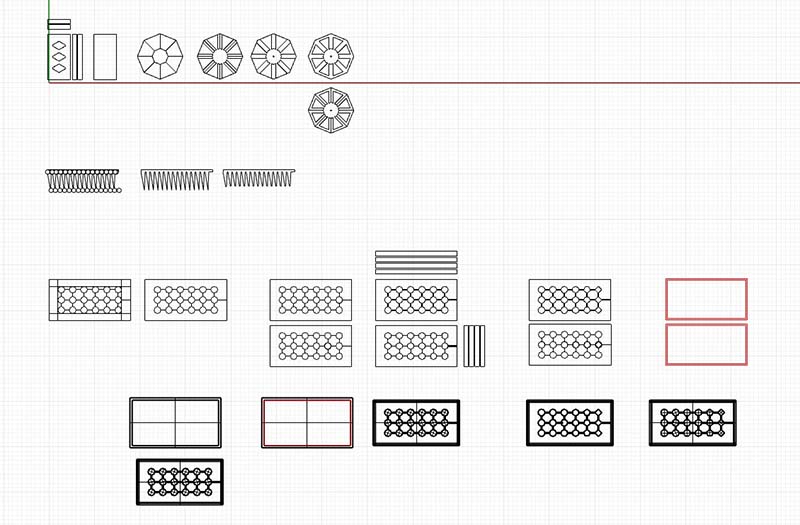
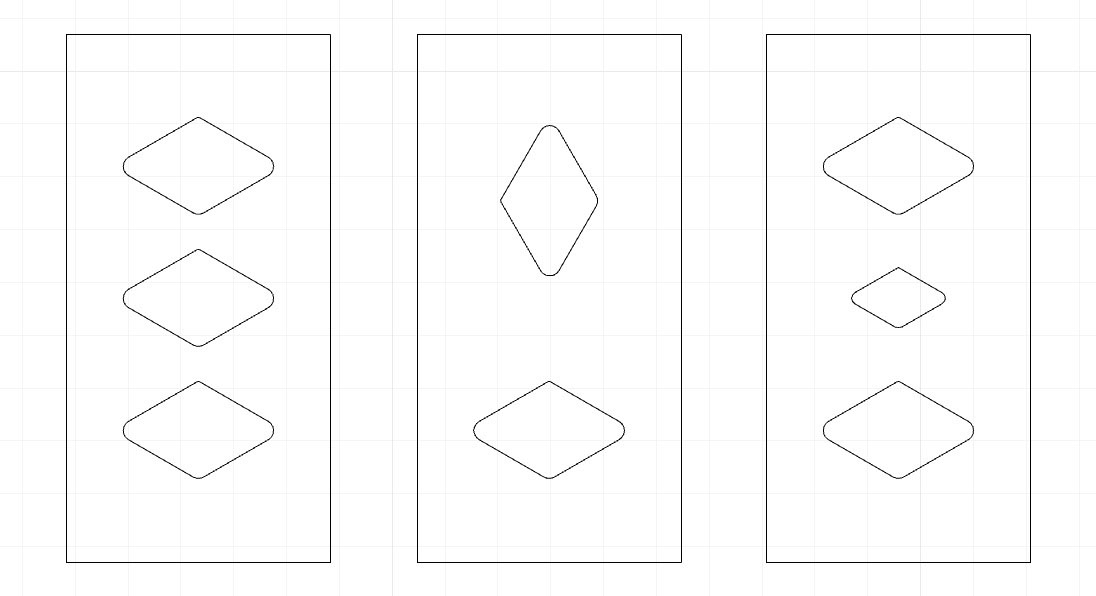
Design
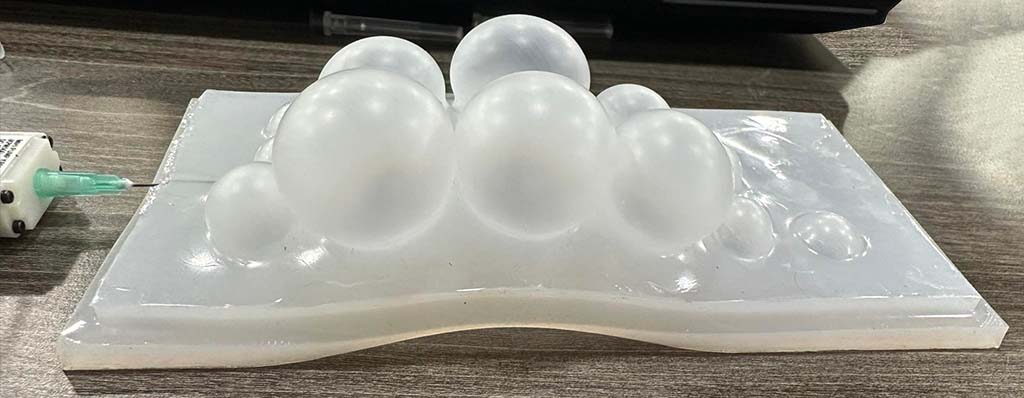
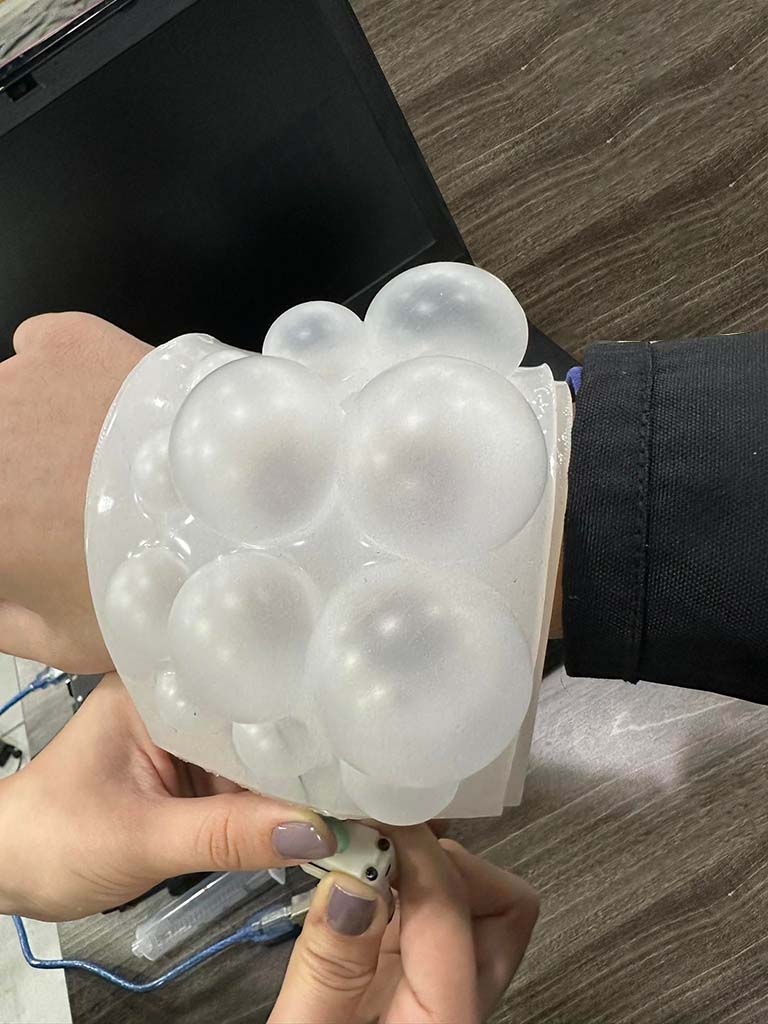
The interesting thing about silicon molds is that they could do more than one movement at the same time, like expanding and bending. Because it expands more than the vinyl sheets and bends as a result.
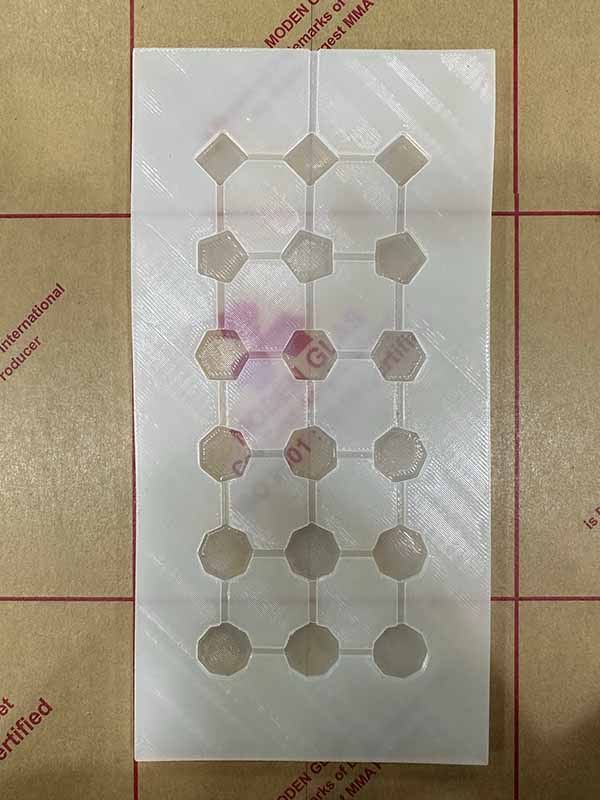
In one design I copied the same geometry (pentagon). And in other design the geometries changes, the number of the polygon sides increase as we progress with the design (From 4 sides to 9 sides).
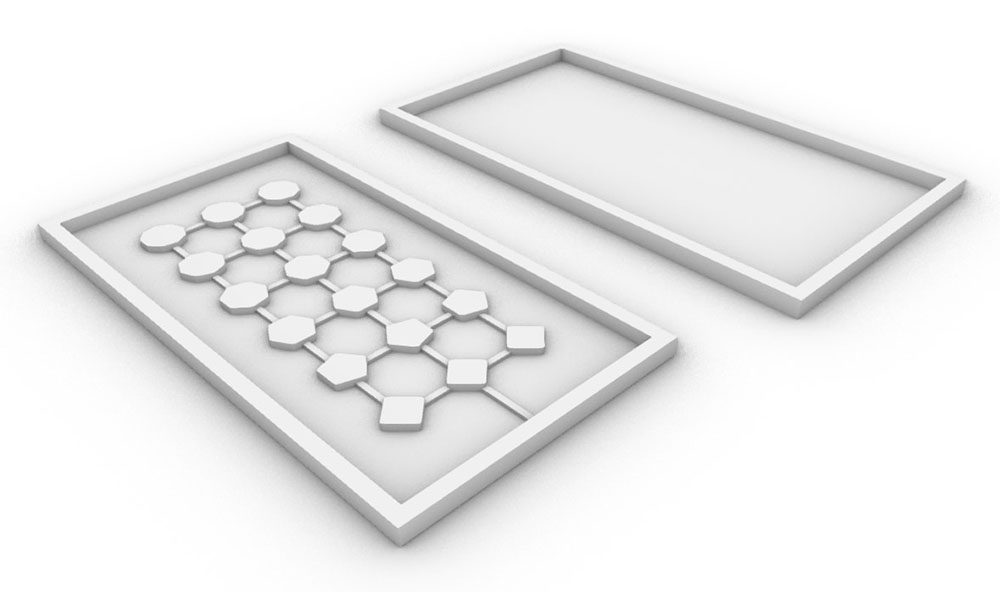
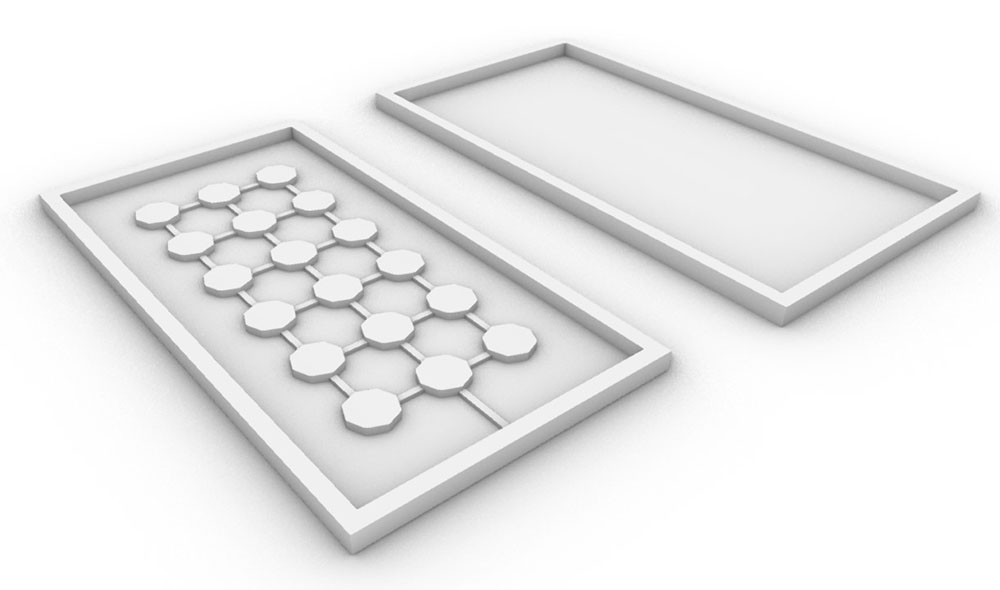
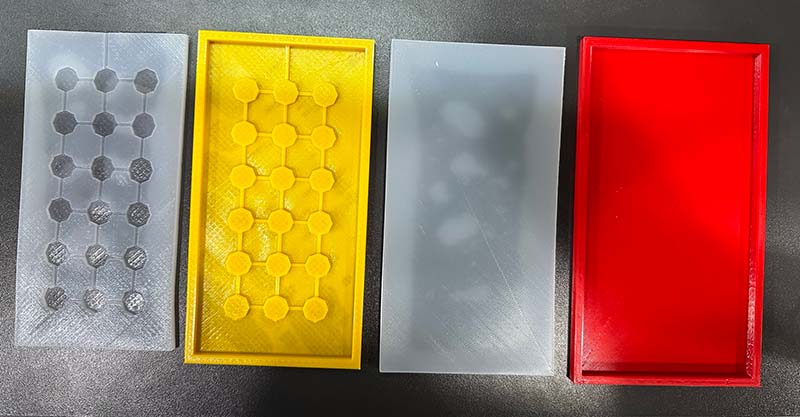
As shown in the picture above, the mold consists of two part; bottom part and the cover. Now let me walk you through the steps of making the 3D models.
Bottom Part of the Mold
This is where the design exists and it can be broken down to four parts:
- Base
- Walls
- Channels
- Chambers
Base
It's the rectangular curve that surrounds everything, using the extrudeCrv command in Rhino and making sure Solid=Yes is selected, I gave the base a thickness of 1 mm.
Walls
Walls surround the base and they should be higher than everything else, using the extrudeCrv command in Rhino, the walls were extruded to the thickness of 5 mm.
Channels
Channels are the pathways where air and/or liquid moves from the source to the chambers.
Each had the width of 2 mm and rose 1.25 mm above the base.
Chamber
Chambers is where I got creative with the designs, they are the polygons.
They were all solids and extruded 2.5 mm above the base.
The Cover
The cover piece needs to make it bigger so you can seal the two parts from the sides/outer edges as well.
Using the offset command in Rhino to offset the walls, and the base curves by 2 mm towards the outside, then extruding the new curves to match the previous thicknesses of the base and the walls.
Finalizing
When you're done extruding each part of mold, make sure to join the geometries together using the BooleanUnion command in Rhino.
Et voila! you have two solid geometries one for each part of the mold and you're ready for the next step.
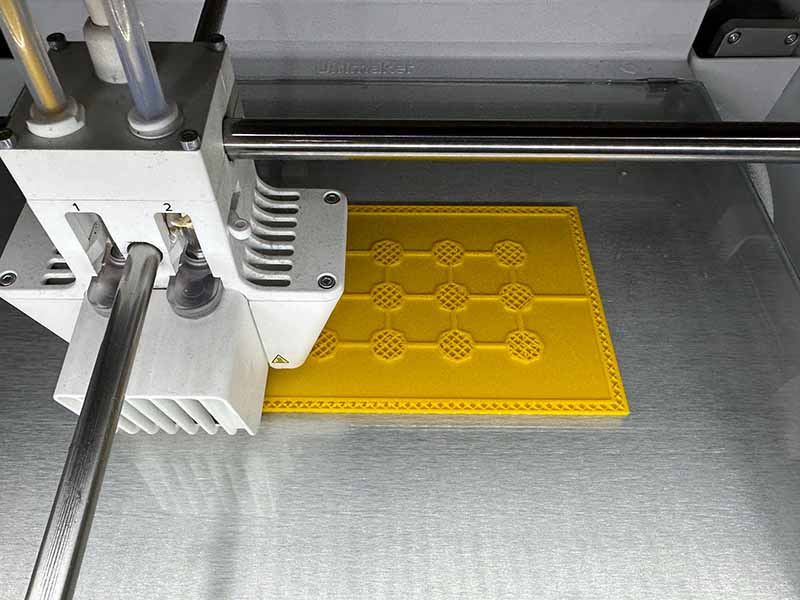
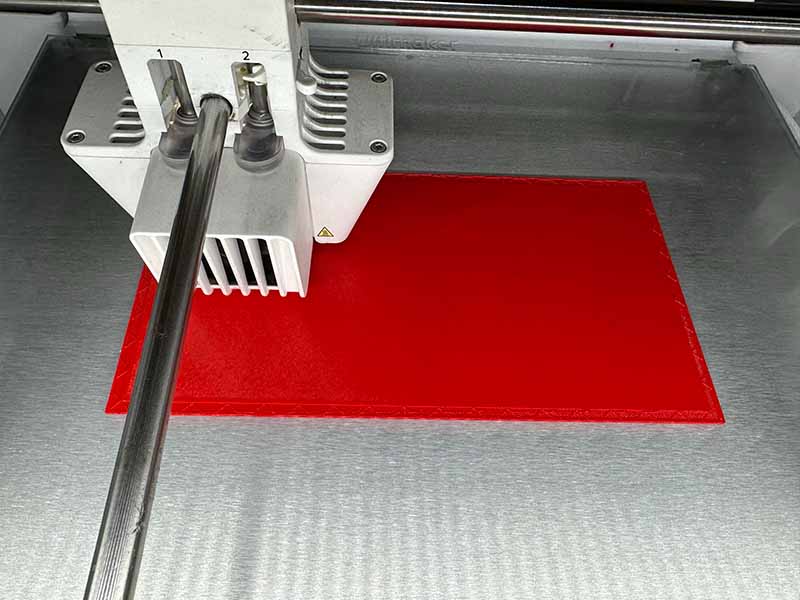
Printing
The 3D models were exported in the .stl format and sent to the printer ( Ultimaker S5 ).
The below schedule summarizes the printing settings and materials used.
| Material | Slicing Software | Printer | Wall Thickness | Layer Height | Infill Density | Print Speed | Adhesion Type | Support |
|---|---|---|---|---|---|---|---|---|
| PLA | Ultimaker Cura 5.1.1 | Ultimaker S5 | 0.8 mm | 0.3 mm | 10% | 70 mm/s | None | None |
Casting
Sometimes you may need to apply a lubricant such as Vaseline so the silicons doesn't stick to the mold, but I didn't need to do that for the type of silicon I used.
Make sure that the silicon is left to cure on a straight surface. It usually takes 4 hours to cure, more or less.

Curing
Now that each side of the mold is cured we need to cured both sides together. Here's how:
- Prepare a small portion of the silicon beforehand.
- You will spread a thin layer of silicon on one of the sides without closing the channels.
- Then, you'll put the other side on top.
- Seal the sides with silicon as well.
Be careful not close the channels (been there, done that :( )
And also you don't want to put too little of the silicon in between it doesn't hold anymore or breaks once the air is pumped.
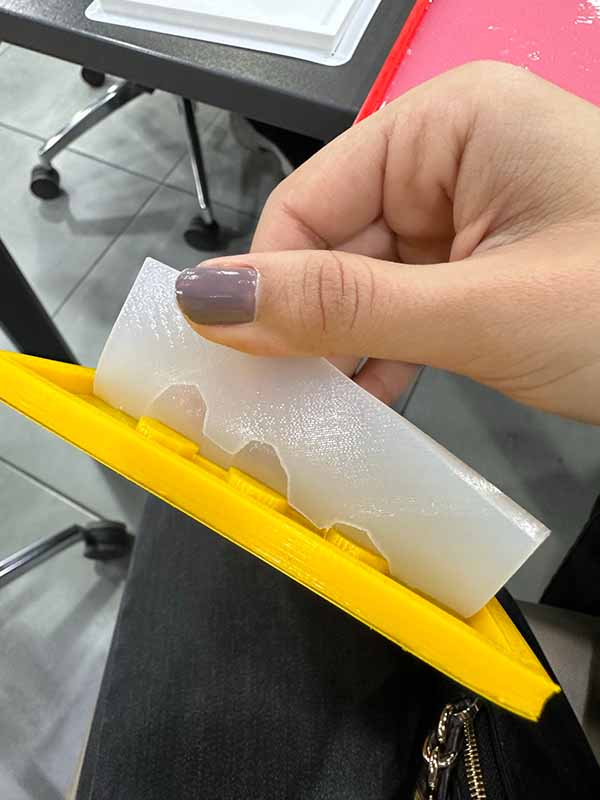
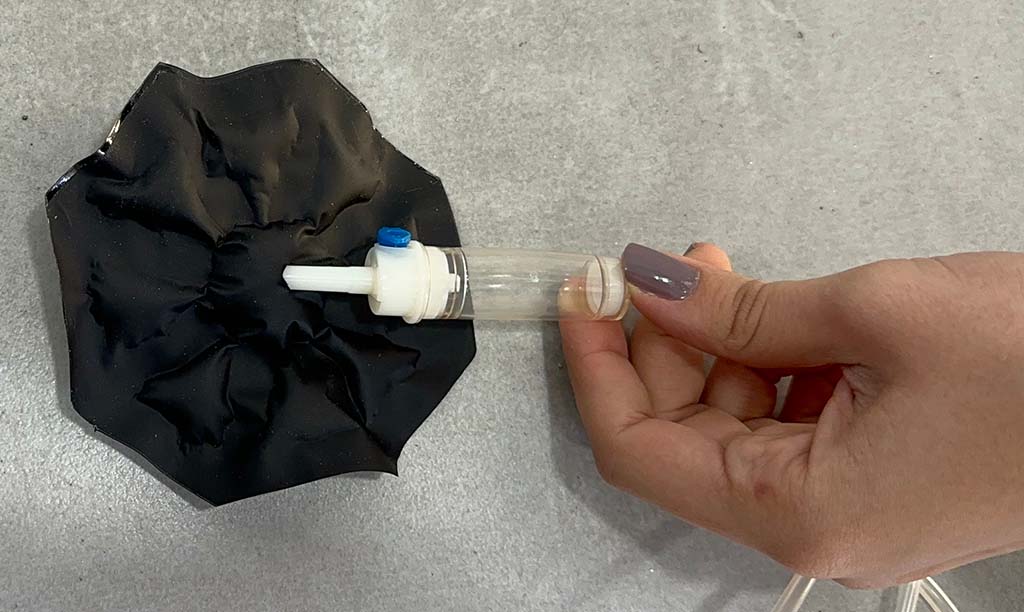
Testing
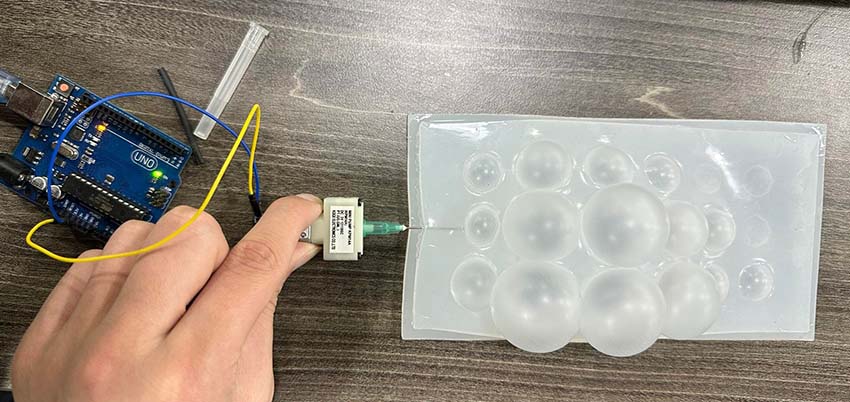
Now that the silicon models are ready, it's finally time to run air through them and test it out, and it worked!
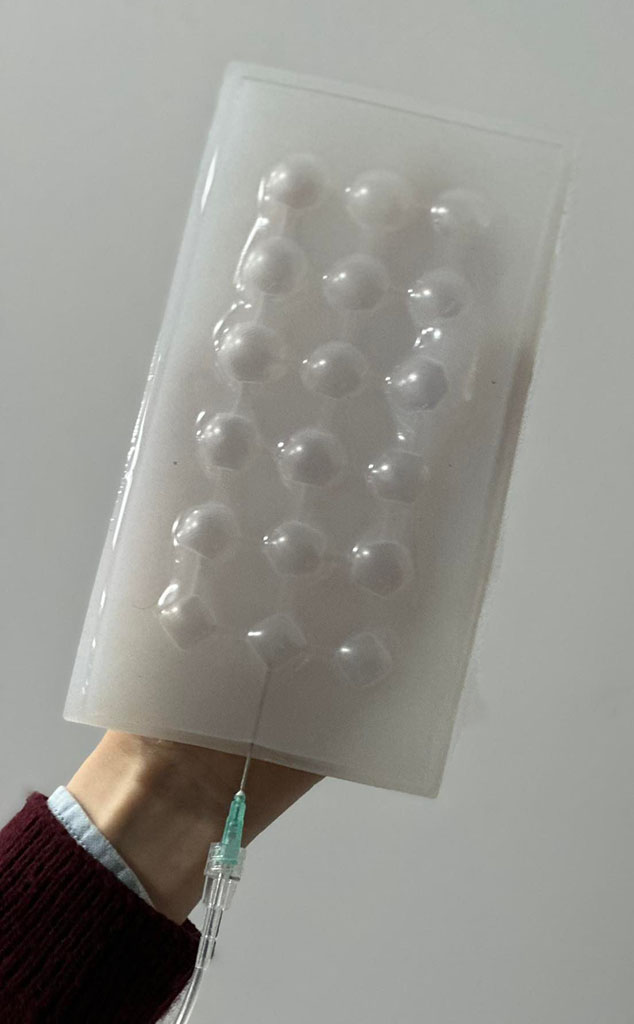
I've also used a motor and connected it to the Arduino board (Arduino UNO) with jumper wires to supply the motor with power.
Bill of Materials B.O.M.
| Material | Quantity | Weight/Length | Cost |
|---|---|---|---|
| Thermal Adhesive Vinyl wrap | 1 | 30 cm * 3.35 m | 9$ |
| ECOFLEX 0030 Silicon | 1 | .45 kg | 33$ |
| Baking Paper | 1 | 33 cm * 50 m | 13$ |
Note that 1 quantity of every item in the schedule was more than enough for all experiments documented and the rest was saved for future use.
Tools
- Arduino UNO
- Vinyl Sheets.
- DC 3V Micro Air Pump, mini.
- Heat Press
- ECOFLEX 0030 Silicon
---
Fabrication files
-
File: Vinyl Designs ↩
-
File: Vinyl Designs SVG ↩
-
File: Silicon Mold Cover ↩
-
File: Silicon Mold Design 1 ↩
-
File: Silicon Mold Design 2 ↩