Physical Explorations
In this page, I will share the results of digital designs meeting physical constrains and the process.
Mold Making
I knew from the beginning that I will be casting recycled plastic. Hence, I need a mold to cast the melted plastic in. What I didn't know and learned the hard way is that the mold making is an art and process on its own, its time consuming and risky. In this section I will summarize the important things to consider before designing the mold.
The Art of Mold Making
The mold design directly affects the design, there are things to be considered in the early design phases and other iterations that needs to be made in the final stages.

The most important things in the injection/extrusion or any other process that involves molds and casting are:
- The parting line.
- Removing the cast from the mold.
- Consistency after casting.
The Parting Line
Its the invisible plane where you to divide the mold into parts, and the number of parts is one of the mold categories (two-part mold, three-part mold,...).
Deciding the parting line is governed by the method of mold making, are you going to CNC the aluminum? then you're governed by the tools you have. And you always need to consider the best way to remove the cast and decide the parting line accordingly.
Ease of Removal
Imagine spending weeks working on the design and mold making and when you finally test the mold, the cast gets stuck inside and you're never able to take it out without destroying it? That would be tragic. That's why we add rafts (small inclinations in straight surfaces) to help the casts slide out of the mold.
Consistency
There is always a shrinkage rate that varies according to several factors; the material properties, the mold temperature, the cast temperature, among other factors.
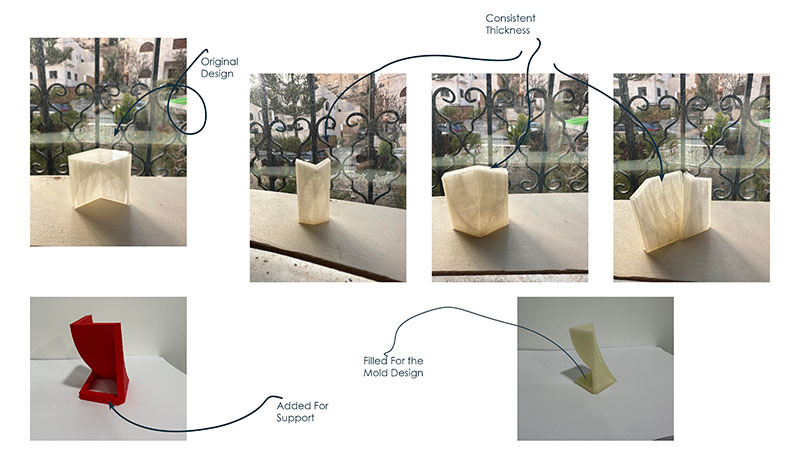
What can we do to eliminate the deformation of the cast? We make sure to have consistent thickness throughout the model, and this happens in the early stages of the design.
The Mold Design
With all of the above pointers taken into consideration I designed this two-part mold. Here's a gif showing the steps and design process.
Prototyping
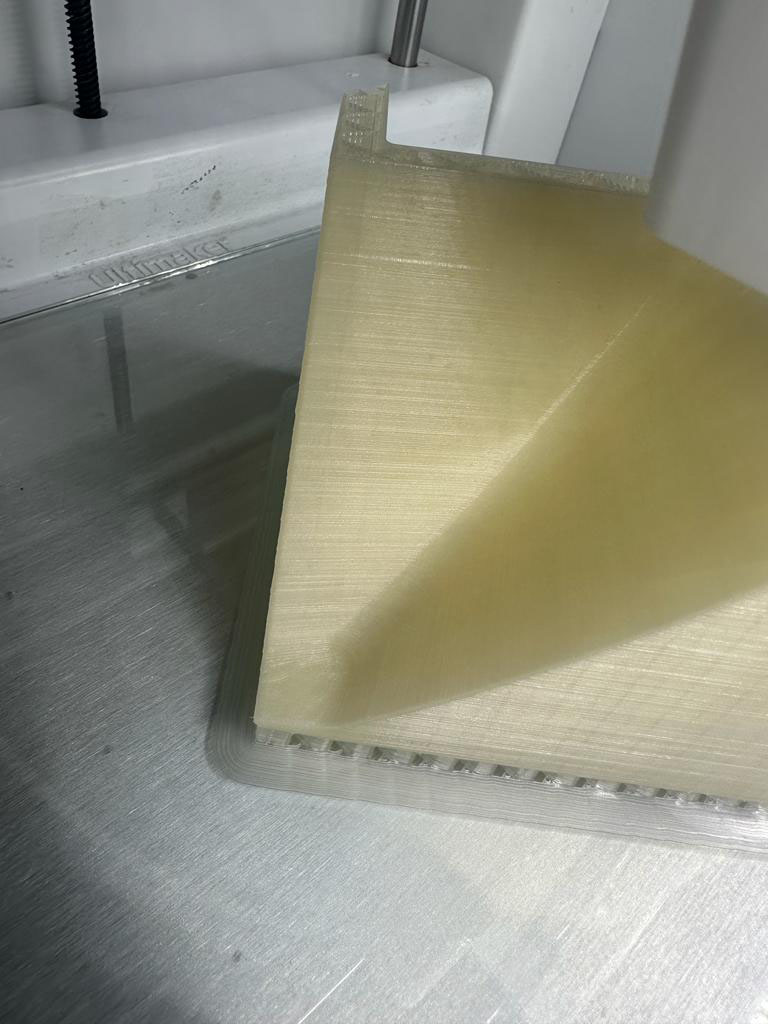
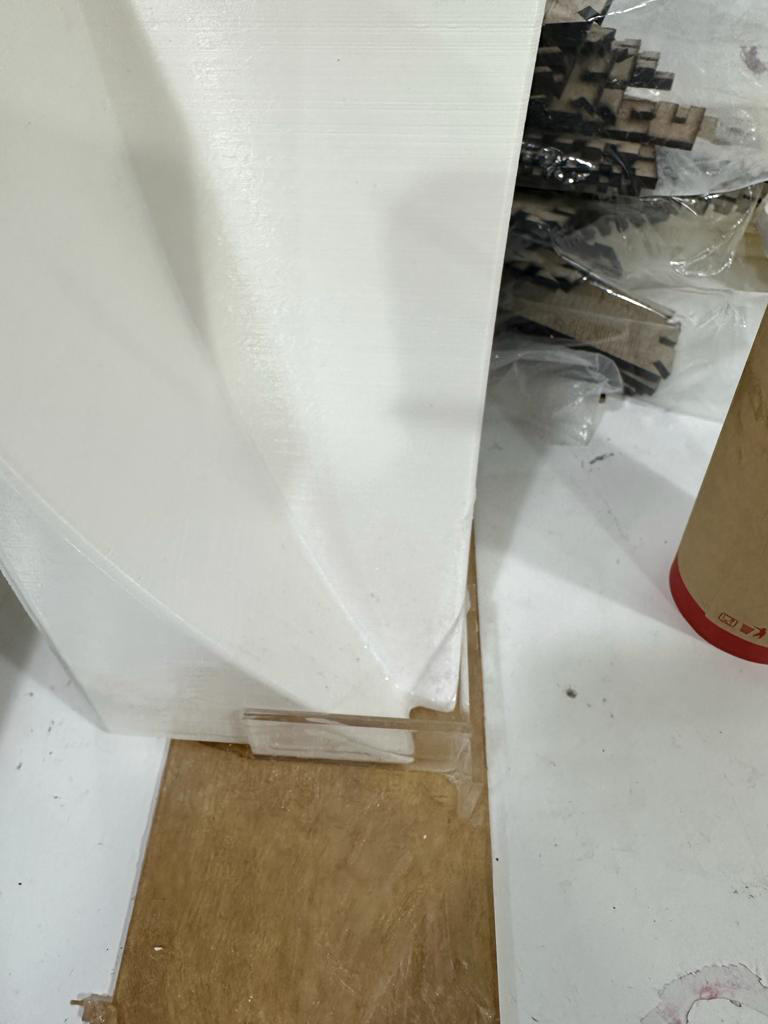
I needed to test the mold before investing materials, time, and money in the actual size so I scaled it down to a 7cm high model and printed it with an SLA printer.
Scaling Down
Pretty straight forward using the scale command in Rhino, I picked an edge point from the bottom and another from the top and entered the new length between the two points.
When the print was ready, I took it out, washed it with Isopropyl Alcohol 99%, then let it cure under the sun. This guide has everything you need to know about SLA printing, highly recommended.
Printing
I used Formlabs 3+. After importing the stl file into the slicing software, I used the automatic supports generator and automatic orientation. Then uploaded it for printing. I printed the mold using Formlabs clear v4 resin. The printing took about 10 hours.
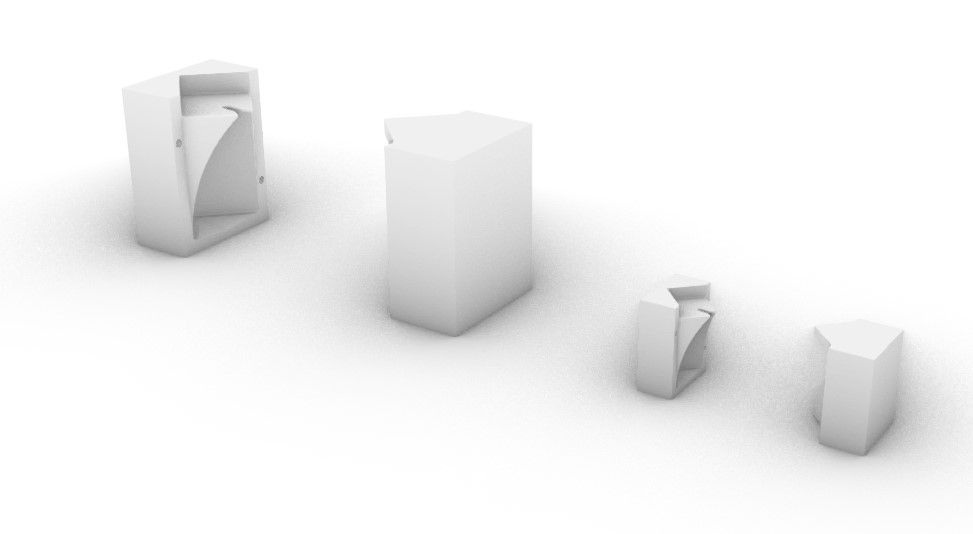
The Evolution of the Units
This is how the physical modules evolved throughout the past weeks. I started with the modified rhombus and triangle and altered the original designs to be molded and casted.
After realizing how complicated it is to design and fabricate the the mold, I switched into working on one design rather than two and for that I modified the *Jug. I chose it because it has a sqaure base and seamless.
Silicone Mold
Part of my research is dedicated to material research and how they come together, not to blend nor to contrast simply, to co-exist. In this section I will document the process of making silicone mold and casting different materials into it.
Making the Mold
This is a very helpful tutorial on how to make two-part silicone mold for multiple casts. In my case I had to follow extra steps, let me walk you through the process.
Preparing The Part
I 3D printed the desired end product, I printed with an FDM printer (Ulitmaker S5) to reduce cost and time:
- After exporting the model from Rhino in STL format, I imported the STL file into Ultimaker Cura to slice it.
- I used the below settings.
| Material | Layer height | Infill Density | Infill Pattern | Top Layer Thickness | Bottom Layer Thickness | Build Plate Adhesion Type |
|---|---|---|---|---|---|---|
| PLA | 0.15 mm | 15% | Gyroid | 2mm | 2mm | Brim |
- I filled an empty corner with filler epoxy I got from a local store.
- Then I spent a good amount of time sanding and finishing the 3D-printed part.
It's very essential to sand the 3D-printed model as much as possible to reduce the harsh transition between the printing layers, this step wouldn't have been necessary if I used SLA printer.
I also wanted to ensure the ease of removal of the model from the mold so after sanding I sprayed multiple layers of glossy clear coating spray I would spray a thin layer, wait for few hours for it to dry, then spray another thin layer, and so on. I sprayed a total of 7 layers.
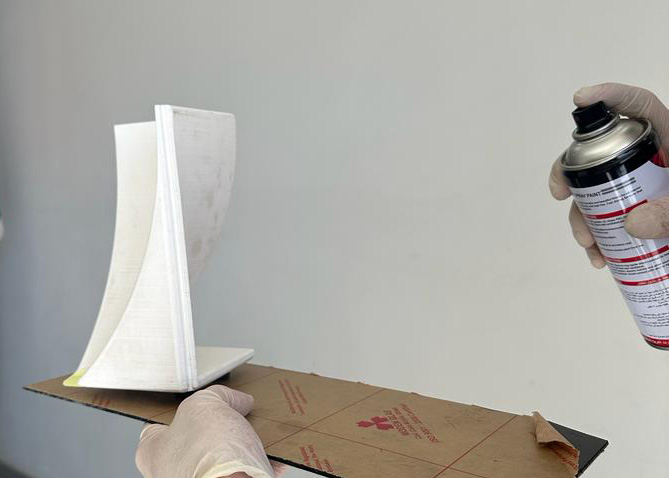
After examining the model, it looked and felt smooth and glossy enough to be removed from the mold, it was time to make the 1st part of the mold.
Part 1 of 2
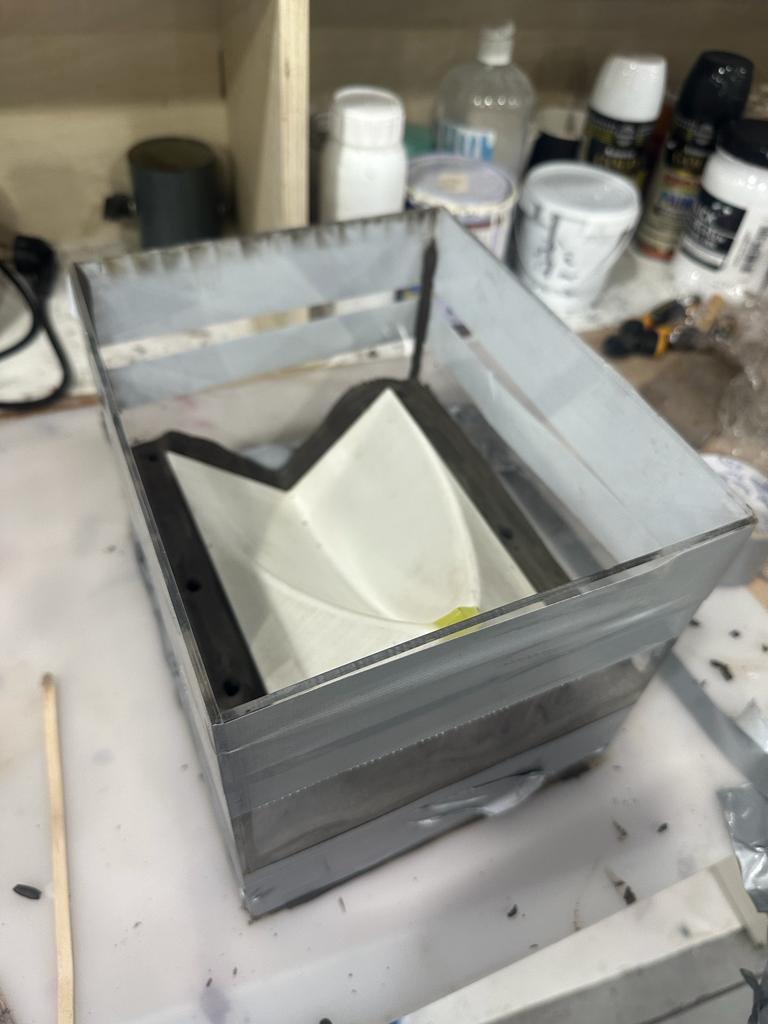
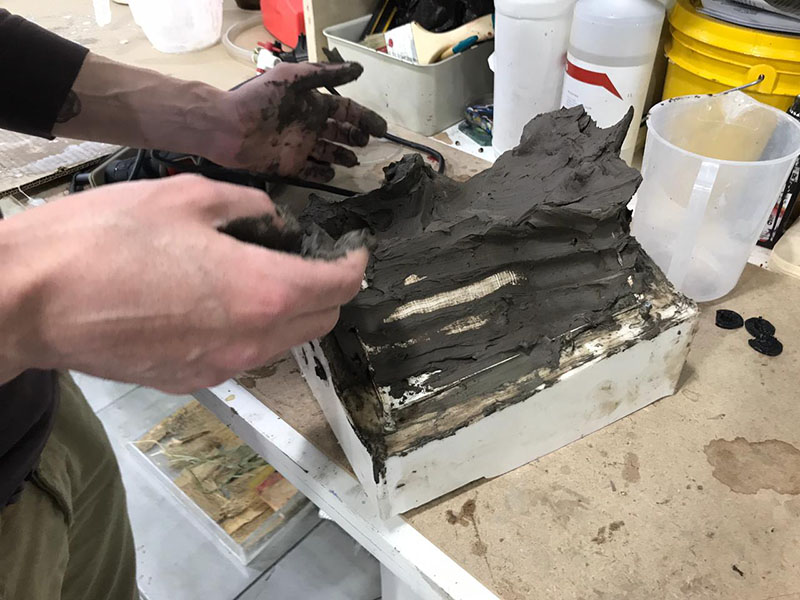
I molded the negative of the first part with my hands. Using clay around the part making sure the part is on top of the clay and not directly touching the surface. Then I start building up clay around the model to fill in the space between the model and the mold wall lines – bringing the clay just up to the part line.
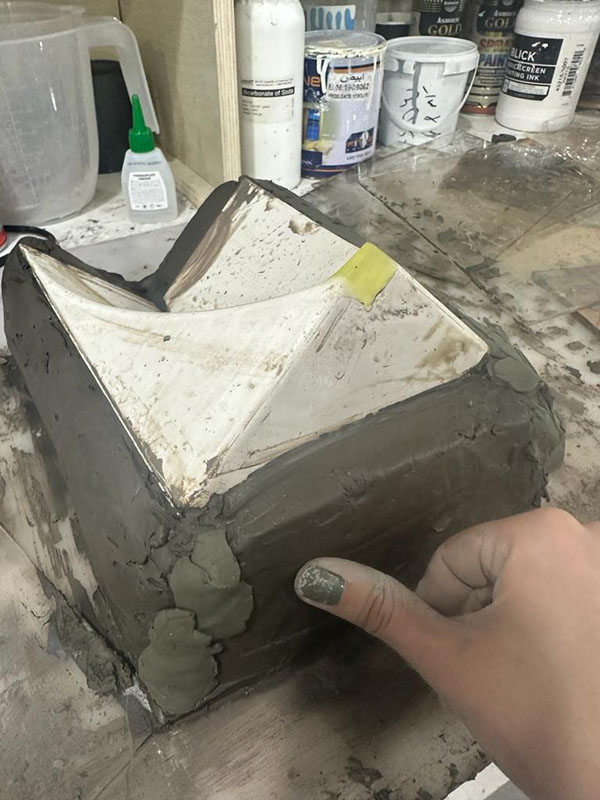
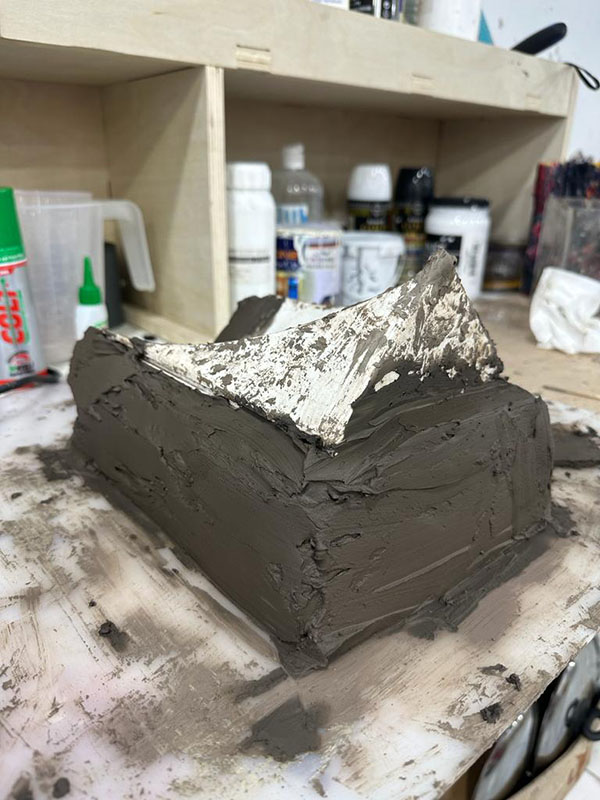
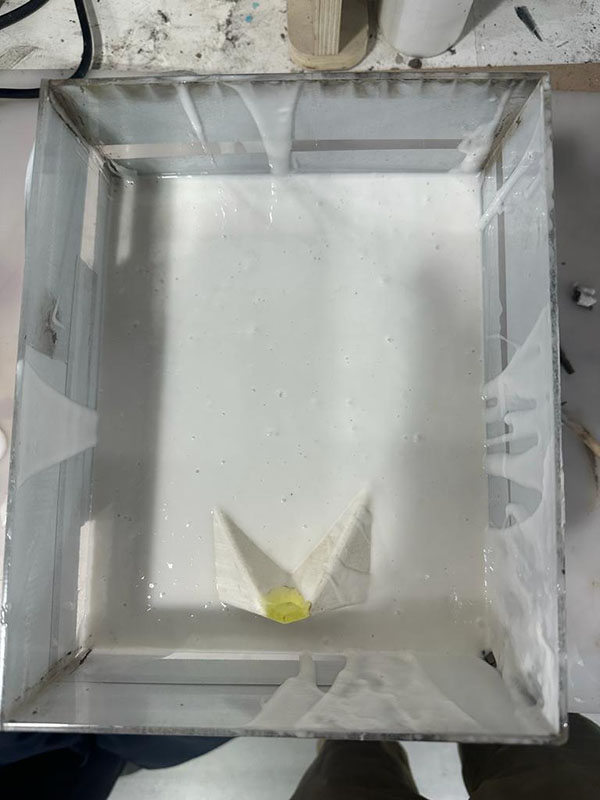
Since I knew it was probable that I will use the mold to cast liquid matters (like resin) it was essential that I would create keys. Keys are basically shallow holes that will act as guides for the two parts of the mold to join and ensure closure and no leakage.
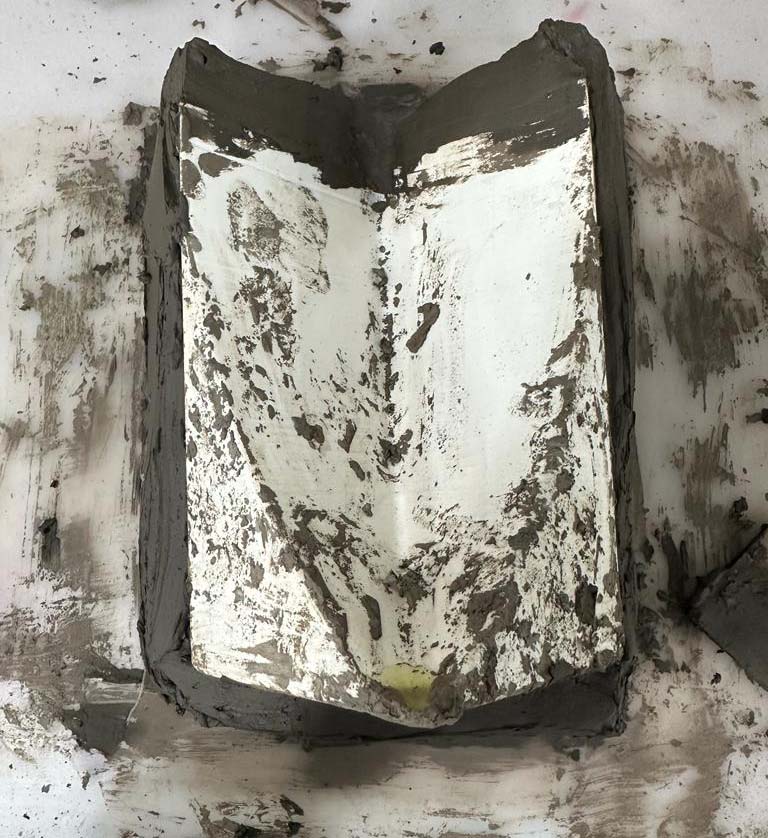
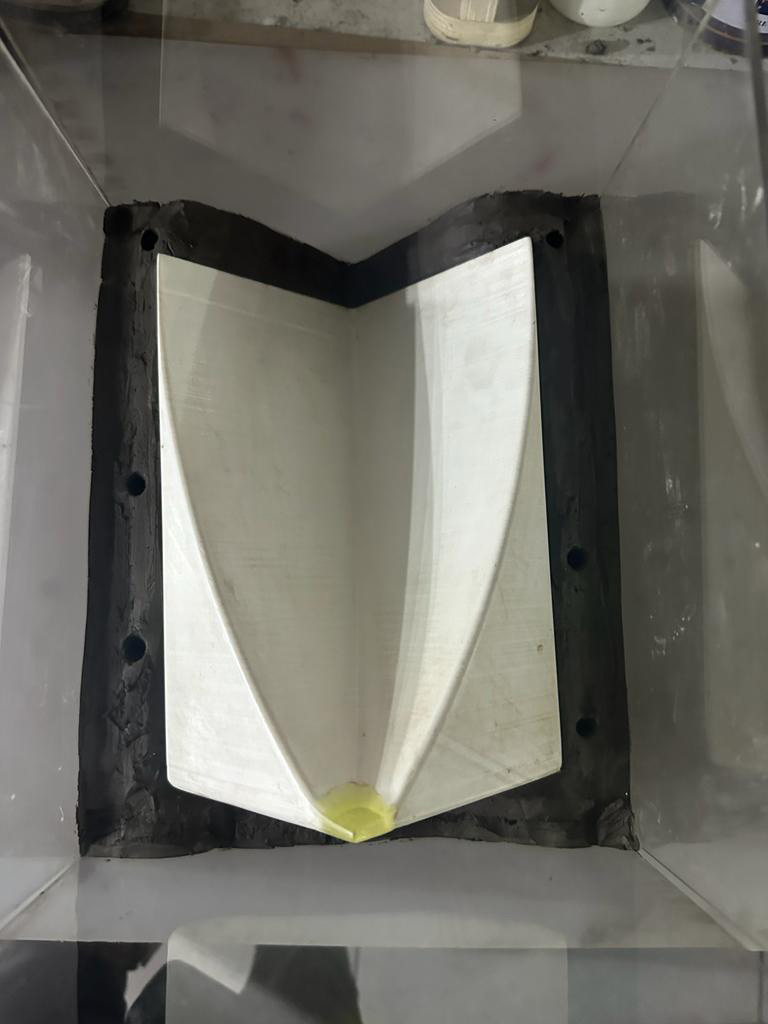
With everything looking good, I secured the walls of the mold with scotch tape.
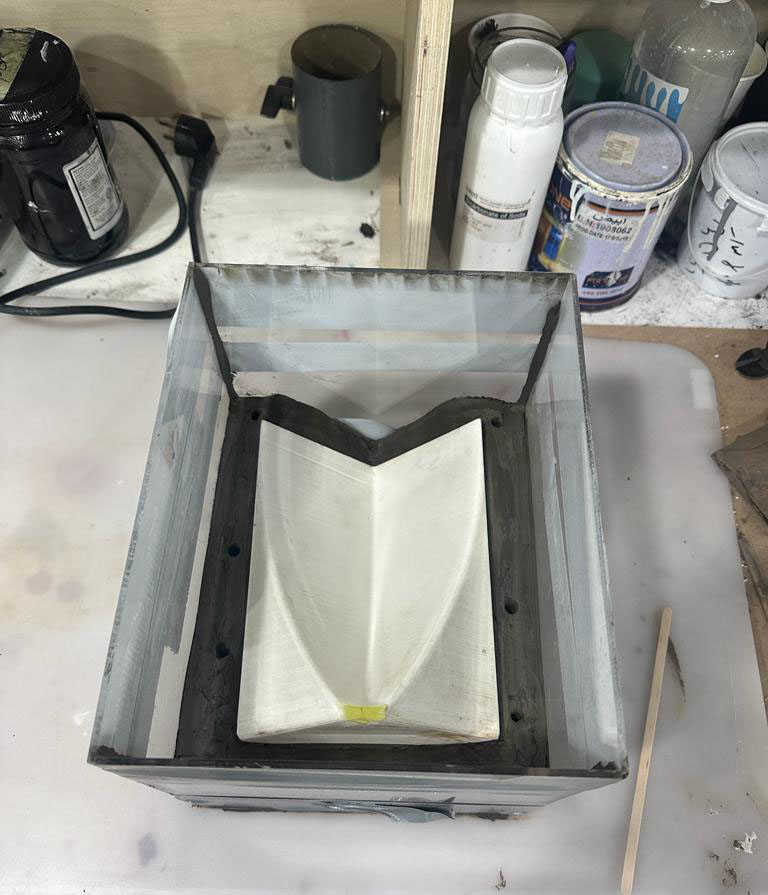
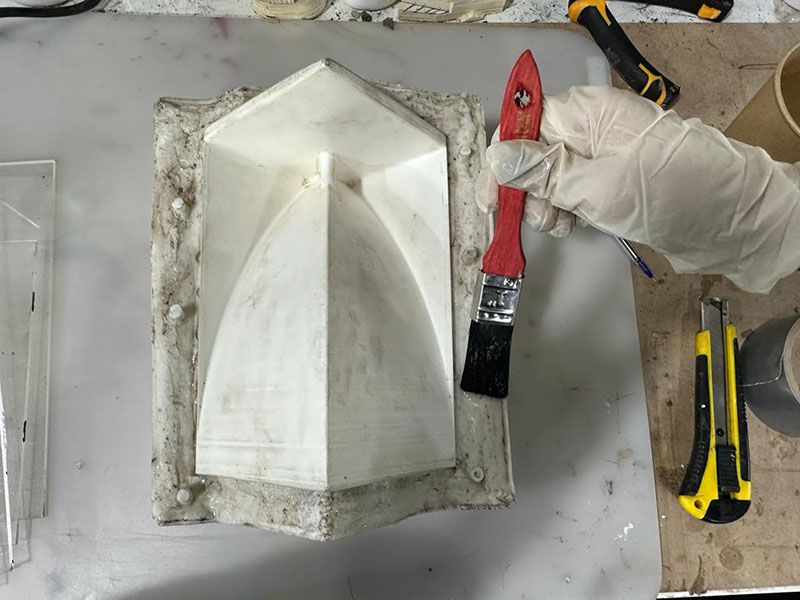
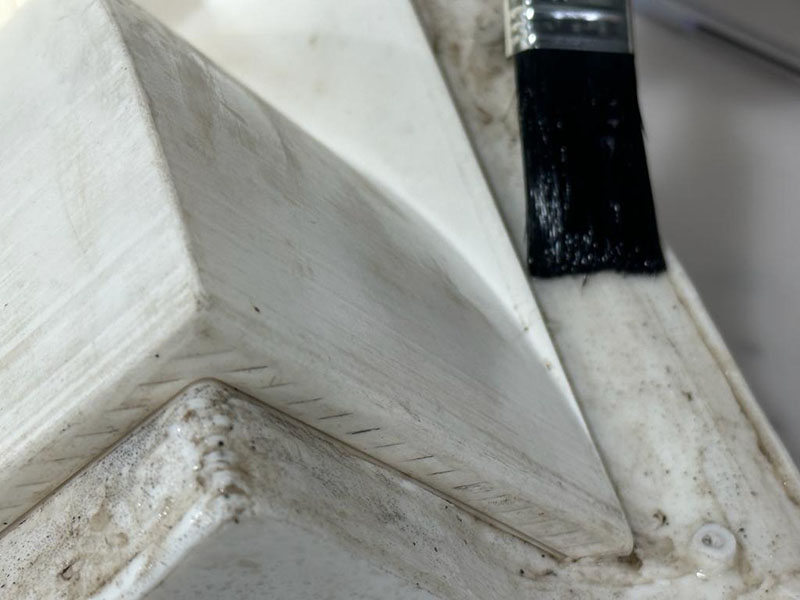
I mixed the silicone I bought from a local store according to the instructions provided by the manufacturer. I painted a thin layer of silicone with a brush on the top surface of the part and clay, to eliminate the possibility of bubbles in that region.
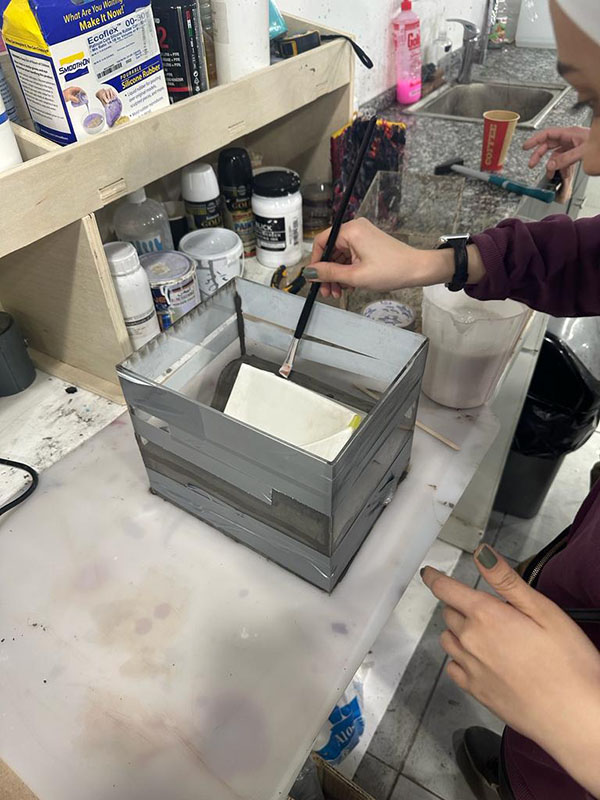
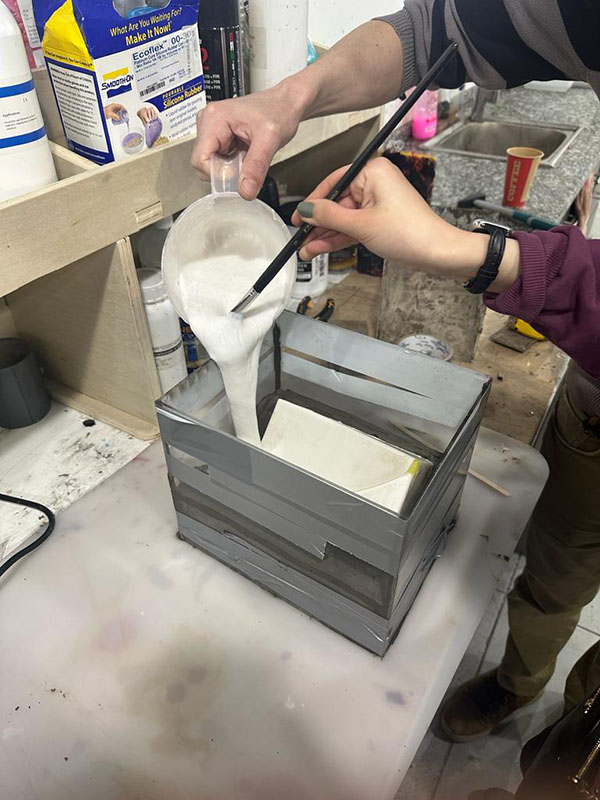
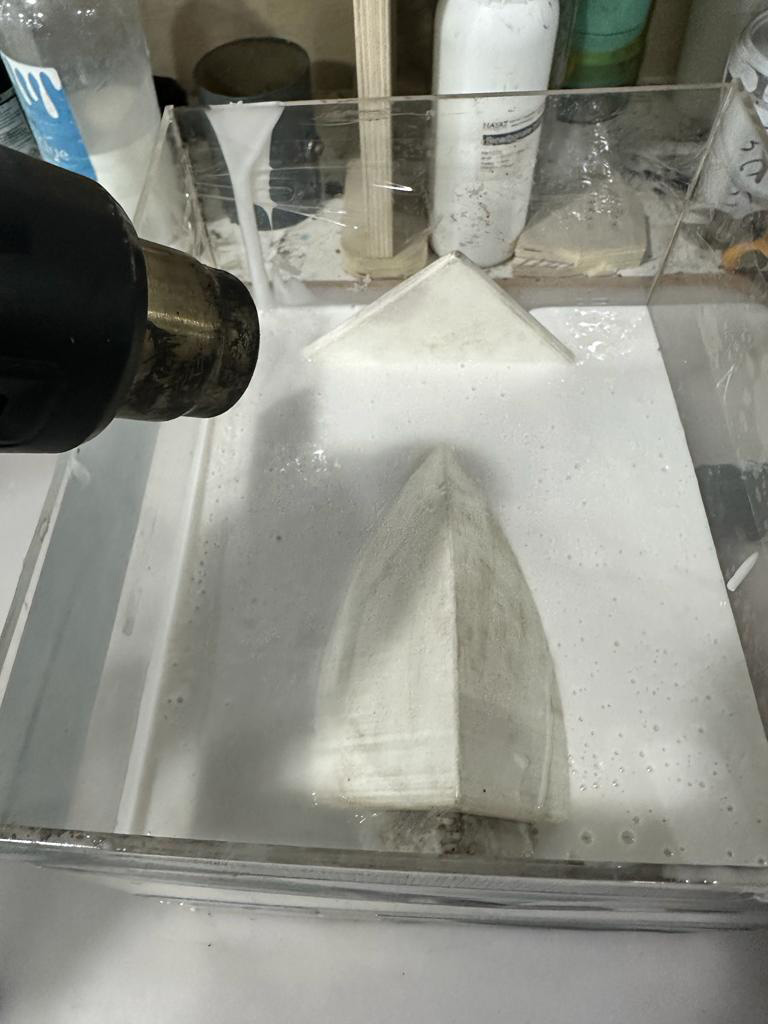
I also gently knocked on the walls while pouring the silicone to let the bubbles out, and I poured the silicone in batched and used heat gun for each batch.

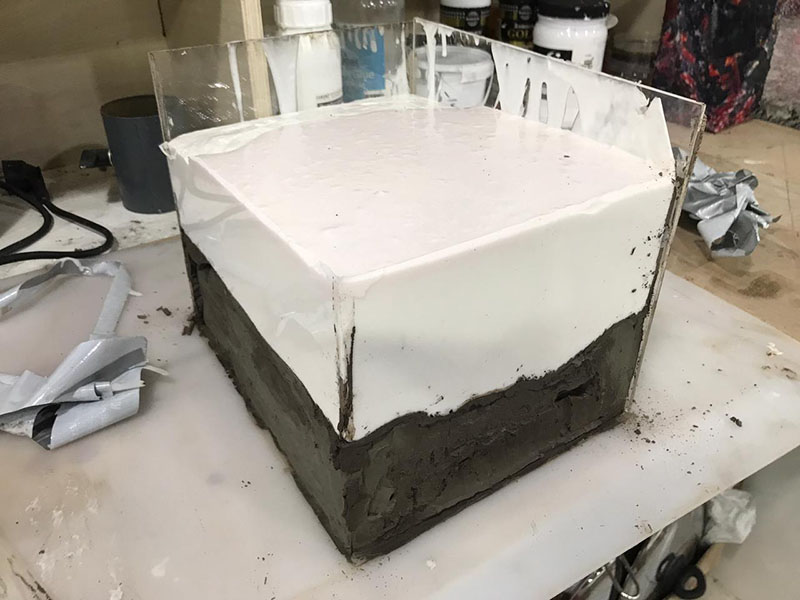
Part 2 of 2
Less than 24 hours later the silicone was dry, we removed the walls and started removing the clay, the Cavalry came to help me.


I painted multiple layers of melted beeswax onto the silicone part to make sure the second part of the silicone mold will not stick to the first one, I also used mold release spray. I applied thin layers, waited till they dried, and then added the next layer and so on.
Multiple layers later, I was ready to cast the second part of the mold. So, I mixed the silicone with the hardener according to the ratio provided by the manufacturer and followed the same steps of the first cast, spreading a thin layer of the silicone on the surface to avoid bubble and so on.
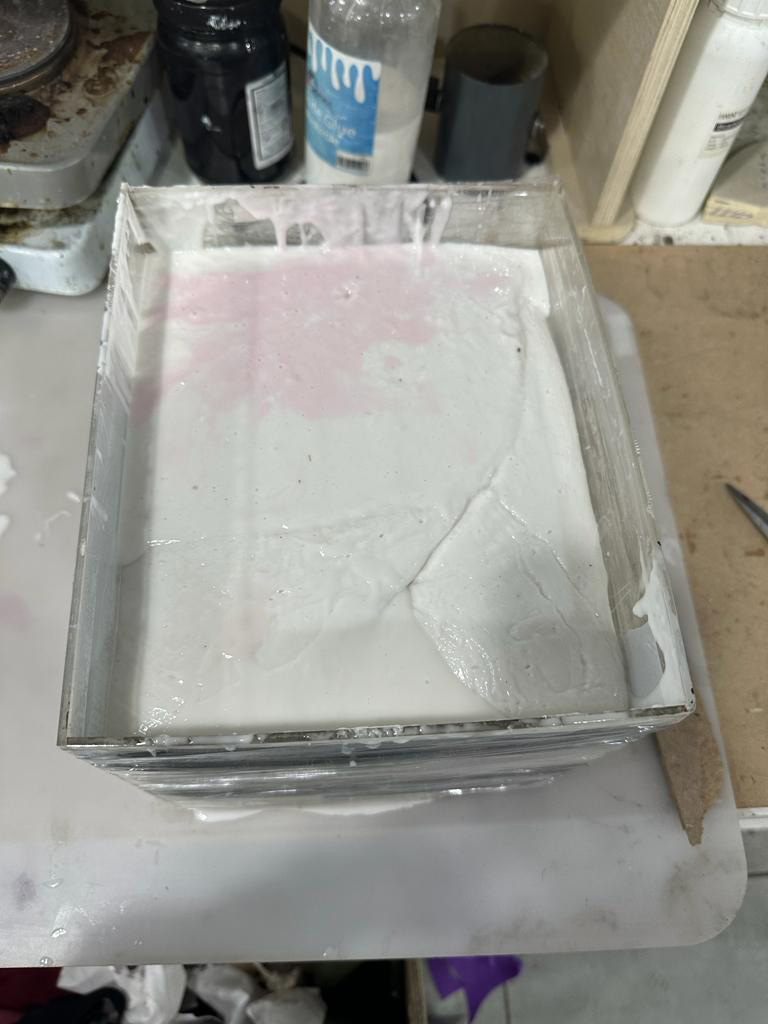
The second part was ready the next day! I took the parts out, cleaned them and tweaked them a little bit.
And the big silicone mold is officially ready for use!
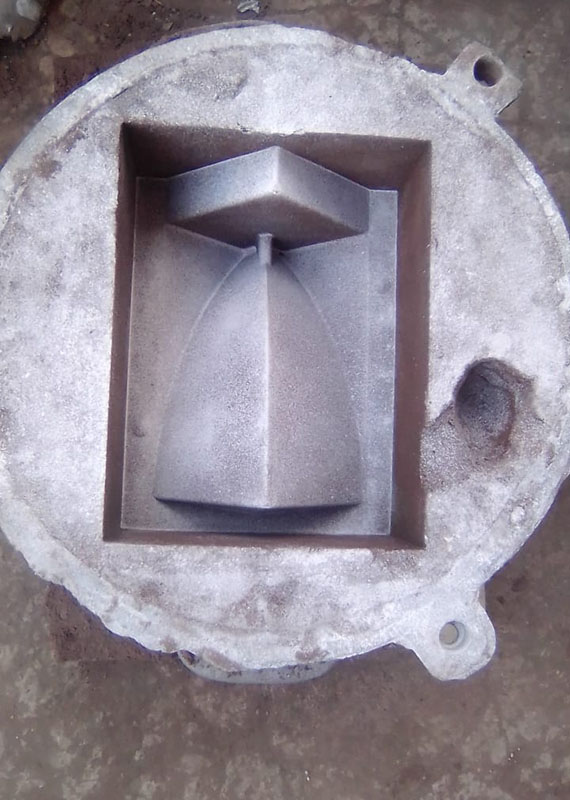
Aluminum Mold (WIP)
Although things were not promising for the possibility of fabricating an aluminum mold due to the depth of the mold and the limitation of the CNC router and bits we have in the lab. I didn't loose hope fully and decided to do the mold the good ol' way, aluminum casting.
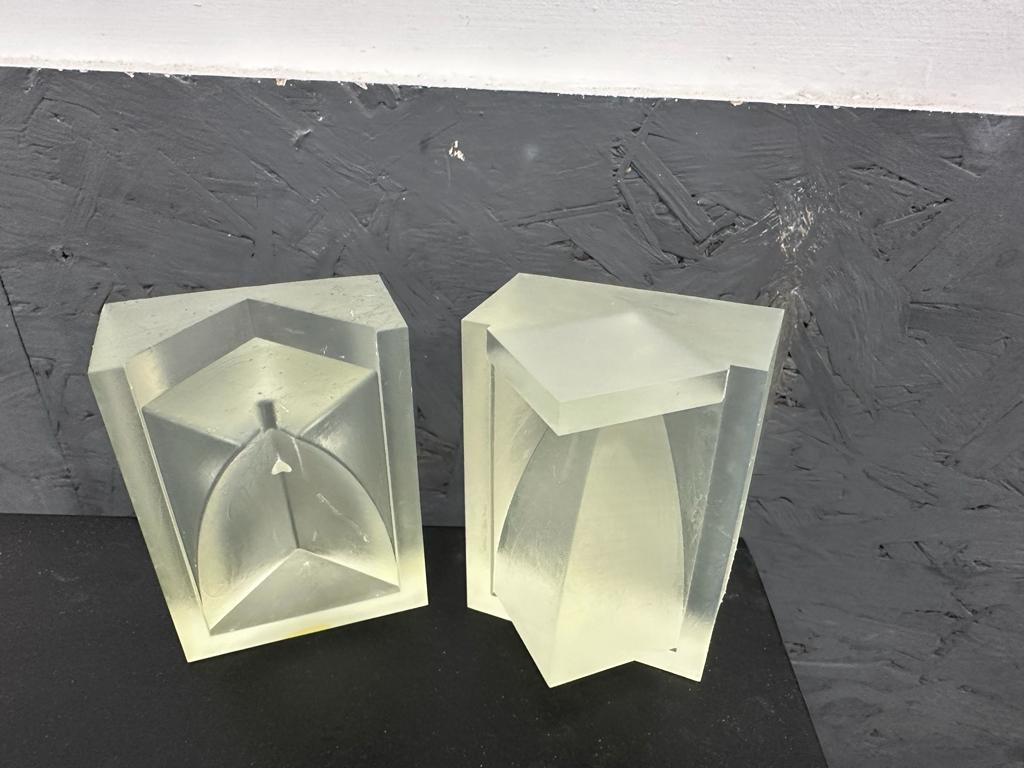
Prepping The Parts
Unlike the requirements I needed to create a silicone mold where I only needed the final product to create the mold. For Aluminum casting I needed the two parts of the mold to replicate. And this time, the parts needed to be ultra smooth because the sand used in creating the Negative of the cast is small, soft, and smooth and we don't want it stuck on the model resulting in inaccuracy.
So I used an SLA printer to print the parts.
I used Formlabs 3+. After importing the stl file into the slicing software, I used the automatic supports generator and sent it for printing.
When printing was done, I removed the supports, washed them with alcohol.
I let the parts cure under the sun, then I sanded them to ensure smoothness and they were ready for casting.
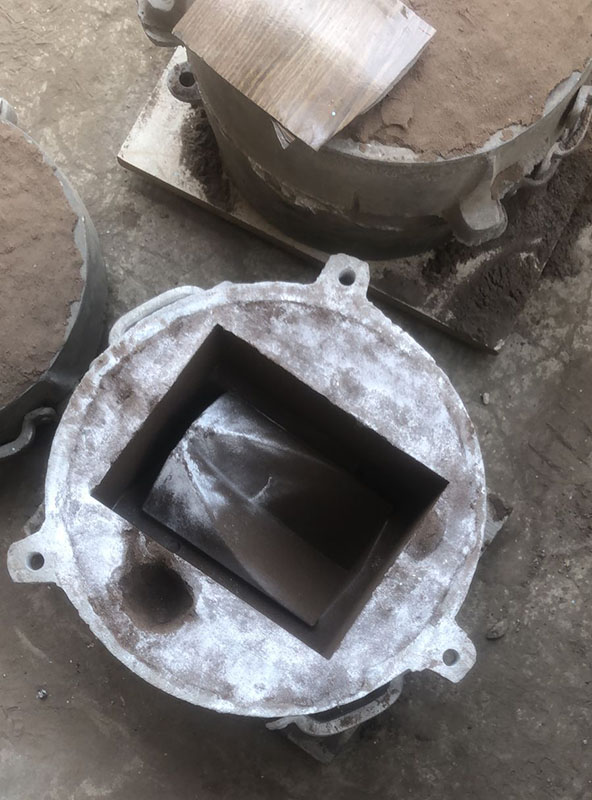
The Beauty of Craftsmanship
I went to a local Aluminum casting place, I wasn't allowed in the workshop due to safety concerns but I asked them to take some pictures for me.