7. Computational Couture
This week was all about 3D printing and maybe an extra dimension?
Let's see..
References & Inspiration
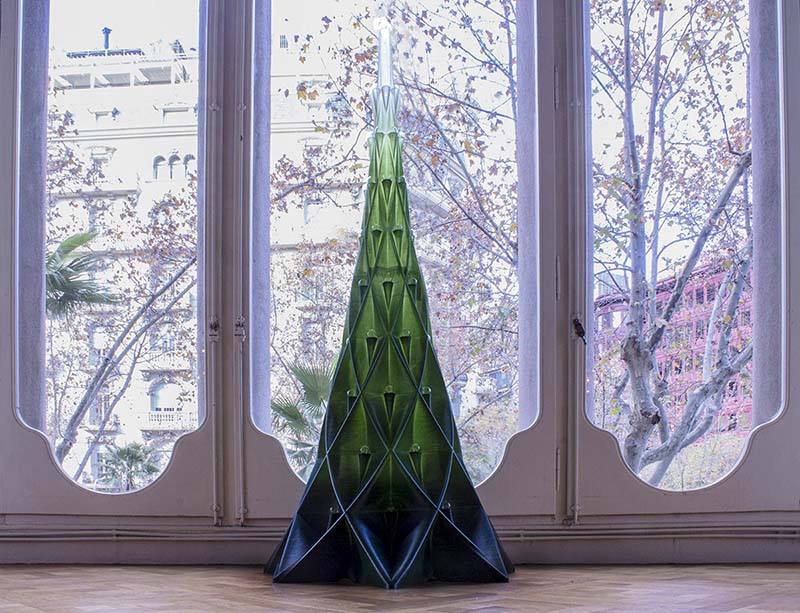
3D printing, also known as additive manufacturing, is a revolutionary technology that has transformed the manufacturing industry. It is a process of creating physical objects by depositing successive layers of material, such as plastic, metal, or even human tissue, until the desired shape is achieved. The concept of 3D printing has been around since the 1980s, but it has gained immense popularity in recent years due to its increasing accessibility and affordability. This technology has countless applications in various fields, including engineering, architecture, medicine, and even fashion. 3D printing has the potential to revolutionize the way we produce and consume goods, making it an exciting and rapidly evolving field.
But did we really explore everything there is in this technology? or is there more for us to discover?
Overview
Introduction
Fused Deposition Modeling (FDM) is one of the most popular and widely used 3D printing technologies. It is a process of 3D printing where a thermoplastic material is extruded through a heated nozzle in a controlled manner to build up a 3D object layer by layer. FDM printing is often used for creating functional prototypes, intricate parts, and even finished products.
FDM printers are relatively affordable and easy to use, making them accessible to a wide range of users, from hobbyists to professionals. The quality of FDM prints can vary based on factors such as layer height, print speed, and temperature, but with the right settings and a little bit of practice, high-quality prints can be achieved. Ulitmaker S5 and S3 were used to complete this week's assignment.
Slicing Software
Slicing software is a critical tool in the 3D printing process that converts 3D digital models into instructions that the printer can understand and execute. The software takes a 3D model and slices it into layers, generating a set of instructions for the 3D printer that will guide it in creating the object. The instructions include details such as the printing speed, layer height, temperature, and other settings specific to the printer being used.
Slicing software is essential for achieving high-quality 3D prints because it allows for precise control of the printing process. It allows the user to make adjustments to the printer settings to ensure that the final product meets their specifications. Slicing software can also optimize the printing process by creating the most efficient printing path and reducing the overall print time.
Many slicing software programs are available, ranging from free and open-source to commercial products with advanced features. The software can vary in complexity, from basic settings that are easy to adjust, to advanced settings that require a deeper understanding of 3D printing technology. Ultimaker Cura is a free and open-source slicing software widely used in the 3D printing community. Developed by Ultimaker, a leading manufacturer of 3D printers, Cura is designed to work seamlessly with Ultimaker's line of printers, but it can also be used with other printers that support G-code.
Cura is known for its intuitive and user-friendly interface, making it accessible to both beginners and advanced users. It offers a wide range of features, including customizable print settings, support for multiple materials, and the ability to preview and optimize print paths. Cura also provides a marketplace where users can access plugins, profiles, and other resources to enhance their 3D printing experience. For the reasons mentioned above I used Cura to prepare the 3D models for printing.
Printing Fabric
I didn't actually print fabric but rather I printed netted forms that simulated the fabric, here's how:
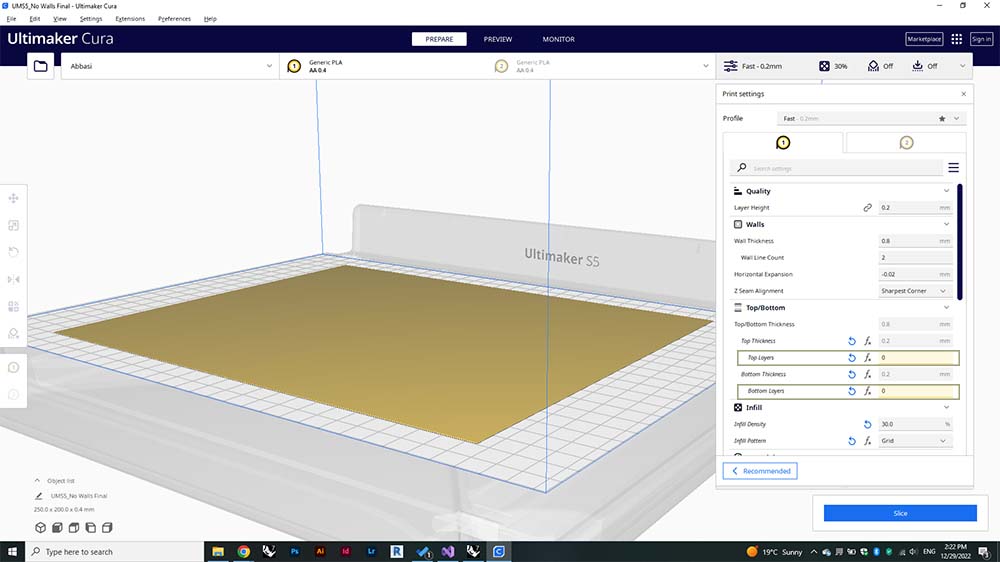
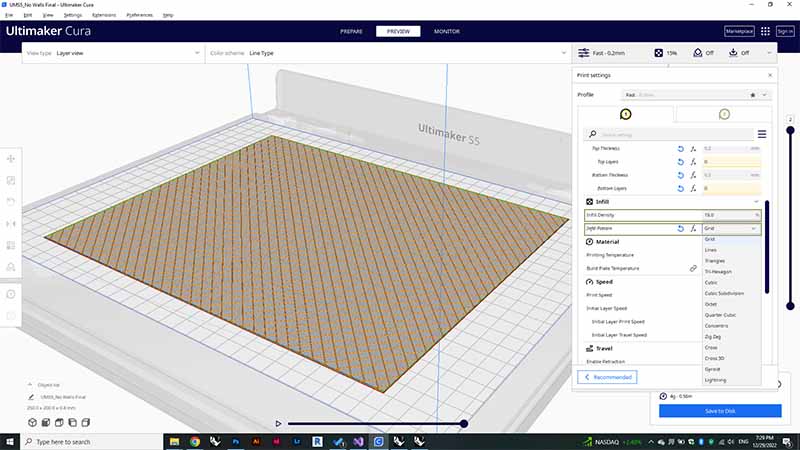
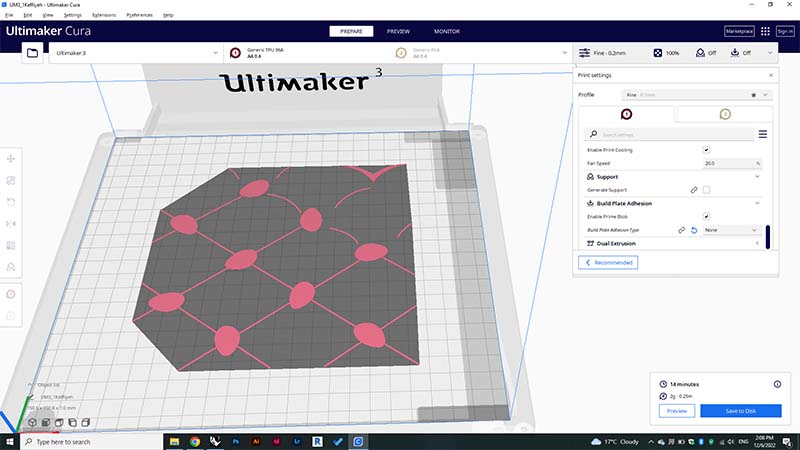
Hacking Cura
It looks intriguing and sounds complicated but in reality, it's very simple. - First, I designed a box 250 * 200 * 0.4 mm in Rhino and imported the .stl version to Ultimaker Cura. - It's essential to change the Top Layer and Bottom Layer to 0. This way you will only print the infill (See Picture 1). - If you want to rid the side walls as well, change the Wall Line Count to 0 as well. - Experiment with different infill patterns and densities (See Picture 2).
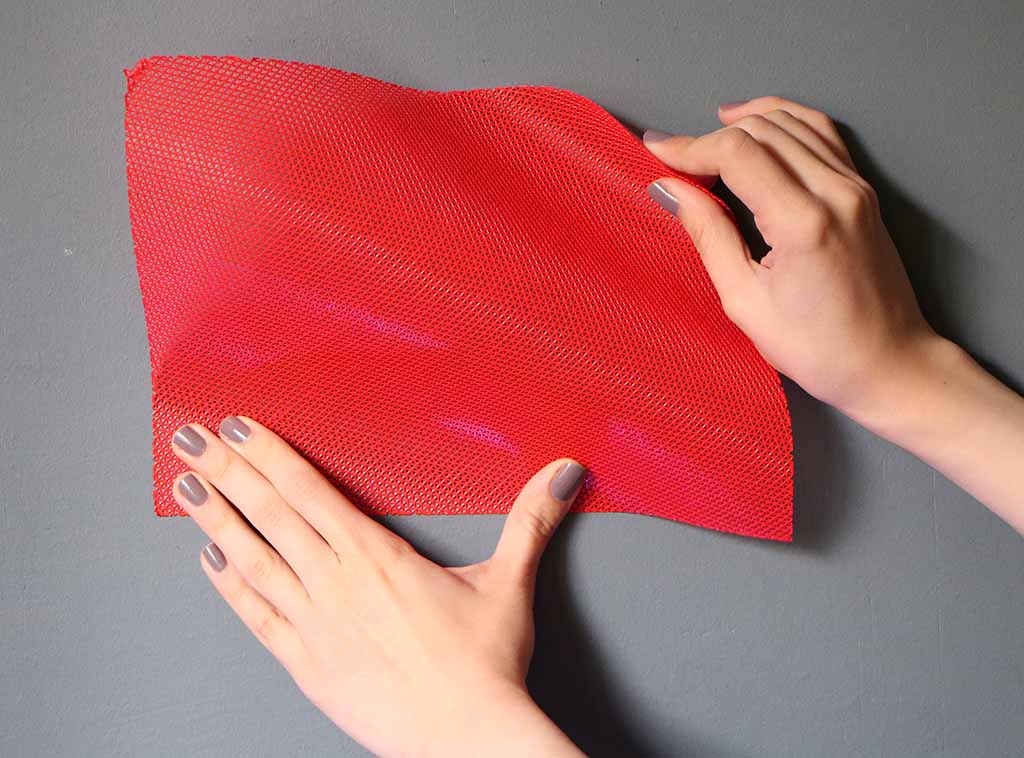
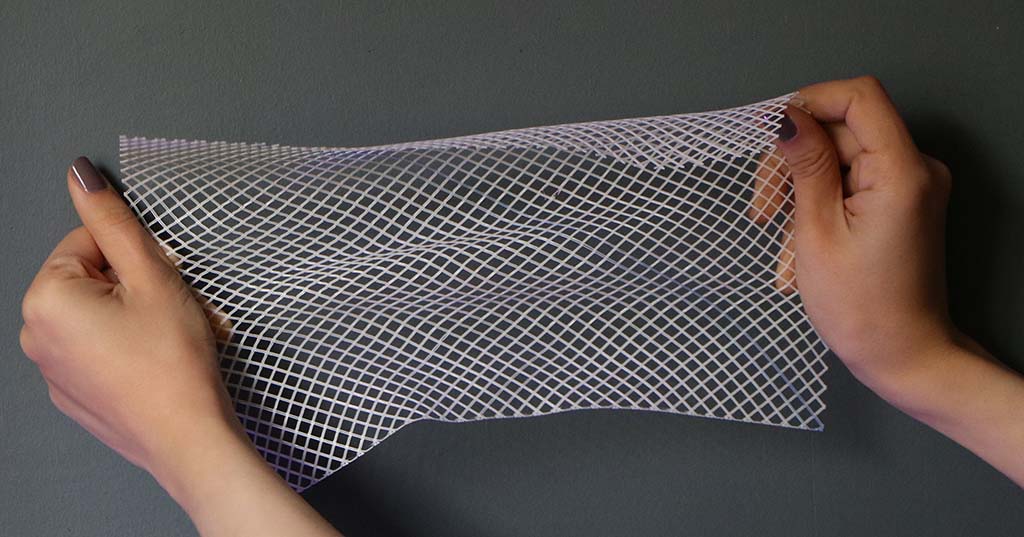
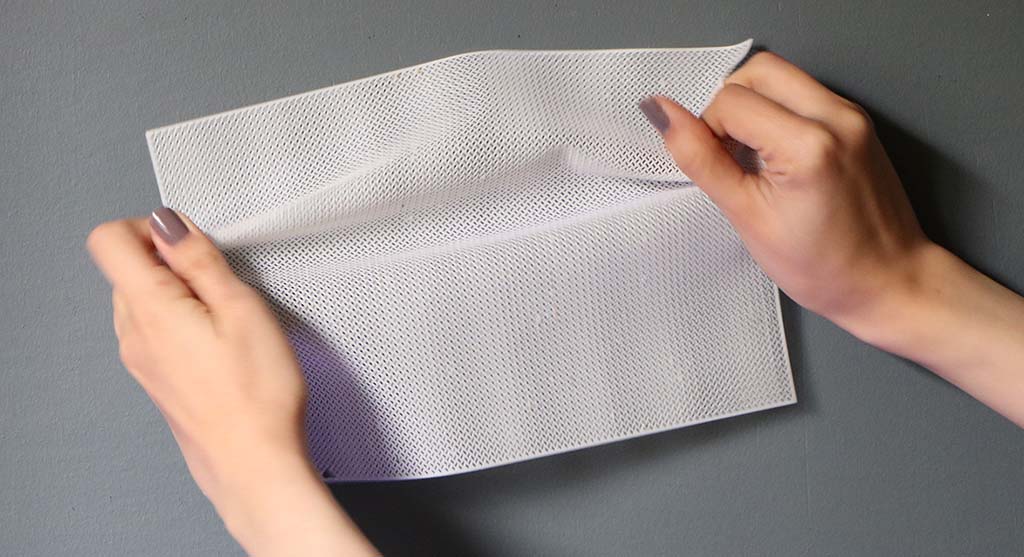
For Flexible Printed Fabric
- You're gonna wanna use flexible materials just as * TPU95 * if you want stretchable results.
- I also experimented with abs the results were not bad as well but definitely more rigid than the TPU95 so it didn't really feel like fabric.
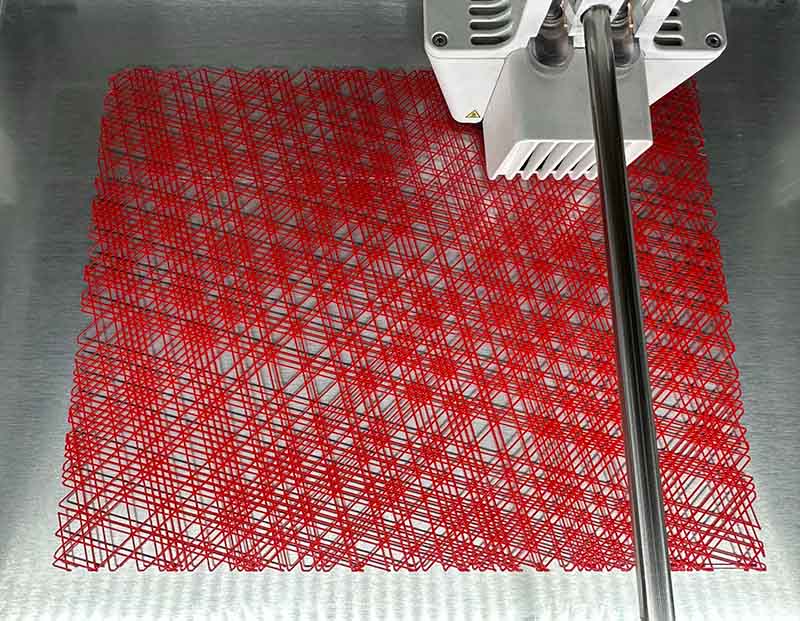
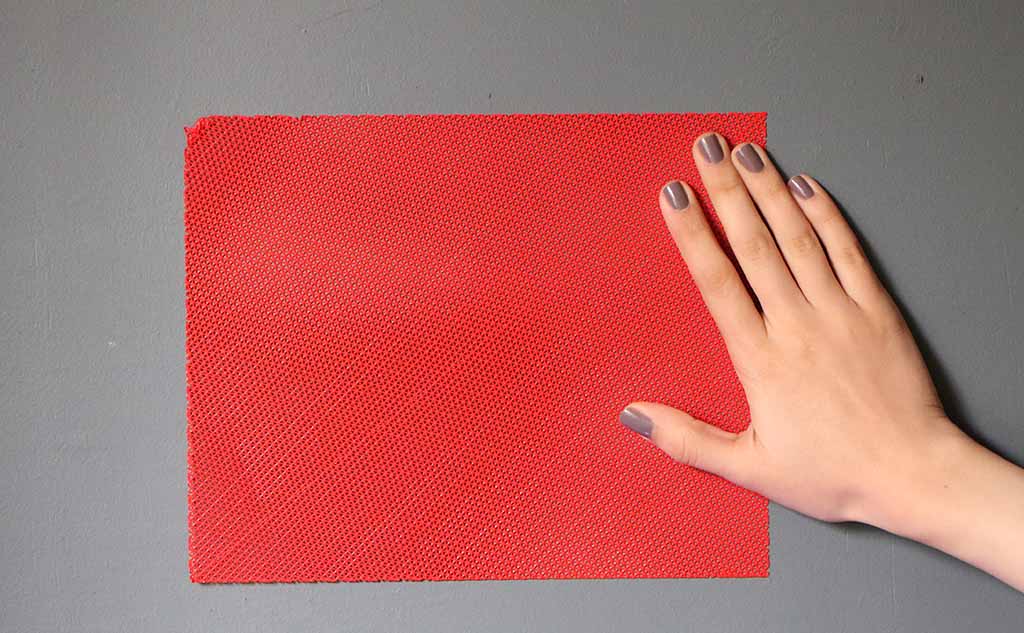
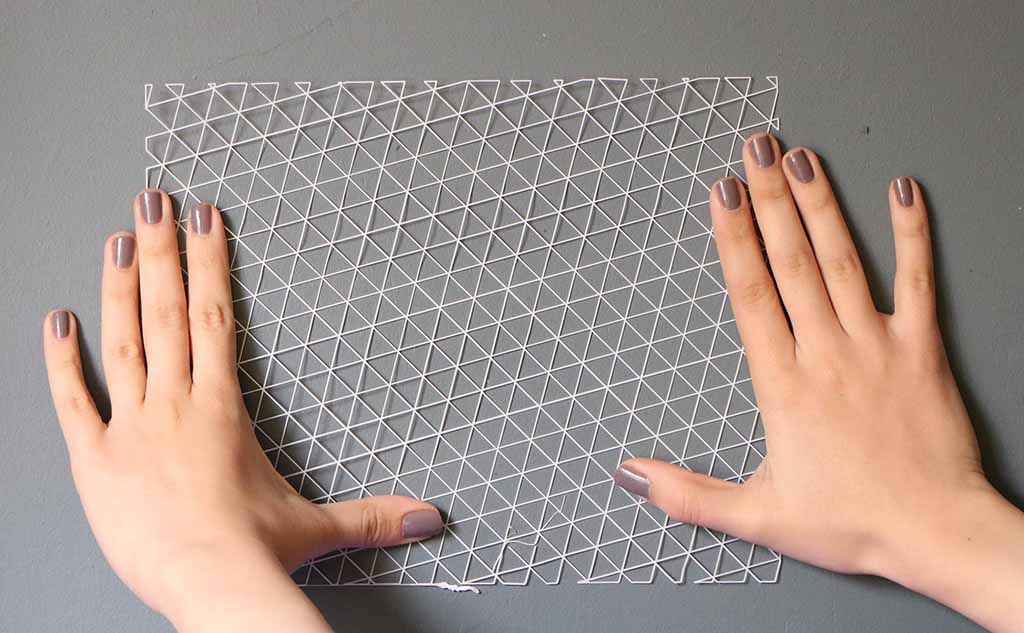
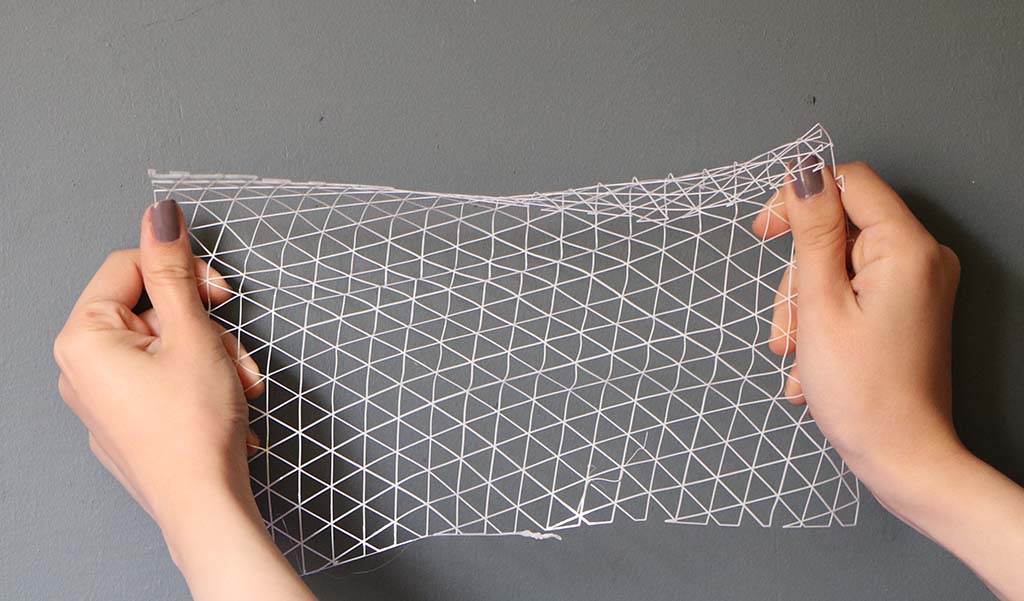
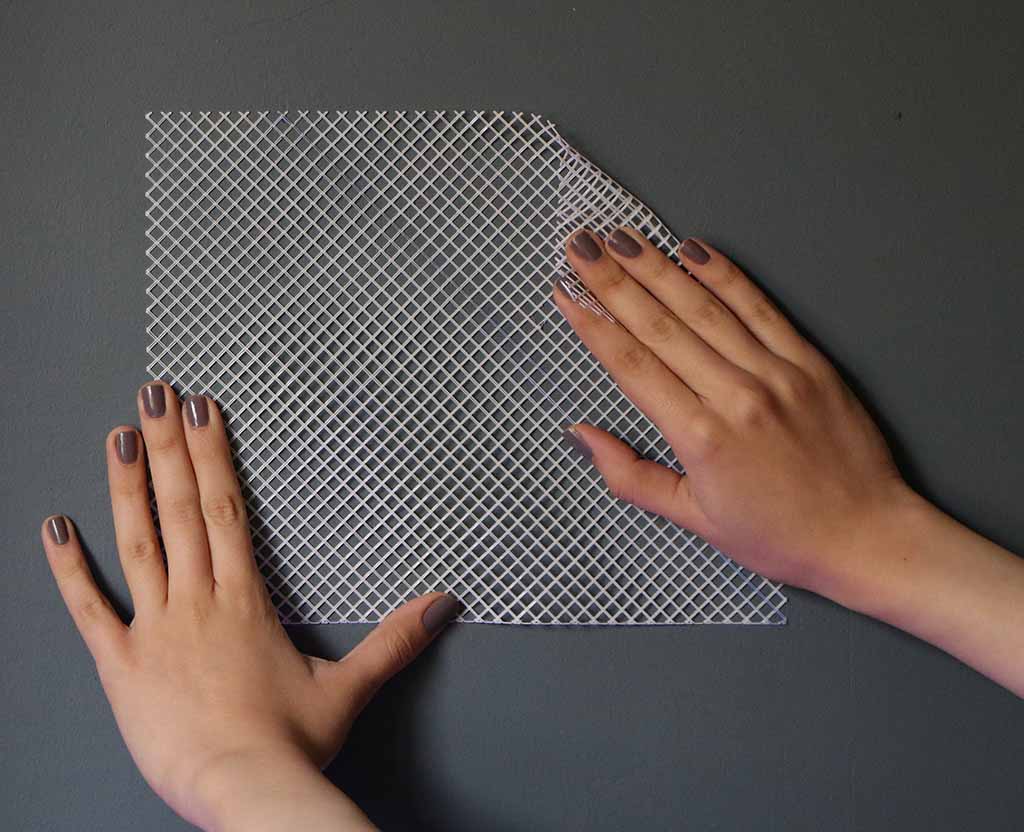
Below the results of different experimentations with different patterns and materials summarized in the tables below each set of pictures.
The ABS is more rigid than the TPU95, it bends but it also feels like it might break if you push it too hard.
| Material | Layer height | Infill Density | Infill Pattern | Top Layer Thickness | Bottom Layer Thickness | Build Plate Adhesion Type |
|---|---|---|---|---|---|---|
| PLA | 0.1 mm | 35% | Triangles | 0.00 | 0.00 | None |
The following ones were printed with TPU95
| Material | Layer height | Infill Density | Infill Pattern | Top Layer Thickness | Bottom Layer Thickness | Build Plate Adhesion Type |
|---|---|---|---|---|---|---|
| TPU95A | 0.1 mm | 15% | Triangles | 0.00 | 0.00 | None |
This one had an accidental blue line, but it turned out nice actually
| Material | Layer height | Infill Density | Infill Pattern | Top Layer Thickness | Bottom Layer Thickness | Build Plate Adhesion Type |
|---|---|---|---|---|---|---|
| TPU95A | 0.1 mm | 20% | Lines | 0.00 | 0.00 | None |
| Material | Layer height | Infill Density | Infill Pattern | Top Layer Thickness | Bottom Layer Thickness | Build Plate Adhesion Type |
|---|---|---|---|---|---|---|
| TPU95A | 0.1 mm | 35% | Grid | 0.00 | 0.00 | None |
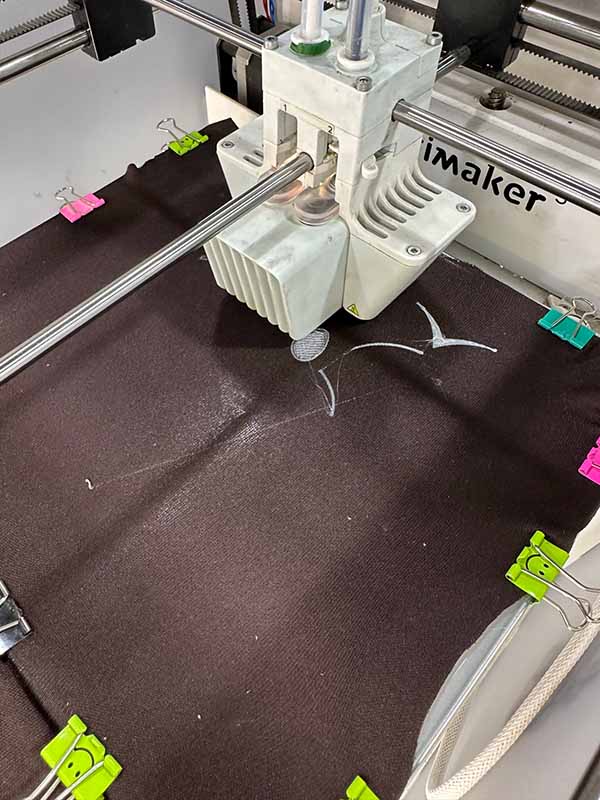
Printing on Fabric
It's very interesting how you can't really predict how the final output is gonna be like when you print on fabric. Below are my experimentations with different fabrics, materials, and thicknesses.
You can use either natural or synthetic fabrics. Natural include but not limited to: Viscose, lyocell, and Modal. While the synthetics include: Poliester, Nylon, Elastane, and lycra.
Fabrics
Any fabric will do but if you want your patterns to come to life, you'll need somewhat stretchable fabrics. Note that usually the fabric stretches in one direction more than the other, with that in mind, you want to orient pattern or the gaps in the pattern in the direction that stretches more.
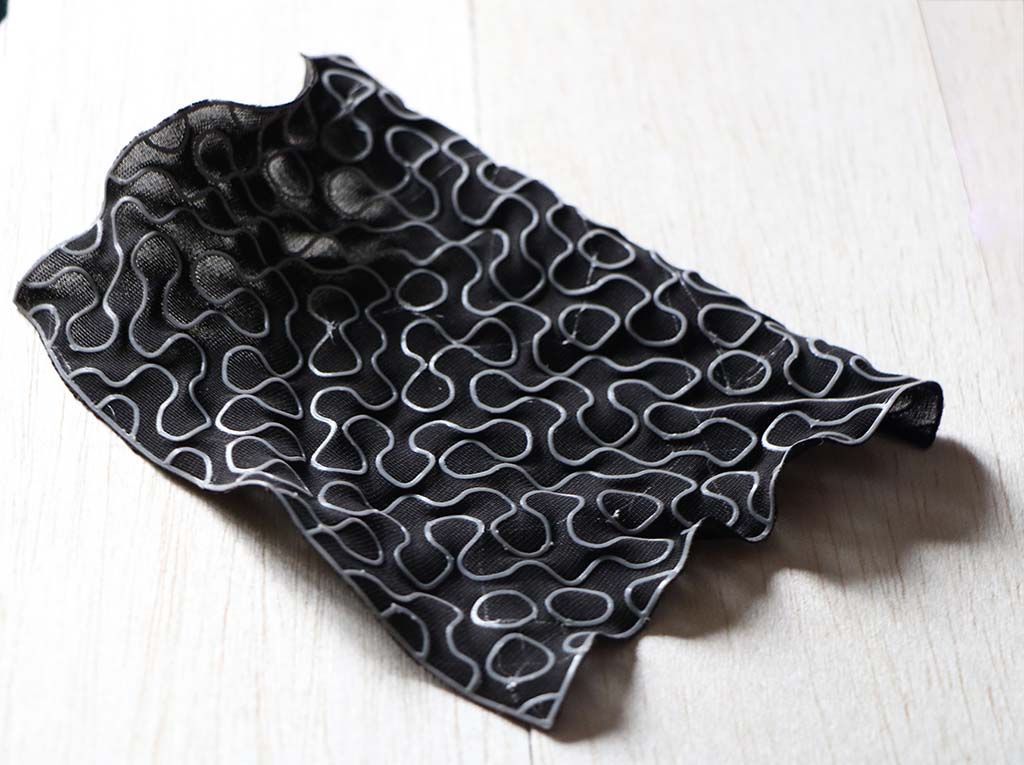
Patterns
Patterns or geometries are an interplay between one continuous line or multiple geometries with gaps in between. But the principle is the same, you print on a stretched fabric and one the print is cured and fabric returns to it's normal dimensions, the patterns pop up... or down :P
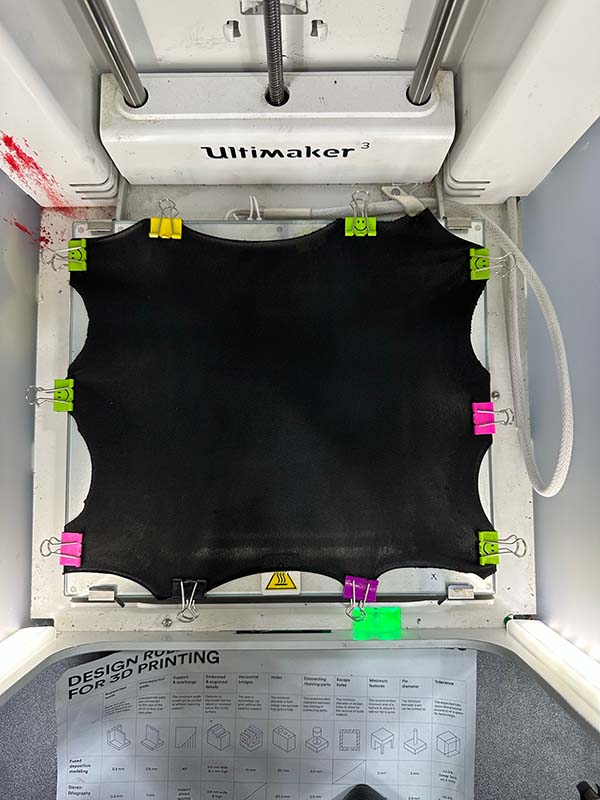
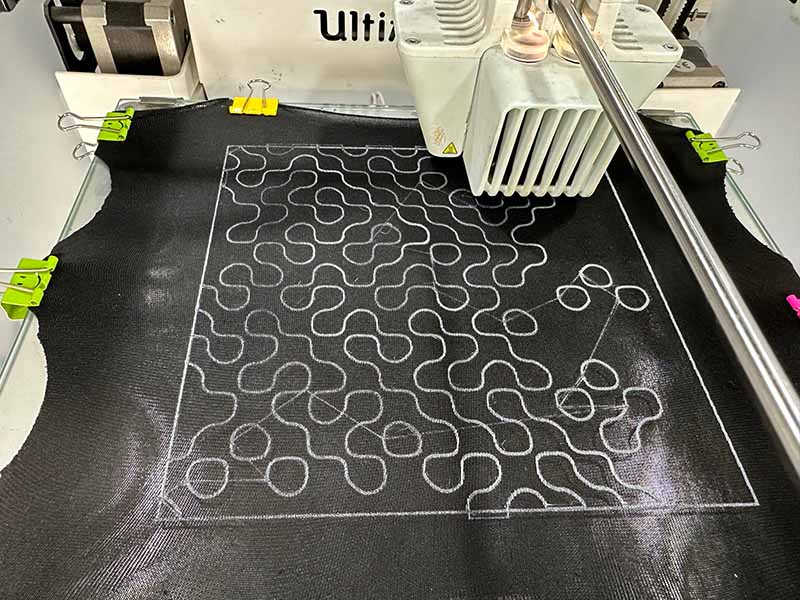
Setup
Stretch the fabric on the building plate of the printer using binder clips, make sure that the fabric is well placed and held on the building plate.
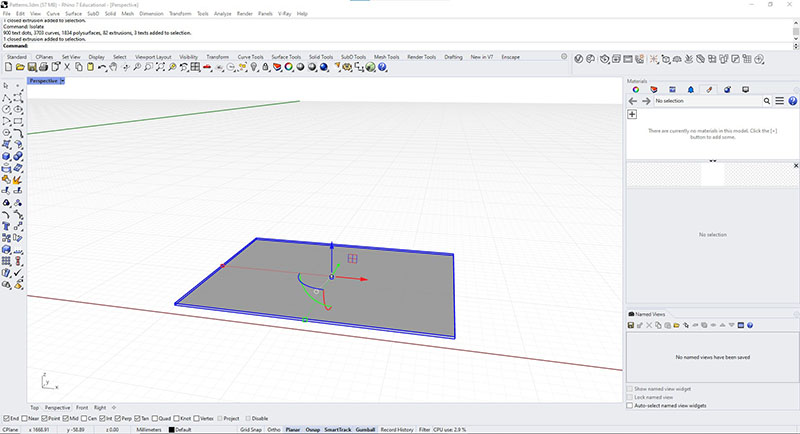
Files Preparation
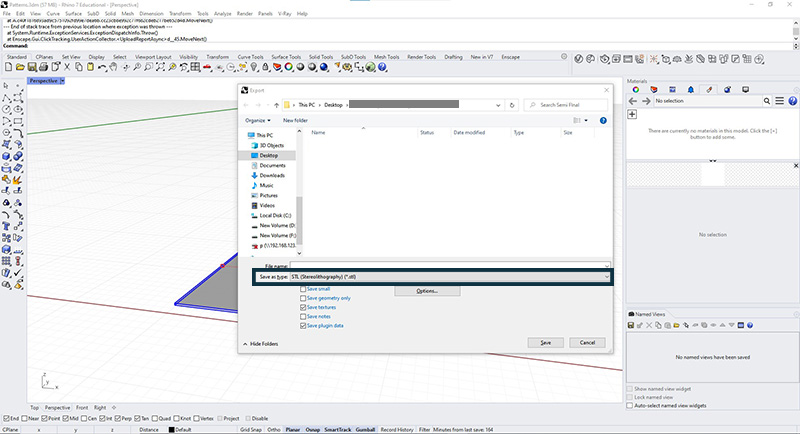
Before sending the files to the printer, we need to have the files in the STL format for the slicing software to read.
Almost every software offers the option to export to .stl. Here's how it's done in Rhino:
- Select the object you want to export.
- From the file menu choose Export Selected.
- From the export dialogue box the intended destination of the file.
- From the Save as type dropdown list, choose "STL(Stereolithography)".
- Name your file and click Save.
Explorations

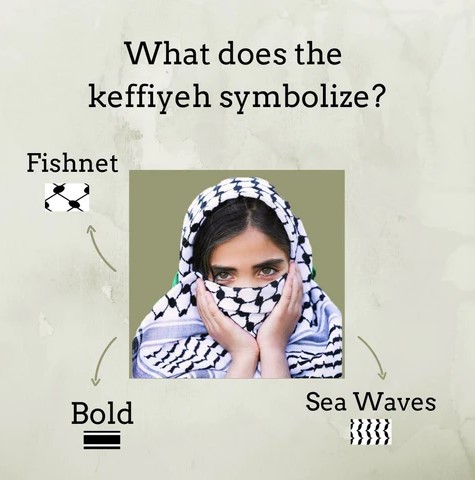
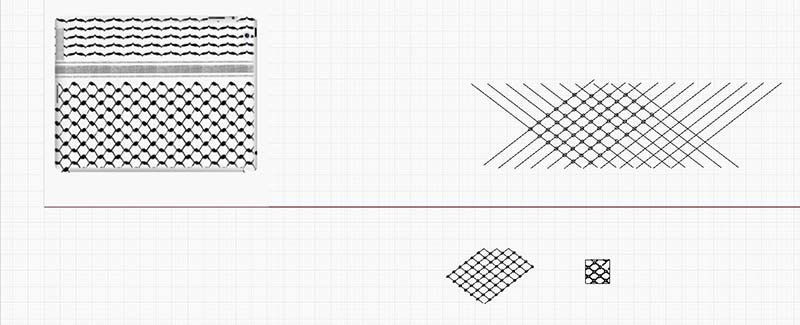
Keffiyeh

Keffiyeh, pronounced kouffiyeh, is a traditional Palestinian piece of cloth that is put on the head or around the neck, it protects from the heat, wind, and sand in both the summer and the winter. It's also a symbol of the Palestinian struggle against occupation and colonisation. It's Black and White, in other regions such as Jordan it's red and white. The symbols on the kouffiyeh are said to represent the sea waves, the fishing nets or the olive tree leaves, and bold routes that were used in moving merchents.
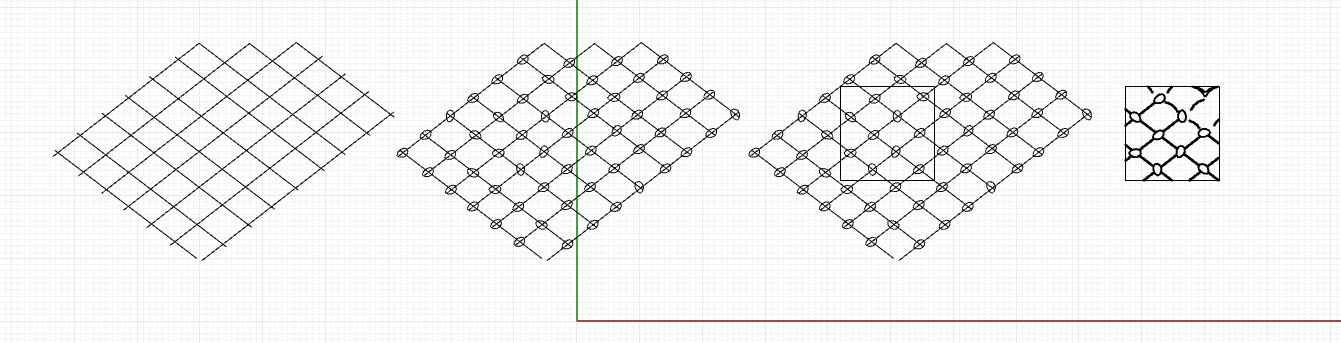
Design Process
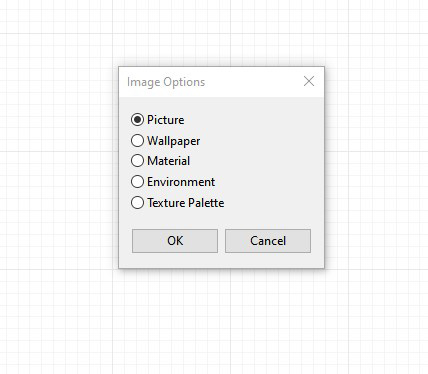
- I dragged and dropped the Keffiyeh image into Rhino and imported it as a picture.
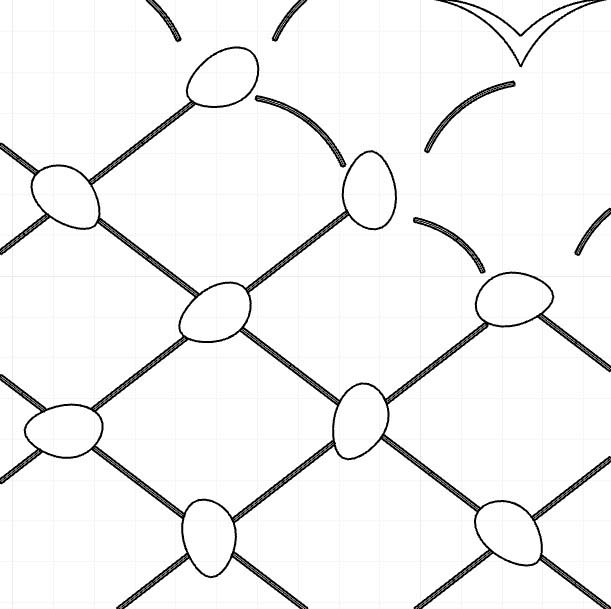
- Then, I started tracing the grid from the picture with the Line command.
- I drew the distorted circular shapes with the Polyline command.
- Using the Array or Copy commands I copied the shapes at the intersections of the grid.
- I rotated the shapes to eliminate the monotony.
- Finally I drew the abstract bird shapes using the Arc and the Mirror commands.
2D to 3D
It's really easy to move from 2D to 3D in Rhino:
- Make sure your lines are joined using the Join command.
- Select the closed polylines and using the ExtrudeCrv command specify the height, direction, and whether the output is a closed polysurface or open from two planes.
Enclosure Check
- When you select anything in Rhino, you can know what it is from the command line and the properties panel on the right-hand side. if the loop of lines are showing as an Open Curve in either places mentioned above this means that when you extrude the lines they will not come out as a solid body rather, an open polysurface.
The abstract flying bird, was intended to represent the break in the fishnet and freeing it towards the end.
The idea was that the lines holding things in would break free and become birds,sorta..
Make sure you don't choose any build plate adhesion.
I tried to gradate the thicknesses and spacings
I think if I have another go at this I can improve it.
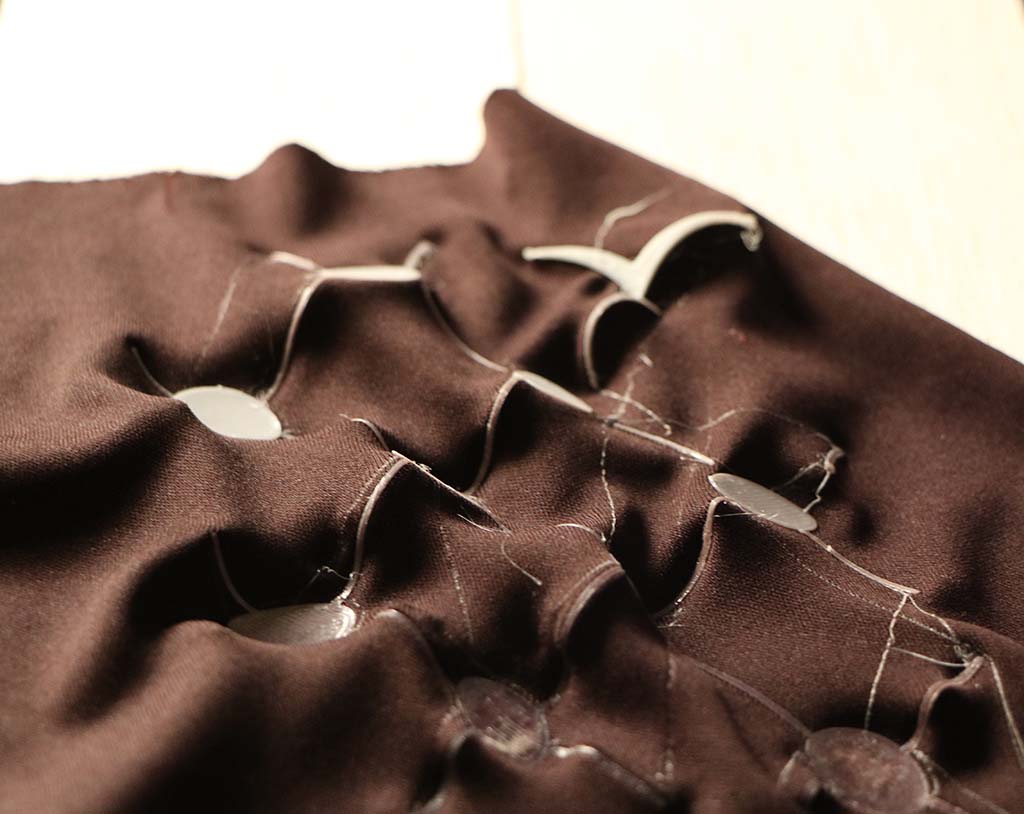
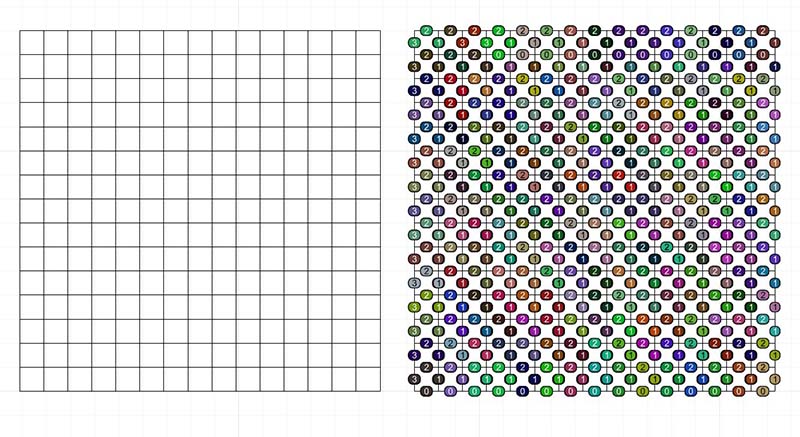
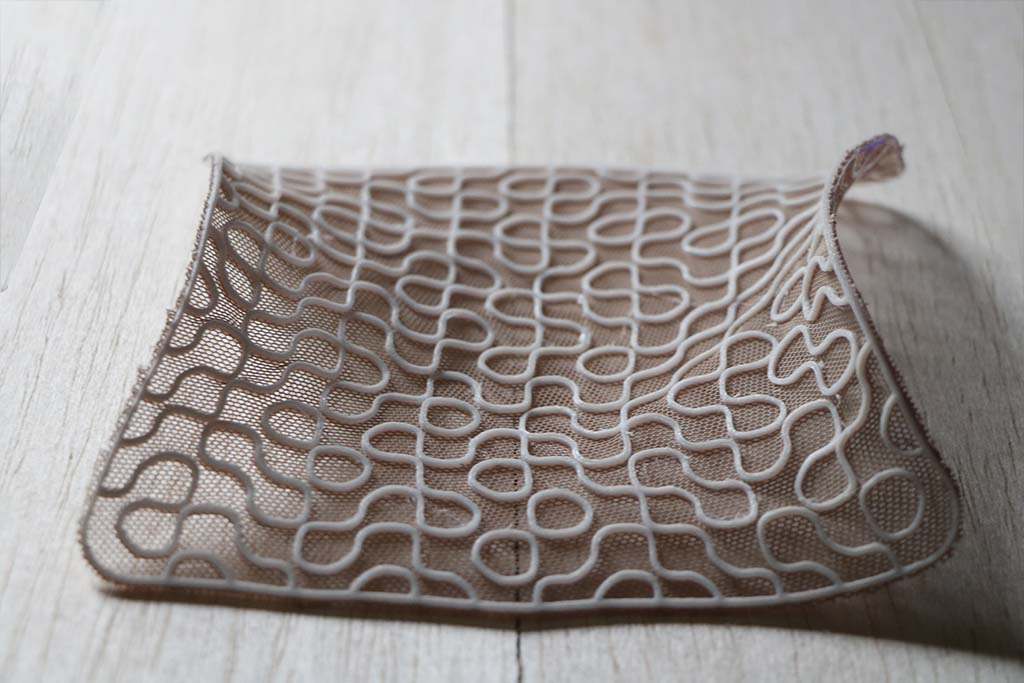
Dunes
I used Grasshopper to design parametric curves. The process went like this:
- I designed a grid of squares.
- Then defined the mid points of each of polylines making the square.
- Connected Bezier Span between two adjacent points (i.e between point 1 & 3).
- Rotated the curves according the Color map of an images of the dunes using the * image sampler * component.
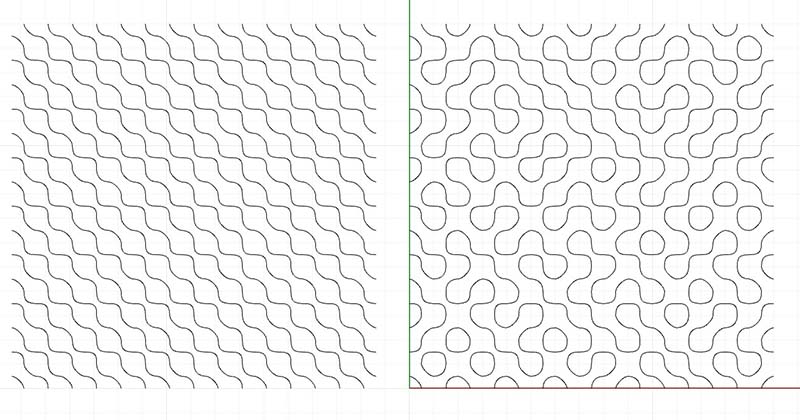 <figcaptionBezier Span & Rotation

I cropped the output to be smaller than the printer bed.
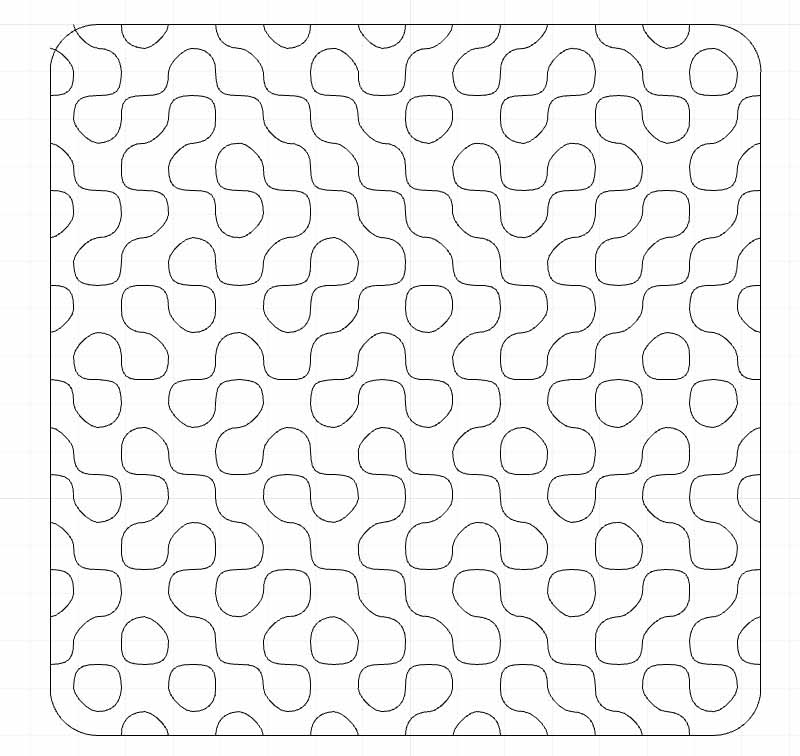
Then I extruded the lines in two directions giving them volume. Refer to this section for extrusion steps.
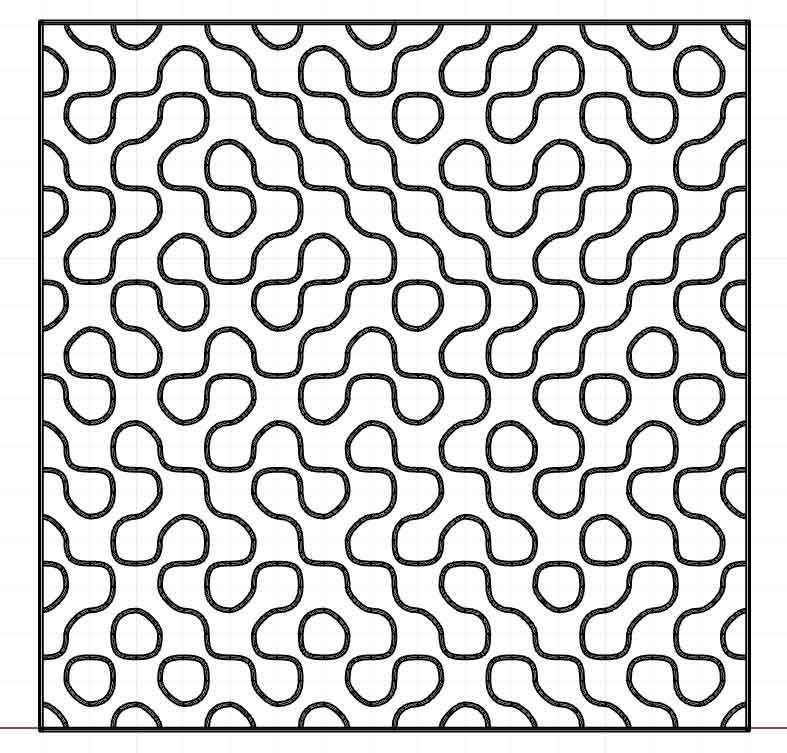
In the first try I surrounded the lines with a square.
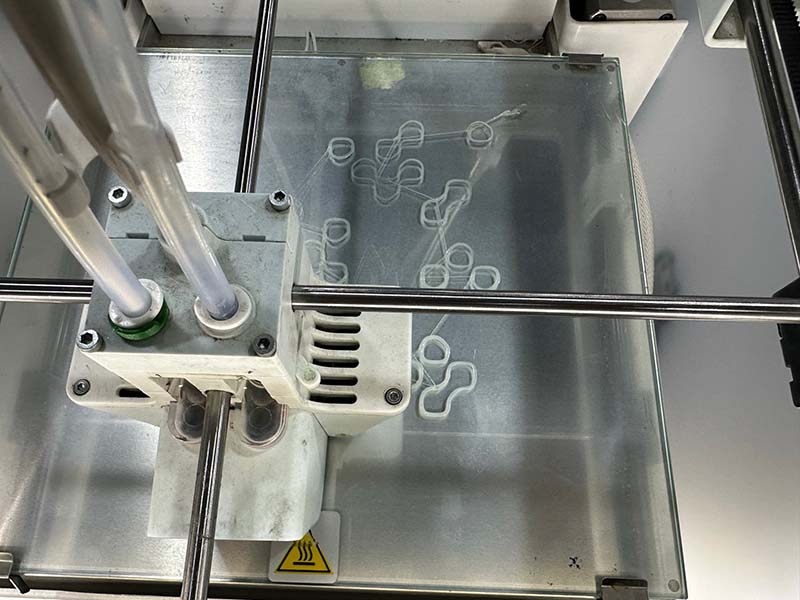
For the mesh fabrics (the ones with holes) you need to print on the building plate and then pause the printer and continue the rest on the mesh, that's the only way the print will hold to the mesh.
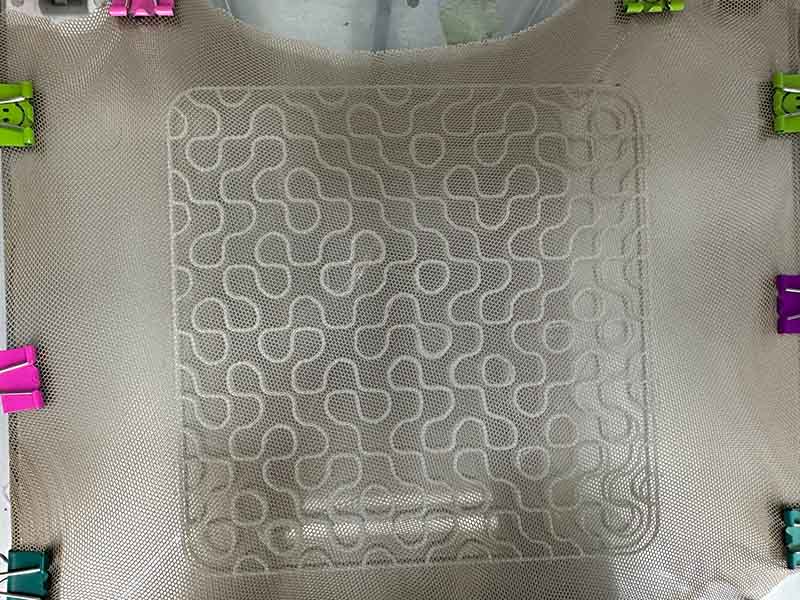
For the second time I filleted the edges of than square surrounding the lines but unfortunately, I had the height set high (2mm) which makes it harder for the fabric to stretch and compress.
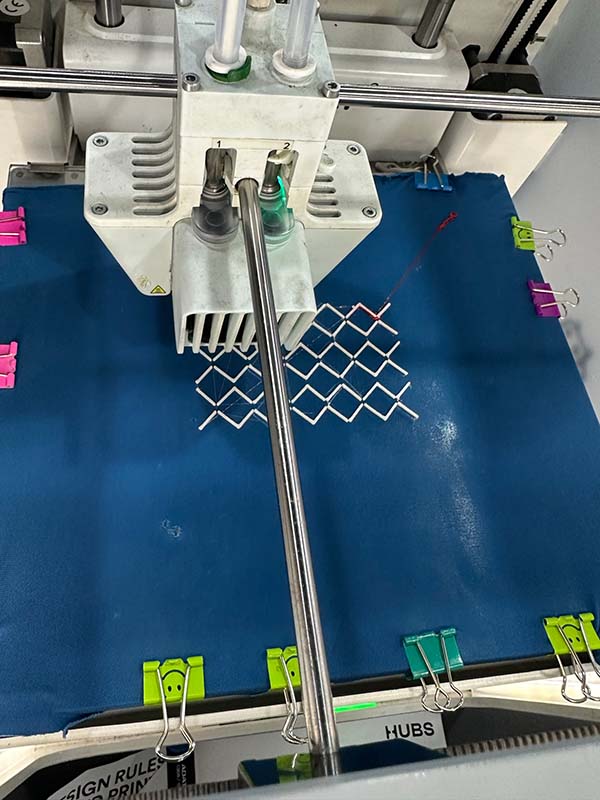
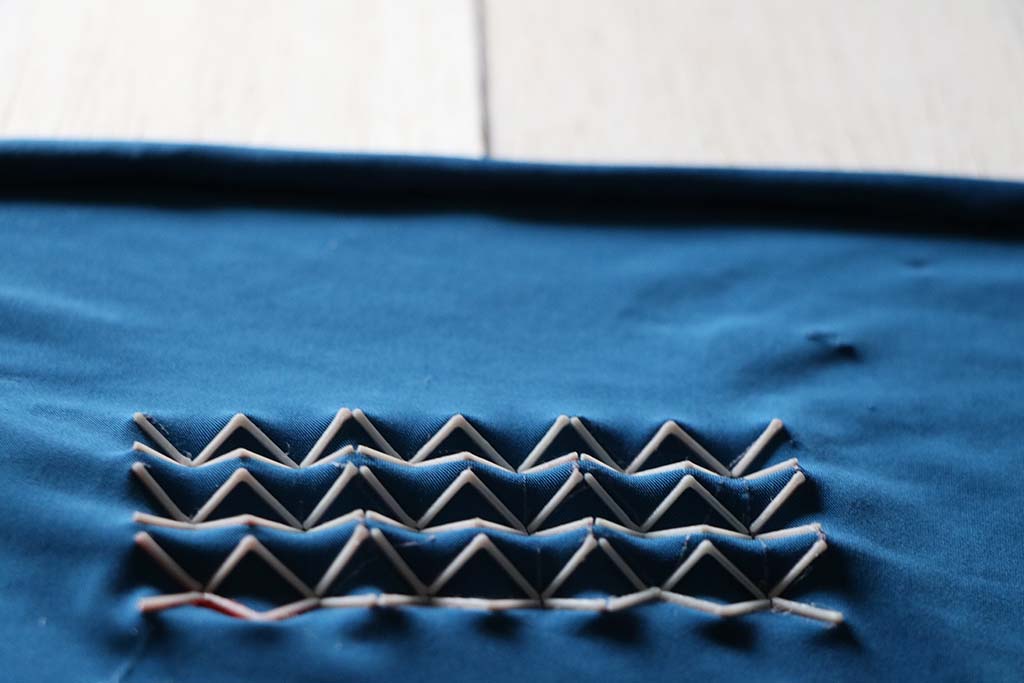
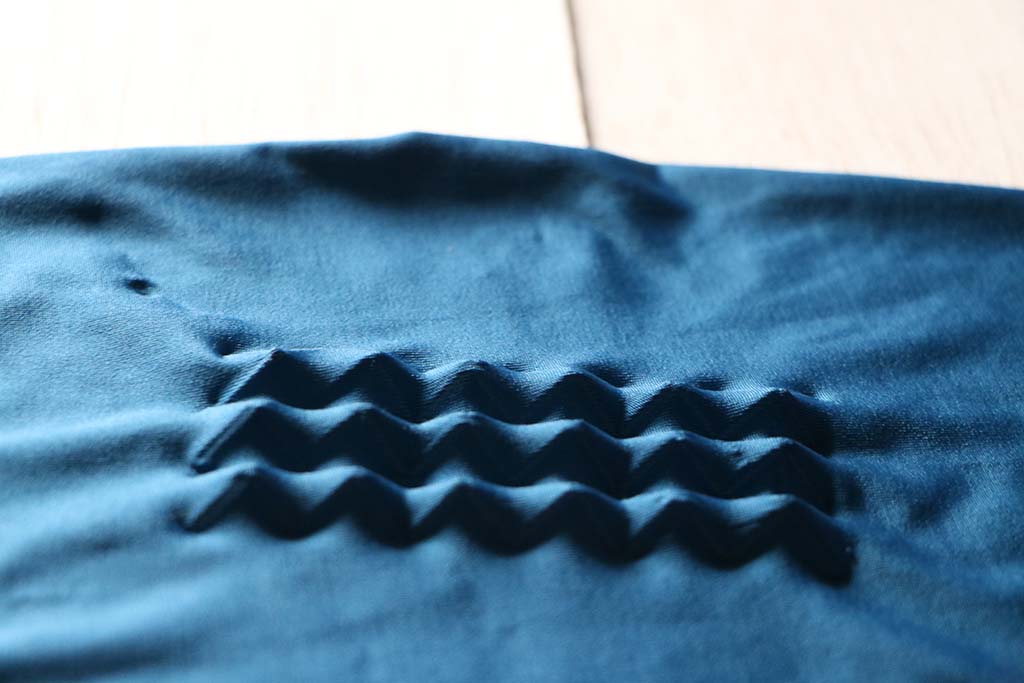
Stretchable Pattern
I drew one of the patterns Anna Correa showed in her presentation, but I got different results than hers, which makes this even more interesting.

It's a simple pattern of rectangles but the key is in their connections and disconnections.
Tools
Fabrication files
-
File: Printing Fabric ↩
-
File: Keffiyeh Pattern ↩
-
File: Dunes Pattern ↩
-
File: Stretchable Pattern ↩