3. Circular Open Source Fashion
Research & Ideation
For this week we looked into the circular, zero-waste, modular fashion. The goal is to create a piece of clothing (or anything!) with repeating modules that are not glued or stitched together, rather interlocked or woven.
Let's see how it will turn out..
References & Inspiration
Part to Whole
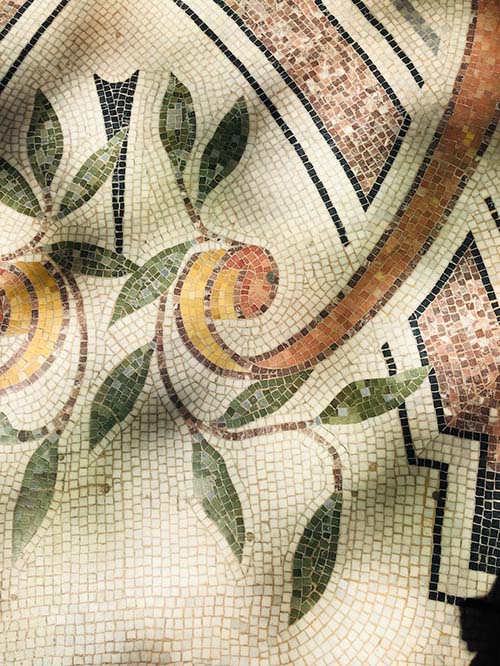
Mosaic is a form of art that consists of many small pieces of a material (stone, glass, mineral,...etc) with various colors that come so close together they make up a whole surface producing a beautiful image.
Madaba, Jordan is rich with mosaics. However, I didn't want to replicate mosaics. Instead I was inspired by the part-to-whole relationship they have, the pieces are not really and directly connected to each other and you can see the space that's holding them together clearly (mortar or glue), yet they are whole and make up a visually appealing image.
I wanted to reinterpret the part-to-whole relationship while manipulating the solid-to-void relationship to introduce interesting shadows as well.
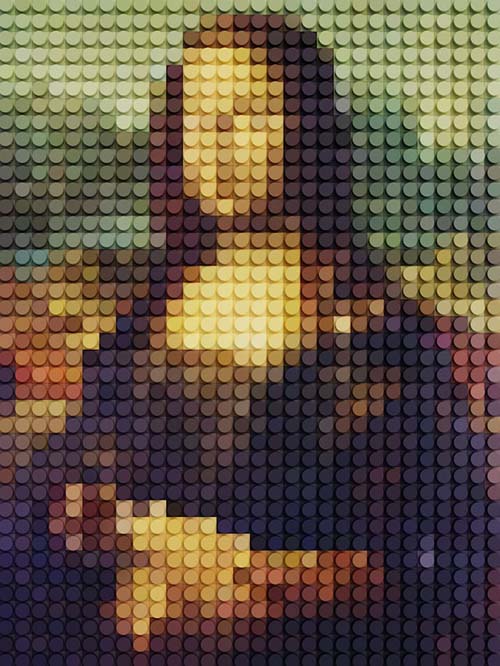
Even though the outcomes are different, pixel art is similar in concept to the mosaics.
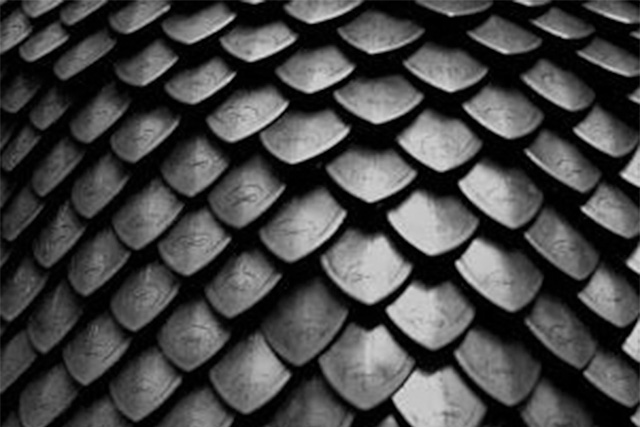
Strong & Flexible
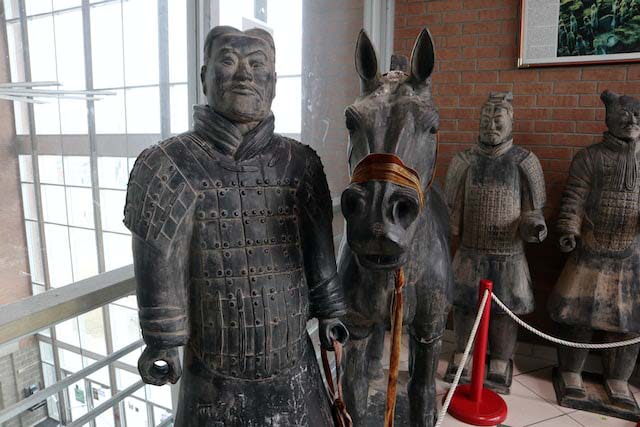
During my research on modularity I stumbled upon the ancient Chinese armor. While I am and will always be against war, the idea behind the armor is smart, the armor provided protection and mobility by using small modules of iron instead of one big plate of iron that limited movement drastically.
Putting it all together
It's still unclear at this point what is the final output exactly. I have a direction, part-to-whole, solid-and-void, light-and-shadow, strength-and-mobility.
Next steps would be to experiment with my hands and see what clicks.
Materials
I used paper for the initial prototypes, just to test out the design and the connections.
For the final design I used low thickness felt and reused felt leftovers I found in the lab.
Process and Workflow
Good Ol' paper and scissors
The best way to do this was to get my hands dirty and try different ideas with paper and scissors. Here some that are not to bad to share.
Experimentation #1 (Learning from what's there)
In this section I will show my take on some of the designs I saw online and liked. This step was important for me to really understand what is there, how it works, and the possibilities.

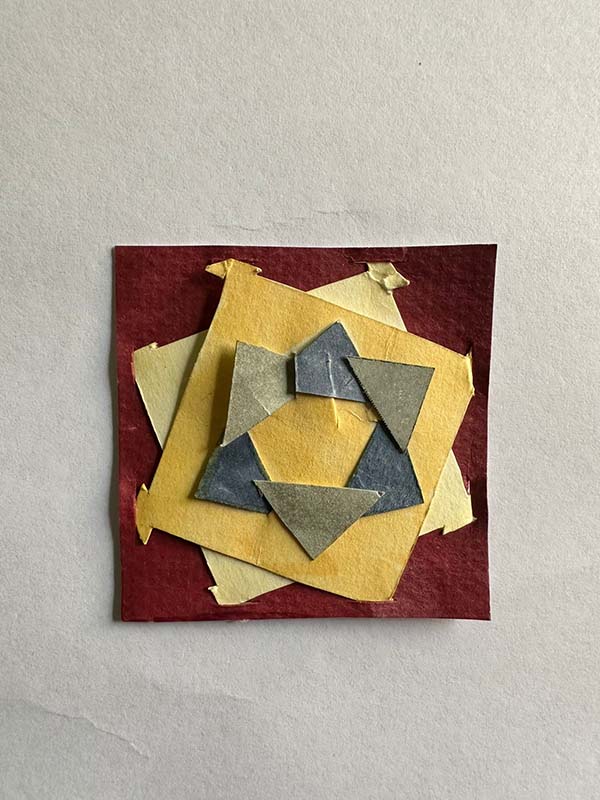
Experimentation #2 (Stacking)
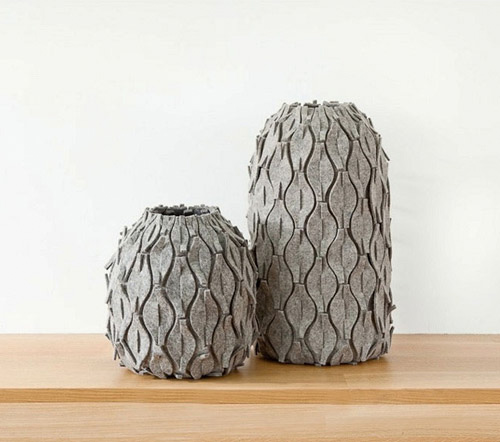
For this option, I tried to stack and connect different pieces together so they would come together and make one image, kinda like the mosaics. The ultimate goal was to achieve the pattern you can see in the image on the right. And while this was -somewhat- successful i realized that it will be very difficult to replicate with thicker materials like felt.

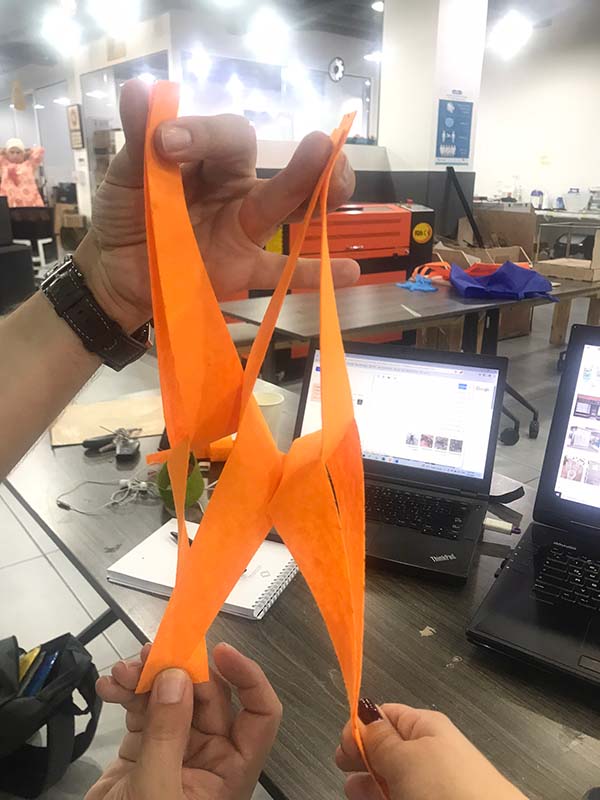
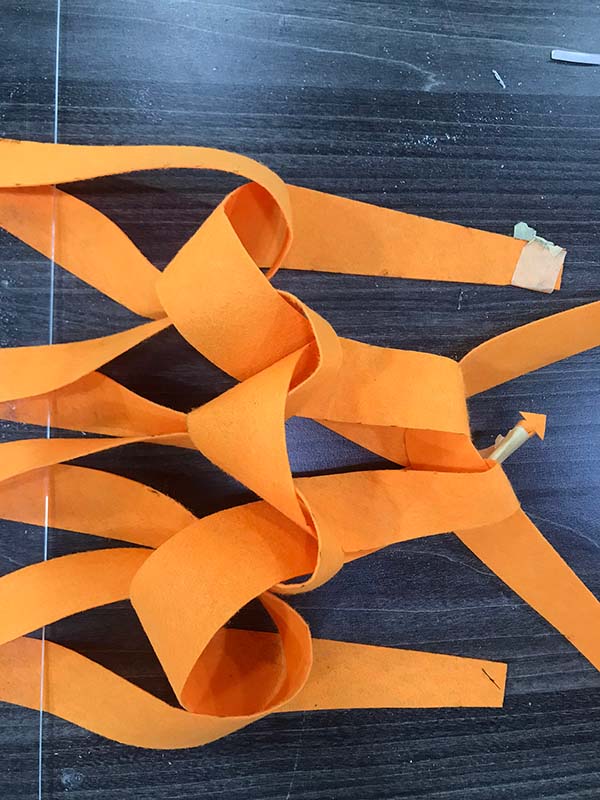
Experimentation #3 (Weaving)
For this option I experimented with felt because paper wouldn't bend the way I wanted it to. And I will learn after experimentation that neither the felt will.
I borrowed Suhaib's hands for this option and then used tape and a leftover acrylic piece.
The idea was to create from basic rectangles an interlocking seamless curtain or partition but the problem was that the direction of the individual rectangles would change when they're interlocked together due to the thickness and physical properties of the felt.
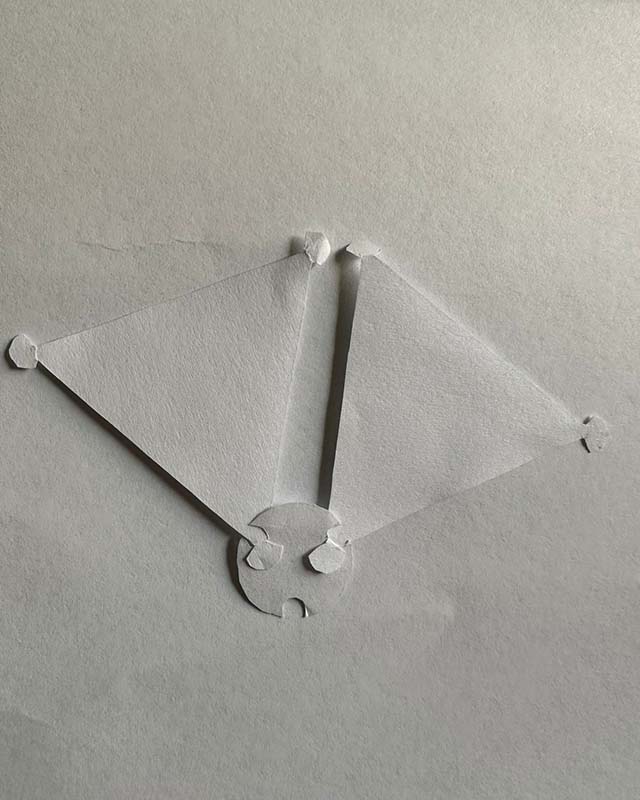
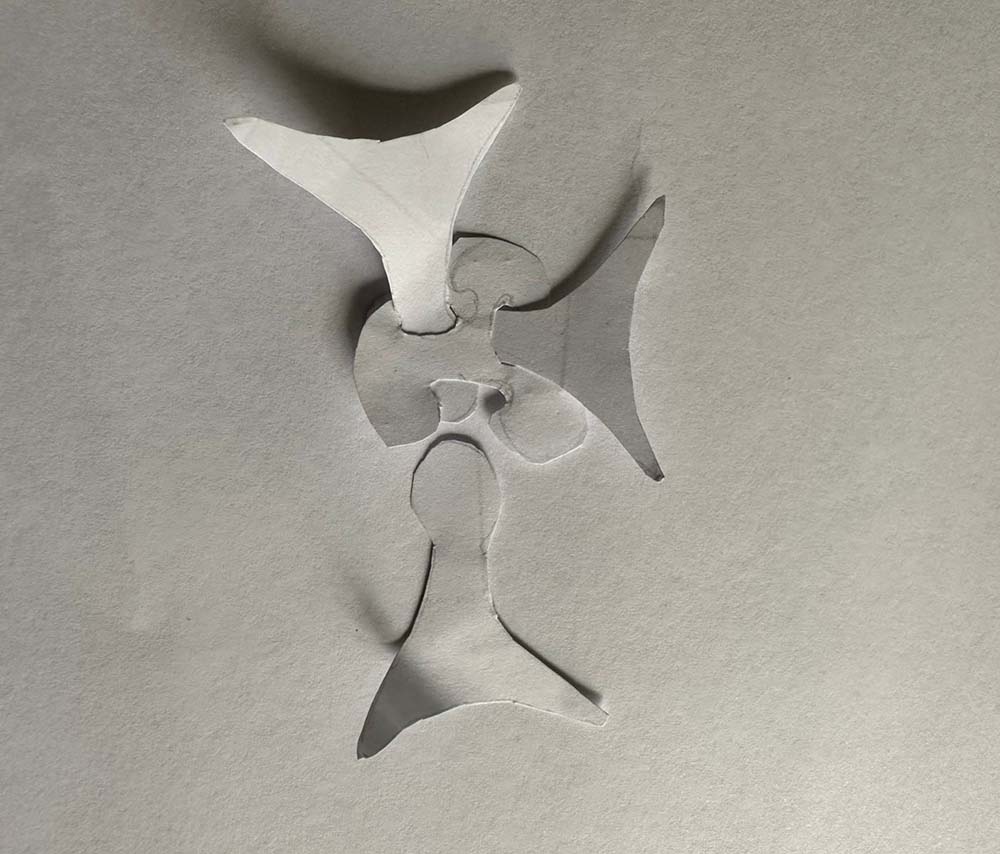
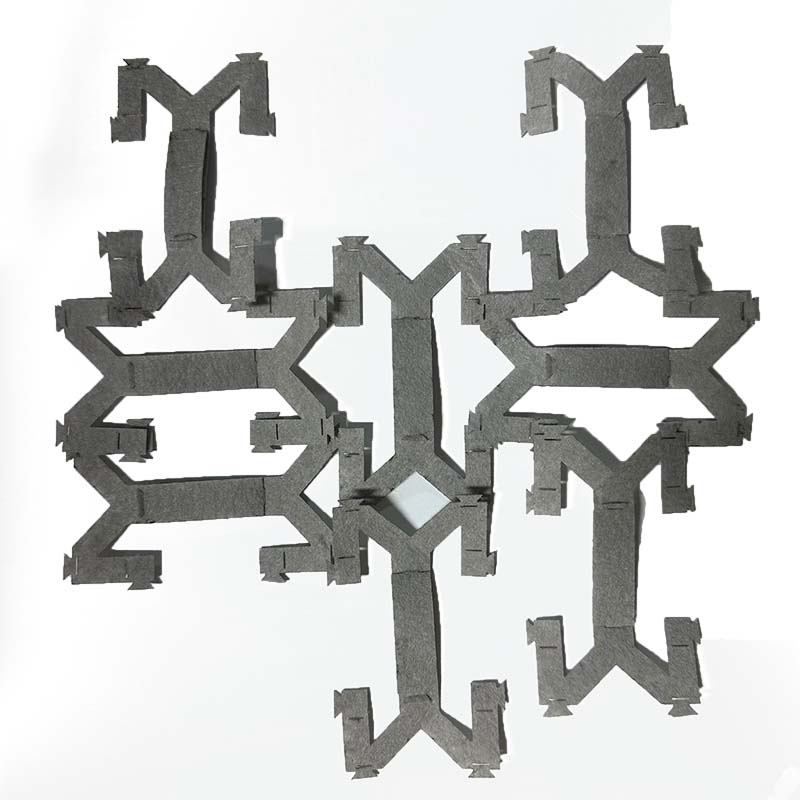
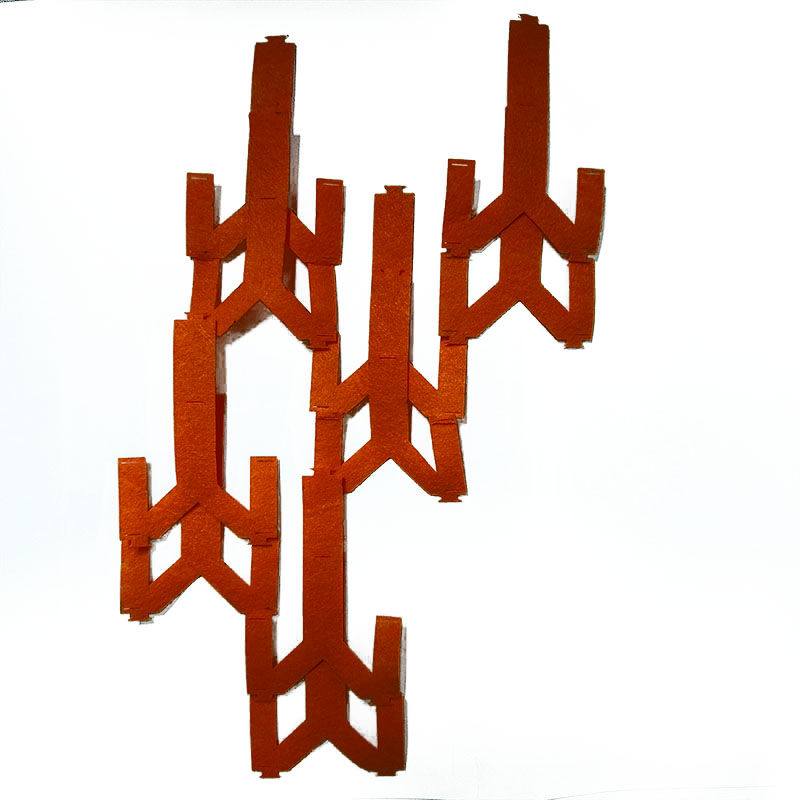
Experimentation #4 (Interlocking)
This option is inspired from the ancient armor designs I showed in the beginning of this page, I created this distorted T-shape that connects to each other from different points creating different configurations.
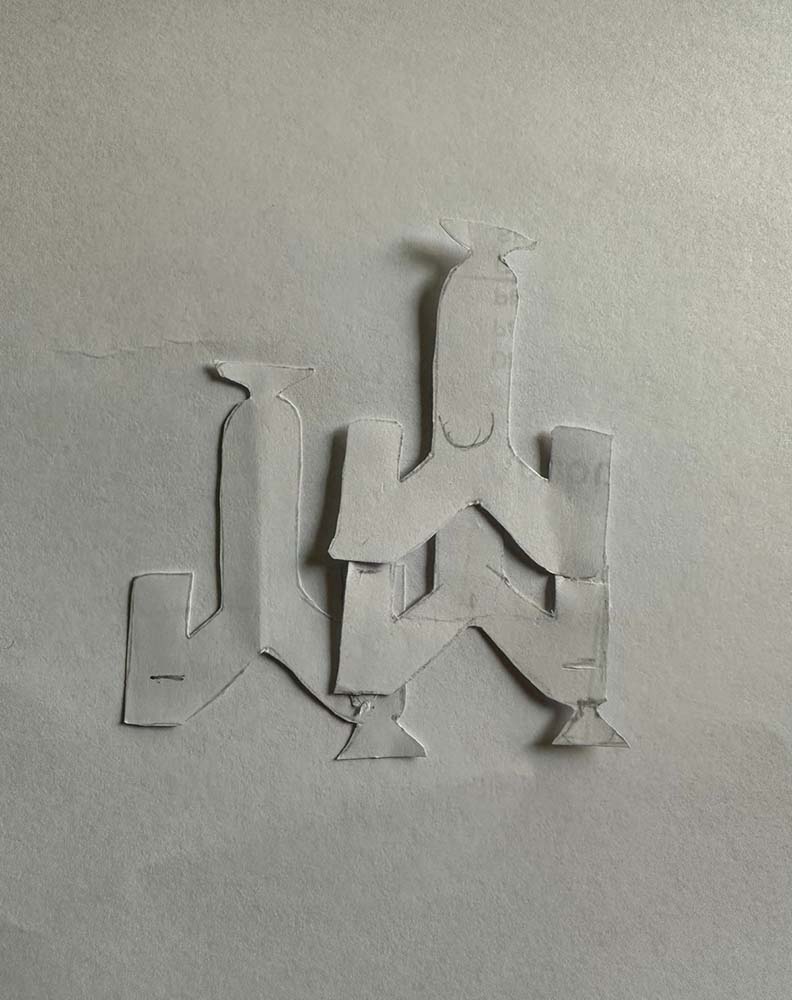
After plenty of research and application I decided to move forward with this option because it was a little bit different than everything else I saw, and it allowed for variety in the way they connected together and the final output, all while having some gaps in between which will create the solid-void effect that I was hoping for.
Digitalization
After a decision was made next steps were to design it digitally and prepare it for laser cutting.
I traced my sketch using the polyline command in Rhino and made sure the shape was symmetrical. This is what I ended up with.
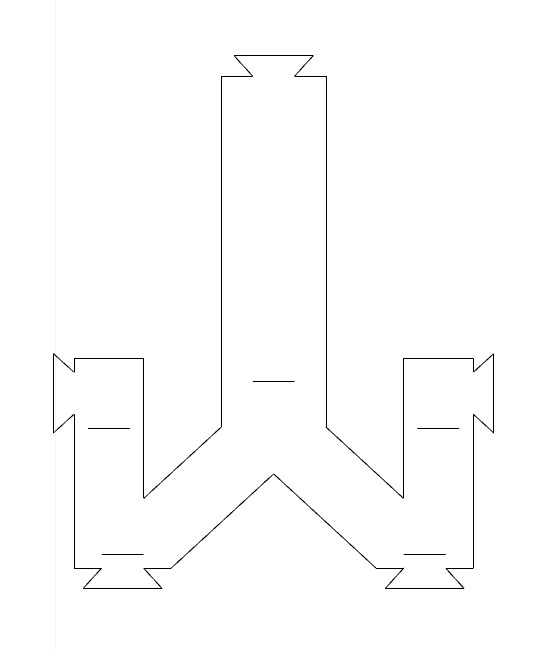
So the same piece included both the male and female parts.
Nesting
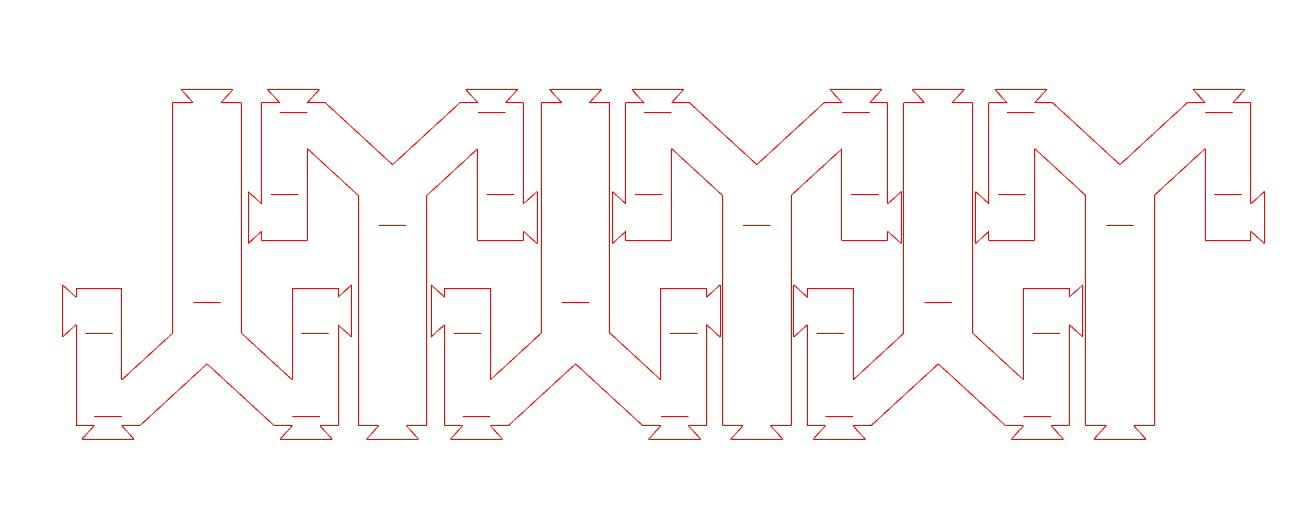
To reduce the waste to the minimum, I arranged the pieces so close to each other, this is called nesting (more on nesting here).
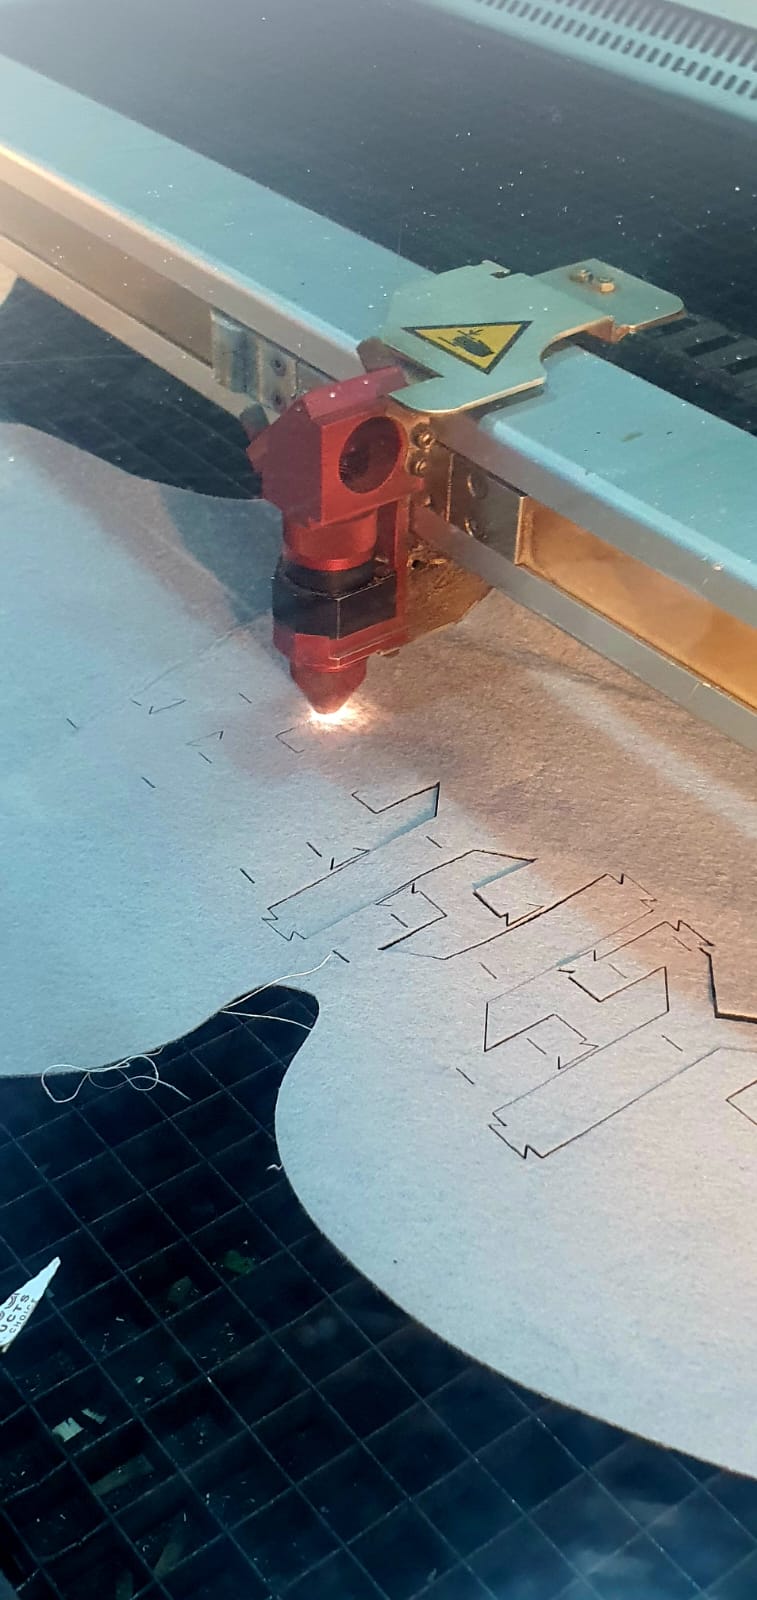
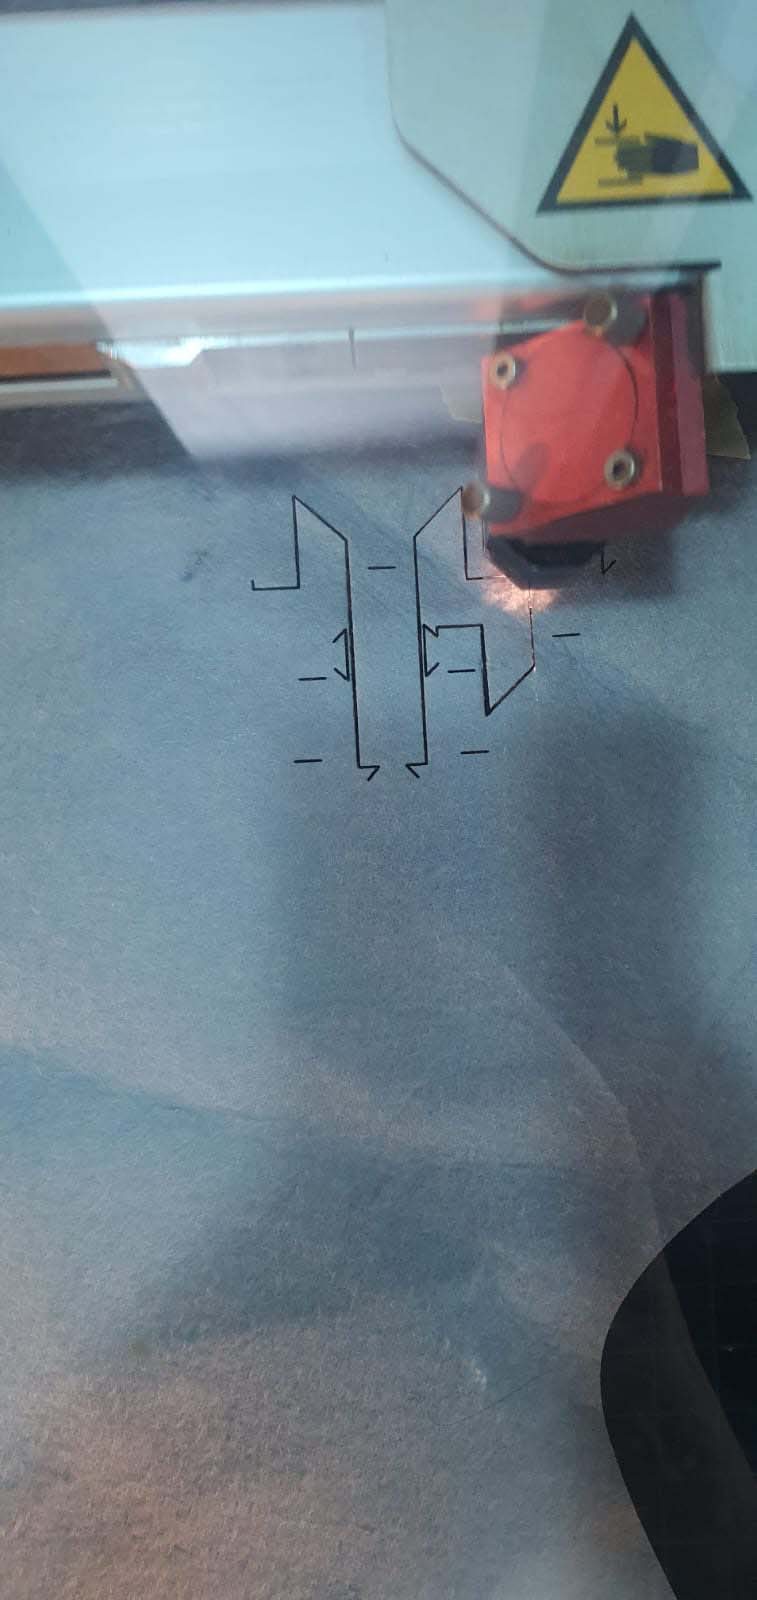
Laser Cutting
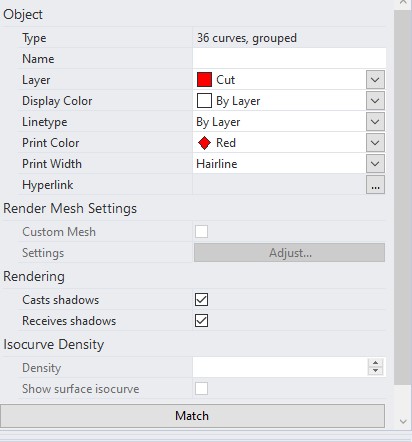
Before sending the pieces for the laser cutter it's very important to change the line color and print width. The width is always set to hairline and the color was to match what I will define in the laser cutter settings (in this case it was red).
We have a Trotec Speedy 400 in the lab and this was the laser cutter I used for cutting the felts. Below are the settings I decided were best after experimentation.
| Color | Process | Power | Speed | PPI/Hz | Passes |
|---|---|---|---|---|---|
| Red | Cut | 70 | 30 | 500 | 1 |
| Black | Engrave | 20 | 30 | 1000 | 1 |
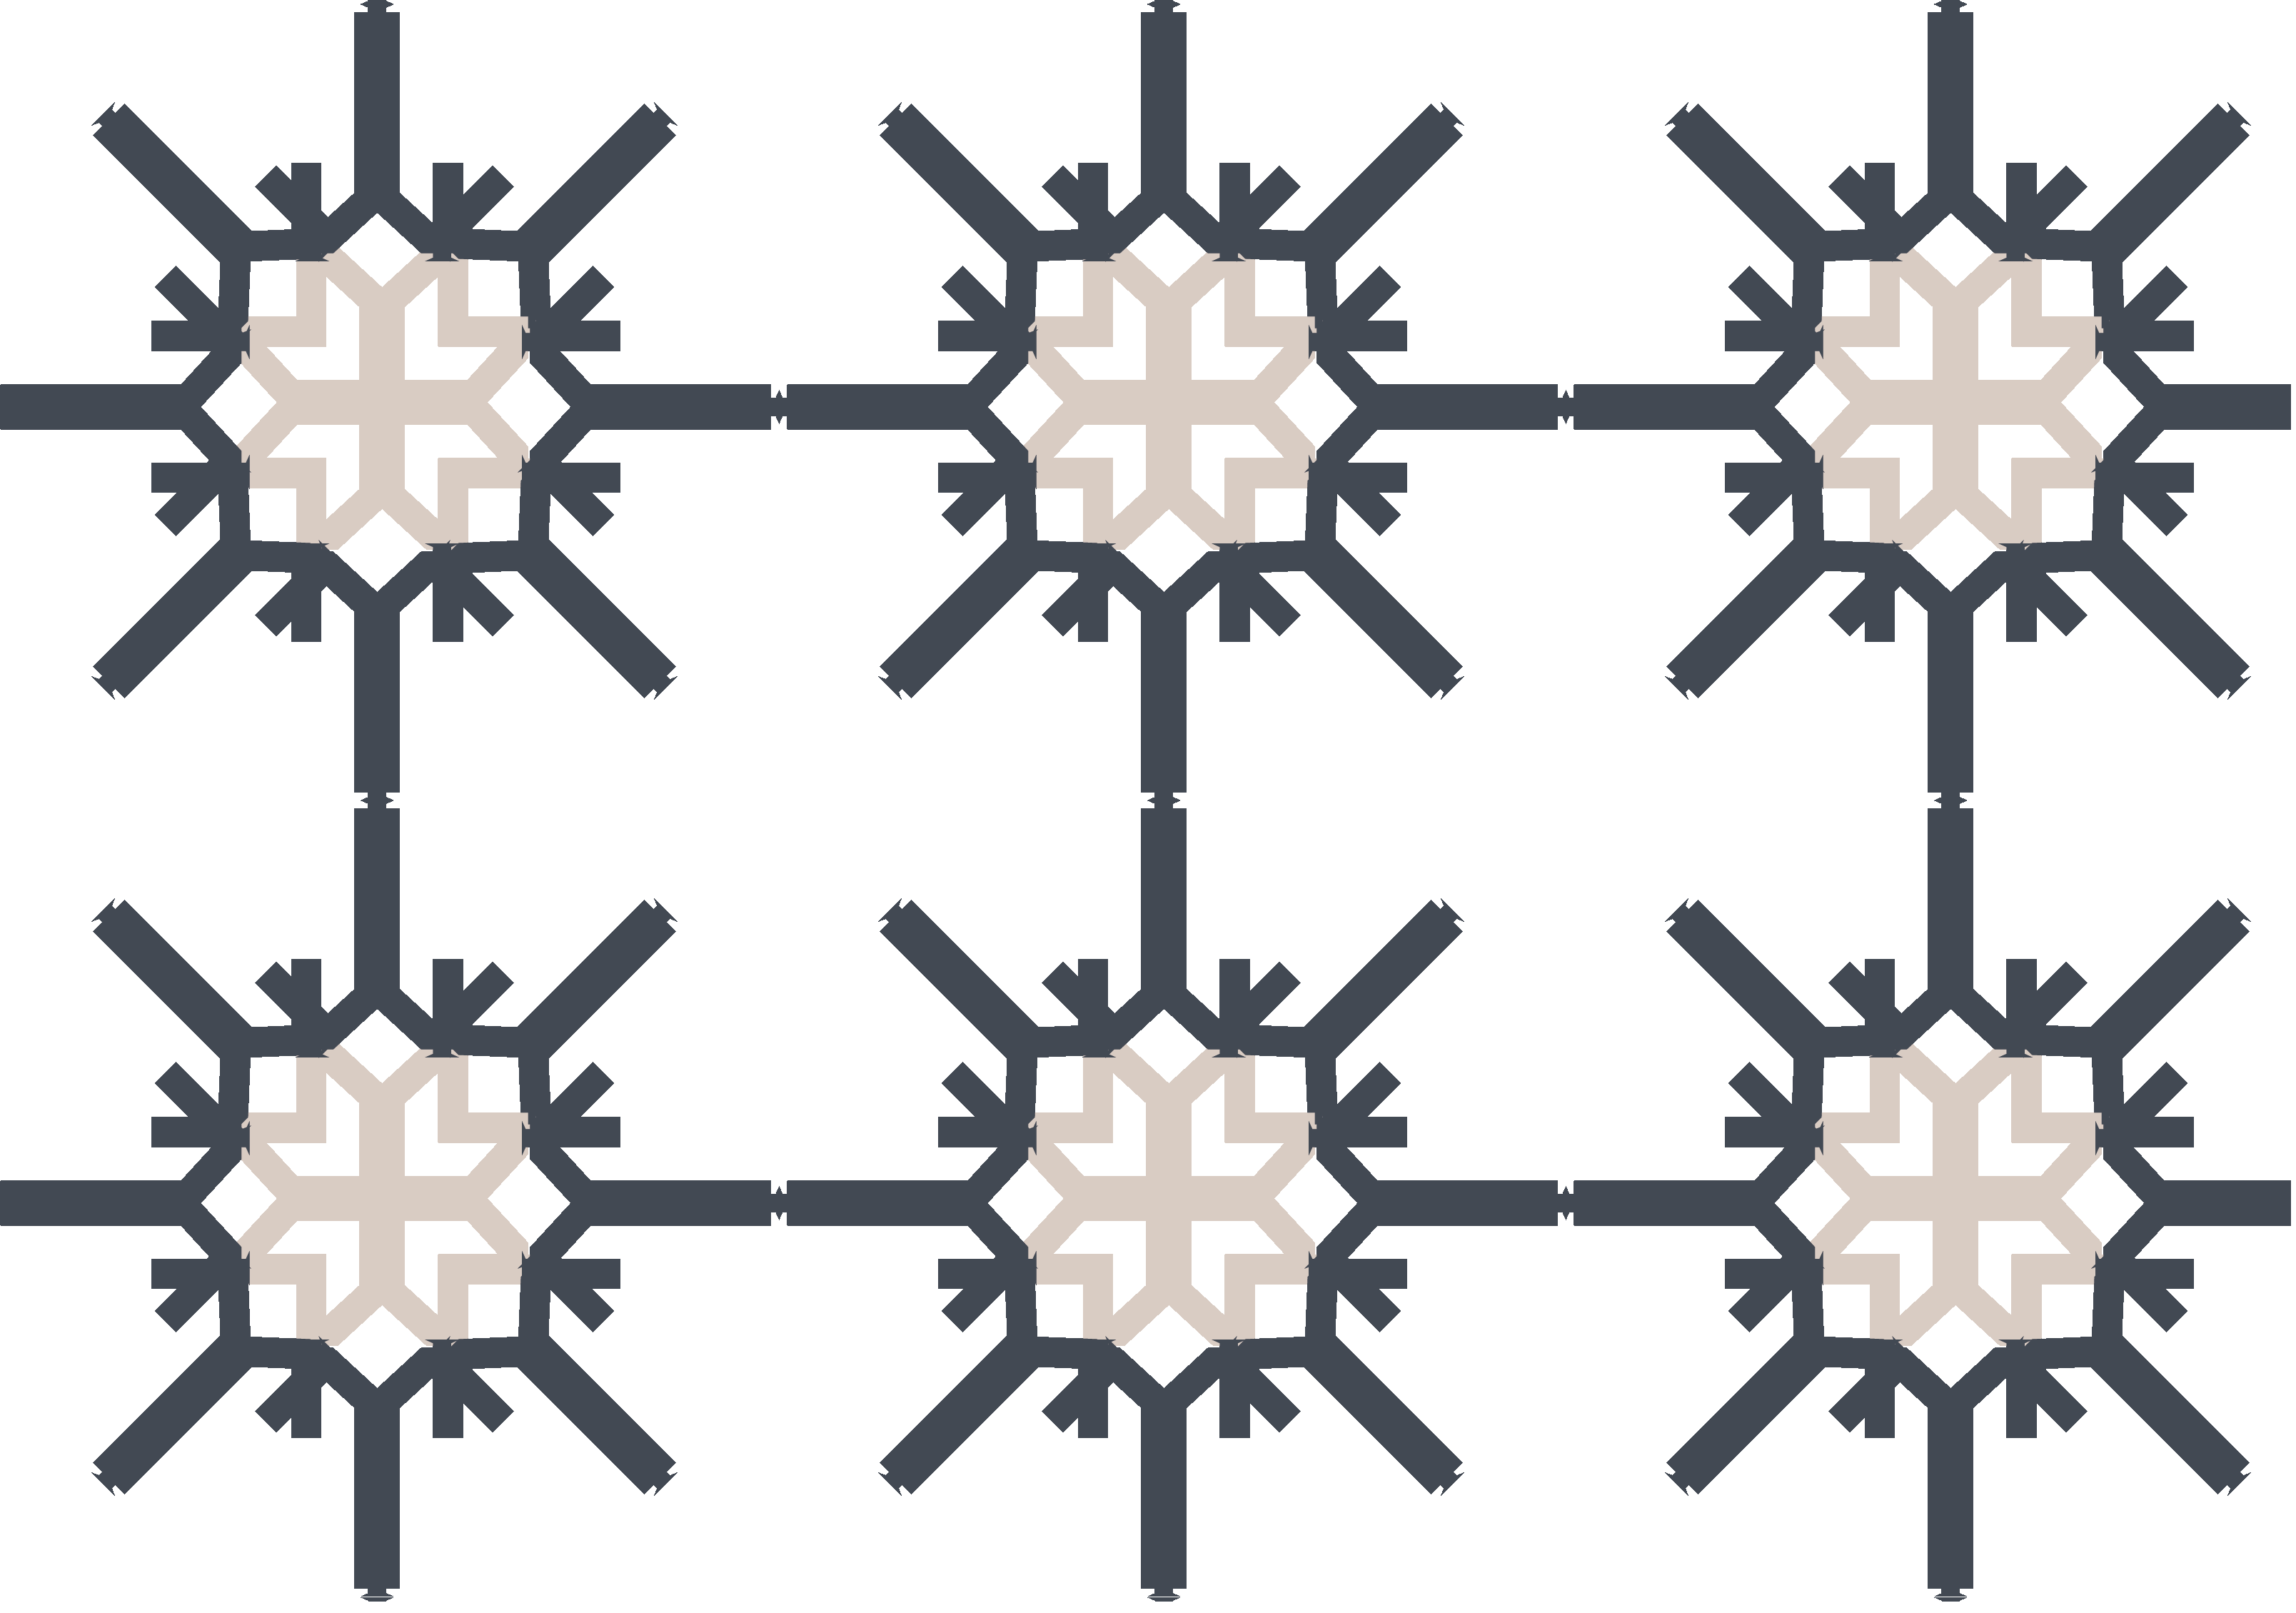
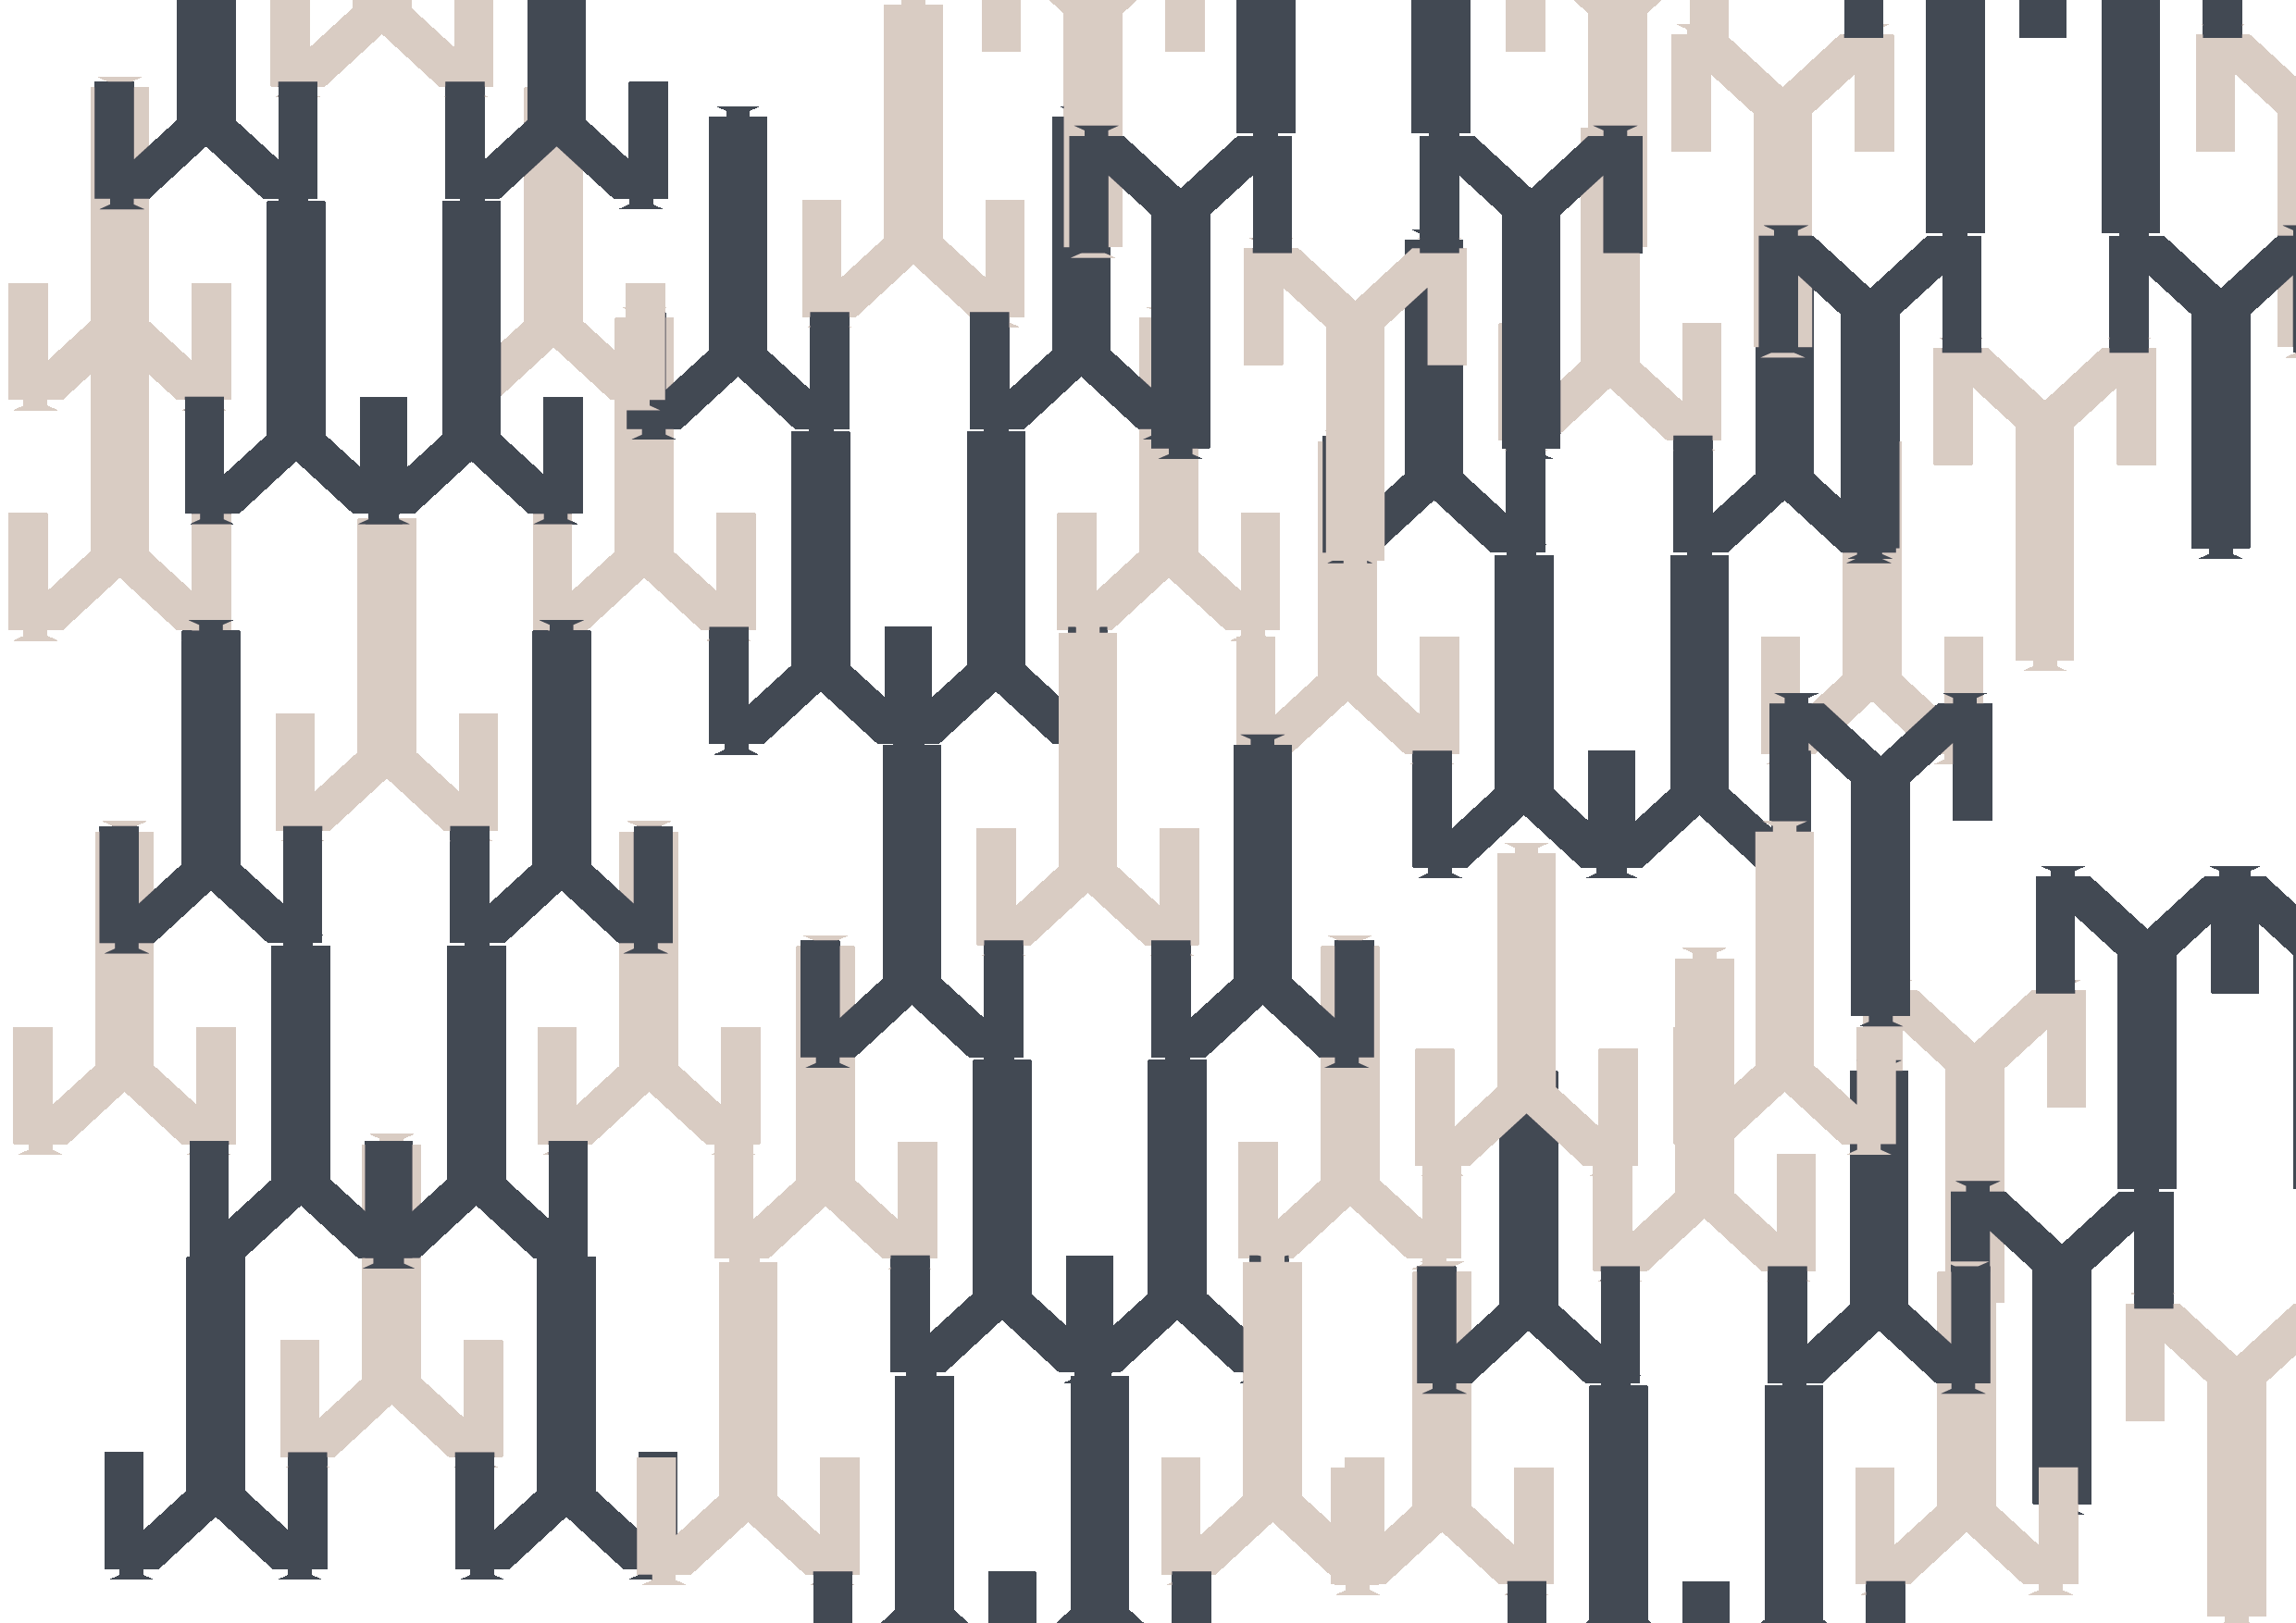
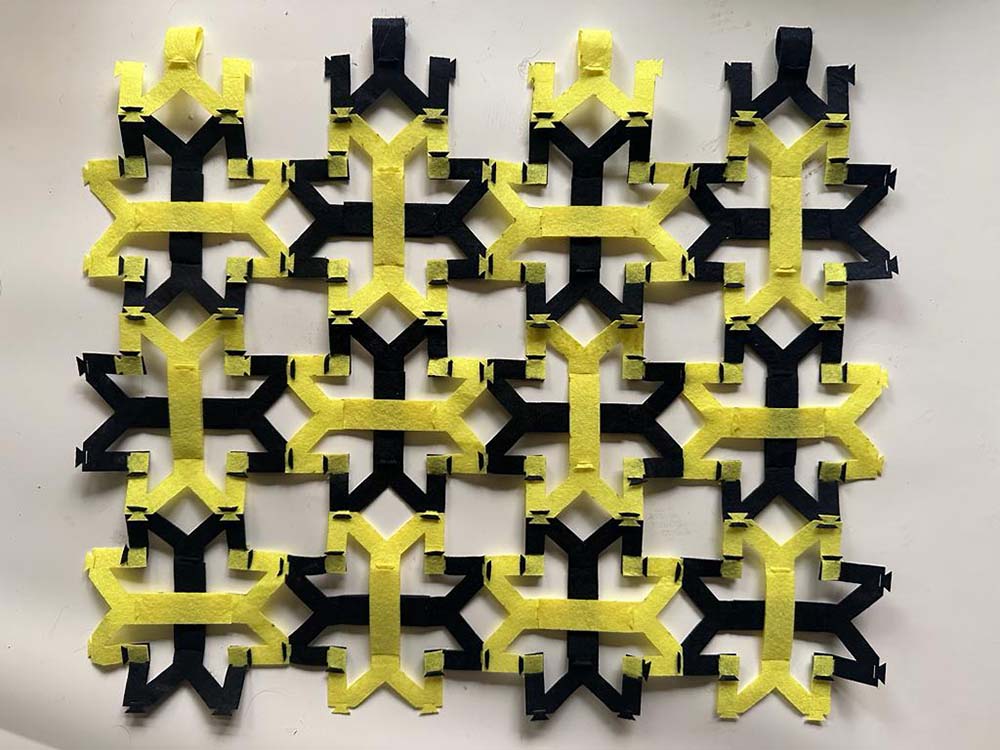
Variations
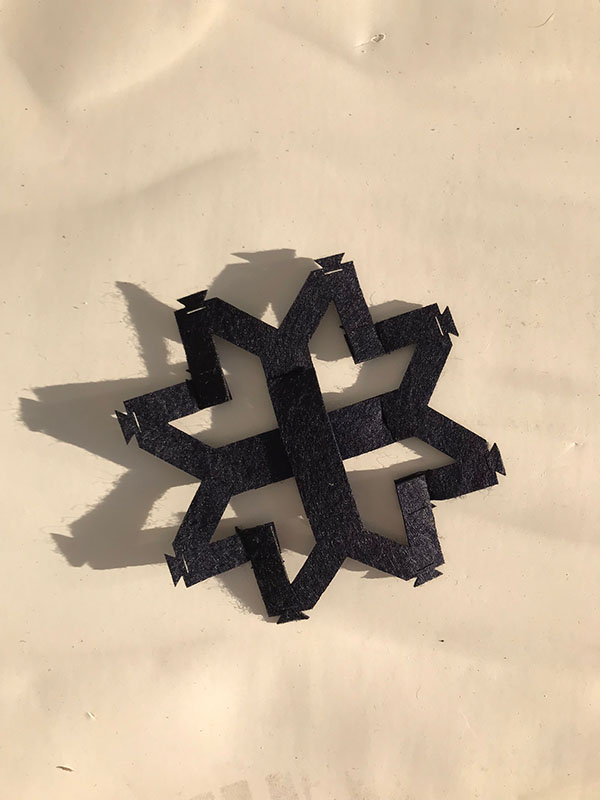
After laser cutting the module on felt to test out the connections and it's order, we came up with many variations, to our surprise an Islamic eight-pointed star came out. I used Adobe Illustrator to experiment with more variations and ways to connect the modules generating different outputs every time.


Assembly
The modules were finally joined through the connections designed.
Testing the Connections
I recorded this video of me pulling and stretching the modules, to test out the strength of the connections, looks pretty good, see for yourself...
Final Output
A tapestry or a room separator that can altered in size according to the space it's occupying.

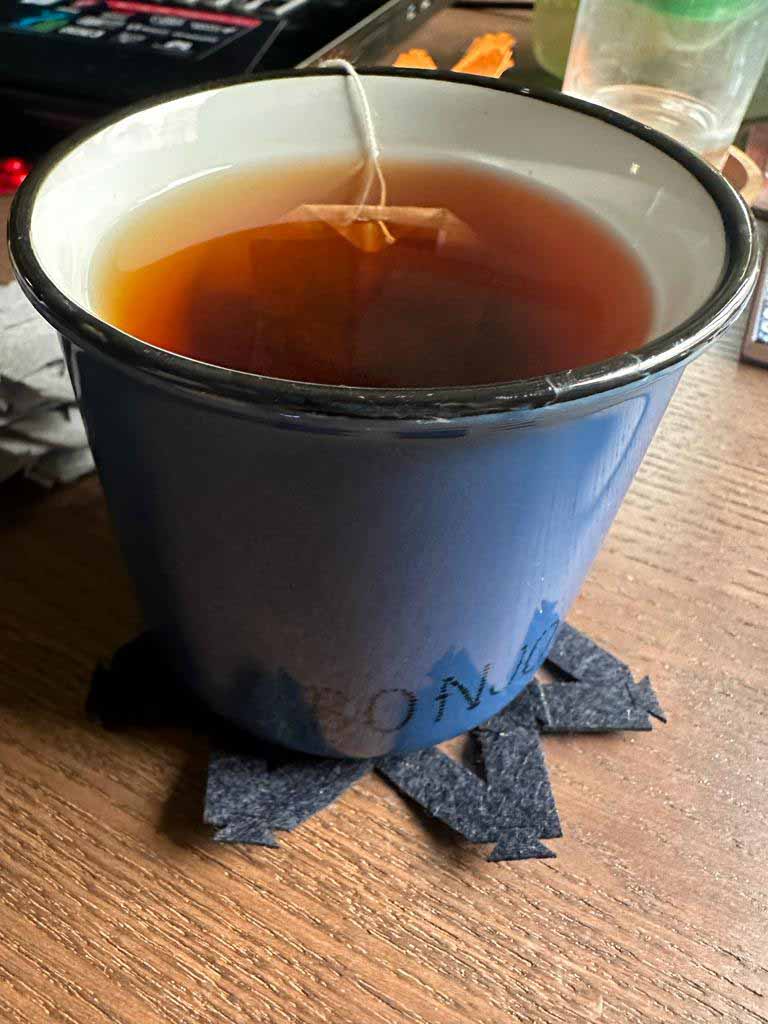
A coaster.