Material Explorations
In this page, I will share the beautiful and interesting journey of materials, textures, and properties.
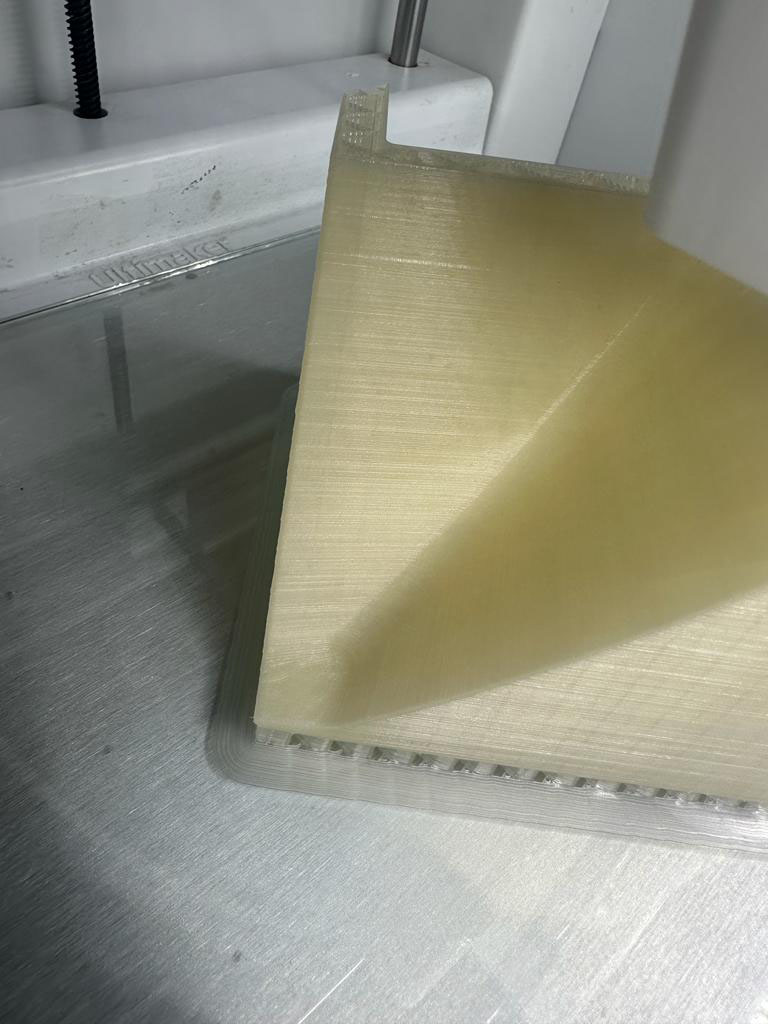
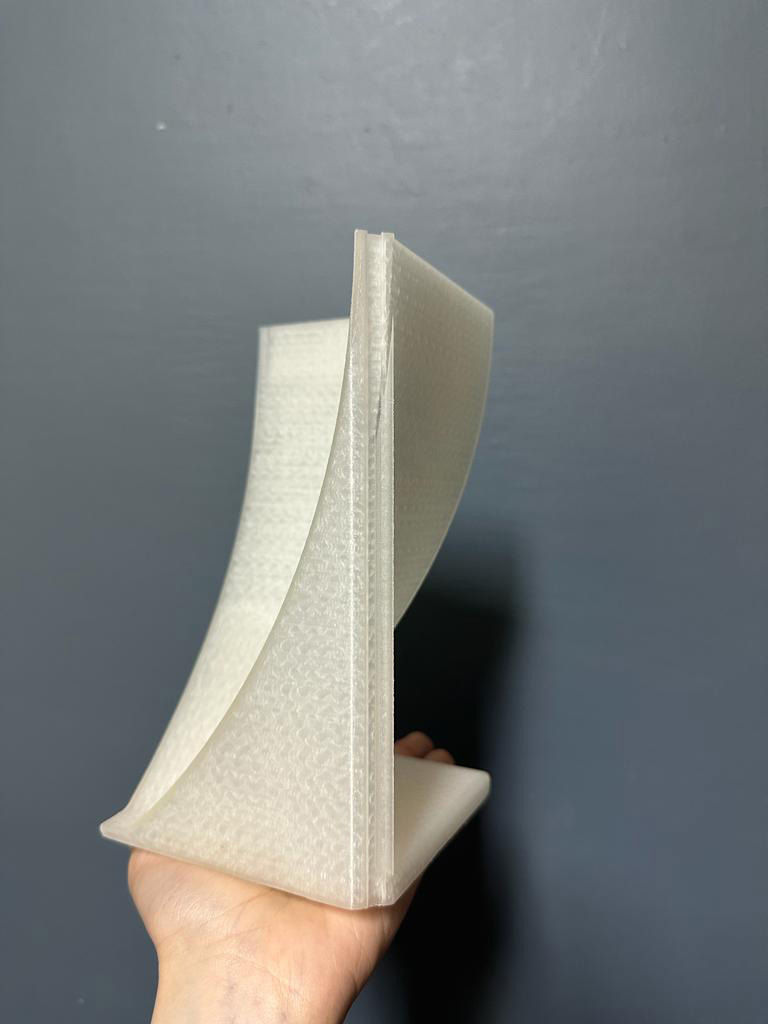
3D-Printed
Some of the modules were 3D printed with an FDM printer. I used (Ulitmaker S5) mostly buyt any printer will do.
After exporting the model from Rhino in STL format, I imported the STL file into Ultimaker Cura to slice it.
And I used the below settings:
| Material | Layer height | Infill Density | Infill Pattern | Top Layer Thickness | Bottom Layer Thickness | Build Plate Adhesion Type |
|---|---|---|---|---|---|---|
| PLA(clear, white, and variations) | 0.15 mm | 15% | Gyroid | 2mm | 2mm | Brim |
Bio-Resin
Non-toxic, food-safe bio-resin offers a new perspective and feel to the project, in one hand, its transparency allows light to come through and create the light-shadow effect, which is a main pillar of the project. On the other hand, the safeness of the material doesn't contradict the goals this project aims to achieve.
I took this video that explains the tools, steps and process of casting bio-resin into the silicone mold.
Composites
The transparency of the resin also allows for the co-existence of other materials within. That's why I took this chance to add different materials of various properties to the resin and observe the output.
Here is a video of the possible additives.
Cement
From transparent to solid. The use of cement has a deeper meaning than just varying the materials, it's meant to highlight a common material used in the building industry in Jordan and the region and the effects of the constant enclosures we live in. Emphasized by the juxtaposition of the transparent and semi-transparent modules created with bio-resin and 3D-printers.
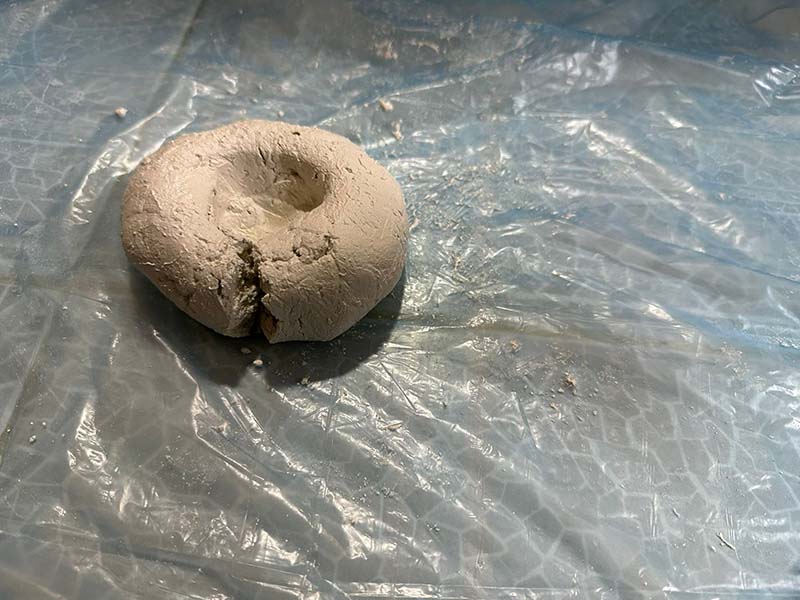
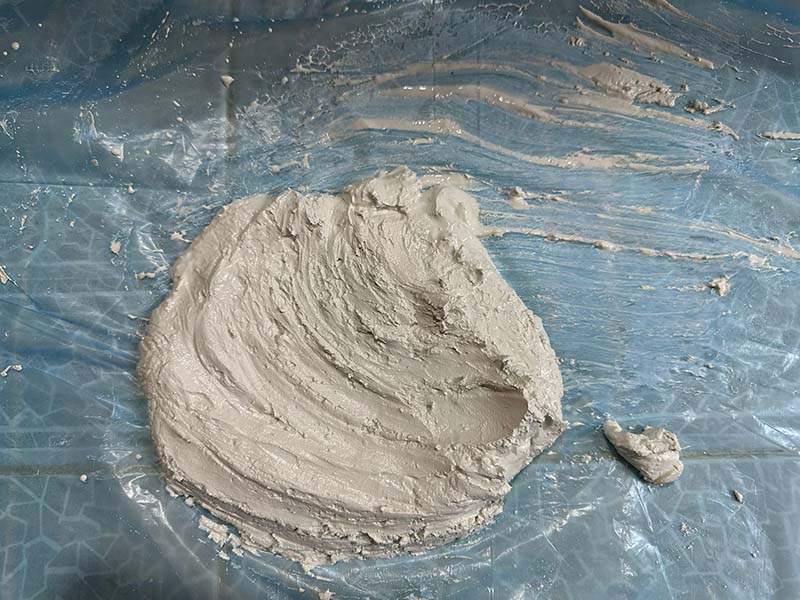
I bought portland white cement from a local shop. Mixed it with water until the viscosity was paste-like, not too runny nor too dry (Ratio approximately 1:5).
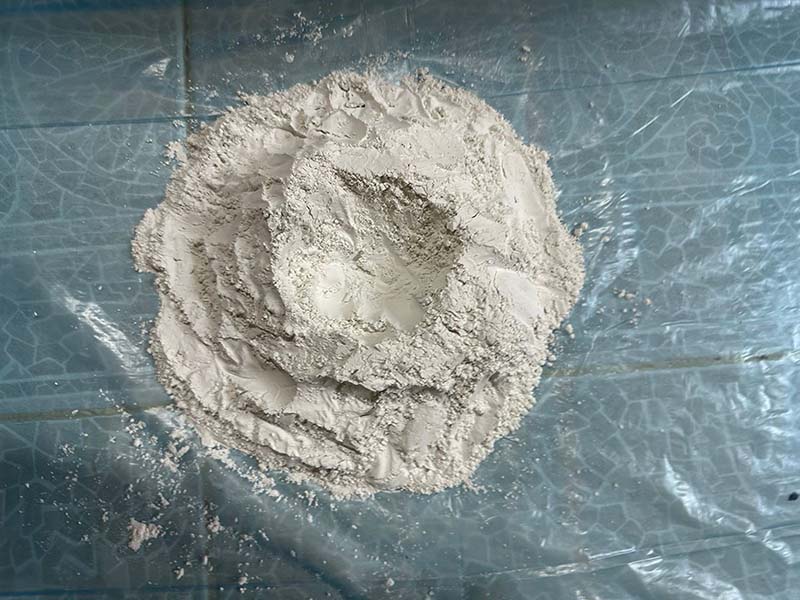
Too dry
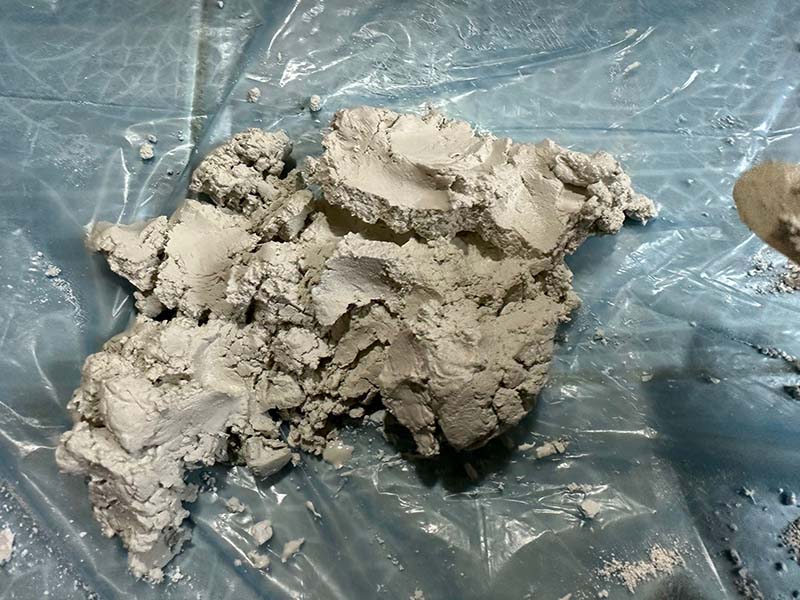
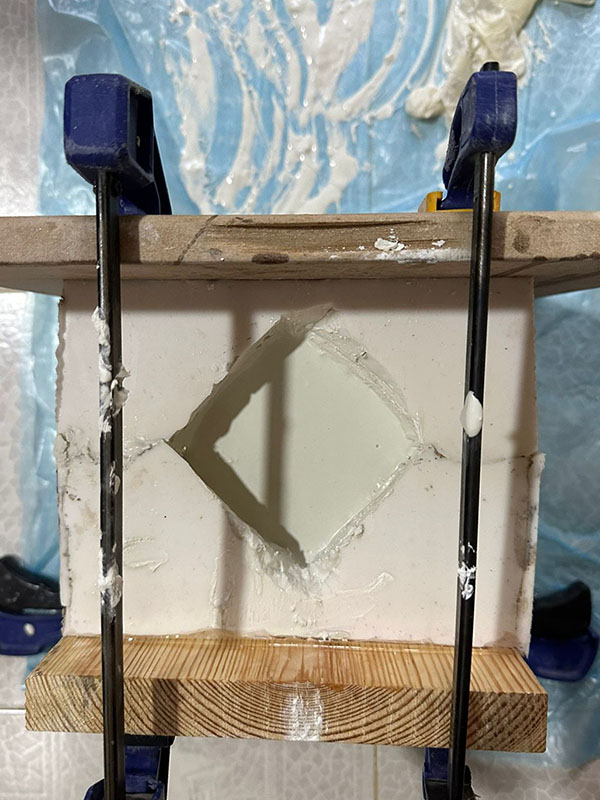
I poured the paste into the mold and let it dry for more than 24 hours.
Heads Up
- The sooner you take the cement mold even if it was dry the higher the chances it cracks, so leave it for as longer, if you could.
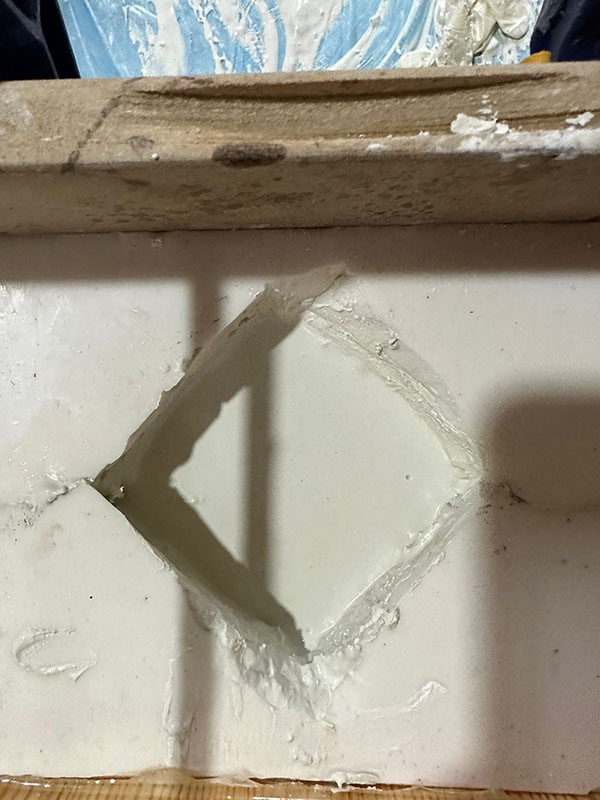
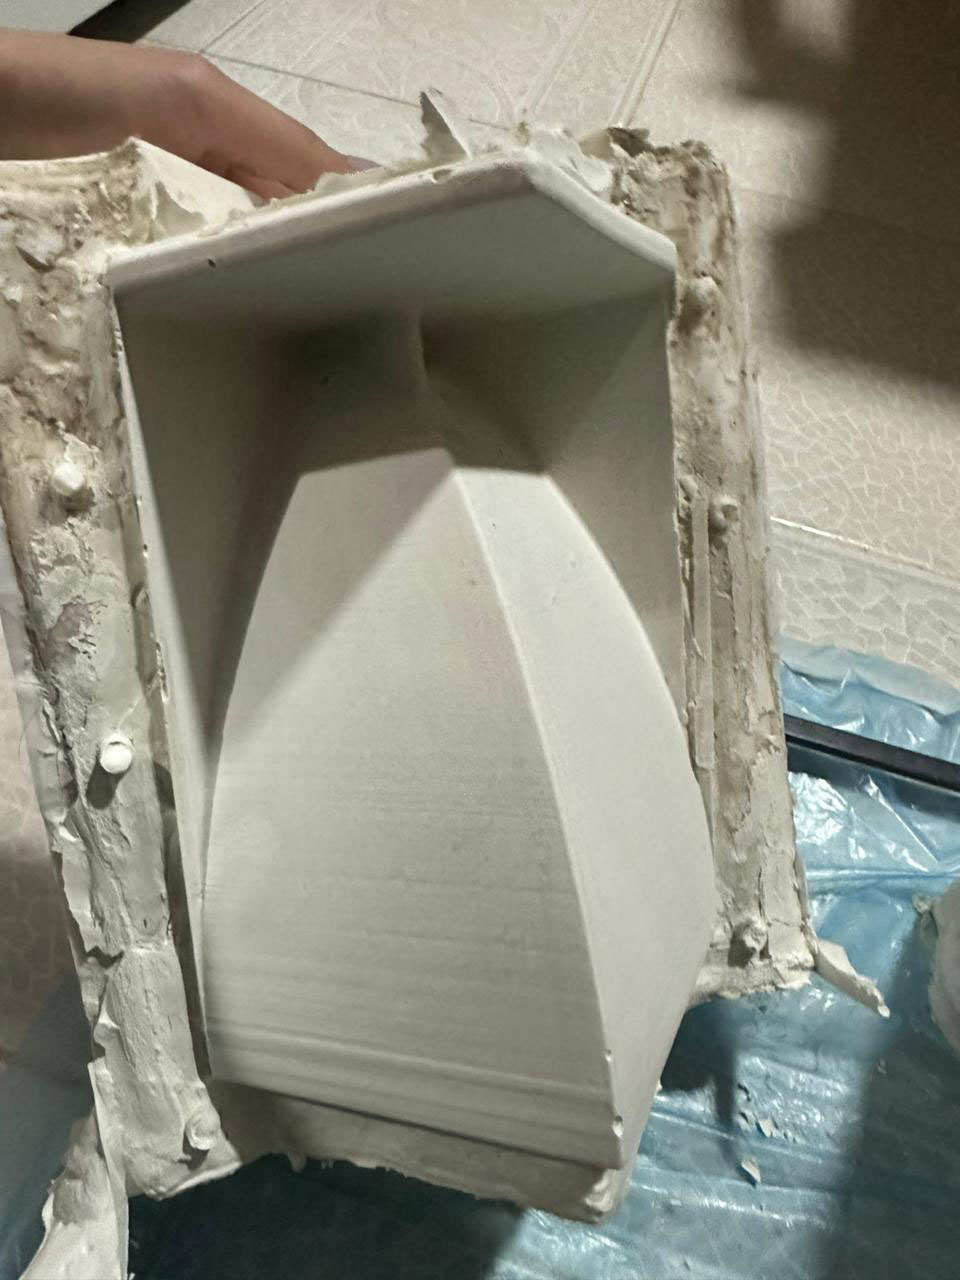
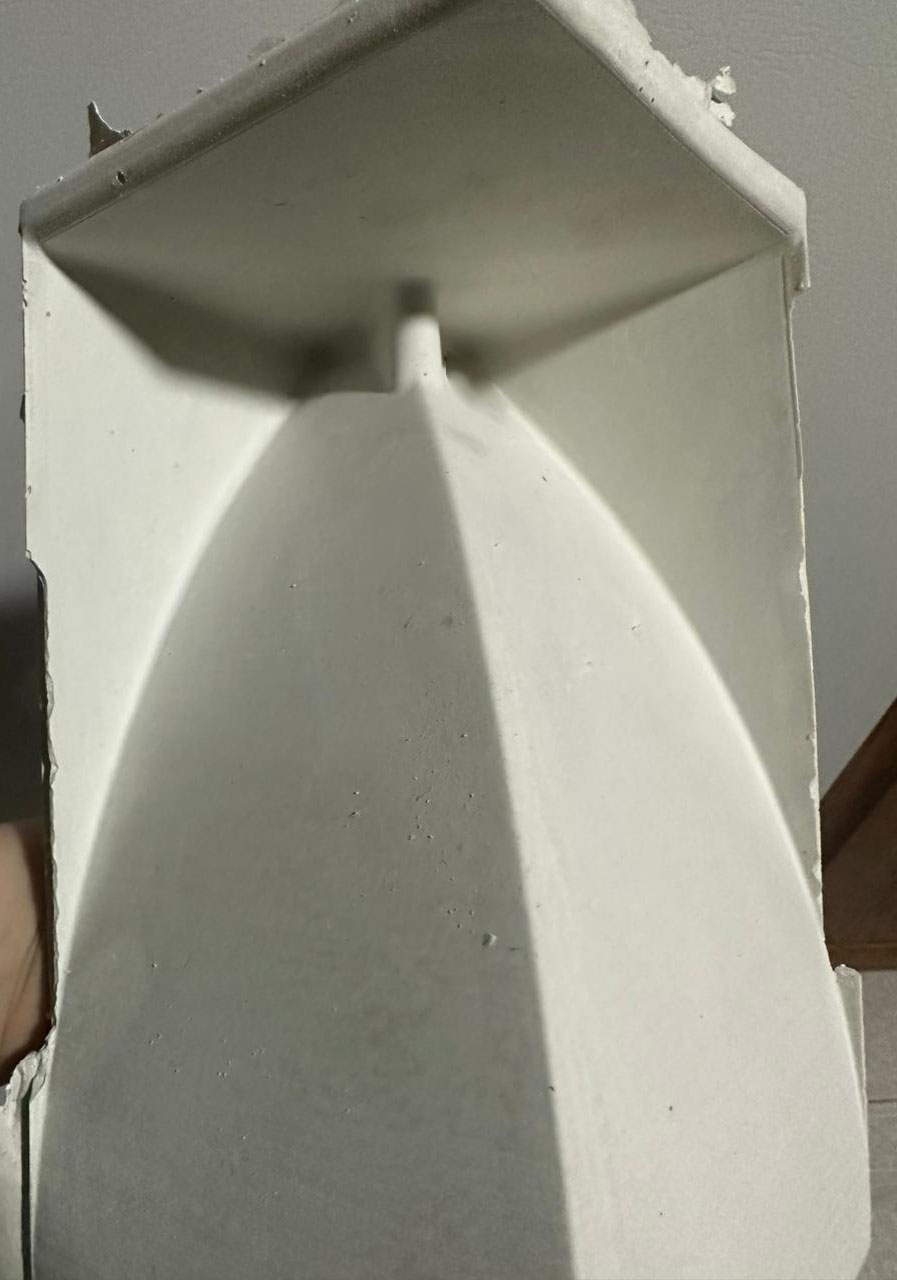
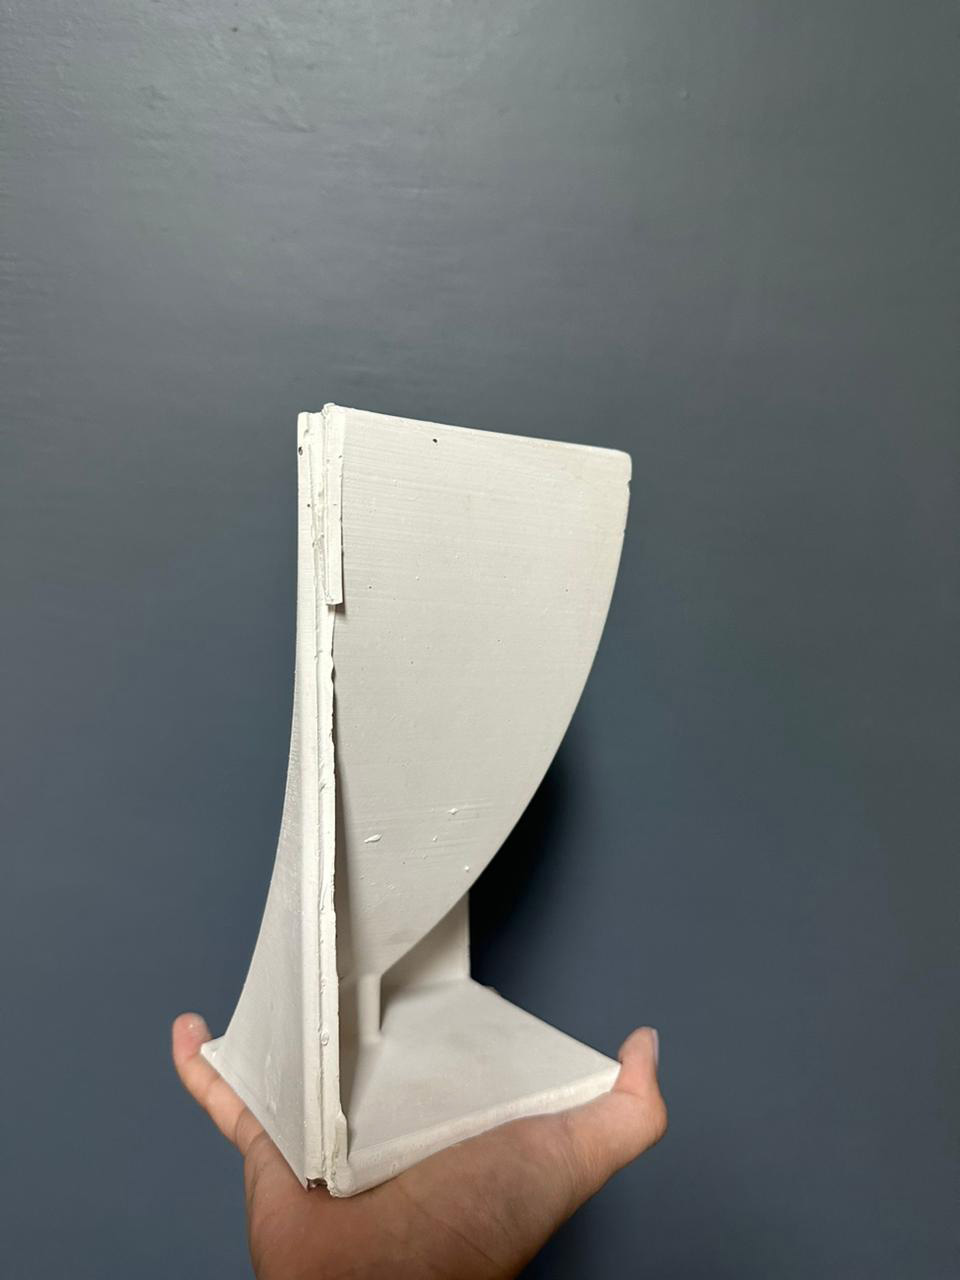
I took it out after more than 72 hours, yet it was a little bit damp in some places, which is understandable because the mold is closed from almost all sides.
The cast was successful, it didn't crack, on the contrary, it was pretty hard. The surface finish was great. And almost no air bubbles. I will leave you with the pictures
Miscellaneous
In this section I will show and document the new explorations I make based on your suggestions.
Scan the QR code below and fill the form to let me know what new/different materials you think I should explore with.
I will check the form on weekly basis.