4. BioChromes
Research
"very interesting week as we got to know more about producing dyes from animal or plant, inks, and pigments and most important it is from natural resources.it explore my mind like a 10 years child when get his/her hand in action and able to know and experiment what happen during dyebath and find out replacement of synthetic dyes and use natural dyes. Note: We worked as a team at first and then each induvial as each student choose different element to generate colors ."
Overview
I got inspired by lena-platow when introducing a film about Yoshioka a Japanese textile dyeing company which has been running since the 1800s. ِِA Yoshioka documentary film on YouTube
working Process :
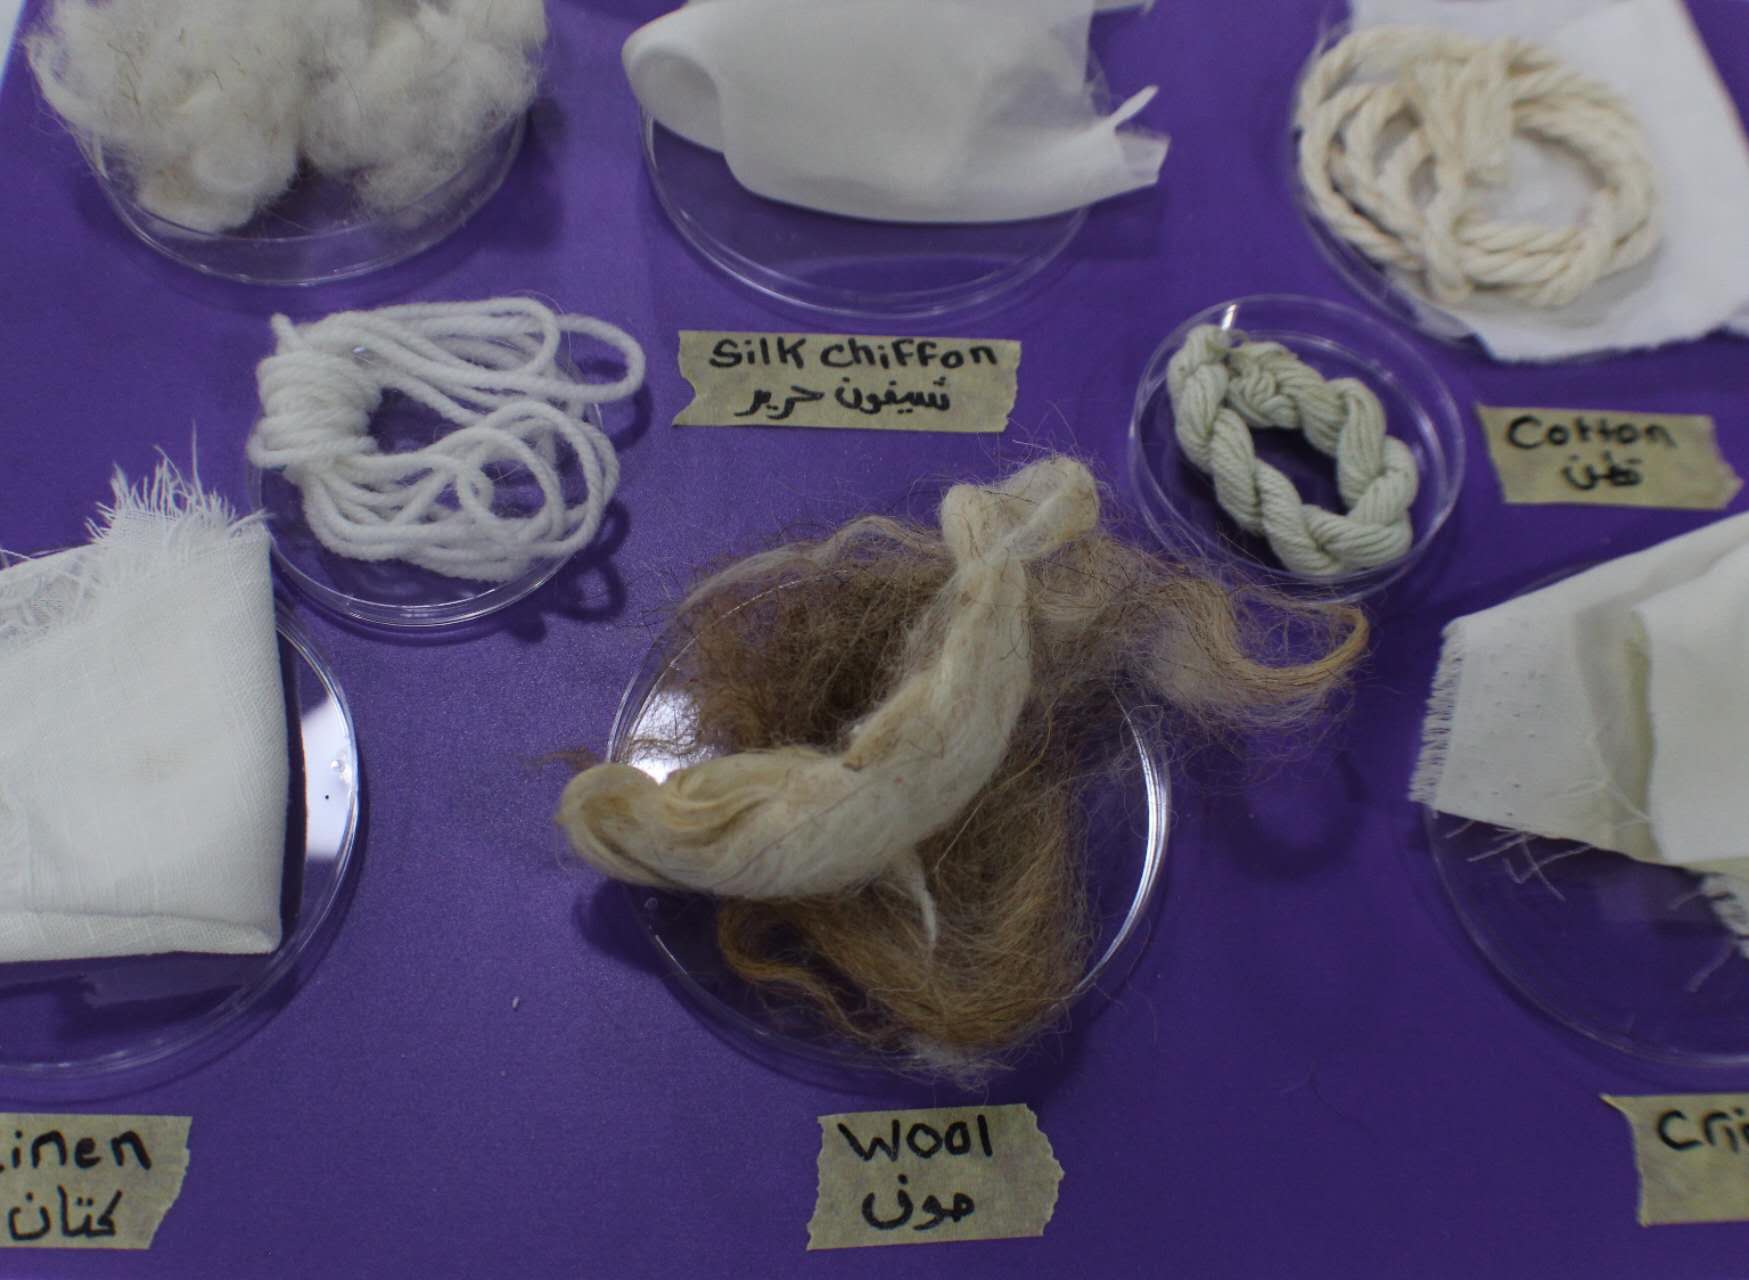
fabrics were divided in two separated group depend on origin of fabric :
-Plant Fibers such as cotton, linen & kenaf.
-Animal Fibers wool, goat hair, sheep hair & silk.
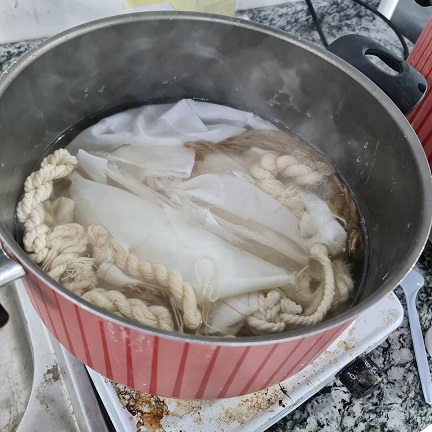
Firstly after cutting both animals and plant fabric into smaller pieces then Make skeins and shibori. we need to weight the fabrics to calculate the ratio of mordant to weight of fibers "(WOF)" according to the below instruction:
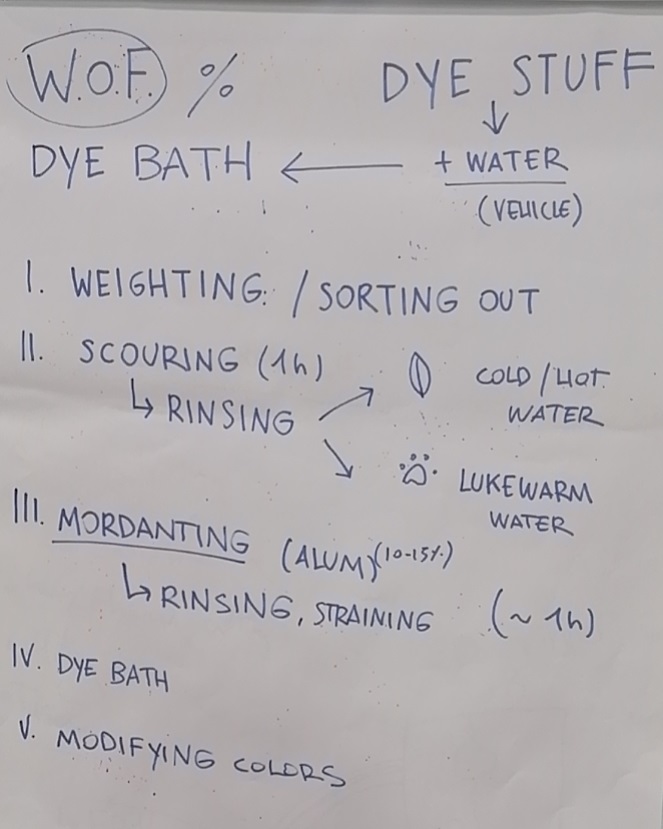
from the upper image instruction We used two pots , one for the animal fibers and another for the plants fibers ,as shown in we added soda to the water (approx. 1 tablespoon to every liter of water). The first part of the process is to weigh the fabrics to calculate the ratio of mordant to weight of fiber "(WOF).
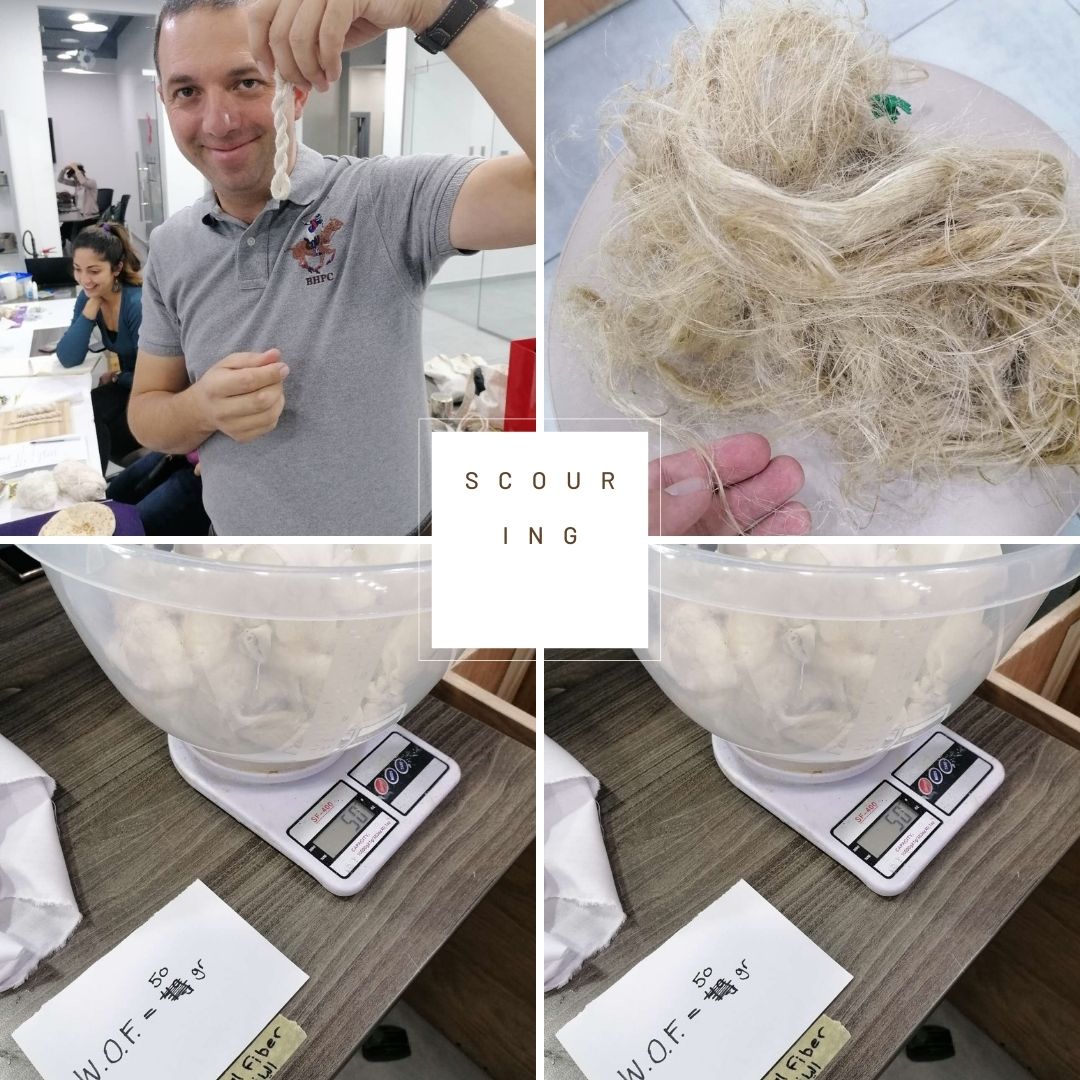
Scouring process :
The first step is cleaning the fibers from any oil or chemical present. So we add washing soda to the water in each of the pot for plant and animal based fibers.
Here the result of the water after 1h:
Mordants process :
It is used for preparing the fibers to bind and be able to absorb dyes which also prevents color bleeding and brightens the color you're applying.
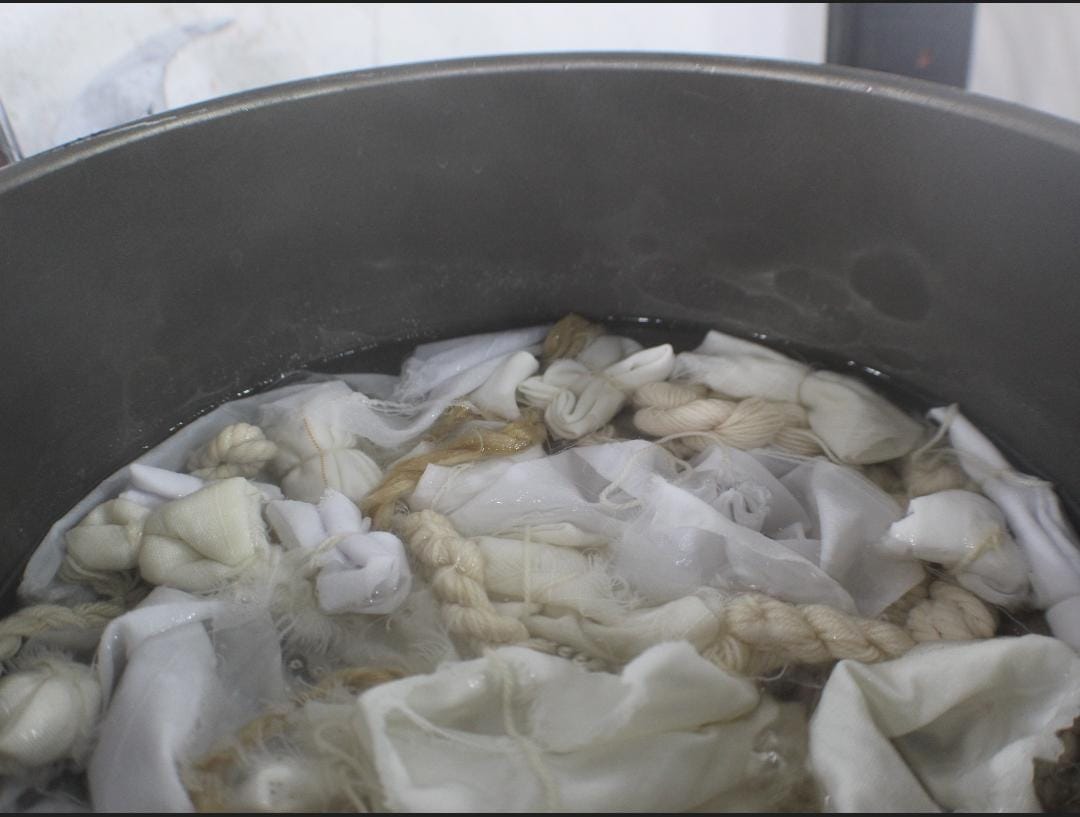
it is recommended to keep water temperature at around 70° C for the animal fibers and let the plants fibers water boil, then we added the fibers into the designated pots. and let them for a period of hour or more with mention to stirring every once in a while. After an hour (or longer) we take out the fibers, rinse them and dump the dirty water:
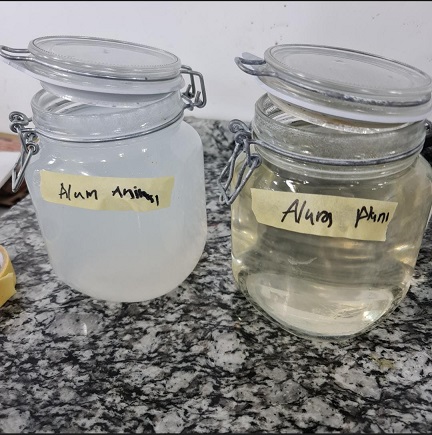
Now that we have our fibers clean and ready we need to help them open up to absorb more color, and that's why we mordant the fibers before dying them. We add 10%-15% of mordant (we used Alum) of the total weight of the fibers that we measured earlier. In separate pots with the hot water we add the Alum and the fibers again and we leave for an hour or so, then we take the fibers out and our fibers are ready to be dyed!
Dyeing
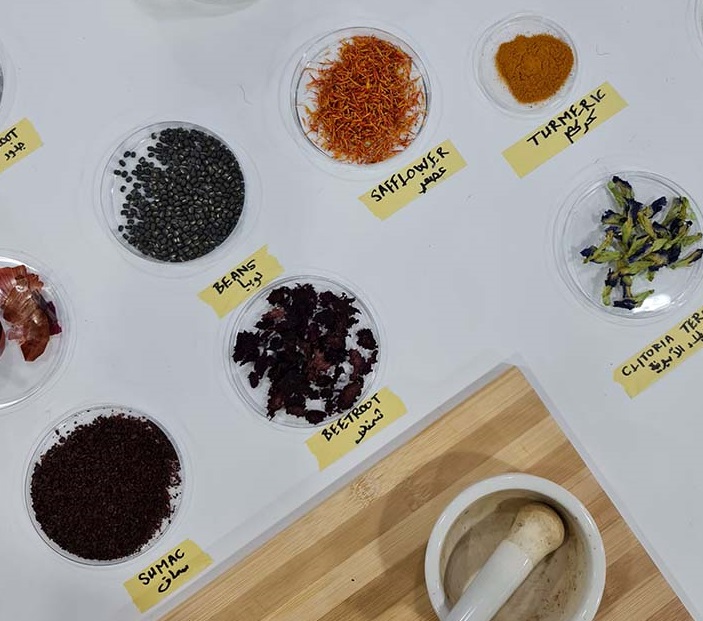
Our dyestuff from Jordan we collected
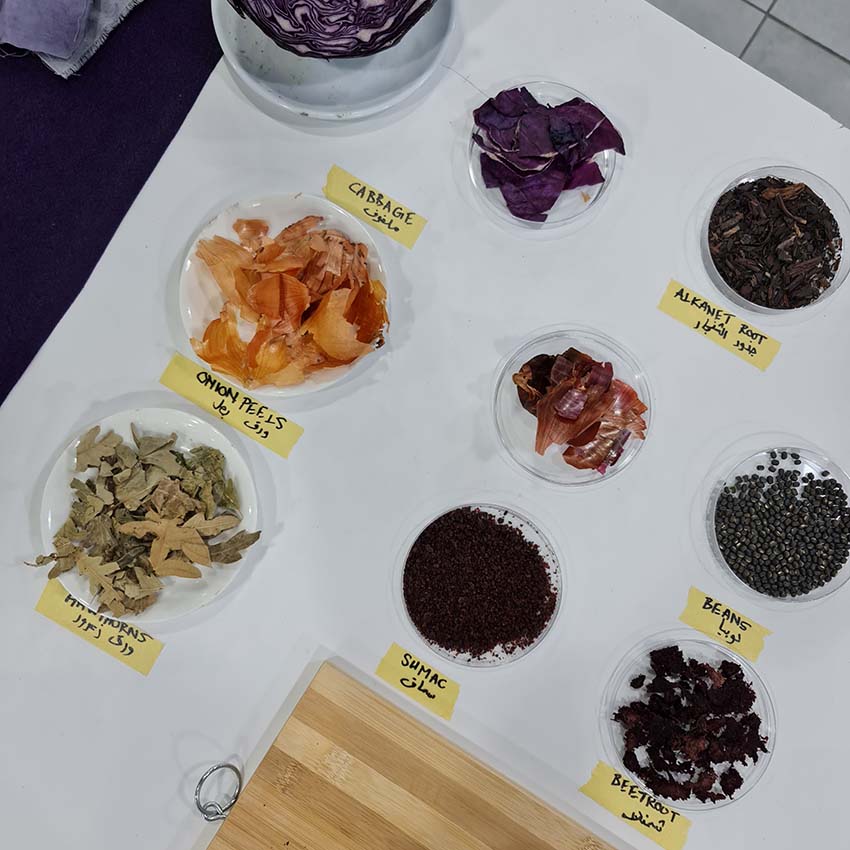
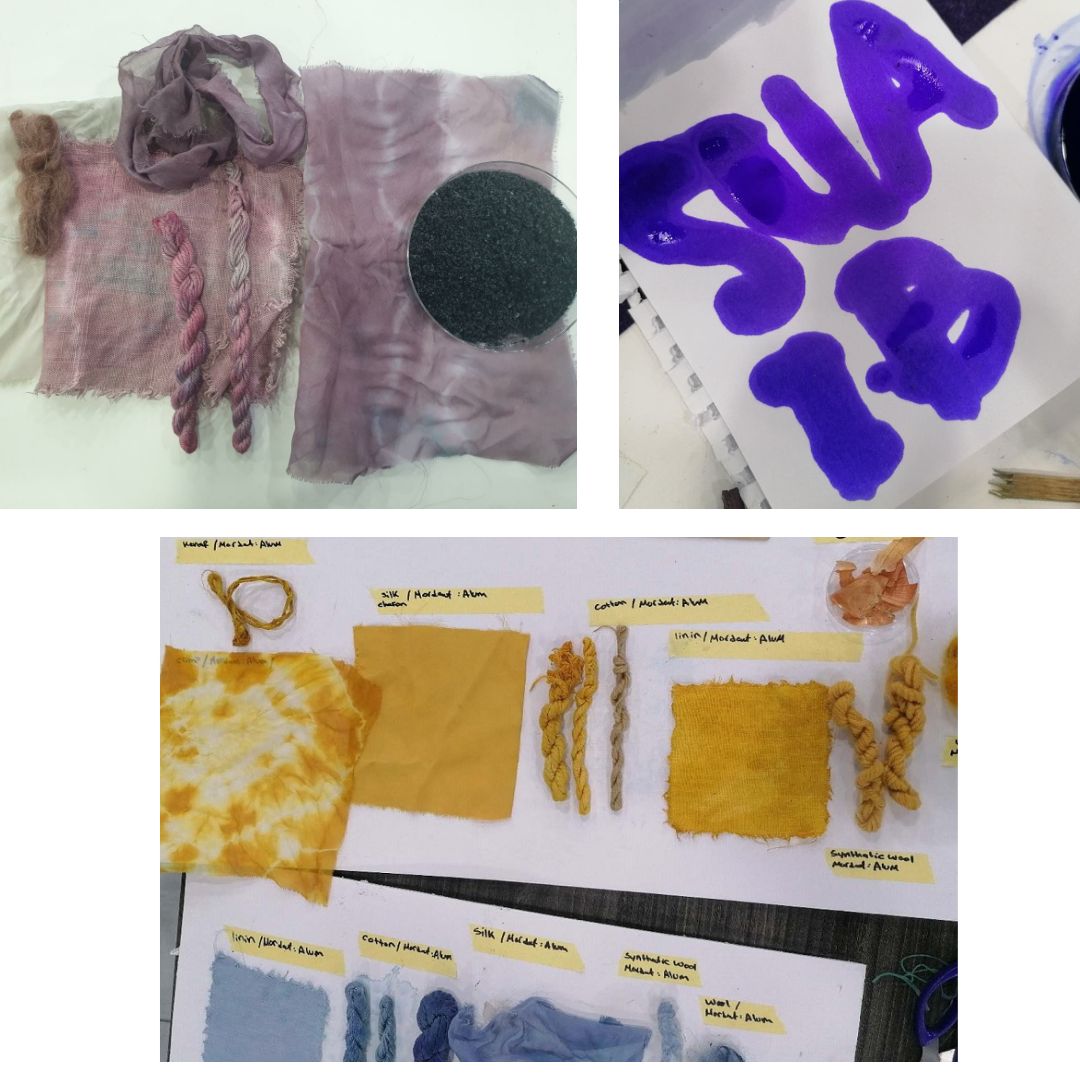
In "TechWorkAmman"lab we worked together on the red cabbage and onion peels & I choose to worked on Hibiscus individually for my assignment.
Onion Peels:
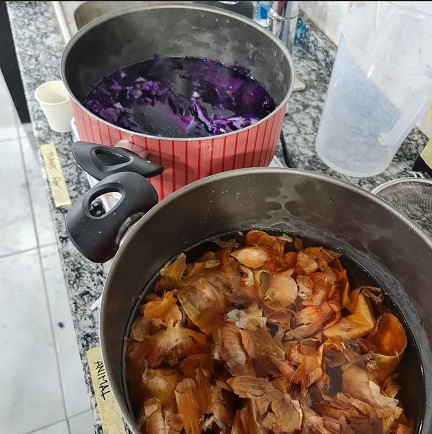
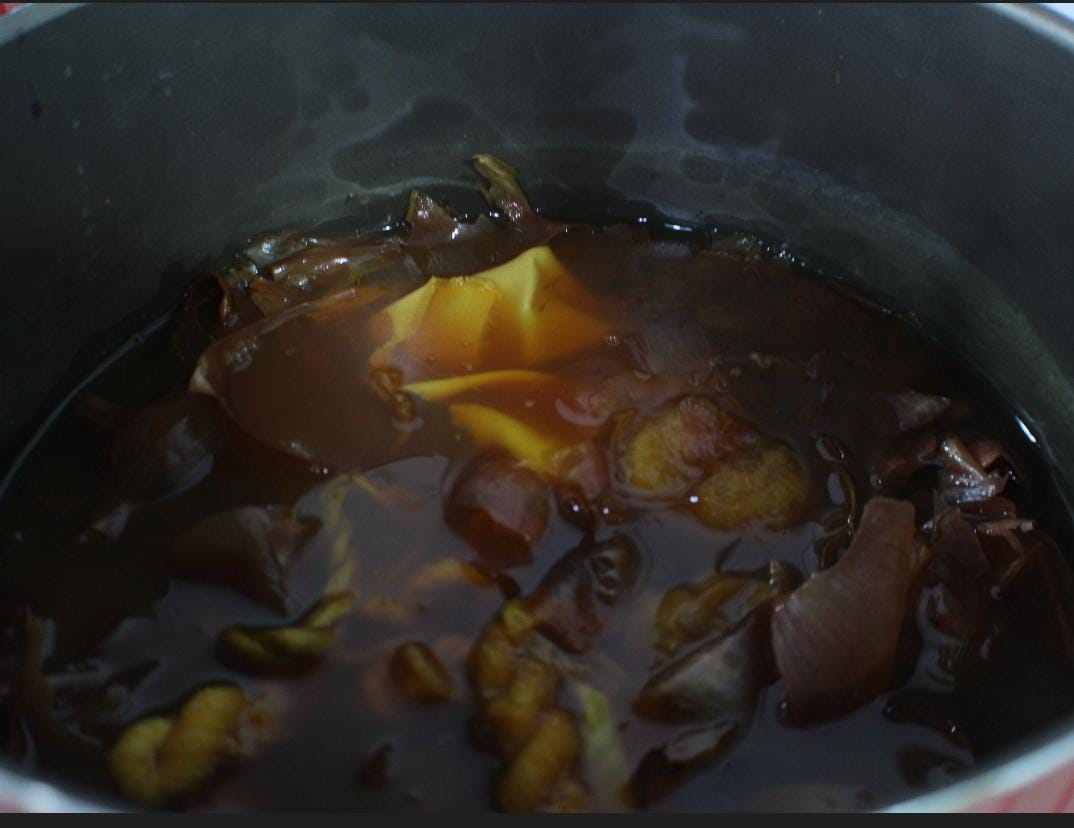
We put onion skins in hot water for 1h and then we added the fibers for dyeing.
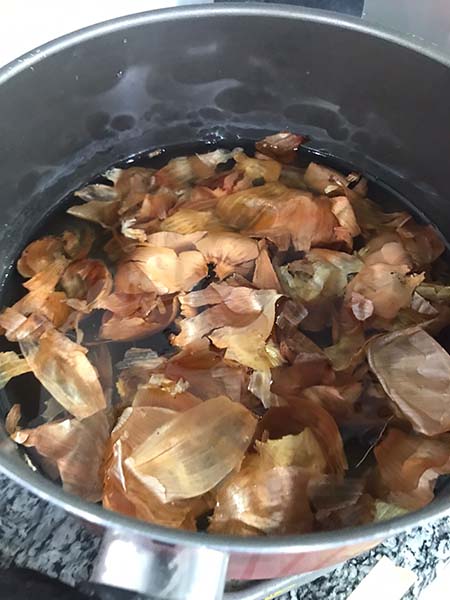
Later we added the fibers.
Red Cabbage:
we cut the cabbage into smaller Chops pieces and dip into hot water & add a salt to it (salt acts as a stabilizer) for around 1h.
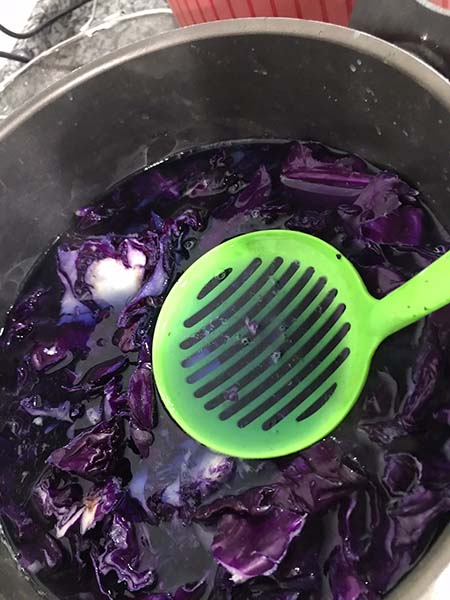
Final results:
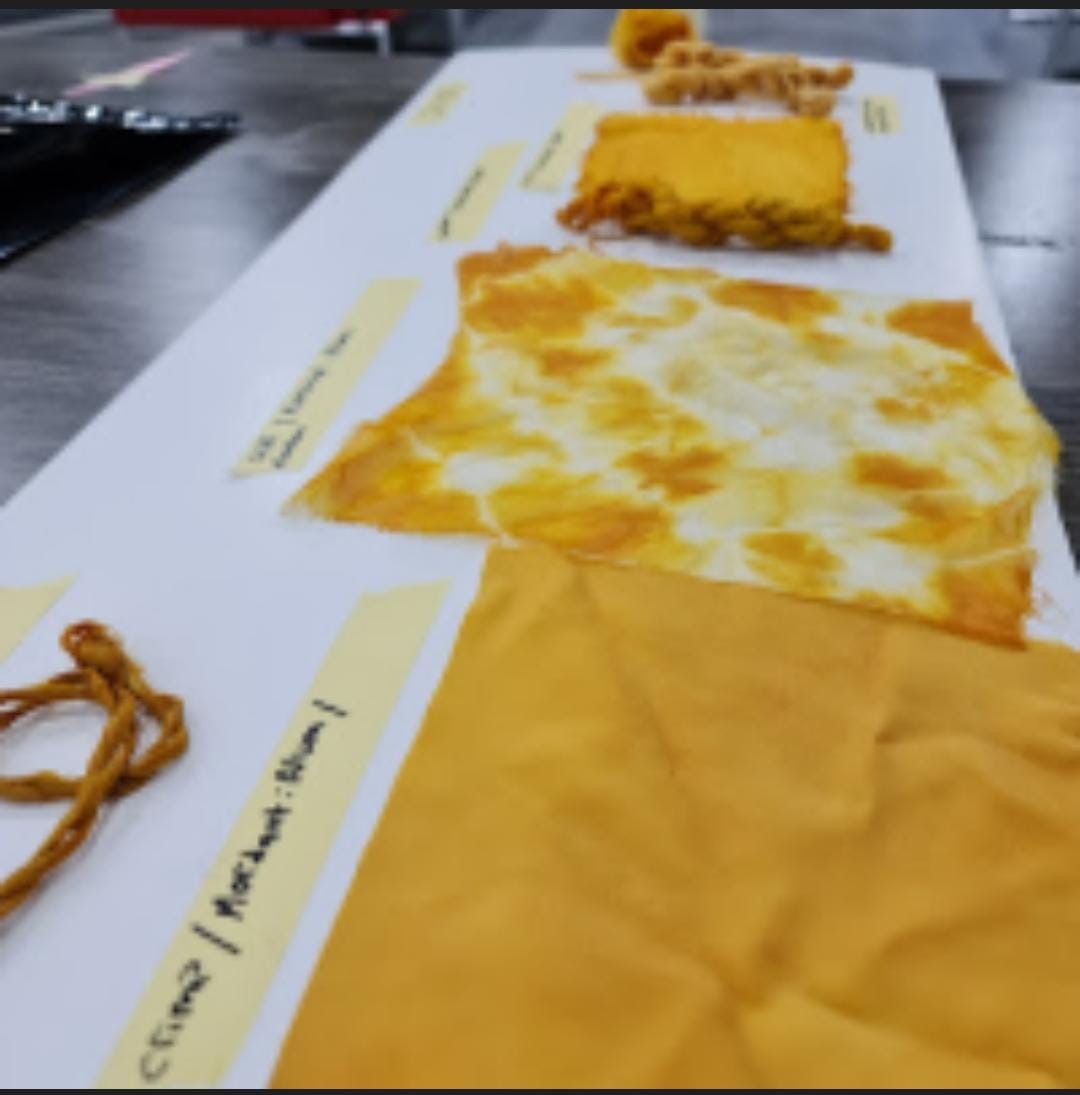
Hibiscus:
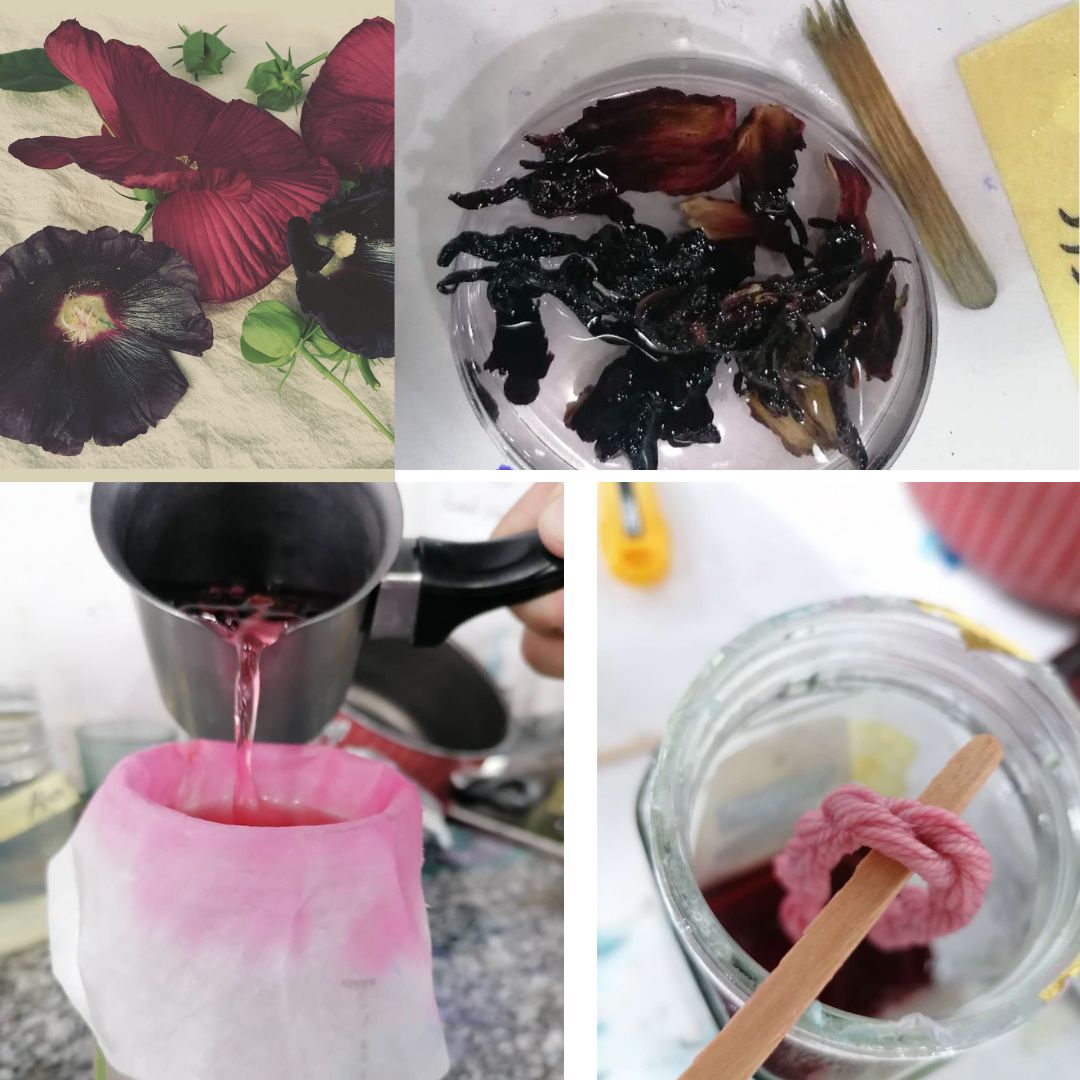
"Hibiscus has been long touted as a dye ingredient in India for the climate and because they are avid dyers, used for all things from coloring food, shoe polish and hair dye. Little wonder really when it is so water soluble and bonds easily. As a anthocyanin dye it is both sensitive to heat and PH but this particular dye seemed to be pretty resilient. Sometimes the solubility is not the issue with anthocyanins but the ability to bond to fiber can be tricky as I find in failing time after time with the elusive Hopi Amaranth (refusing to use tin). But here this isn’t the case, and unlike Amaranth, this is a fast dye. Within several minutes of placing these gorgeous leather/crepe flowers in water you will see dye releasing in a slithering path. Within an hour a good deal of color has already left the flower".
Dyeing Process:
After making karkade tea with hibiscus flowers I filter the solution and added the fibers inside a pot for a long time to let them absorb the red color. Remember to keep the pot warm during all the process.
- Recommendation : Use new dry hibiscus as it really affects the entire process other wise you will need to do the process again and again even if you add salt the color will not stock on the fiber.
Final result after drying:
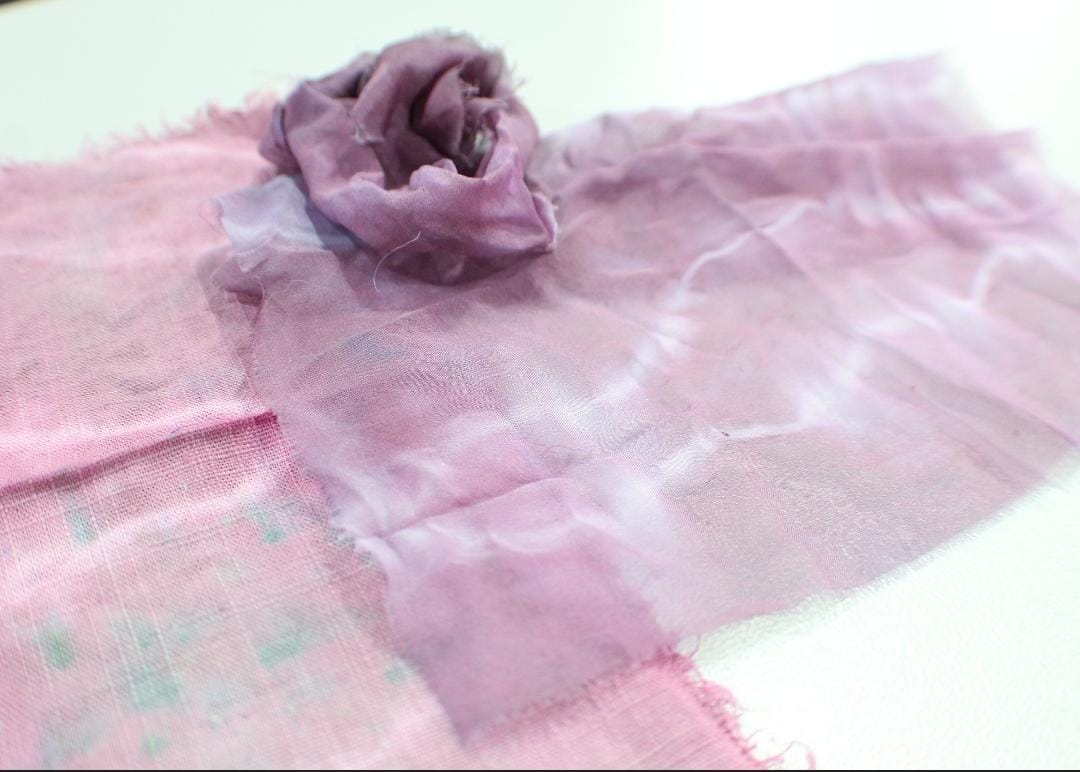 - The above picture hibiscus dyed cotton, linen & silk fibers
Inks
To make the ink, we need to mix the dye stuff with either ethnaol or water.
Here what we did together in the lab recycling the dye bath from the cabbage and onion skins, mixing it with ethanol and water and some modifyers to have changes in colors. Like Soda and Alum.
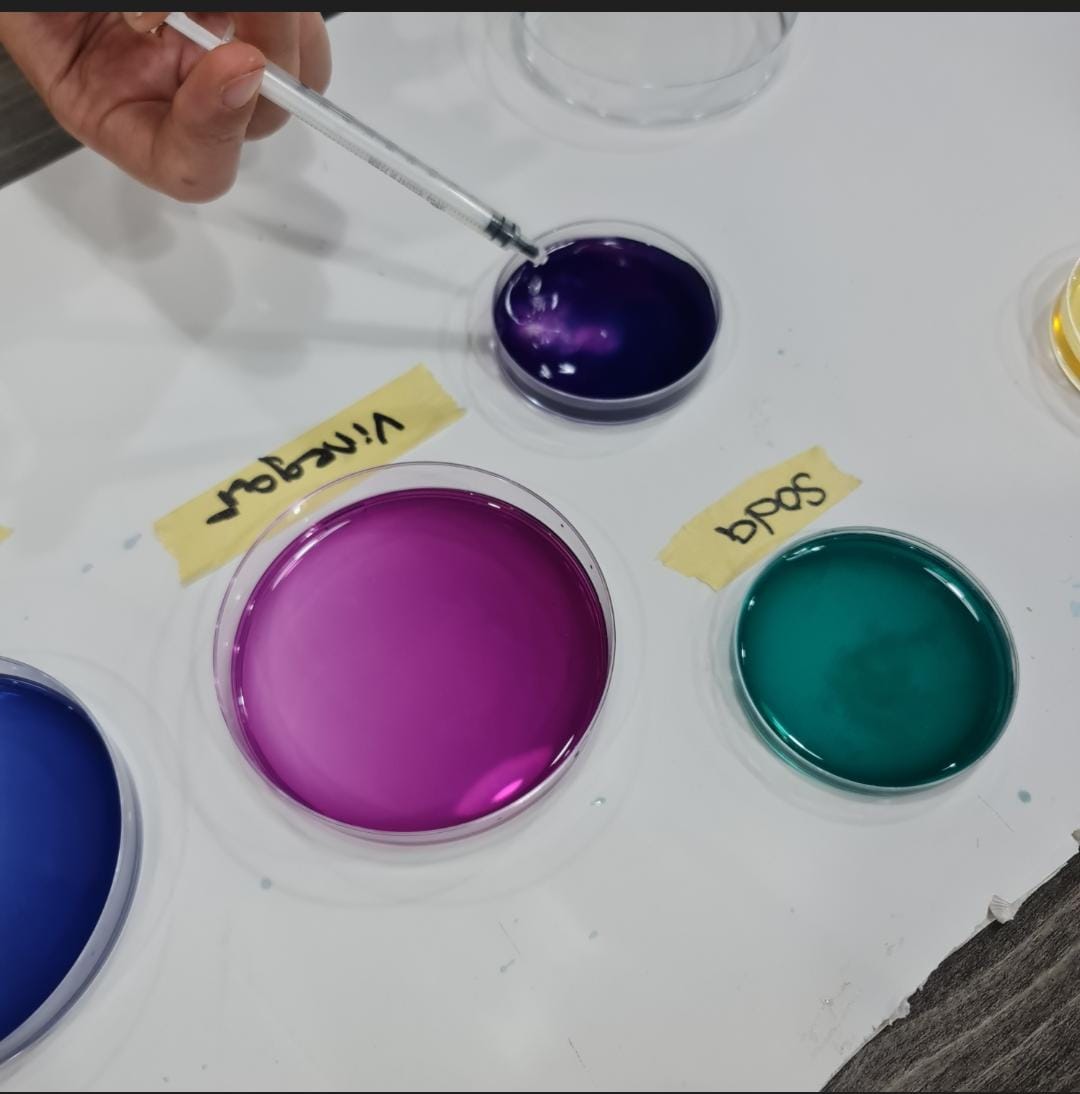
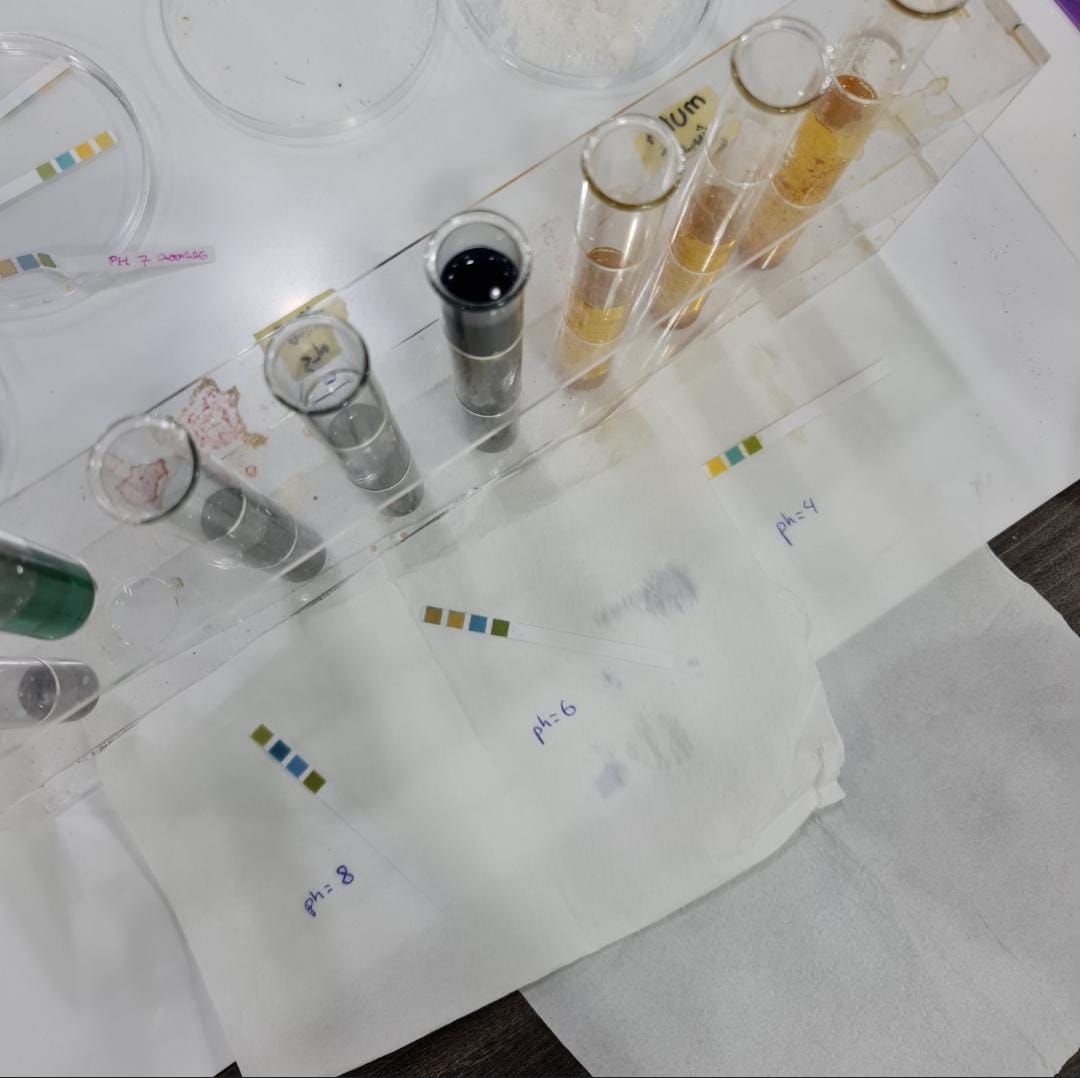
- We checked PH for the liquids too
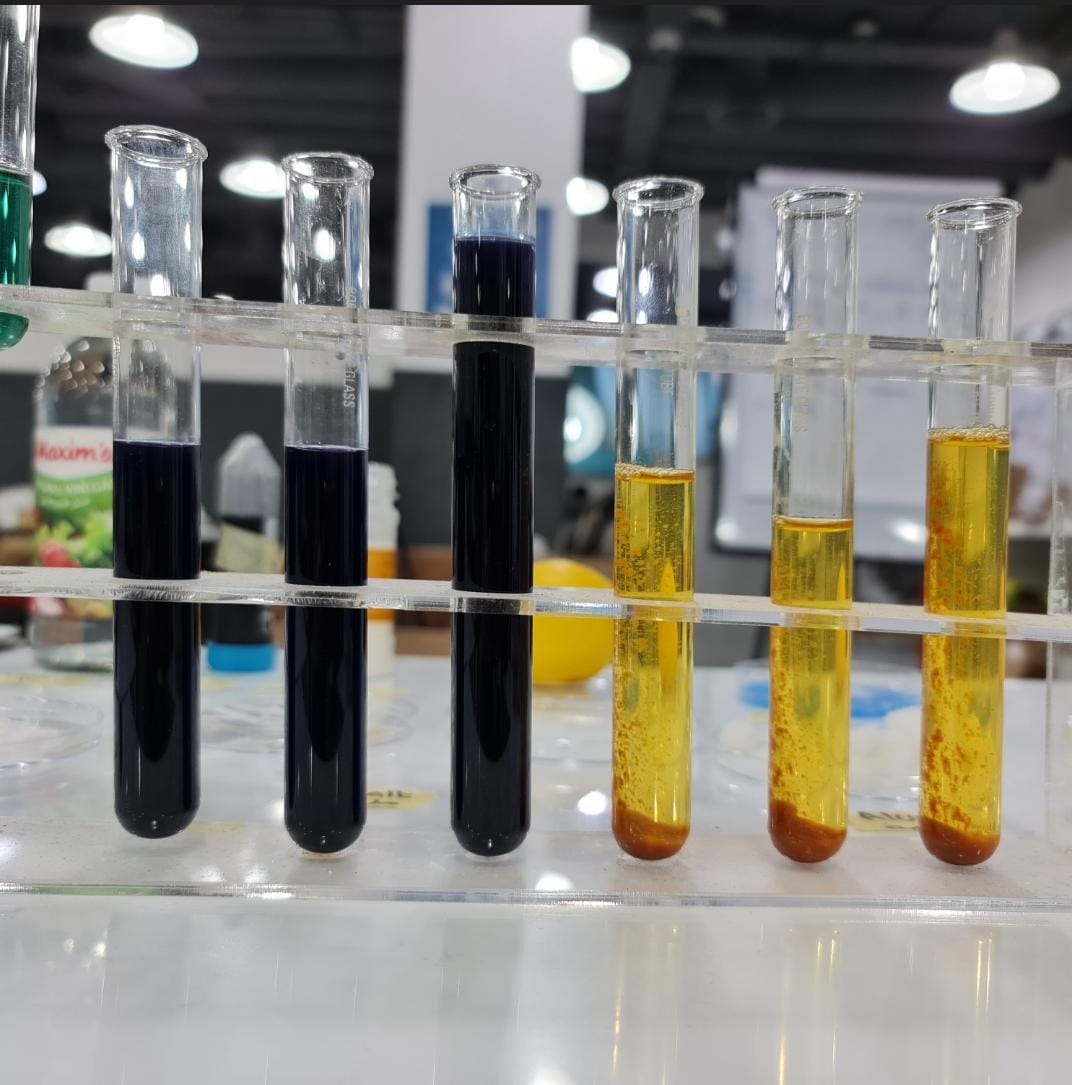
- Samples from cabbage and onion dye baths
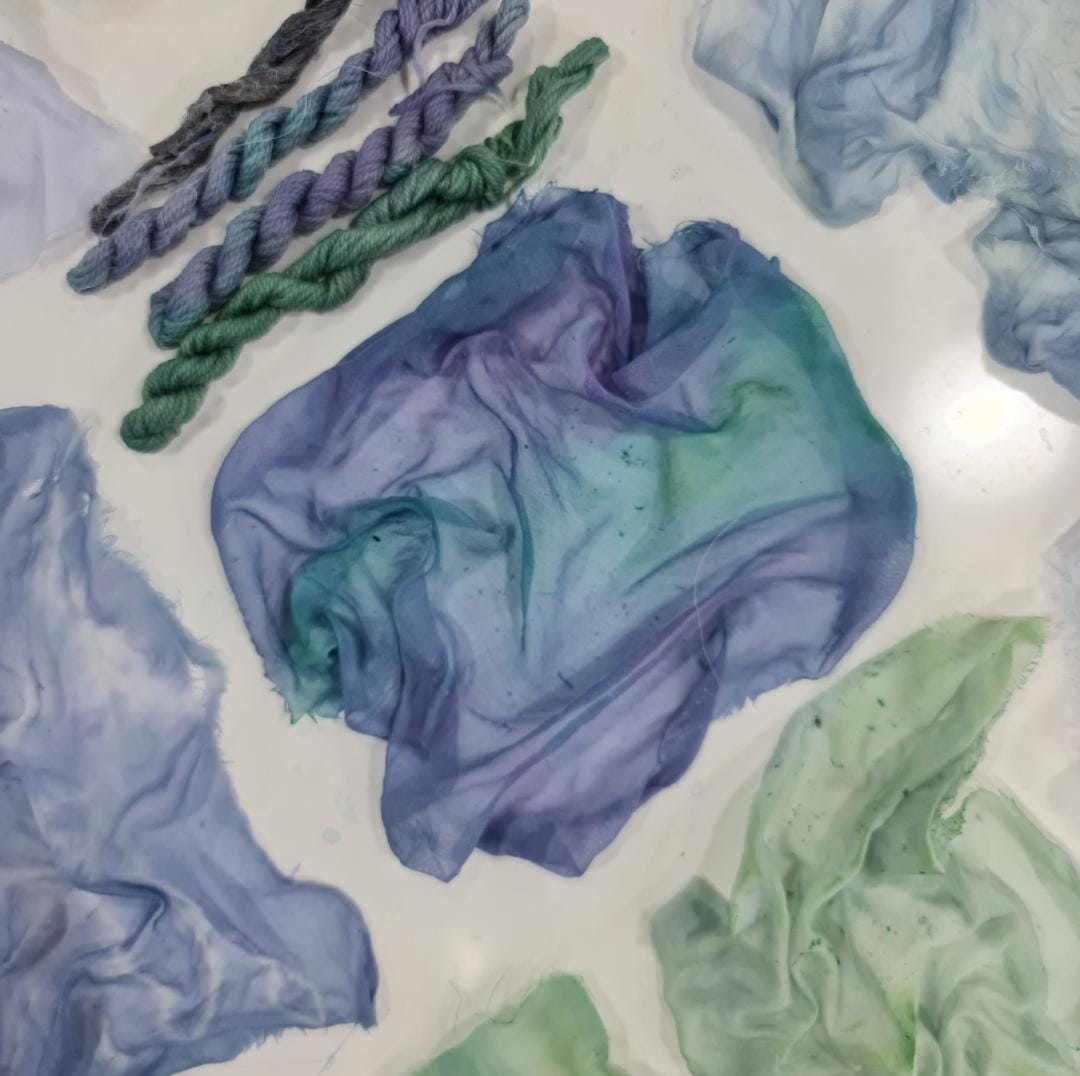
Modify process in details:
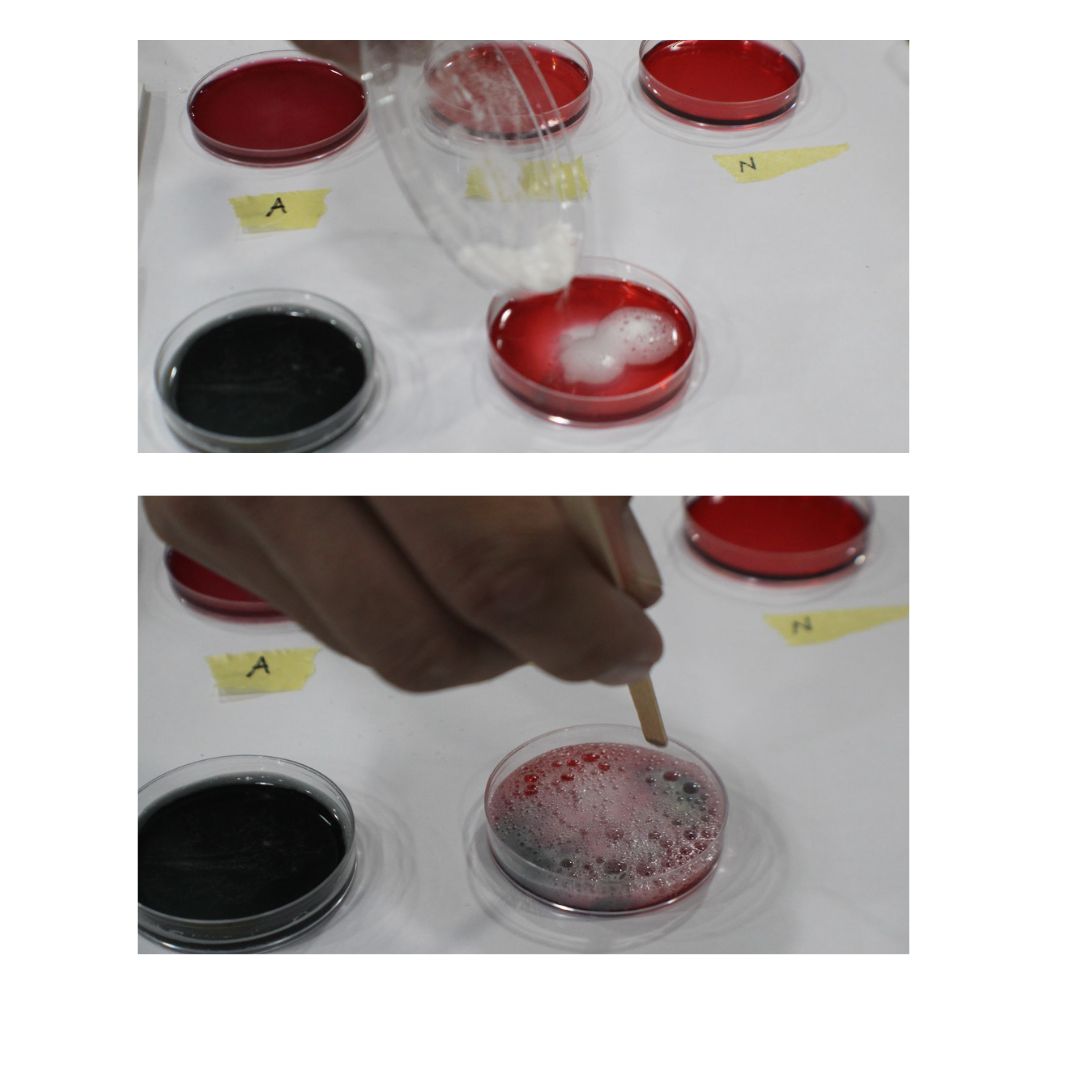
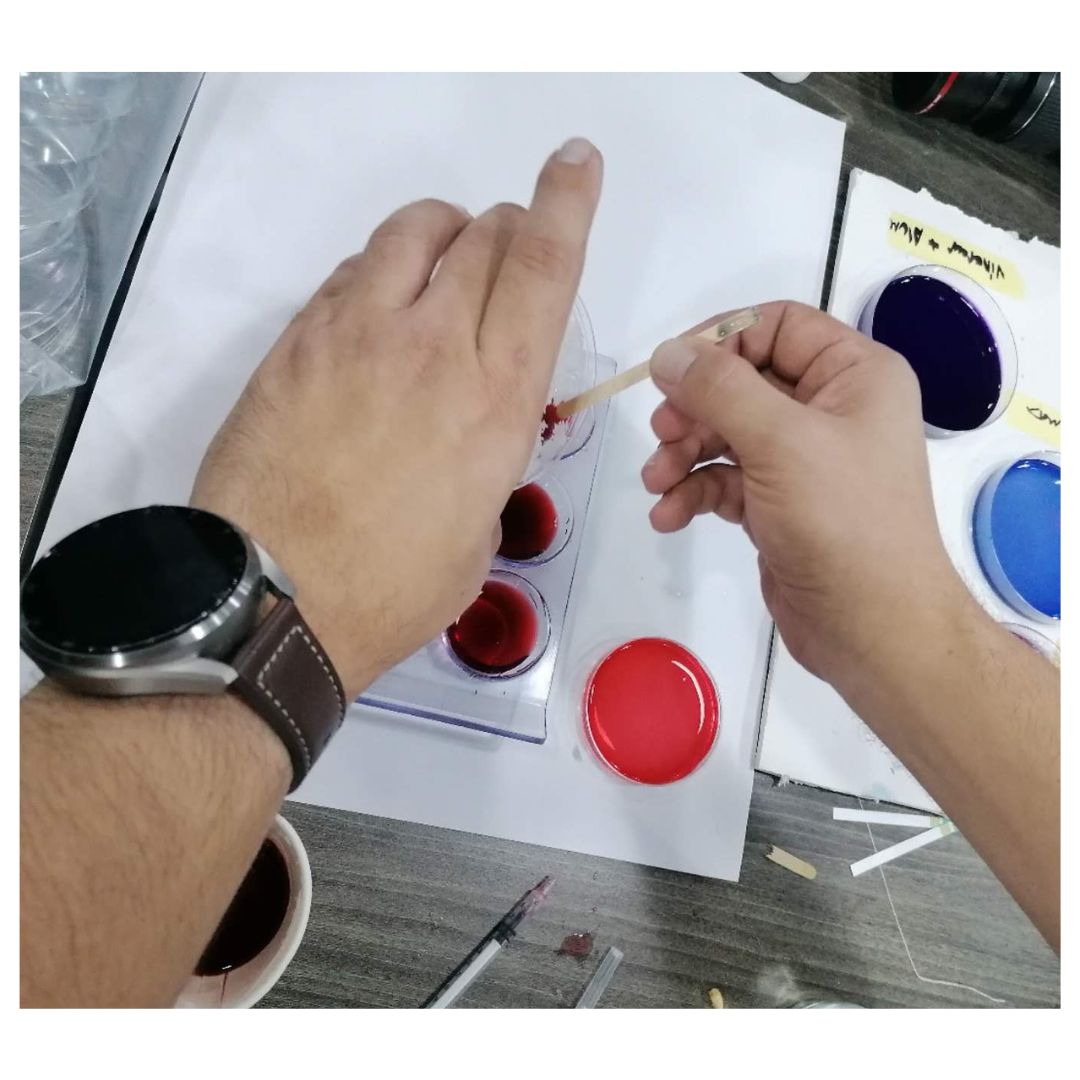
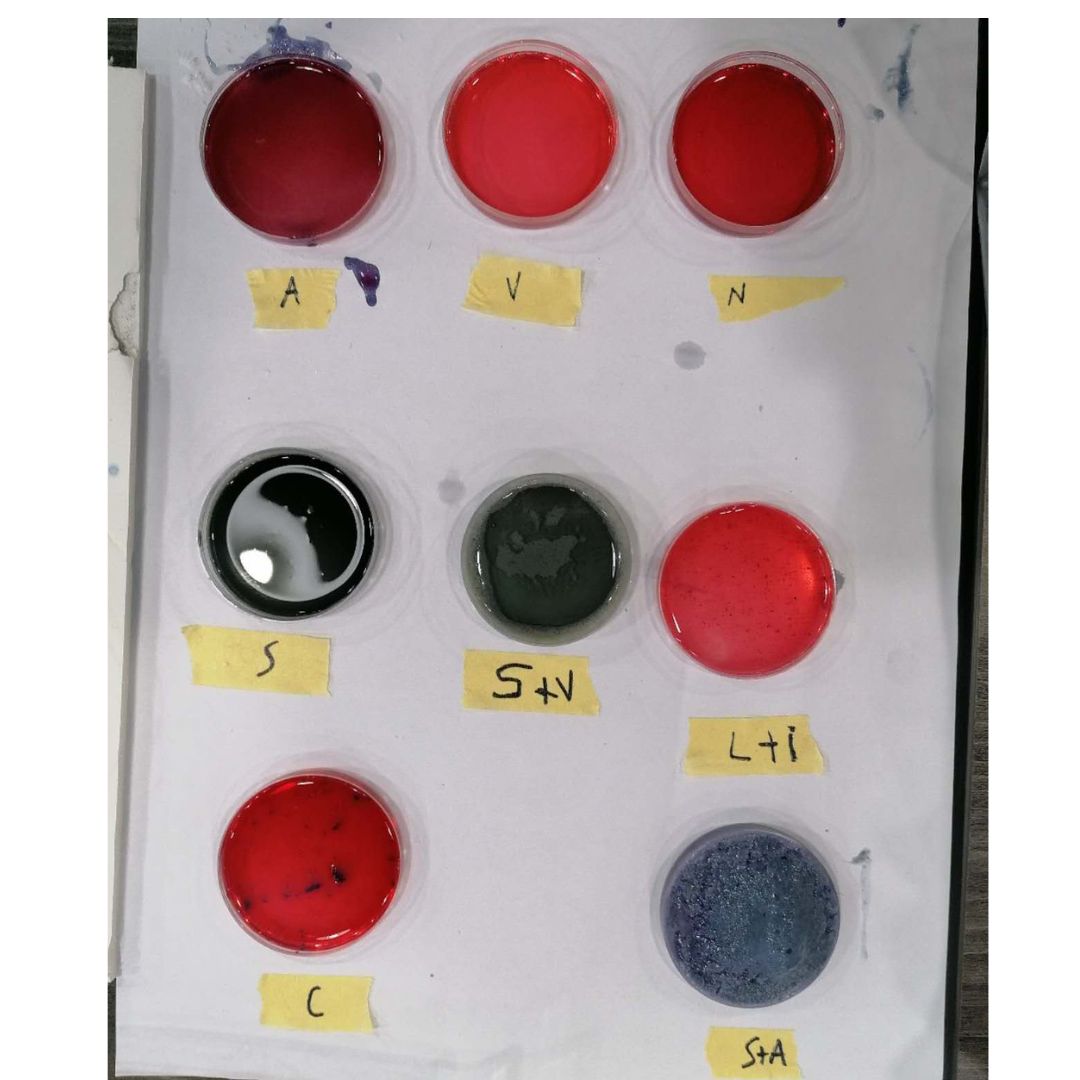
Every color can produce many other colors depending on how you modify it. We used vinegar, lemon, alum, soda, iron + vinegar, and copper as modifiers.
I used hibbiscus dye flower to generate my ink.
Picture Shorcut Note:- A = Alum, V=Vinegar, N=Neutral, S=Soda, S+V=Soda with Vinegar, L+I =Lemon with Iron , C=Copper,S+A =Soda with Alum.
Some of the result :
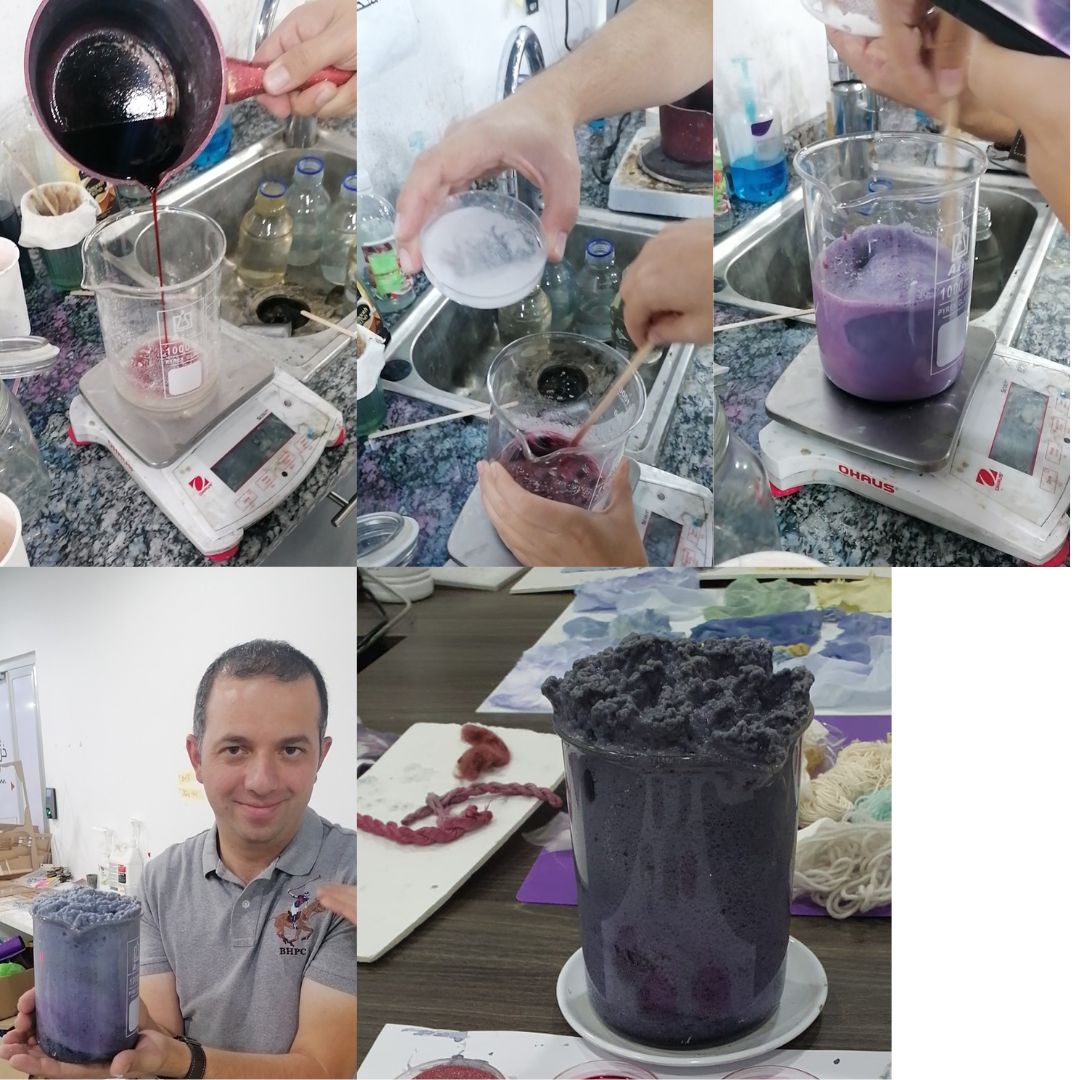
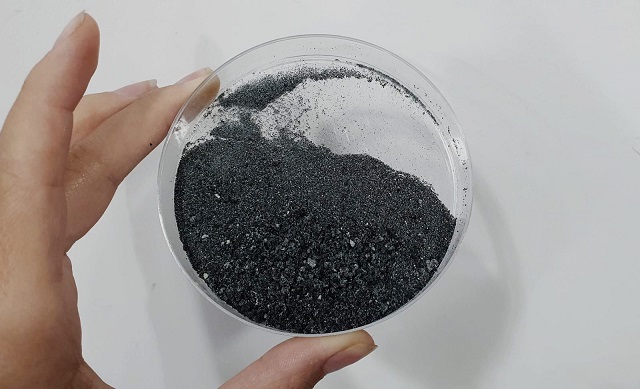
Pigment:
In order to produce pigments we need to add alum and soda in a 2:1 ratio. As a general rule of thumb, for every 1000ml of dye bath, we add 15gr of Alum and 7.5gr of Soda.
Pigment Process:
Tools
- alum
- soda
- Dye bath(hibiscus)
- Digital Scale
- Measuring Cup
- Coffee filter
- Electric Cooker
- Wooden Stick
-
1 Dissolve the alum with hot water (ratio 1:1) and the soda with hot water (also ratio 1:1), we dissolve each separately.
-
2 Add the alum to the dye bath and then we add the soda bit by bit and we stir. We want a ph of 7 and we should modify the soda and alum amounts till we reach a ph of 7.
-
3 The pigment need to be filter with coffee filter paper for a while pf time by it self until it completely dried .
-
4 later on we can store the powder and use it for painting ,etc.. any time we need it.
Final result :