03 process
Process
Ideation & sketches
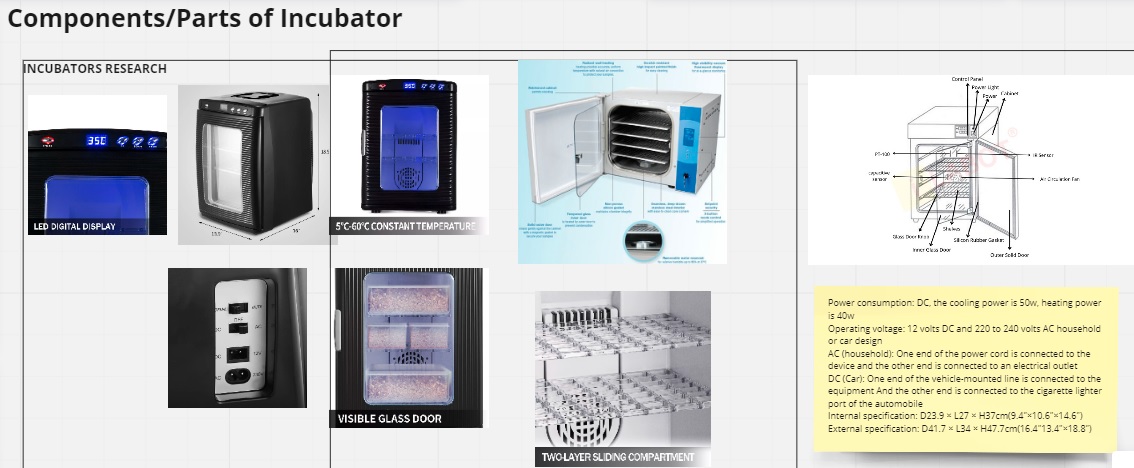
The aim is to make incubator that will optimize best practices for avoiding contamination and tracking the fermentation processes.
In order to make that in the coming months I have to work in parallel on:
Incubator Design:
Important points to consider while planning the design are structure, size, materials, references, tools needed, etc ..
I found that Acrylic board easy to find in different locations, cheap and easy to cut with digital fabrication machines. Beside the material can be easily cleaned and sterlylize. Other things to consider ar the max thickness of acrylic board not to exceed 5mm for laser cutting.
Requirements
Machine parts:
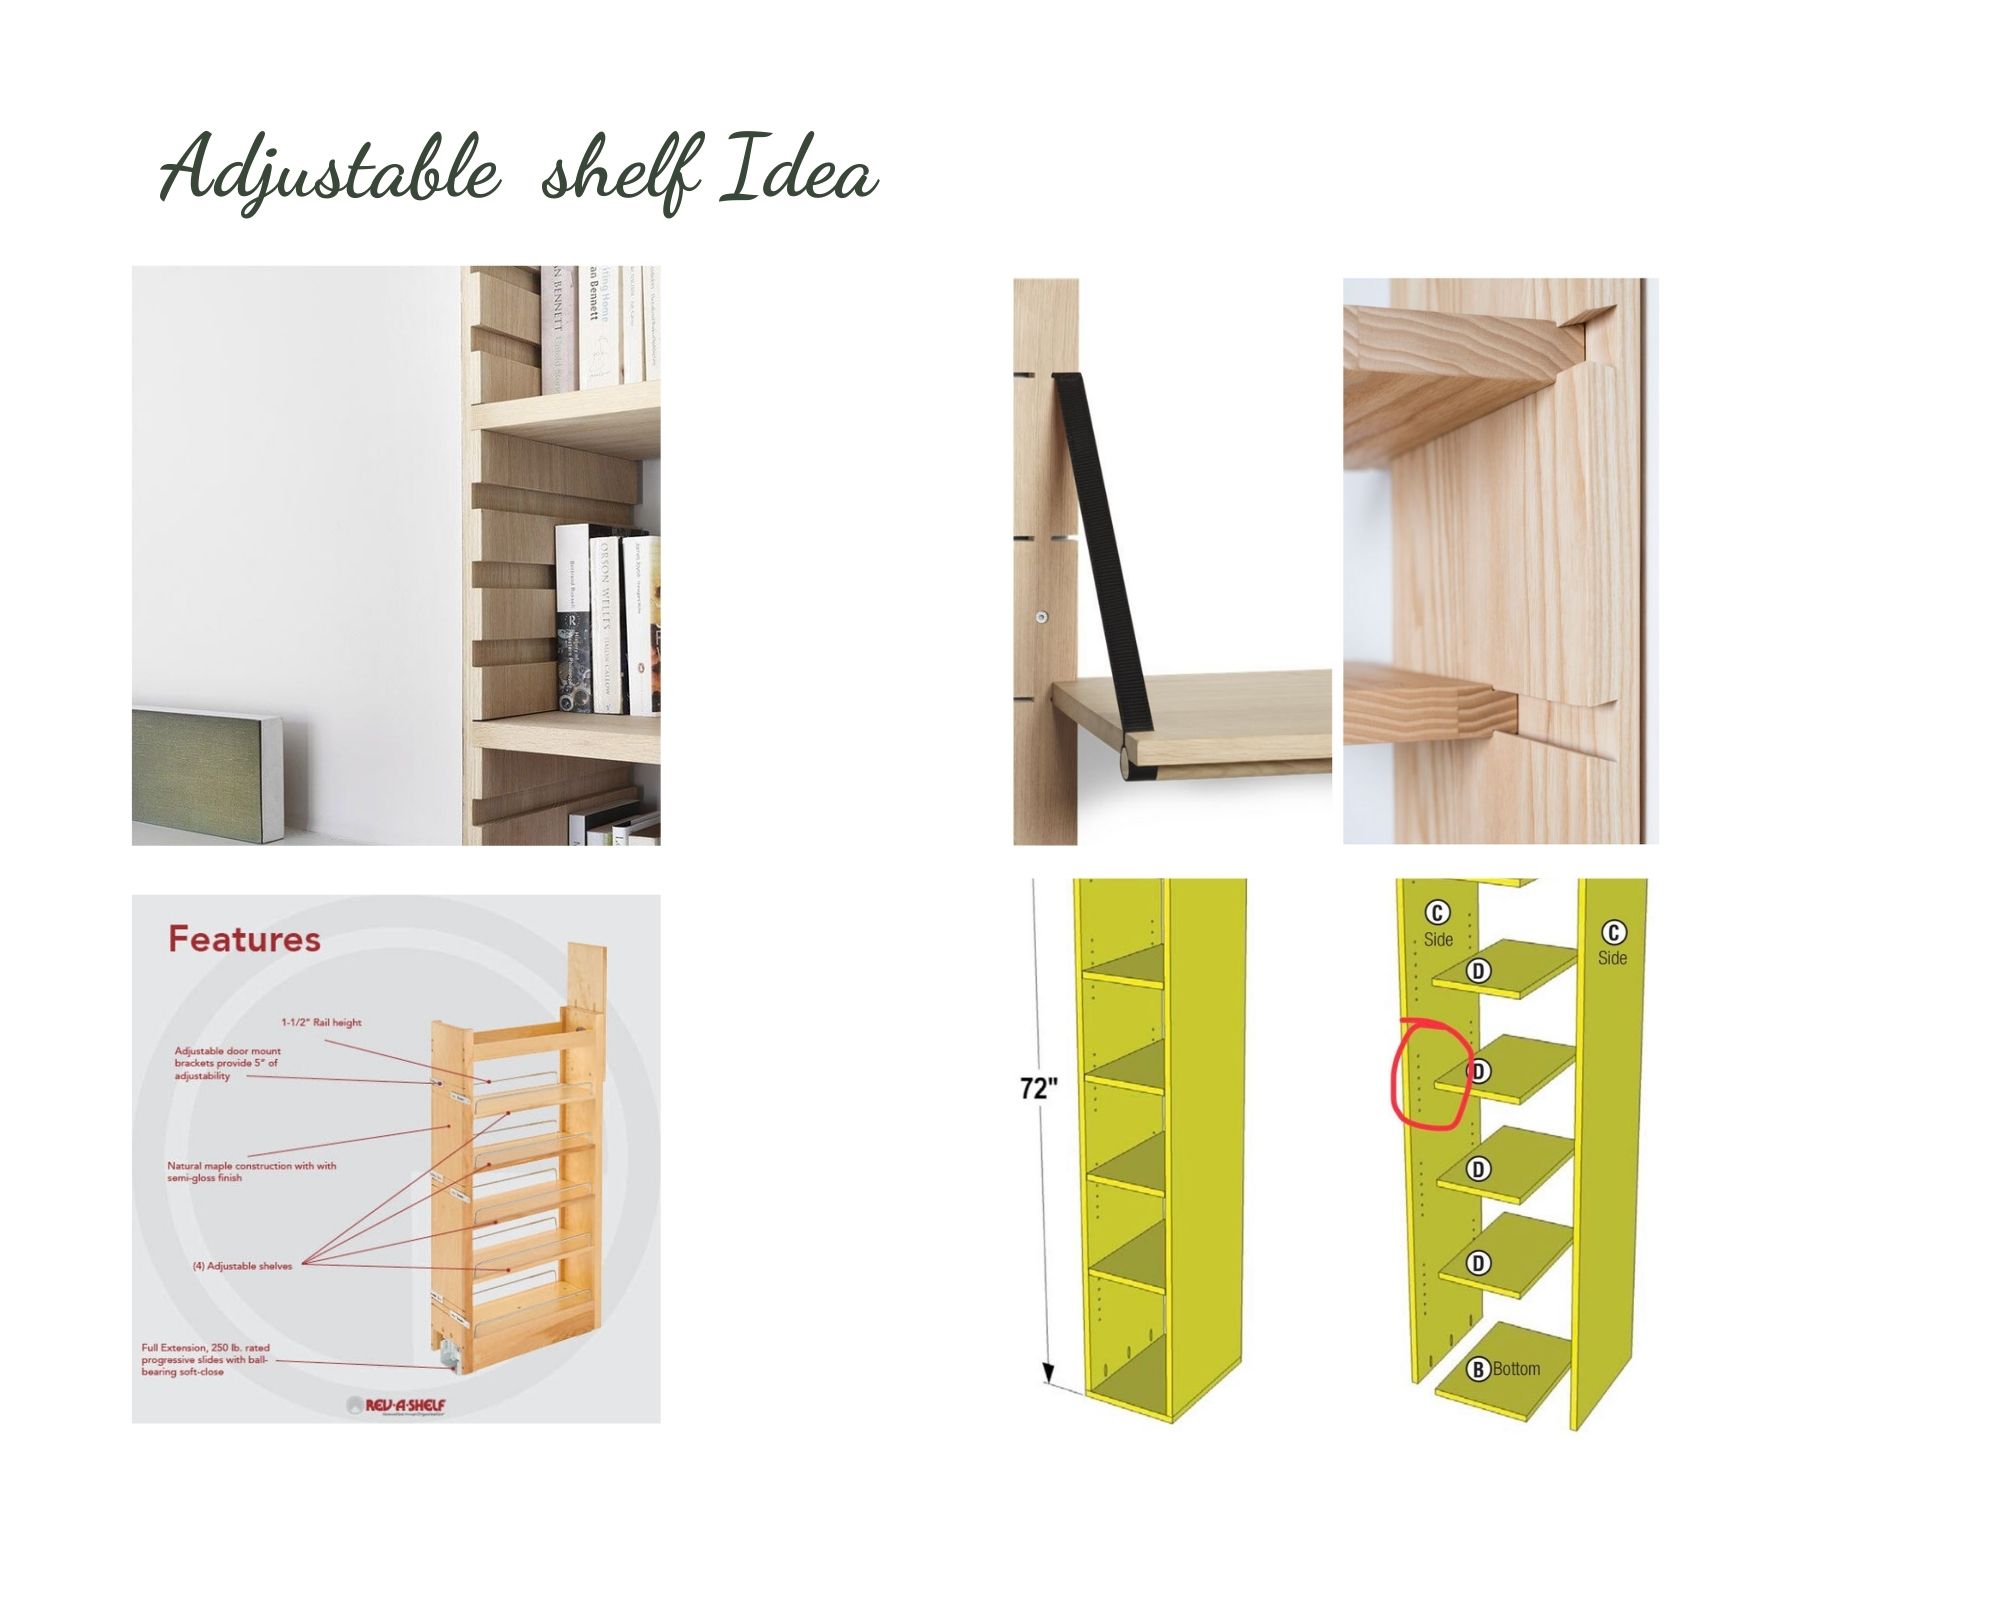
Adjustable shelves:
Below some images for exsisting adjustale shelf system ideas that i may use it in my final project to put many trays with diffrent dimensions:
Things to be considerer in the design of the shelves include the pattern for the air to flow inside the incubator and the size of the trays. Also the distance between the electronics devices is important to consider.
Reference picture for DIY adjustable shelves:
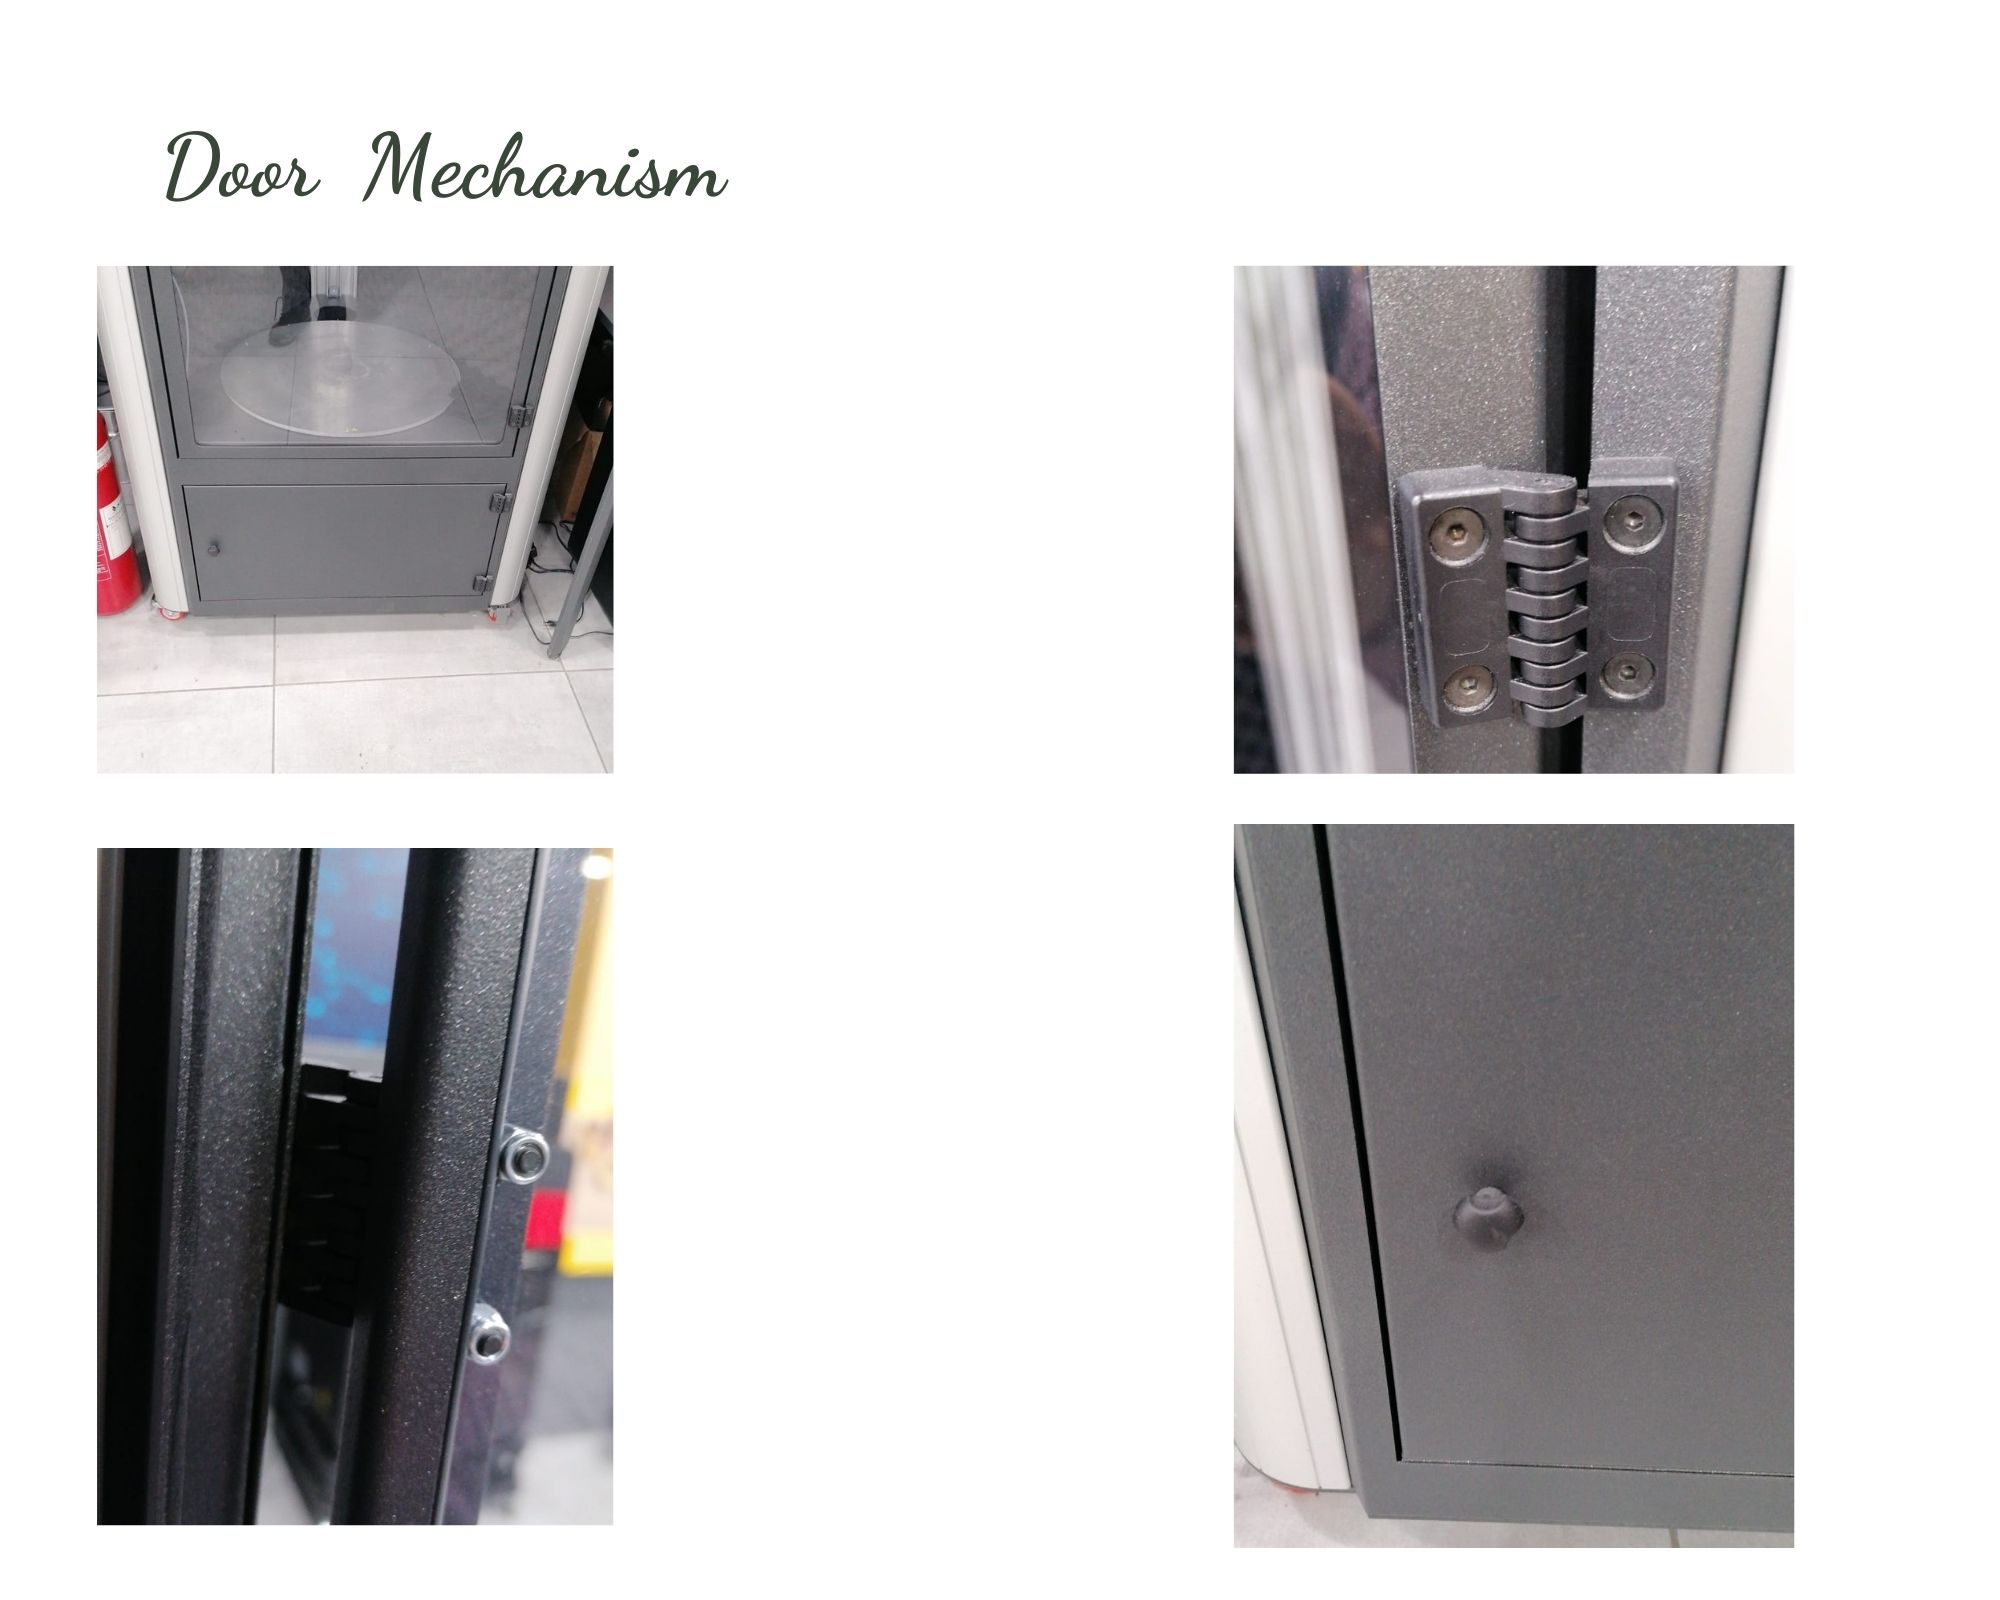
Door and its mechanism:
The door is a major component in the design of the incubator as it should have a strong isolation function to completely isolate the colture inside the incubator. Having a second door is also a good idea as it will increase the chances to isolate the internal environment preventing any contamination.
Reference picture for door mechanism involving hinges:
- easy to find cheap all over the world
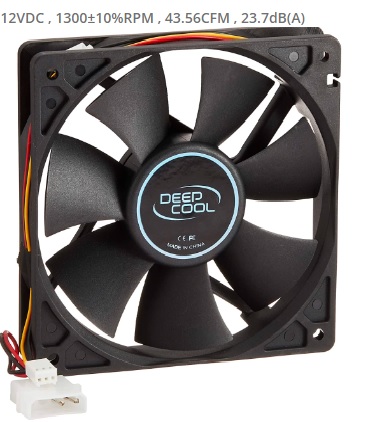
Ventilation System: (FAN)
As we need a ventilation system to be sure there is enough oxigen circulating in the incubator we need to include a FAN in our design and consider its location inside the box.
Reference picture for the 12V fan locally available:
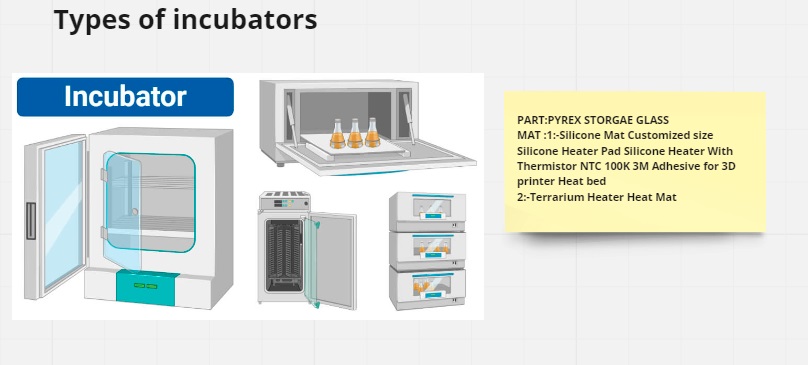
Heating system:
As for heating I am still checking which system is better to use between 2 type of heating components, either MITSUBISHI FRIDGES 150WATT 14" GLASS HEATER ELEMENT or MK2B HEATED BED BOARD FOR 3D PRINTER.
As I need to keep the temperature stable at around 30C, I am considering the heating coil as an option for equipping the incubator with an easy component that can be installed and it is globally available. Things that also have to be consider is that one component requires 220V while the other one can work on 12V.

Isolation:
A good isolation will keep the heat inside the incubator and will keep a stable temreture helping the komputcha grow faster.
As I am still evaluating options it is good to remember that styrofoam and isolating foams can also carry contaminations. So after recommendation from Angela Barbour maybe it is a good idea to use double wall with styrofoam in between.
- Reference picture of Styrofoam

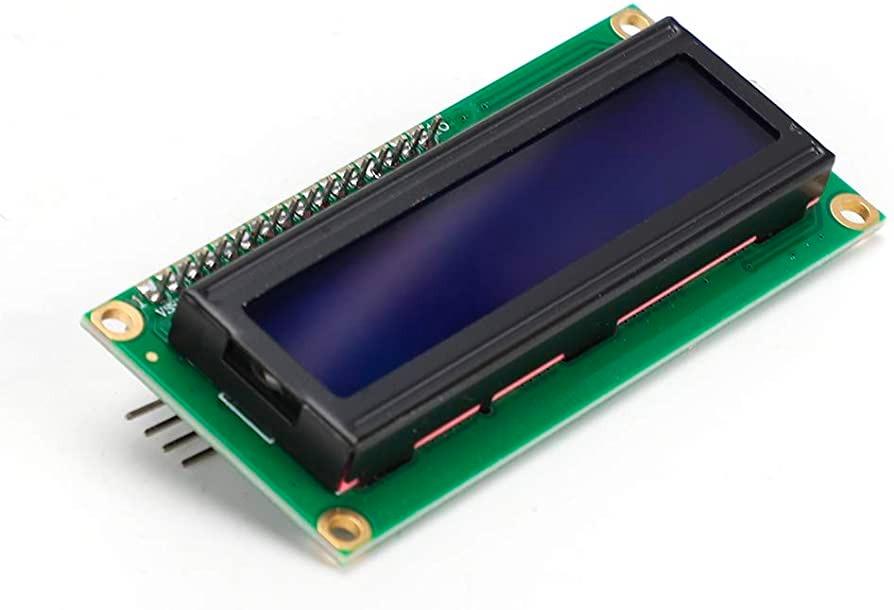
Interface:
The display location, shapes and colors play all a good factor in a good design of interface.
I am considering displaying temperature and humidity level onto a lcd display that usually comes with the arduino kit in different sizes.
- Reference picture of display
External features:
I am considering the following features to equip and customioze my incubator with everything needed in one place.
- Accessories part: wheels, Kombucha fermentation kit, Rack for drying kombucha sheets, drawer to store the fermentation of SCOBY mothers.
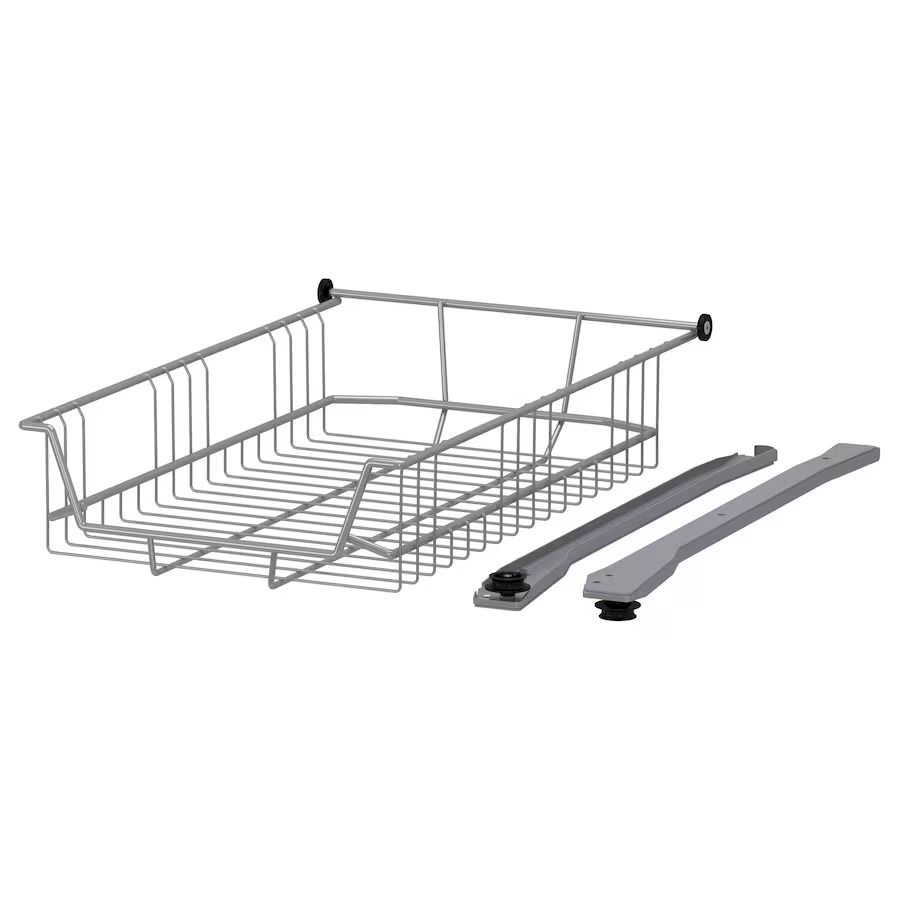
Drawer:
After checking the market I was able to find a chrome drawer width 45.5 cm, aslo there is avlaible steel drawer from ikea with width of 60 cm and 40 cm deep locally in Jordan. This drawer can help users to easily remove the jars and store them inside.
Prototypes
Initial Prototype
Structure - Design and digital fabrication:
In order to come up with a good Brainstorming and made a good prototype I designed a quick initial design so I can build up with a solid design. So I started to think of a box as initial idea for the incubator.
I used Boxes.py software for quick design I adjusted it on Inkscape to make a ventilation draft hole.
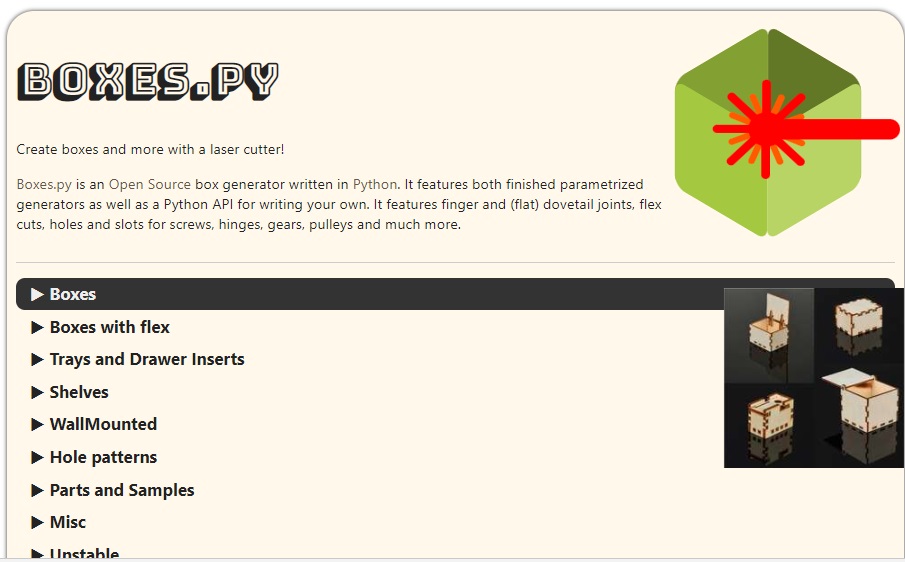
- Above picture form festi - boxes.py website .
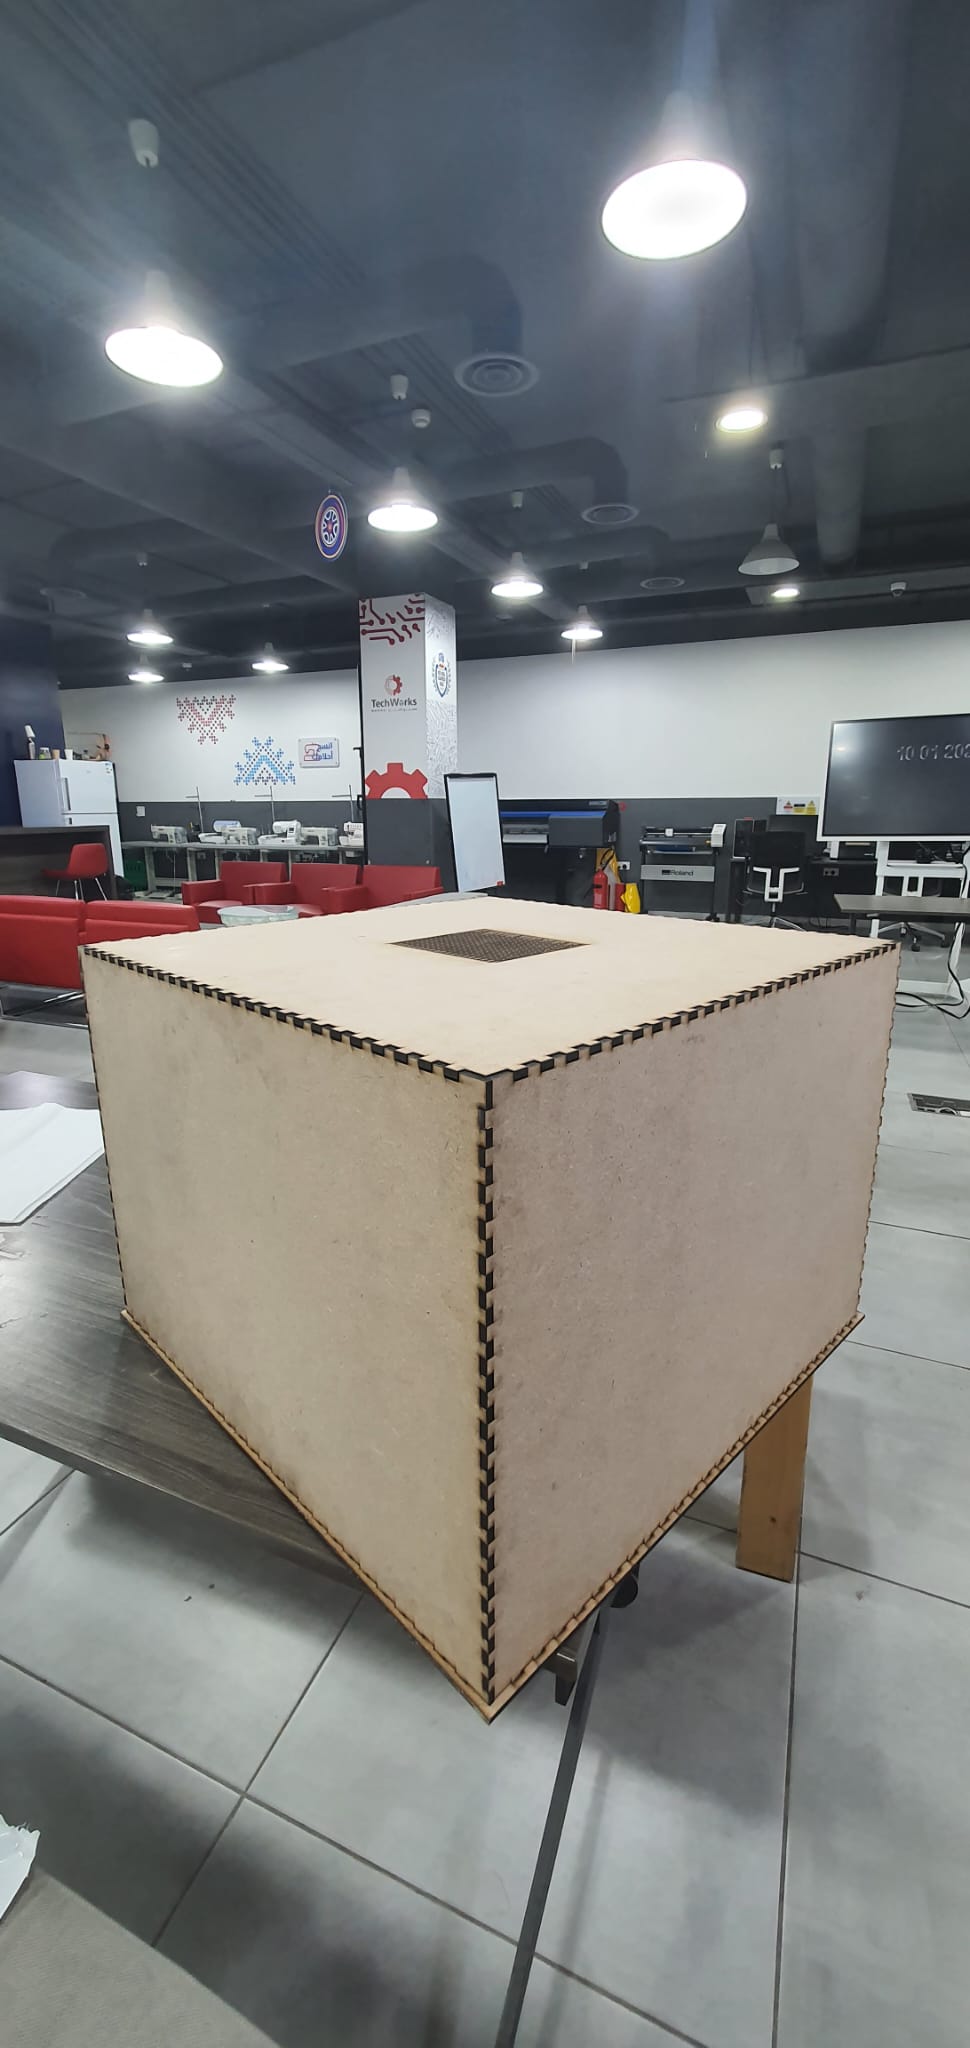
Here the result assembled.
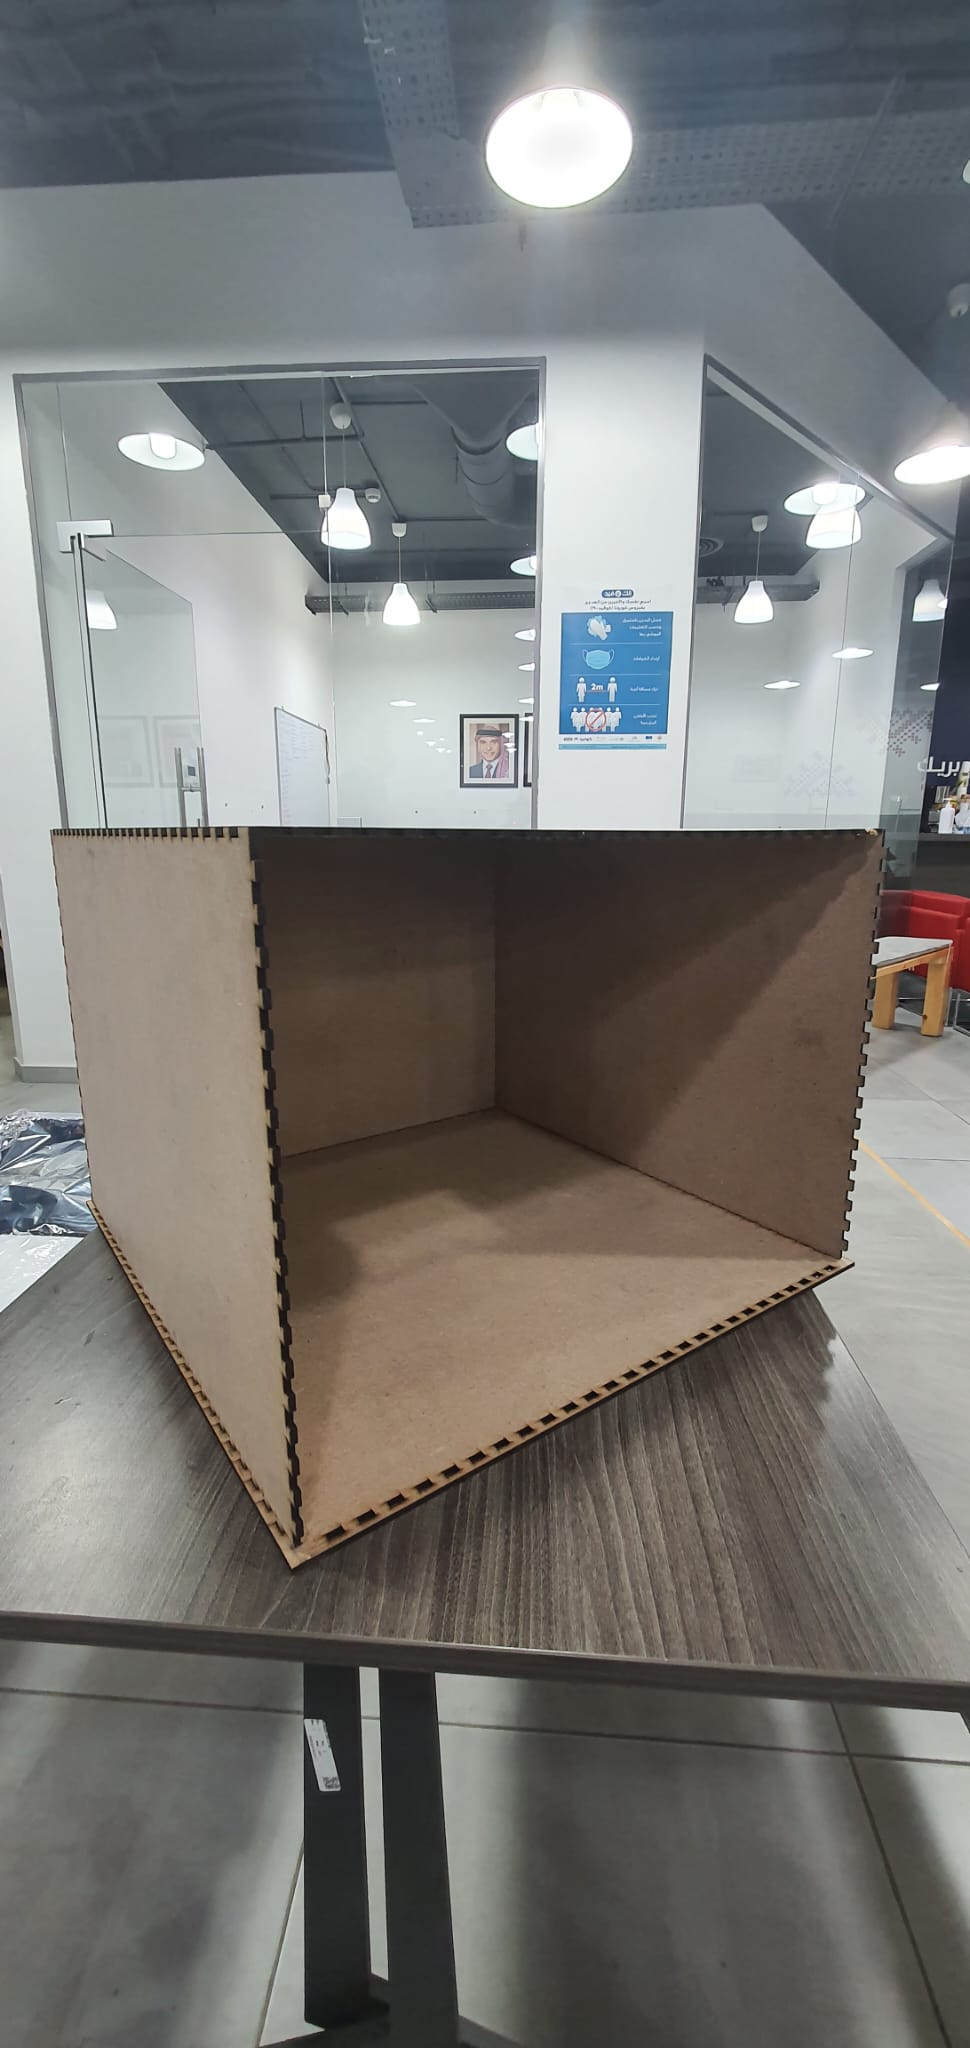
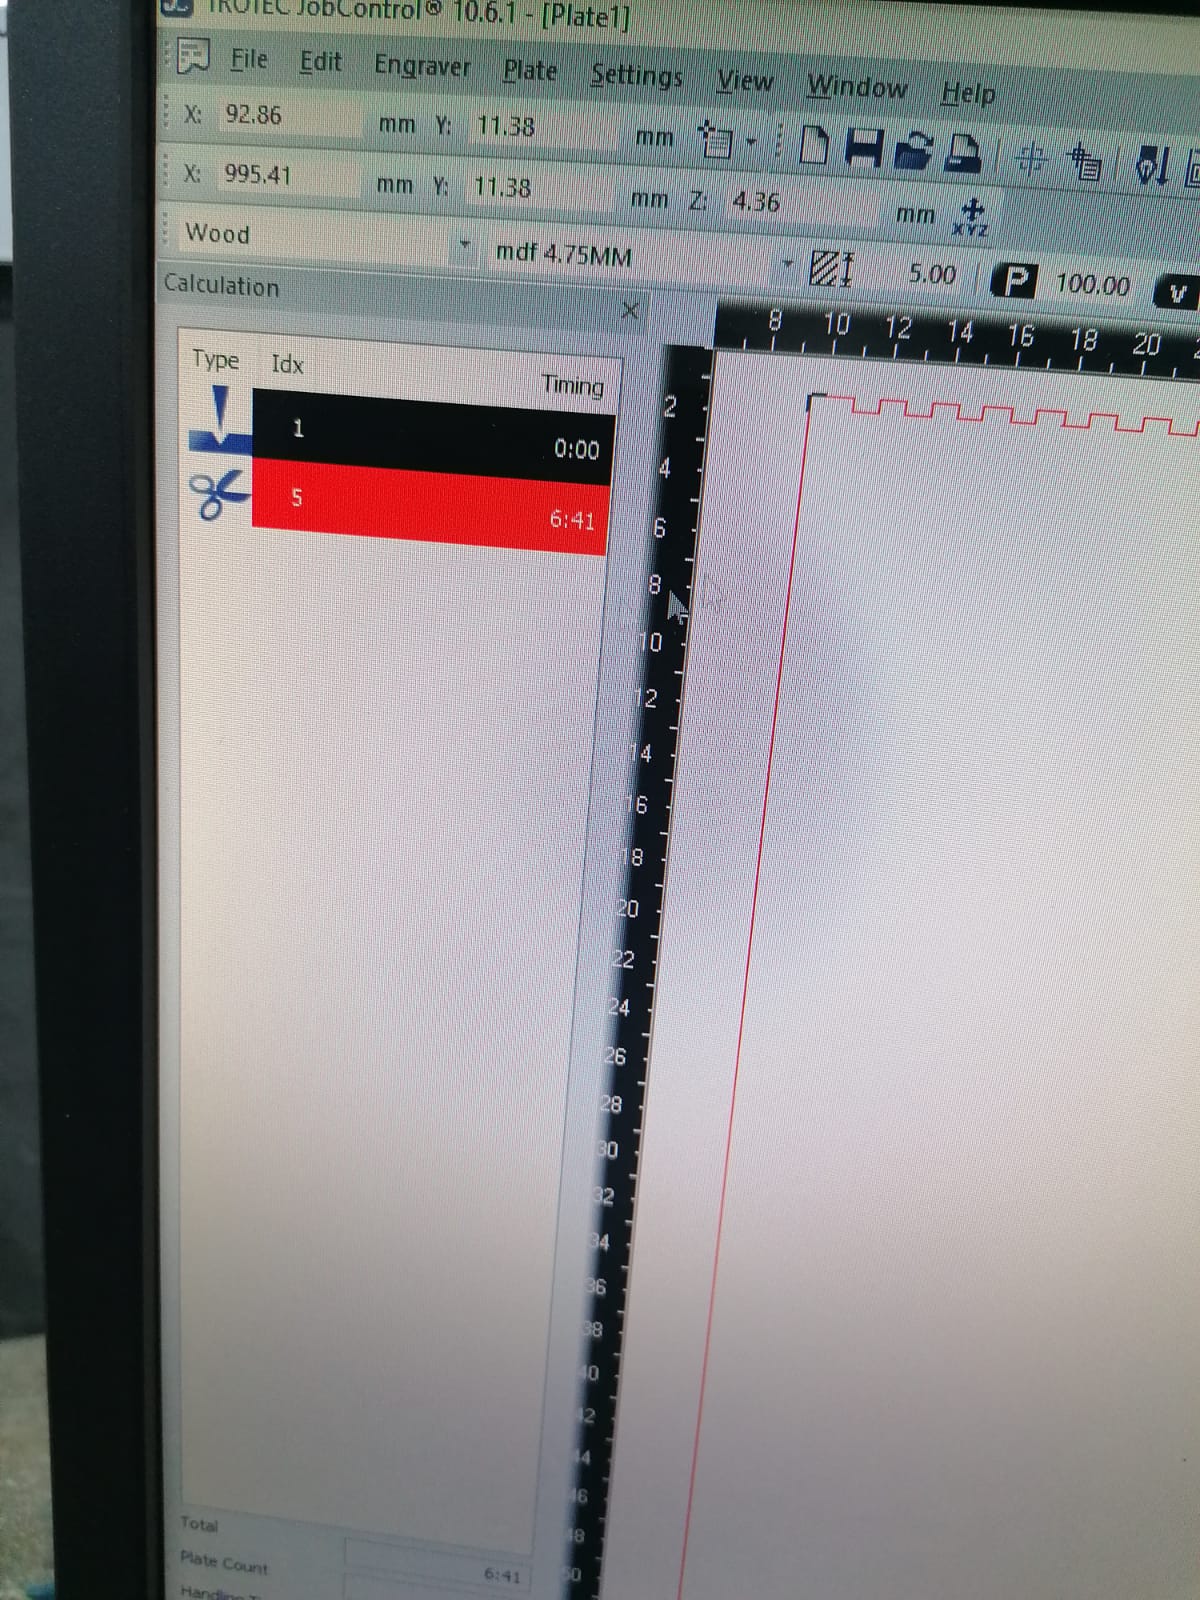
I used MDF wood with thickness 4.75 mm ,the size was 500mm500mm400mm
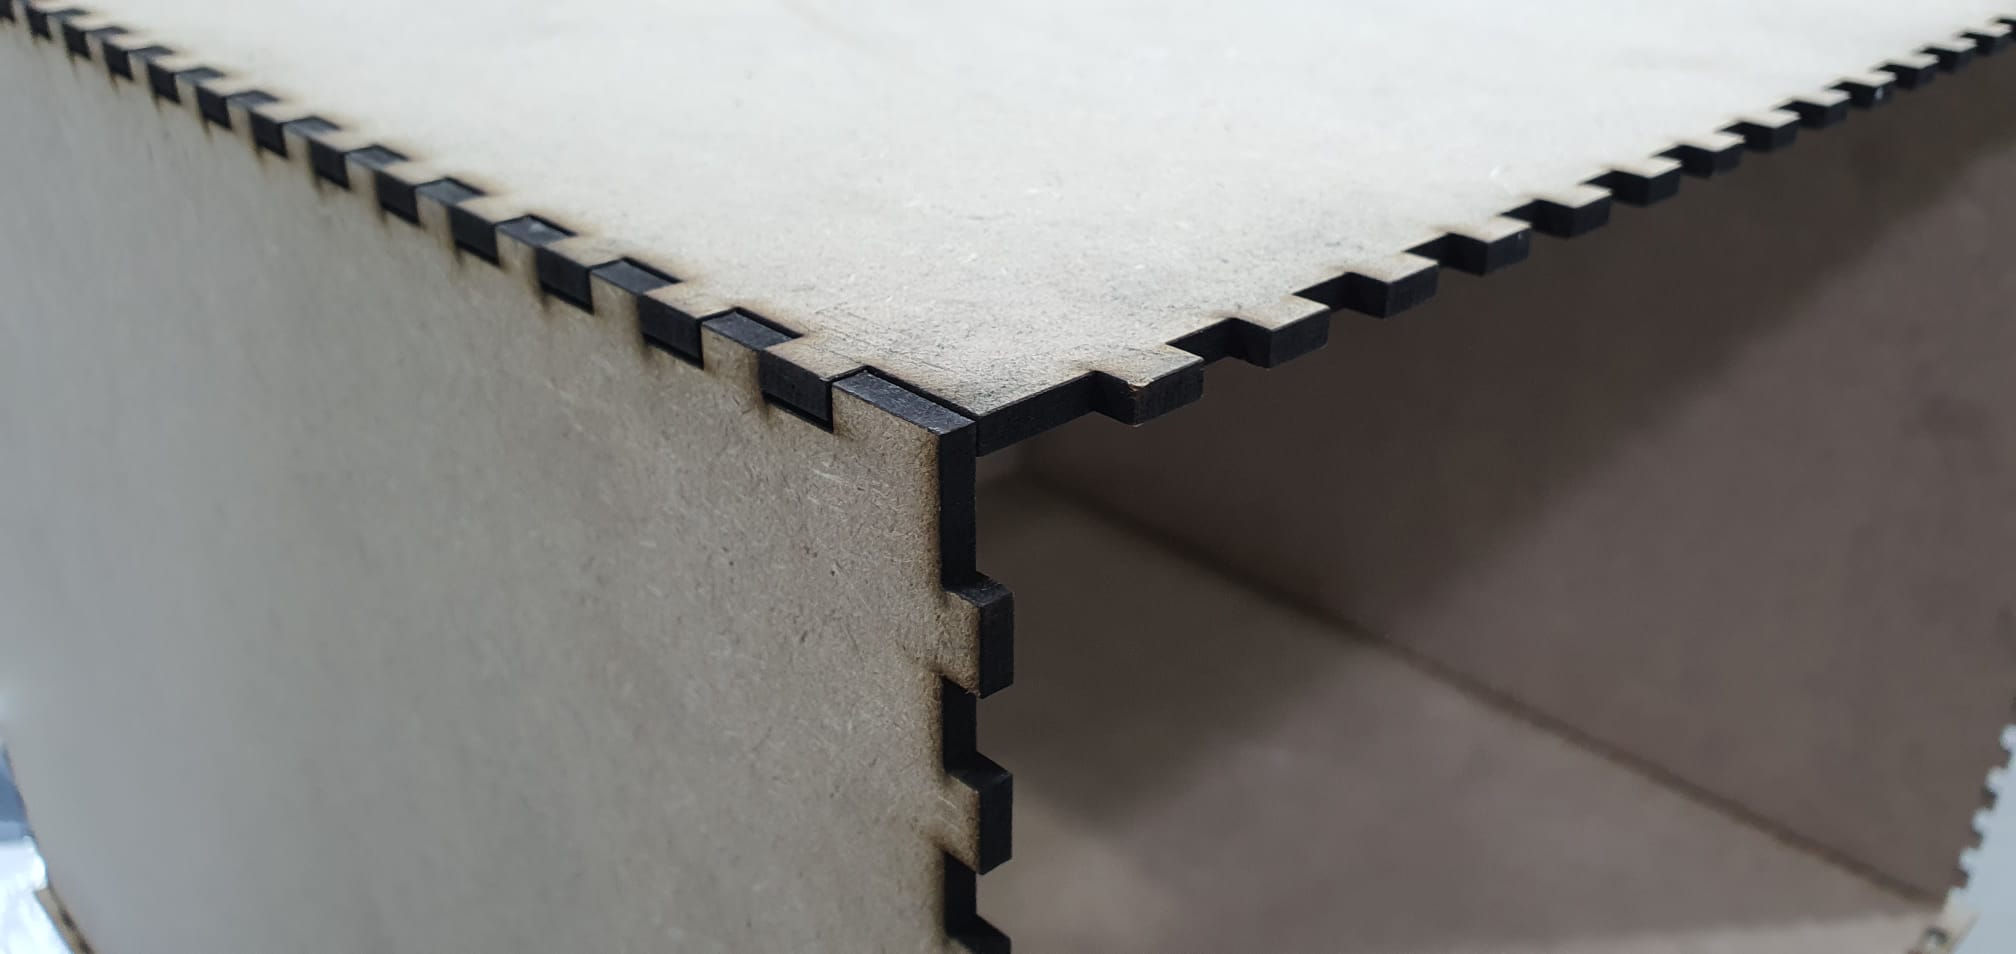
- Note :
Joints male and female square connections can help stabilize the structure for my incubator. For the next iteration we can decrease the number of joints to decrease the assembly time too.
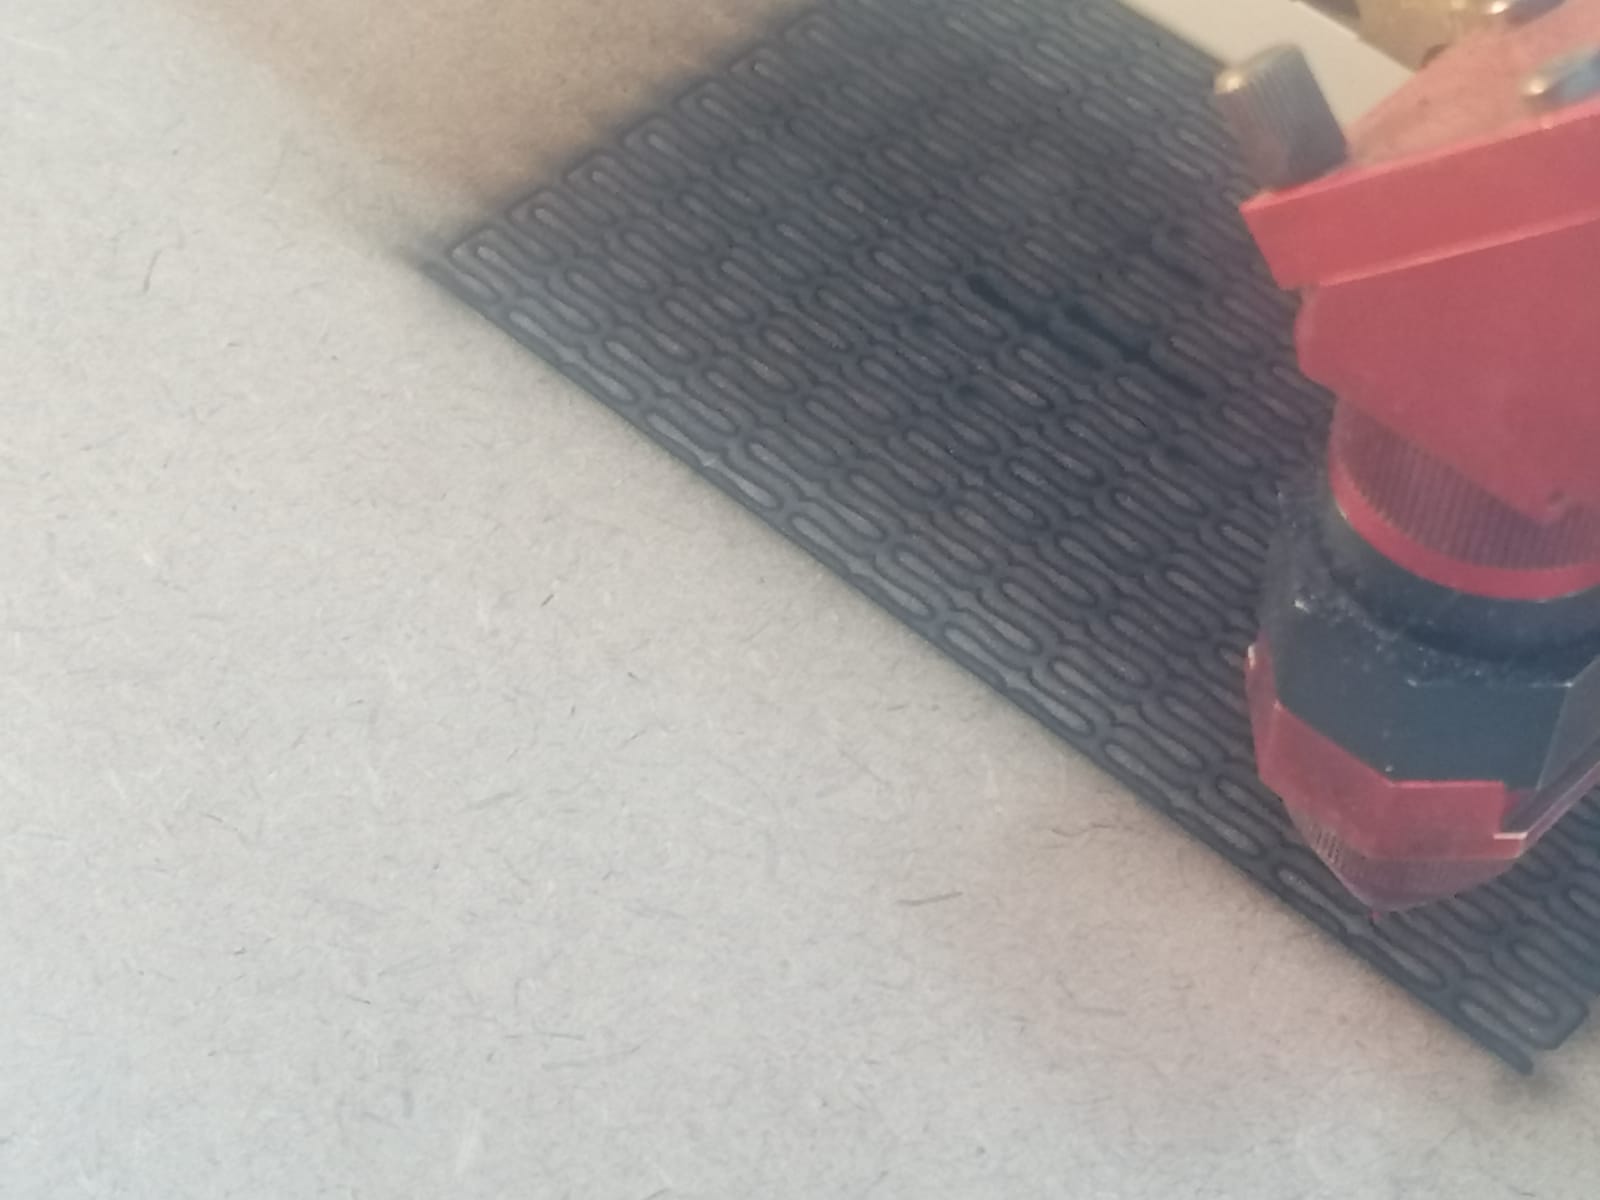
- The Fan and ventilation place note:
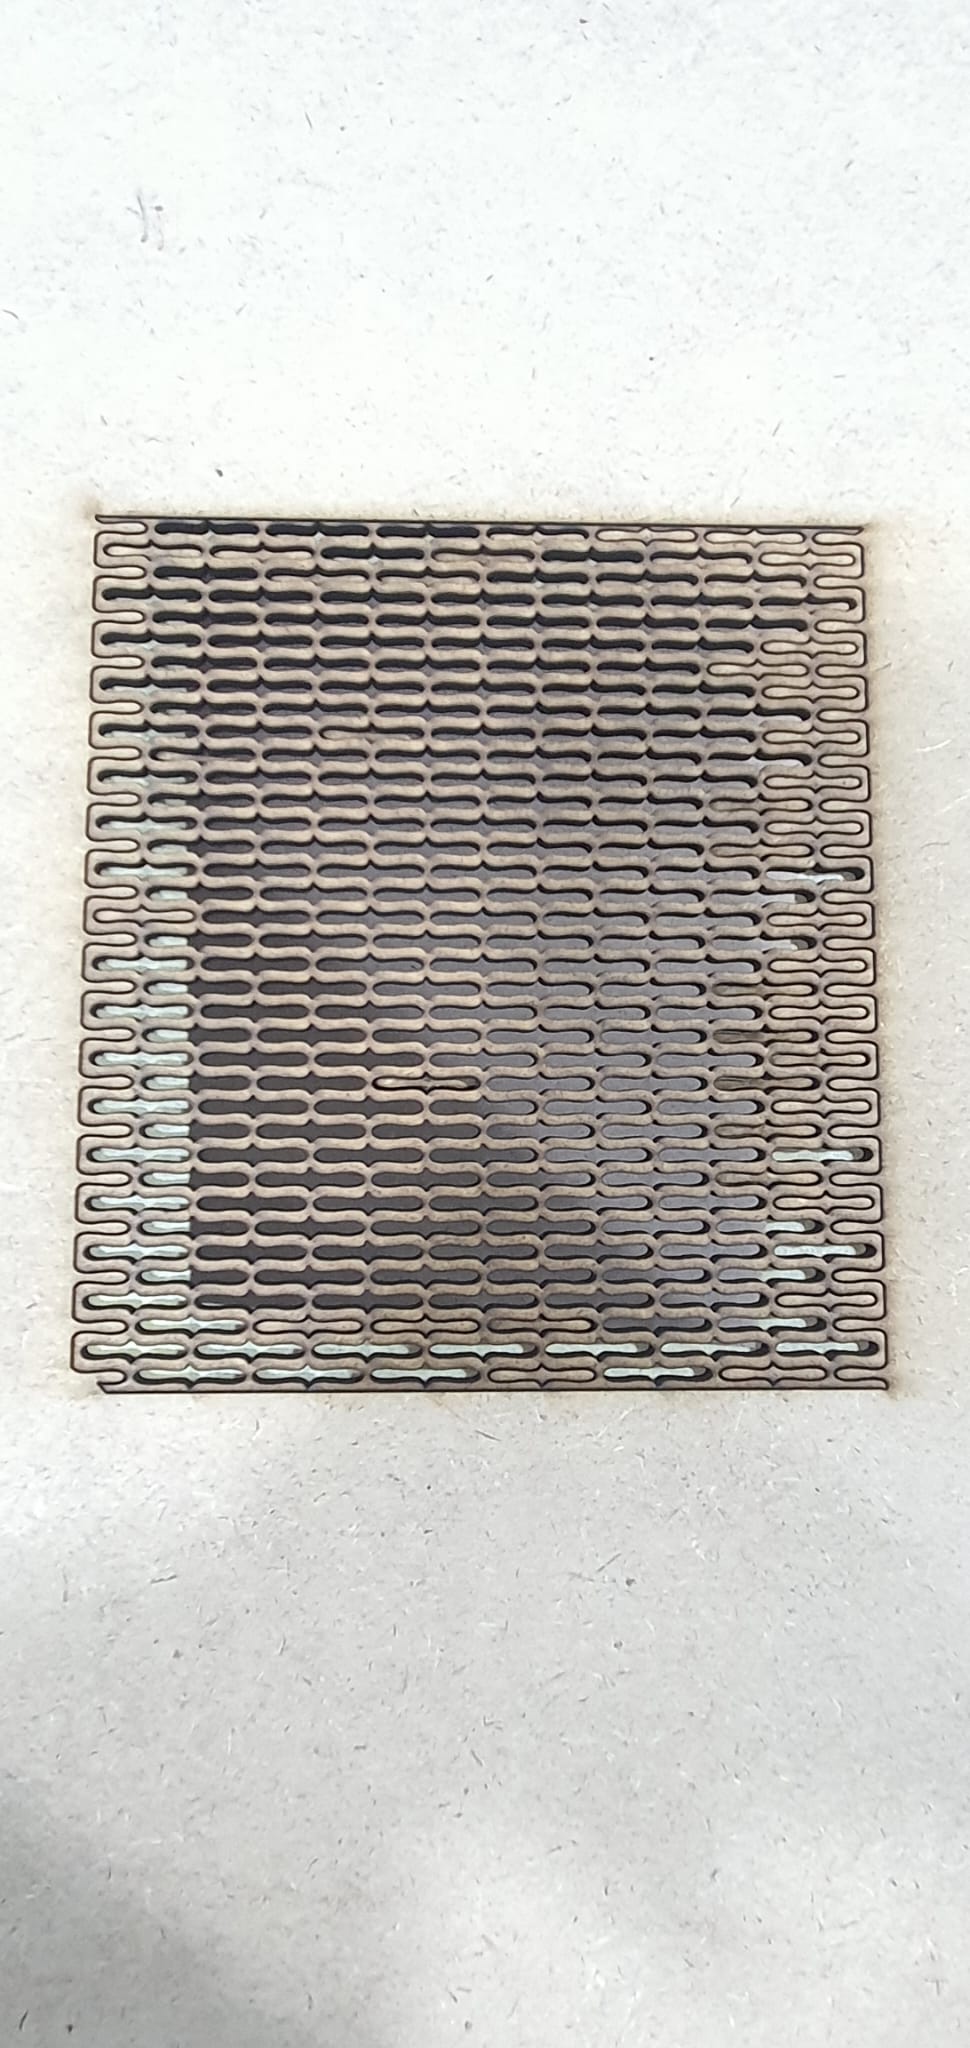
As for the ventilation hole I use some living hinge pattern ,on the link below can find
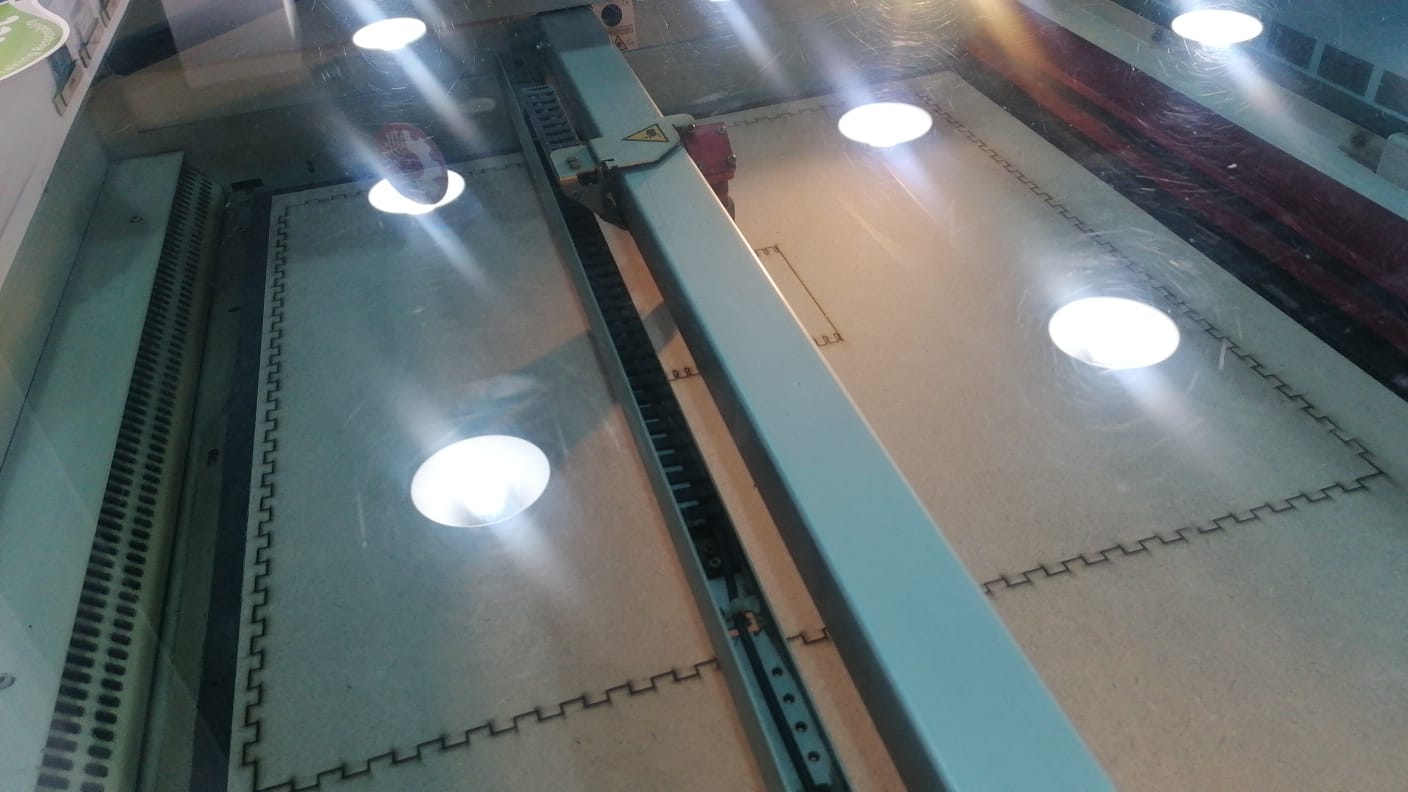
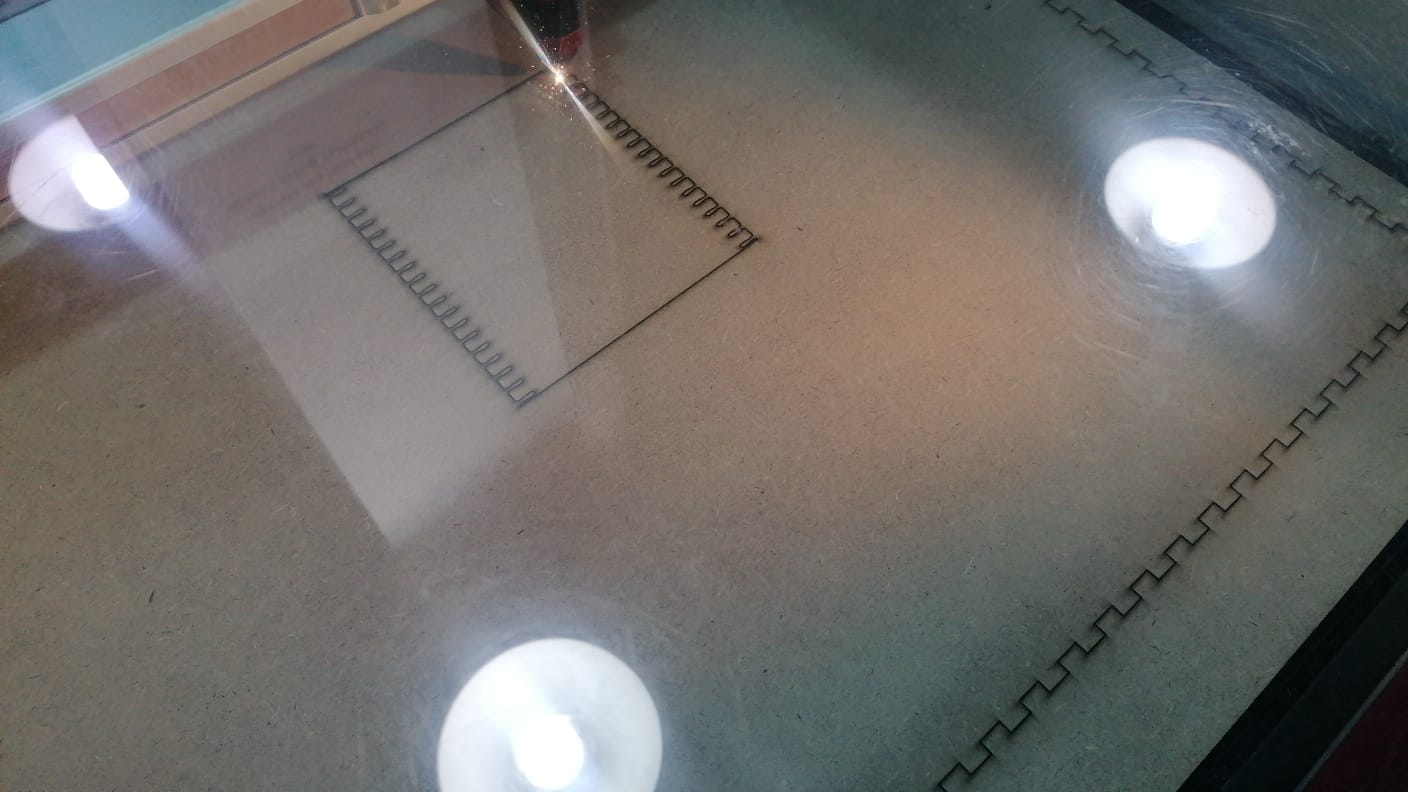
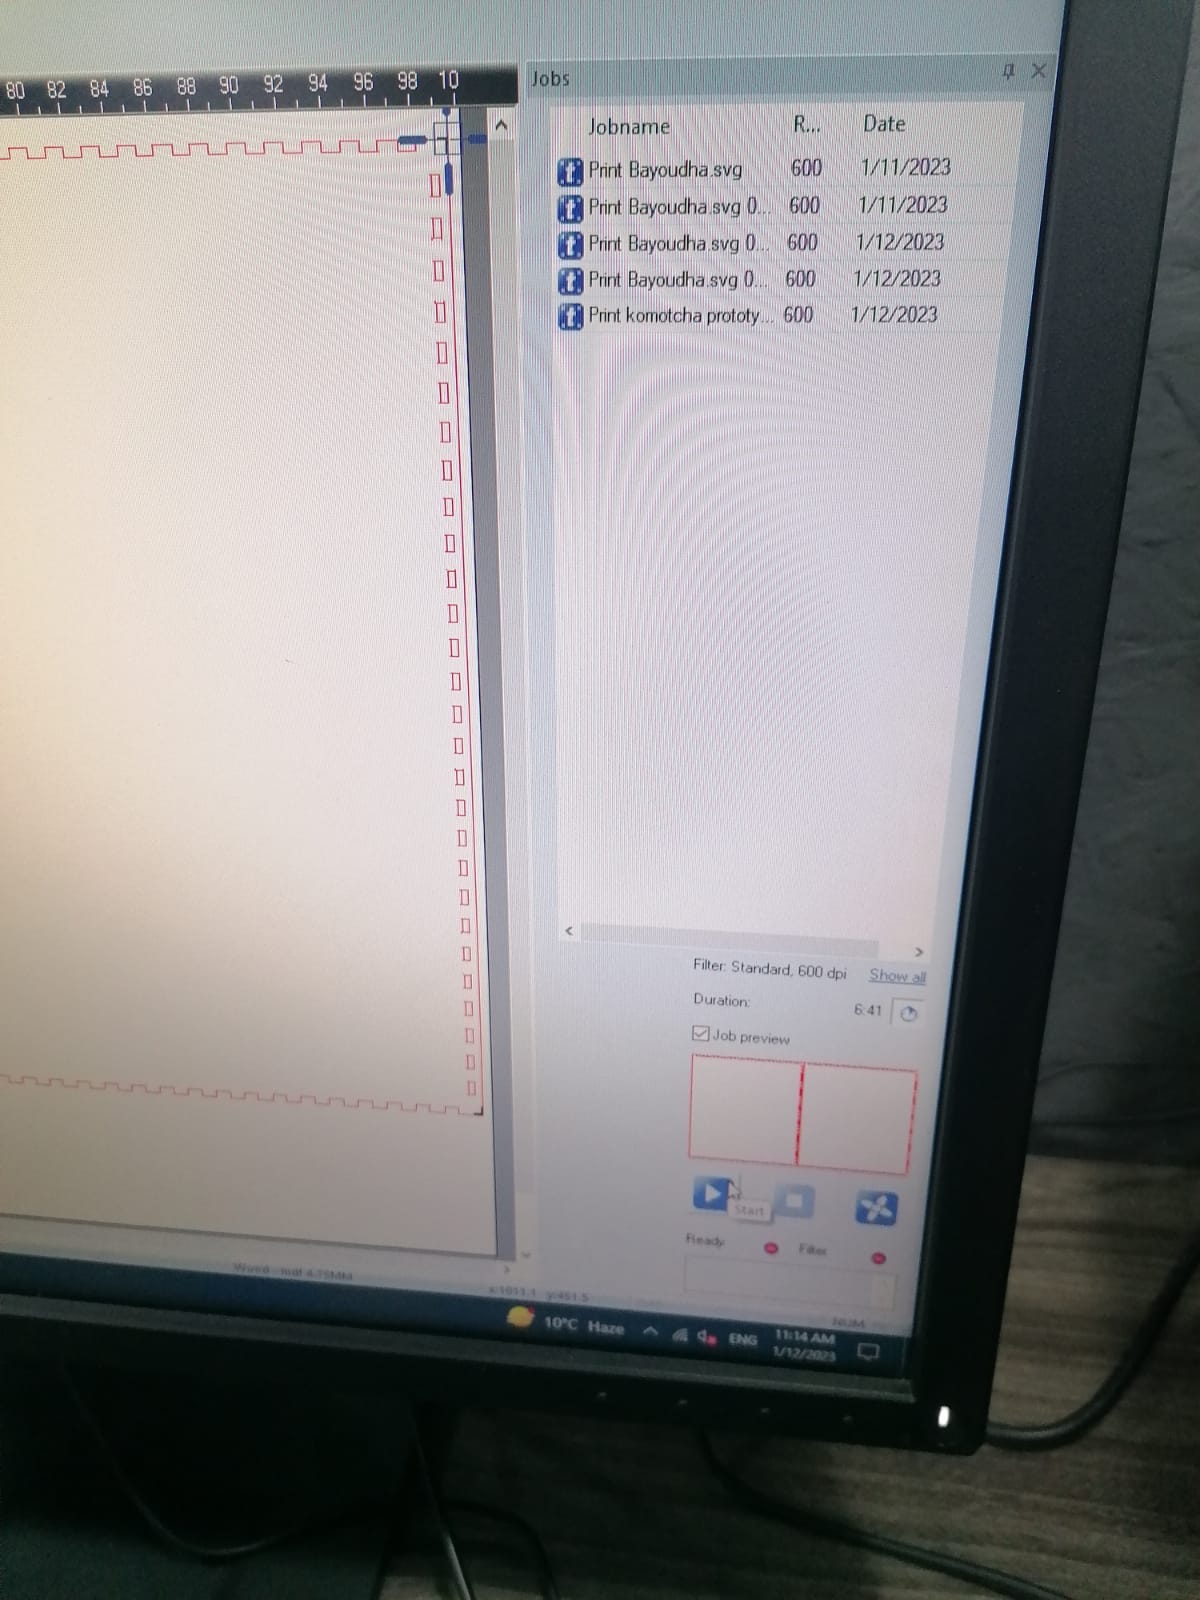
Laser cutting processes:
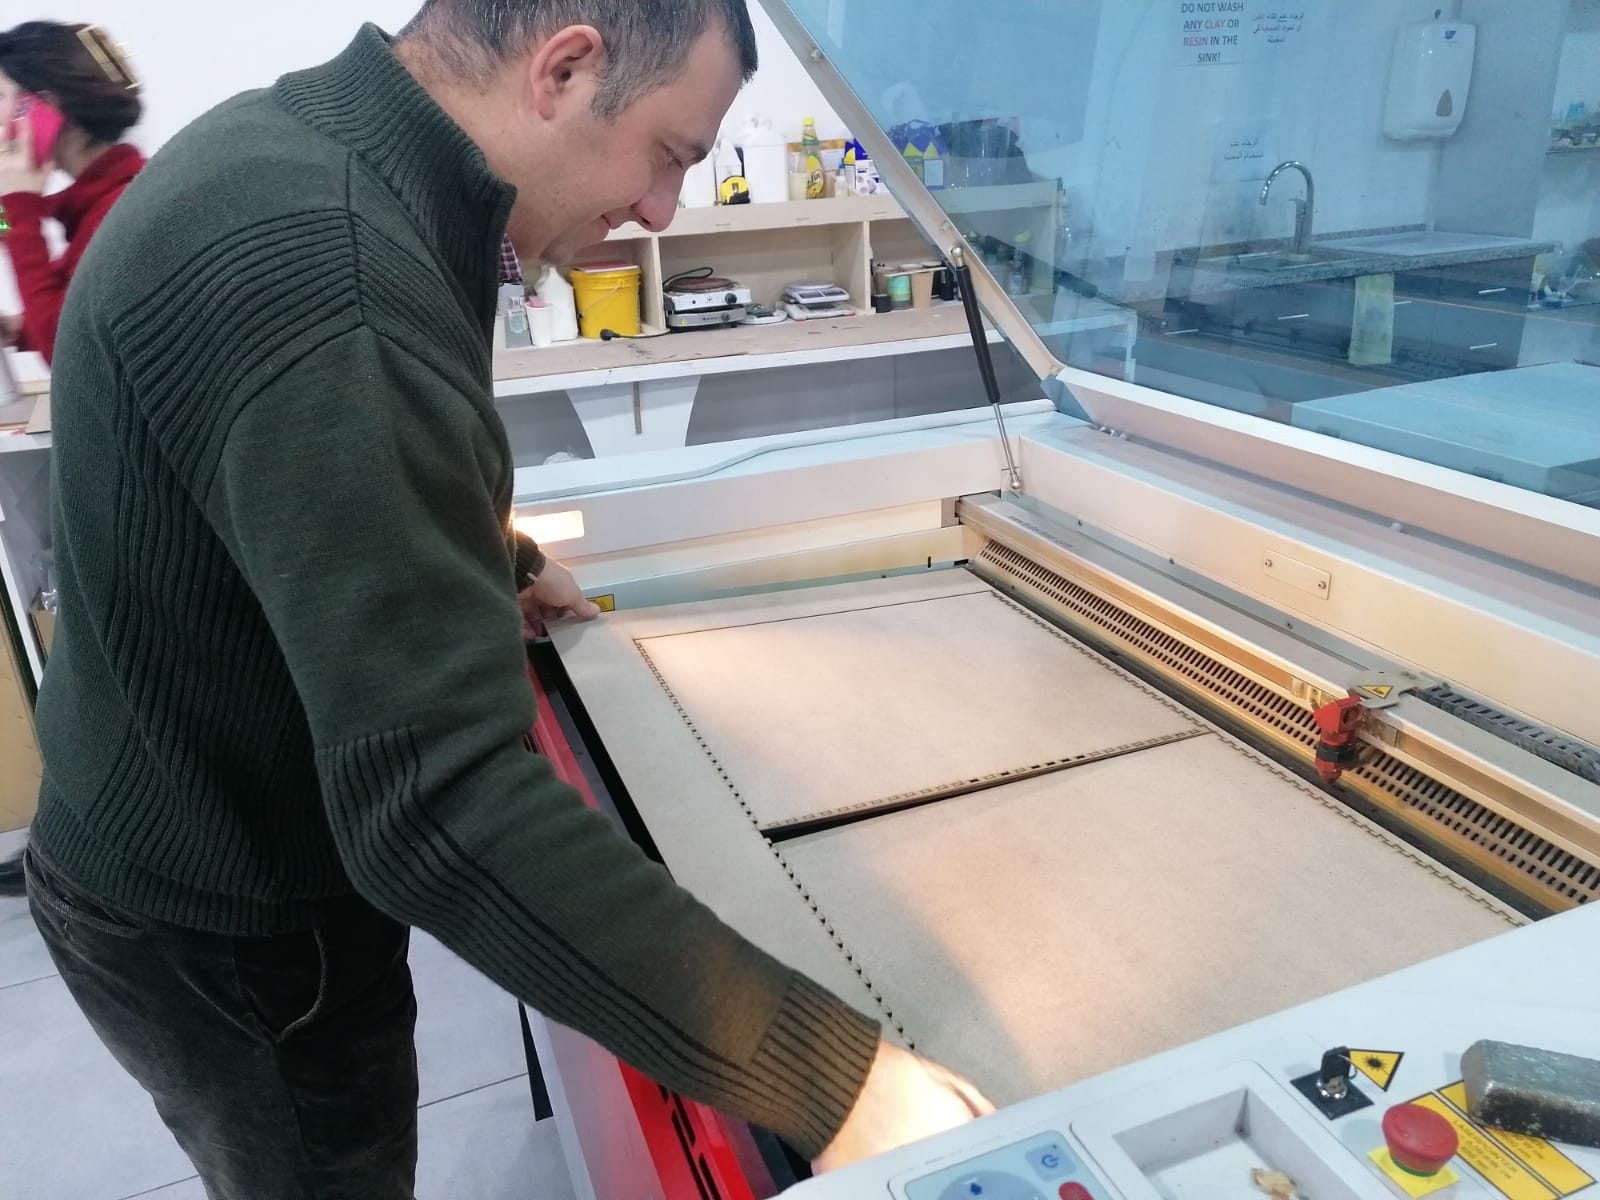
Mentoring notes and feedback
Angela Barbour and Louise Massacrier advised me to make a survey to build an incubator .
Other comment i got it from surzhana radnaeva about dimenssion of the komutcha sheet size and thinkness to be used in textile application .
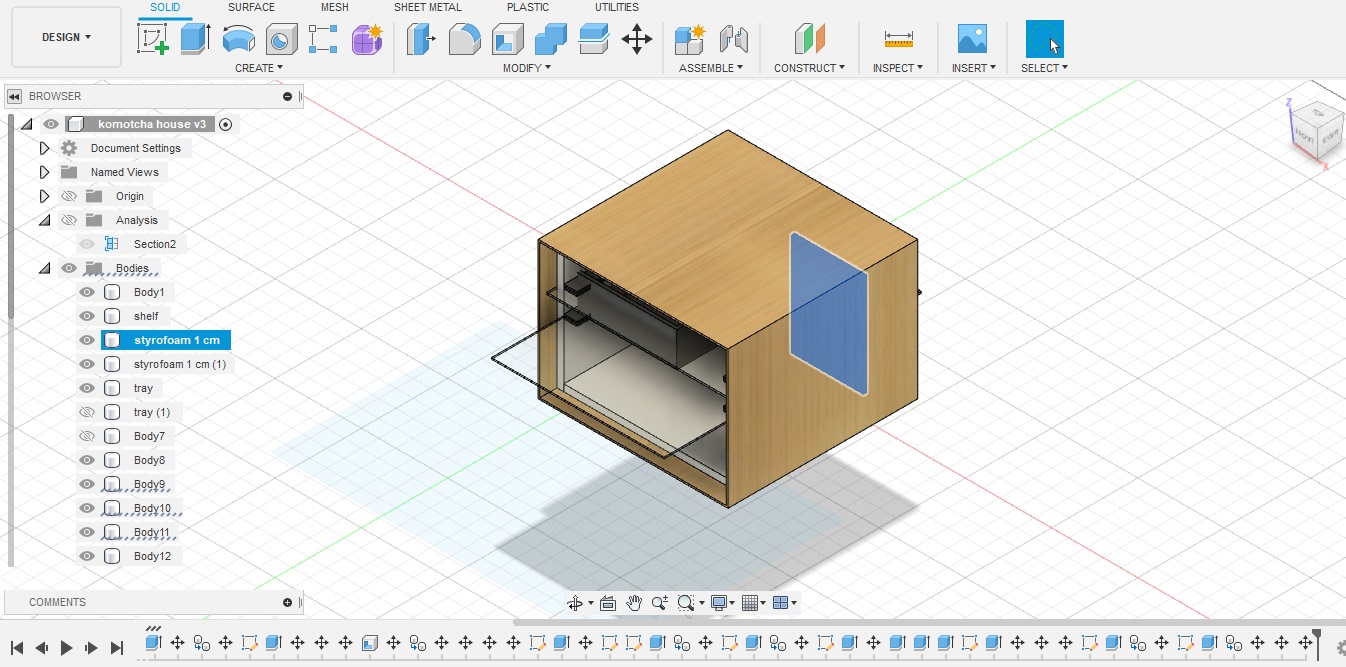
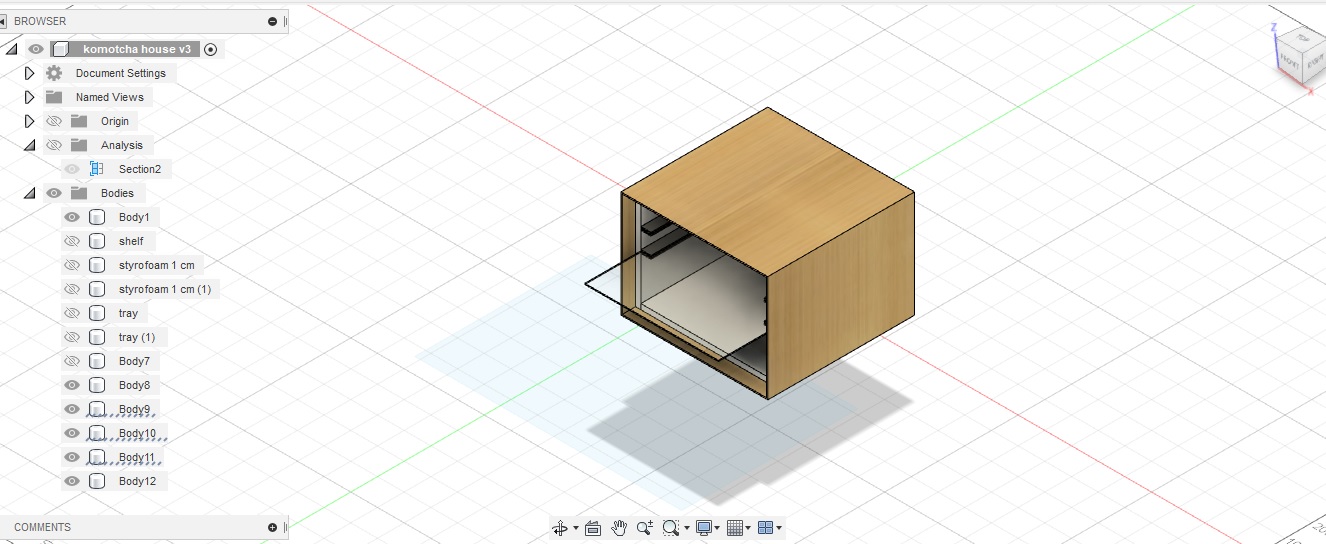
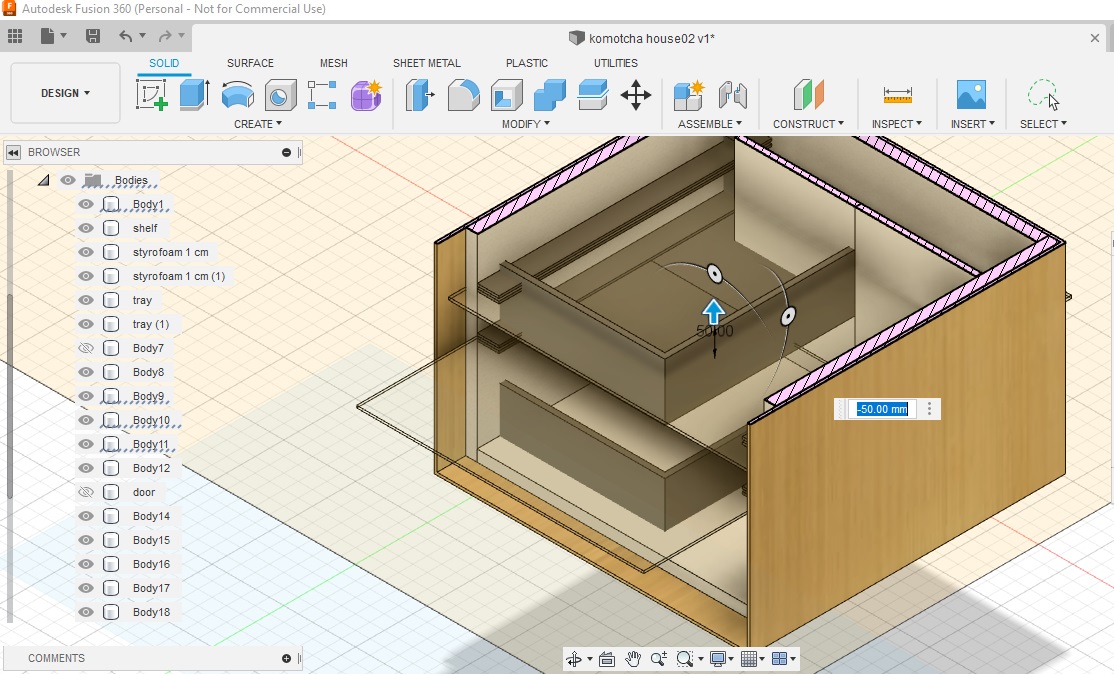
CAD - Fusion 360
In parallel I started using Fusion 360 to create a model of the incubator for studying the components and the structure.
Structure - DIY fabrication and assembly
Insulation
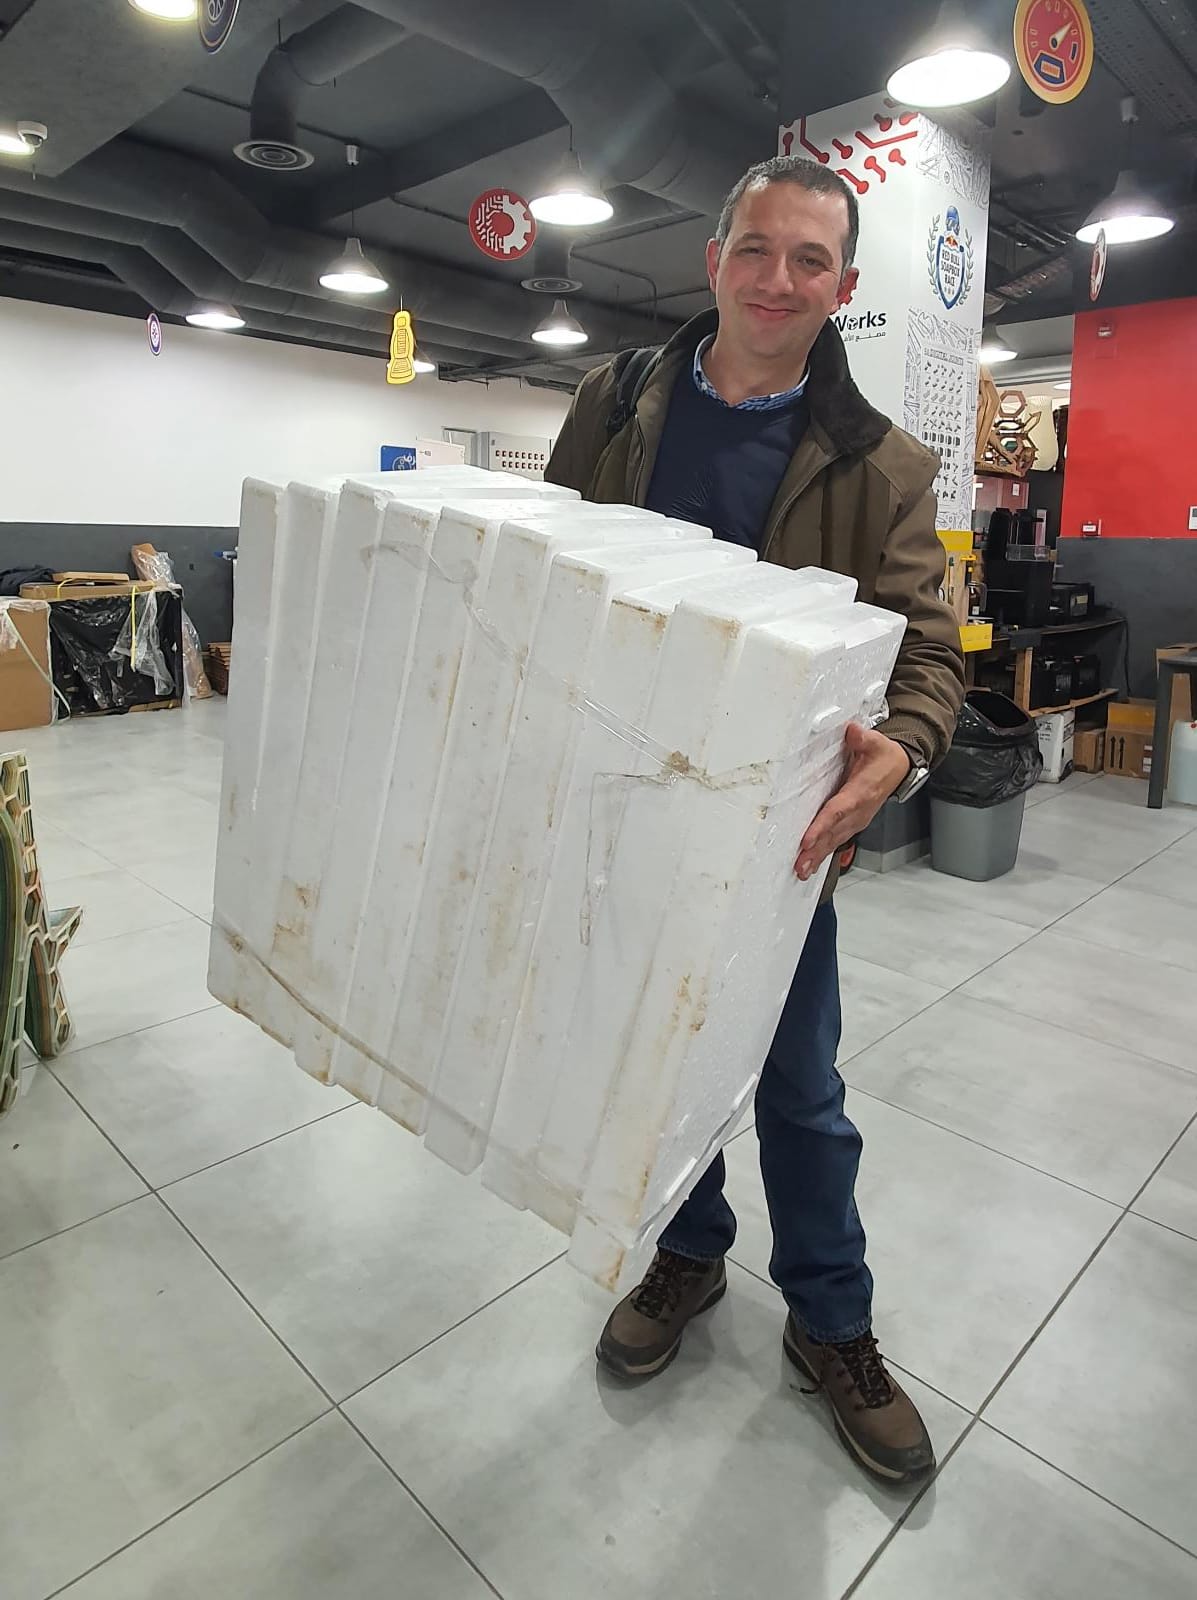
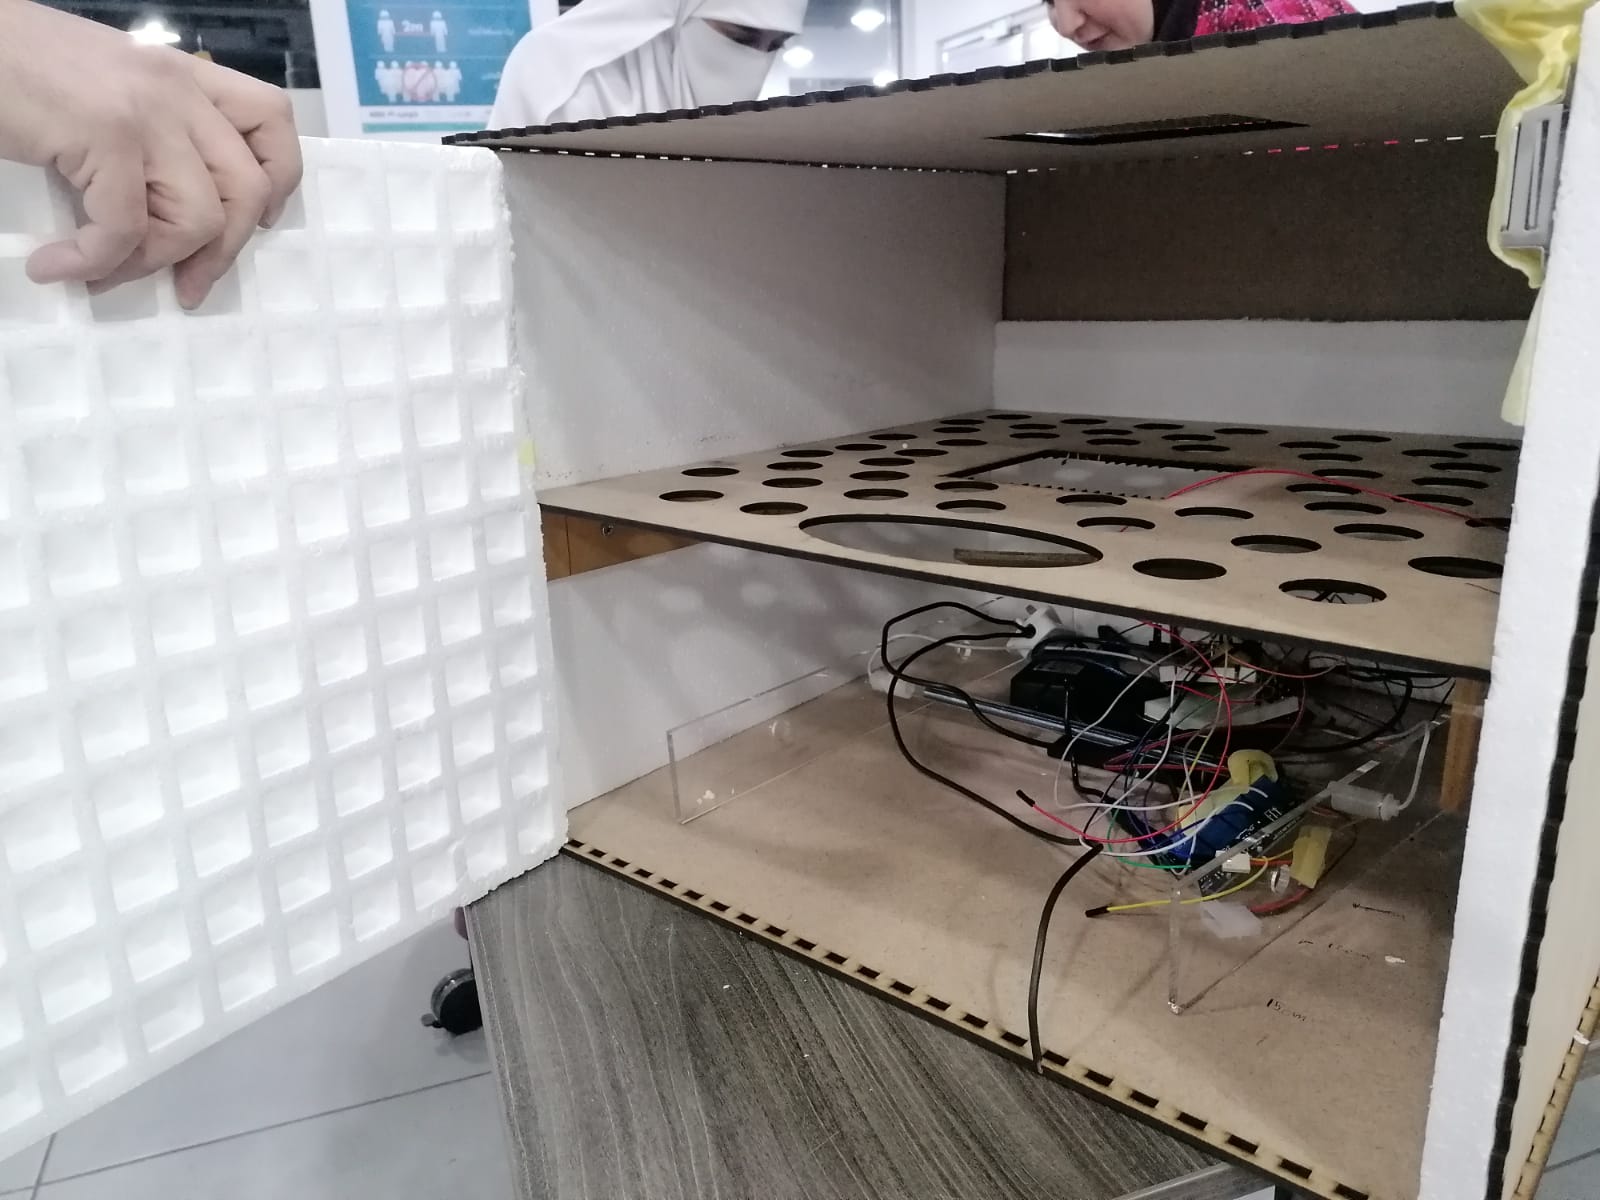
I proceeded to cut by hand styrofoam sheets found locally available (A1 sheets) of different thicknesses. I then decided to use thickness 20mm for insulating my structure and understand how to deal with the components inside.
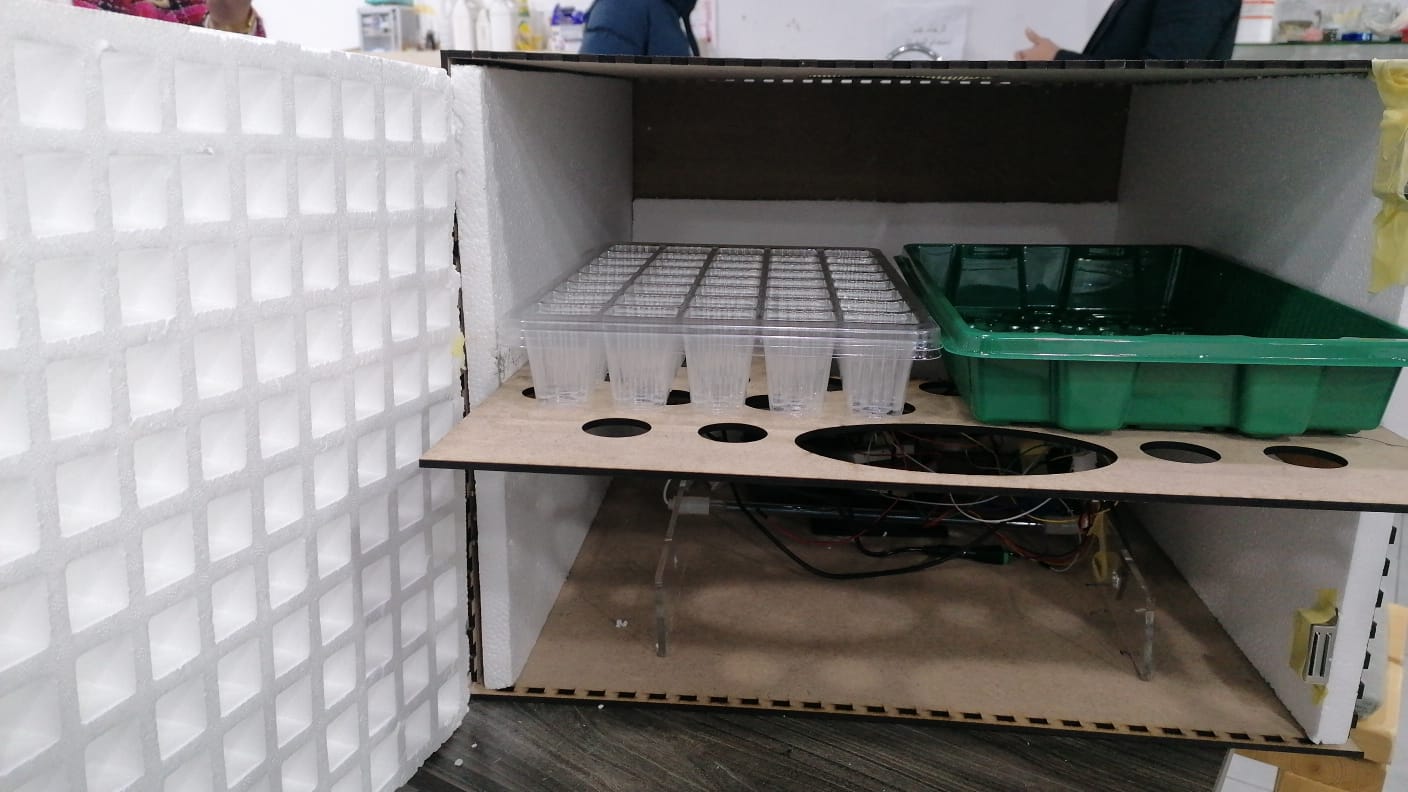
Shelf
I used the laser cutter and MDF thickness of 3mm to cut a sample of a shelf to test different patterns and sizes of trays.
I designed a pattern of circles inside inkscape and I laser cut the tray for the incubator on Inkscape.

I laser cut the shelf and attached inside the incubator to the sides of the box with screws using some acrylic leftovers.
Now the shelf can be easily removed by sliding movement.
Laser cut settings: Power: 100, Speed: 0.5 Thickness MDF: 4.5mm
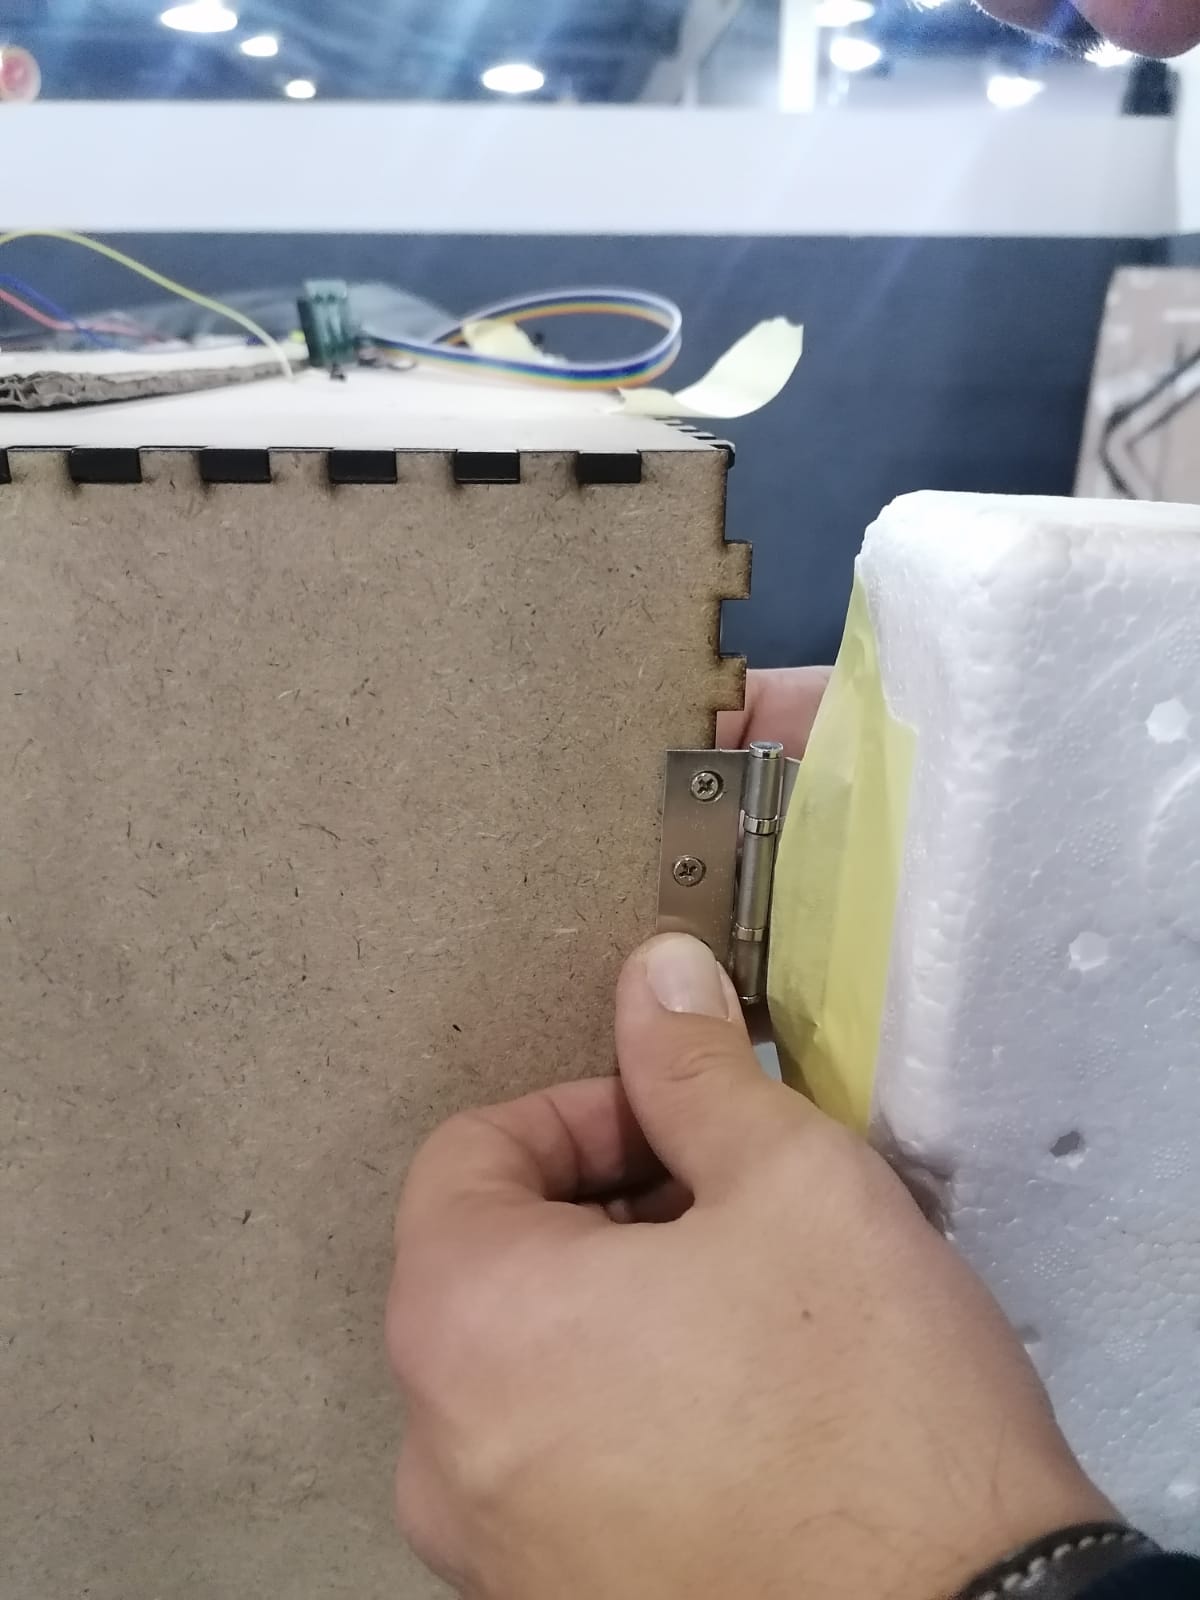
Door
Since I worked in the acquaponic industry I managed to get some styrofoam leftovers to use as a door. It is the first prototype to study possibilities and mechanism in order to discover the best solution for the incubator.
I bought metallic hinges and assembled to the door with screws.
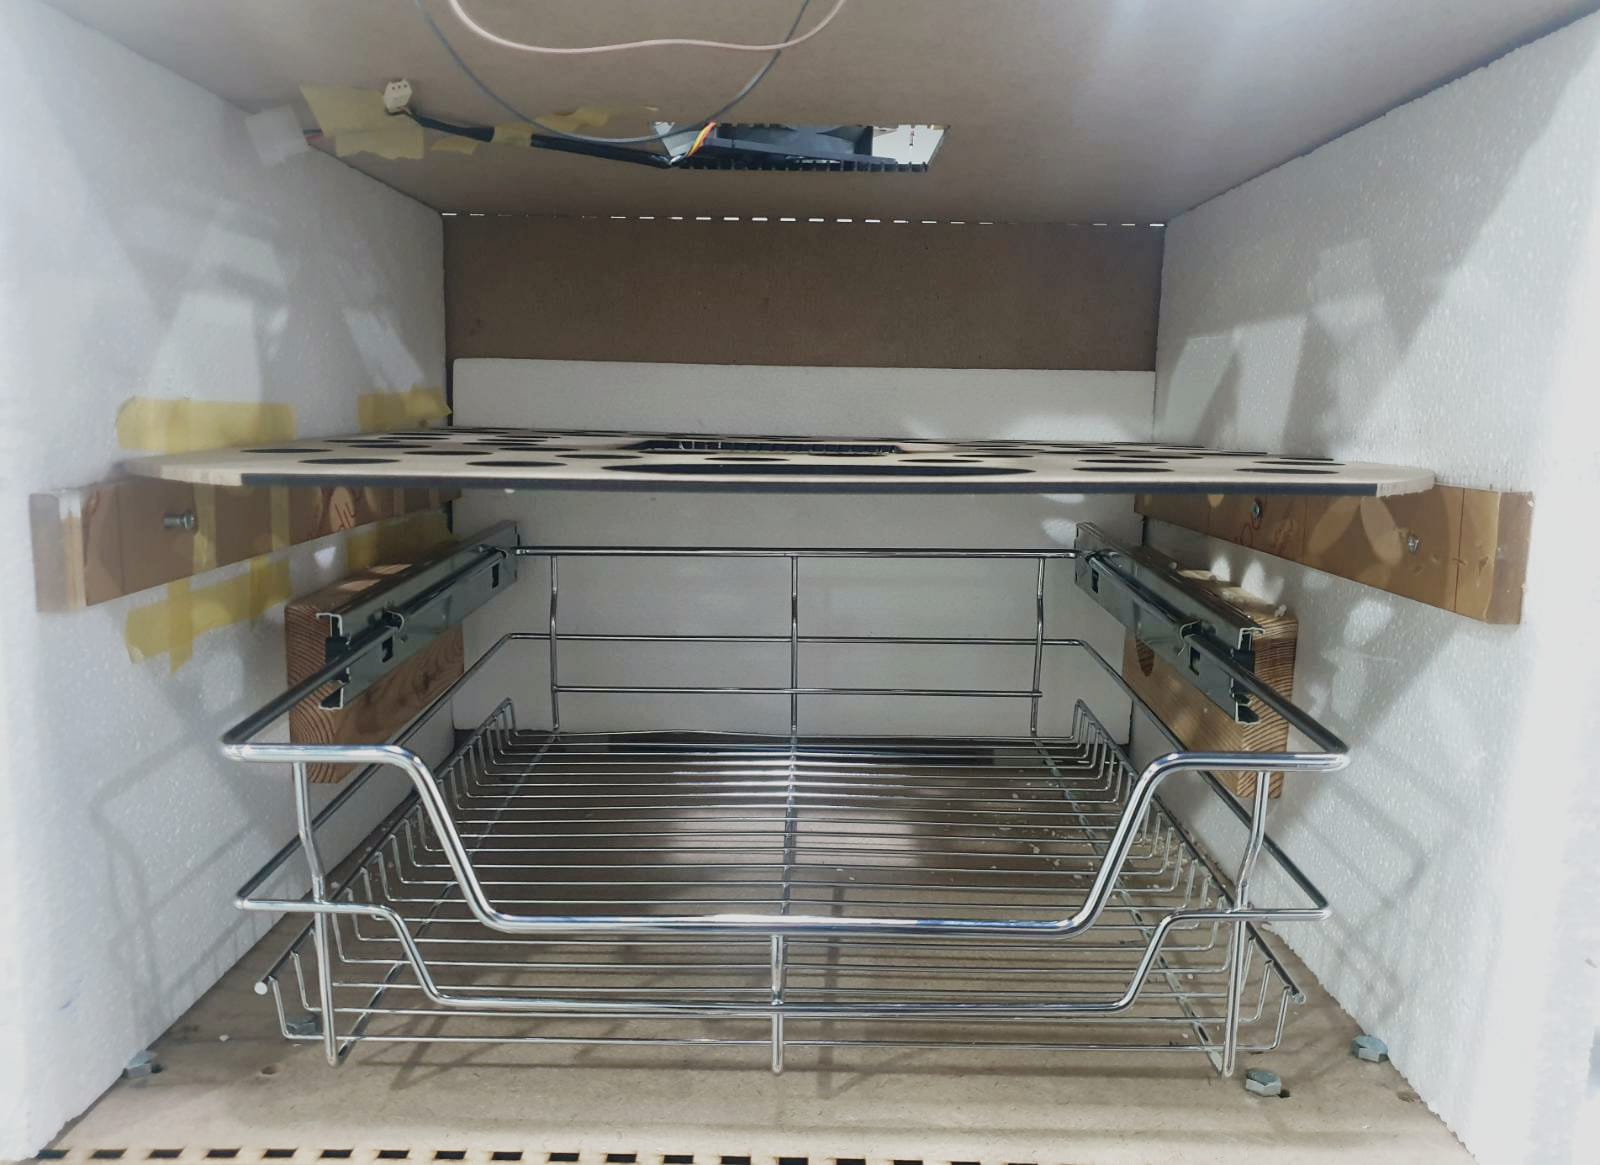
Drawer
I finally bought the steel drawer and assembled inside the incubator with screws.
Here is the result after assembling the parts together.
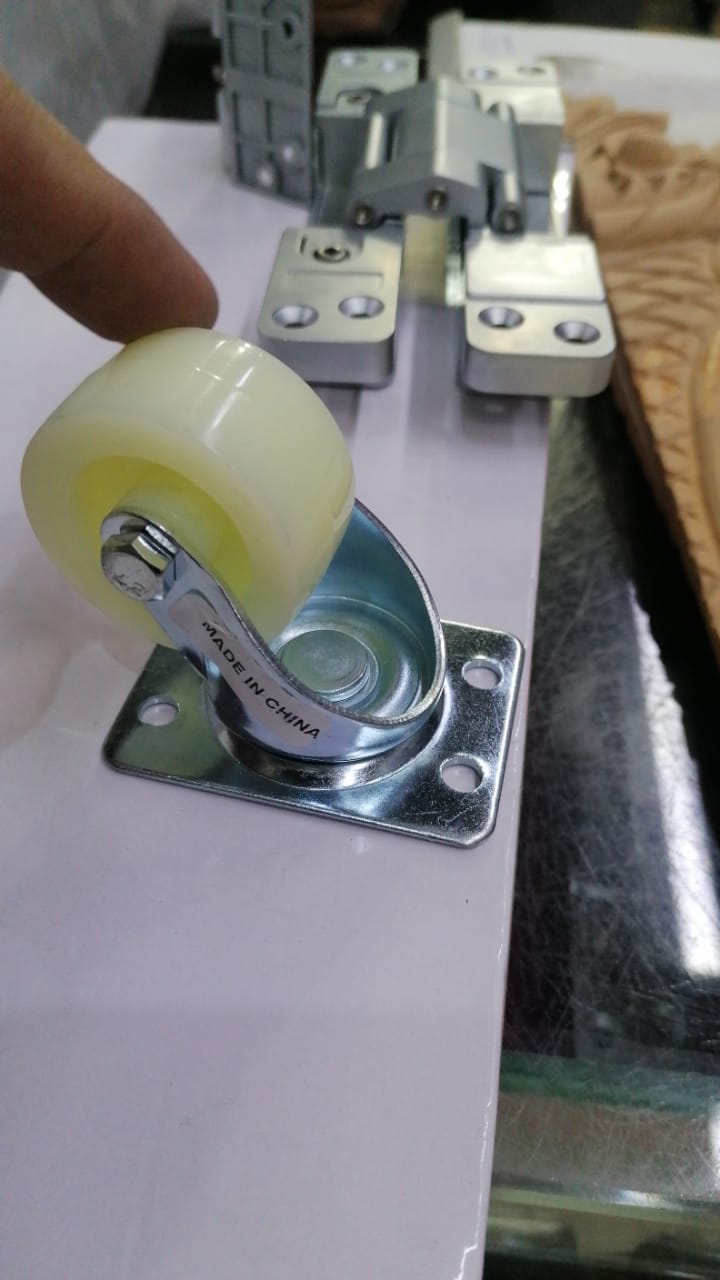
Wheels
I also managed to add extra features like 360 degrees wheels to be able to move the incubator in the lab and work in different locations.
Here is the pic after assembling them with screws I had available at the lab.
Initial-fabrication files
-
File: Laser cut test sheets ↩
-
Test file: Laser cut shelf ↩