8. Wearables
This week I explored more the wearable world and how E-textile can be reinvented and further developed to create amazing electronic integrated projects. Here is what I did.
Research
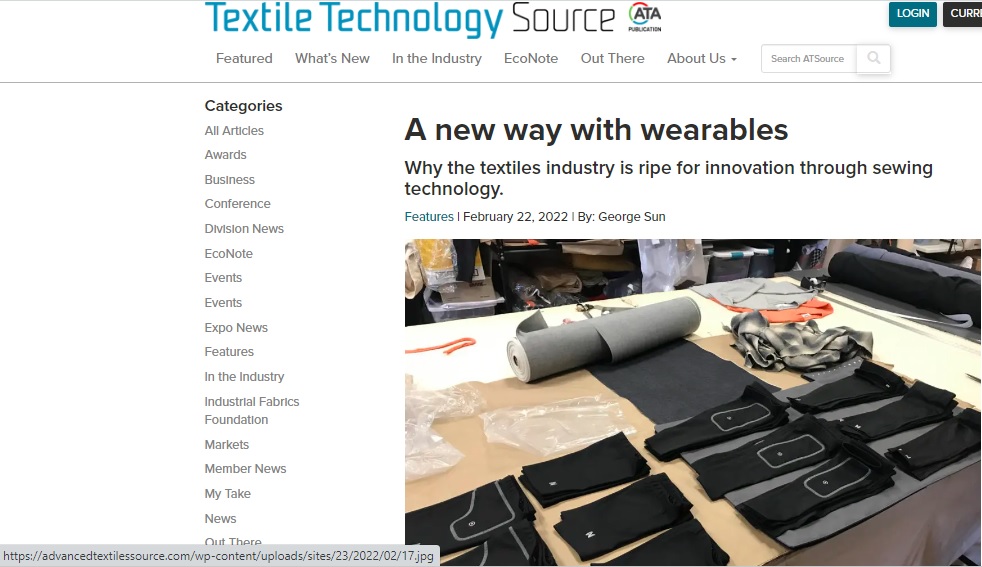
As always do some quick R&D about latest update in the wearable I found this info from Textile technology source
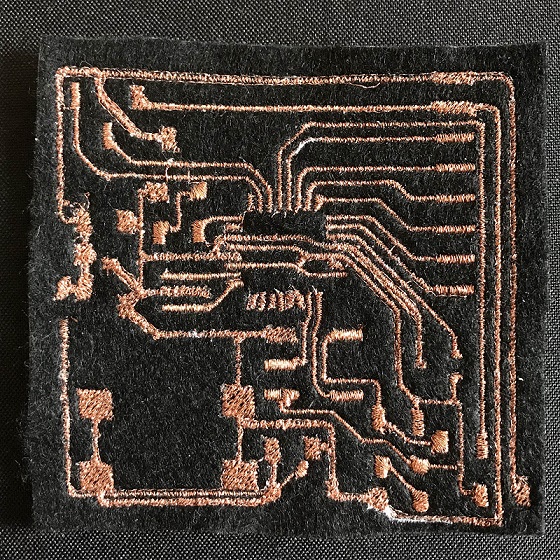
Photo:extiles sews proprietary patterns of semi conductive material into textiles that mimic the logic and sensitivity of conventional circuit devices.
Wearables are electronic devices that can be worn as accessories, embedded in clothing, implanted in the user's body, or even tattooed on the skin. A huge world of possibilities that is reshaping the future of fashion.
Below are some latest article from ATA :
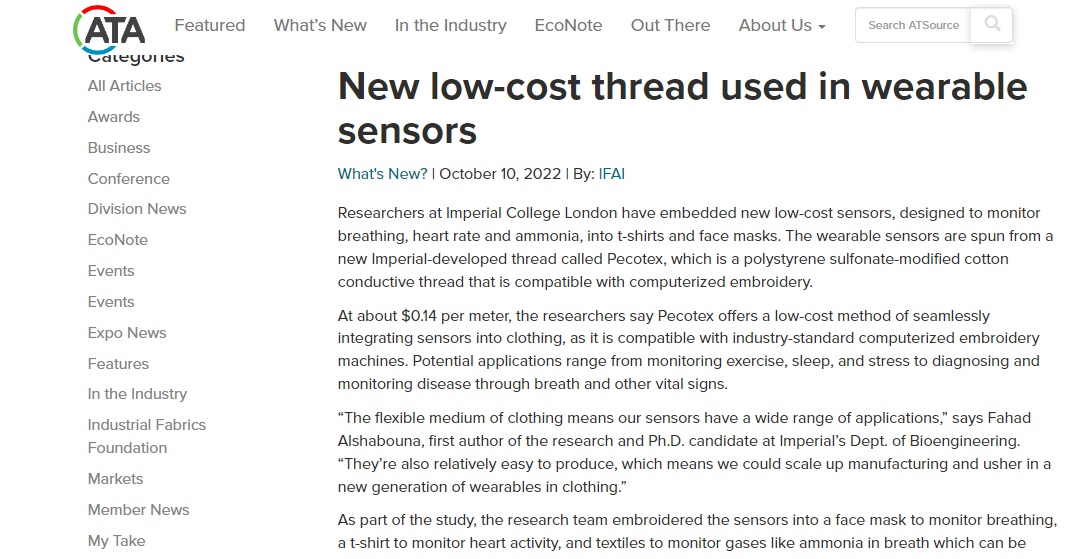
1-new low cost thread used in wearable sensors:
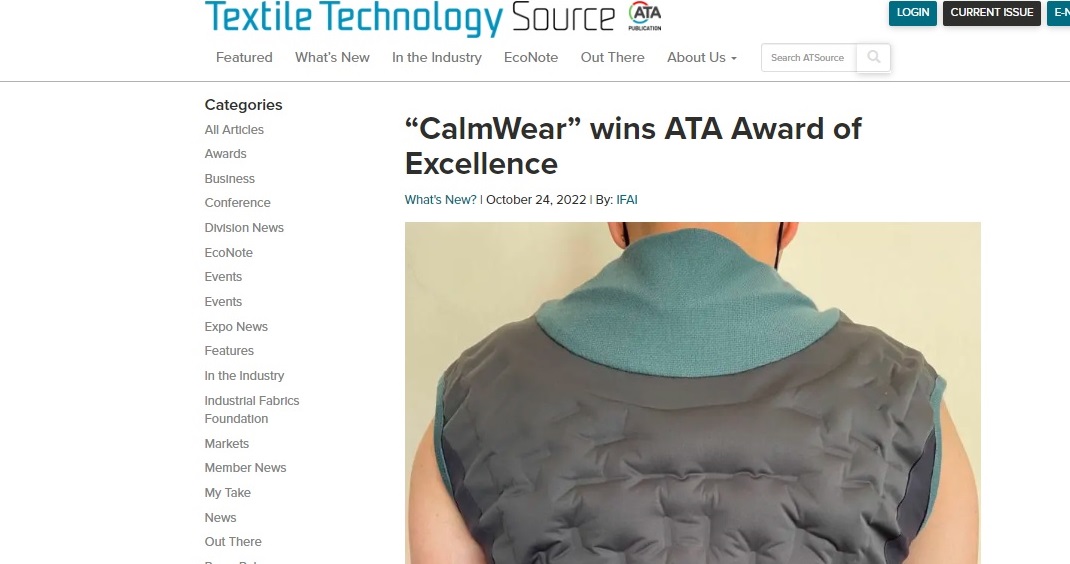
2-CalmWear
 Through my research of what's out there I came across these beautiful interesting projects.
Inspirations:
Lucky again to check some pervious student assignment like Rebecca Caem & Haneen Jaafreh other previous students work are recommended to watch :
1- Diane Wakim Le TextileLab Lyon 2020-21_ 2- Vicky Luan 3- Loes Bogers TextileLab Amsterdam 2019-20_ 4- Sara Alvarez TextileLab Amsterdam 2020-21_ 5- Kate Reed
Soft Speakers:
Process and workflow
I explore different idea of soft speakers. as I started simple and built upon it, yet many challenging face me is learning embroidery beside when stocking with HW failure & lose available time in the end the task assignment was finish and hopefully I can learn embroidery faster .
for this assignment I used the following materials:
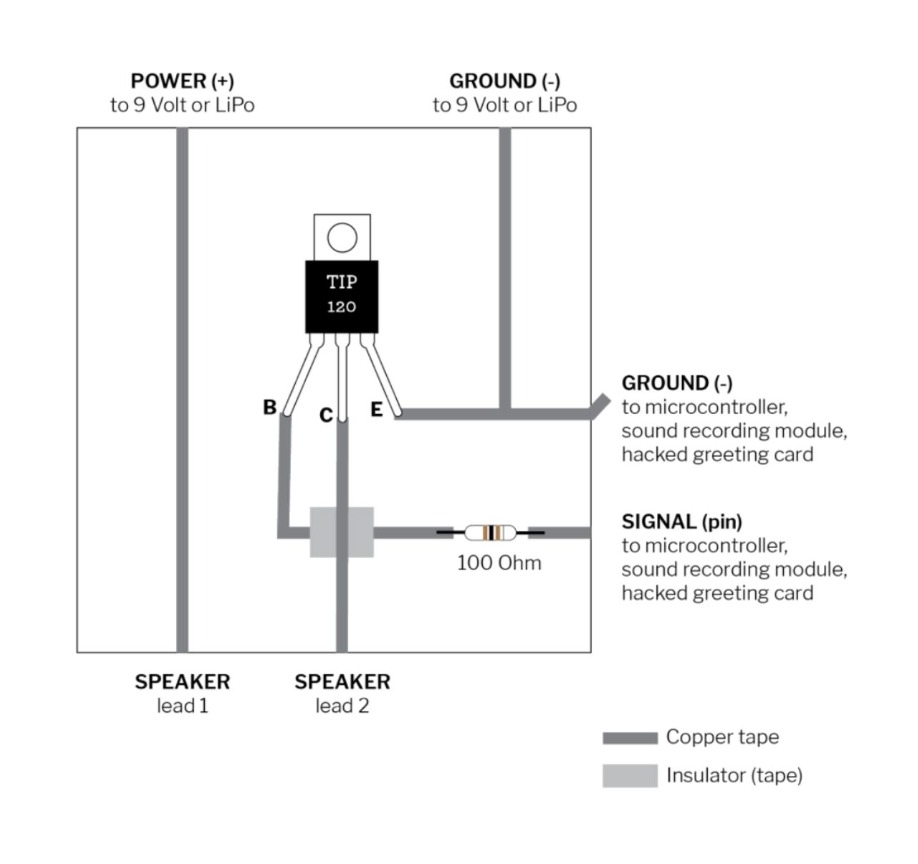
Circuit:
- Copper sheet
- Piece of paper or fabric for circuit base
- Transistor TIP 120
- cables
- 100 Ohm resistor
- soldering tools & equipment
Speaker 1:
- Copper sheet
- Fabric
- Magnet
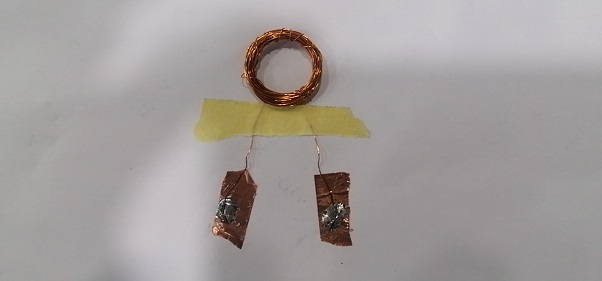
work process :
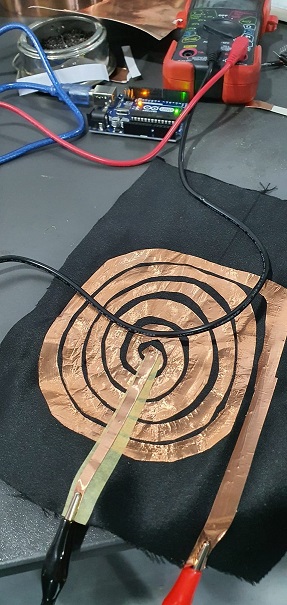
after cutting the copper sheet into a small spiral shape and fixing it on a piece of fabric , I used the above circuit from Liza Stark to solder my circuit and use it with Arduino Uno, using the melody tune code example in the available as library.
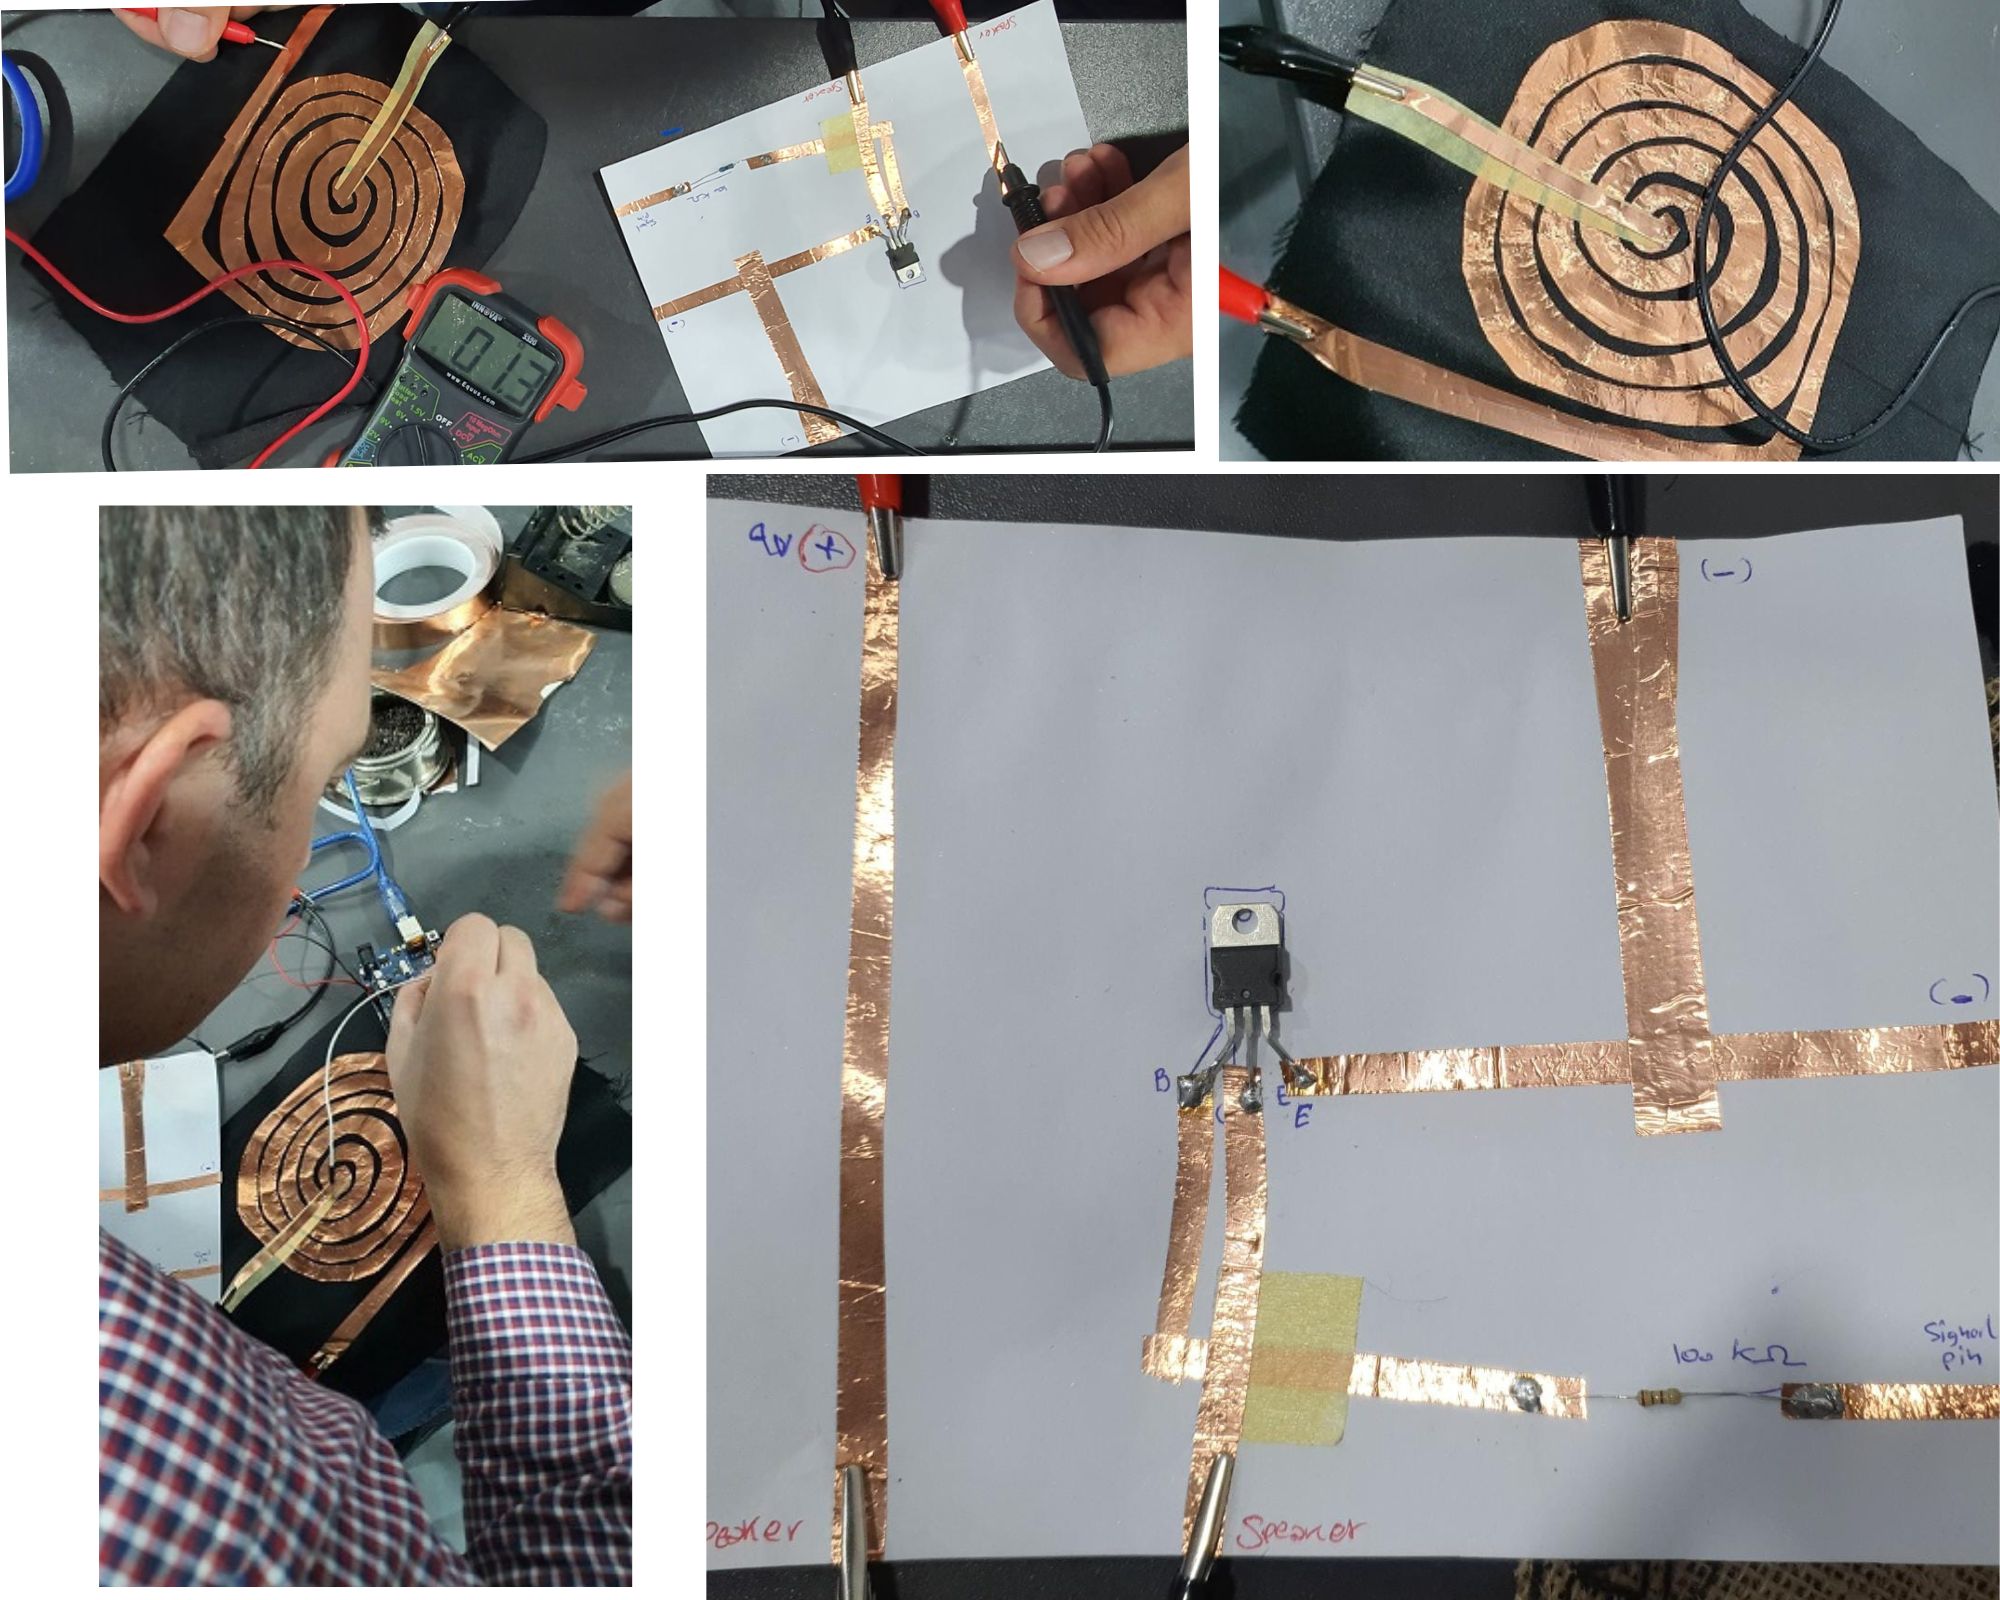
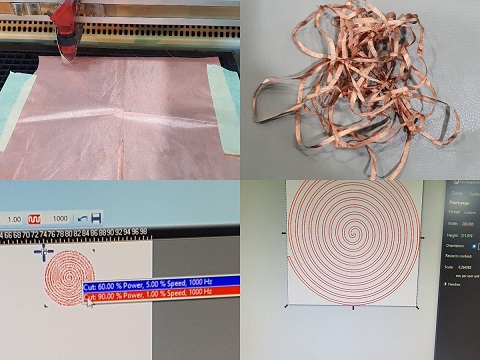
Two other experiments of speakers made were failed while I am trying to cut the copper fabric sheet with the leaser cut. I think one is because the quality of adhesive in copper sheet was strong and leaser cutter machine doesn't have the enough power to cut it. Better to use conductive thread and embroidery technique to have better shape or use scissors to cut copper tape or sheet.
Code used:
I used the melody sketch in Arduino code.
#include "pitches.h"

int melody[] = {

  NOTE_C4, NOTE_G3, NOTE_G3, NOTE_A3, NOTE_G3, 0, NOTE_B3, NOTE_C4
};

// note durations: 4 = quarter note, 8 = eighth note, etc.:
int noteDurations[] = {

  4, 8, 8, 4, 4, 4, 4, 4
};

void setup() {

  // iterate over the notes of the melody:

  for (int thisNote = 0; thisNote < 8; thisNote++) {

    // to calculate the note duration, take one second divided by the note type.

    //e.g. quarter note = 1000 / 4, eighth note = 1000/8, etc.

    int noteDuration = 4000 / noteDurations[thisNote];

    tone(8, melody[thisNote], noteDuration);


    int pauseBetweenNotes = noteDuration * 1.30;

    delay(pauseBetweenNotes);

    // stop the tone playing:

    noTone(8);
  }
}

void loop() {

  // no need to repeat the melody.
}
Video Results for speaker
Textile speaker:
FLIP DOTS:
Material need :
- Copper wire.
- Battery 9v.
- Alligator Cable.
- Copper Tape.
- Soldering Iron.
- Magnet .
- Jute Fibric
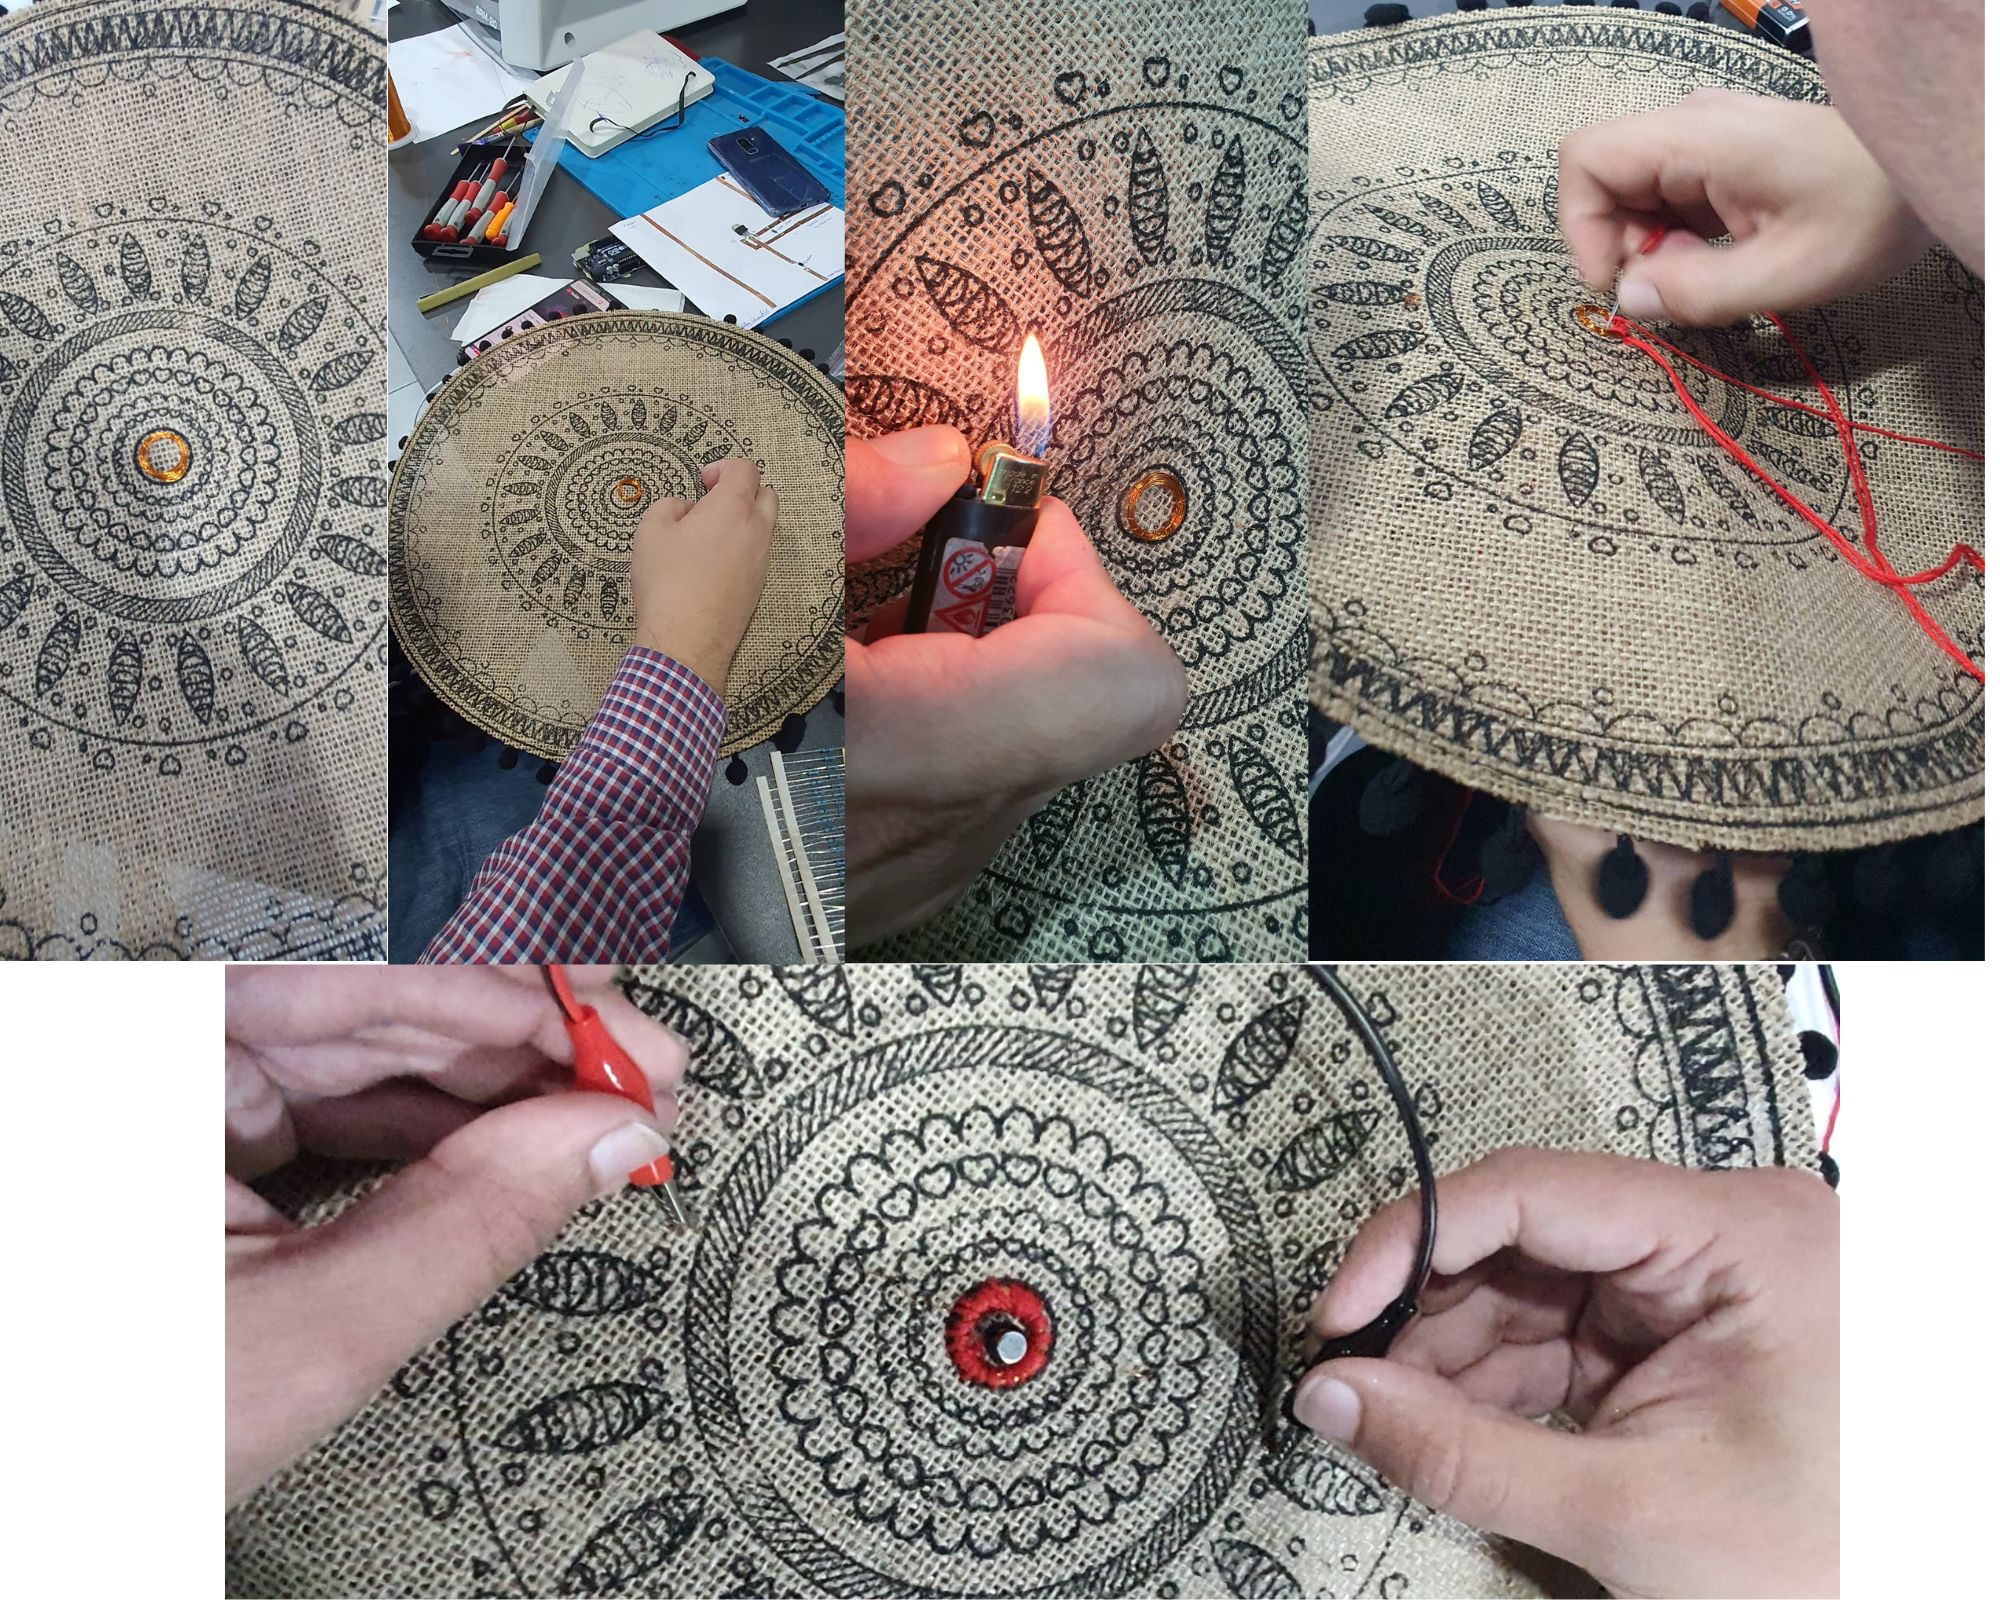
Workflow : I create a coil with copper wire twisted 60 times ,around a marker and burn the edges to make it connective . Place a magnet in the middle of the coil and connect the battery with the cables to the edges of the coil and swap them to invert the polarity. The magnet will jump and swap position because the coil acts as a magnet.
I integrated flip dot in a project and I used cotton thread to stich it.
we can use the circuit above to control the flip dot with the transistor.
Flip Dot Video
Thermochromic Ink
Materials I used :
- Cotton Fabric
- Thermochromic powder orange color
- hot water.
- Conductive Element.
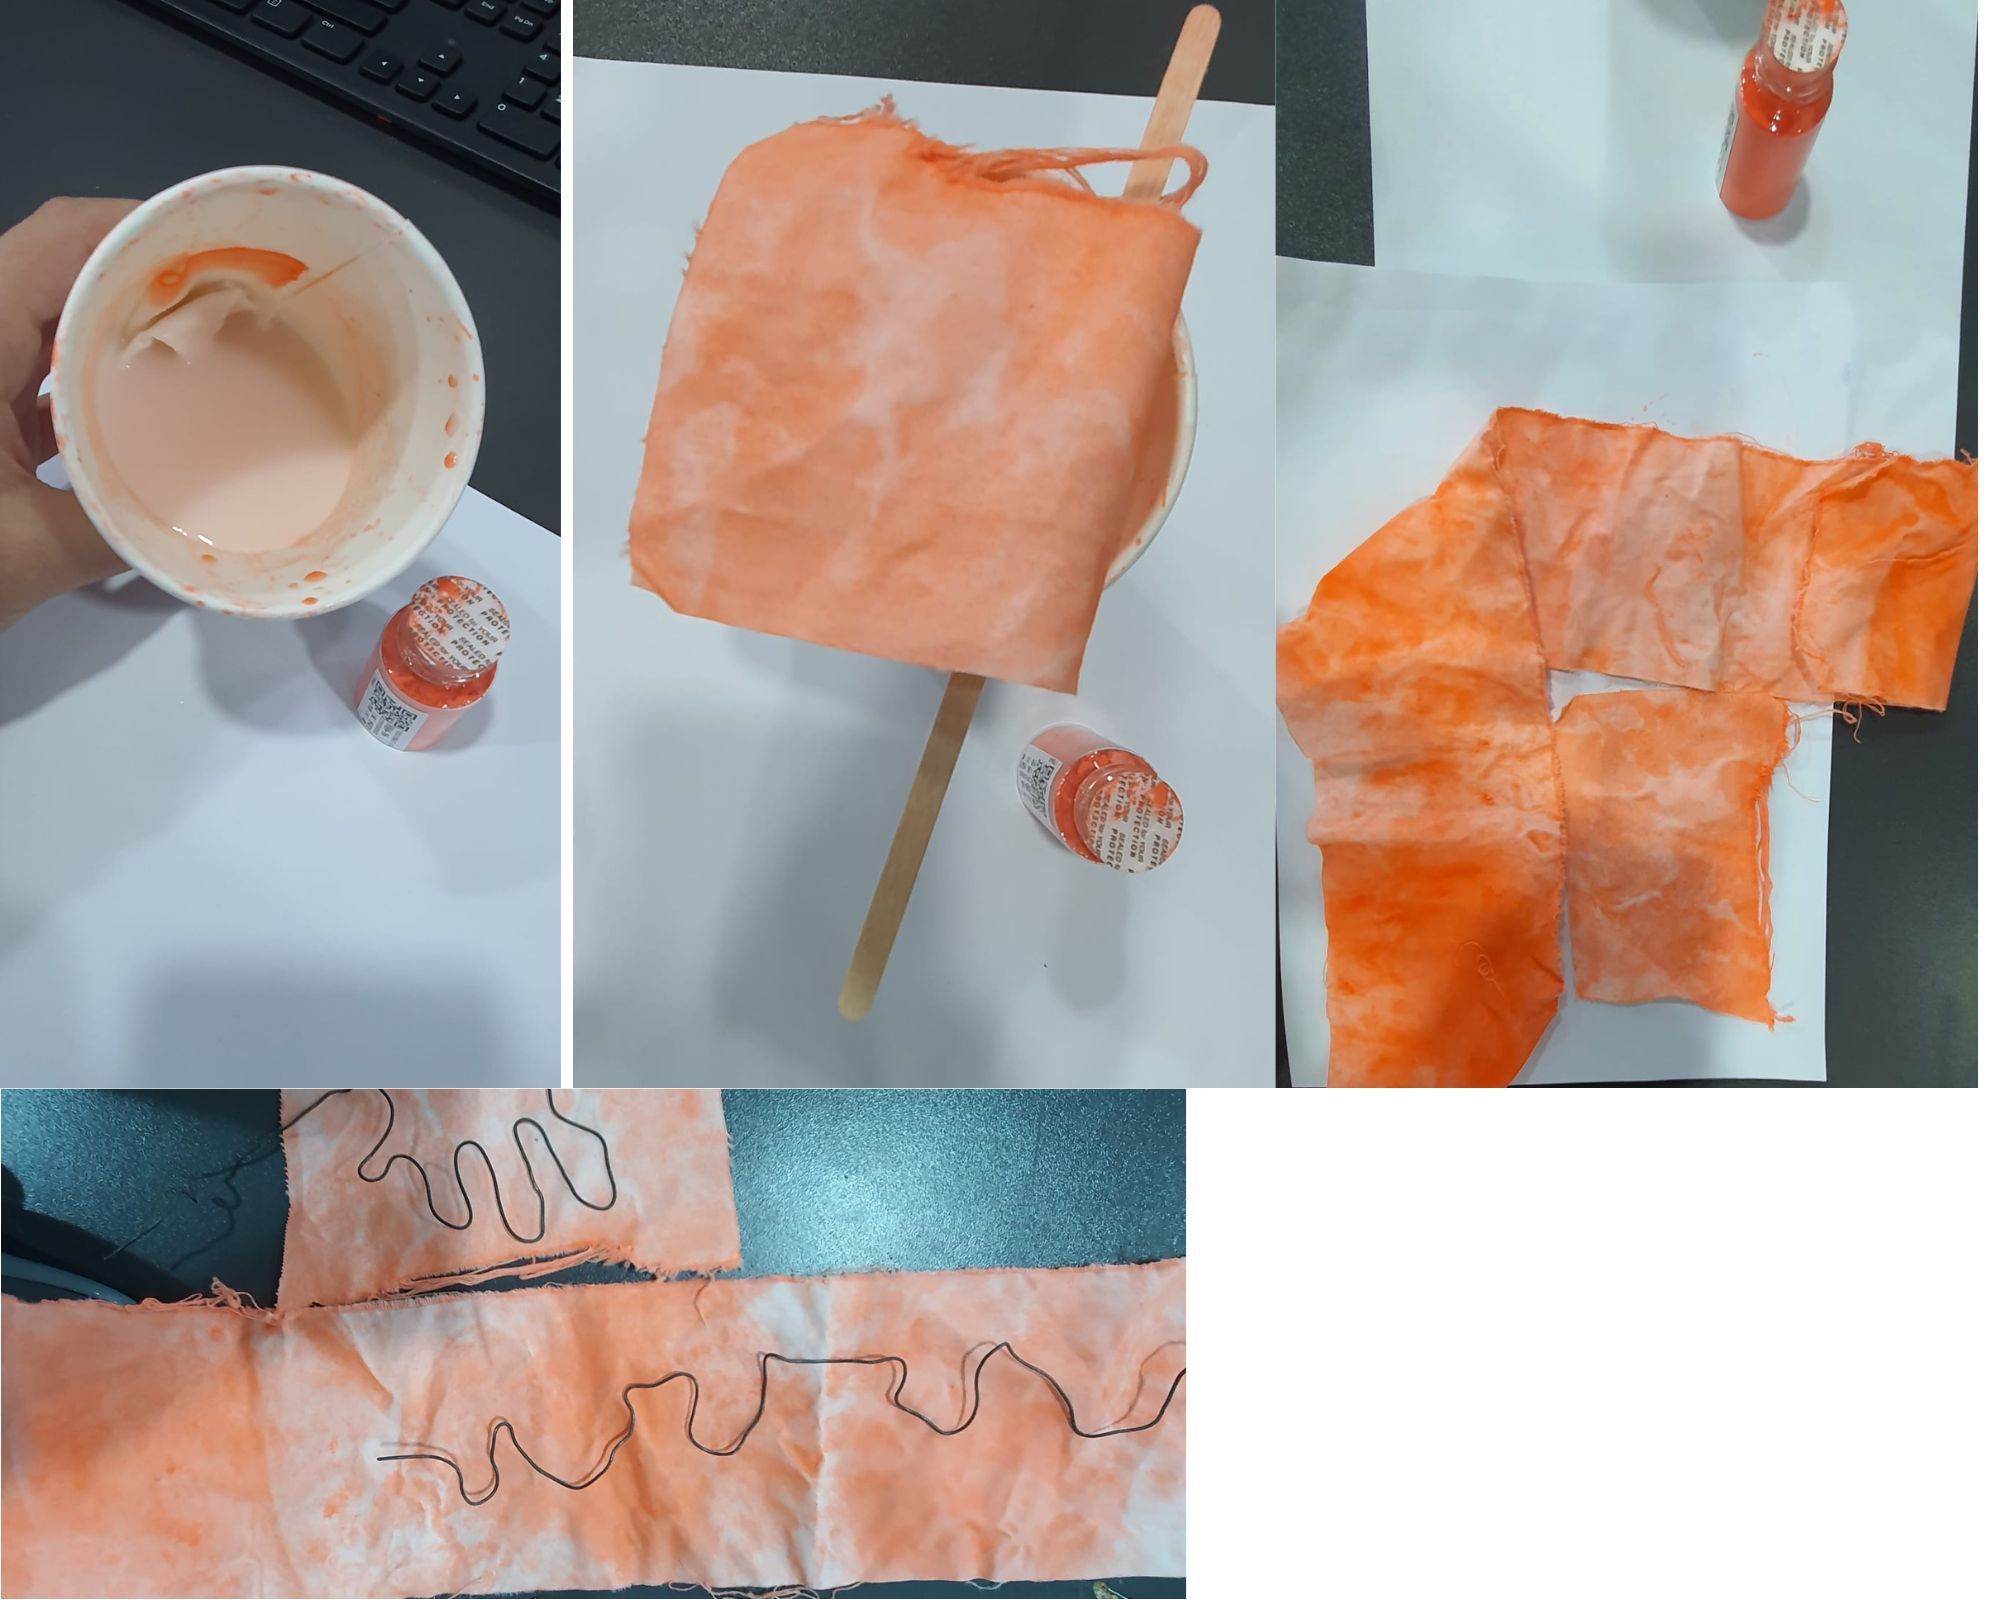
I cut some fabric then put a little of thermal ink powder in hot water then stir it. After that I put the fabric to get dye in the thermal ink as following pictures:
Note: the Thermochromic powder color is orange ,when it cooled down it will become transparent when it is heated.
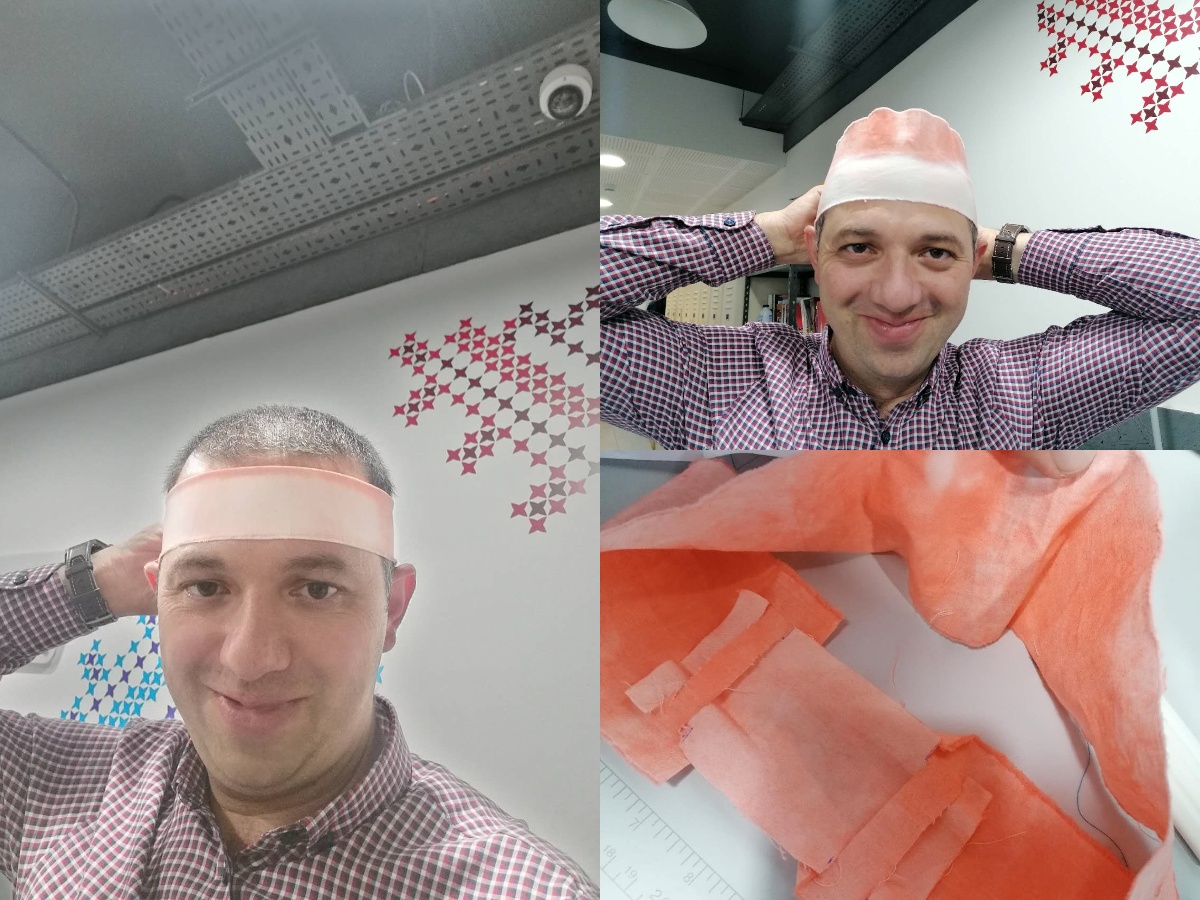
Application
This Thermochromic powder works will with contact of the human body for different sports application like "Martial arts" Boxing ,etc.. and can be more useful in the wearable devices for health purposes.
Thermochromic video
- Thermochromic Ink test with Hot Gun
- Thermochromic Ink Circuit Test