2. Digital bodies
🗓️ 2023_September 26th to October 02nd
Research & Ideation
pic from me
Presentation of the week's assignments by Anastasia.
How to translate ideas for computer to digital to physical ? We look at different approaches and points of view on the perception of the body in society, fashion, and today, the structured/destructured body via the use of software, Artificial Intelligence, ...
The concept of the body as an art object is a complex and diverse subject that encompasses various forms of artistic expression, from sculpture and performance to photography and painting. I have sought to understand how this notion of the human body is used as a means of artistic exploration, communication or social commentary. The human body has been a major source of inspiration for artists throughout history, and it continues to be explored in diverse and innovative ways in the contemporary art world. The way the body is represented and used as an art object often reflects the values, beliefs and concerns of society at a given time.
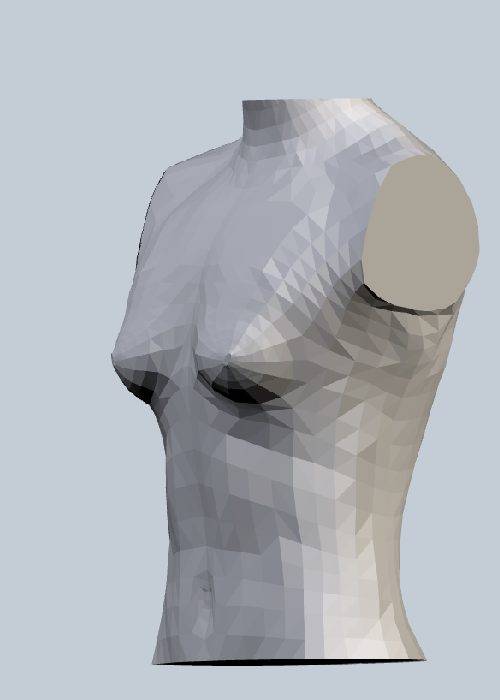
Explanation of how to get a 3D model with different software, materials, and for what use: The tutorials were presented by Diane (MakeHuman, Rhino, Meshmixer, Slice for Fusion 360). It quickly made me want to try out the software and see what I could do with the first ideas I had 🙂.
References & Inspiration
I really enjoyed the documentation of fabricademy's almuni 2022-23 :
- Margret Katrin Guttormsdottir from Icelandic textile center
- Rico Kanthatham from Fab Lab Kamakura
The presentation of various artists who have integrated the object of the body into their artistic productions inspired me a lot too:
- Sun-Hyuk Kim
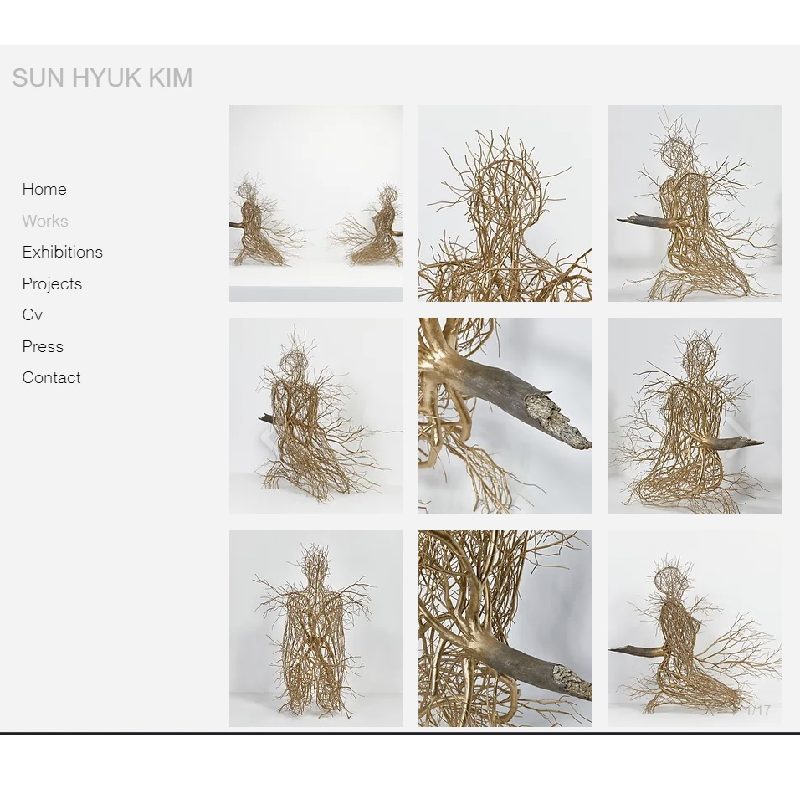 screenshot @Sun Hyuk Kim
 - Jaume Plensa
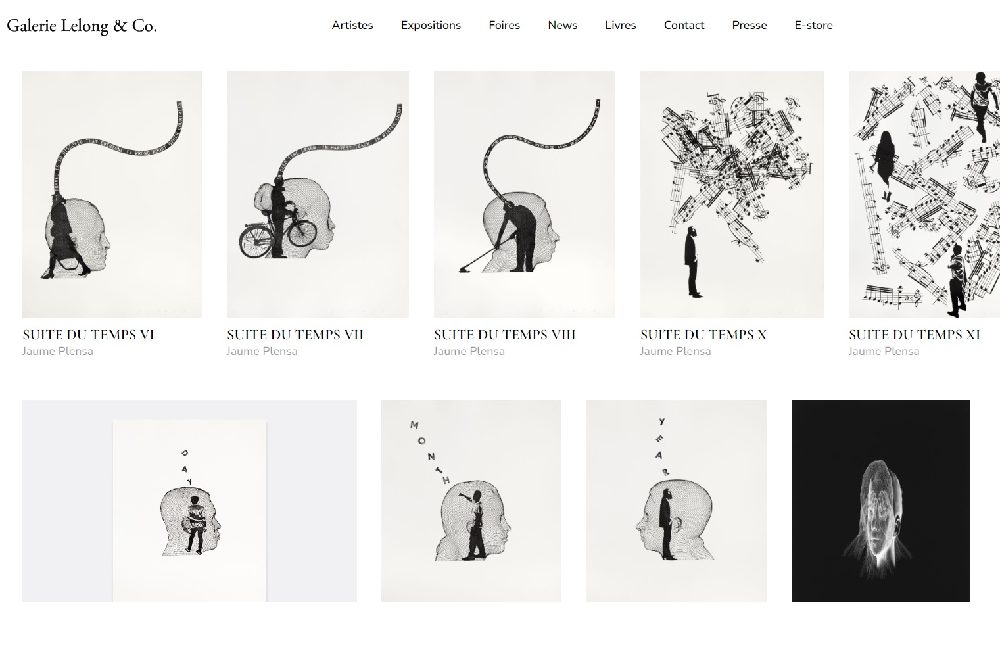 Screenshot @Galerie Lelong & Co
 - Willy Verginer
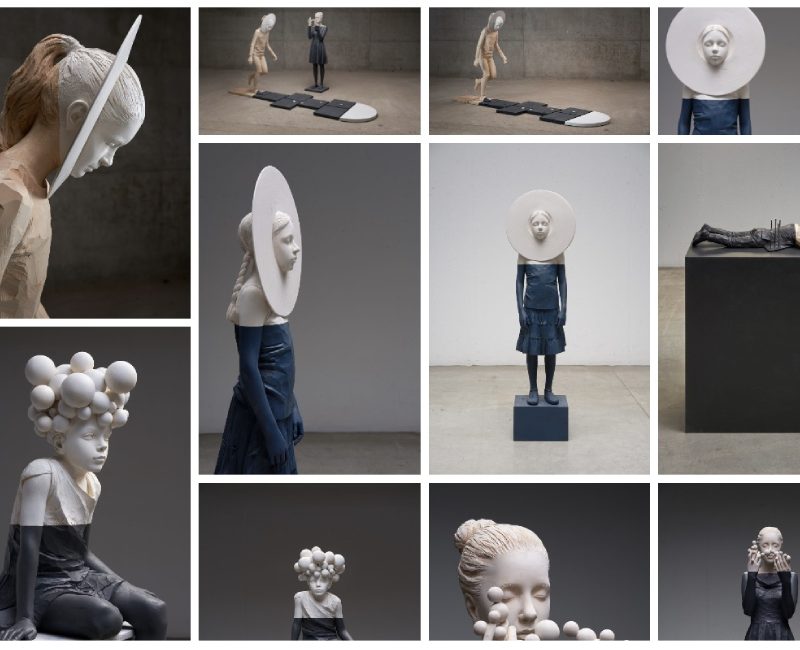 Screen shot @Willy Verginer
Process and workflow
The general process is divided into 5 steps :
1. 3D modeling
2. Cleaning the 3D model
3. Flattening
4. Materializing
5. Documentating (throughout the assignment)
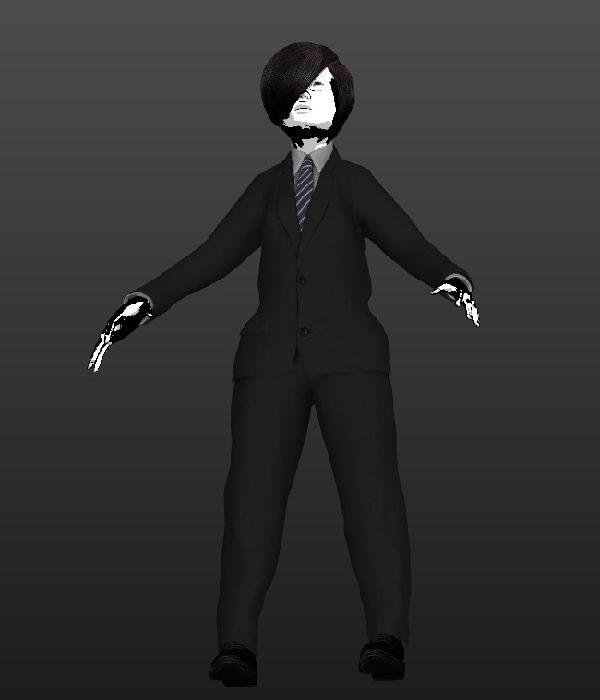
MakeHuman test
To test different ways of modifying the mannequin
Modification of parameters (such as hand size, face size (head, chin, ...), dress size, gender, ...)
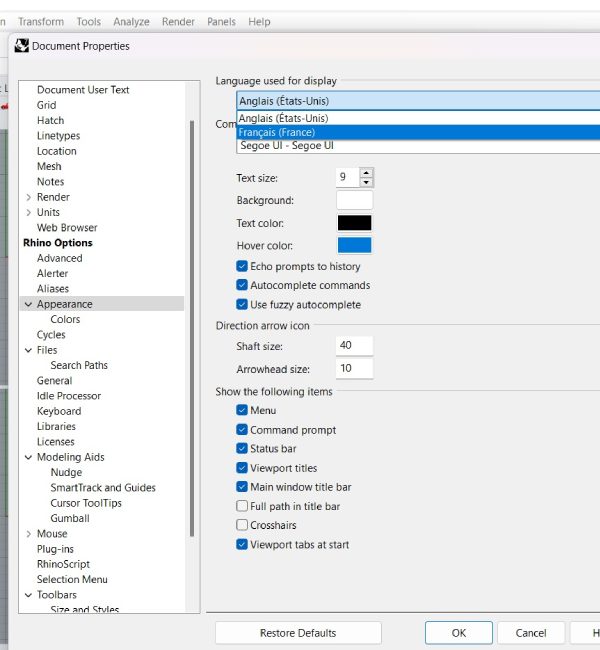
Rhino test
First test to do like Diane's presentation, but it didn't work: I could only remove the hands, feet and head.
(Later, at the Textile Lab with Diane, while trying to type an action in the command line,... we understand that the version of Rhino I have is in French and that I wanted to do commands in English,.... lol) it was much more fluid after 😂 (having modified the appearance in the properties).

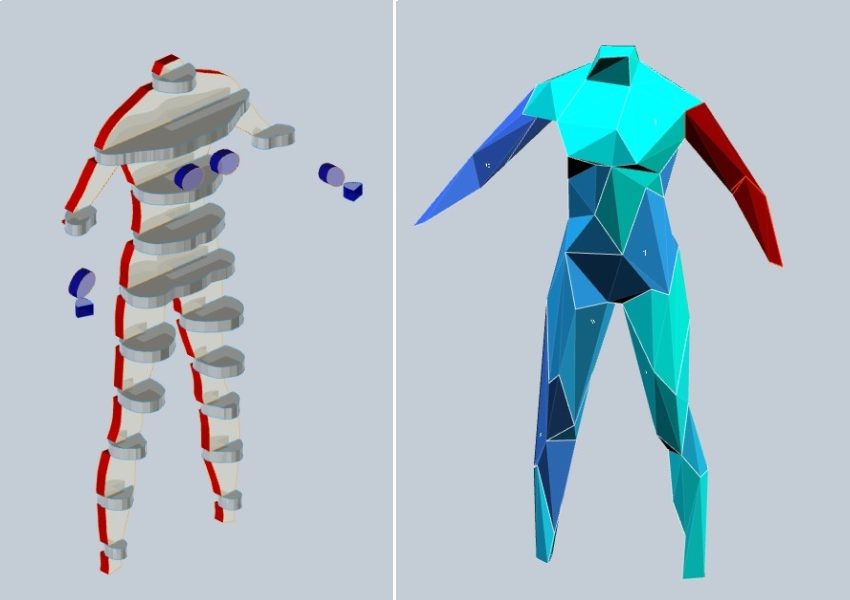
Slicer Fusion 360 test
First try with the dummy test to see the effects in "Construction Technique": Interlacked Slices.
I really like modification of slice curve by changing the direction.
TO DO
Don't forget to optimize the layout before cutting (Scale : 1:1), and if necessary, do a test cut to see how well the interlocking works.
Step 1 : The Laser cutter
Demo of Textile's Laser Cutter with Diane: Rayjet R400
Process-related synthesis
Select your Rhino PDF file for use with the machine
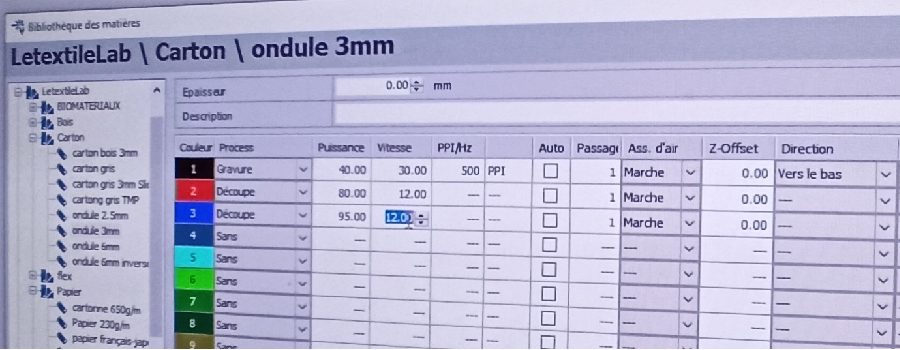
Check that the colors correspond to the orders
Black=Engraving (according to engraving)
Red=Engraving
Blue=Cutting
if necessary, modify color parameters in the processes.
Follow the process displayed next to the machine or available in Textile Lab Ressources
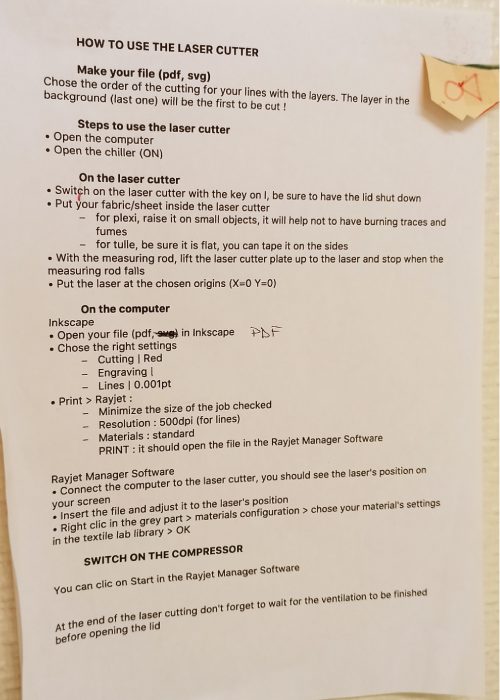
Check line thickness: 0.001 pt
Check that the "minimize job size" box is ticked
Check that resolution is set to 500 dpi
Then "print" = launch laser cutter software
Calibrate the cardboard on the platen with the nozzle
Move file to laser cutter software
!CONNECT THE COMPRESSOR!
And then start the job!
Step 2 : 3D Scanner
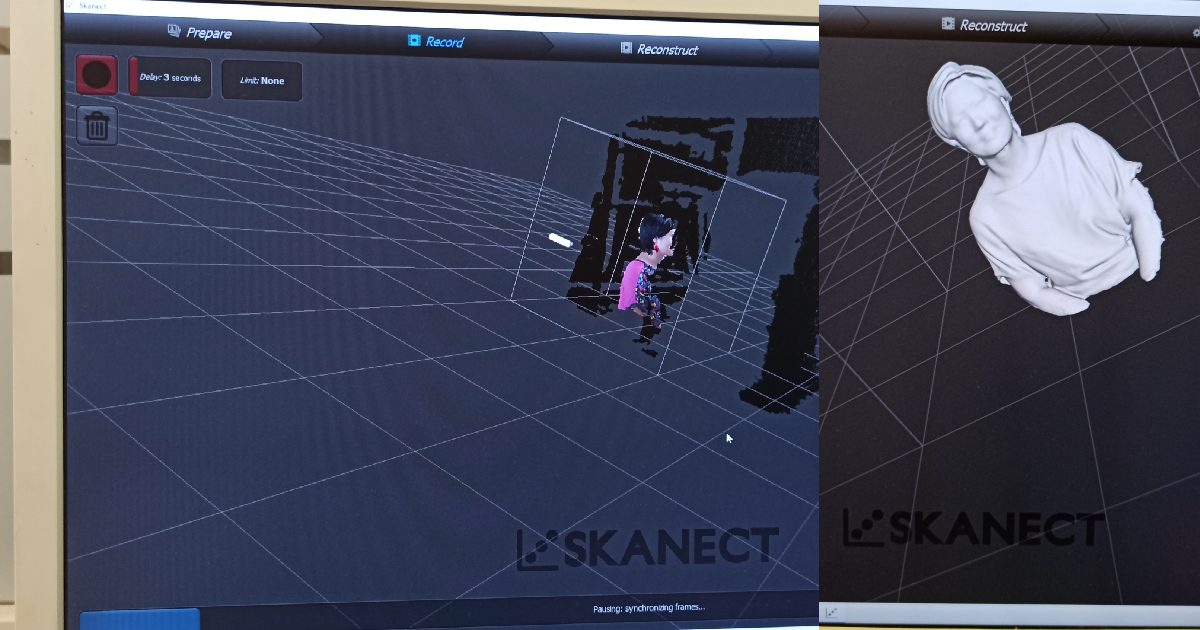
Testing the scanner with the kinect (Skanect software).
You need at least 2 people to scan with the kinect.
Diane used the kinect to scan me, sitting on the stool. She had to walk around me to get all the elements for 3D visualization.
The rendering is done on Skanect, the kinect scanner software.
The first draft shows the path taken by the kinect and the missing spaces. The 3D rendering can then be viewed.
At first, I didn't know if I was going to use 3D printing, but the result gave me other ideas.
I wanted to integrate 3D printing into the laser-cut body (making the link with the inner me and I).
I talk to Diane about my idea of integrating 3D printing into the body with laser cutting.
She links me to the documentation of last year's participants, including Marion Banon and Rico Kanthatham.
Rico's work on Week 02 really spoke to me. I really like his interpretation with his 3D printing experiments, that's why I wanted to try another thing and integrate the 3D print into my body sliced.
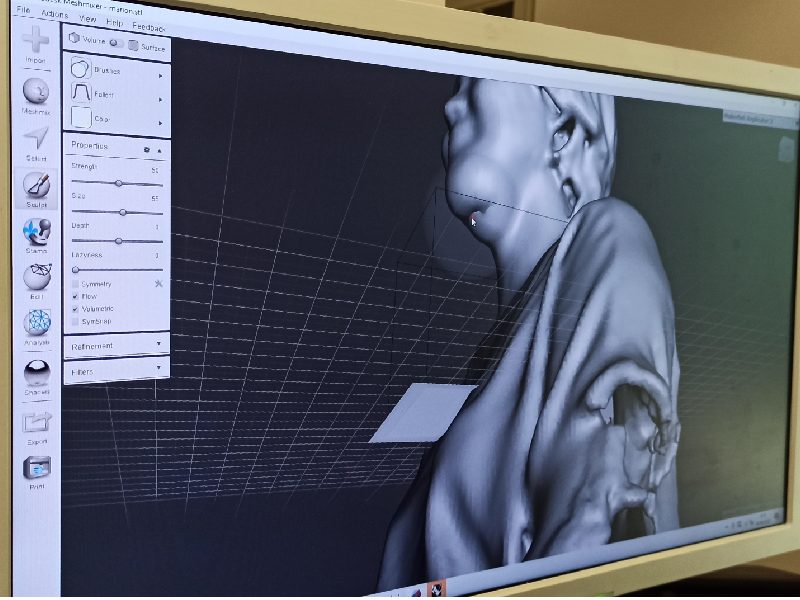
Step 3 : 3D Print
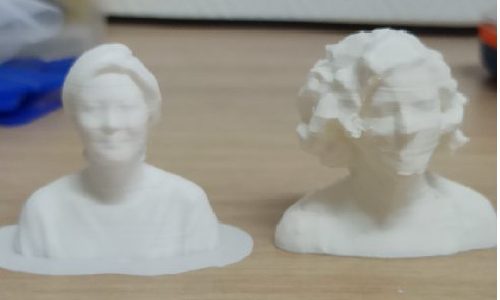
We try a few tests with Meshmixer to "fill" the holes (it works moderately well to fill the chin hole 😂) and then shape with Rhino to remove the parts we don't want to keep.
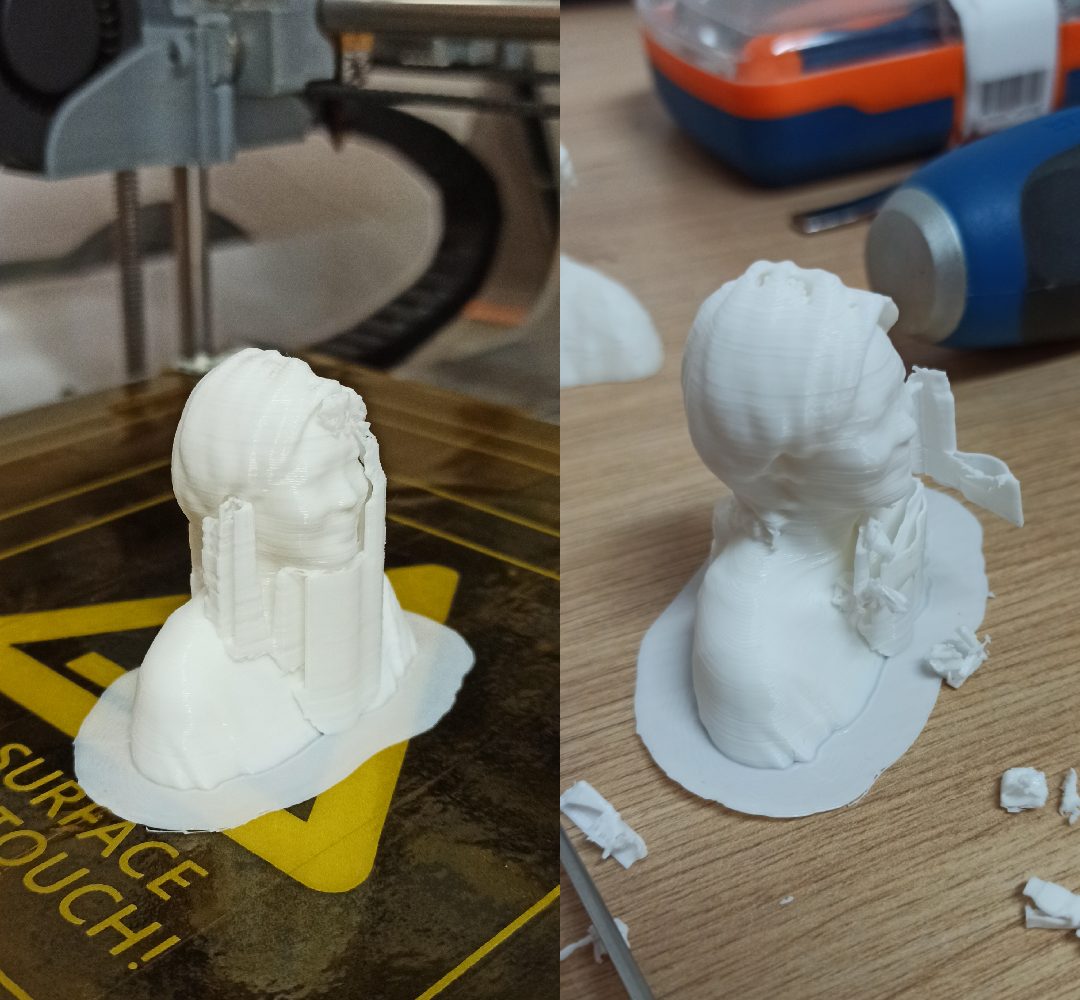
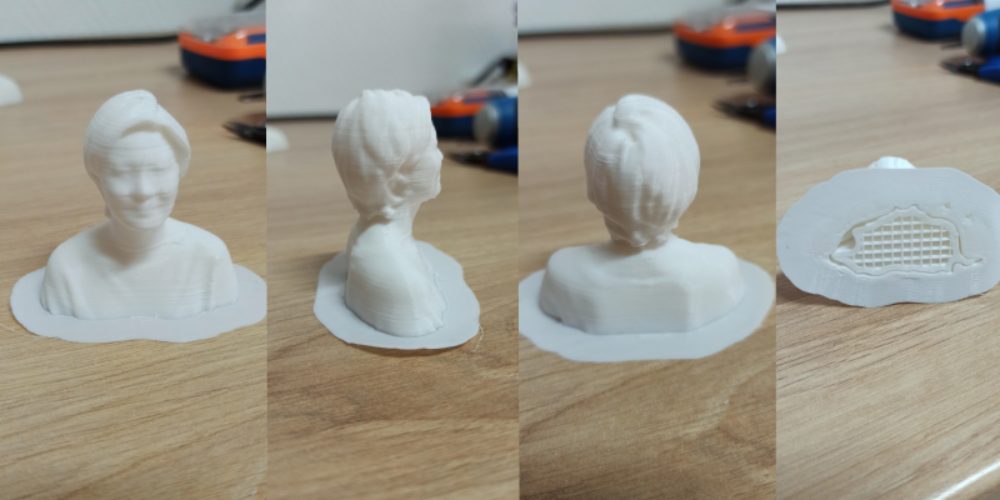
Test Zmorph for 3D printing after validating the cut and closing the object (closed mesh)
3D printing is to be validated using Ultimater Cura software (duration approx. 2 hours for this part, measurements: 50 x 50 mm). 3D printing isn't necessarily this week's focus, so I'll go into more detail about the machine process in week 07.
 Diane and me 😆
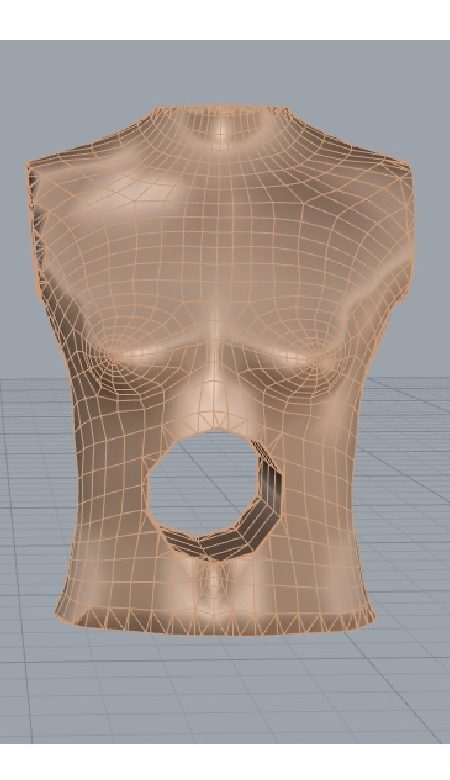
Step 4 : Body cut with Rhino
Shaping the body with Rhino and the right command lines to keep only the torso.
Trying to integrate a space inside the body
Cilyndre integration using the MeshBooleanDifference command to remove and keep the full torso shape.
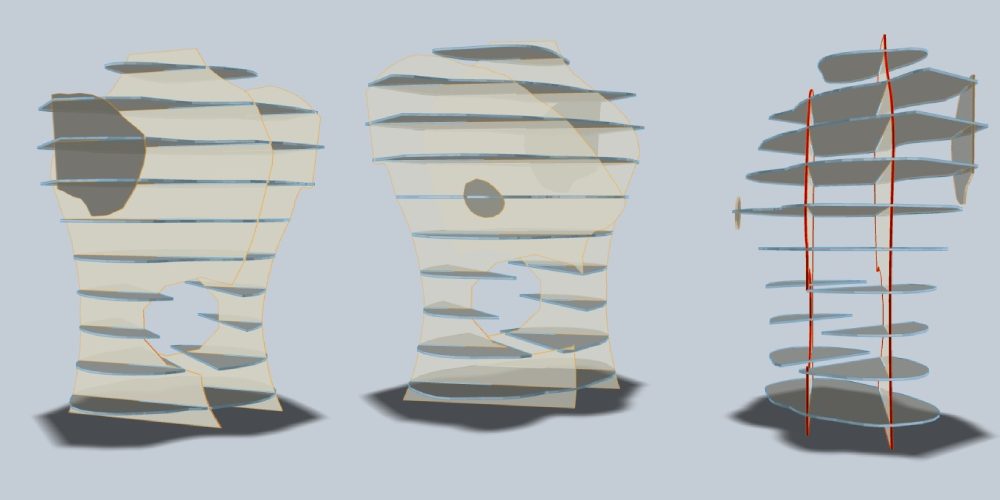
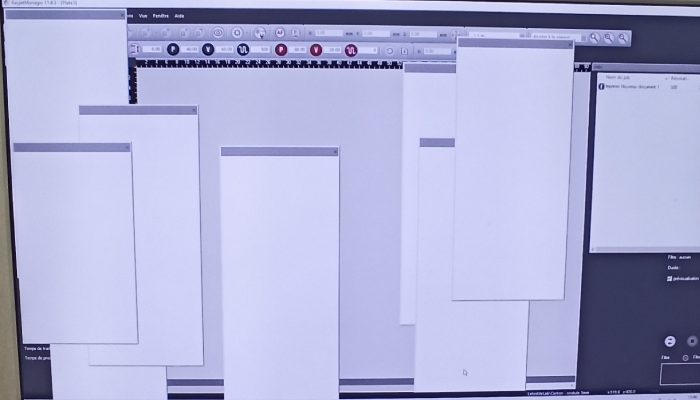
Step 5 : Cutting plan with Slicer For Fusion 360
Transposition of the bust on Slicer For Fusion 360 to obtain the cutting planes.
The corrugated boards had to be measured in order to enter the parameters in the "Manufacturing settings" section.
- Measures: 650 x 500 mm
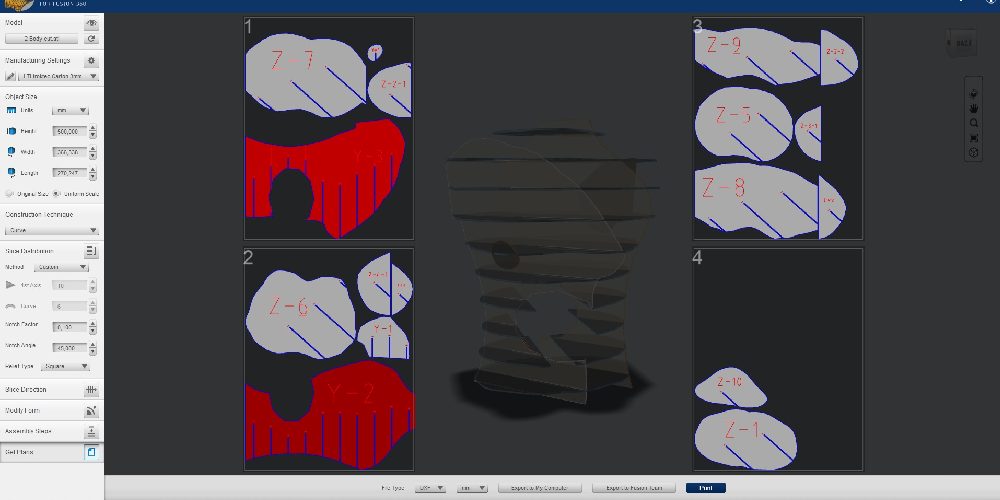
I'm trying out several visuals, but I prefer the "Curve" rendering.
I then tried to optimize the cut by grouping the pieces into 3 boards rather than 4 as initially planned.
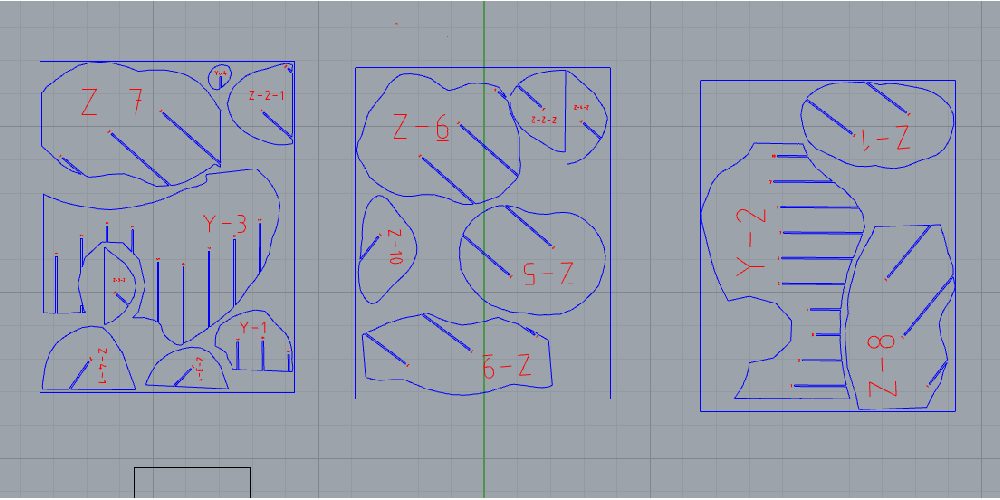
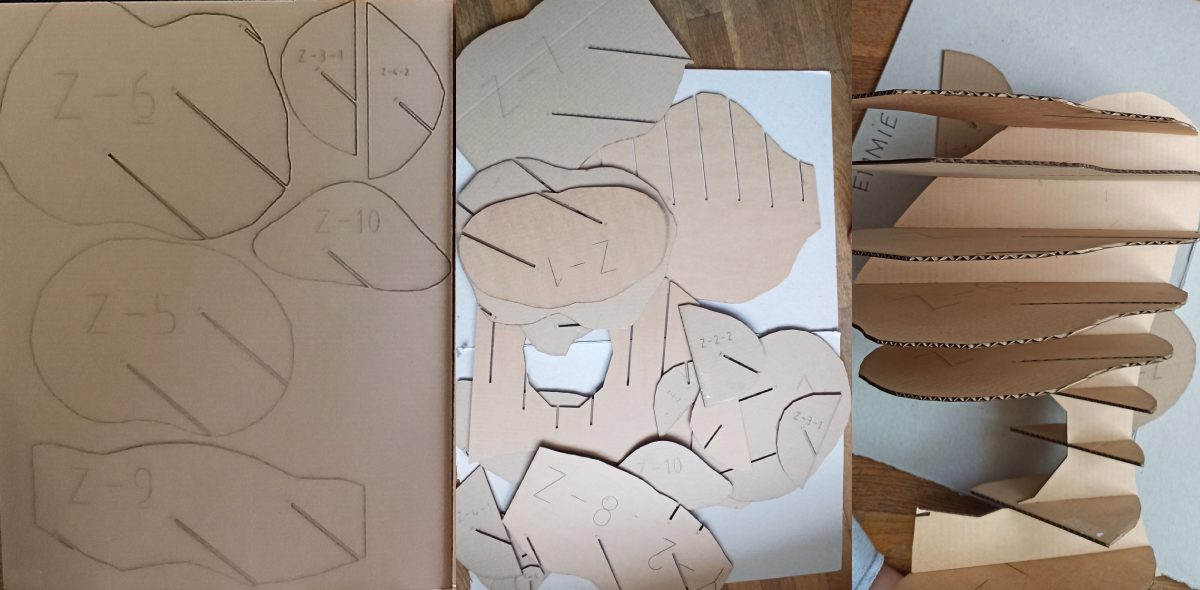
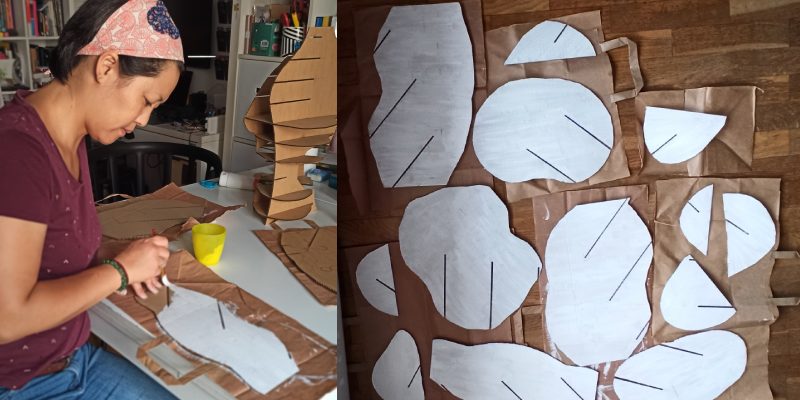
Step 6 : Boards cutted
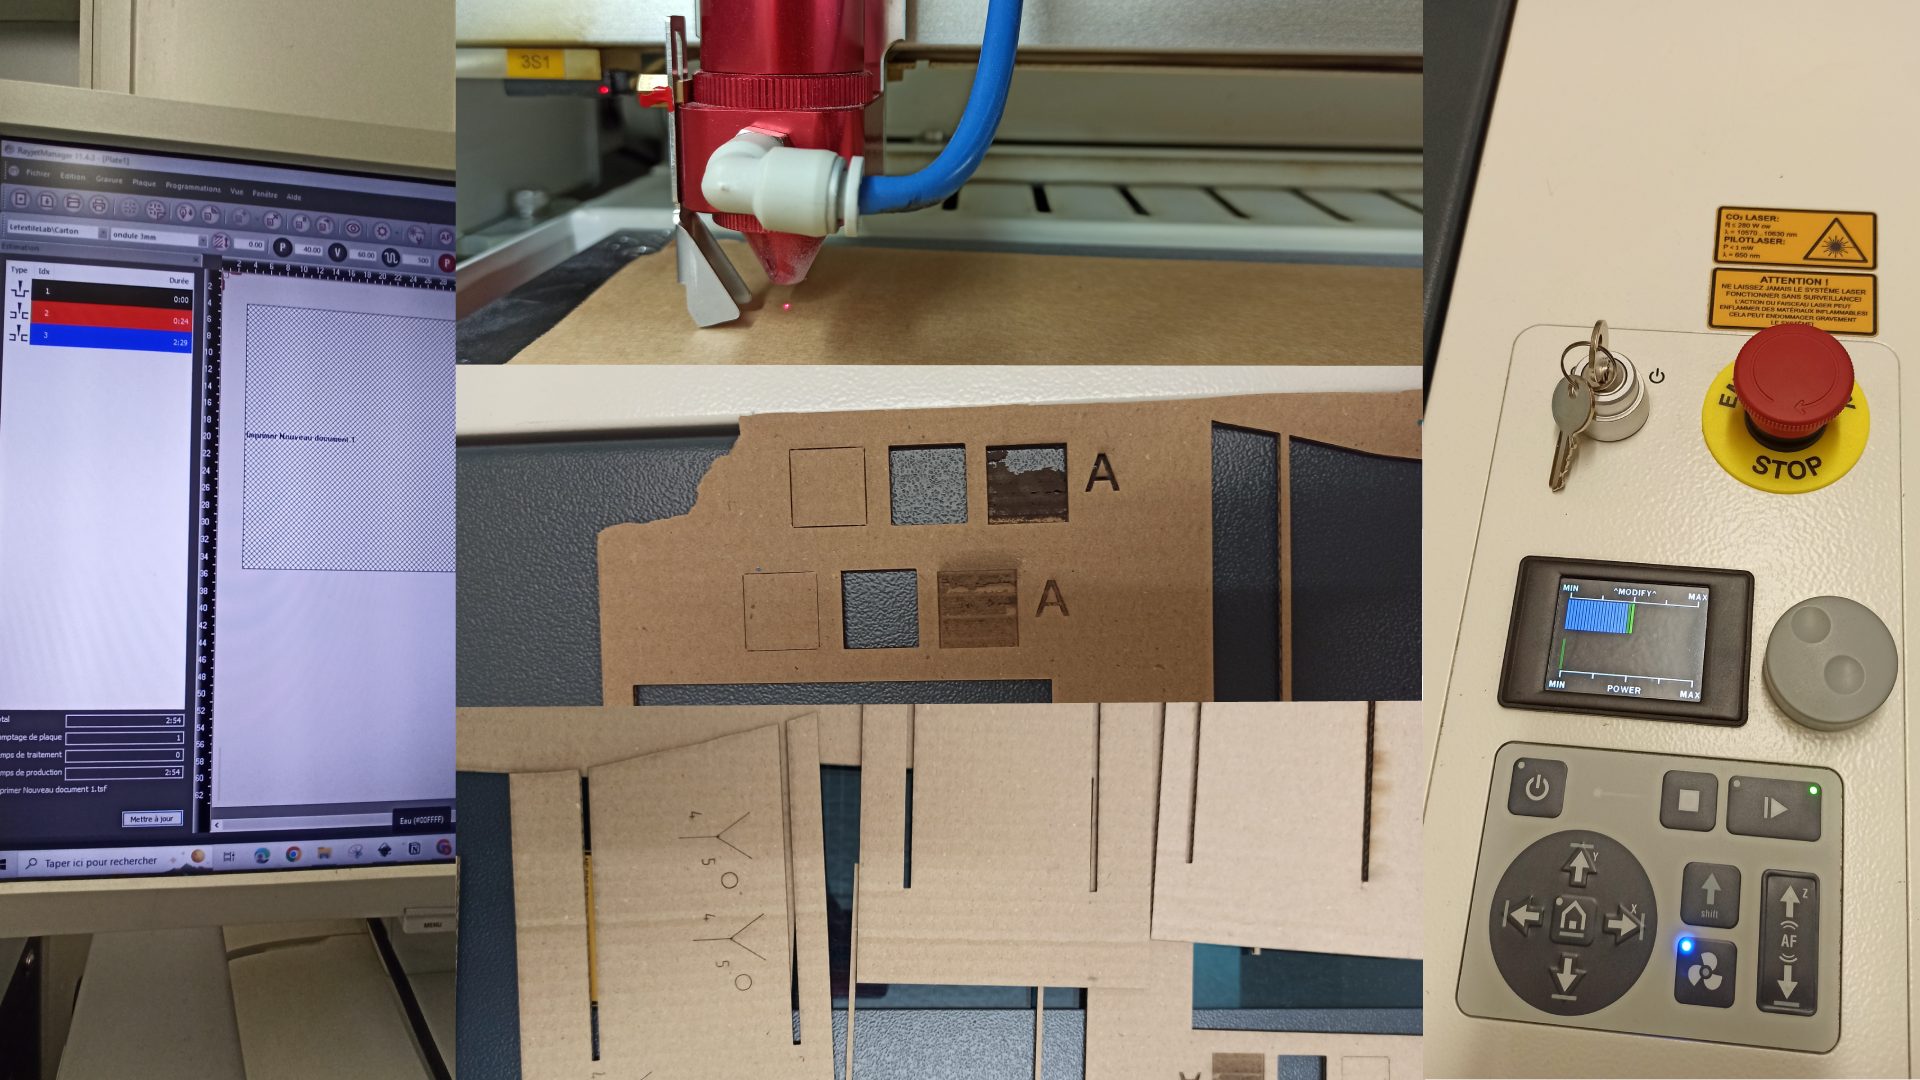
Test alone with laser cutting.
Sometimes the software plays jokes on you...
The cutting and engraving are good but it's too small!!!!
Test 1 failed for plan 2!
Test 2 passed (after cropping the document size in inkscape with the document modification and by setting the format to landscape and not portrait.
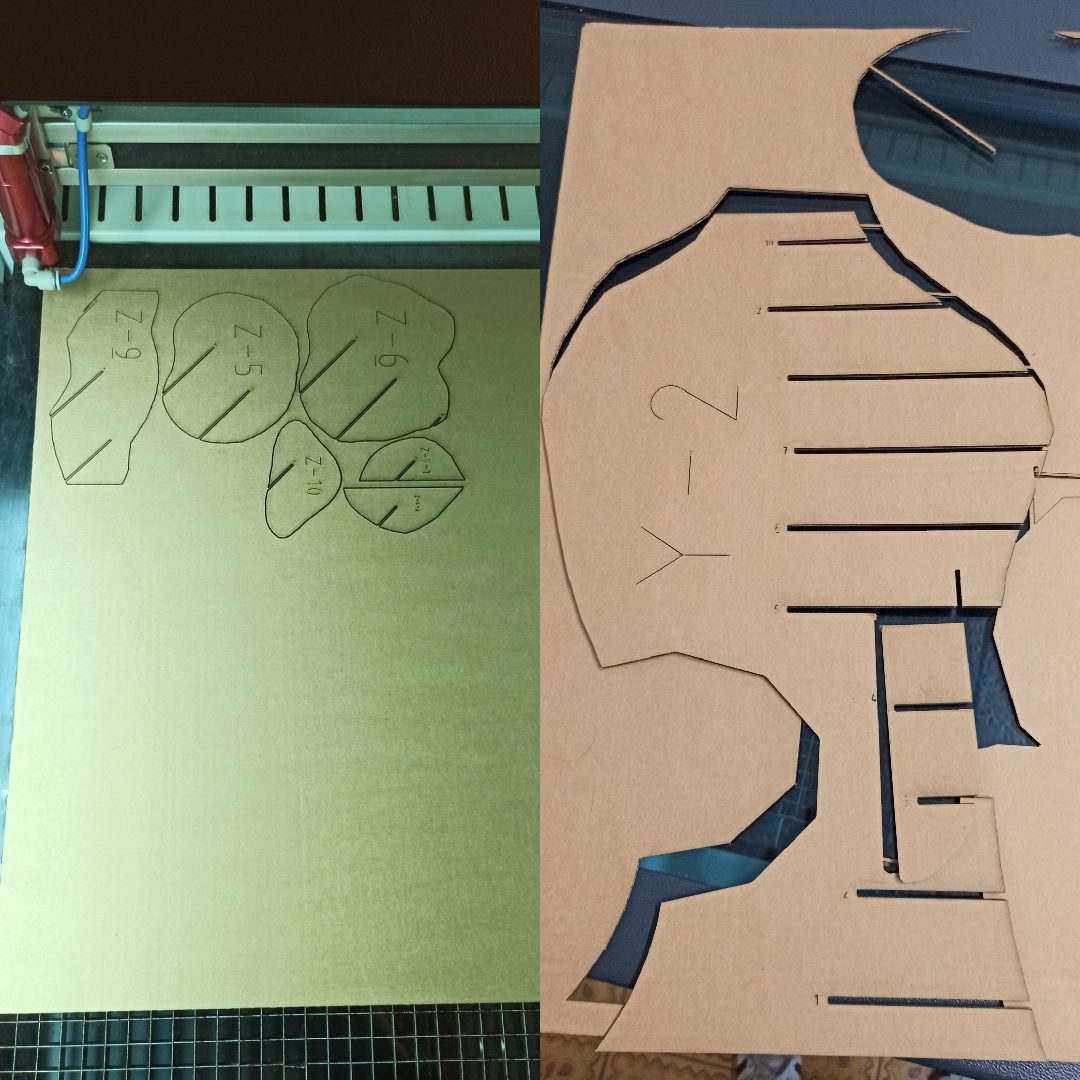
Cutting the last board is done several times to recover space on the cardboard boards failed but it doesn't always work.
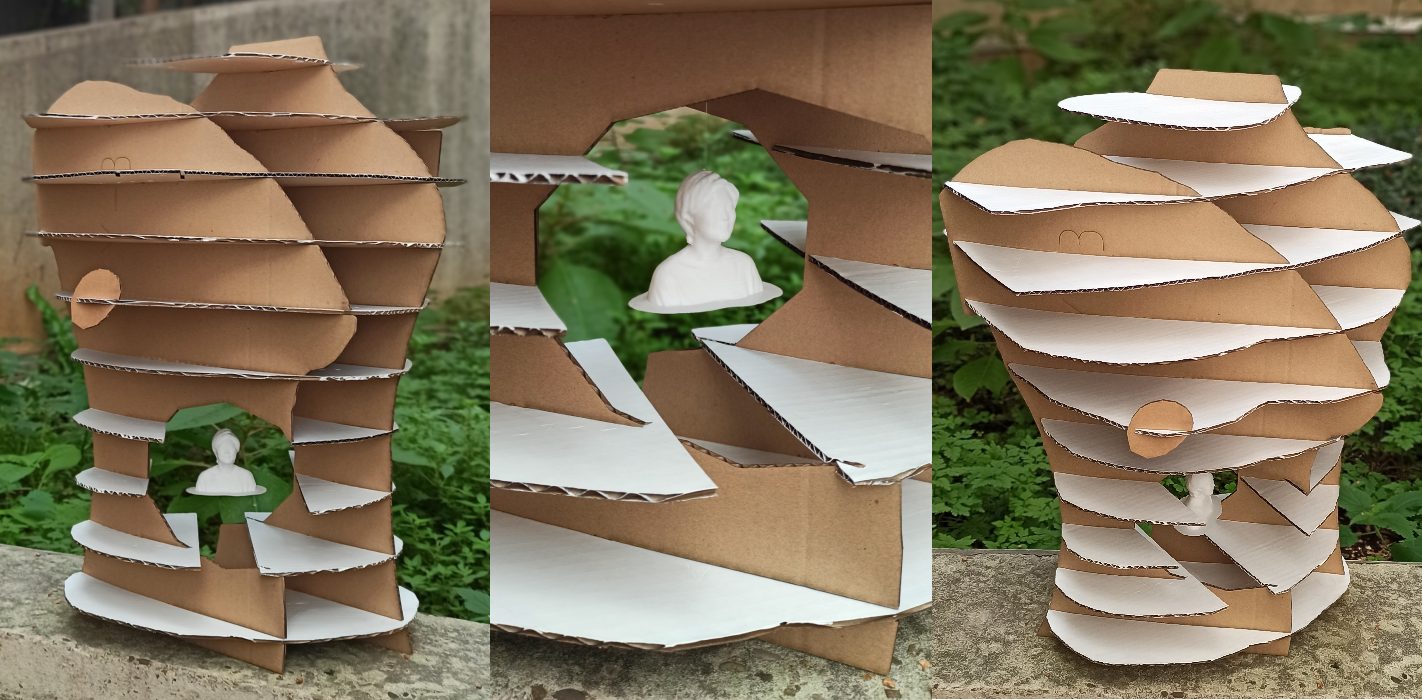
Finally, all the boards are cut! It's time to assembly!
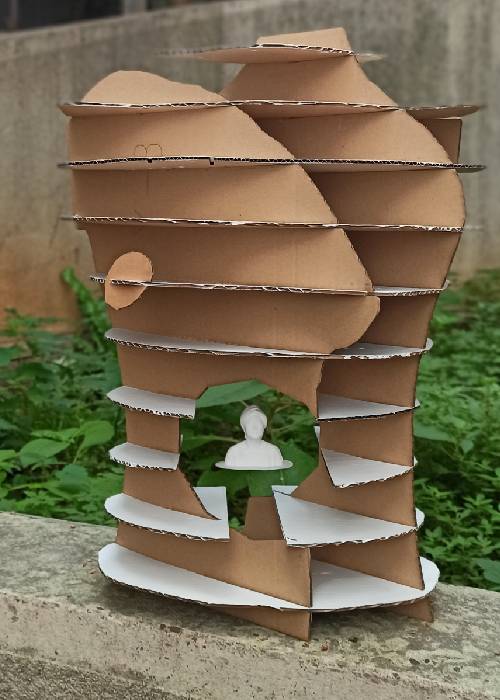
Test Final Result
After assembling the bust for the first time,3D printing worked well with the cut bust, but which location to choose?
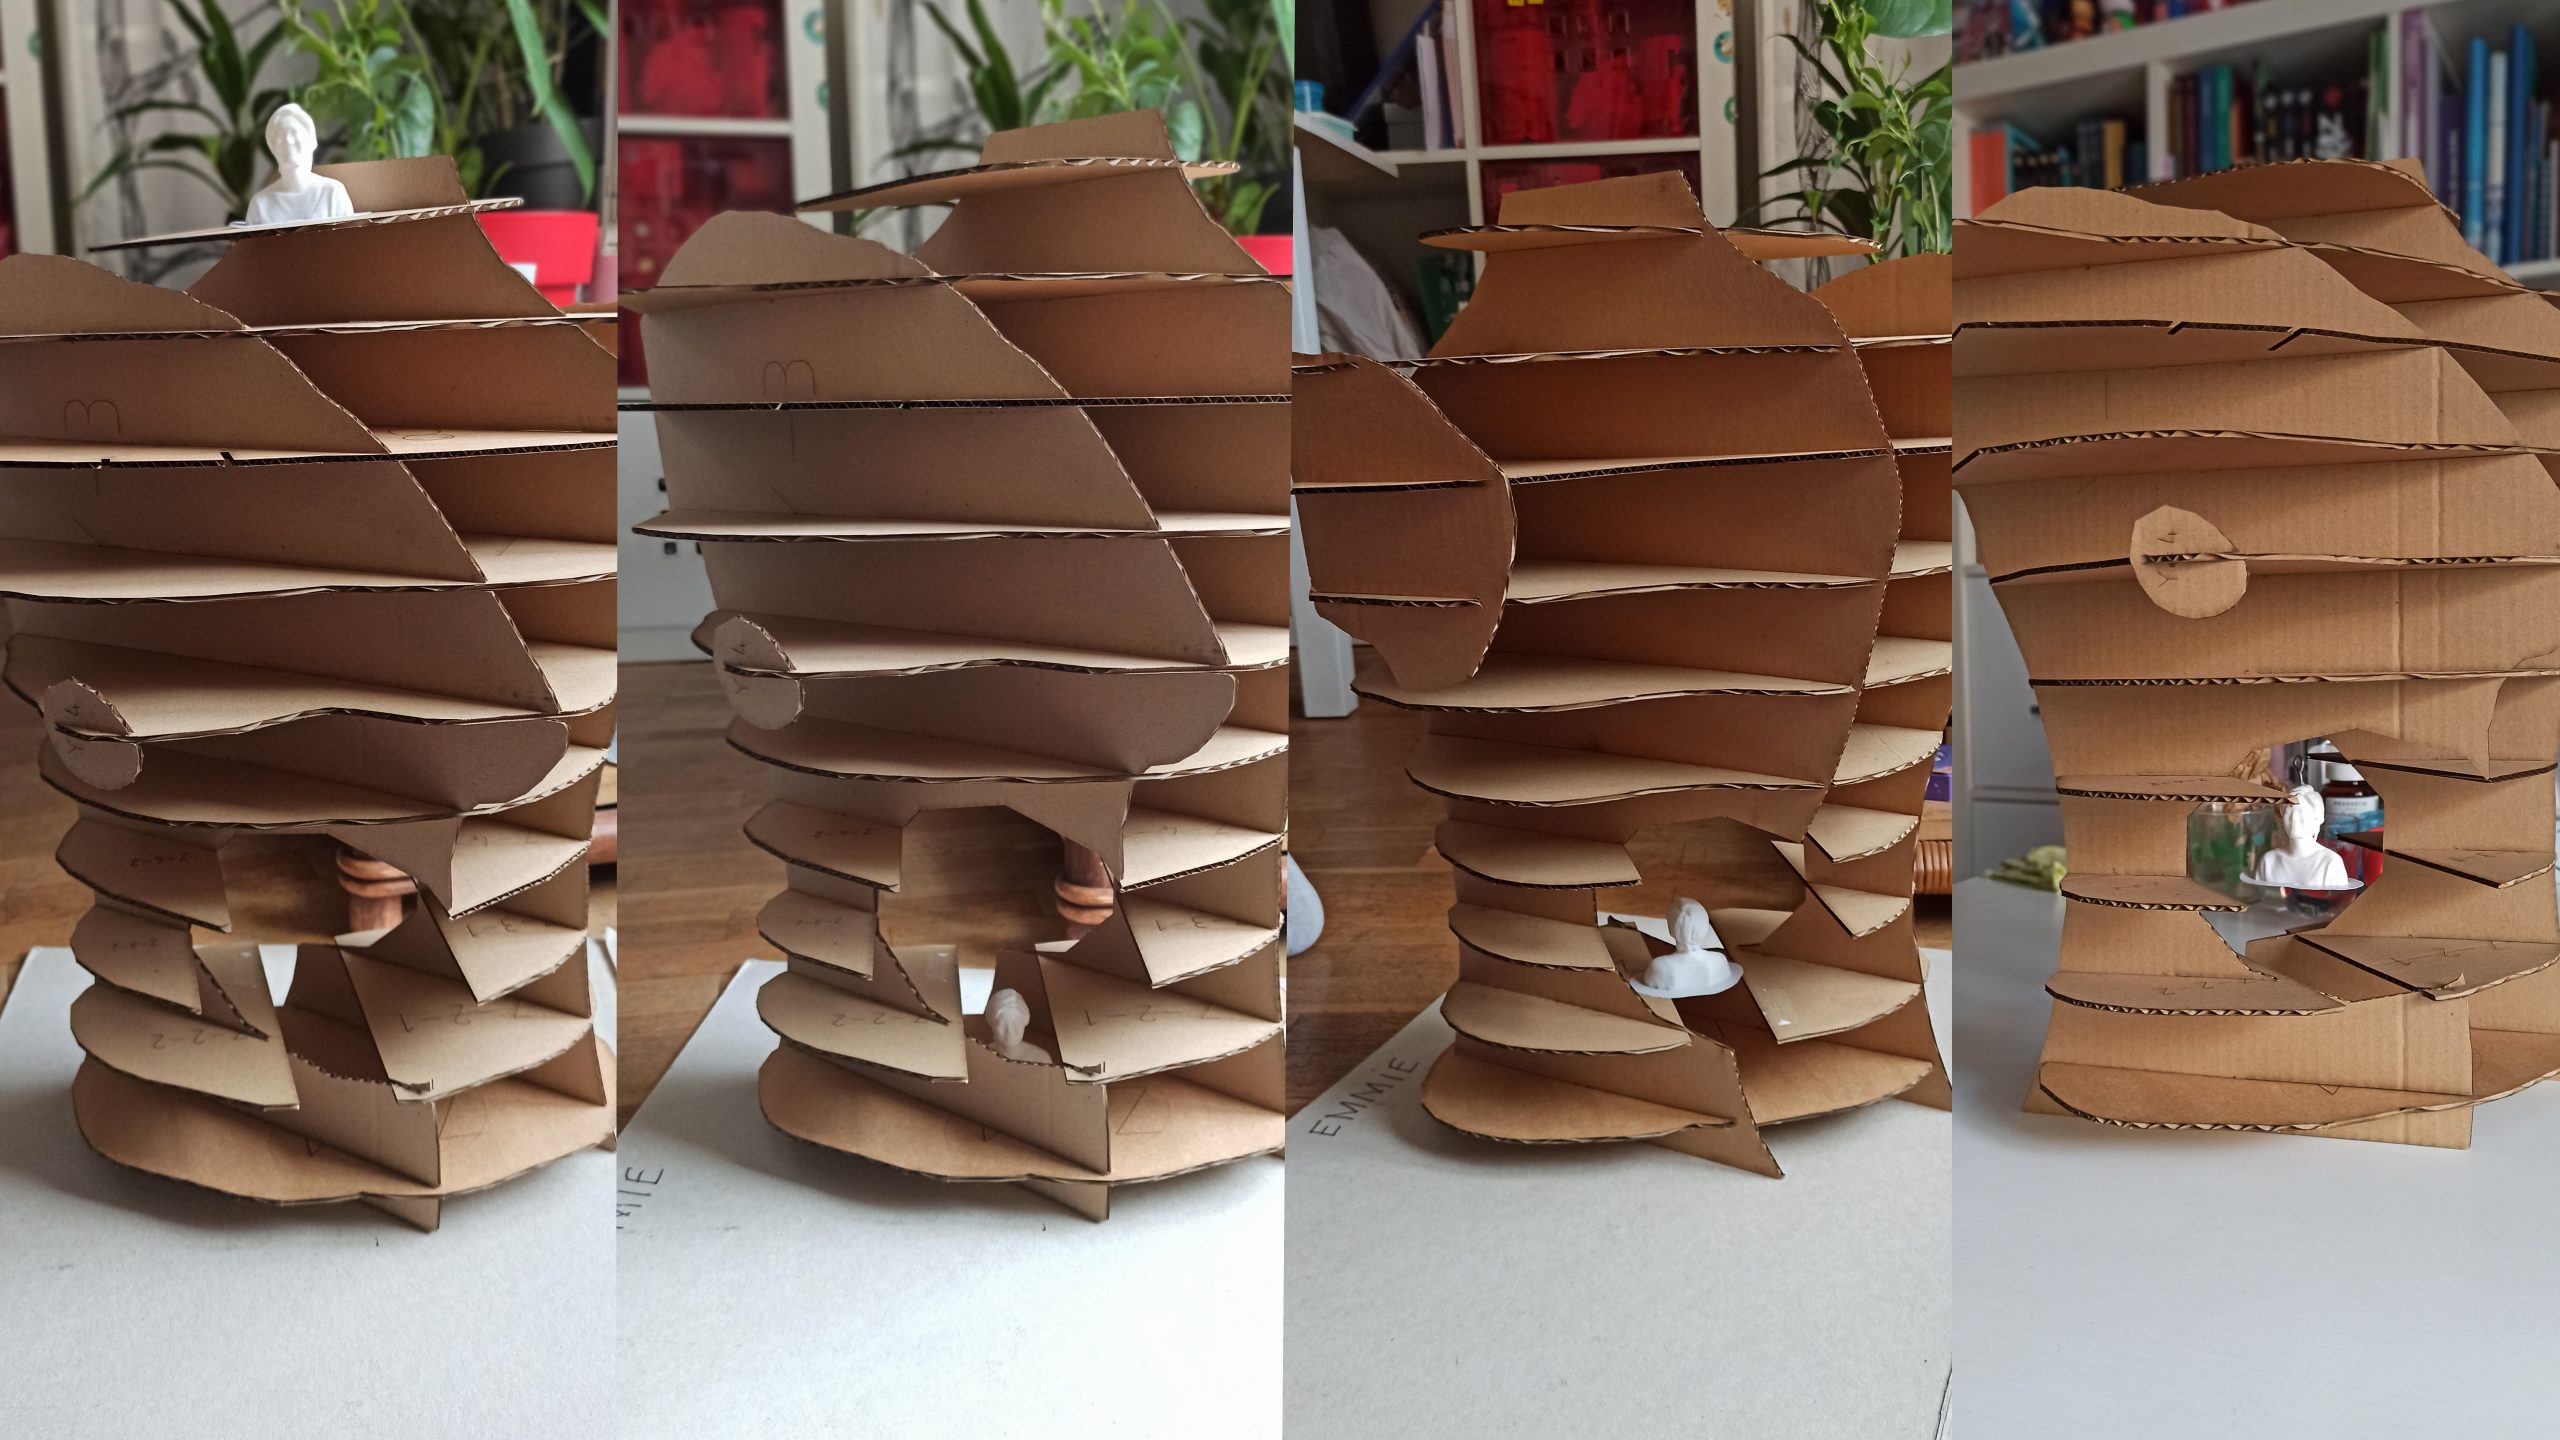
I integrated 3D printing with nylon thread attached to a small piton to be screwed onto the head. But the pin wouldn't hold.
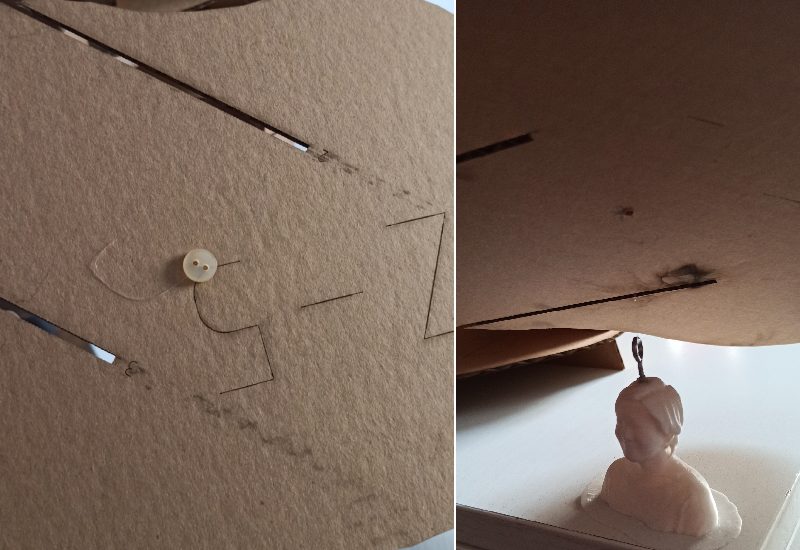
As there were small empty spaces that weren't filled by the 3D printing, I use these small holes to pass my nylon thread through. I use a button to secure the knot to the cardboard.
For added effect, and inspired by the work of Willy Verginer, I decided to paint the front of each "Z" piece in white, in a nod to my 3D printing.
Final Result : Me & Myself 😁
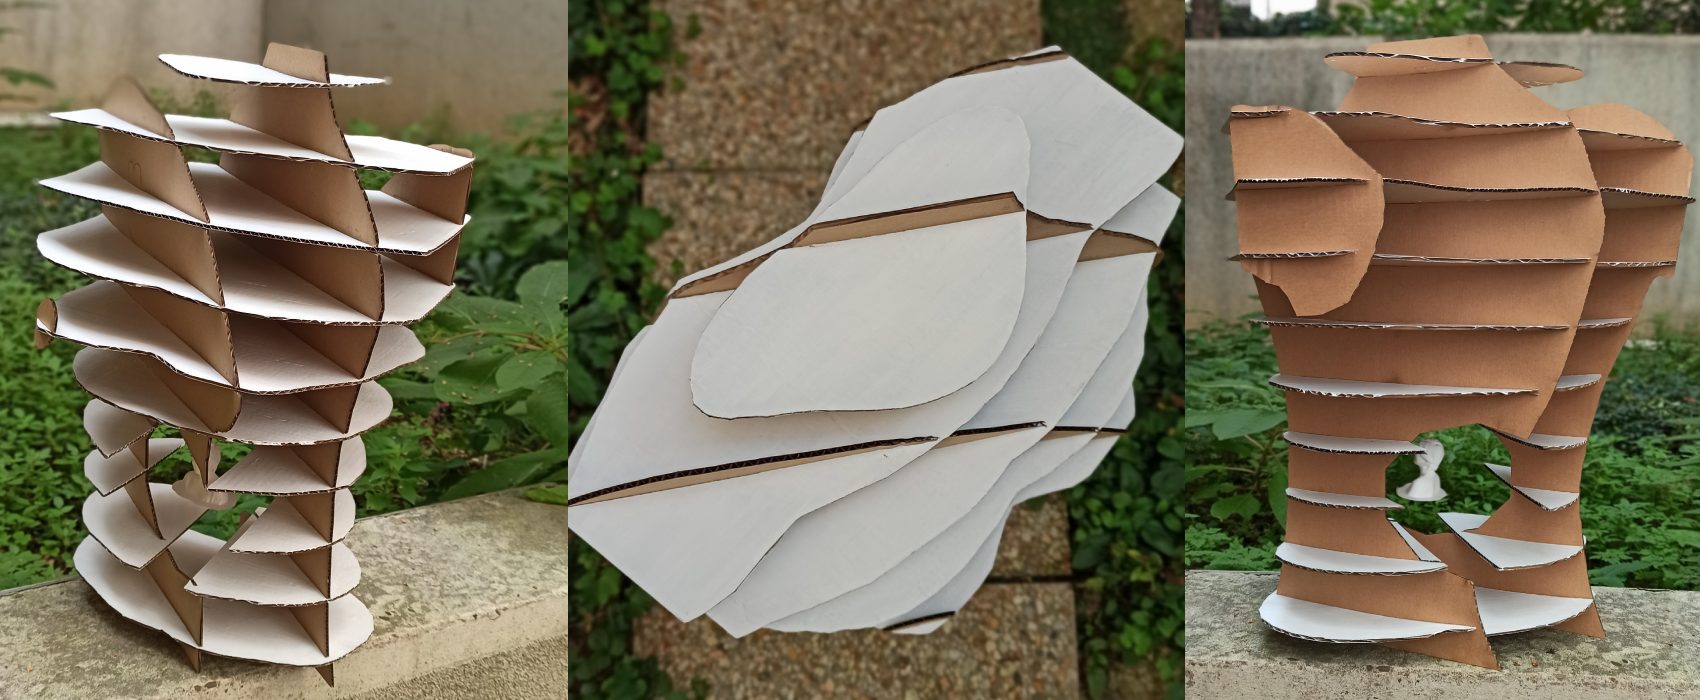
(Pics from me)
Video
Assembly Steps(Slice Fusion 360)
Cutting Plan