5. E-textiles
🗓️ 2023_October 17th to 23rd
💡 Work of the week
This week sees the start of a new theme: E-Textiles.
Lisa Stark's lecture gave us an insight into the basic principles of electronics mixed with textiles.
The tutorial presented by Emma Pareschi helped me review the basics of electronics and sensors. It brought back some memories of courses I'd seen in junior high and high school (expect for Arduino):
- Ohm's law
- Using a multimeter
- Digital sensor and analog sensor
- Testing a sensor with and without Arduino
Assignments of the week : Create sensors!!
- Create a digital sensor (on/off switch)
- Create an analog sensor (for circuit variations)
- Connected to an Arduino to test different values
- Use in a circuit with one or more LEDs, to be integrated into fabric
References & Inspiration
Here few alumni's work who inspired me:
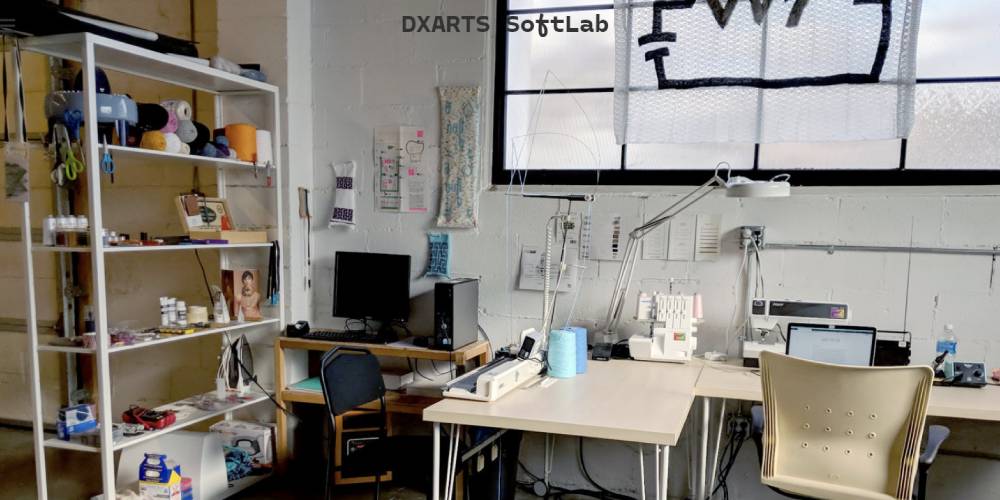
By searching on Internet, I found some very interesting ideas and inspiration with DXARTS Softlab. The SoftLab, established in 2016 by Dr. Afroditi Psarra, an Assistant Professor at DXARTS, is a dedicated environment for the exploration and advancement of artistic endeavors involving soft-circuits and wearable technology.
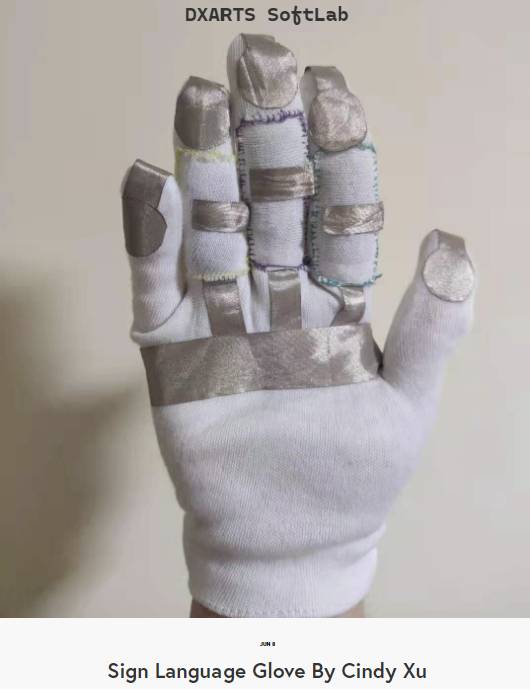
One of the projects that really inspired me was Cindy Xu's Sign Language Glove
The glove is equipped with DIY buttons and sensors that enable it to recognize hand gestures.
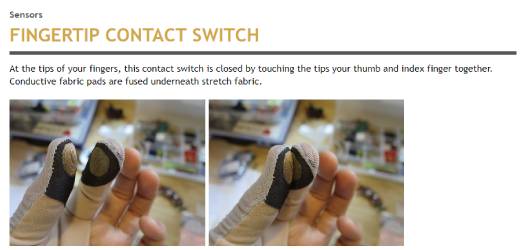
I also found ideas with this kobakant's project, Fingertip contact switch.
🧰 Tools
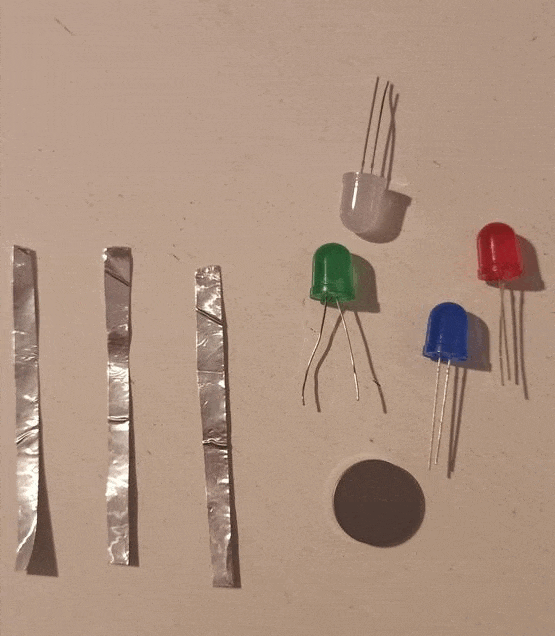
I used materials from the Textile Lab and from my husband.
When your husband has some tools for this week's assignments...😅 (who has been a digital fablab manager into 10 years...).
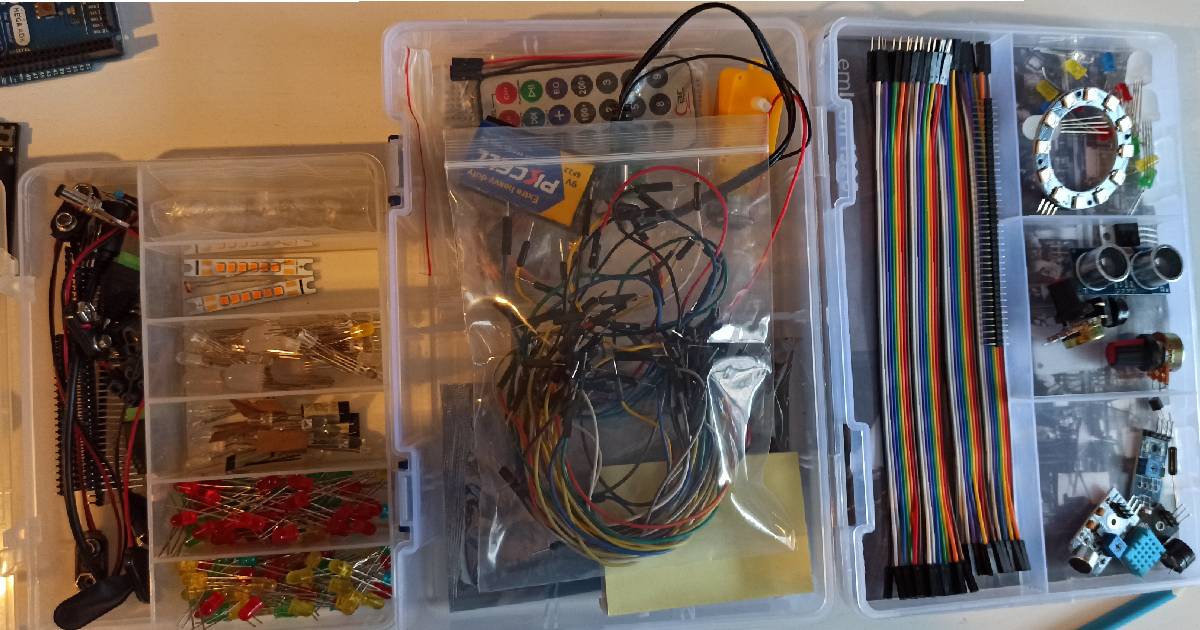
Tools I used
- Non conductive Fabric
- Conductive thread
- Non conductive thread
- Velostat
- Almunium foil
- Copper fabric
- Sewing needles
- Electric paint
- Bikini Hook slide closure
- Pins
- Scissors
- Aligator Clips
- Safety Clips
- 3V Battery
- 9V Battery
- LED lights
- Electrical Tape
- Breadboard
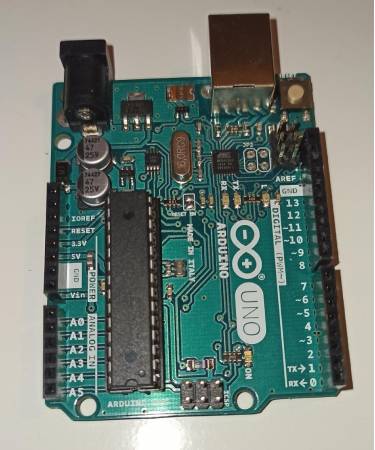
- Arduino IDE
- Multimeter
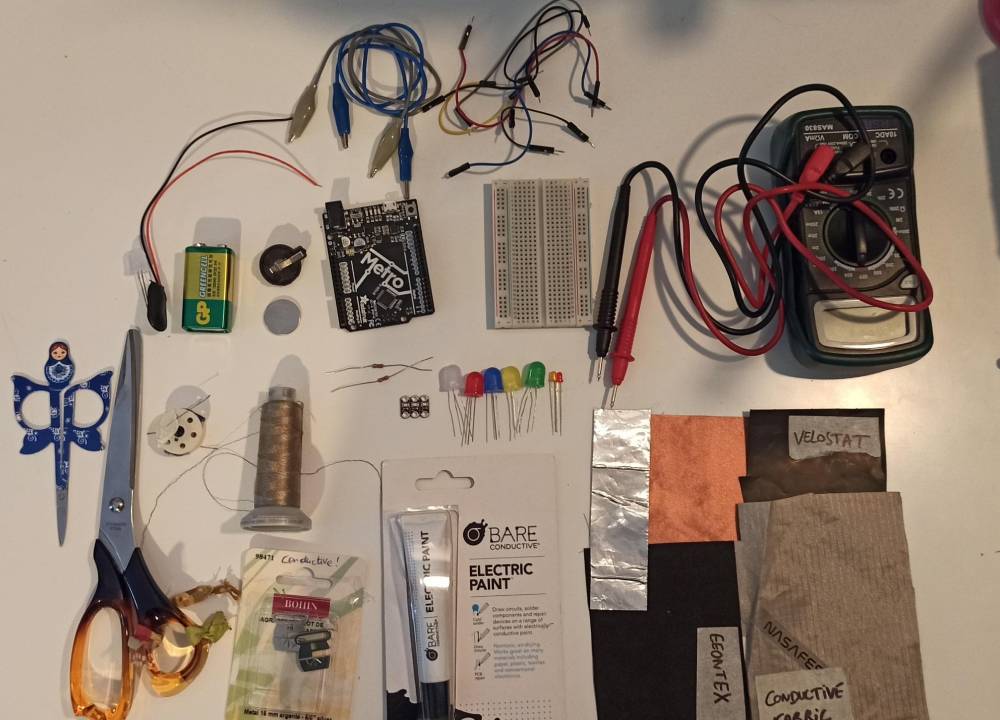
- Arduino IDE to test and read circuit variations
- Ezgif to create gifs in this week's documentation
Some electronic basics
I also found many informations with Sparkfun Electronics, who is an electronic components retailer based in the USA, since 2003. It manufactures and sells microcontroller development boards and printed circuit boards. You can read more on their page About us.
You can find many tutorials to complement those on Fabricademy, such as:
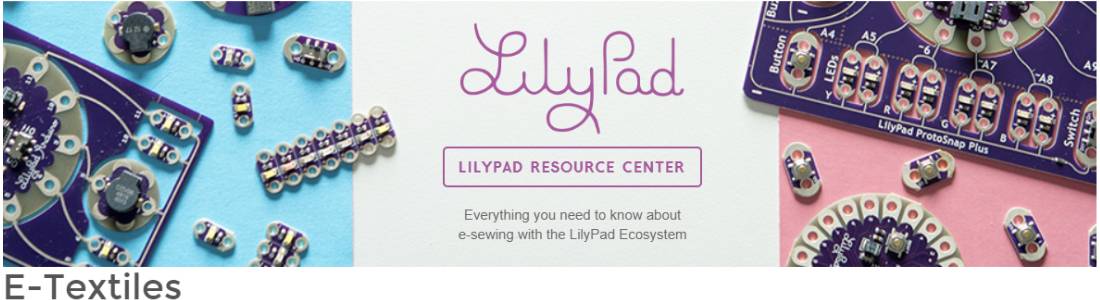
They have a nice part for E-Textiles with the Lilypad resource center
Process and workflow
🟢 Create a digital sensor (on/off button)
First of all, I started with a simple circuit with a digital sensor, to understand the basic operation of a circuit.
First test was made with conductive tape, LEDs and 3V battery.
It works!
I also tested the bikini hook side closure, which Diane had passed on to me, to see if they were conductive! I confirm, they work pretty well!
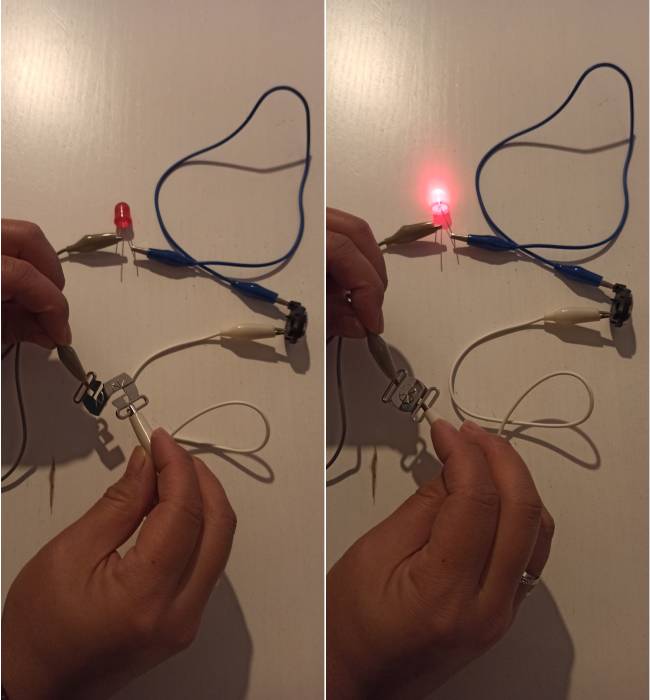

Second test was made with a momentary switch.
I used a piece of foam with a hole in it, and two pieces of conductive fabric with conductive thread, to test whether the current passed through the two squares of conductive fabric.

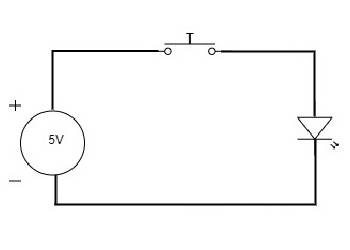
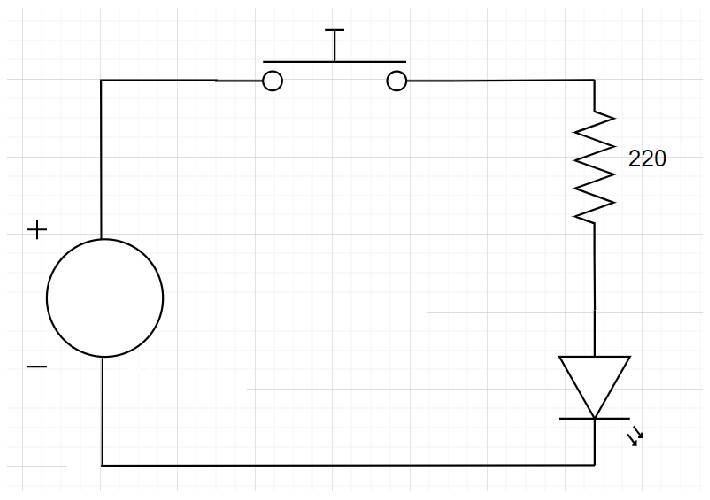
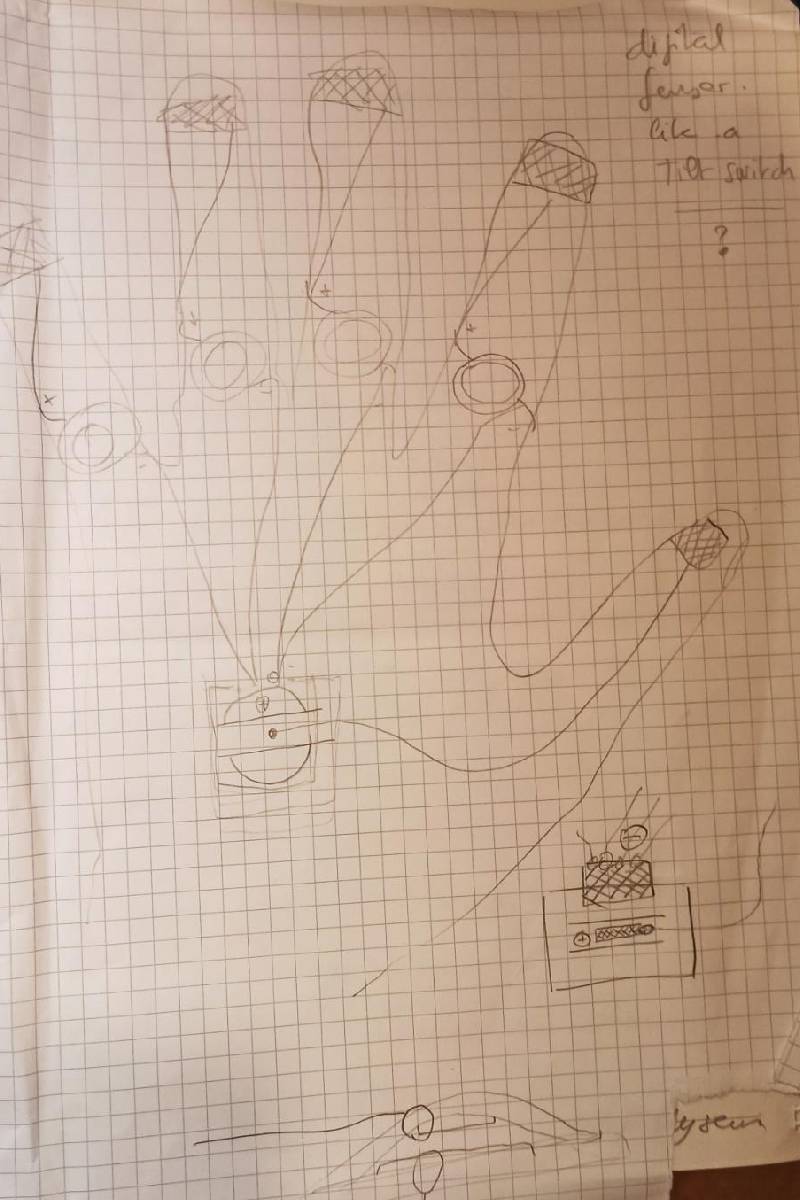
Ideas to test
Circuit example
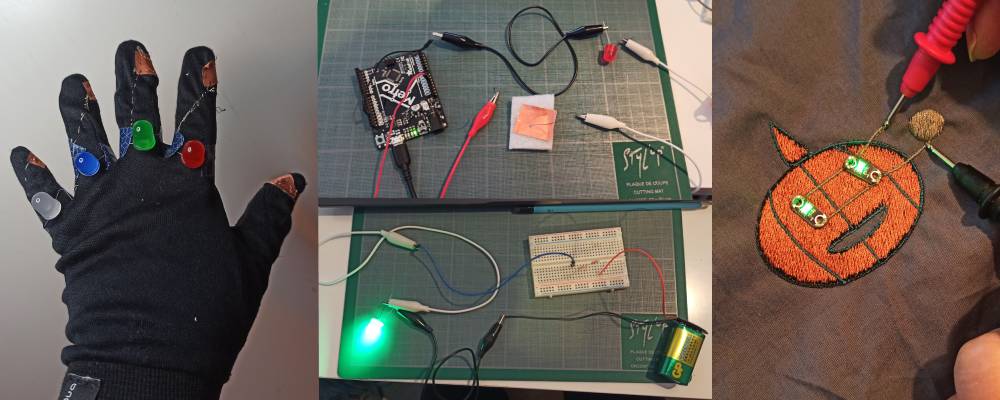
I wanted to test it with cloth gloves (non-conductive), as if I had stones as rings on each finger: blue for sapphire, red for ruby, green for emerald and white for diamond!
The thumb would act as an on/off button with the battery in the palm of the hand.
At each fingertip, a piece of conductive fabric is sewn to the LED. All sewn together with conductive thread to connect the + (Power) and - (Ground) on the battery. I put making tape on the LEDs so that they would hold for the test.
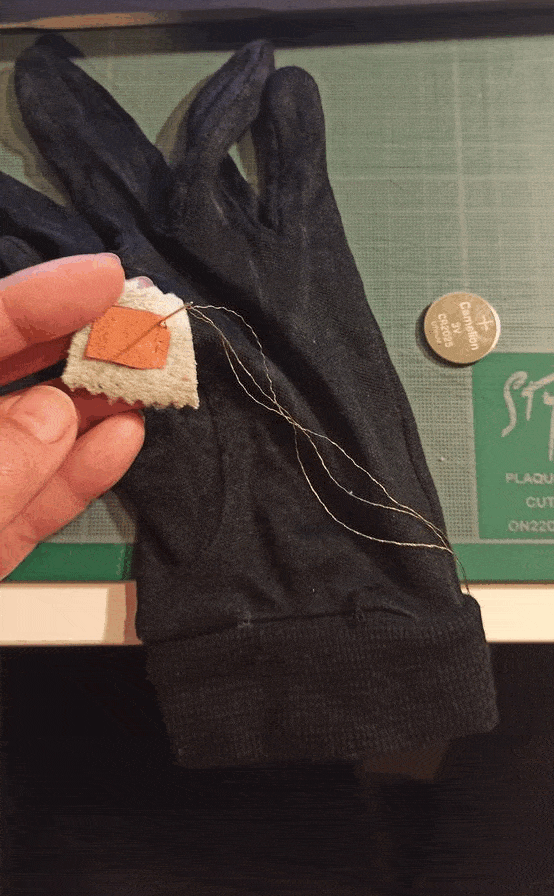
Result
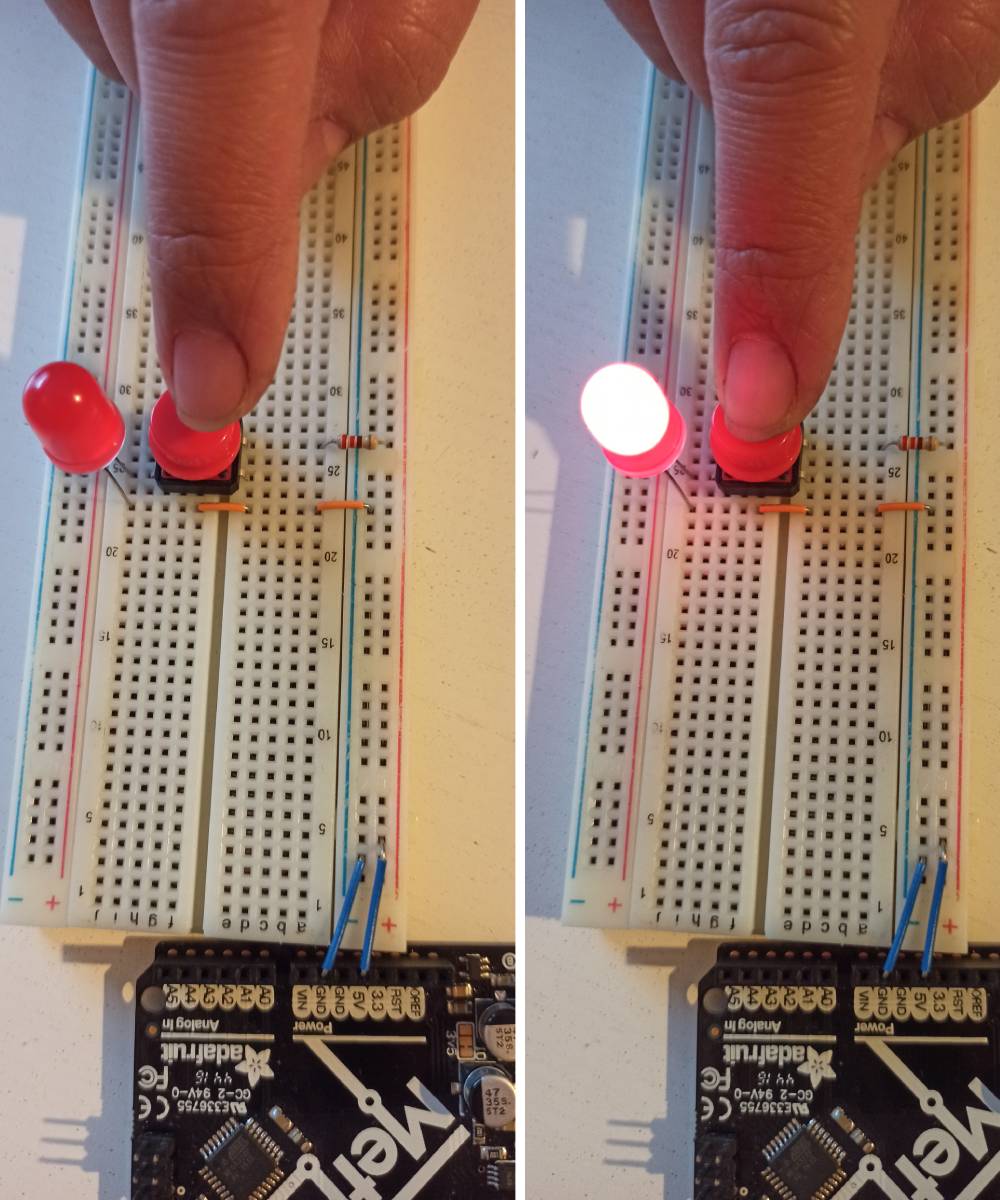
🌀 Analog sensor test
Difficulty understanding how the conductive fabric could make the link.
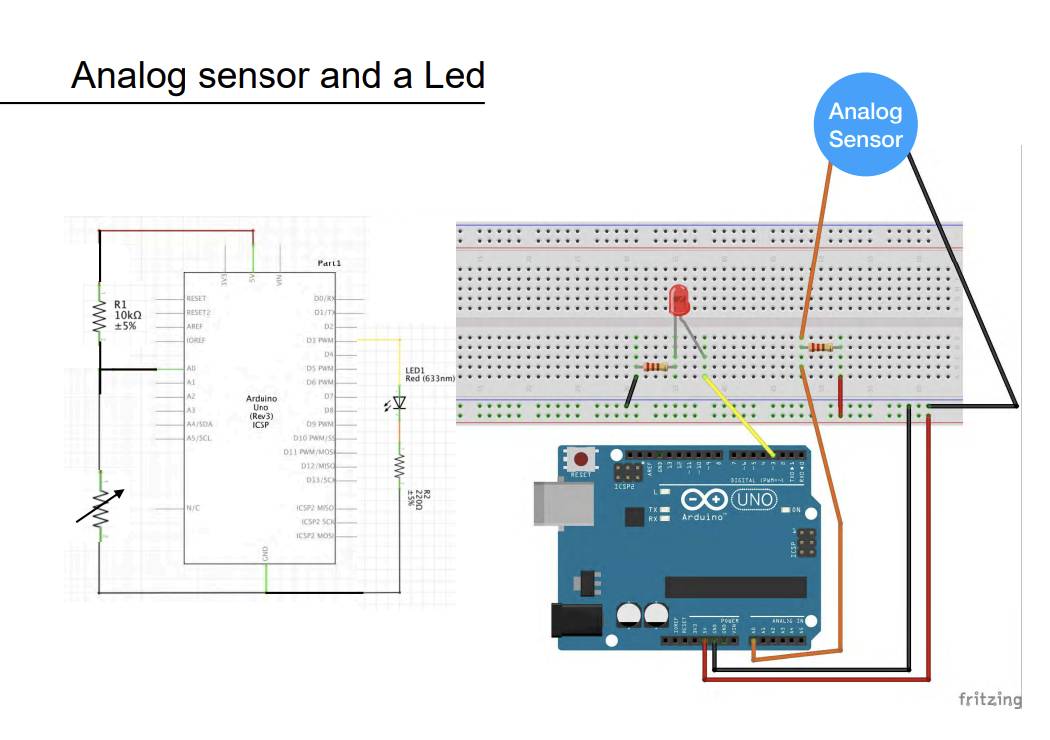
Test at home didn't work. Diane showed me the circuit proposed by Emma Pareschi to understand the variations in a circuit.
Tested with LED, resistors and Velostat connector.
The test works. The more you press the two pieces of Velostat, the brighter the LED becomes.
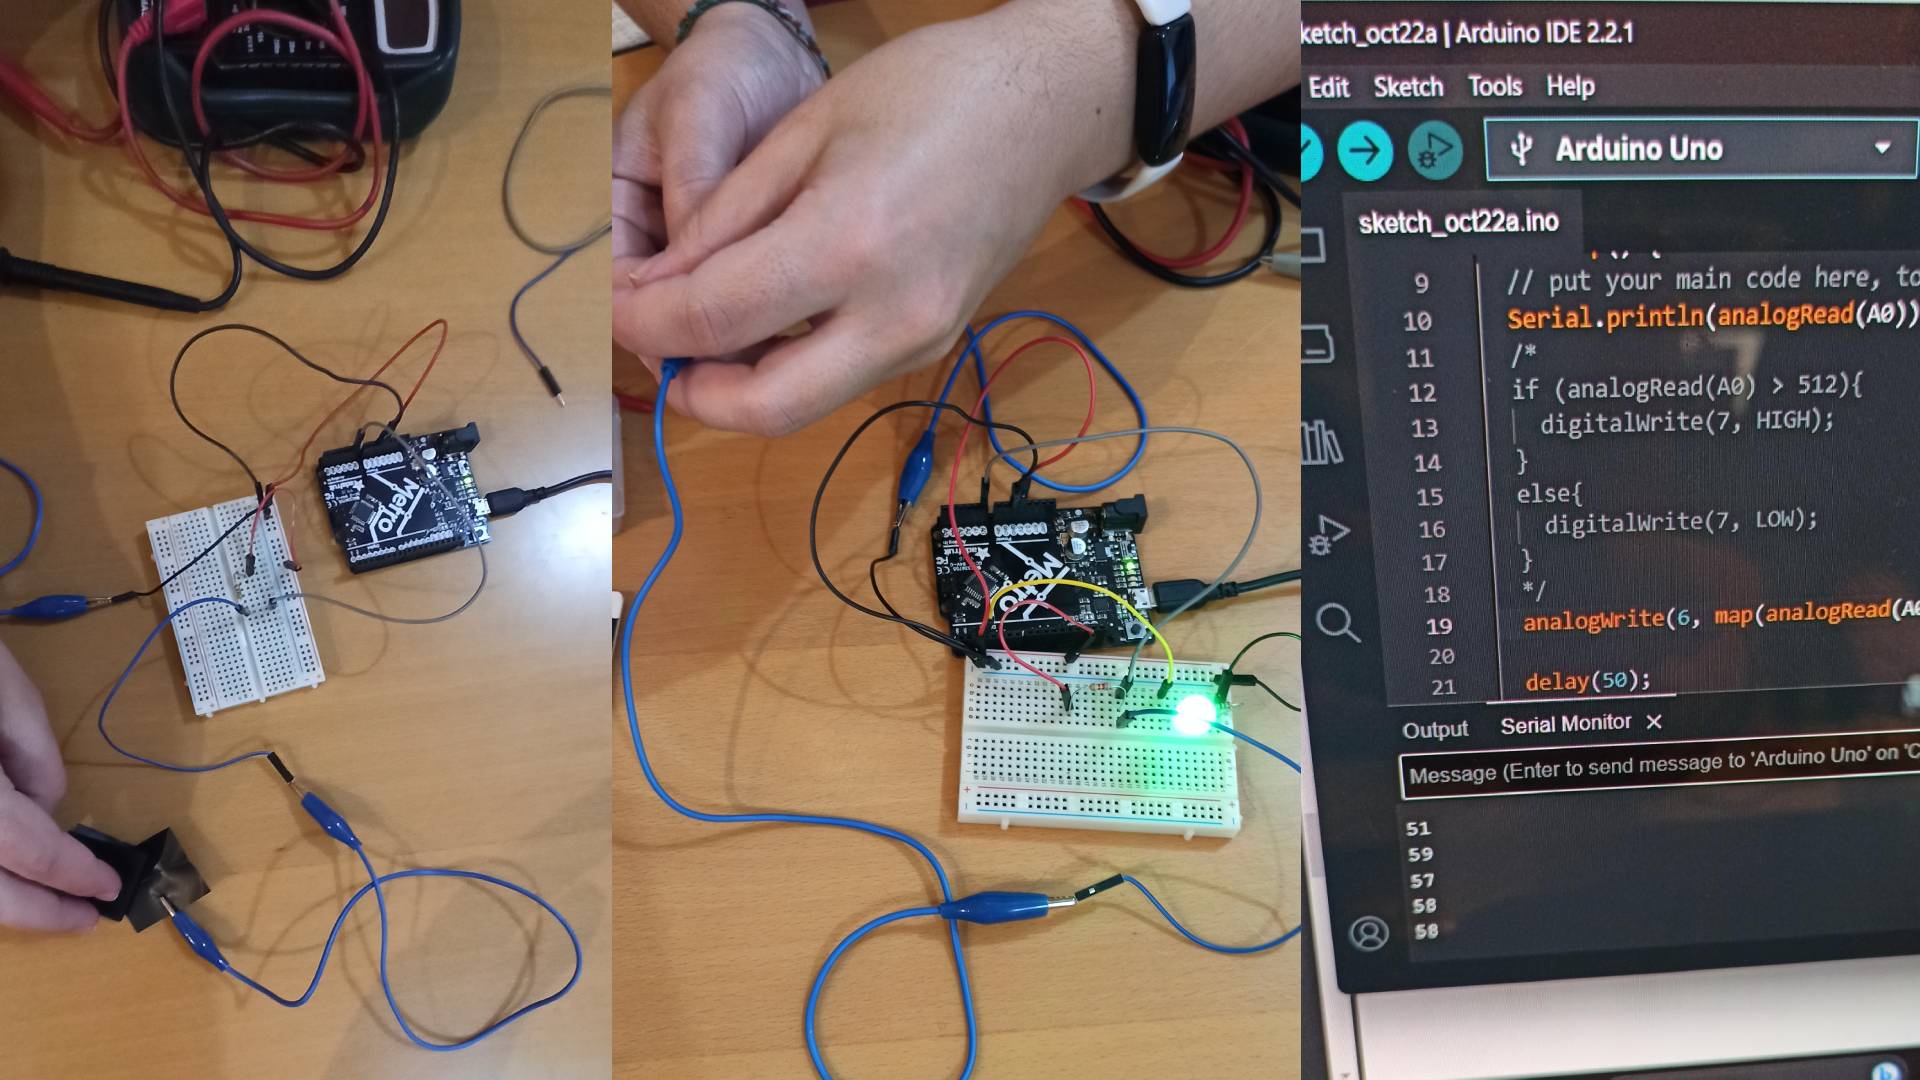
I redo the circuit with the analog sensor, as seen in Emma Pareschi's Arduino and sensor tutorial (p.44).
Reading variations on Arduino Another test is done with electric paint to see if it's a good conductor. I drew a small circuit with electric paint on classic fabric. The LED shows light variations.
And after I repeat with the circuit used with the Velostat piece.
Code example for analog sensor
In Arduino, there are two main commands:
- setup=function, which takes place once and at startup
- loop=function that repeats itself (loop)
When you want to note comments in Arduino (to remember the actions of commands or note the results obtained), note:
- at the beginning of the line: /* ......
..............
- at end of line :
*/
Or: //.... (at the beginning or at end of line).
It's important to map or constrain the values to notify the lowest (normally=0) and highest (=1023 or 250 for my exemple) reference value. In my test, the variation values read did not go below 485. I therefore imposed a constraint, specifying that the lowest value should be 5.
This is the code I tried.
void setup() {
  // put your setup code here, to run once:
  Serial.begin(9600);
  //pinMode(A0, INPUT);
  pinMode(6, OUTPUT);
}

void loop() {
  // put your main code here, to run repeatedly:
  Serial.println(analogRead(A0));

  analogWrite(6, map(constrain(analogRead(A0), 5, 250), 5, 250, 0, 255));

  delay(50);
}
To resum: How to read Arduino
| _ _ | INPUT-Read | OUTPUT-Write |
|---|---|---|
| Digital (1-0 ON/OFF) | digitalRead | digitalWrite |
| Pins | pin 0->13 | pin 0->13 |
| Values | HIGH/LOW | HIGH/LOW |
| Analog (Variations) | analogRead | analogWrite |
| Pins | A0->A5 | pins 3,5,6,9,10,11 |
| Values | 0->1023 | 0->255 |
🗂️ Files
Lisa Stark's Lecture
Emma Pareschi's presentation
Emma Pareschi 's Arduino and sensors tutorial
Video: Another idea with LEDs 😁
When it's fun to play with LEDs
🎃 Extra project
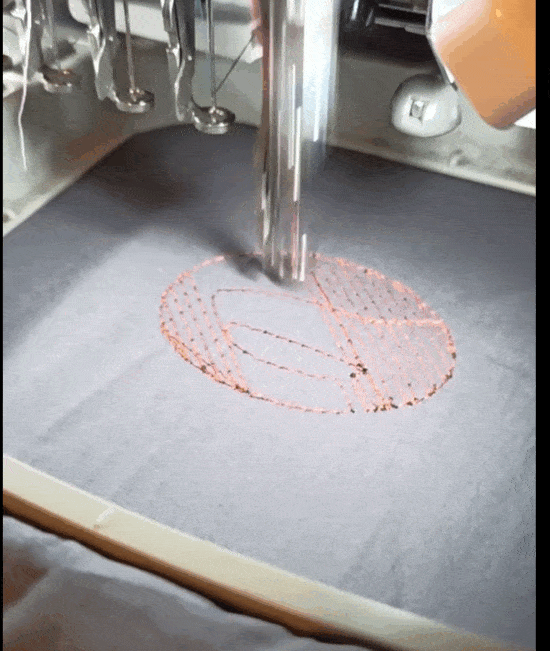
Another complementary project involves a digital sensor.
I wanted to connect two sequin LEDs to the digital embroidery machine.
I tested the Digital embroidery machine of the Textile Lab. Oh joy, a new world is opening up for me!! 🤩
I was giving it a try with Diane to add some conductive thread.
As Halloween is coming soon, I decide to make a pumpkin with LED sequins integrated in a digital circuit with a 3V battery.
The battery is hidden under a piece of non conductive fabric. It's transformed into a little halloween bag for my daugther.
Going further
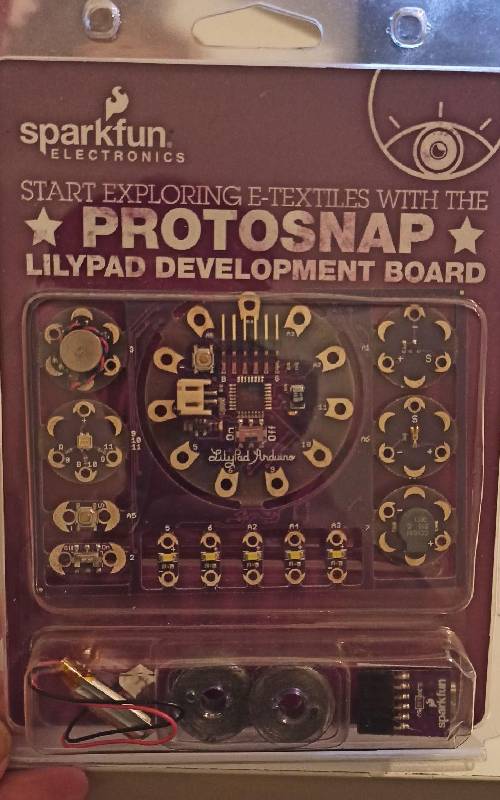
My husband gave me a Lilypad development board kit. I can't wait to try it out and see what I can do with it. I would like to create a circuit combining a digital sensor and an analog sensor with conductive fabrics and wires.