Week 3: OS Circular fashion
The theme of this week is COsourceFashion, a reoccurring theme that seems to grasp the interest of almost anybody in the fashion world. The main focus was on alternative systems that can be used to innovate new design ideas for generations to come. Circular fashion is the theme of the week.
Research
This week’s assignment involves generating and creating a module suited towards our own taste. The structures and connections play a role in determining how our garments will be shaped and sized. Both the elements of design and protoyping had played a funny role in the process of the development seeing as some things are just not just solved by using only the power of our own brains.
What is a module? According to Cambridge dictionary:
Source: https://dictionary.cambridge.org/dictionary/english/module
Inspiration
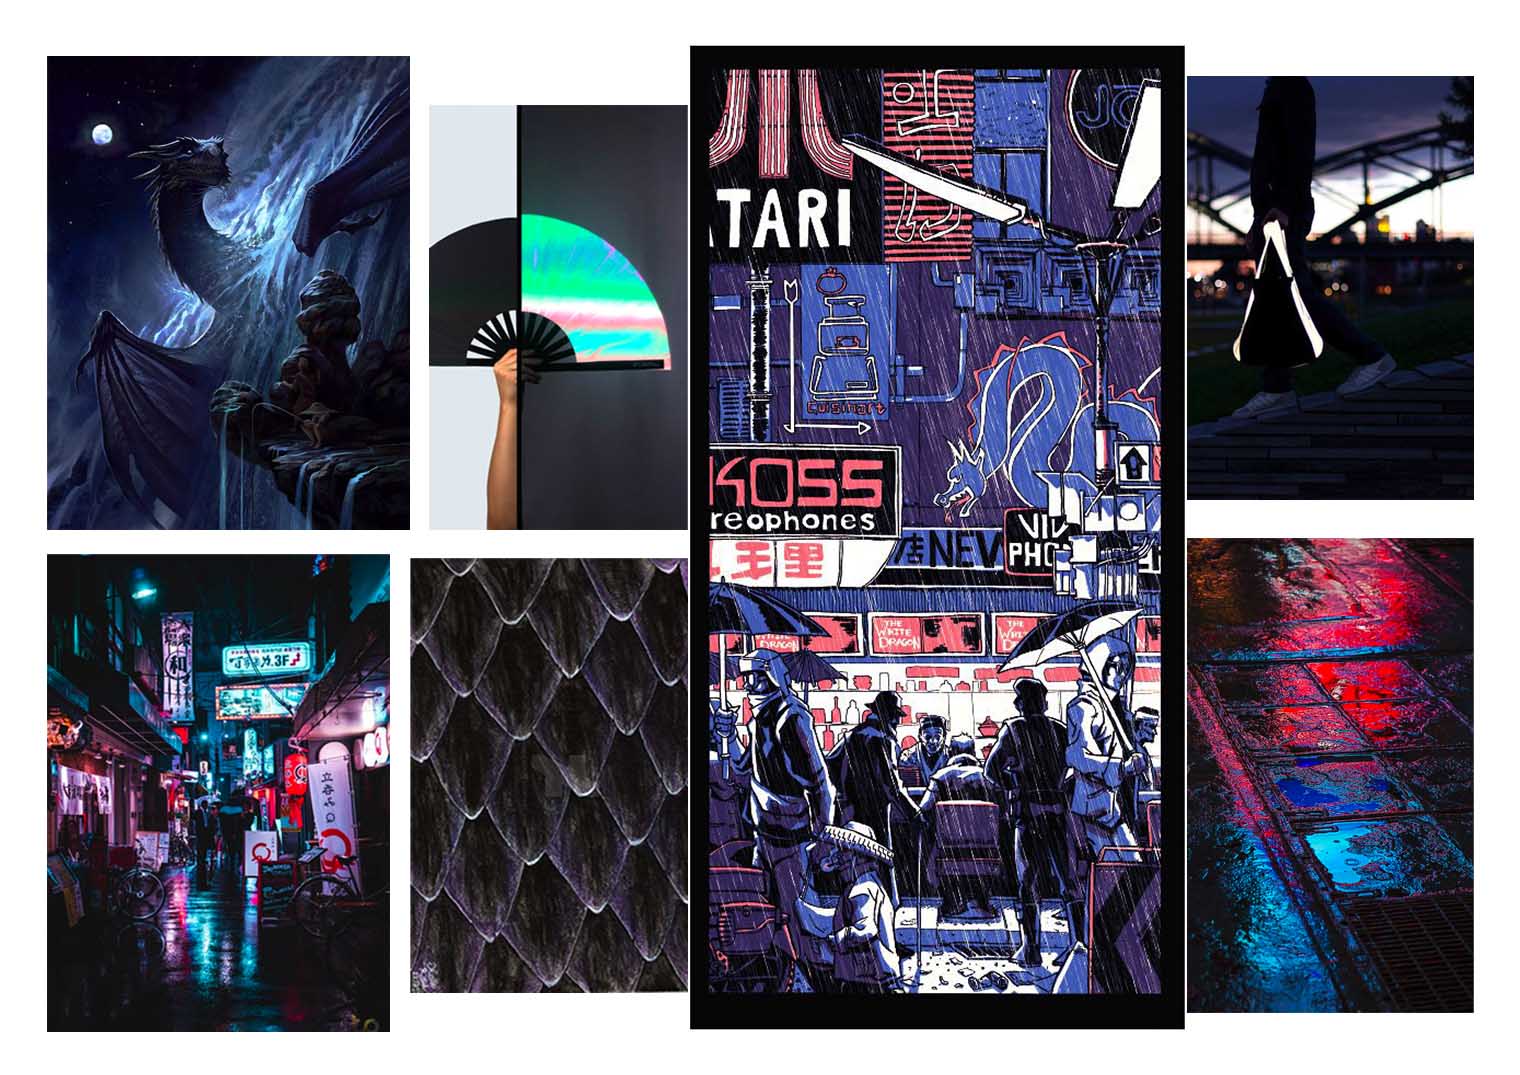
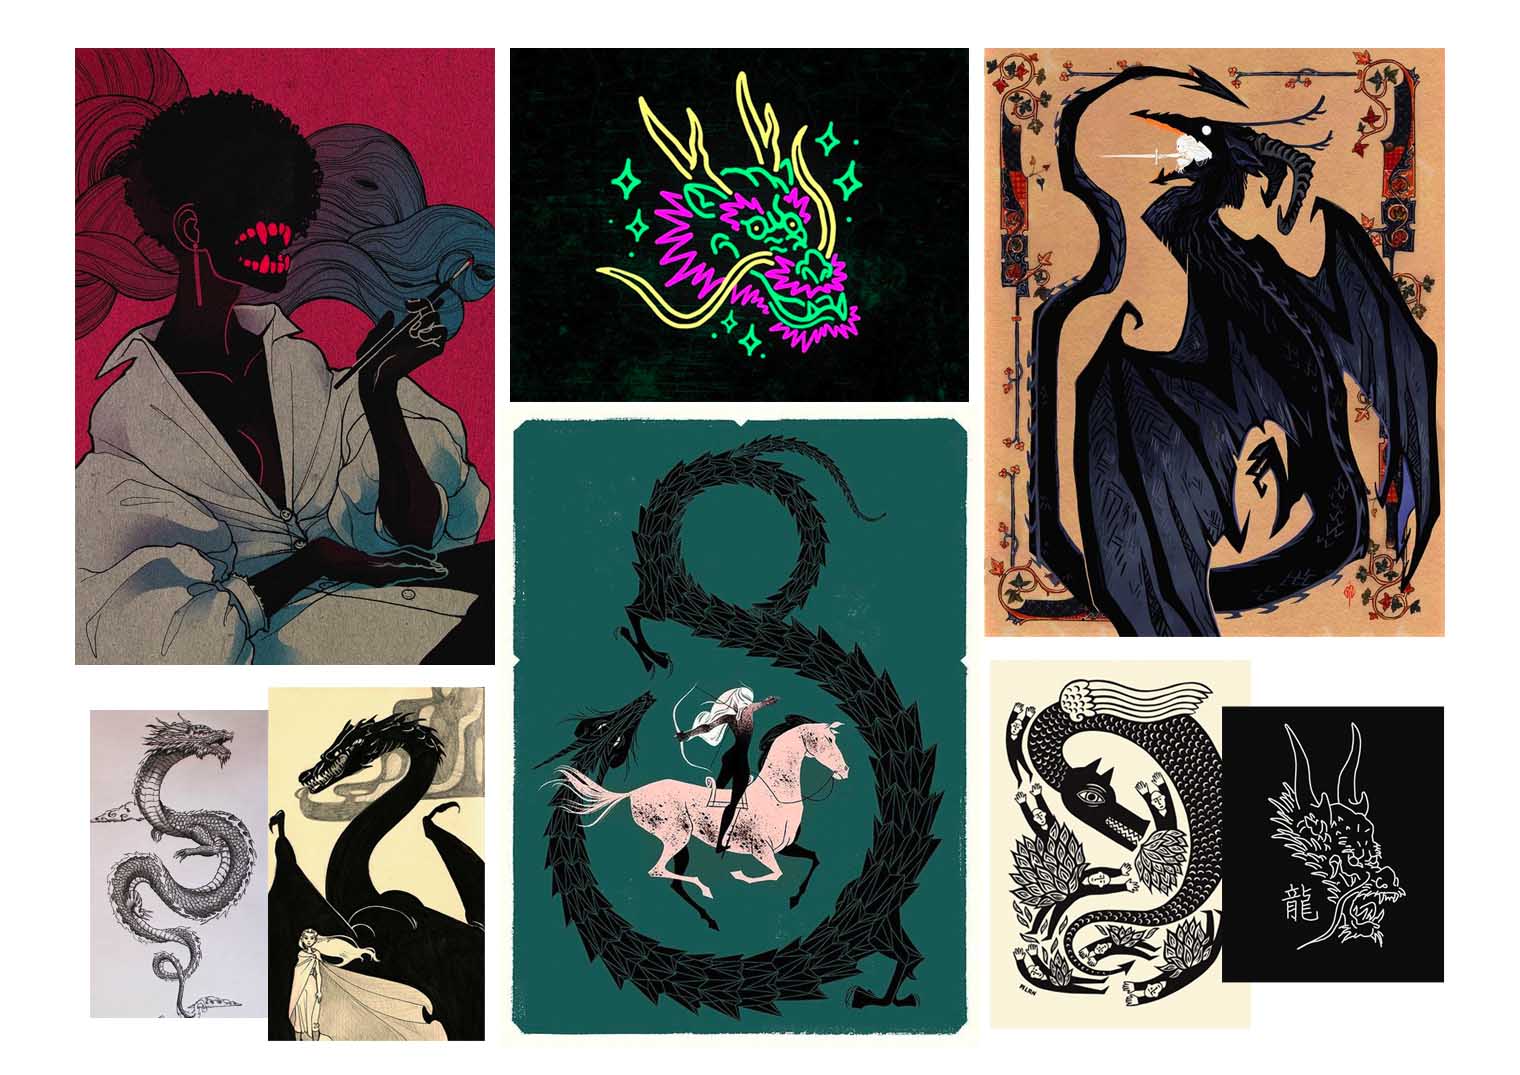
INSPIRATION (Think of title for this project – Scales Fantasy gamer) Reflective dragon:
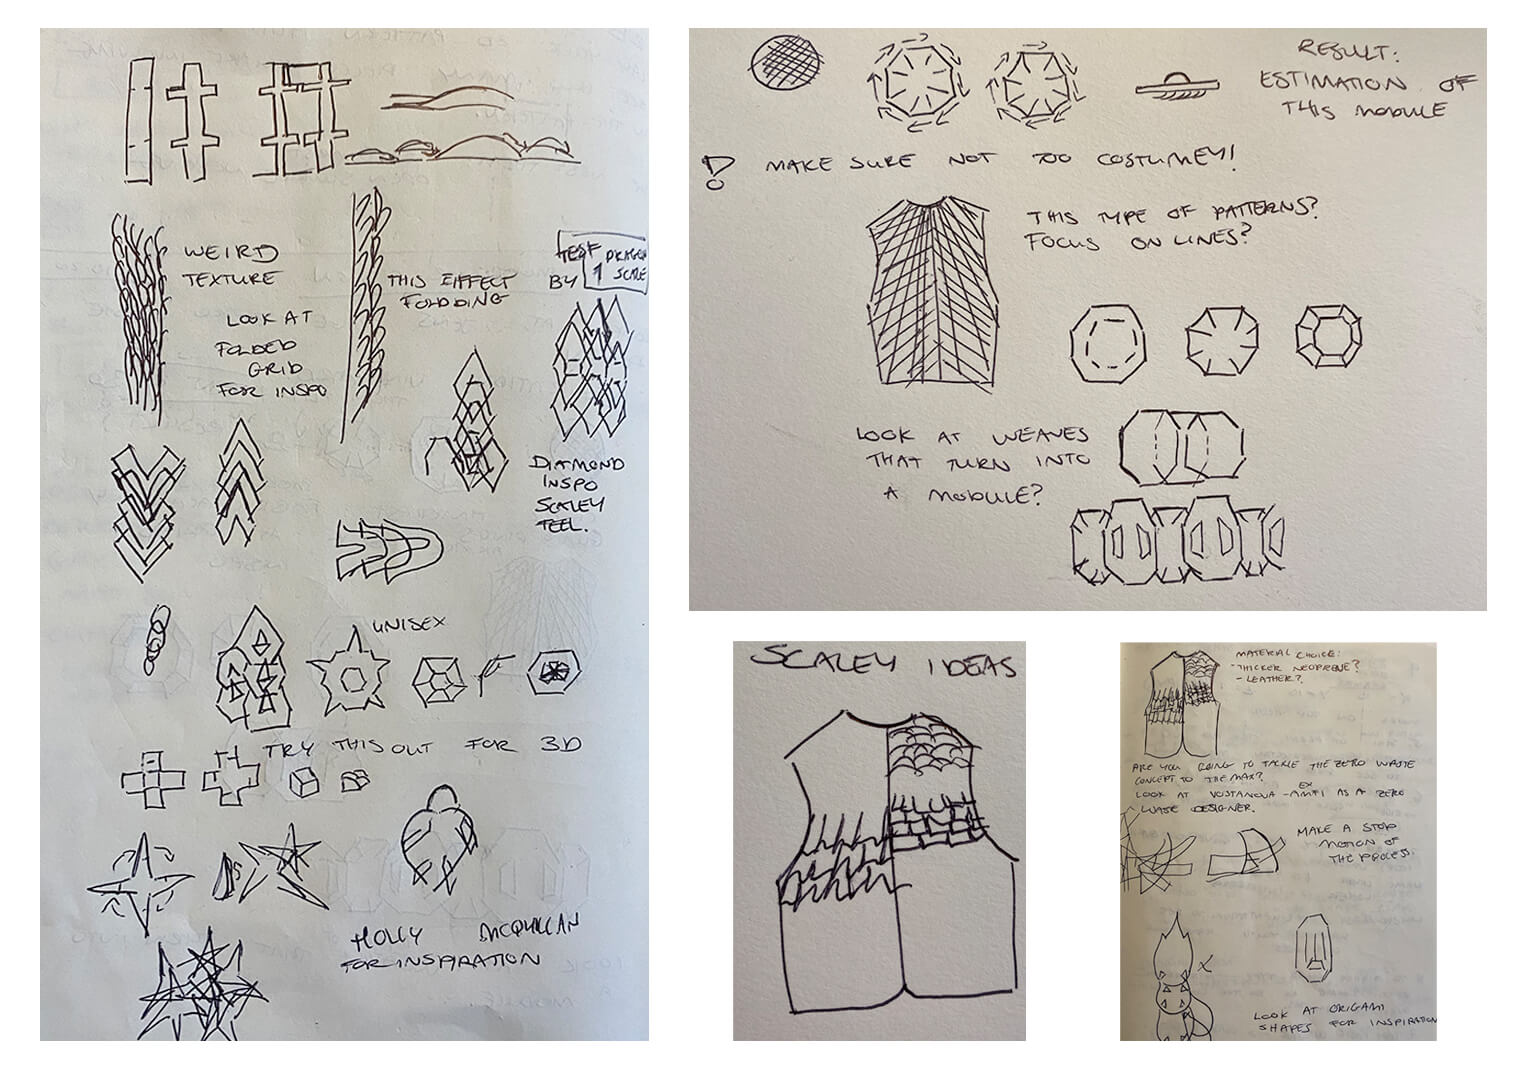
When I saw the module examples of previous designers in the Fablab, I realised that it was time to put some of my own designer taste into the mix. As a fashion designer I am very interested in the world of costume as well. When I thought of modules, my instinct went straight to scales and no, not the fish kind. Having played a number of videogames myself, I wanted to explore the role of fantasy and the most exciting textures in those worlds are the scales of dragons. This means that the sales could vary in all kinds of textures. I wanted to play with a texture that carries a darker and more modern energy. A cyberpunk feel to my modern-day dragon scale. The fascinating thing about scales are that they are smooth but once aged they seem to support themselves with half the strength. Perhaps the layering of the scales is really what caught my attention.
Process
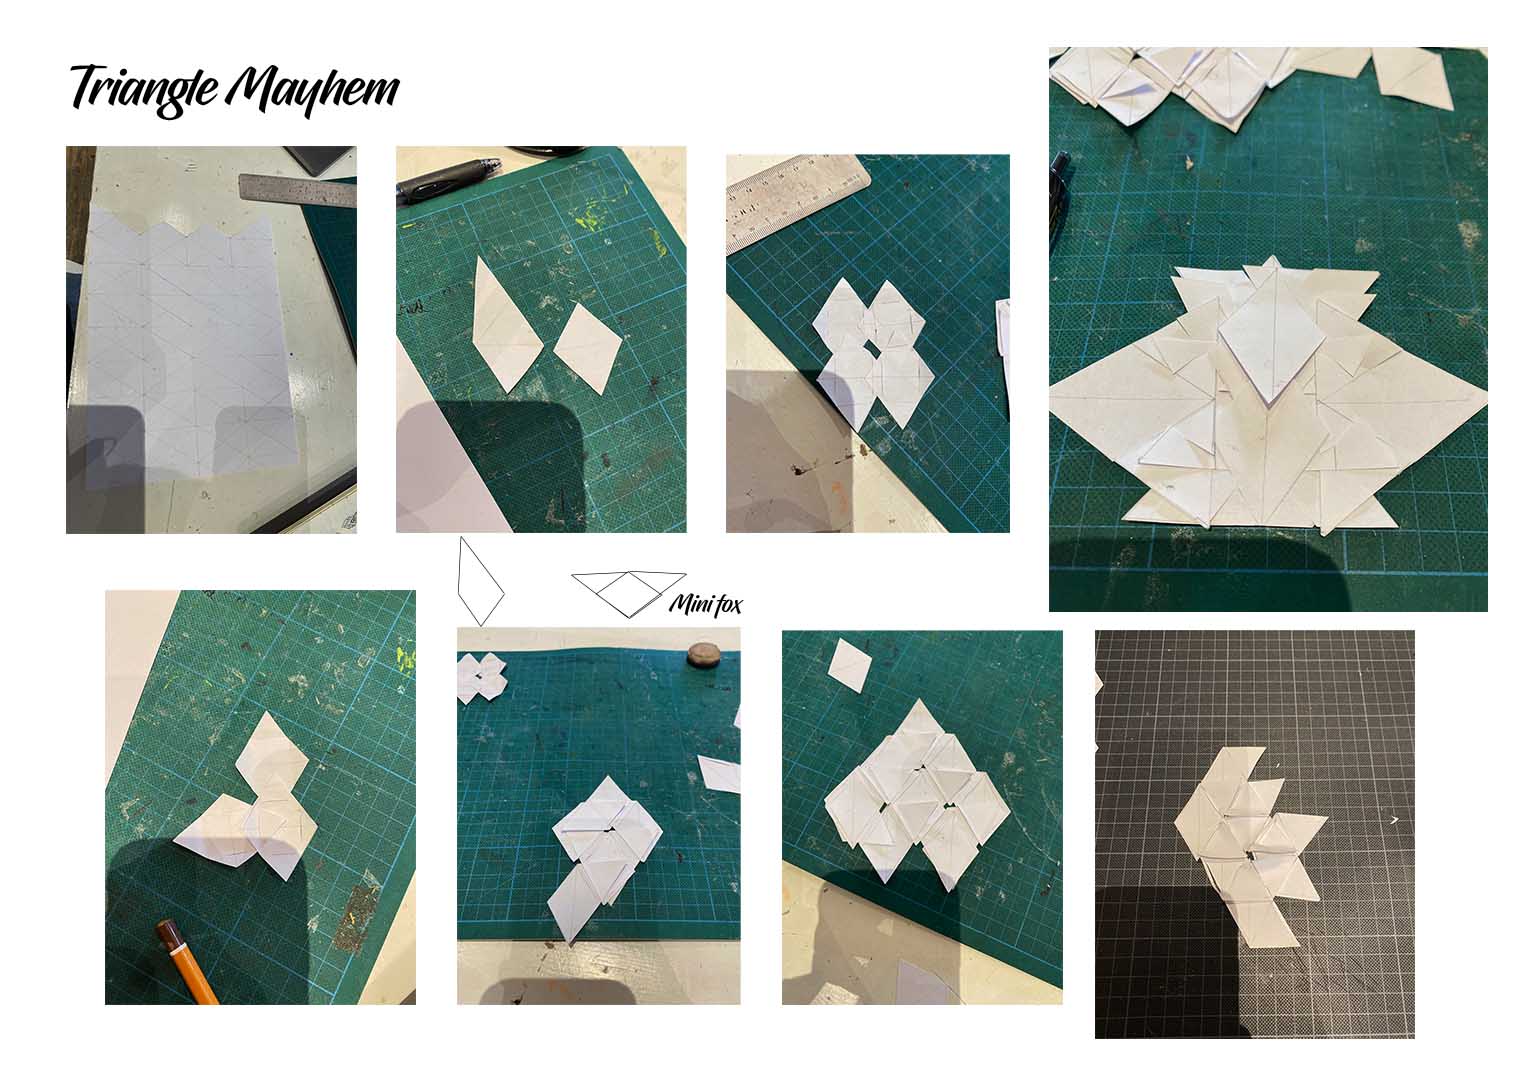
To connect the modules via locks and other configurations we first had to test our concepts/ideas by cutting out our paper creations using scissors:
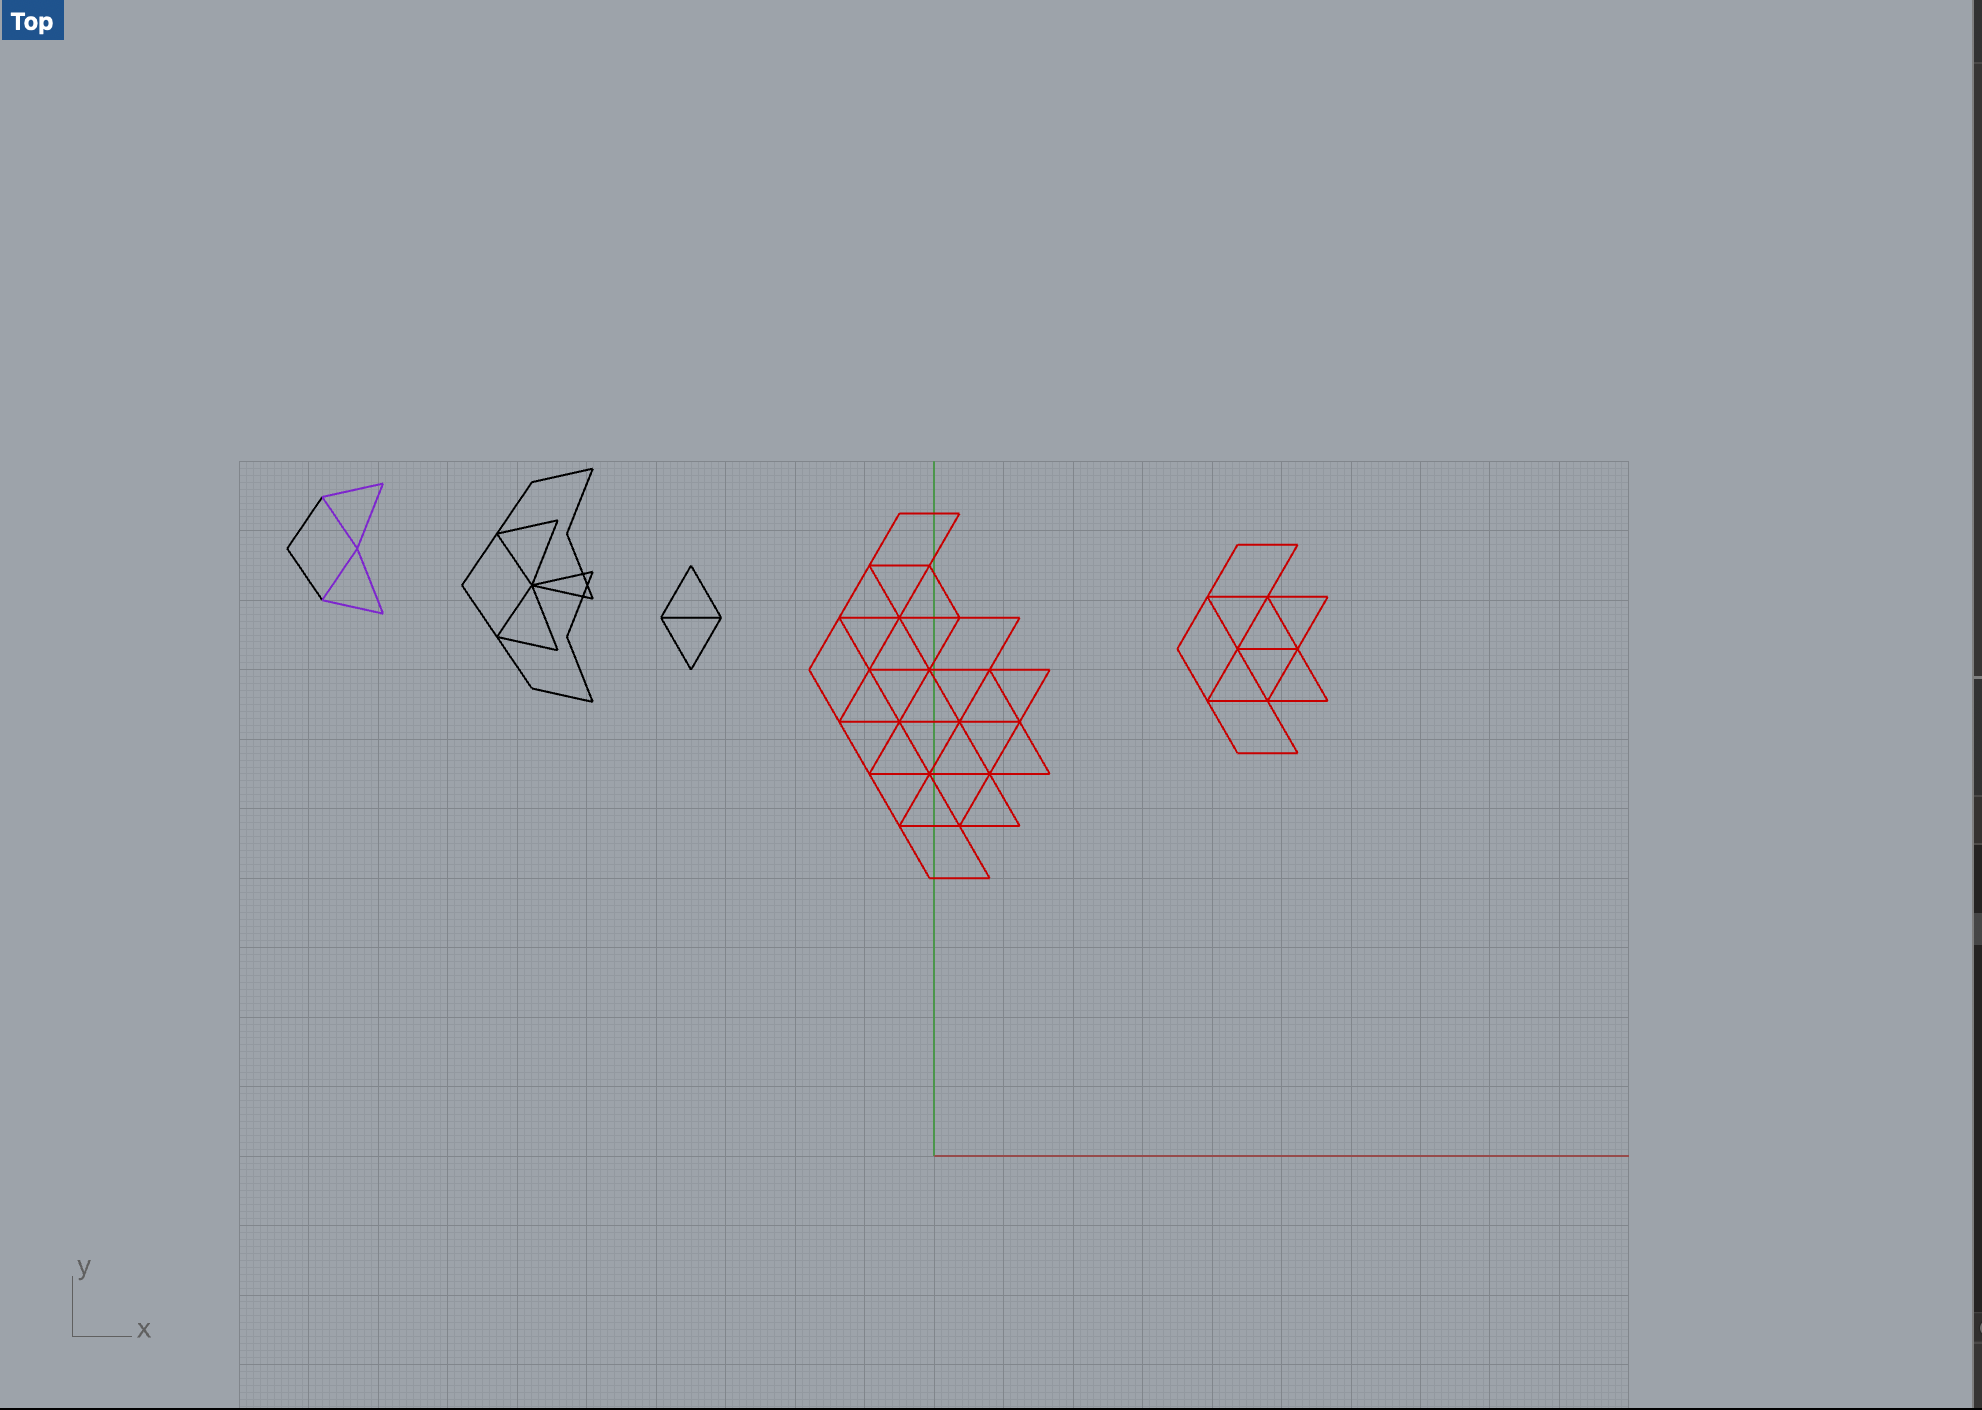
Making the module digital: Rhinoceros.
- The next step was to import the same shape into the programme Rhinceros 3D. Here was were the hard part would begin. The physical paper pieces that I made were actually quite hard to translate over to the Vector? Programme.
Technical part:
- Step 1: Cutting out the shapes desired for the module with pen, paper and scissors. My paper prototype examples/attempts of this week:(Insert photos of paper modules + mini description of the ideas behind it) sources.
- Step 2: Recreate the 2d shape on the software programme Rhinoceros. Open Rhinoceros. Work only on the top view.
- Click on polygon tool. Use the move and rotate tool to rotate the triangles into place.
- Click orthoplanner at the top (To make your life easier).
- Select the shape and move onto layer one.
- Click on array tool and select your shape, lick enter. Click 10 for Y axis, 10 for X axis and 1 for Z axis. Move the grid around till you have reached your desired overlapping of shapes. (Until it sort of looks like a module with interconnections)
- Select all and move on to layer 2. Name it grid.
- Click on a selection (4) of modules, copy and paste next to grid.
- Select all 4 modules and place on layer 3. Name it intersections. This is where we will be able to see where we can place our cut lines.
Exploding and splitting:
- (insert symbol) Exploding: Insert a polyline where you will be placing your “male” cuts. Click on outer outlines and the previous polyline and click explode.
- (insert symbol) Splitting: Click on previously constructed polyline and click split. This line will now be in three pieces. Click on the part that you wish to delete. Click delete. Join the “male” slit with the outer line and click join. Repeat this step on all sides of module until you have both your “male” and “female” parts for assembling.
- Save the file as a .DXF and onto your usb stick. Transfer this onto the laser cutting computer.
- Open up lasercutter 3.5 programme. Import file from your usb and click enter.
Process in Rhino for my parametric model:
Testing the pieces:
Material shopping:
Once my file was ready, it was time to test the unisex parametric design by laser cutting several different materials to see the results.
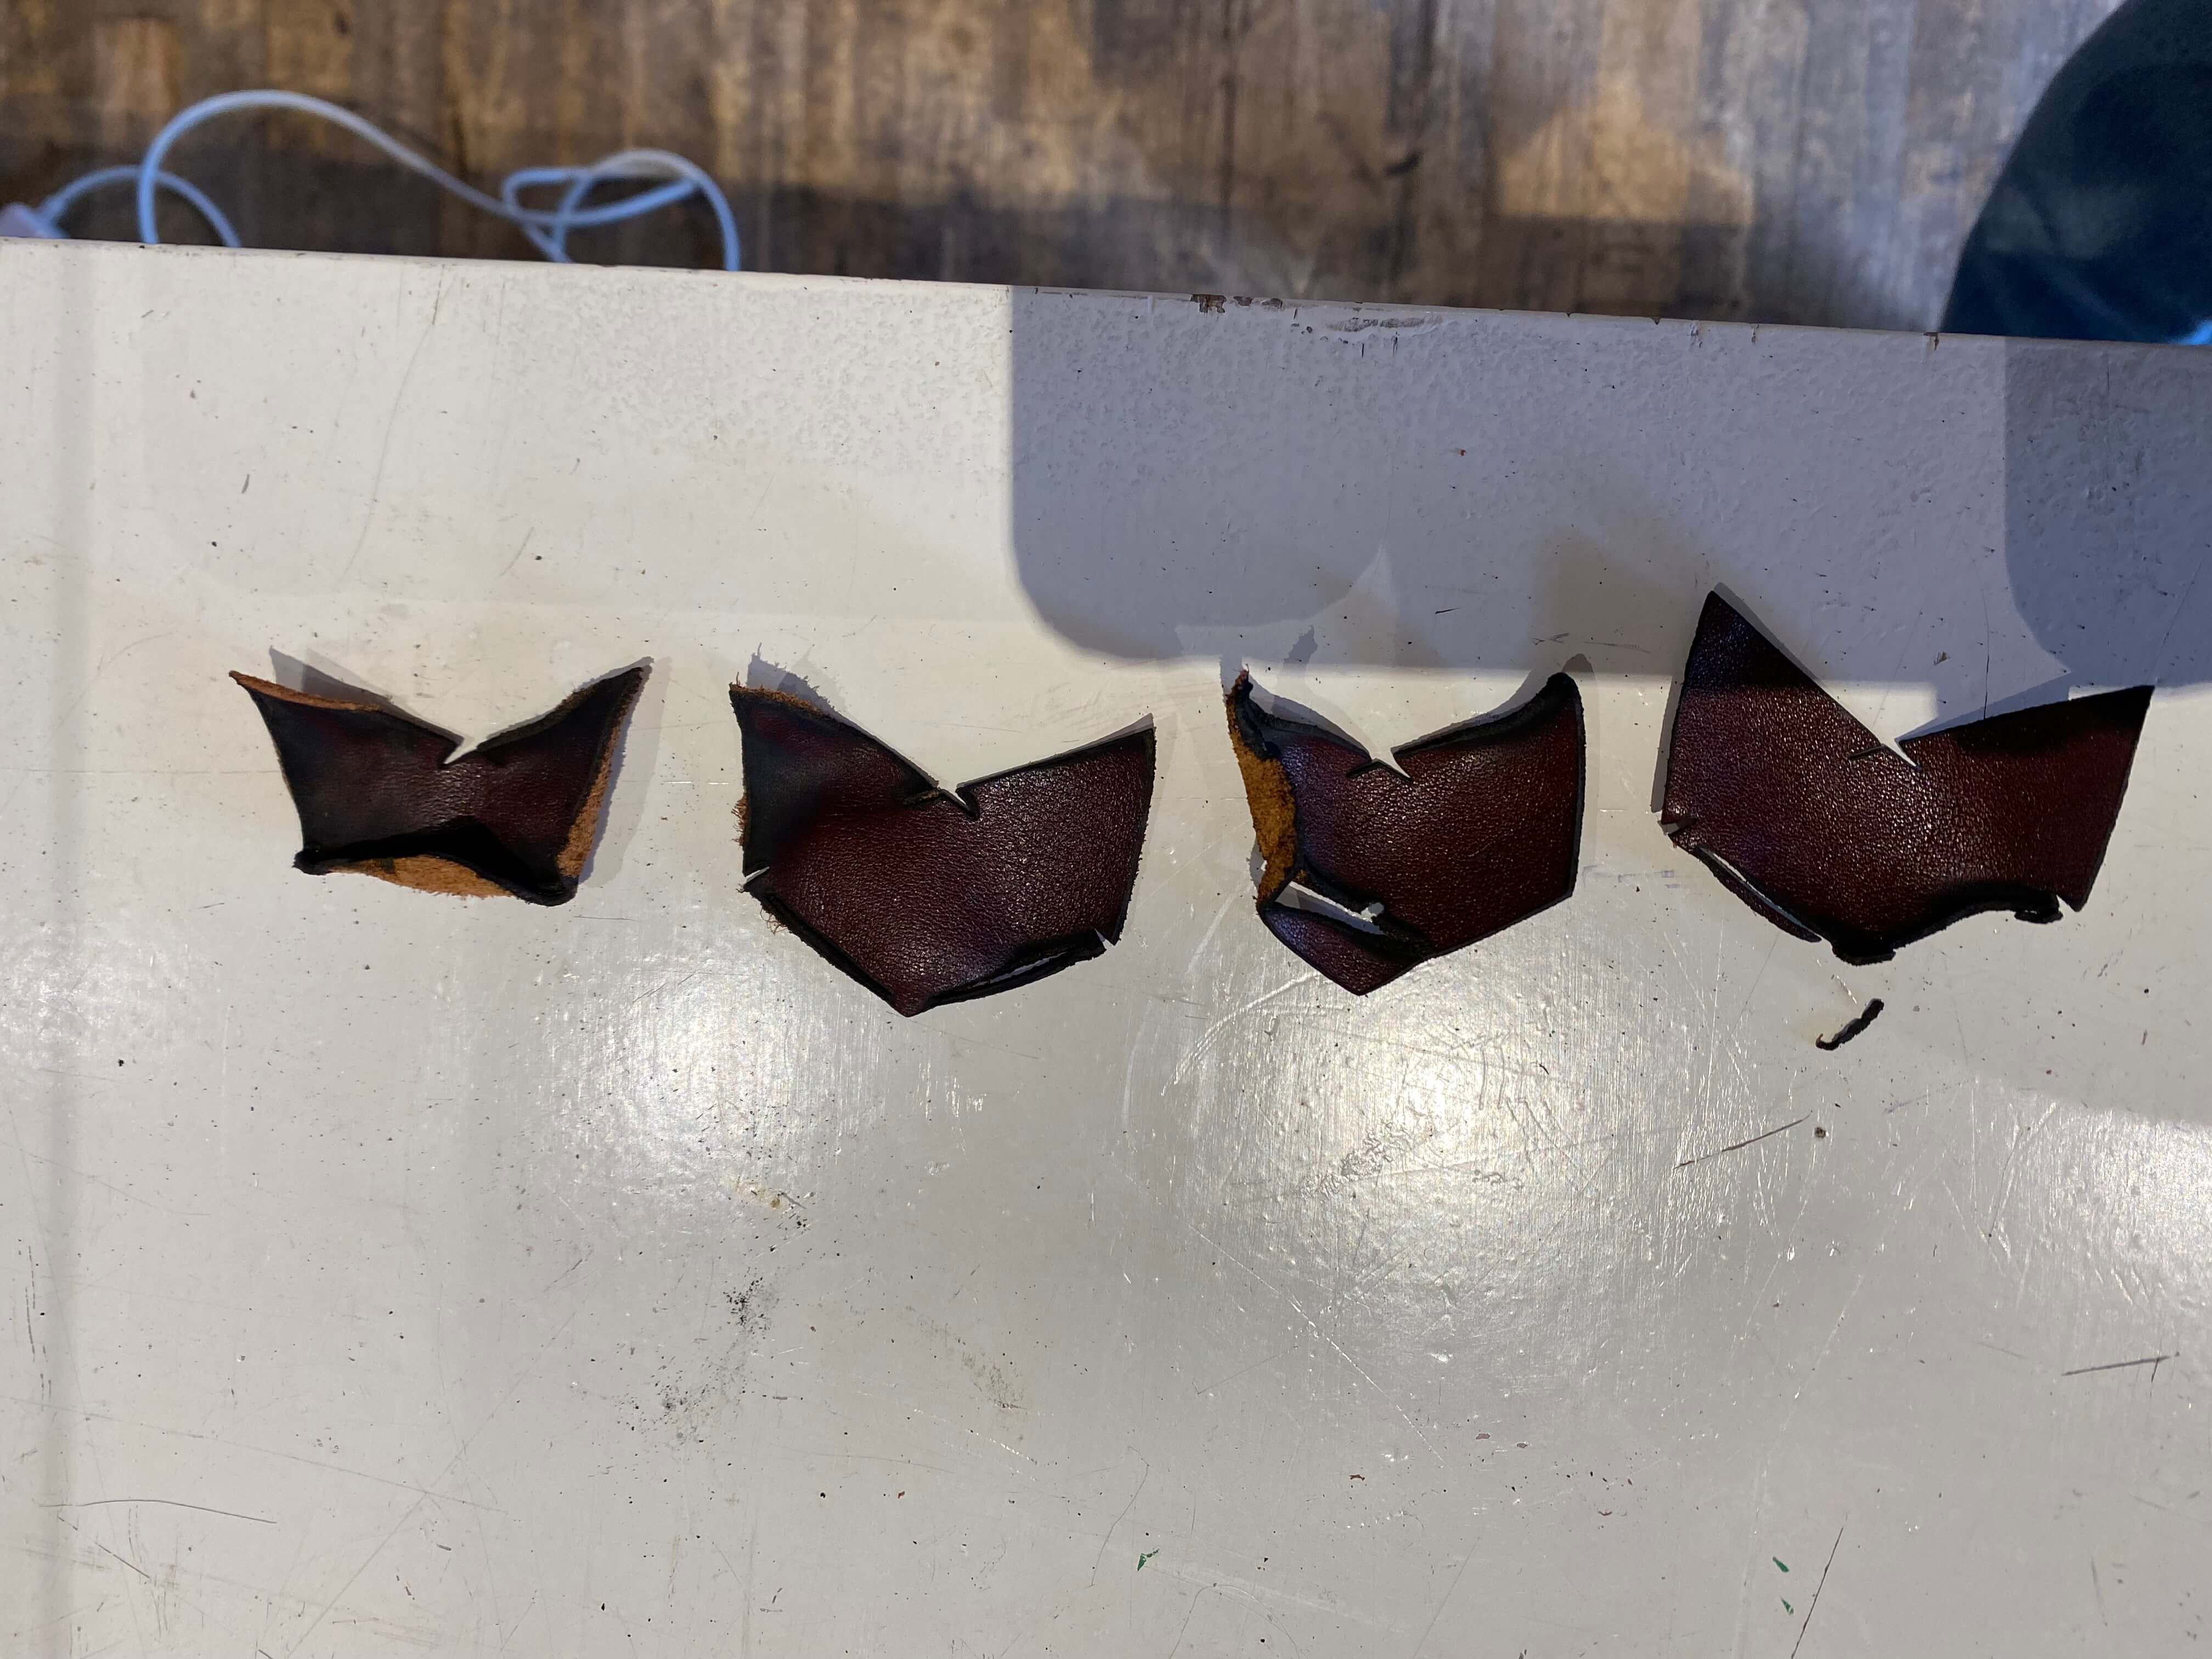
As for the material I wanted to stick to the most reoccuring colour in my moodboard. The type of texture was explanatory and this is the most exciting part about it all. As I walked into hoeken there were several materials catching my attention but one stuck to me in partocular. The first choice was a type of leather but looking at my previous tests with the laser cutter (Image below), I wanted to avoid burning any material at all.
Burnt leather, oops. The room did smell for a little while, I'm sorry! (Kind of looked like burnt bacon in a way)
This purple/ colourful hue was an isnpiration and my mind automatically saw the holographic material. This material could seem very bland at first but as you move it in the dark it is meant to reflect light. Like a warning vest with all those shiny parts for construction workers at night. The material plays around with colour ars you bend it into different directions, causing the holographic effect. The only issue was that the material was of a 2 mm thickness (very thin). As I was looking at dragons for inspiration, I also wanted to make something with thicker "skin" this is why an additional layer of fusable interfacing was ironed on the underpart as part of the support. The overall result was quite magical to me and I thought it would be ineteresting to make a "safety vest" that could mix with my concept or style.
Also it would be interesting to see peoples reactions when someone passes them by wearing the holographic vest at night. A little creepy I know but on a bicycle the sight could be quite comical.
Run tests of laser cutting of your designs in fabric and document the parameters for the chosen fabric. Design and Document the process.
The design was also cut in a couple of other materials to see what the effects would be lke in rigidness, flexibility and strength while assembling the interlocking pieces:
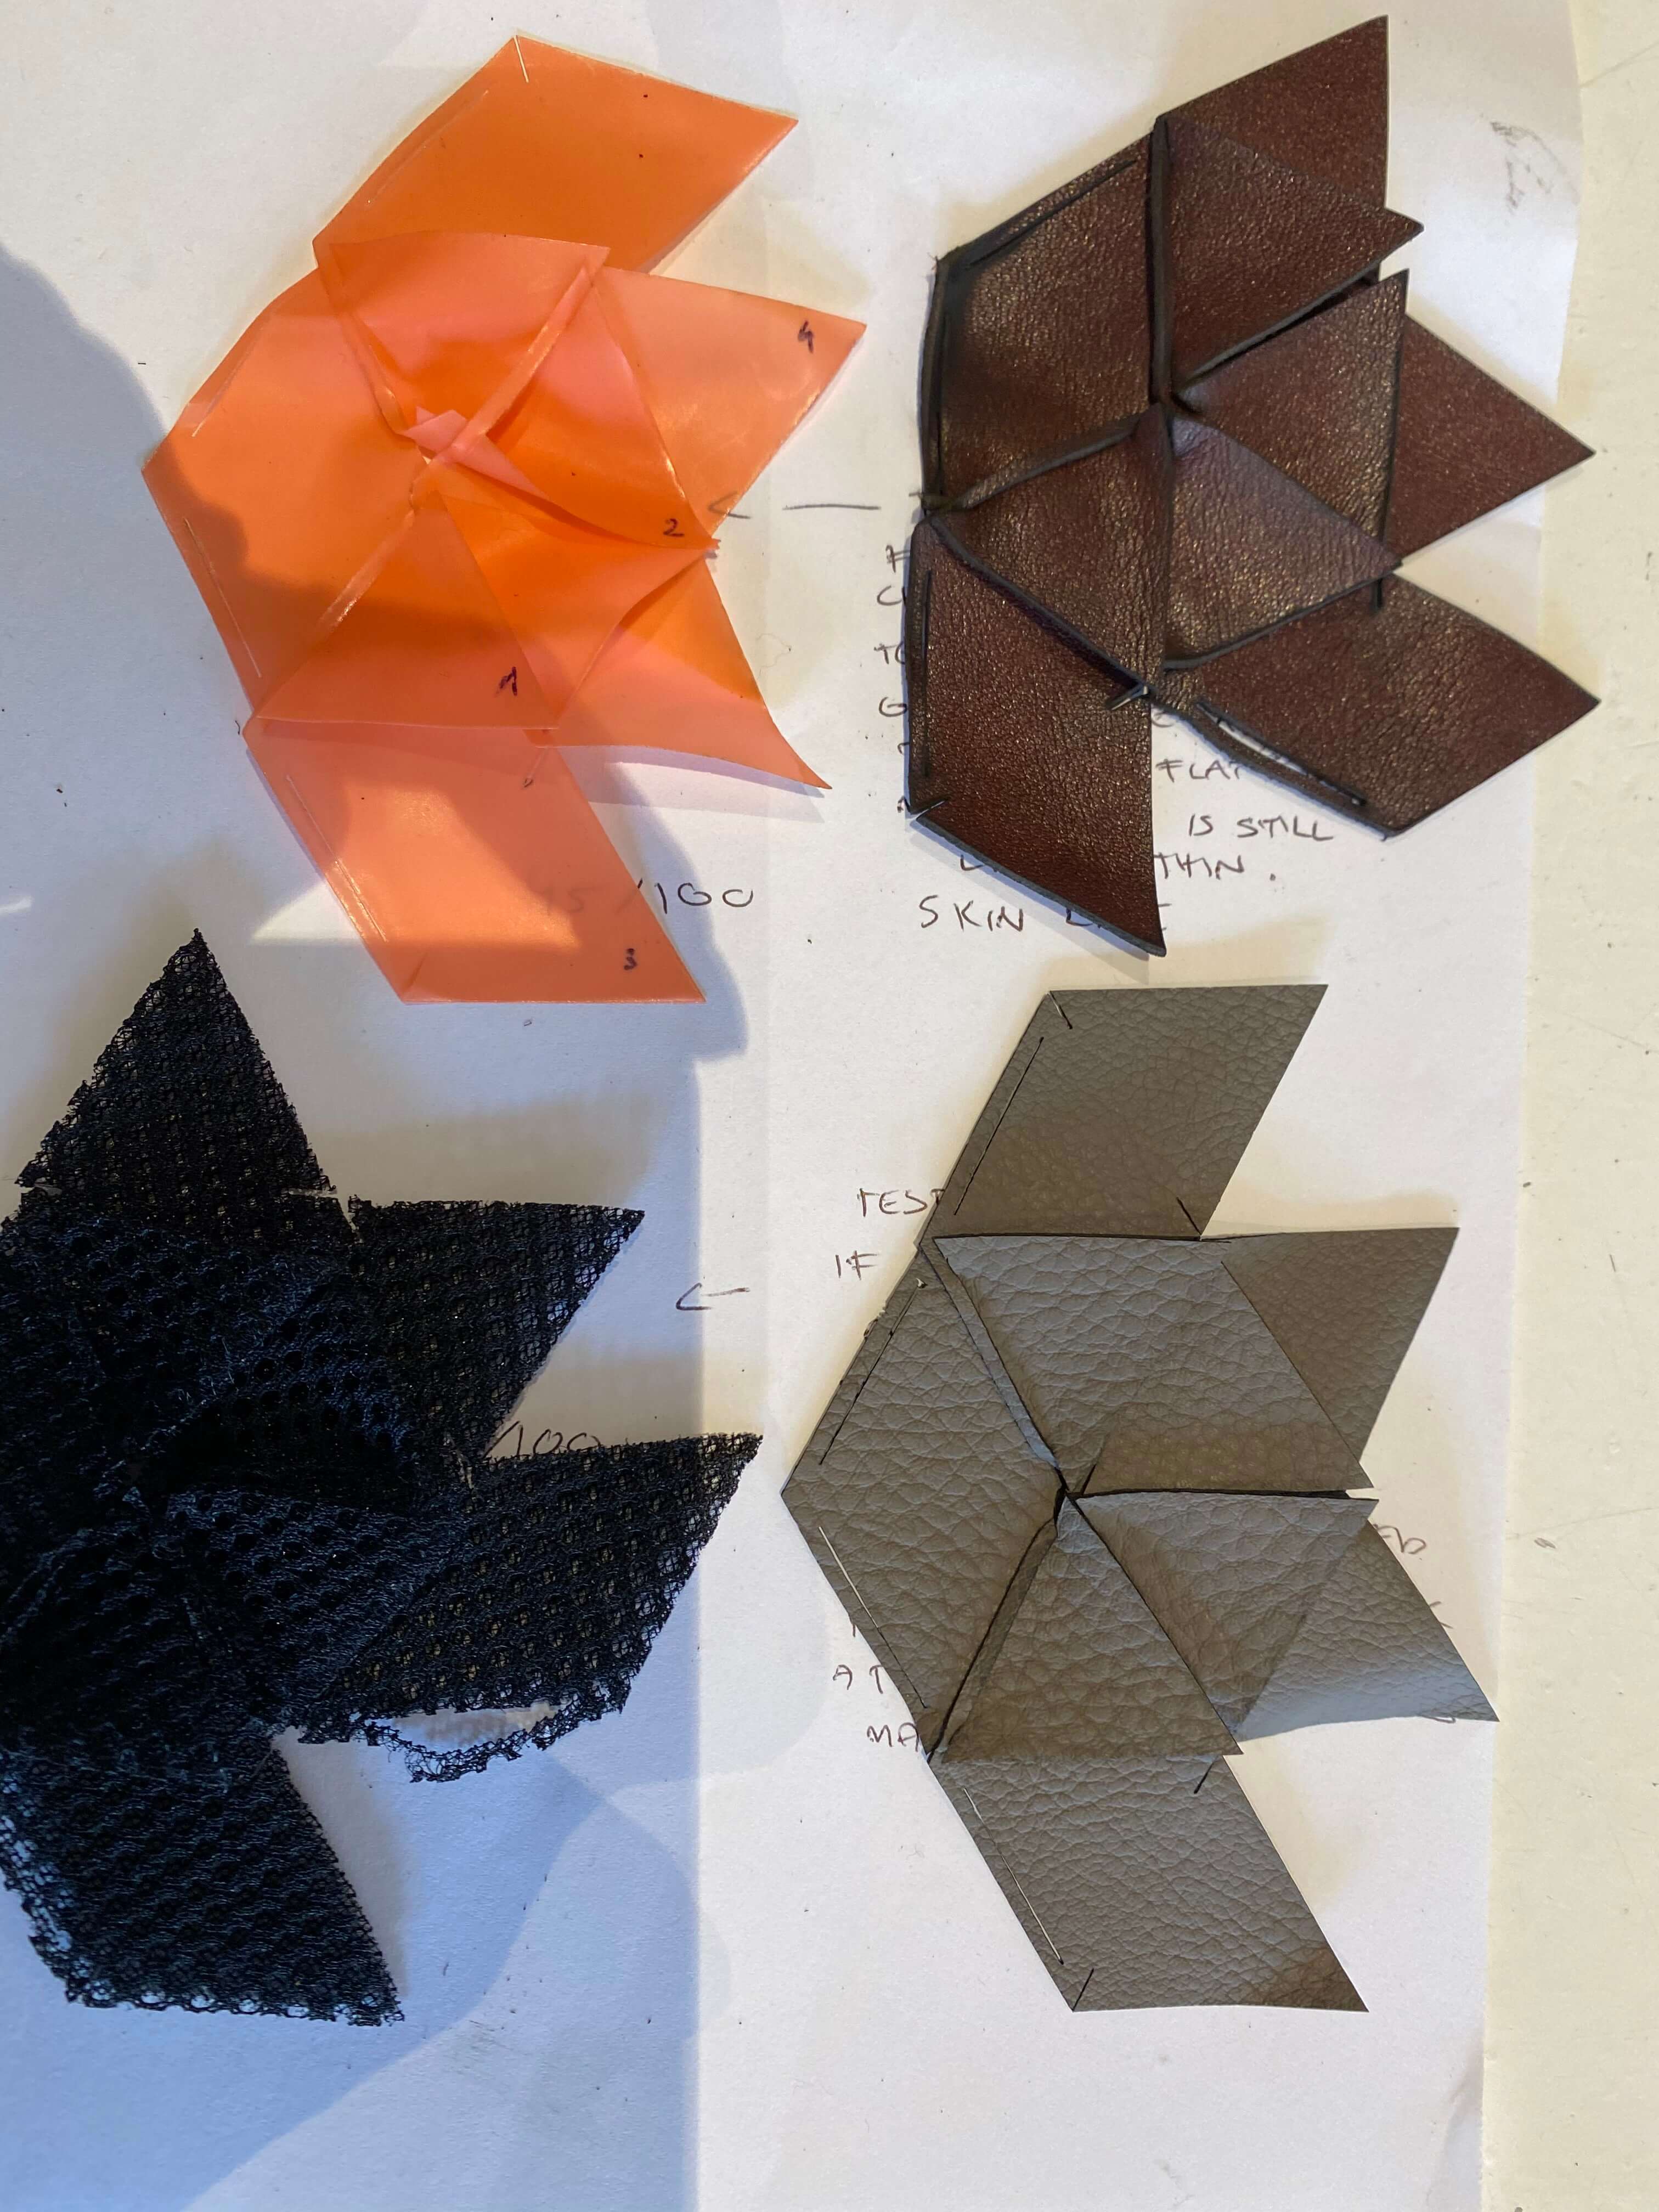
Top left: TPU Top right: Real cow leather (recycled) Bottom left: Mesh jacquard Bottom right: synthetic leather
Menswear vest?: in progress
Now the step was to calculate how man of the kitsune paramteric piece I would have to laser cut in order to build my menswear vest.
Process:
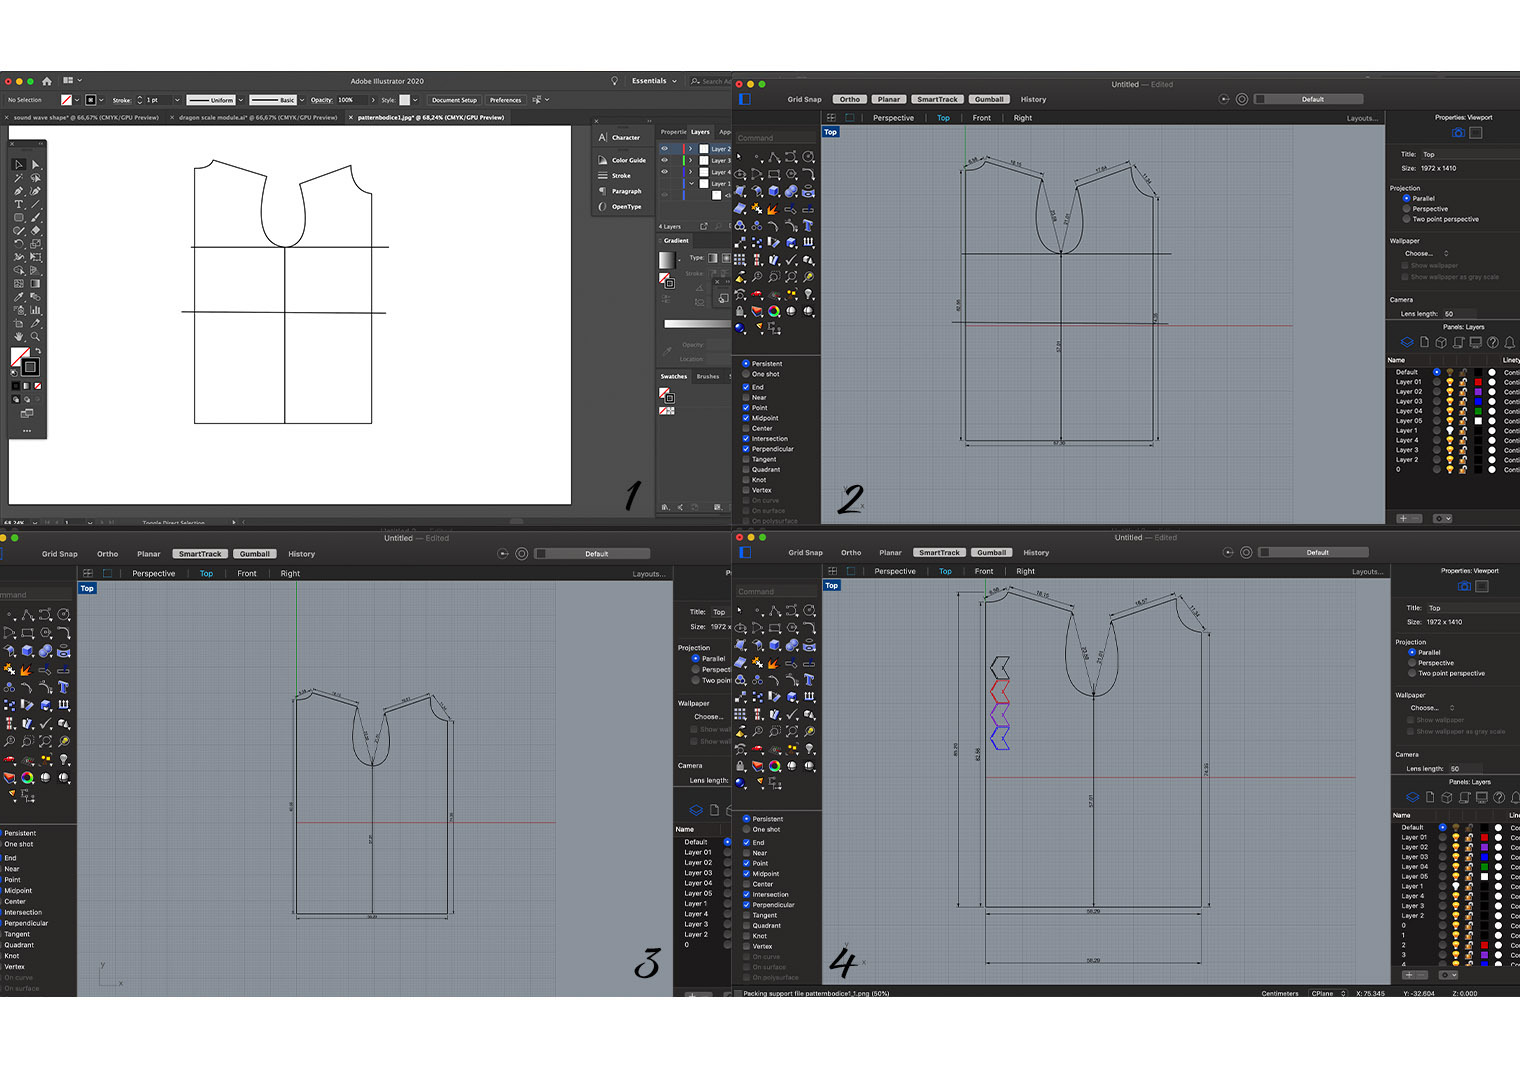
Step 1 : Import menswear vest design in Aillustrtor. Make a technical drawing based on the sketch.
Step 2 : Import the illustrator file into Rhino. Measure the parameters of your design and adjust taking into account the measurements that you are working with (mm or cm). Remove the lines on the chest and waist i nthe design, left with only the outside.
Step 3: Remove the lines on the chest and waist in the design, left with only the outer lines.
Step 4: Import your paramteric shape on a new layer and place over your bodice. Copy and past four ontop of eachother and give them each a different layer. Place them in whichever are suits you the best on top of the bodice.
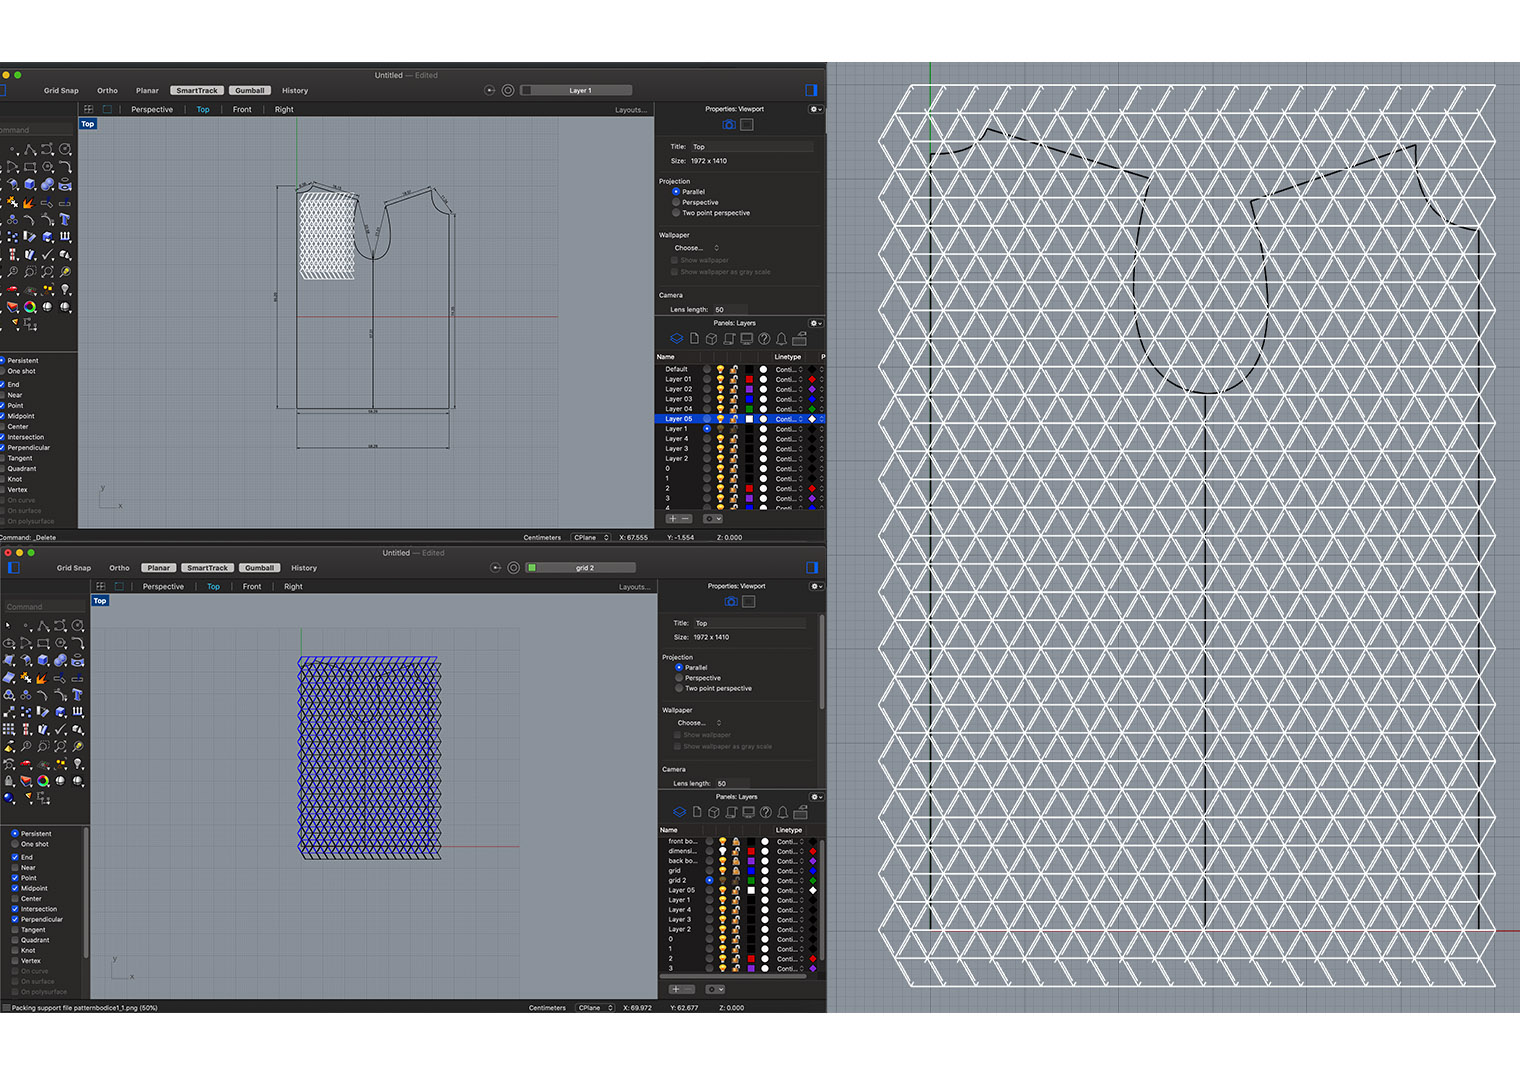
Step 5: Once you've entered your 4 parametric pieces, you can enter grid. This will allow you to make multiple duplicates over eachother and to see how they would interconnect if placed on top of one another. By previewing the amount of interlocking piece, I was able to predict approximately how many shapes I would have to laser cut and if I needed more fabric or not. The scaling on this one was a little small for the individual parametric shapes, therefore I decided to try again.
Step 6: This is where the shapes where scaled a little bigger and here I thought that the vest was looking good. Happy with the design I moved on to the next step. Whatever the amount of scales on this model, I had to double the amount of shapes in number seeing as this is only one half of the menswear bodice/vest. the total outcome was the number of shapes x 2.
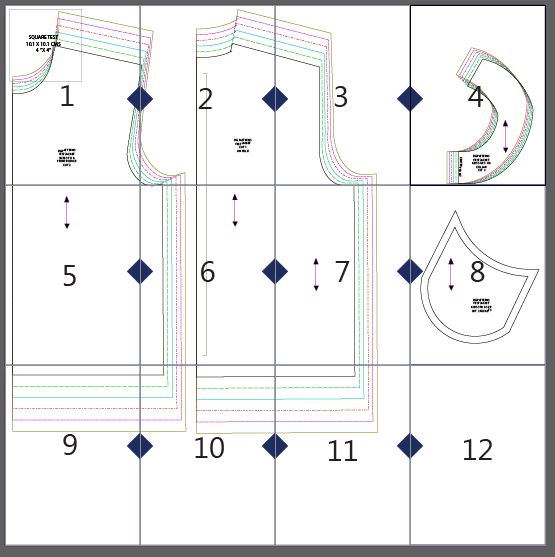
Step 7: The agreed amount of parametric shapes. Now on to the laser cutter. Menswear bodice Pattern:
The pattern for the vest:
The Laser cutter:
It took a while for me to find the right settings for the laser cutter seeing as ironing the material to the fusable interfacing also took almost half a day. With a hand held iron and limited space you can only go so quickly.
Problems:
- Settings too low: As for my first trial it ook almost 3 hour to print at least 30 shapes. a very slow laser cutting session indeed.
- I designed the file on one layer which meant that the laser cutter would see this all laser cutted at the same time. The problem with this is that if I started with the outer lines of my shapes, the shapes would a s awhole would move due to the air from the ventilation under the fabric. If the shapes don't stay in the same place and get moves around, the laser cutter will start lasering in places that you don't want it to cut. The solution to this problem is that I put the lines on the first layer in the programme and the outer lines on the second layer in the programme. Like this the inner lines where cut first and the fabric would still be lying flat on the bed until the outer lines would be lasered.
Laser cutter settings:
Power: 30 Speed: 200
laser Cutter in motion:
Results: