4. Biochromes
Finally, one of the weeks I’ve waited the most in Fabricademy! BIOCHROMES, I’m very excited to show you the processes that I have learned this week.
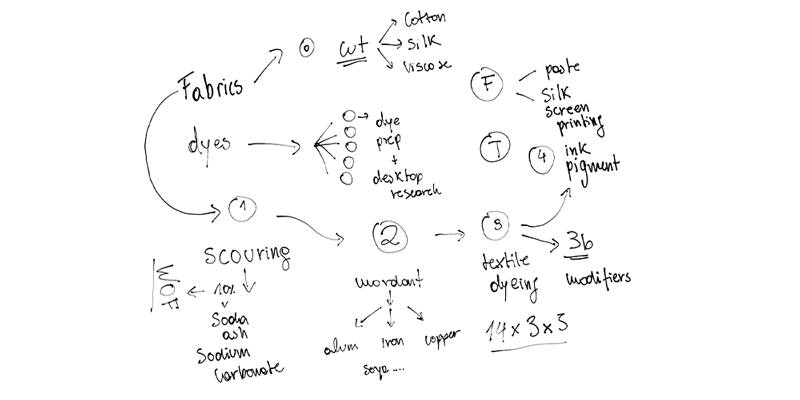
First of all we start dividing all the materials we had into groups, we got 9 final groups:
- Pomegranate
- Onion
- Eucalyptus
- Avocato Pits
- Black Beans
- Red Cabbage
- Tumetic
- Annato
- Tarapods
For this time, i’ll be working with BLACK BEANS, this is my first time in herstory that i dye with natural resources, so i’m pretty excited with this assignment.
Let’s prepare this potion
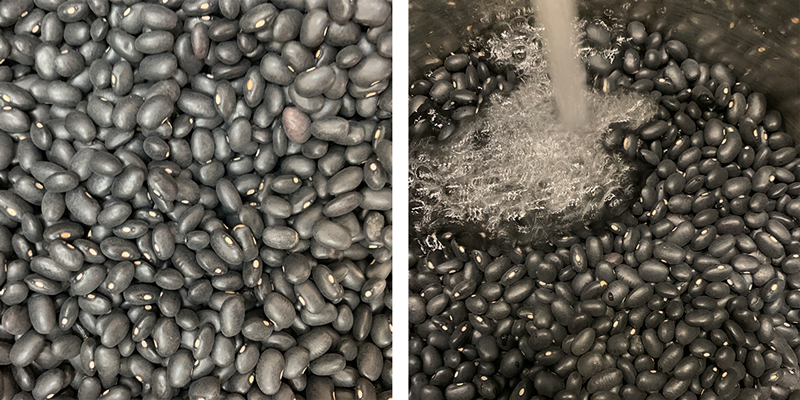
STEP 01: To start preparing our dye based on black beans we have to soak them for at least 24 hours as this way we make sure we can get the pigments out of the beans. It is very important that our beans are covered with water at all times, since when soaked they tend to absorb a lot of water.
TIP: Don't drain the beans for about an hour before using them! Neither the boats! They can be used to make a delicious rice with beans or some good tacos.
STEP 02: While our beans are soaking, we can do the mordanting process on our fabric swatches. The fabrics we are going to work with are:
- Cotton
- Viscose
- Silk
This step is very important since what the mordant does is open the fibers of our fabric so the pigments of the dye can penetrate in such a way that the color can fix well on the fiber.
For this process we work with 2 types of mordants,
Alum: 12% of the weight of our fabrics Iron: 1% of the weight of our fabrics
It is very important that this process is done with gloves and mask.
Once we have the correct amount of our mordants, we dissolve them in warm water and then separate it in 6 pots, 2 for each fabric swatch:
We let our fabrics rest in the mordant overnight, so we make sure that it absorbs well.
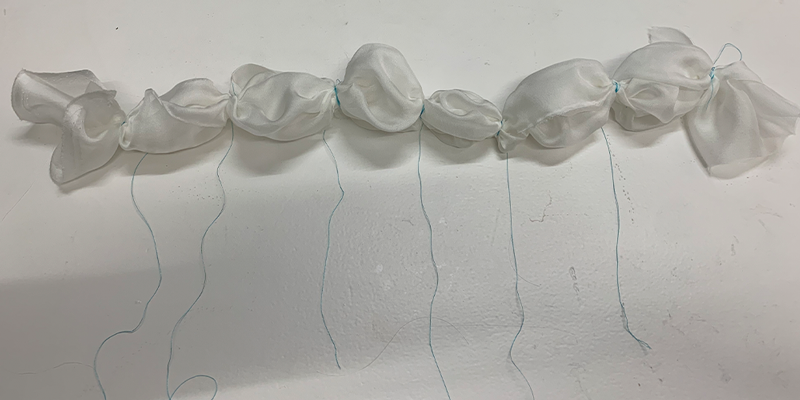
Then we separate the fabrics to be able to make our packs:
Team Alum: 1 Cotton sample // 1 Viscose Sample // 1 Silk Sample
Team Iron: 1 Cotton sample // 1 Viscose Sample // 1 Silk Sample
Then allow the fabric to cool down to room temperature
STEP 03: it's time to drain our beans! What we have to do now is simply separate our black liquid into 2 containers, one for the alum samples and the other for the iron samples.
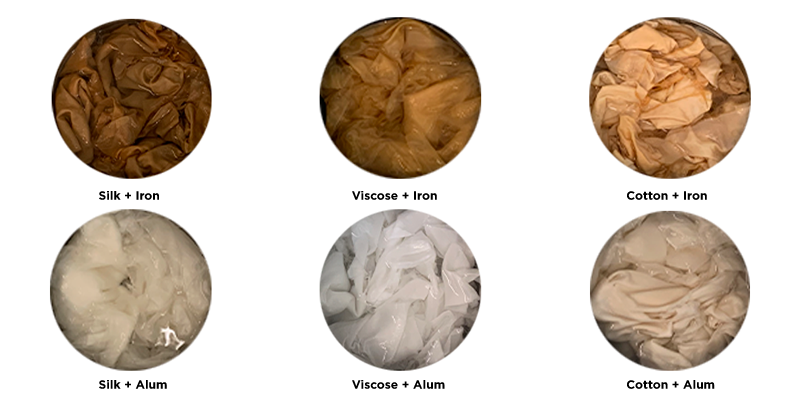
The good thing about dyeing with black beans is that it is a cold dyeing process, so you just have to put the fabrics inside the containers we have.
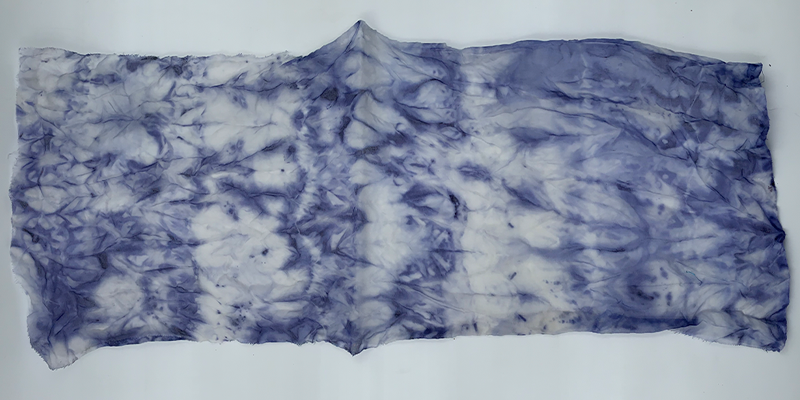
I first let 3 sample packs stay in the dye for 2 hours, then we let them dry and the results were incredible!
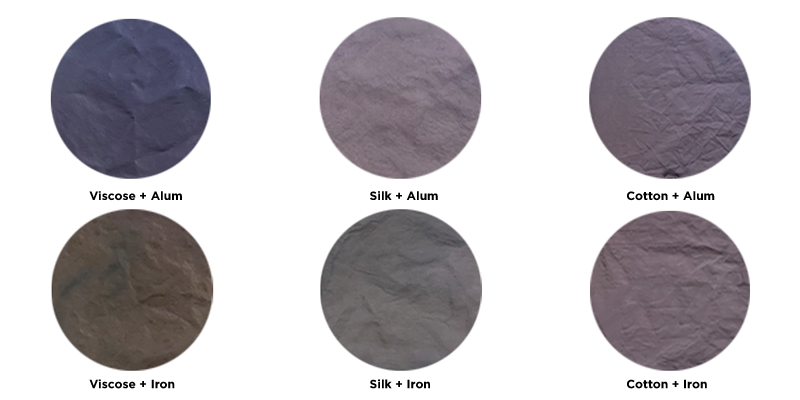
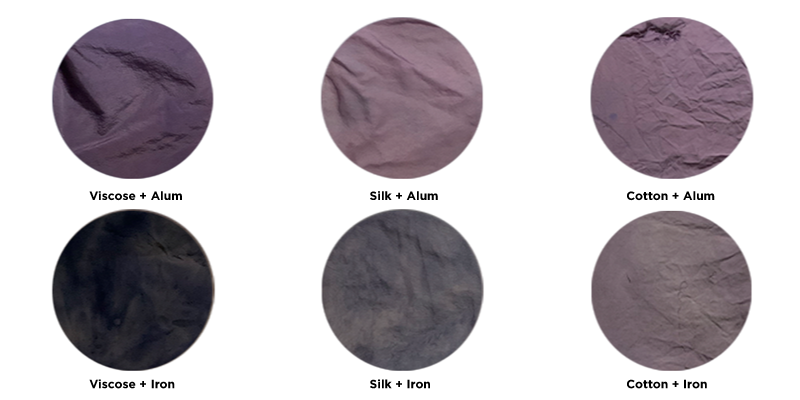
Then I left 1 pack of samples overnight, and the results were even better.
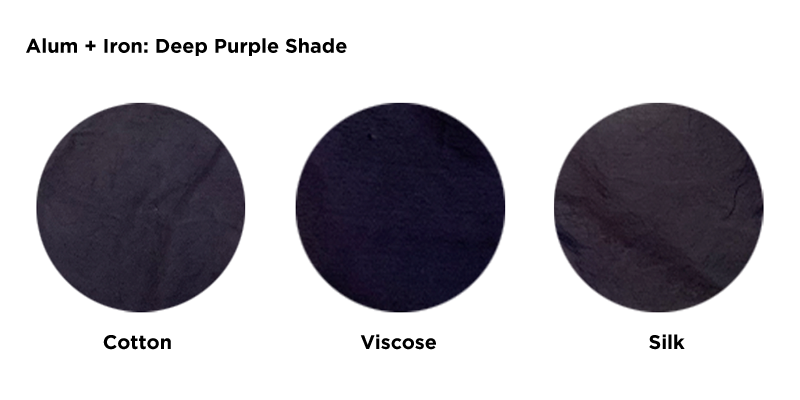
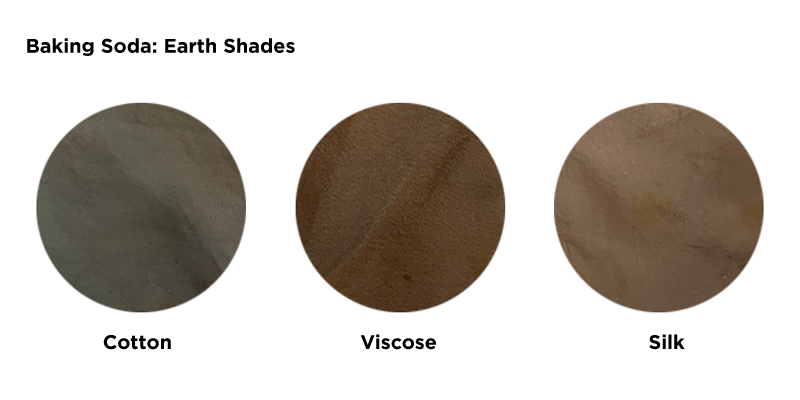
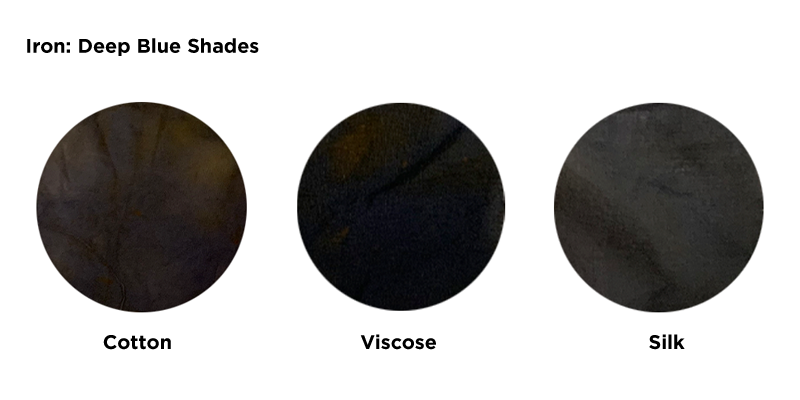
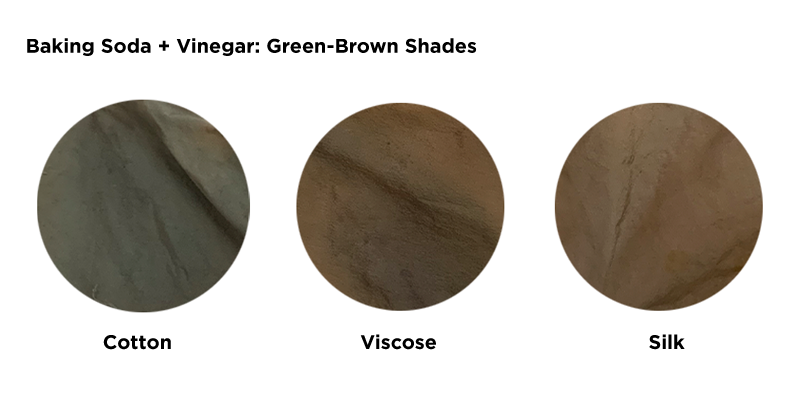
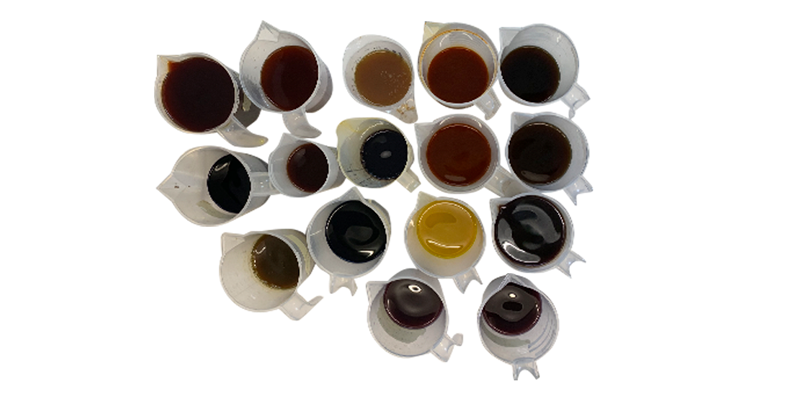
STEP 04: For the final step, we are going to modify some colors!
For that, I did 5 experiments:
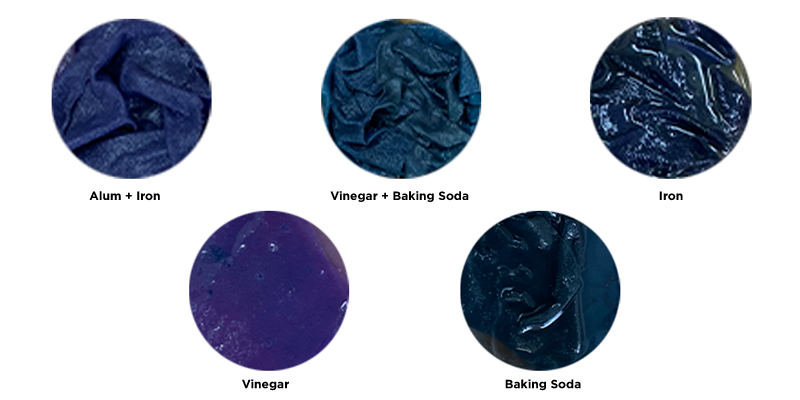
Of which this is the results:

We already made the potion, now let’s make fairy dust!
Once we have done our experimentation with the dyes, we move on to the phase of making our own pigments with our designated material.
To make our pigments we need, our solution that was with the samples with Alum (an acidic mordant to bind to the colour) and soda ash (an alkaline for precipitation and neautralization of the alum). To get the pigment out of the solution, the ingredient ratio is 2:1, that is, there are 2 portions of alkaline solution for 1 portion of acid solution.
STEP 01: Get our solution to one end of the pH scale, it can be very acidic or very alkaline.
In my case, which I didn't know, the black bean solution is very acidic, so adding more alum to it, strangely it became more acidic, idk why D:, well...science.
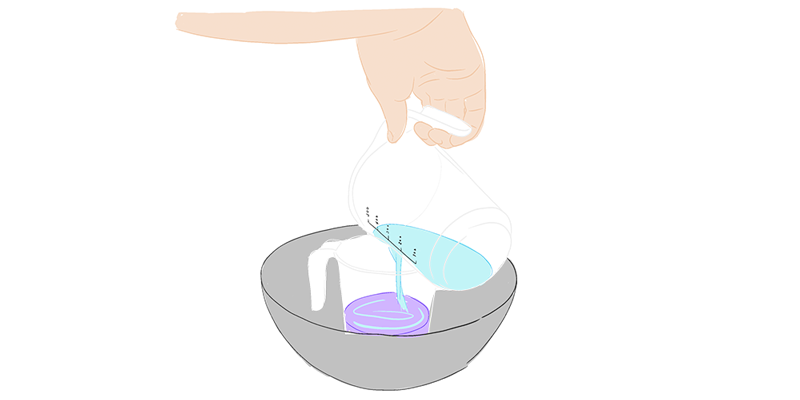
STEP 02: Add the opposite solution, in my case, I had to add a very Alcaine solution, which I made with Sodium Bicarbonate, I don't know how it worked, but hey, as I said before...science.
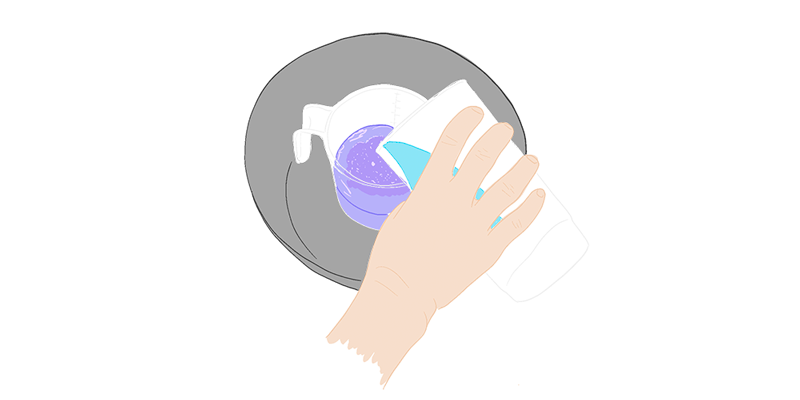
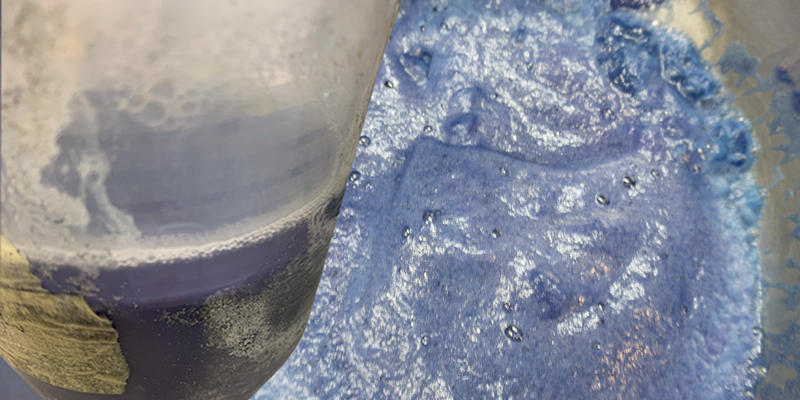
The results of making these mixes? My big and fat purple minion.

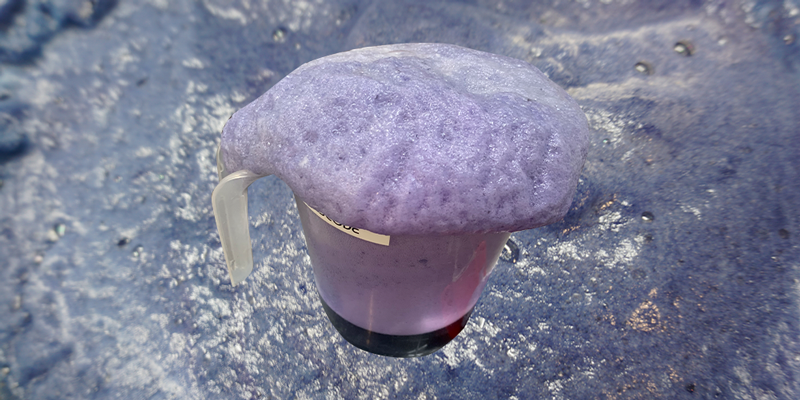
Once the explosion is made, you have to lower the foam, that is done with time and stirring with a lot of patience haha.
When the foam is gone, the solution will start to separate,
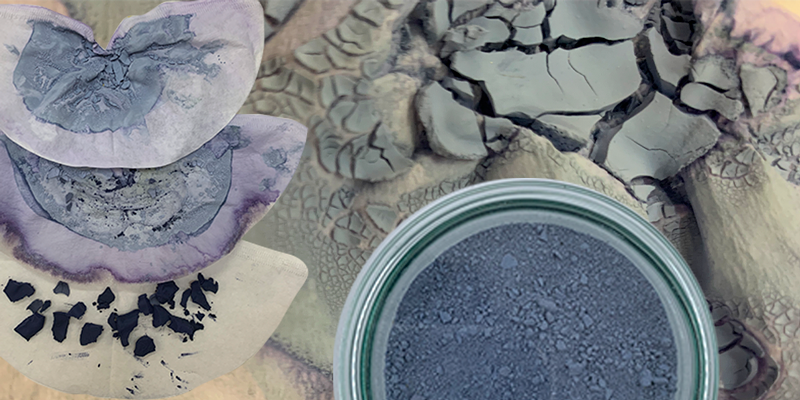
In this way, after several hours, we can remove the "water" that is left above and put our "decantation" in a coffee filter. We try to drain all the water from our colorful decantation and then we take our pasta to dry in a dehydration machine.
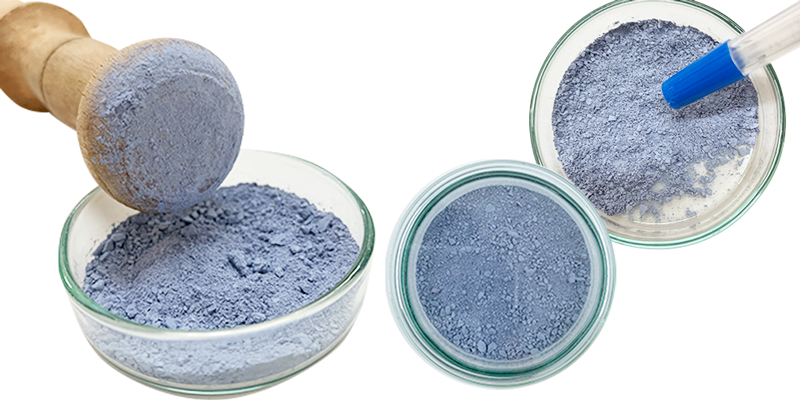
After a few hours in the dehydrating machine, the result looks like this:
The best for last; Let’s dye with bacteria!!
First of all, we have to prepare our substrates where we are going to grow the bacteria, we have two ways to make this type of substrate:
- Liquid Medium: To be able to grow the bacteria on the fabric, the one we use this time is LB Broth
- Jelly Medium: To be able to reproduce the bacteria on several plates, the one we use this time is Nutrient Agar
Once the substrates are made, we must make sure that they are well sterilized to avoid any type of contamination, that is why we are going to use a pressure cooker to clean the substrates.
In this case we use the Luria medium to feed the bacteria Serratia marcescens, this substrate is rich in Glycerol, that is why bacteria grow so well in it.
Once we have our substrates sterilized, it is time to sterilize our plates to be used and our fabric to be dyed. The idea is that the bacteria will stain the fabric in a pattern to obtain faster results since the bacteria will not have to grow all over the surface.
Once the fabric is sterilized, we can inoculate the bacteria in our working sample, this is where we start our process:
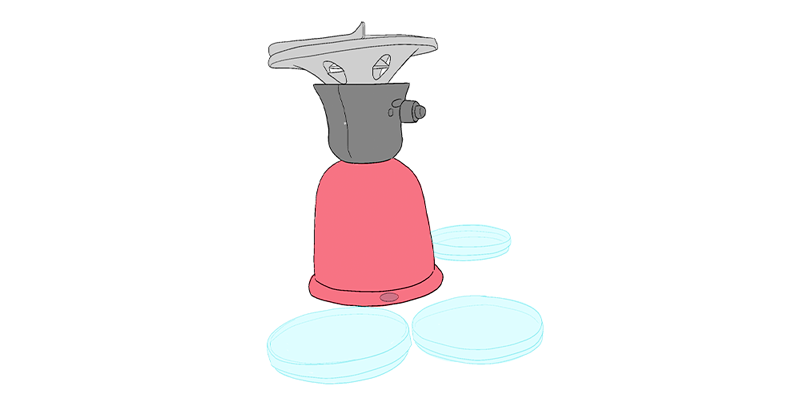
Step 01: First, we prepare our workspace, cleaning with ethanol and lighting the lighter, leaving a radio or a sterile environment bubble.
Then we put the petri dishes near the burner where we are going to arrange the agar medium to be able to inoculate the bacteria.
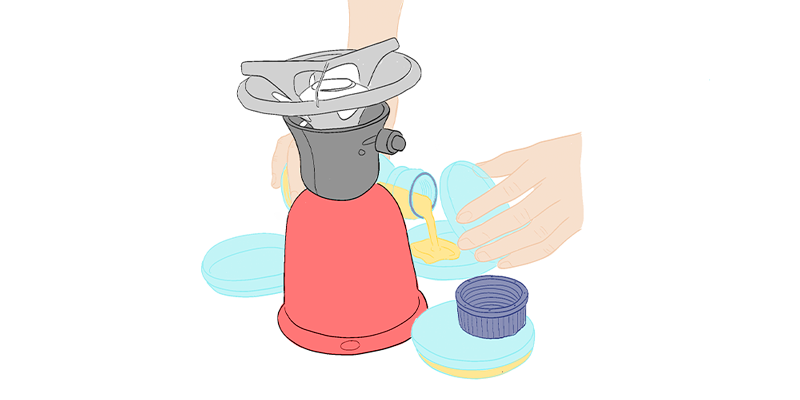
Step 02: we continue with putting a little of jelly medium on each of the plates so till it solidifies. Then we let it dry with the lid up to avoid contamination.
Step 03: Once our fabrics are sterilized, we wait until the plate is at room temperature and we begin the process of inoculating the bacteria.
Step 04: In order to "seed" the bacteria in our environment, we have to work again in sterile space. We open our plate with the fabric and soak the piece of fabric with liquid medium.
Step 05: Then, with a special tool, we take samples of the bacteria plate to pass them to the cloth plate, we spread it well to make sure it grows around the entire cloth.
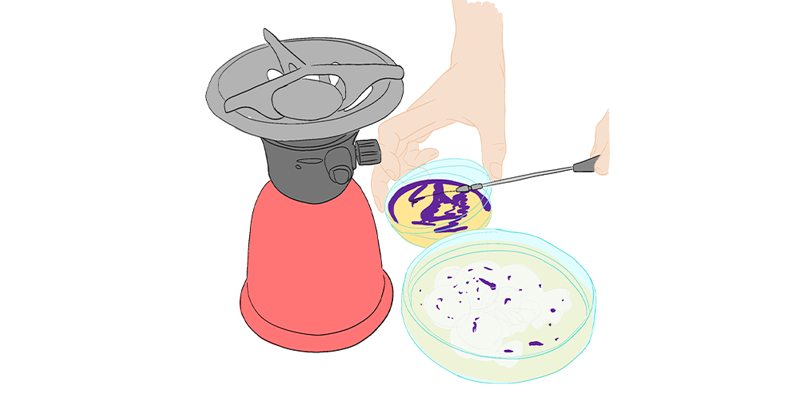
Step 06: Once our plate with the cloth is ready, we inoculate one of the petri dishes with agar medium with bacteria in order to reproduce our bacteria and make sure we have material for the future.
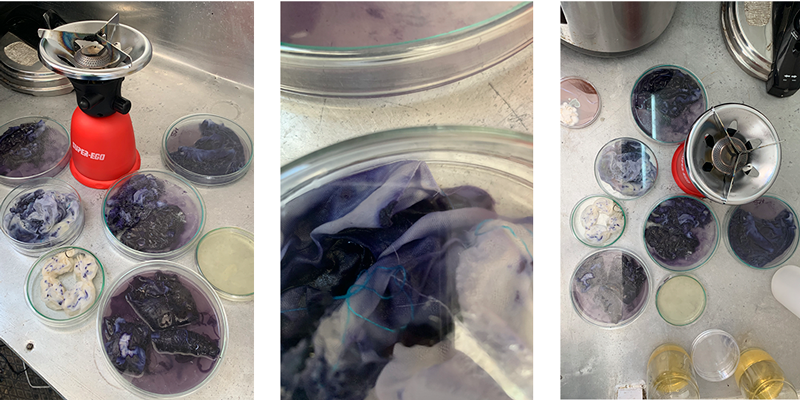
Finally, we leave the plates in a place where it has a constant average temperature for at least 48 hours, to allow our bacteria to grow.
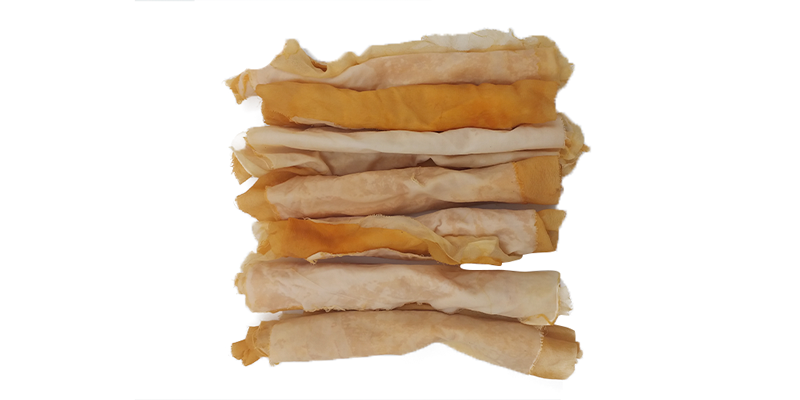
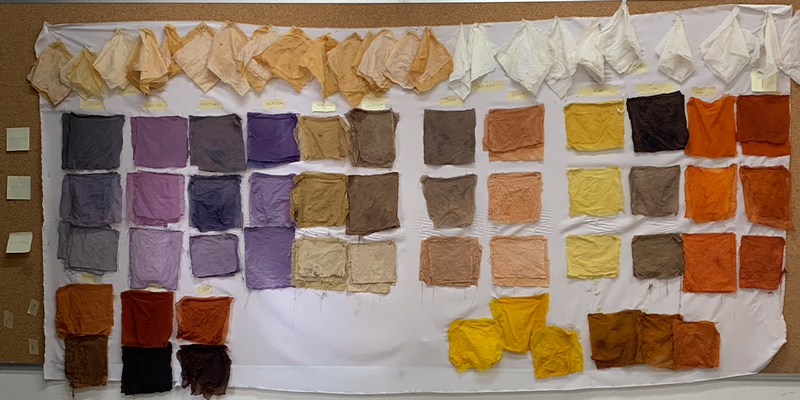
FINAL PHOTOS
Thanks for reading!! See you next week!