9. Textile as scaffold
Hello!! I’m back! After disappearing for 2 weeks, I'm back on this crazy material trip. I swear I'm going to update my past 2 week’s documentation ASAP.
For this week, the challenge was to learn how to use the CNC MILLING MACHINE, for this, we had to create a mold to use for textile forms. Another part of the assignment was to make CRYSTALS.
Let the diamonds grow <3
Recipe process
I wasn't sure what I wanted to do with my crystals after they grew, the only thing that's certain is that I want it to make it wearable for me.
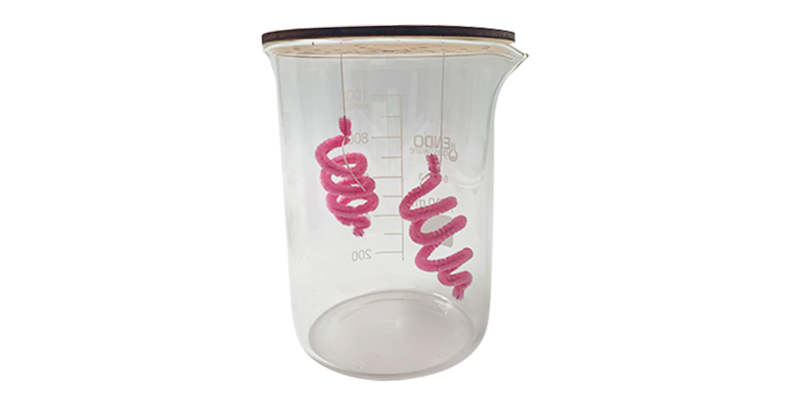
For the last few weeks, exactly after materfad’s visit, the only thing that is in my mind is hair and feathers, so I found this little hairy wire that children use for crafts and decided to use it as my base for the crystals.
To make the Alum Crystals we have to make the following recipe.
- 1 lt of distilled water
- 400 gr of Alum
That is to say that for every 1 part of solvent, we have to add 1/4 part of solute.
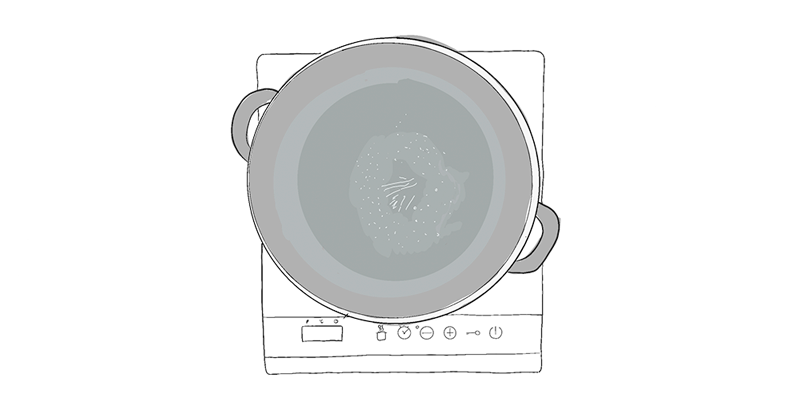
STEP 01: Heat the distilled water to a boil.
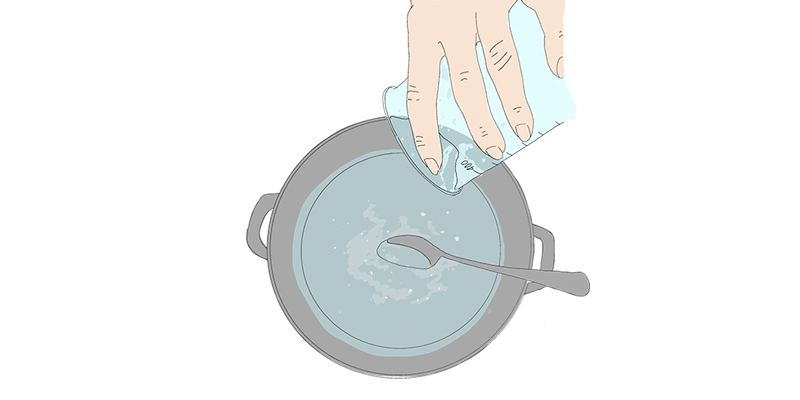
STEP 02: Add the 400 grams of Alum and stir until it dissolves completely in the water.
STEP 03: In our container where we will grow the crystals, we put a laboratory filter to filter all the small impure crystals that could have remained in our mixture.
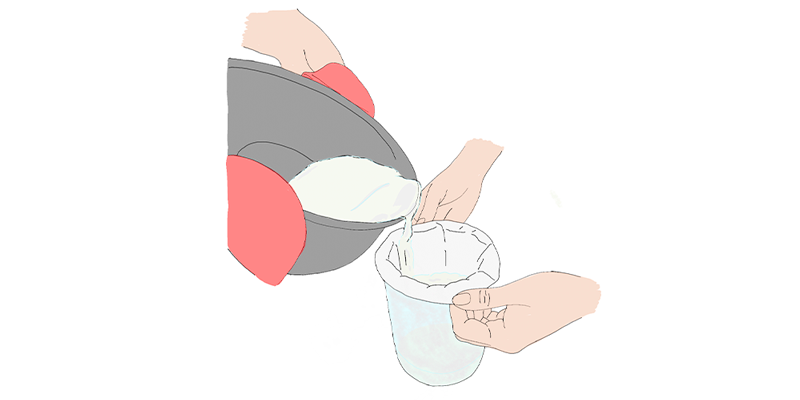
STEP 04: Wait for the liquid to be completely filtered
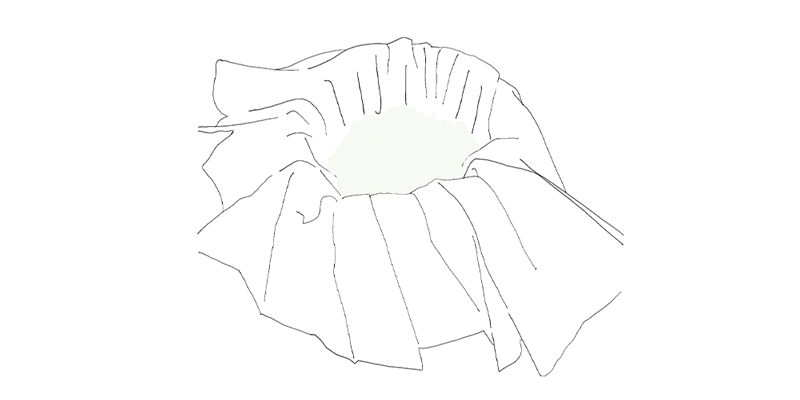
STEP 05: put our base so that our crystals begin to grow.
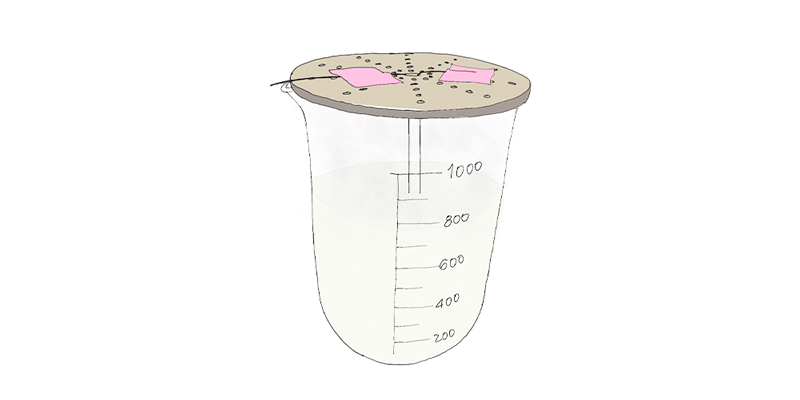
TIP: If the material you are using to grow the crystals is very light and remains floating in the alum, you can tie some weights to it.
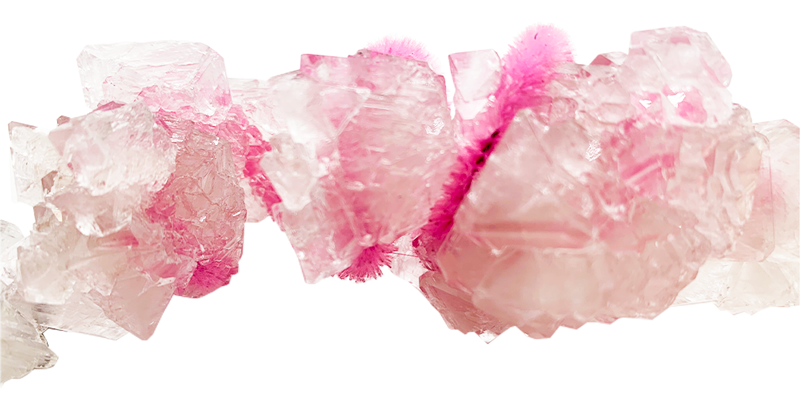
Final Results
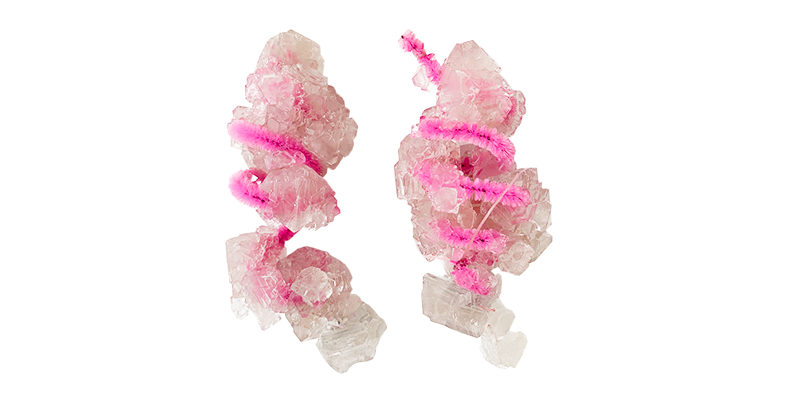
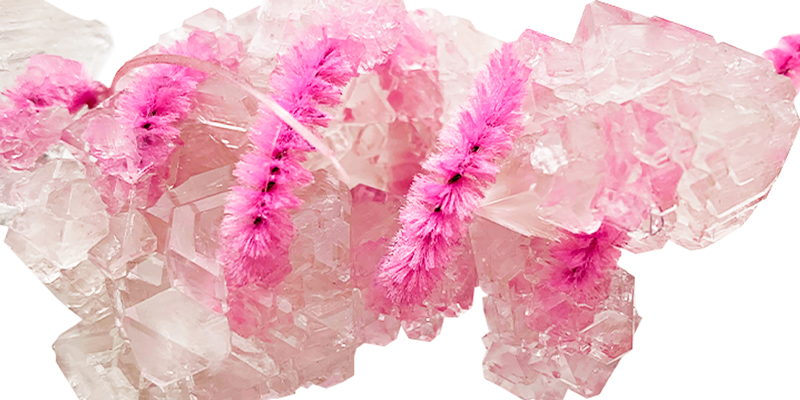
Giant crystals grew!!
Apparently the wire with hairs was a good base for the crystals to grow and adhere to the material.
Unfortunately, they were too heavy to be able to make some beautiful earrings with them, but, stay tuned for the next few days because I am waiting for some pressure stoppers to arrive to be able to make vintage-style earrings for me haha.
Hello CNC, my old friend…
For the second part of the assignment, we have to make a mold for textile molding, using my personal old friend, the CNC Milling Machine.
In the past, I made some molds like this one, that’s done in grasshopper, to be able to remove plaster negatives from a sealed and brushed wooden mold.
Maybe a little obsessive, FEATHERS
For this time, given my obsession with hair and feathers, I decided to mold the RACHIS out of a feather so that I could start experimenting with them.
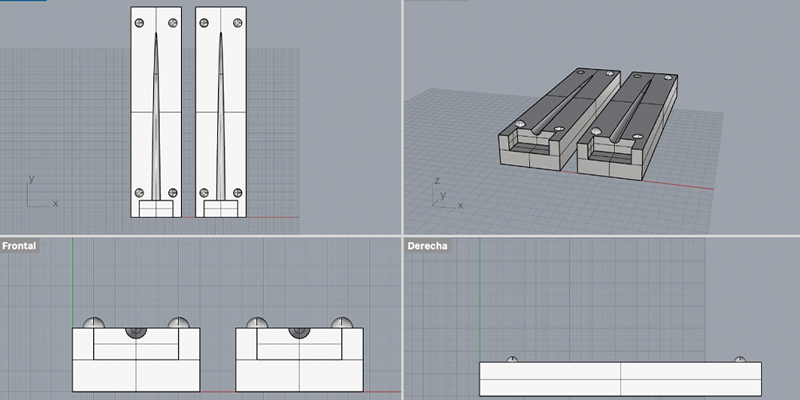
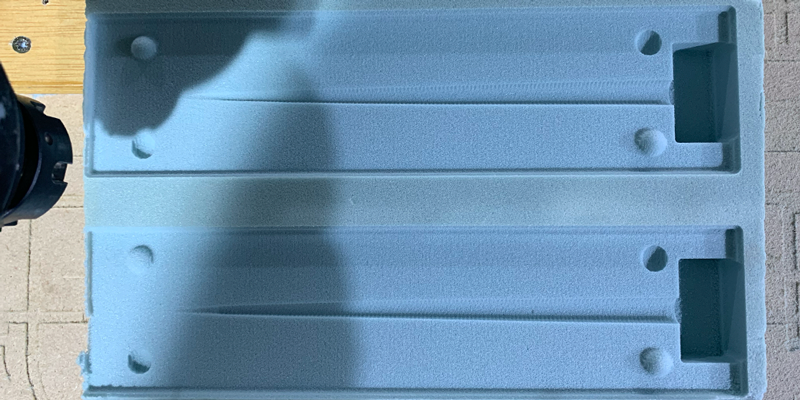
Finally, the mold that I cut is a positive - negative to be able to give a 3D shape to what would be a spine made of textiles.
These are the different parameters in Rhino CAM that I give to the file for my high density foam mold.
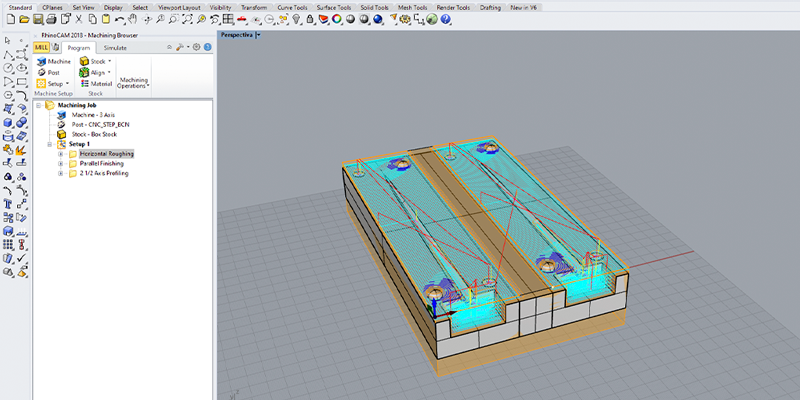
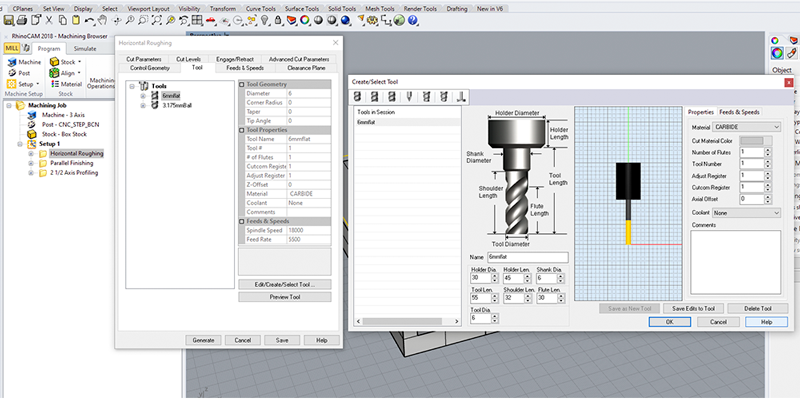
Parameters and tool details for Horizontal Roughing
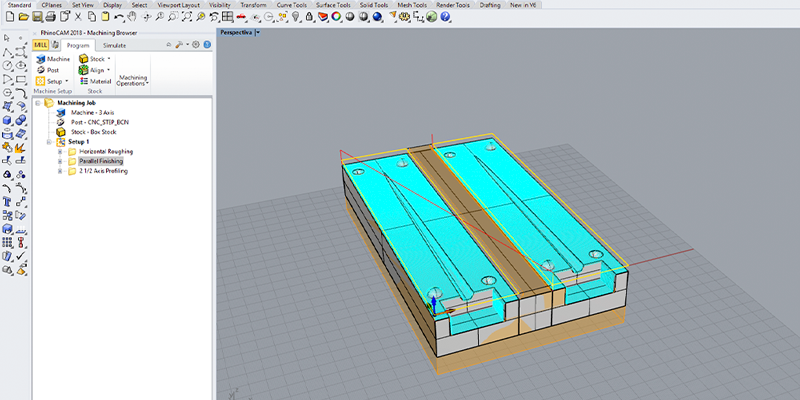
Horizontal Roughing Simulation
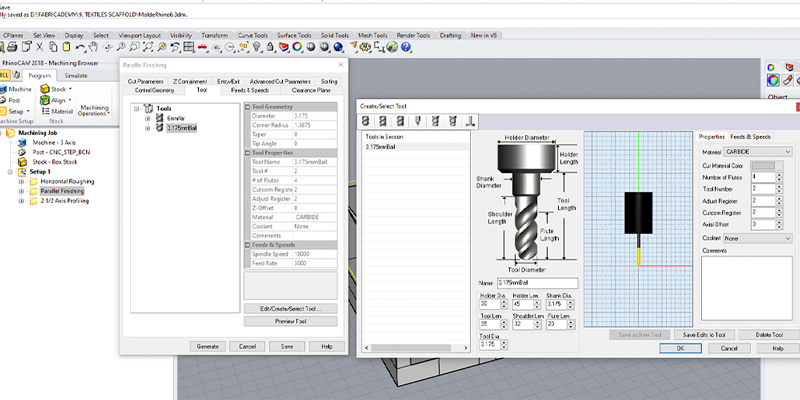
Parameters and tool details for Parallel Finishing
Parallel Finishing Simulation
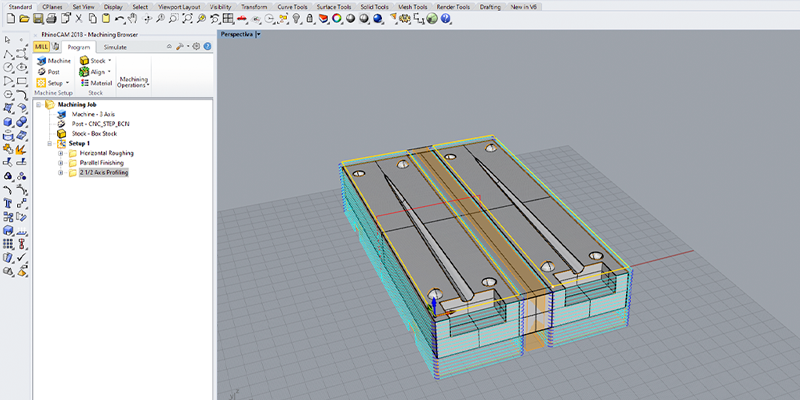
Parameters and tool details for 2 1/2 Axis Profiling, same ones as Horizontal Roughing
2 1/2 Axis Profiling Simulation
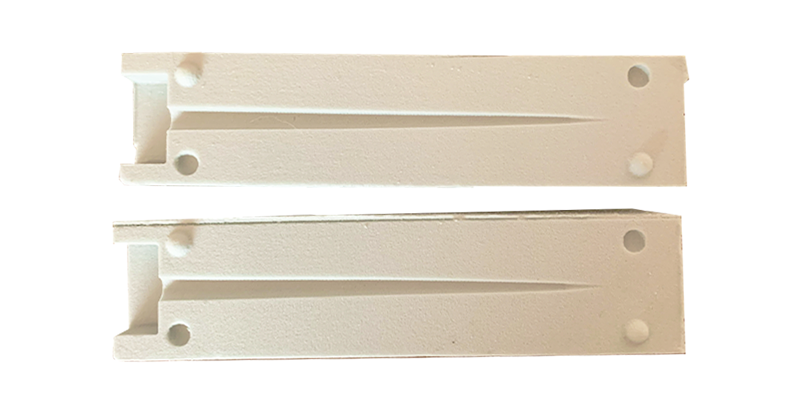
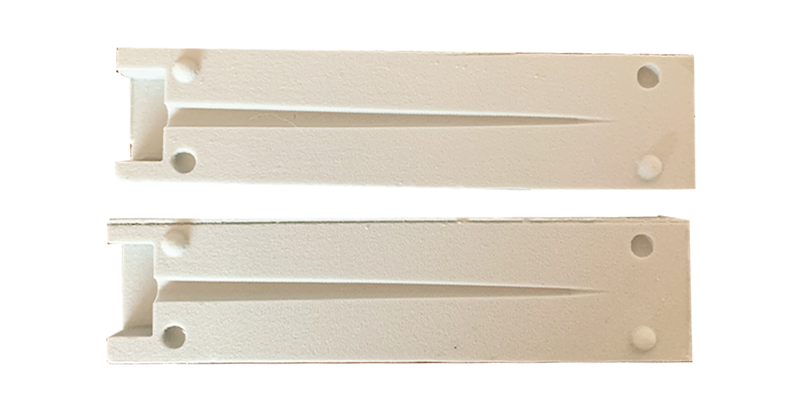
Milling Process
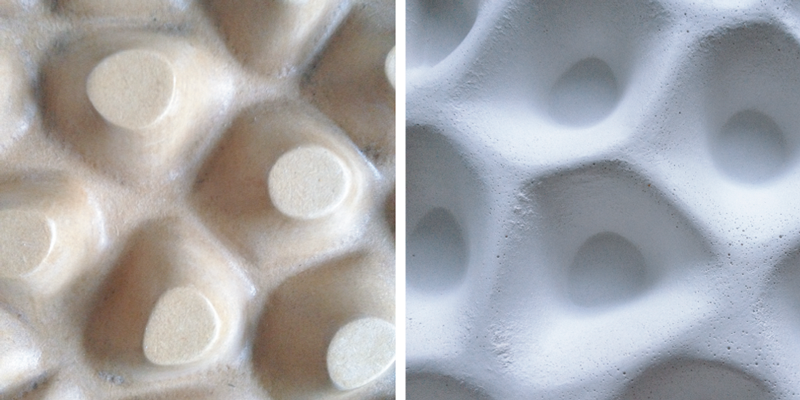
Textile Molding
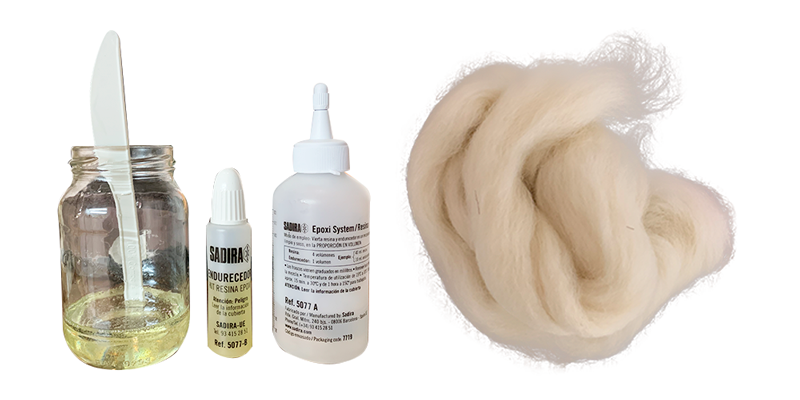
For the molding prototype I use FELT, cause i think it is the best combination of hairy textile and that works to make the “soft feathers fantasy”.
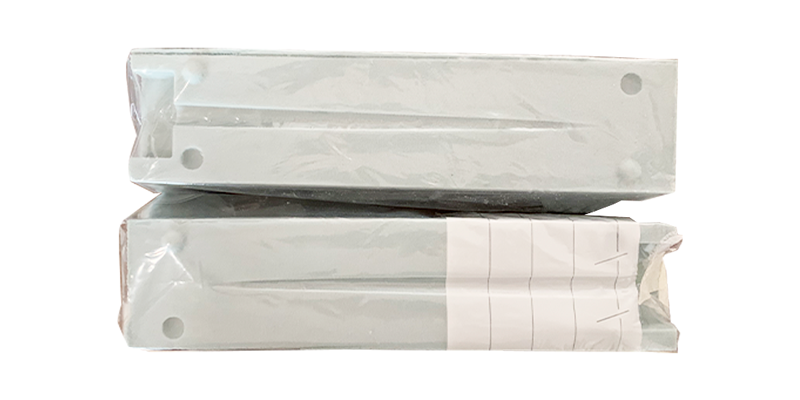
STEP 01: First we have to prepare our mold so that it does not get stuck together with the materials we use when shaping our feathers.
Before doing anything, I gave it a base coat of white glue, to make sure that we’ll not have any accident and lost the mold and the prototype. Then i covered it this a plastic bag cut in two, one for each part of the mold.
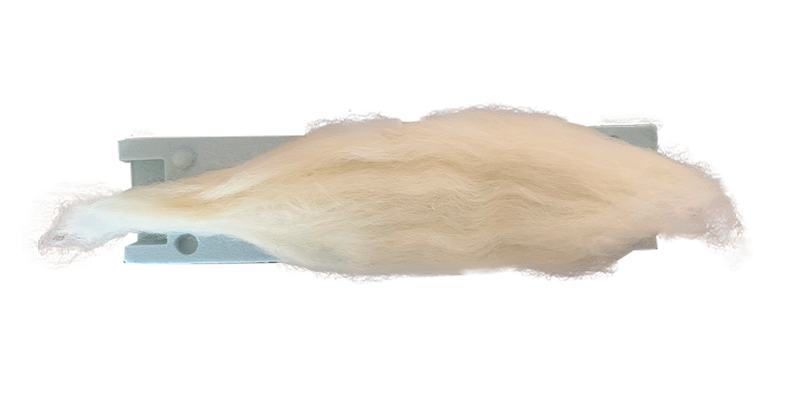
STEP 02: We separate the felt to be able to give it a little the shape we want to achieve with our mold. In my case I had to tie the ends with elastic to make sure I gave a finer "finish" to the feather.
STEP 03: Then we prepare our binder, which is what will help us shape the feather. I decided to make it with resin to take full advantage of the texture and to preserve the look of the felt.
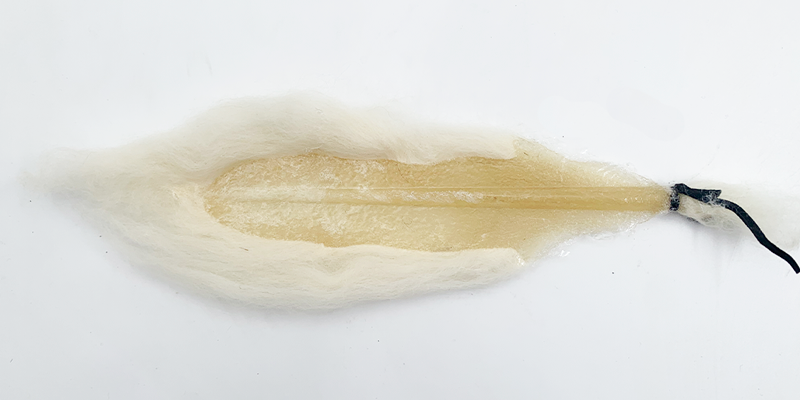
STEP 04: Once the resin is ready, we pour it into what would be the central hole of the mold and we help the felt to absorb the binder. Once ready, we put the negative side of the mold, press and in my case, we leave the mold under a considerable weight overnight.
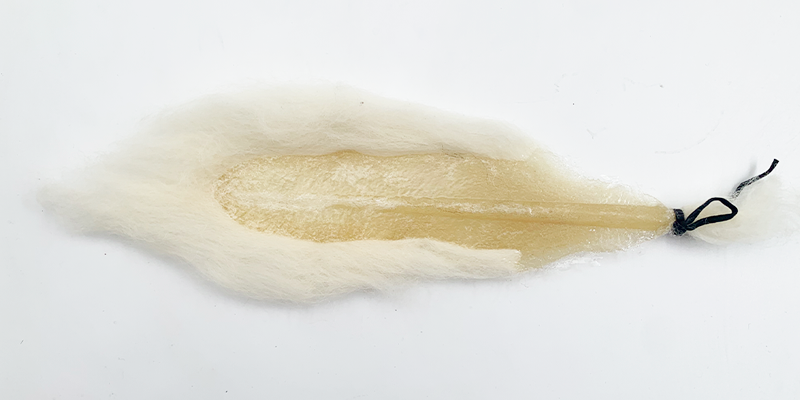
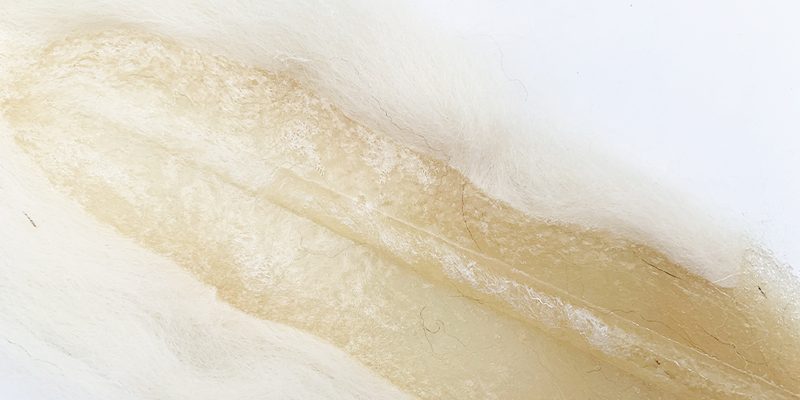
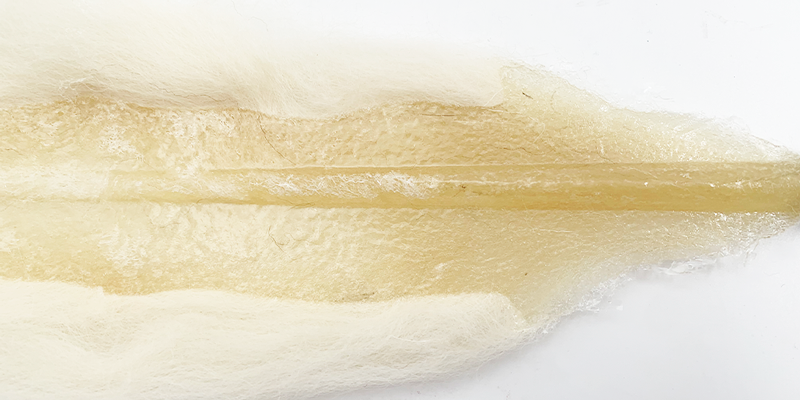
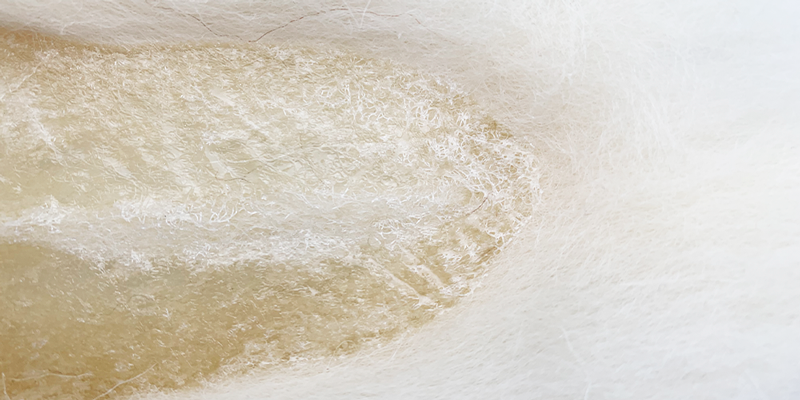
Final Results
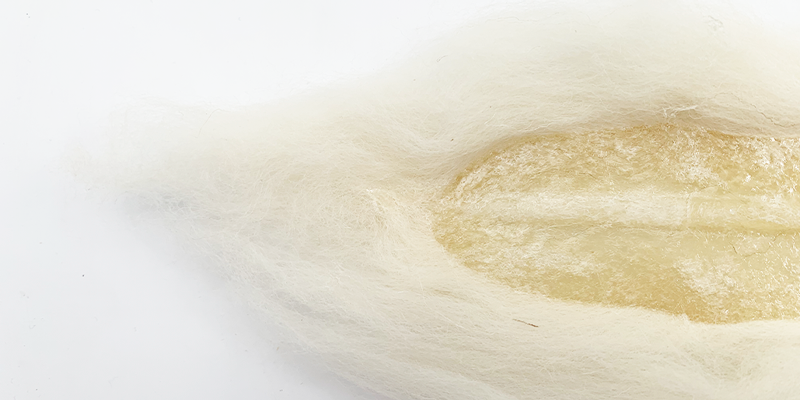
If you want to download my Rhino file you can do it here
Thanks for Reading! See you next week :)