12. Soft robotics
For this week, we’ve been introduced to the world of soft robotics, where we say goodbye to the idea that the robots are made out of metal. The first great machines, like the system of wheels that transmits the force of a windmill or helps to move the war machinery, were built with wood. The Industrial Revolution came and metal became the only element to consider. It worked well under the pressures of steam boilers, as a structural element for buildings and for the transmission of machines. That was enough to abandon any other material.
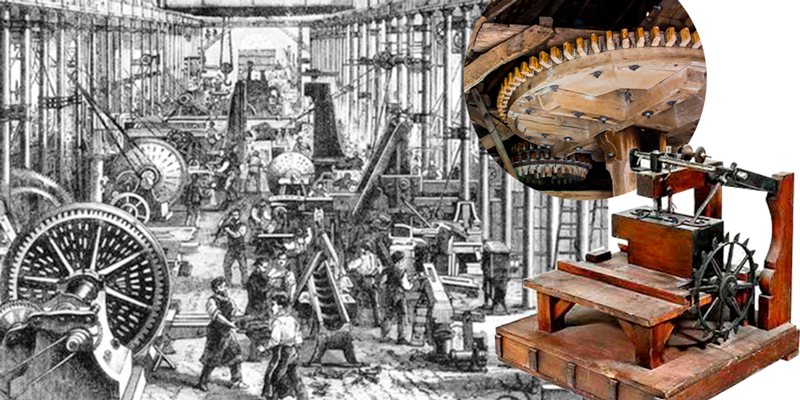
So when automata, robots and androids began to be mentioned, it stands to reason that these took the form of the most famous material of the time. The idea of soft robots has its time, although the term has evolved with the latest advances in robotics. Soft a few decades ago meant deformable to a certain extent, but made of more or less rigid parts.
Since approximately 2010, soft refers to a generation of robots capable of almost muscular deformation. They have rigid structures of different polymers similar to bones, but their muscles or actuators are more similar to gas bladder systems.
THE FISH SKELETON COLLECTION
SR 101 - Basic Inflatables, Vinyl
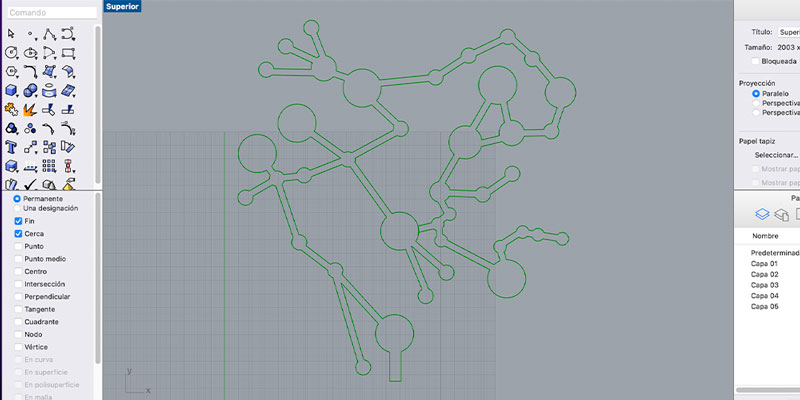
For this week assignment we should try to do 2 kinds of soft robotics bases, first i try with a pretty complex shape,
Then i made the pattern in the vinyl cutter machine, here’s the process in the lab.
The first try was a big epic fail, cause the channels for the air flow were too small, so i try it once again with bigger channels and it didn’t work either :(
So…maybe i was trying with a super complex design (not really) but something went wrong with the two experiments that i have done, so i change the design.
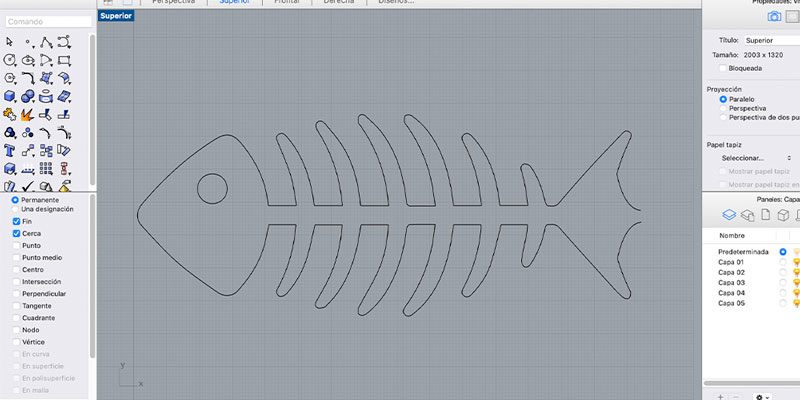
Looking for some information and inspiration for the soft robotics, i realized that all of them had the aesthetic of a skeleton, or bones, so immediately i thought about a fish skeleton haha i don’t know why.
So! Let’s get our hands dirty again! For the Final Fish Skeleton Vinyl Inflatable.
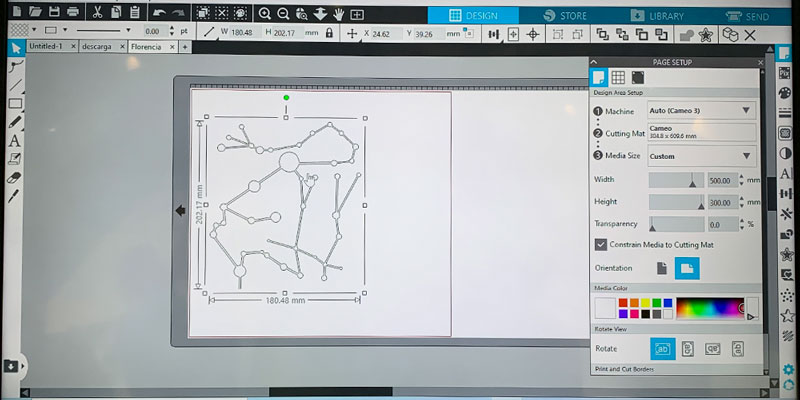
STEP 01: First, i cut again in the vinyl cutter, but this time, i made my skeleton pattern, so i made it simple, with big channels so the air can flow without any problem.
STEP 02: This time, i decided to use another type of vinyl, cause maybe the blue vinyl that i was using for the other experiments wasn’t the proper one, or maybe it was too thick, i don’t know. So i tried with this little peace of this lilac vinyl that i found in the classroom.
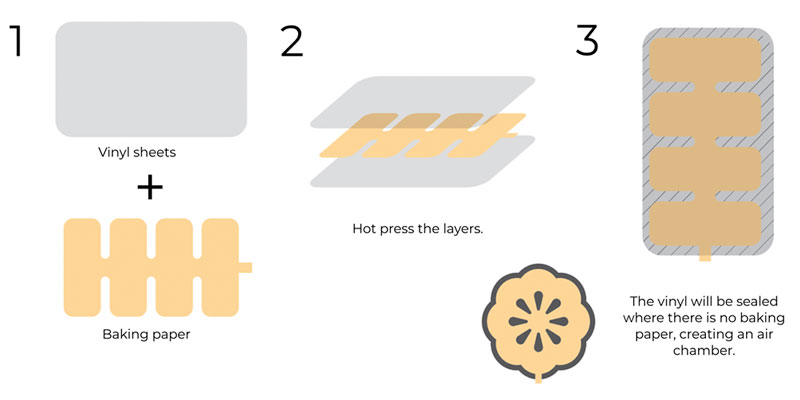
STEP 03: Once i have all my materials, i use the iron to stick it together, since the experiment is small. The vinyl has two different parts, the one that goes outside and don’t stick is the soft part, and then we have the “glue” part, that is the one that we use to leave our baking paper inside and stick it with heat. The idea is that the parts with the baking paper will not stick and once we want to inflate it, the air will pass with no problem.
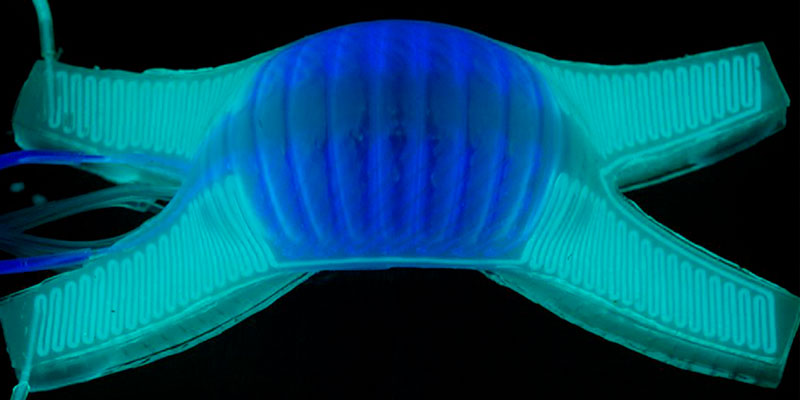
STEP 04: IT WORKS! Finally after 3 fails, the vinyl inflatable works!
SR 102 - Silicon Inflatables
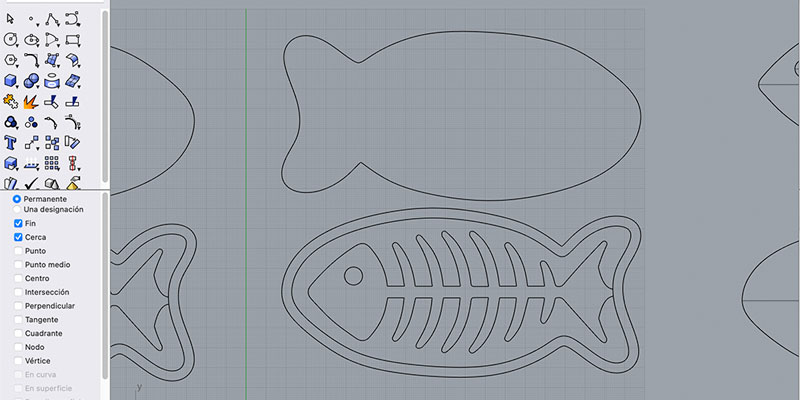
Since the shape of the fish skeleton works well for my vinyl experiment, i try to do the same mold for my silicon experimentation.
IMPORTANT REMINDER: When you make your molds, please remember that the wall that contains your material has to be higher than the shapes that you’re gonna have inside of the mold, don’t be like me jaja.
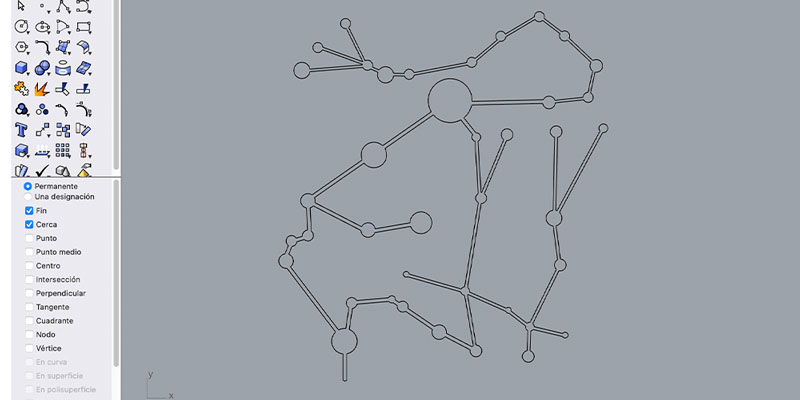
STEP 01: Make your mold. First i made my mold design in Rhino, using the same pattern that i made for the vinyl experiment.
STEP 02: Once we have our file ready, I cut the mold parts in the laser cutting machine. For the molds, you have to use acrylic as the material, cause since it is not a porous material, the silicone will not stick to it.

To assemble the mold and stick it together, i use super glue.
STEP 03: For this first experimentation, we use white silicone to made our inflatables, here’s the process.
- For about 100 grs of silicone -it’s 2%-4% of catalyst = 2 or 4 grs, so we took 3 grs app.
Once you mix all the two parts together, you have about 10 - 15 minutes to pour the mix in the mold and then pop any remaining bubbles.
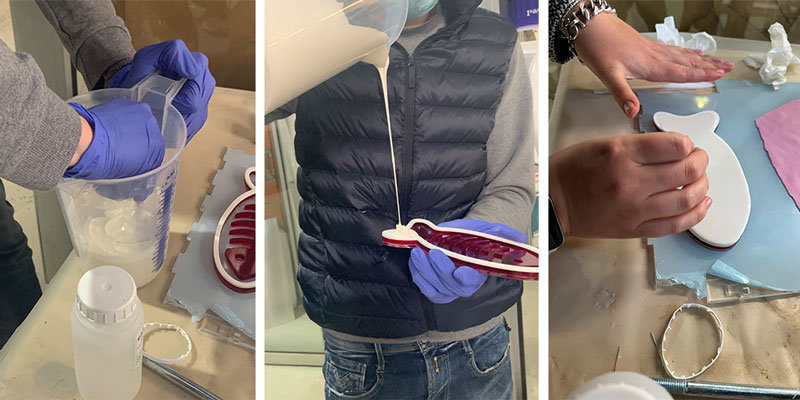
Then you have to put some silicone in a piece of fabric, this will serve us later to close our inflatable. Keep this overnight to dry.
STEP 04: Once we have our molds dry, the first thing that we have to do it’s take out the silicone of our mold and see if we have any imperfections. Then we have to make a little bit more of silicone to stick our silicone mold to the fabric and seal our inflatable.
Let it dry for half day or overnight if you wanna be sure.
STEP 05: Once we have our mold completely seal, it’s time to try it!
Since the white silicon it’s too “hard” we couldn't inflate it (NOOO u.u)
STEP 06: For the final attempt, i decided to use the EcoFlex Silicone, that’s the one that the teachers recommend to use in the first place.
So… i made the whole process again, but now, with the right silicone, and this are the results.
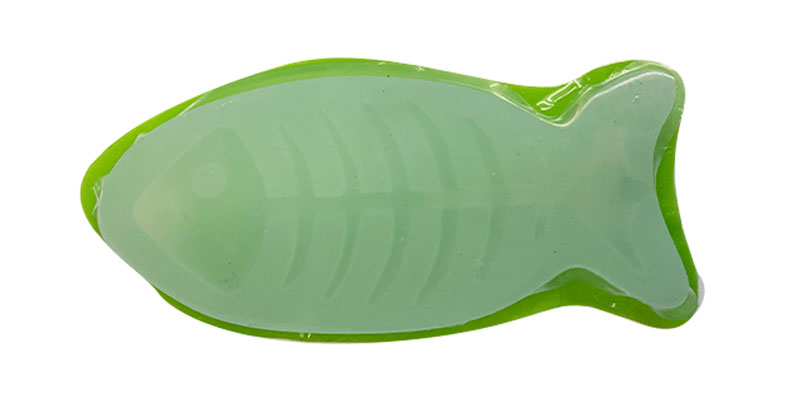
If you want to try with my SkelyFish, you can download the file here
Thanks for reading! See you next week :)