PreFinal 02; Decitions, Prototyping and Final Product
Once we started approaching the finals, I realized that my goal of making different types of feathers was very complex and that I would need more time than I had to achieve that goal. So I made the decision to abort the idea of "library of experiences with feathers" and went down to my plan B, prove that we can use 3D printing feathers as an alternative for ornamental fashion.
First Sketch

With the idea of my Implications and Applications pitch in mind, i decided to create a garment that has always been fashionable and has been made thousands of times with both animal and artificial feathers.
Throughout the years we can recognize that the “cropped top” has set trends, being its first appearance in the ‘60s, where the length of the shirts was reduced and increased the length of the skirts.
Then in the 21st century they reappeared, to stay, so it was decided to use it as a rhetorical statement product that represents the position that you can create a sustainable garment made of feathers that is 100% cruelty free and without the use of plastic.
Massive Production, Let's print TONS of feathers
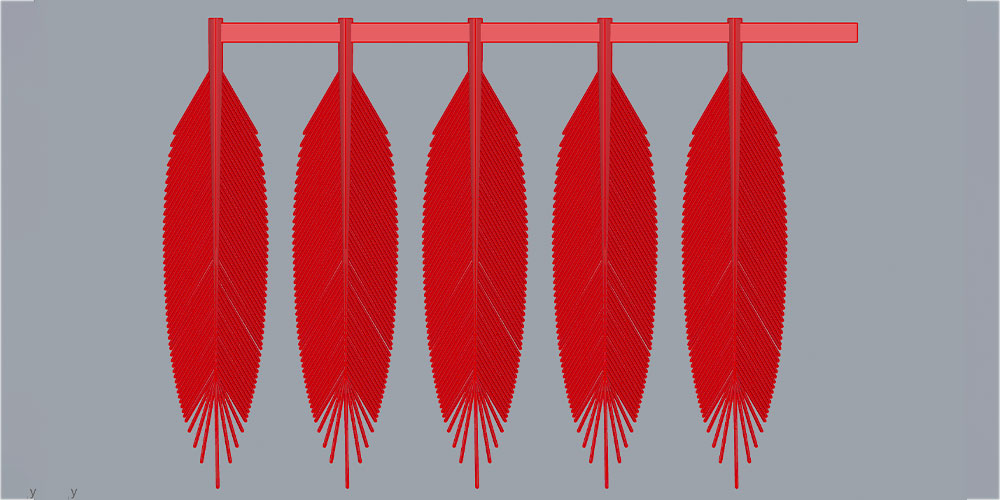
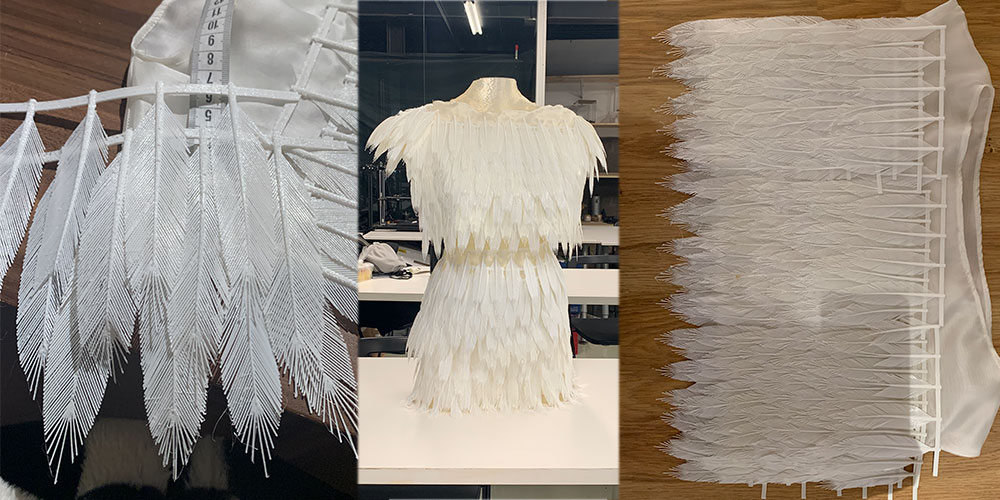
In order to achieve the goal of making a full garment completely covered by my feathers, to help myself with the post printing process, i decide to create a base module of five feathers that can be sewed with a few stitches. The main material that I use for modules of my garment is a biodegradable flexible filament made out of cornstarch.
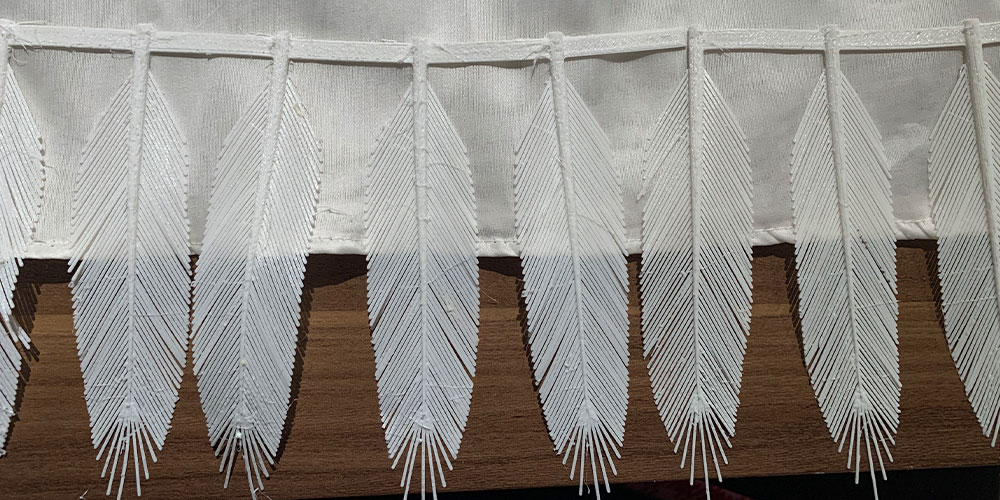
Based on one of the many ways that we can find feathers in the market, i decided to create my base module using Feather’s fringes as reference. First of all, i have to decide what type of feather i want to use for my main prototype.
The idea is to create a garment that emulates goose’s plumage, so the feather must have a perpendicular fall, which can be superimposed one module on another to generate the illu- sion of a complete plumage.
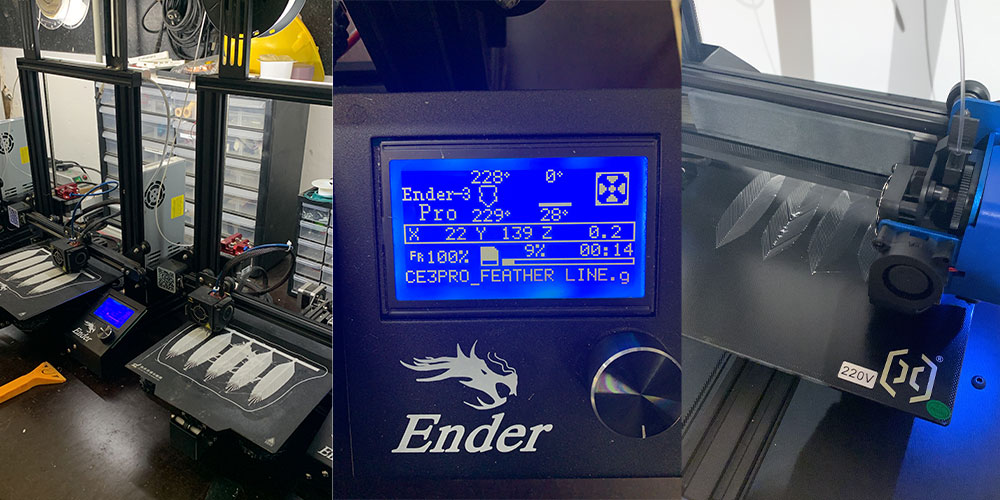
To make the postprinting process faster to sew, i develope this module of 5 feathers attached to a line and separated at the same distance from each other, so that we can print on the trays of the printers we have in the laboratory.

In an act of desperation (haha), I had to buy a 3D printer to be able to print as I began the process of sewing the feathers to the suit in my house.
Garment Planning
One of my darkest secrets is that I only know how to sew by hand. That’s why in order to put the good of the project first, I decided that a professional would help me with the preparation of the base garment for the final prototype of the project. That's why I don't have any documentation of the making of the base skirt and cropped top.
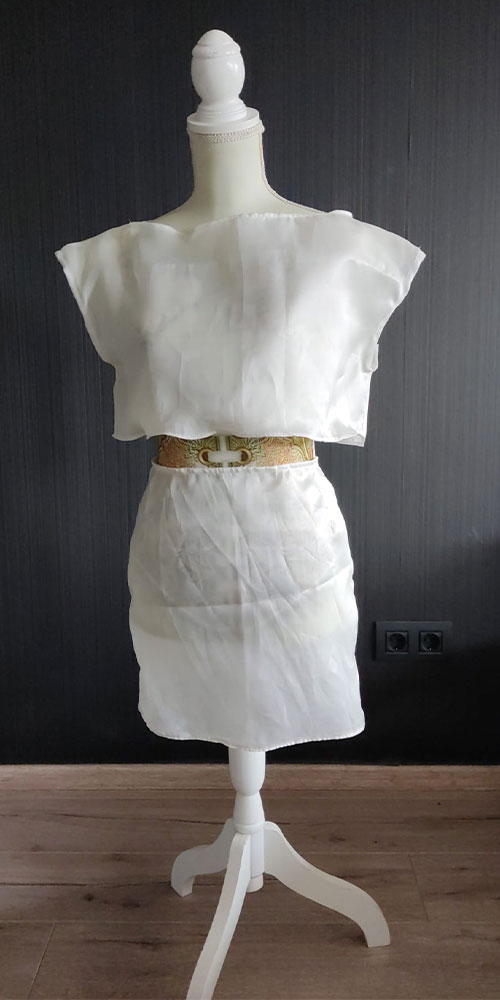
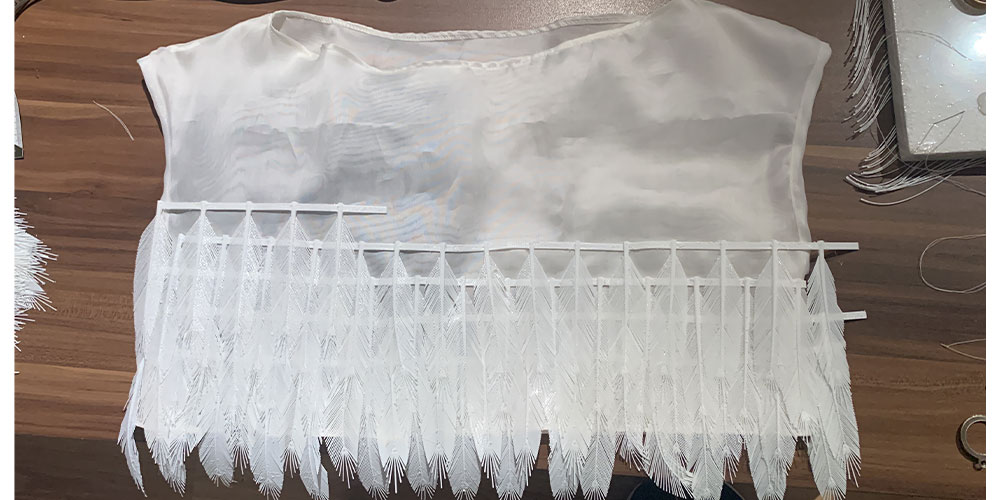
Here's a picture of the garment without the feathers.
Sewing process
For the post printing process, where i have to cut some feathers, meadure the distance, glue them into the based shirt or skirt, and then sew it to make sure these don't fall out of the garment.
Cutting some Feathers for some fully effect
Gluing the feather to the base garment
Sewing the feathers to the base
Sometimes, in some parts of the gar- ment, just one line of feather wasn’t recreate the fully effect that i want in the garment, so that’s whynyou can find some single feathers sewed in the garment.
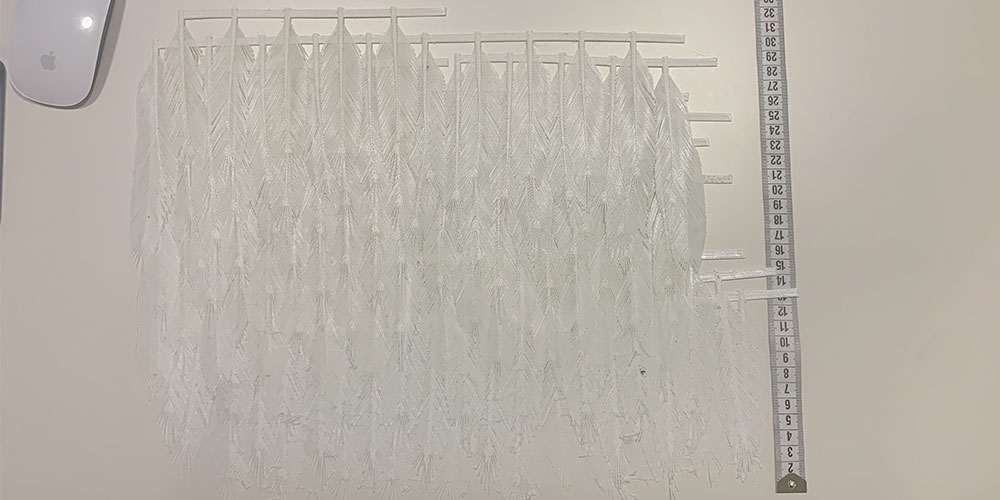
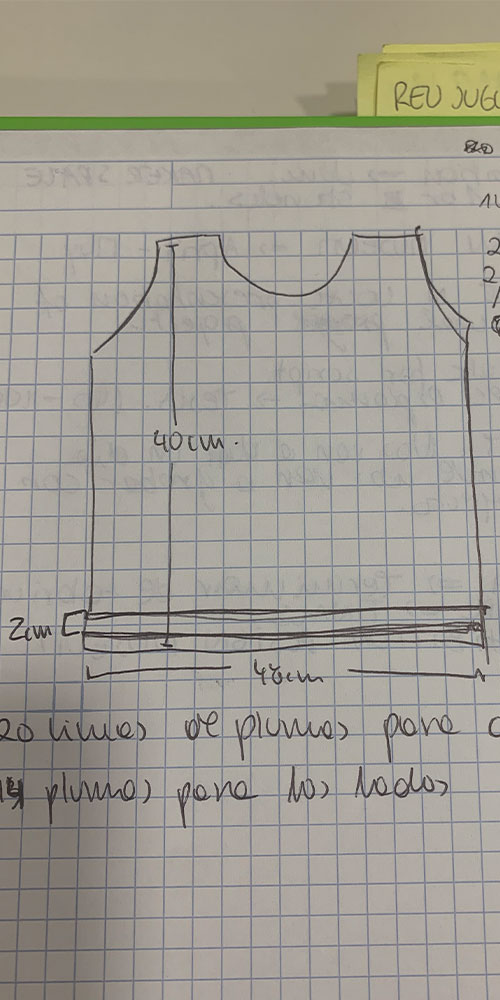
Measuring the distance to calculate how many feathers I'll need to cover the garment
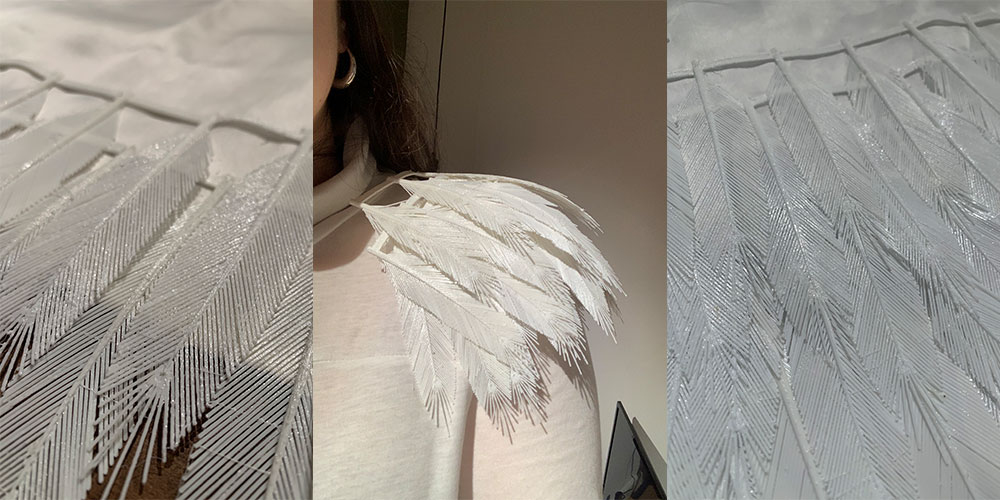
Planning the fully effect in the shoulders
Final Results
Finally, for the making of the final product, i have to print 100 modules of 5 feathers; That means that the garment is made out of 500 feathers sewing by hand.