I. | STATE OF THE ART, PROJECT MANAGEMENT AND DOCUMENTATION
CONTENT:
- visual design
- language of coding
- tools
- methodology
- workflow
| VISUAL INTERPRETATION OF DOCUMENTATION |
Find the visual meaning of how to interprete the process. Implement your personality in the graphic design and appearance of your documentation. It will be easier for you or other people to get to know your work and thinking!
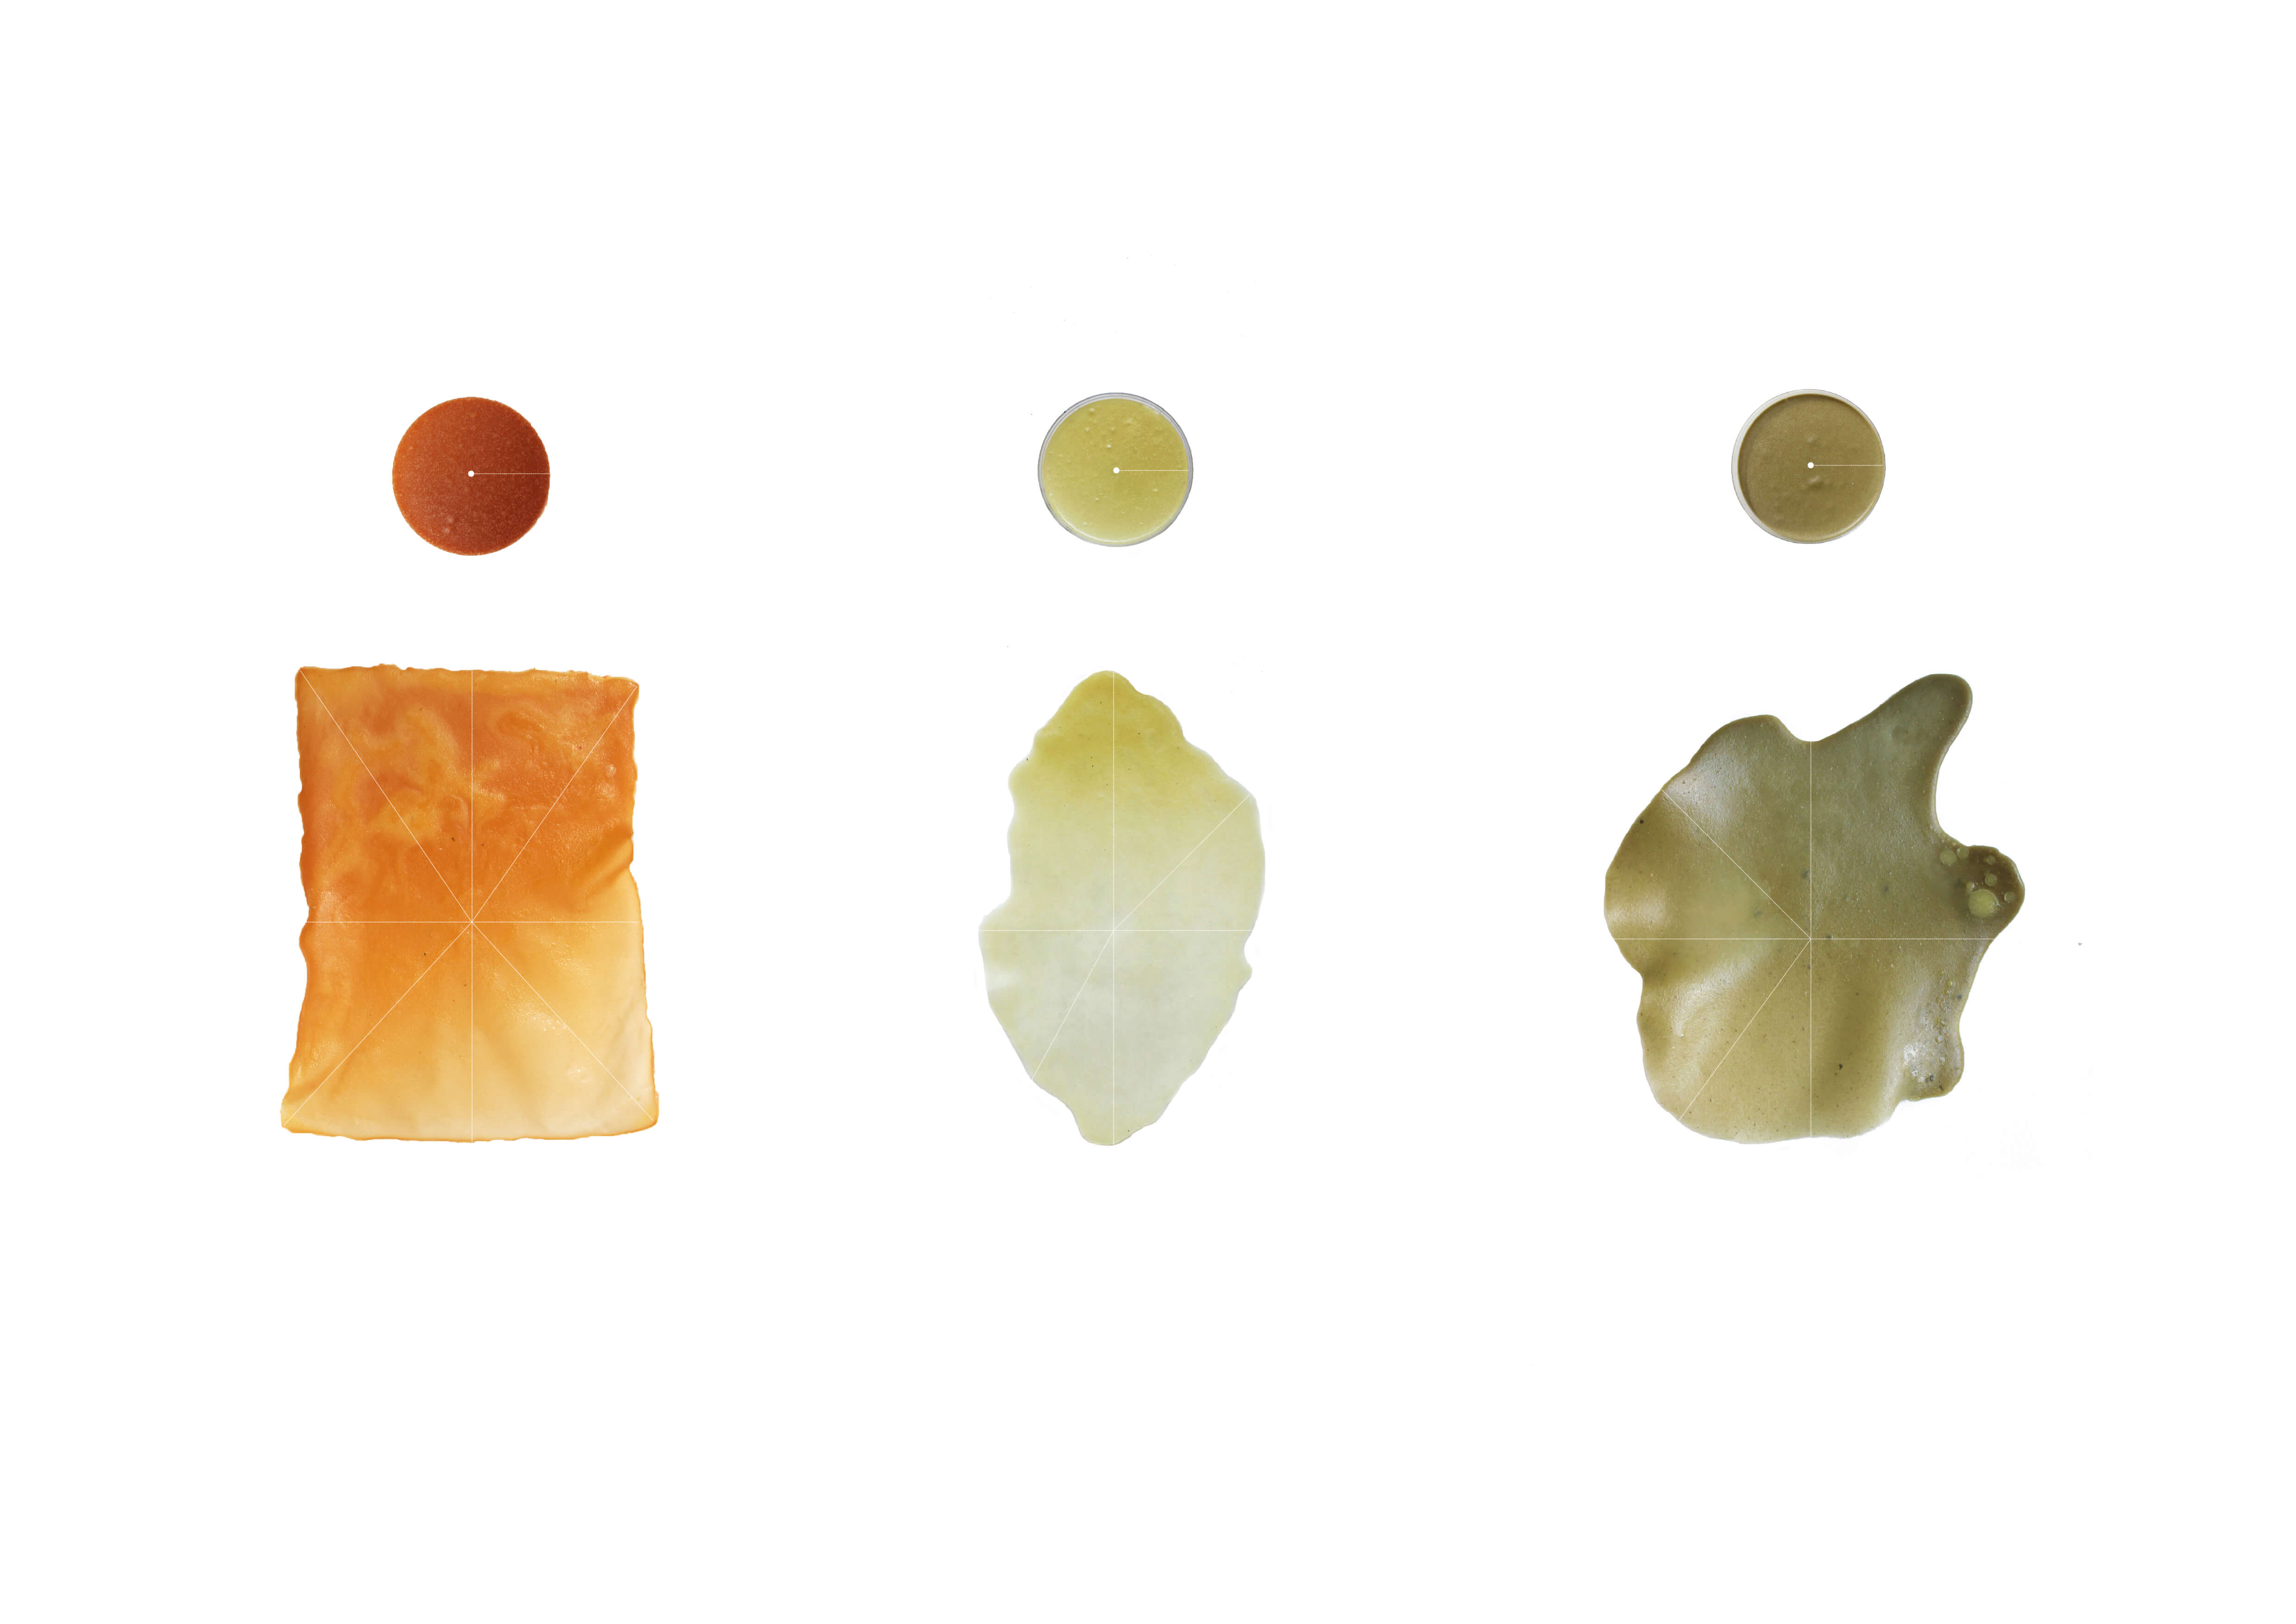
The pixel visual blends 3D scans and 2D space - as an experiment created by Laura Uhliarová (Graphic designer) & p2LAB.

![]()
| NEW LANGUAGE |
You will need to learn to write and speak in a new coding language. You can be inspired by the short film below.
- SUNSPRING written by algorithm
// the setup function runs once when you press reset or power the board
void setup() {
  // initialize digital pin LED_BUILTIN as an output.
  pinMode(LED_BUILTIN, OUTPUT);
}

// the loop function runs over and over again forever
void loop() {
  digitalWrite(LED_BUILTIN, HIGH);   // turn the LED on (HIGH is the voltage level)
  delay(1000);                       // wait for a second
  digitalWrite(LED_BUILTIN, LOW);    // turn the LED off by making the voltage LOW
  delay(1000);                       // wait for a second
}
You will need to reduce the size of the images. You can use Photoshop or any other software for vectors. Or you can do it online through a web browser.
REFERENCES
| DOCUMENTATION |
MY TOOLS
- Name your files so you can find them easily, create a folder for each week - FABRI-WEEK01
- Google disk
- Miro - 3 boards for free
- or Dropbox Paper
METHODOLOGY
- General information about - explanation about the main problem.
- Inspiration - create your moodboard.
- Working sections - name all parts of your work and divide them into different sections, including all information; for example
 - BIOPLASTICS
  - Gelatine
     - About
     - Tools
     - Process
     - Result
     - Conclusion
     - References
   - Alginate
     - About
     - Tools
     - ...
   - Agar agar
     - About
     - Tools
     - ...
WORKFLOW
- Describe all the ingredientes - name, amount, resource; weight, measure or count before your experimentation for example
| a. | b. | c. |
|---|---|---|
| The name of the material used | Name | Name |
| Amount of material g / kg | g / kg | g / kg |
| N. | Material name | Quantity | Source |
|---|---|---|---|
| 1. | Name | Number | Name |
- Describe all the process - step by step. ALWAYS take photos before and after your experiments.
- Take notes during the process. At the end you will find out how much you deviated from the original procedure.
- Also write down the parameters of the technique - for example laser cutting or 3D printing. You will definitely need it later.
| Material | Thickness | Speed | Power | Cutting time |
|---|---|---|---|---|
| Polywood | 4 mm | 1 | 100 | 10 min 10 s |
| Textile | Filament | 3D printer | Layer | Temperature | Printing speed | Printing time |
|---|---|---|---|---|---|---|
| Scuba ante | TPU | Ender 3 | 0.3 mm | 240°C | 30 mm/sec | 11 min |
- Describe your final result including conclusion about your experiment. Material parametres, it worked or it did not work, what else you want to fix, where is the problem, etc.
| Viscosity | Curing time | Melting point | Stickiness | Structural properties | Visual | Structure | Texture | Strengh |
|---|---|---|---|---|---|---|---|---|
| Low / High | Naturally / Dehydrator : x days / x h | x°C | High / Low | Elastic | Opaque | Waterproof | Gelatinous | Resistant |
| WHEN SCIENCE MEETS ART |
Check out different ways how to document projects or research.
Last update: 2022-01-15