XII. | SOFT ROBOTICS
| INFLATABLES |
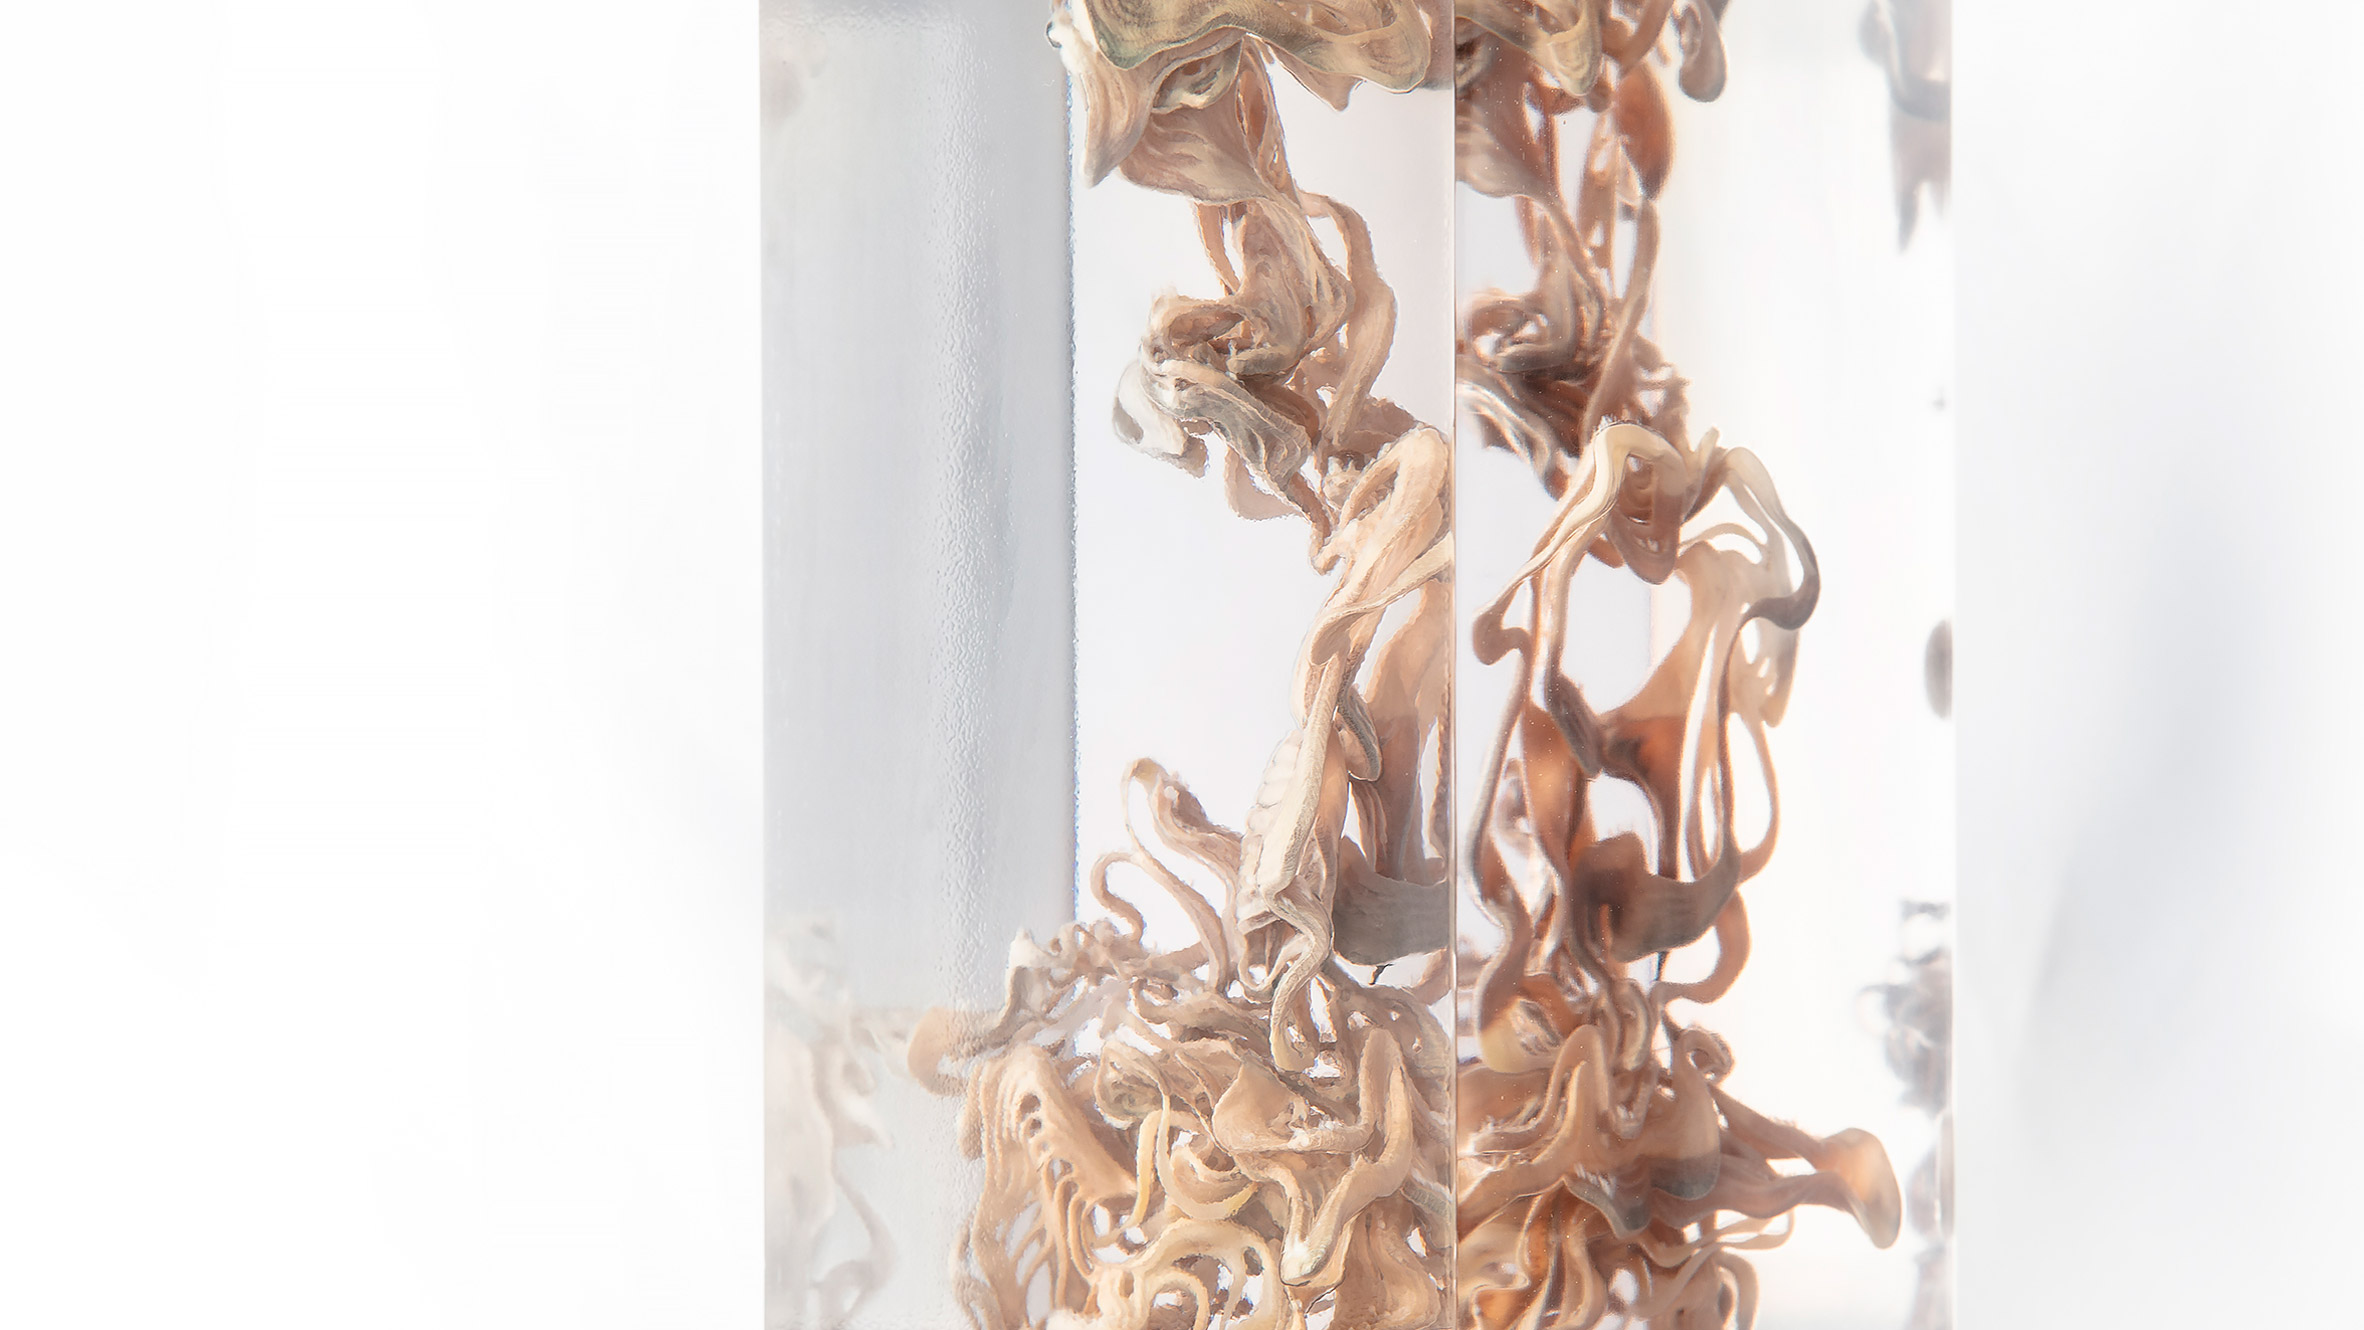
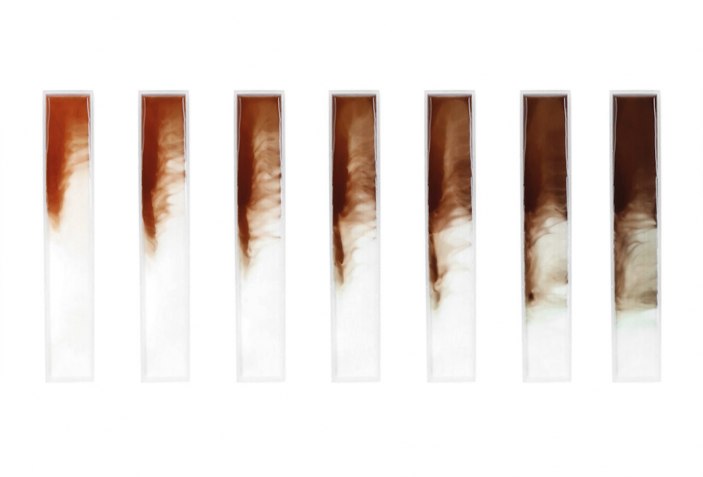
INSPIRATION
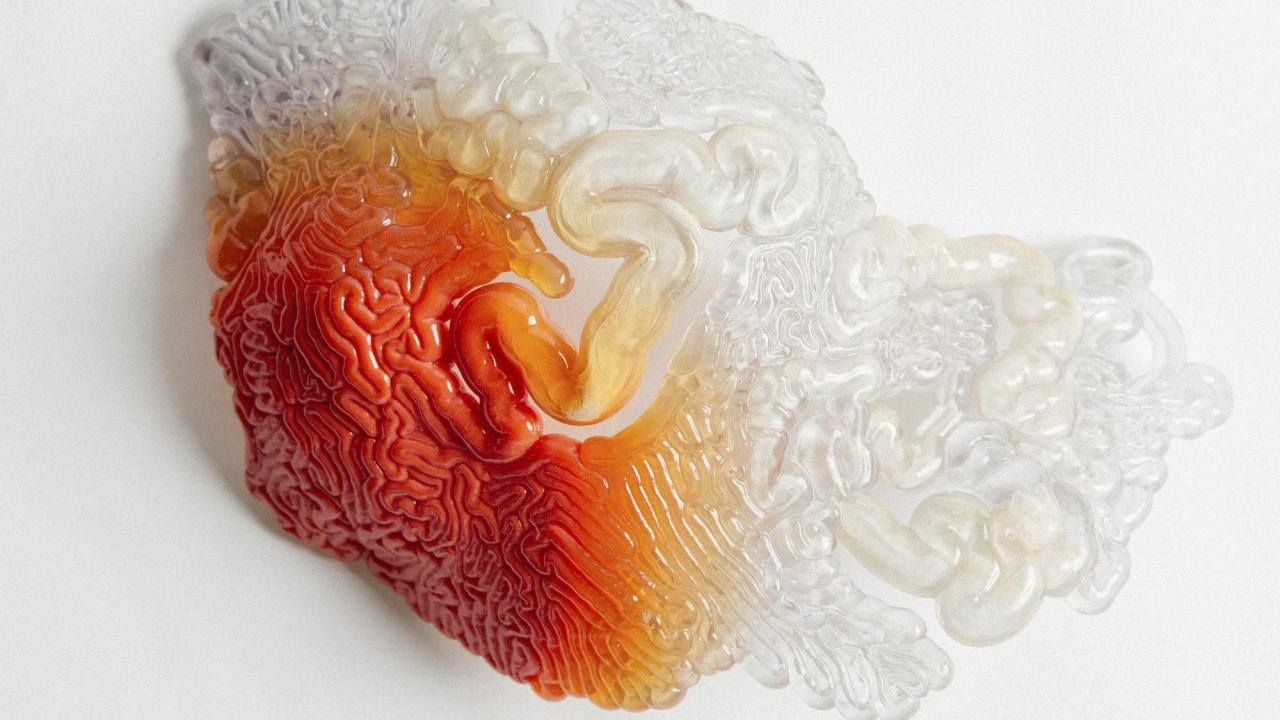 -
- 


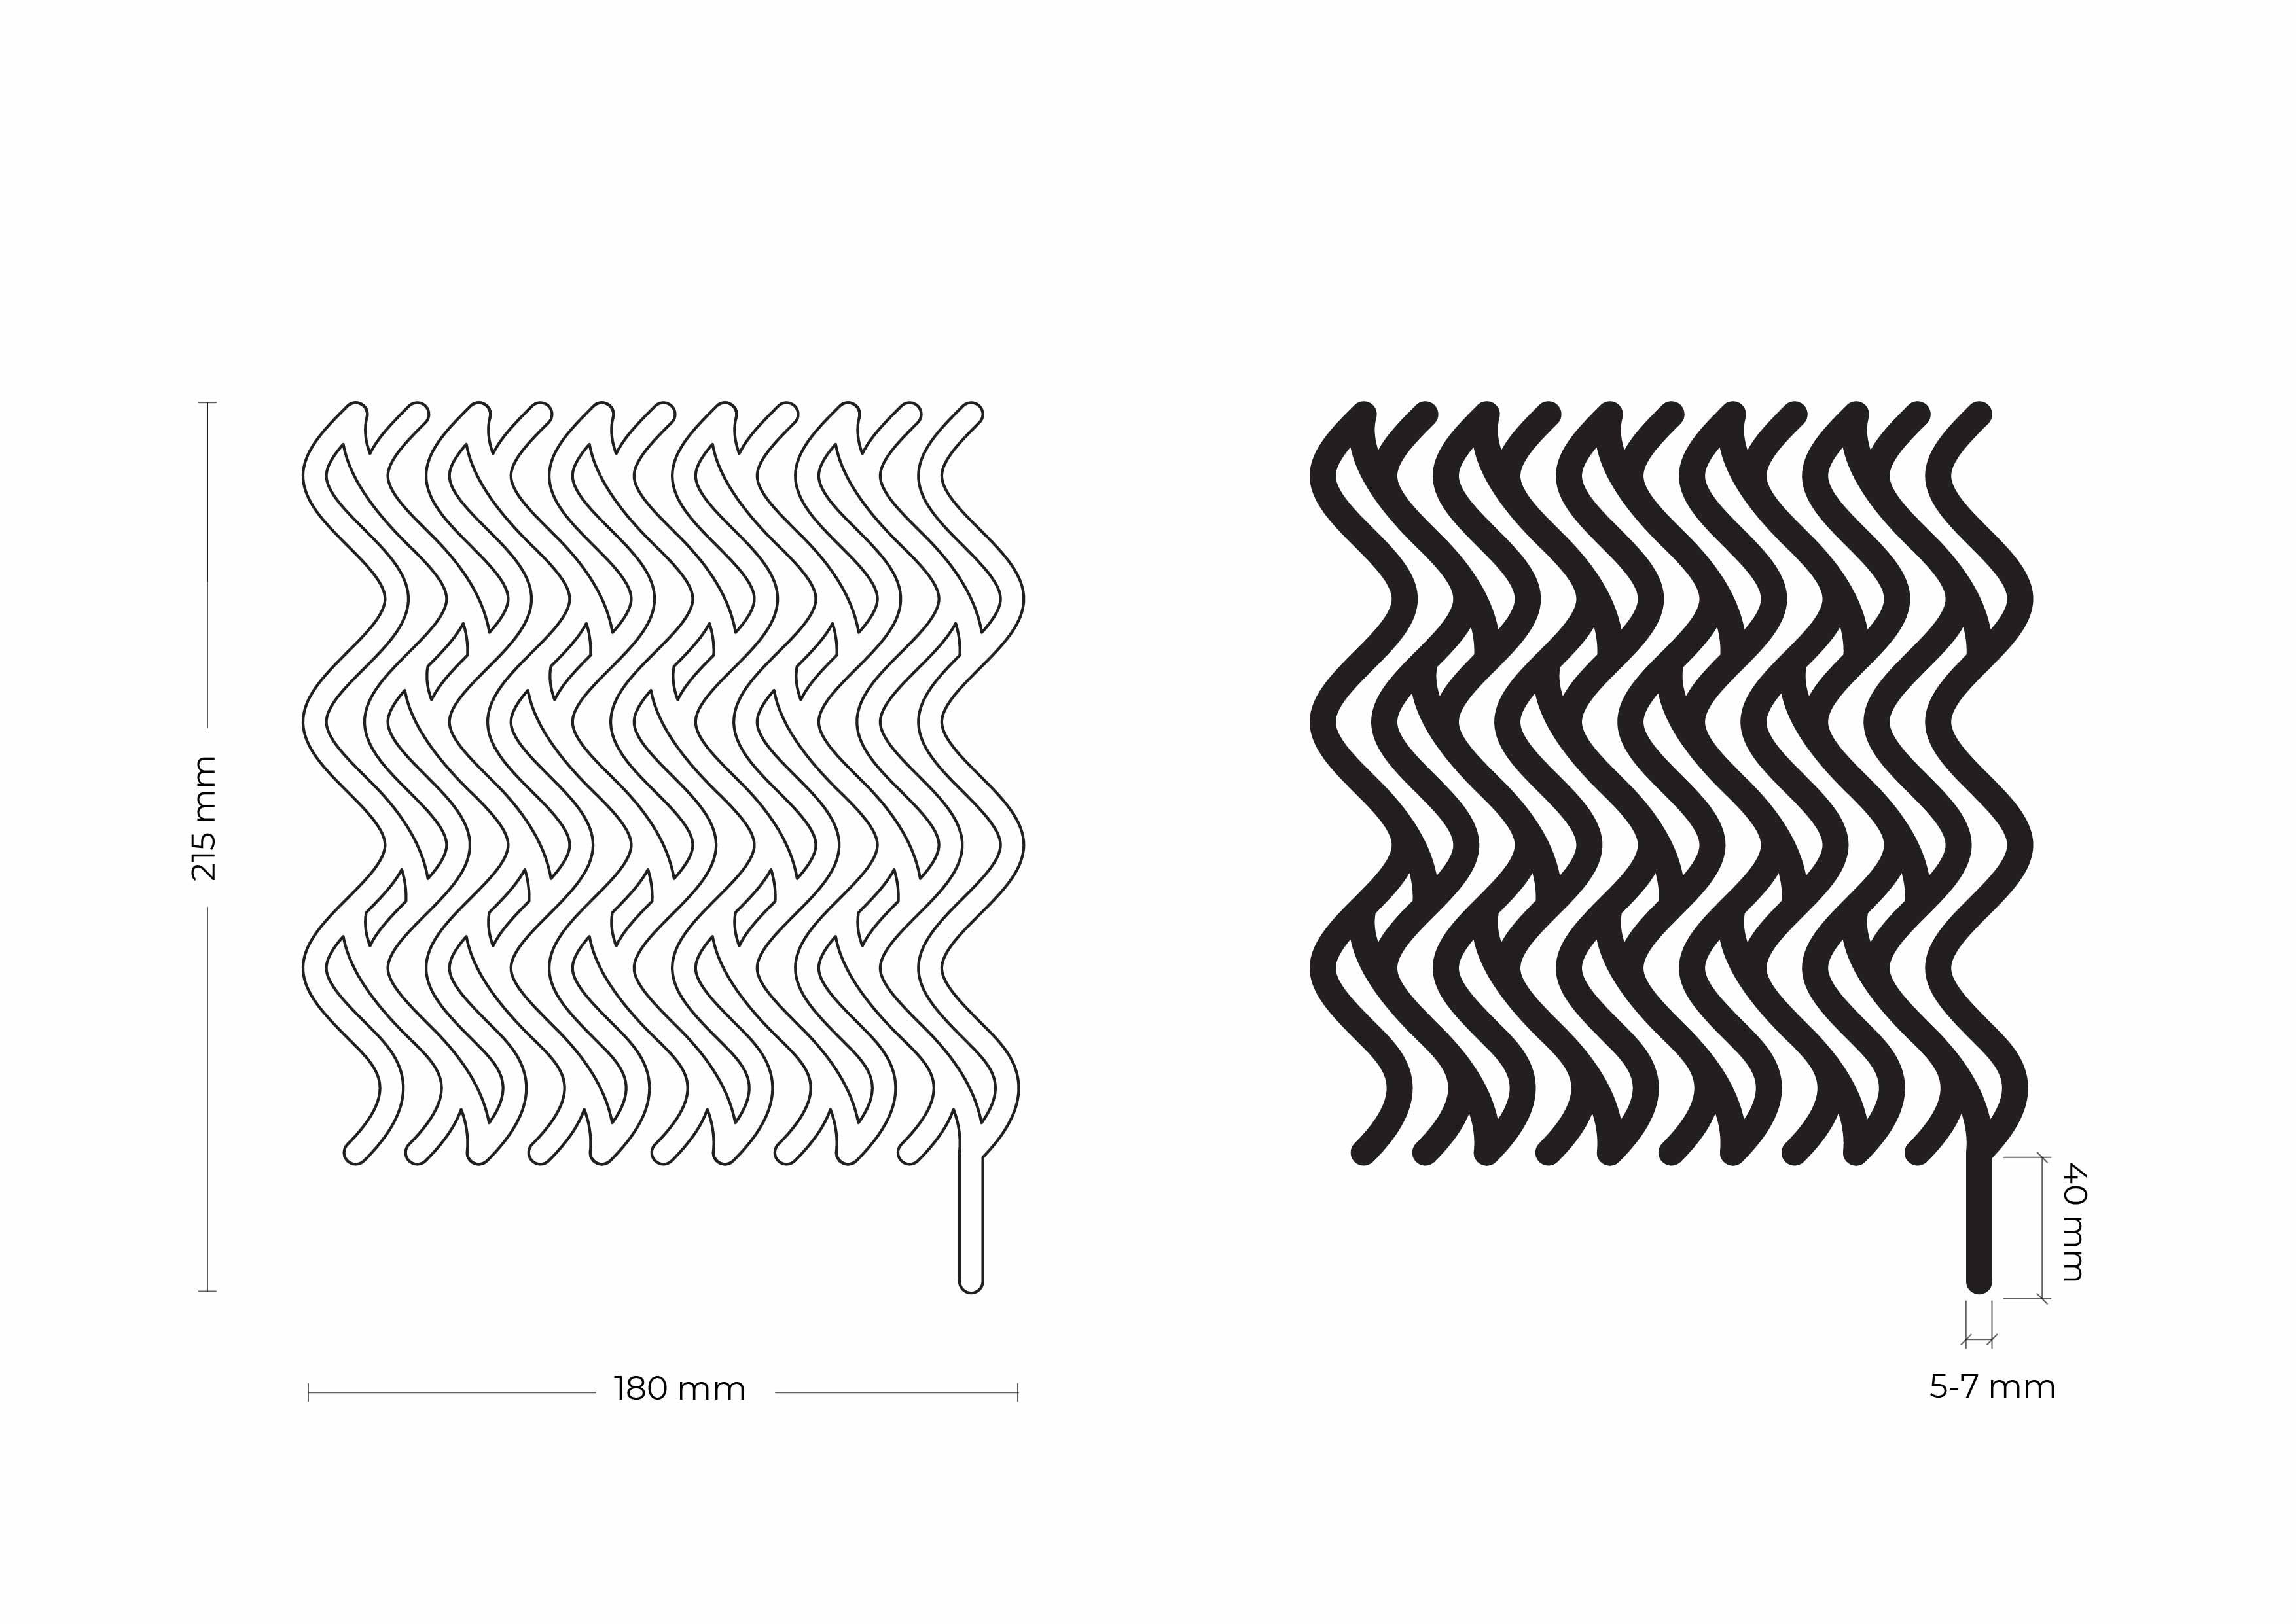
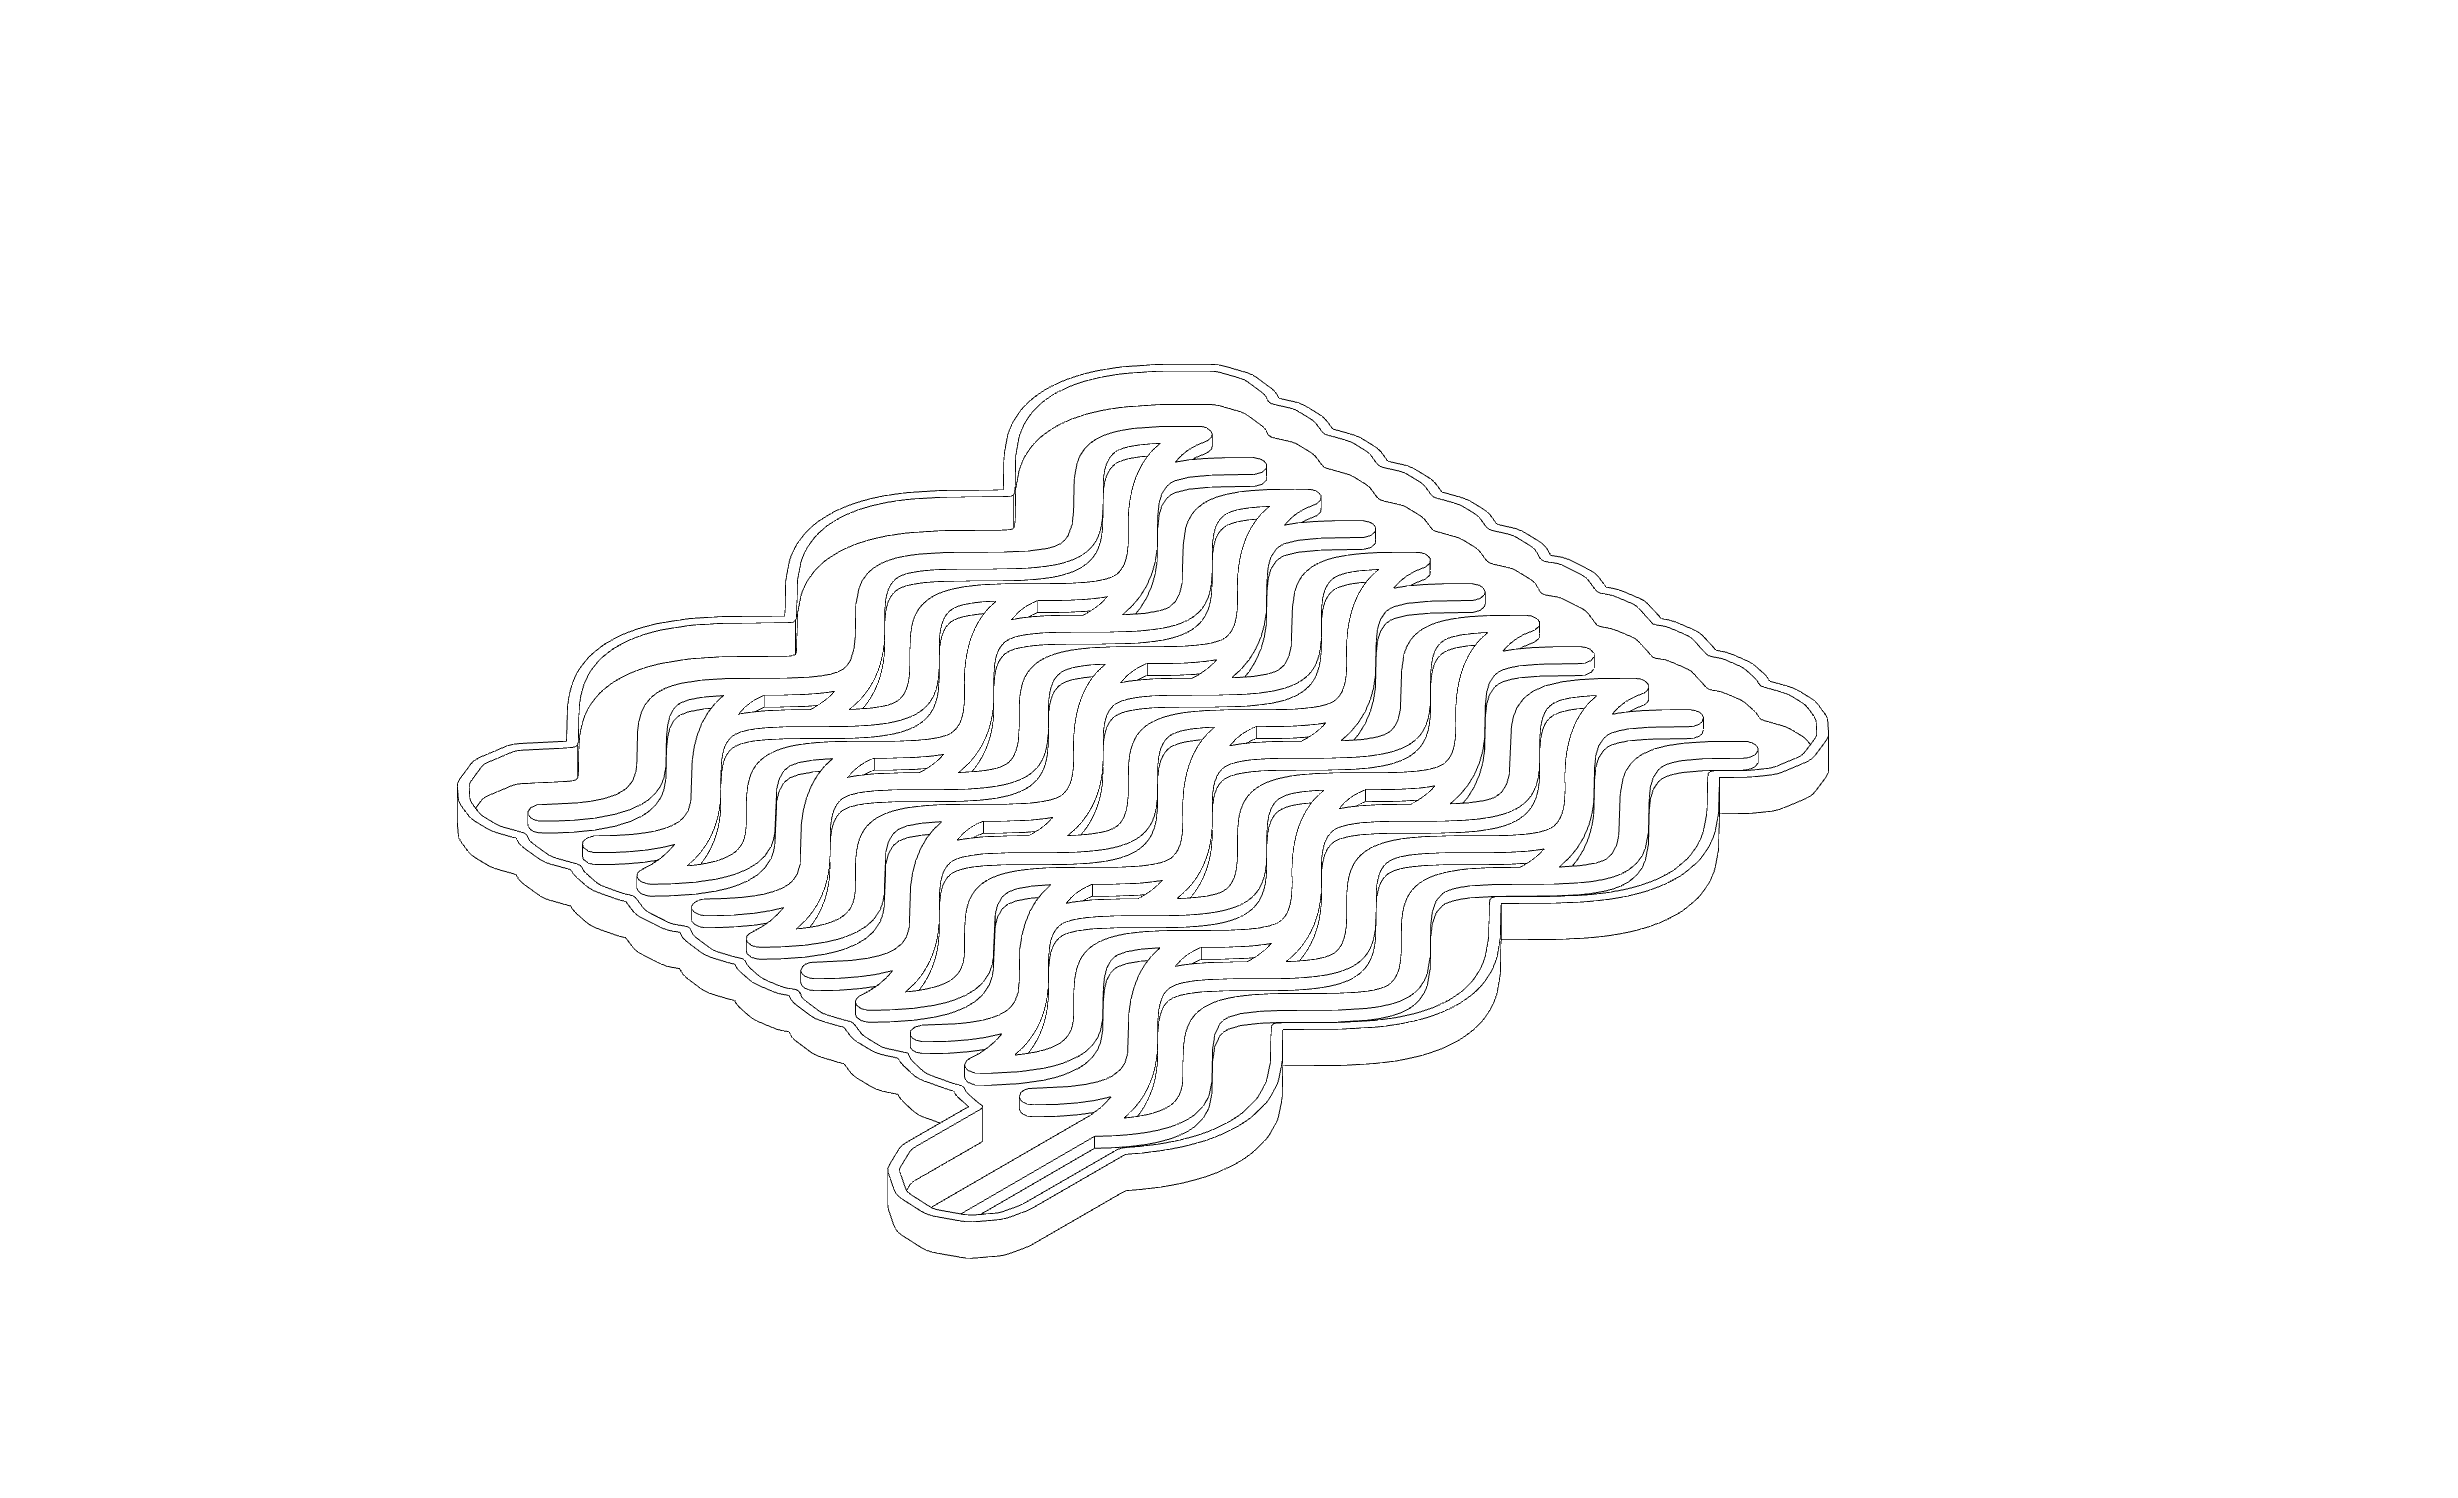
VINYL CUTTING
Flock heat transfer vinyl
- Adheres to: 100% polyester, 100% cotton, poly/cotton blends, leather
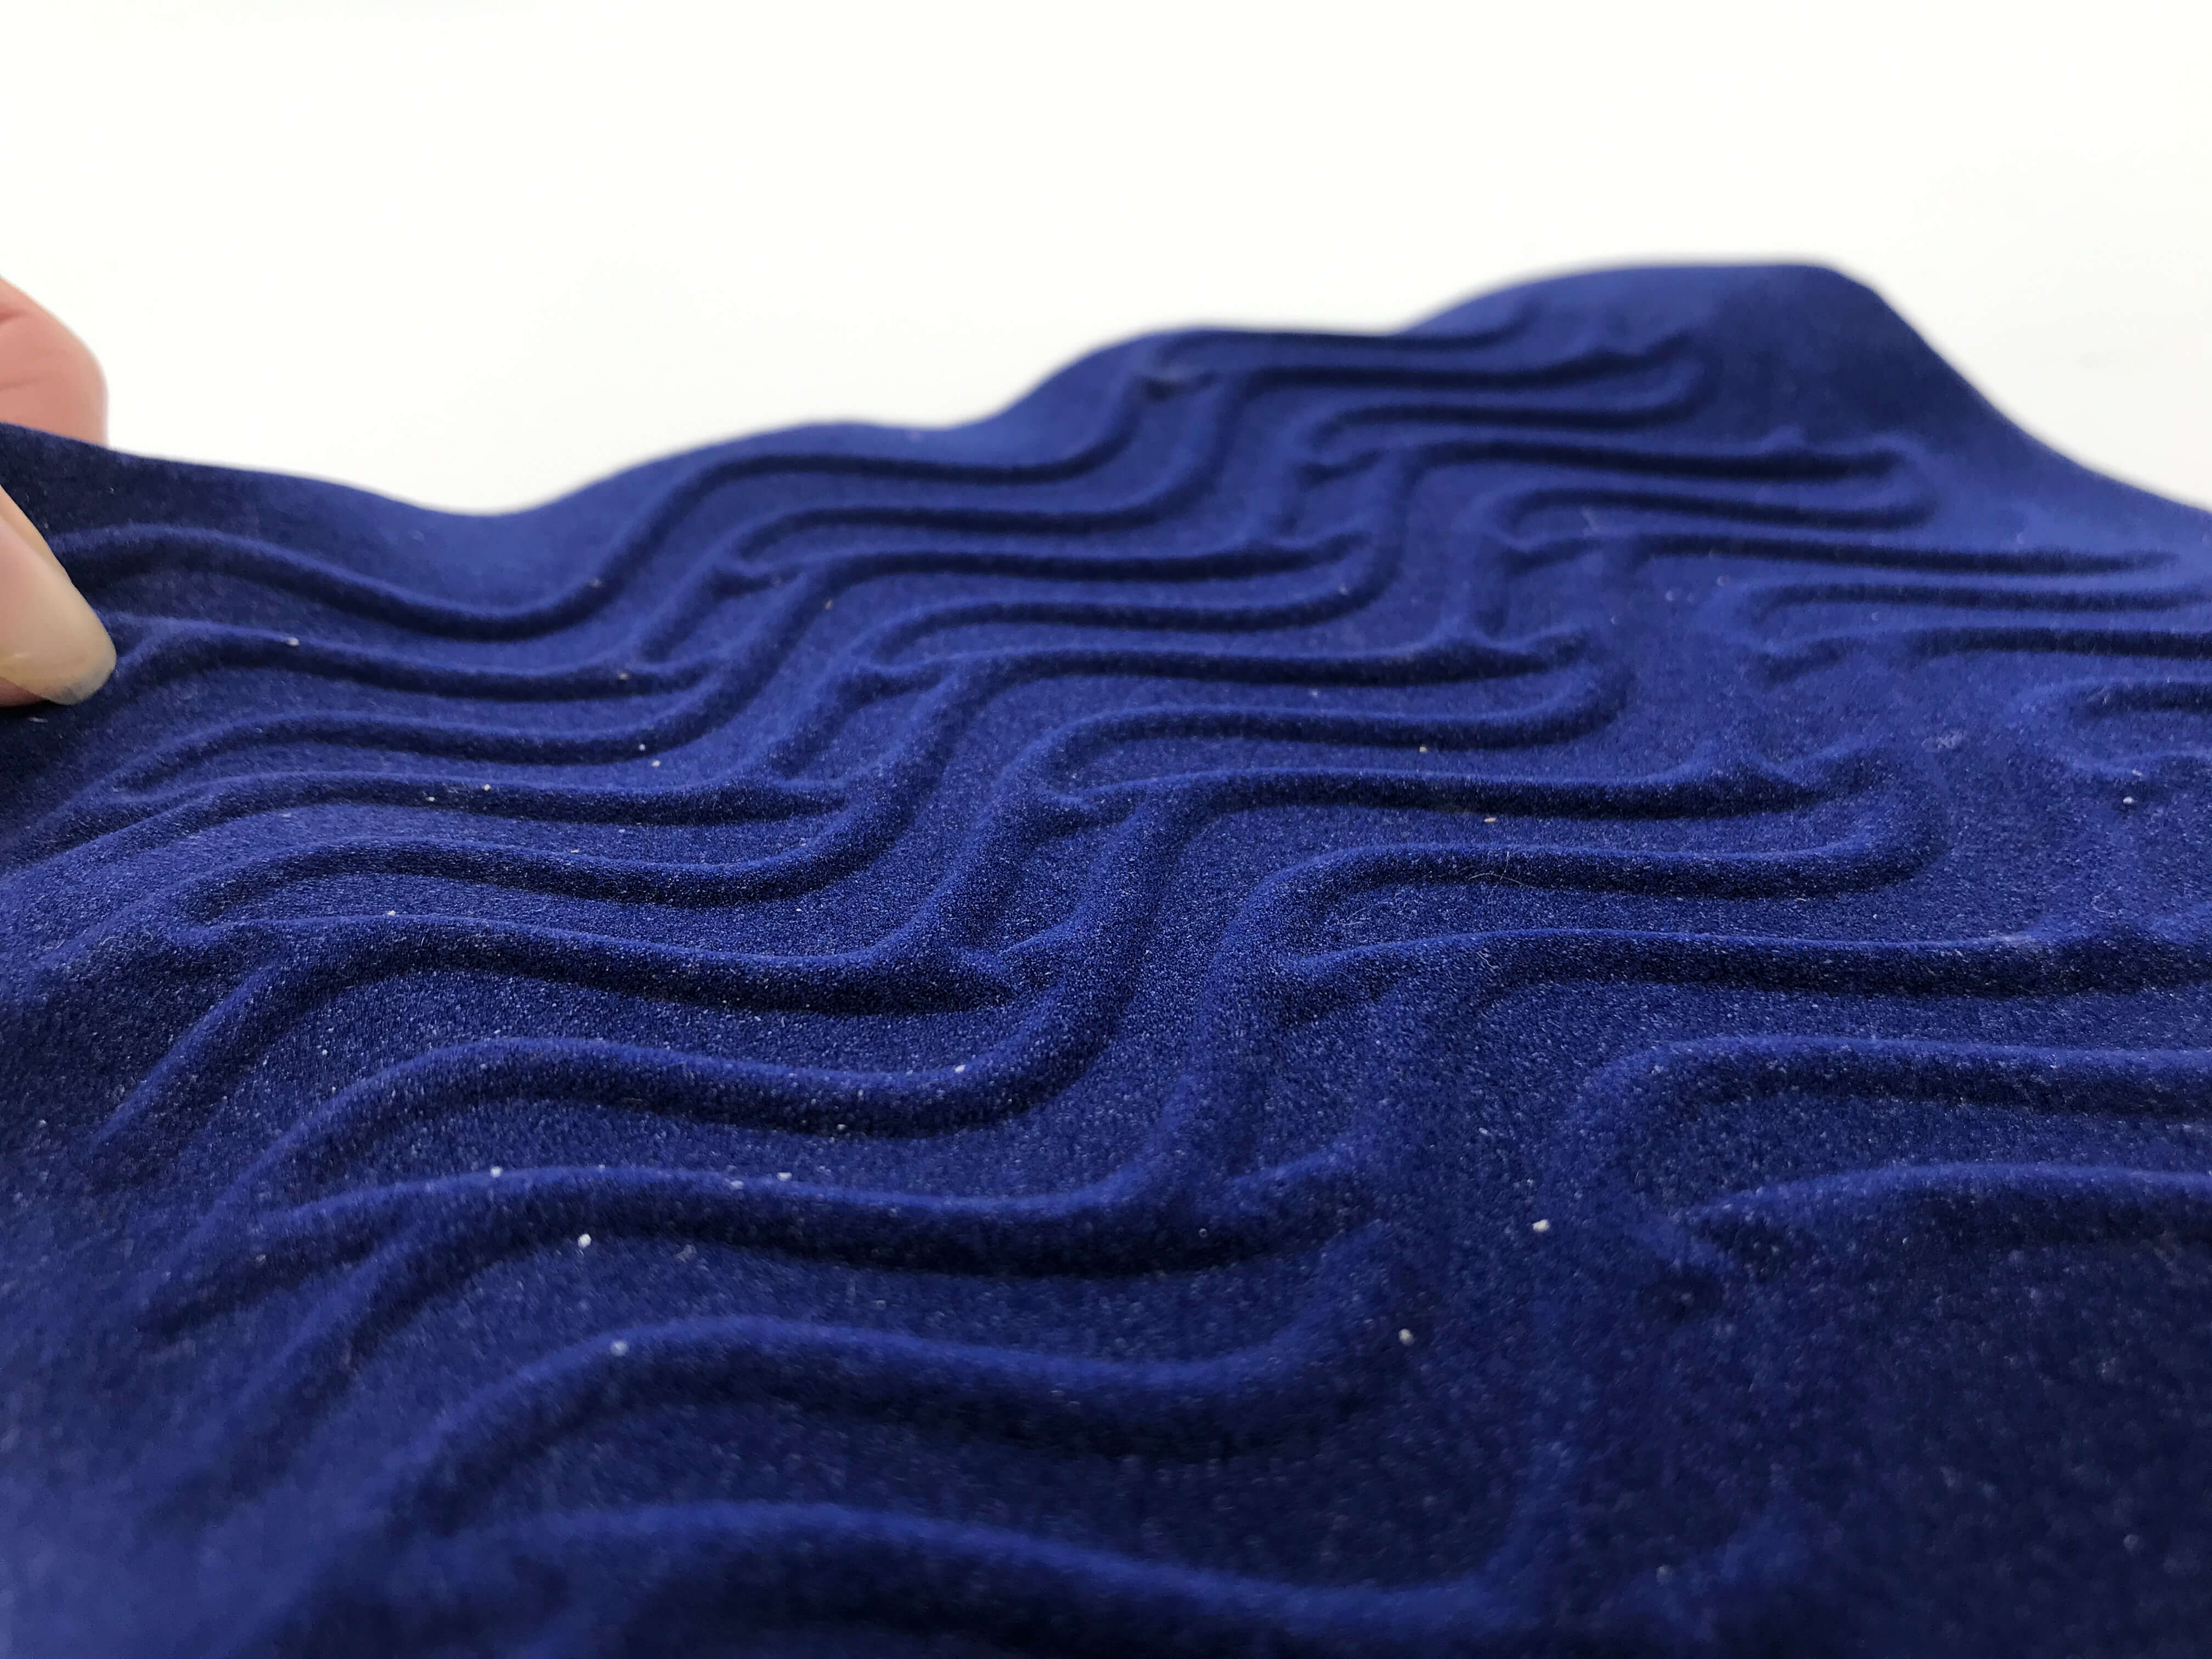
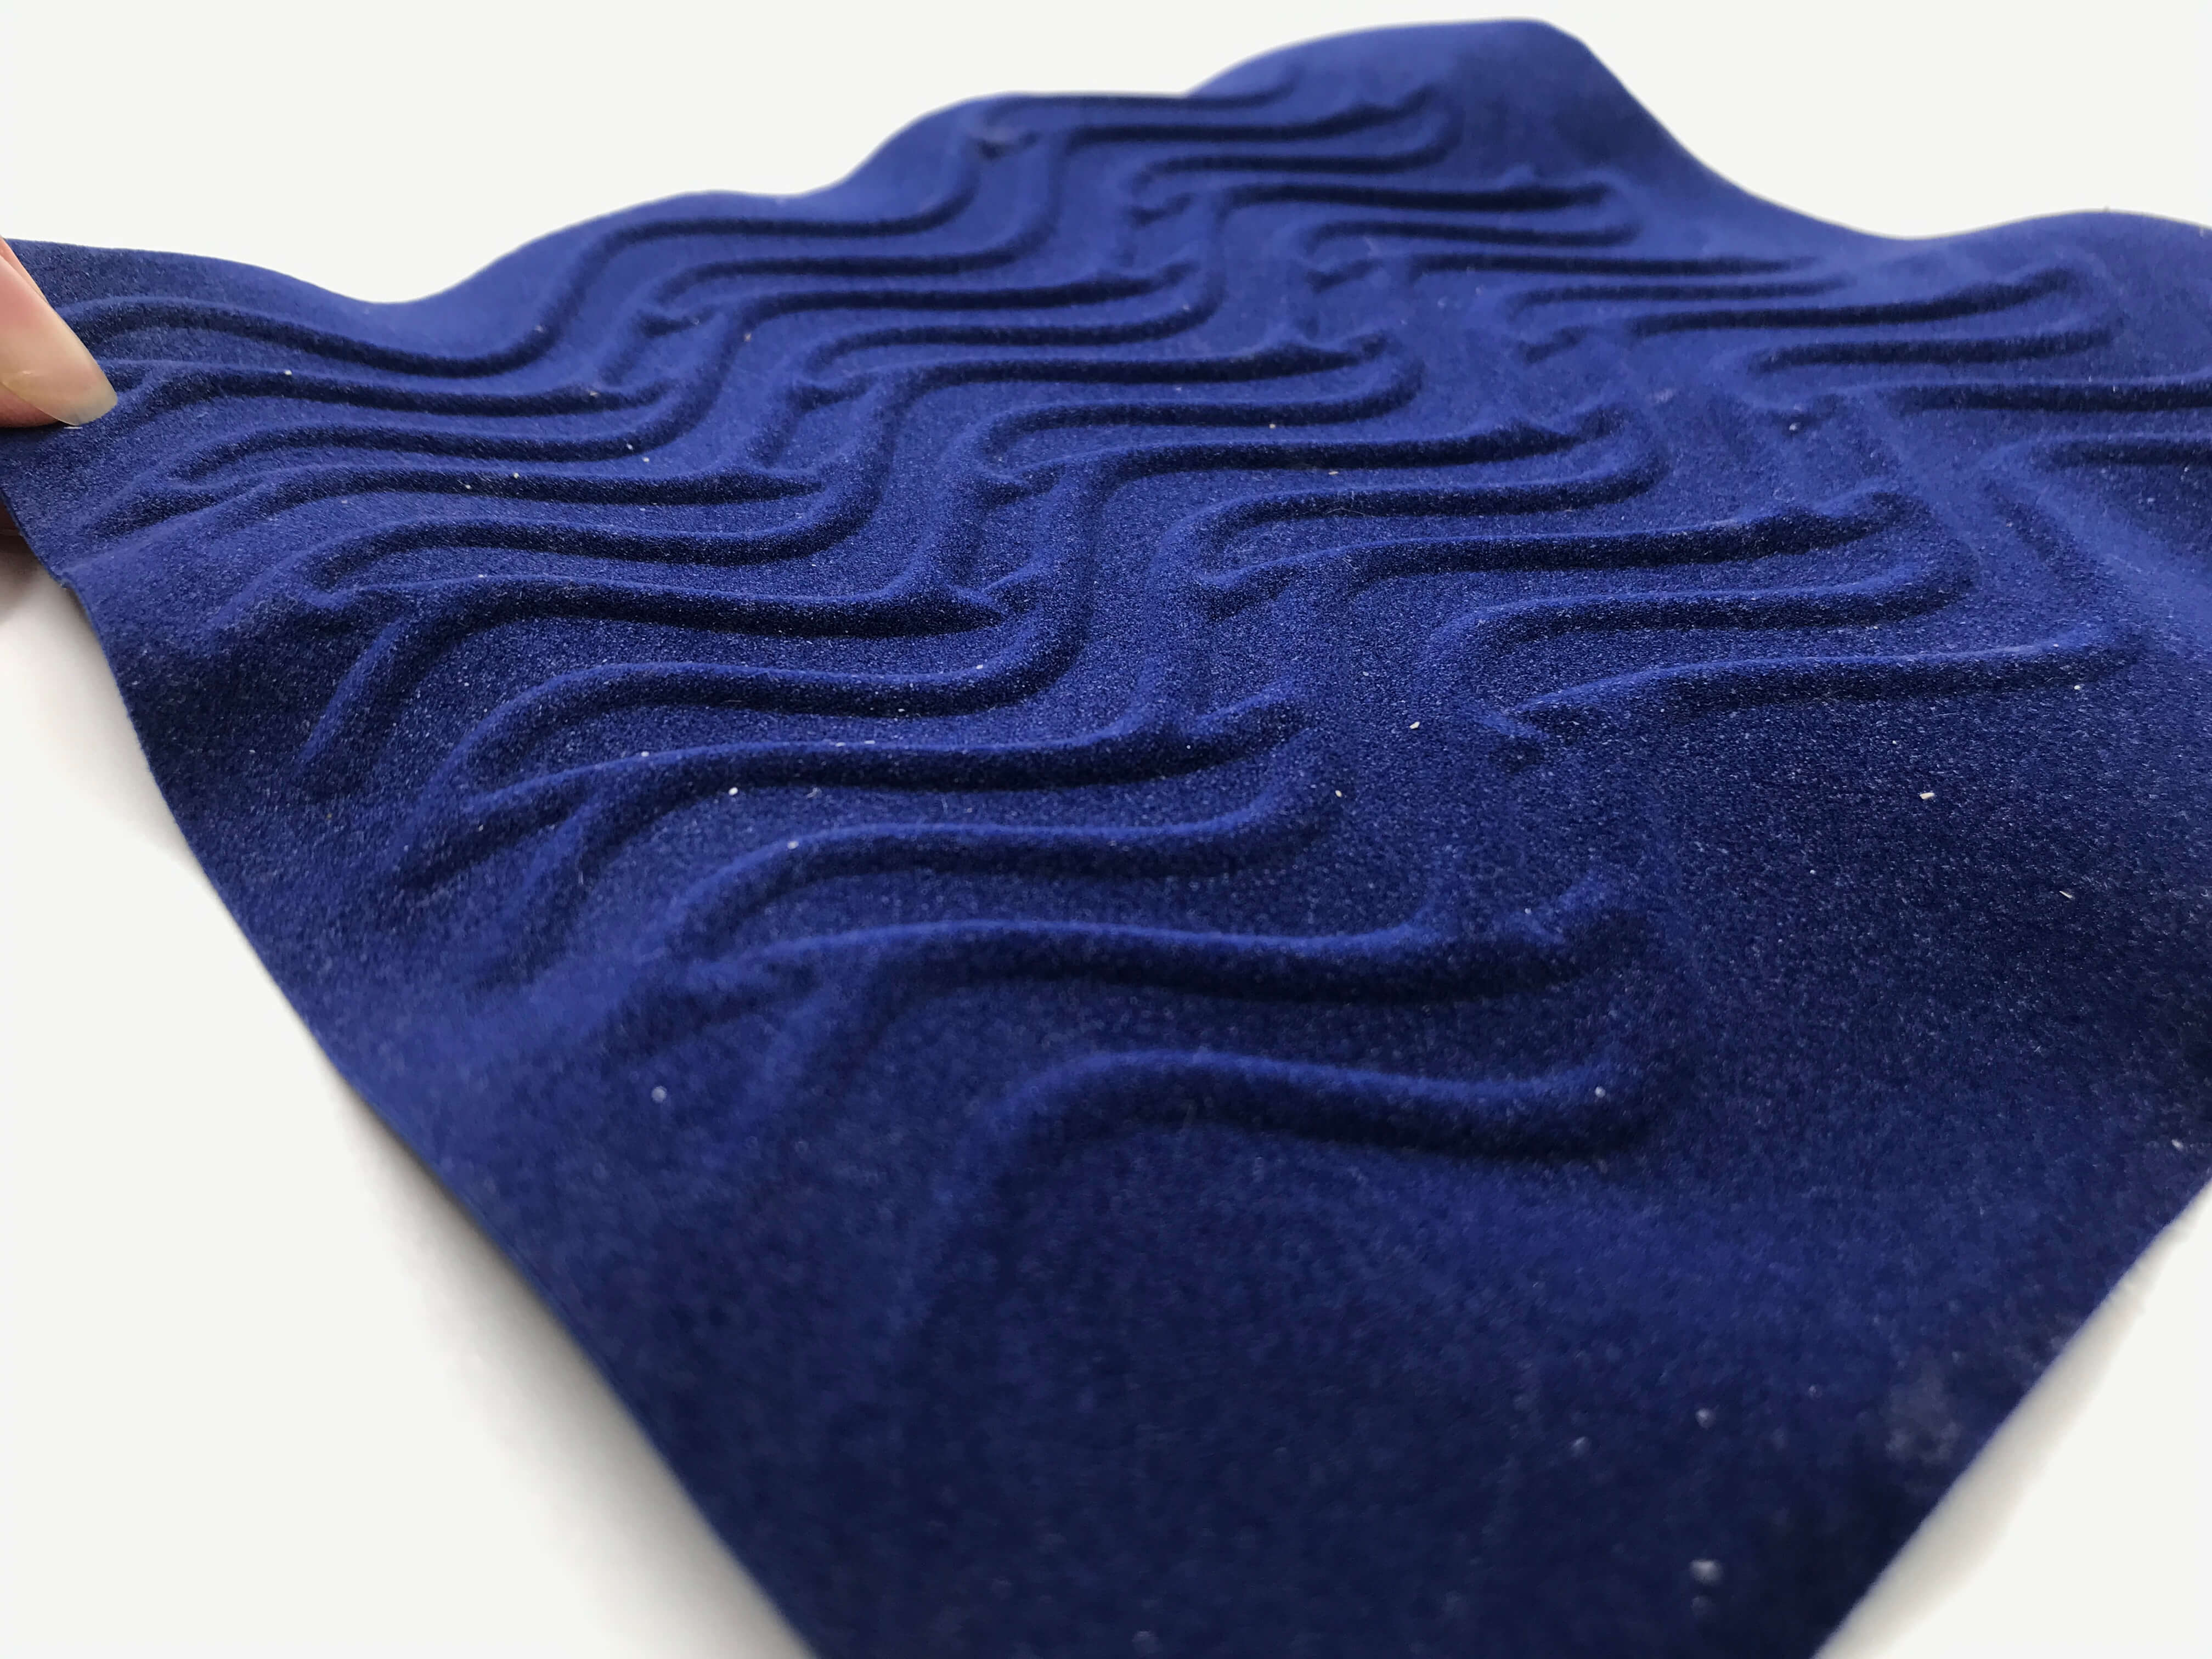
Flock is a heat transfer vinyl that gives your design an added dimension given a raised, soft, and textured suede/velvet feel that is a perfect alternative to embroidery.
| Brand | Material | Thickness | Flexibility | Visual | Structure | Texture | Strengh | Weight | Heat temperature | Heat time |
|---|---|---|---|---|---|---|---|---|---|---|
| SINOVINYL | PVC | 1 mm | Low | Matt | Nonwoven | Velvet (top), shinny plastic (bottom) | High | 30 g | 150-160°C | 8-12 s |
TOOLS
- double-sided tape, baking paper, acrylic sheet (1 mm), tweezers, scissors, heat transfer vinyl
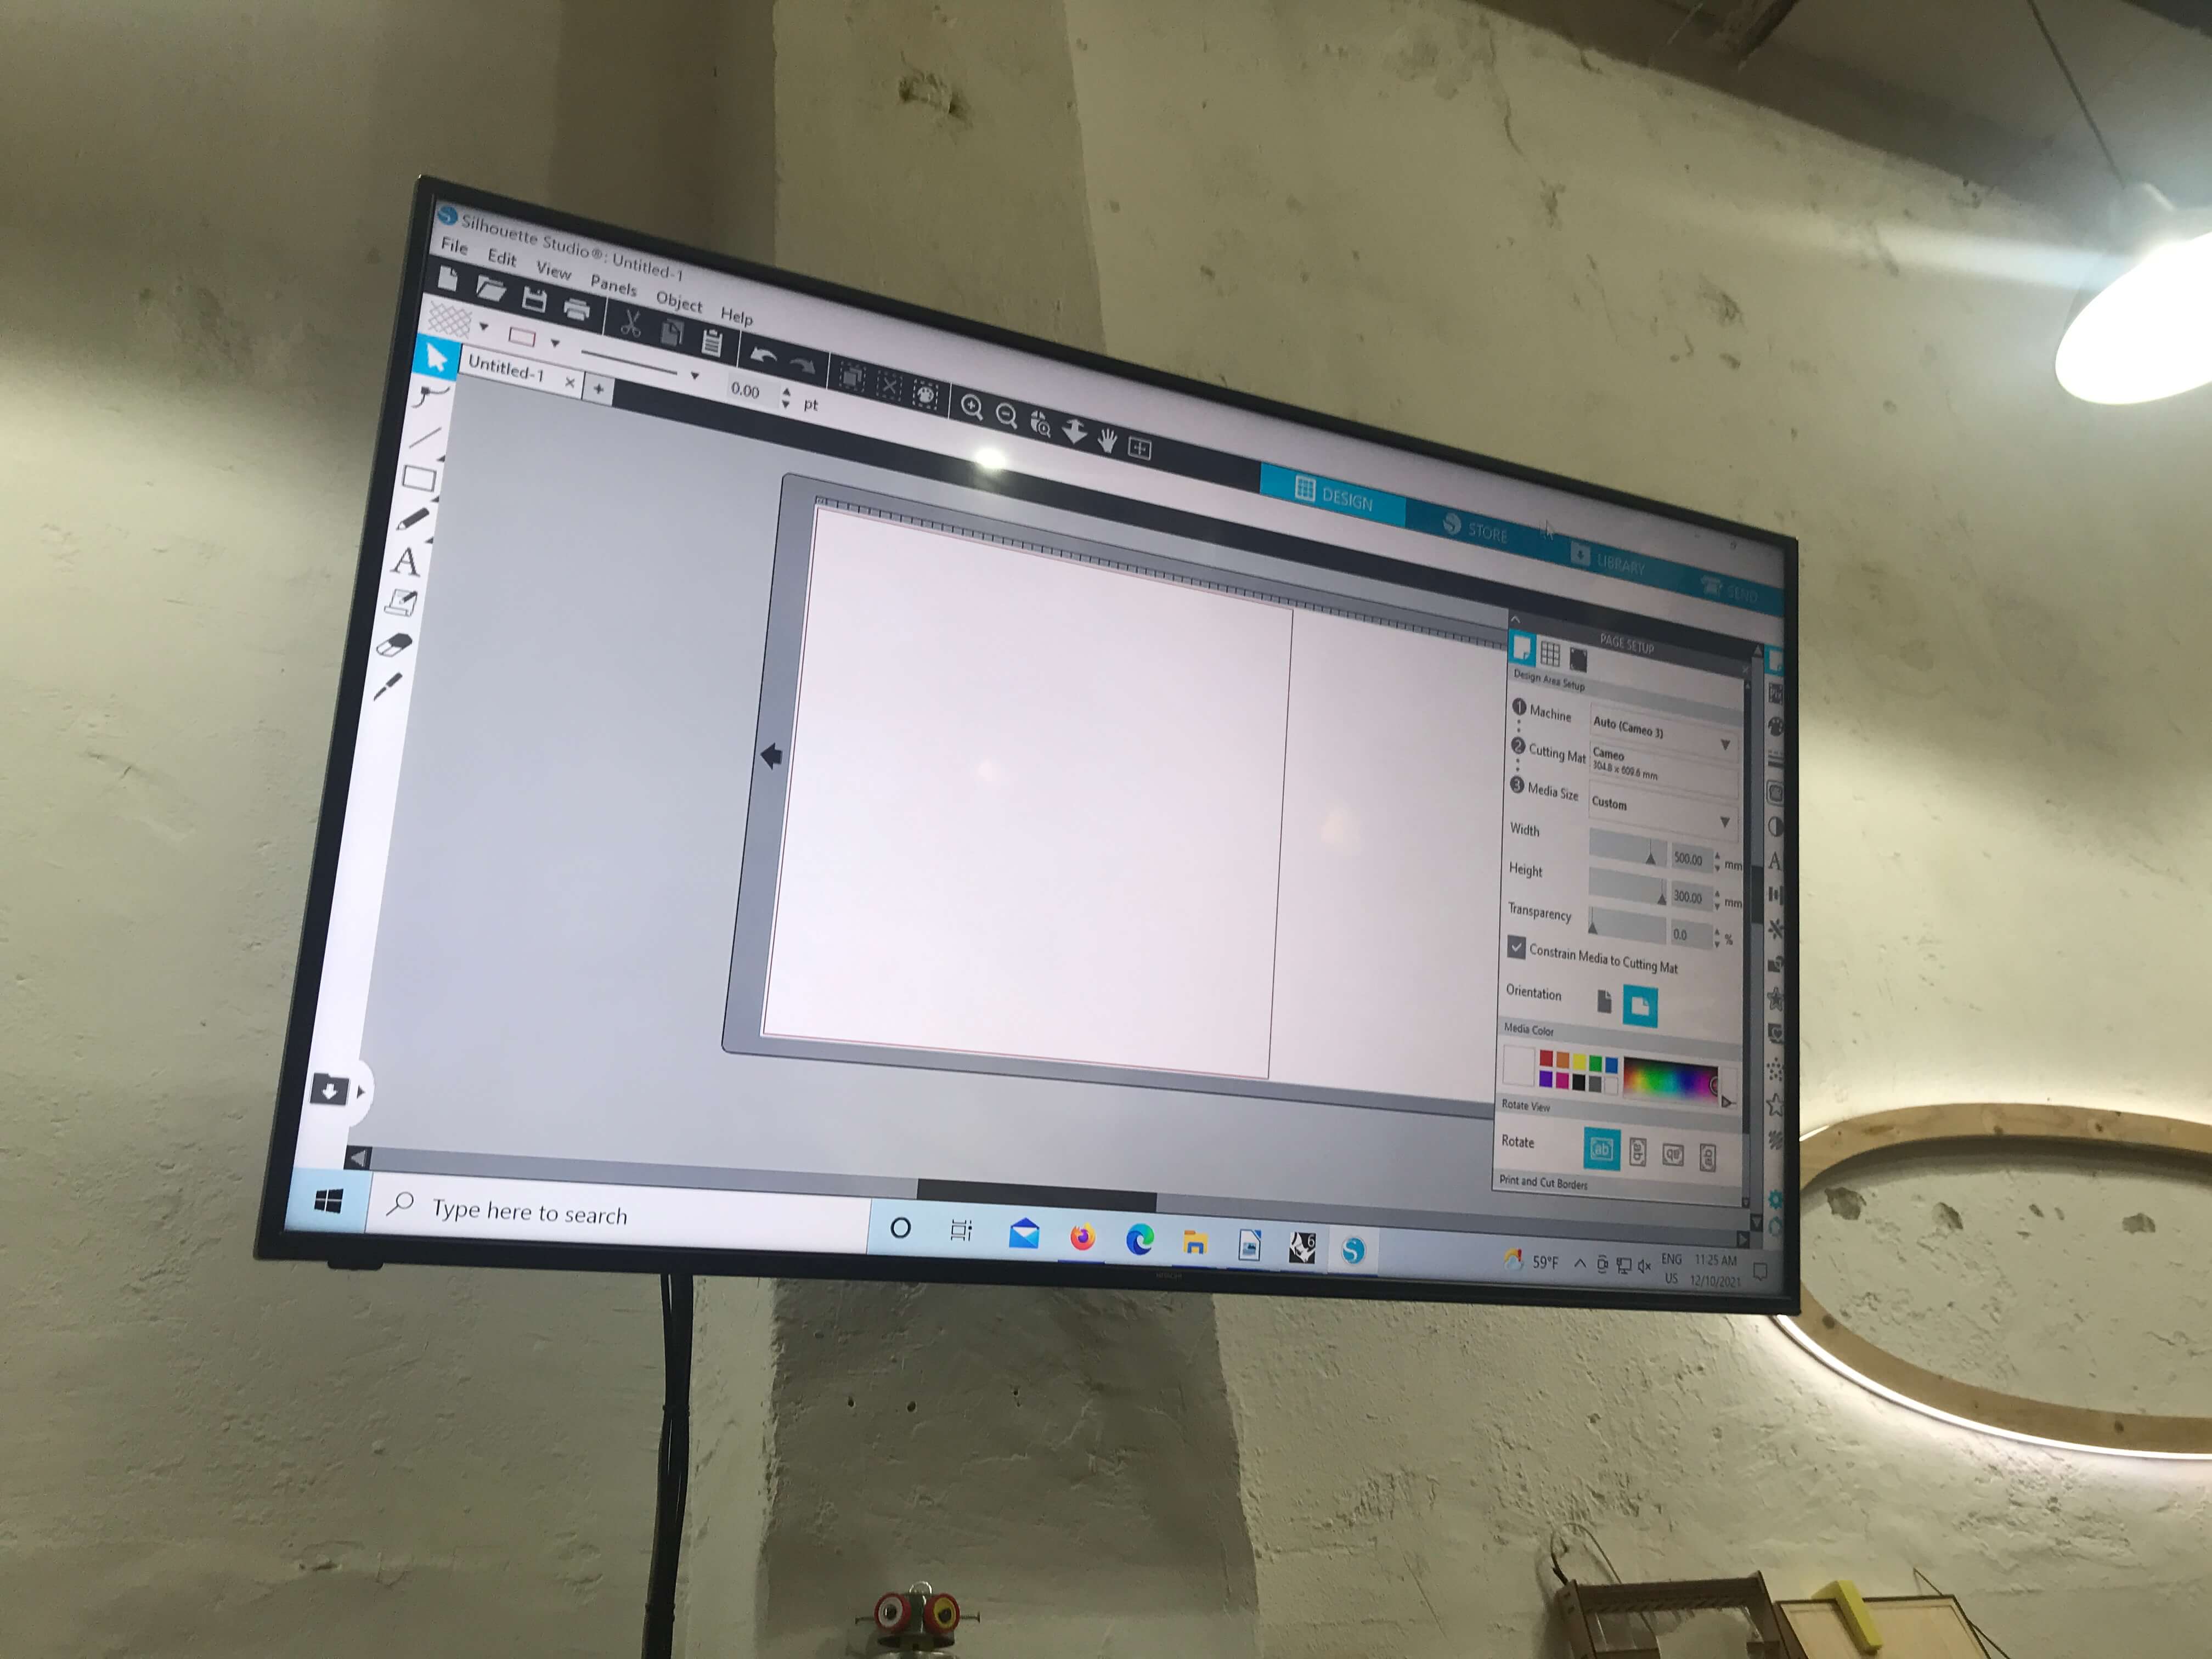
PROCESS
| Material | Thickness | Blade depth | Force | Speed | Passes | Cutting time |
|---|---|---|---|---|---|---|
| Baking paper | 0.1 mm | 1 | 10 | 5 | 1 | 2 min 3 s |
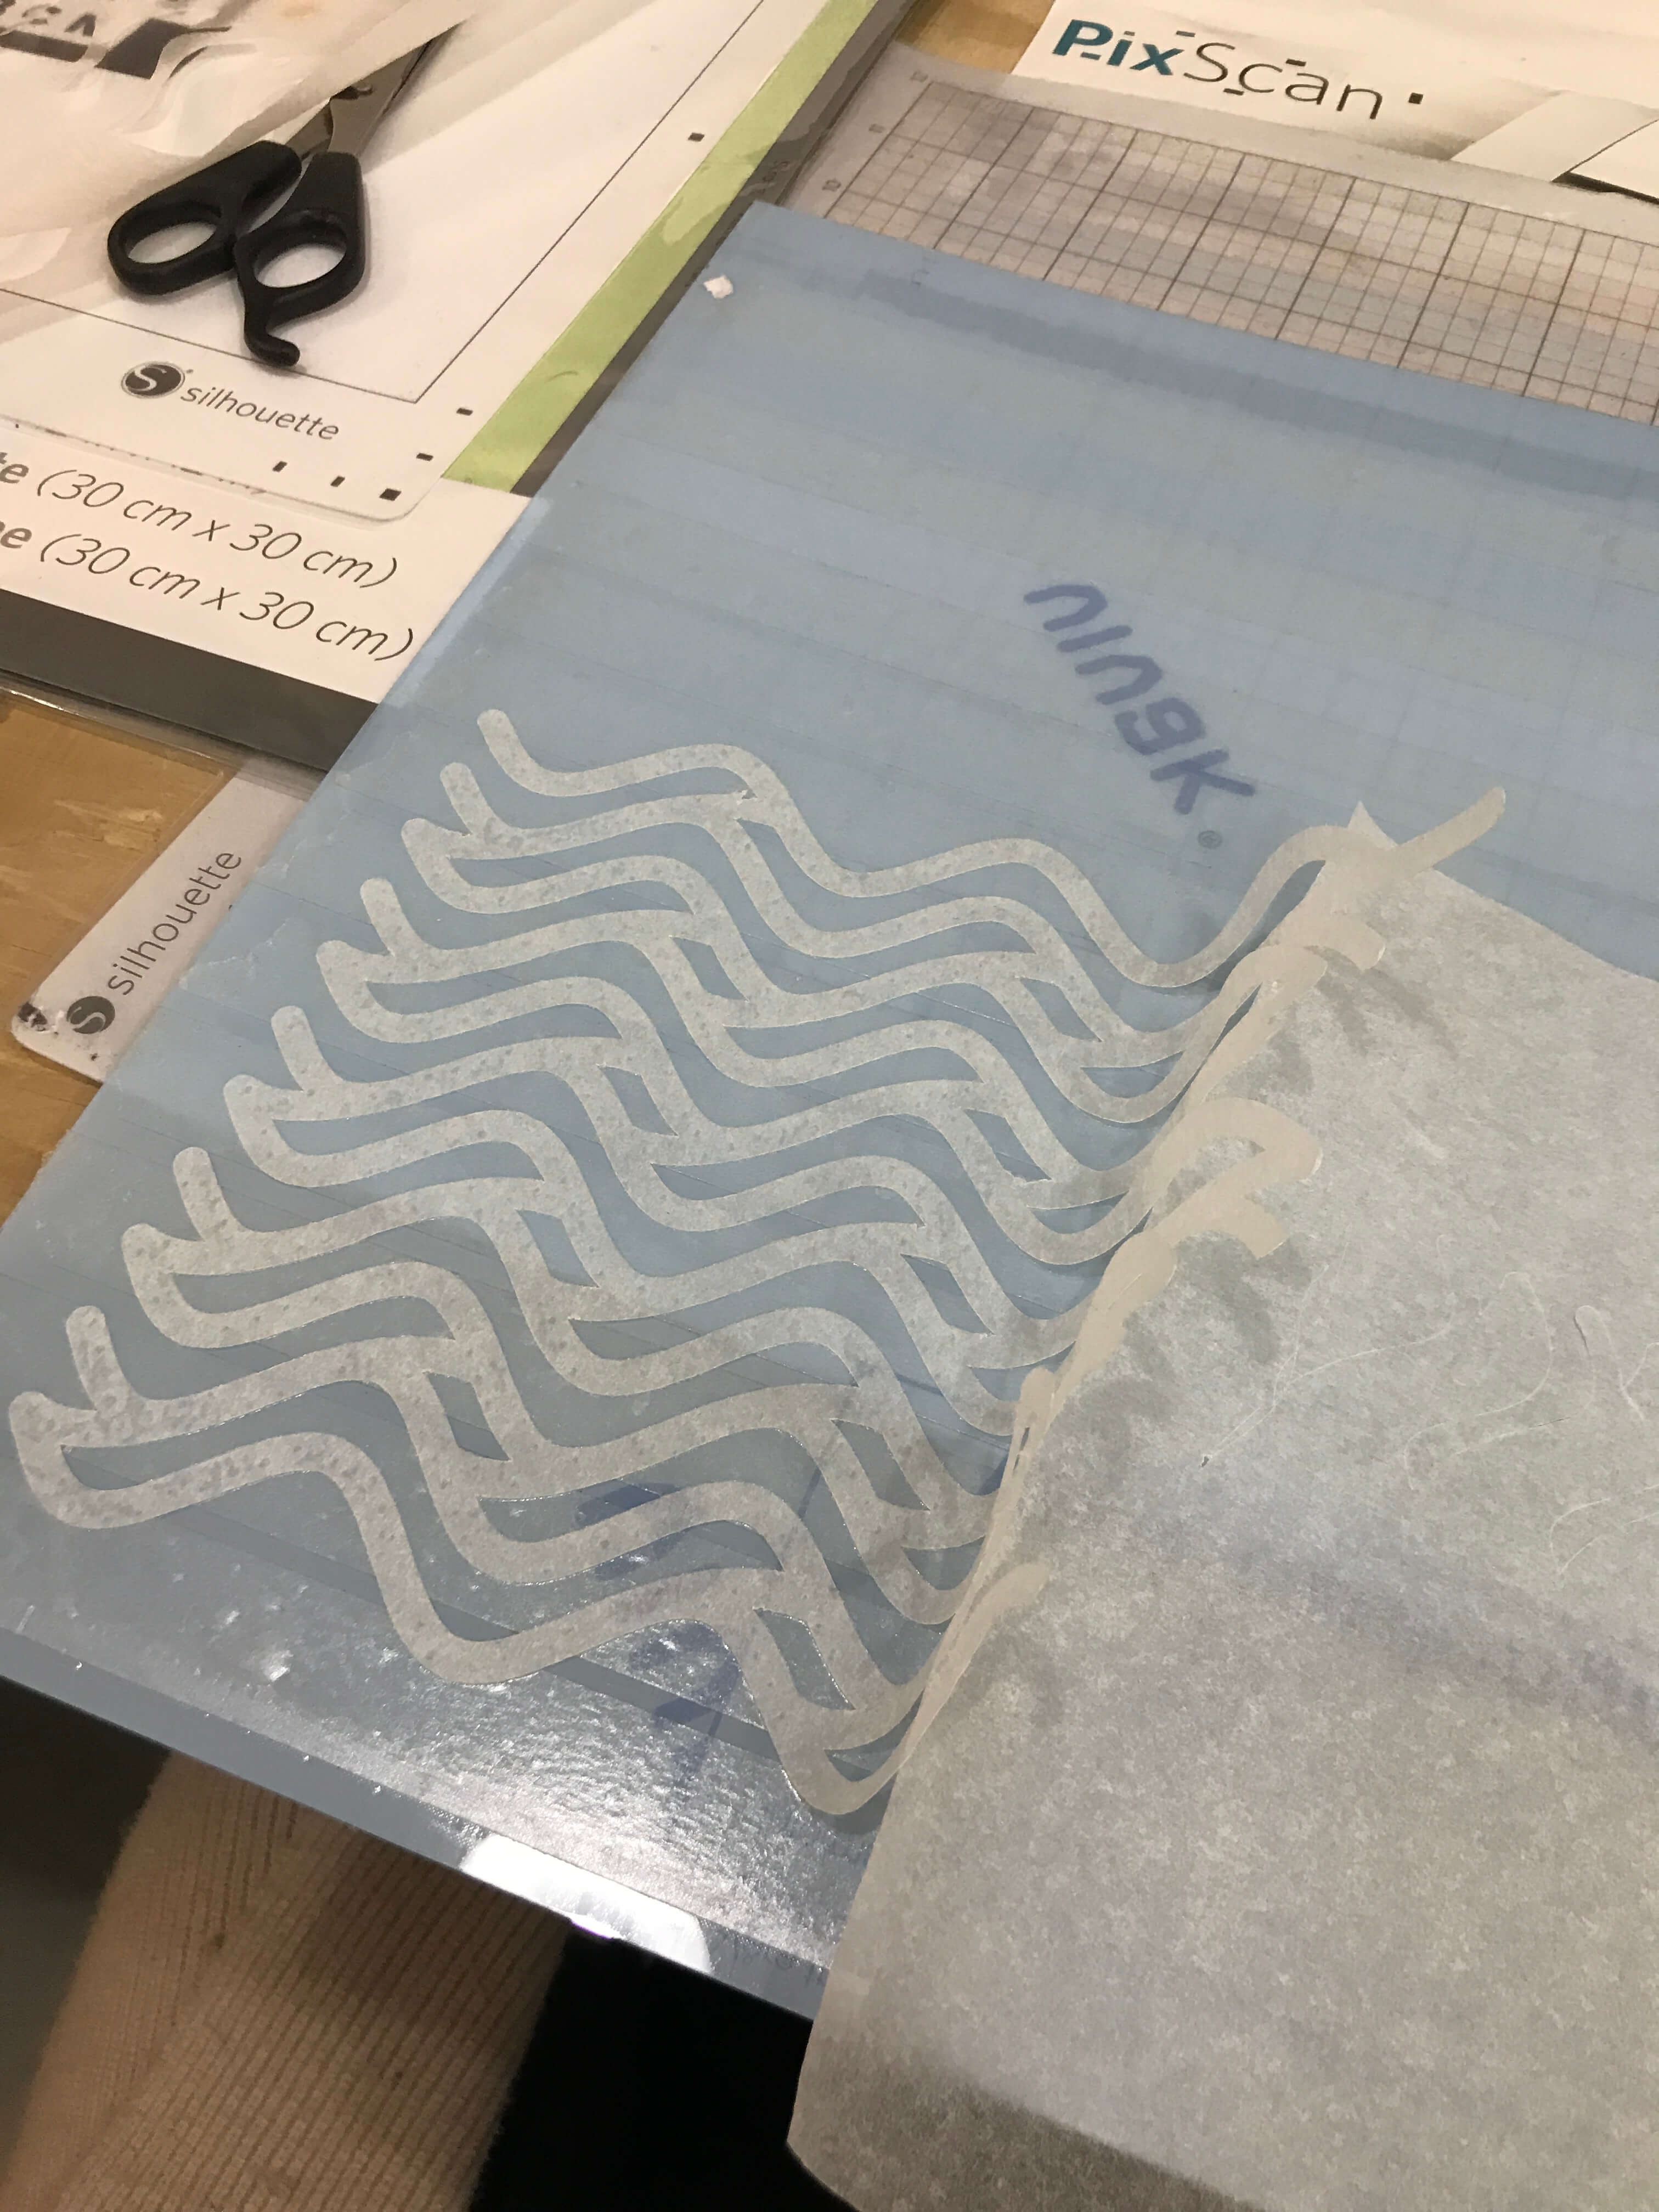
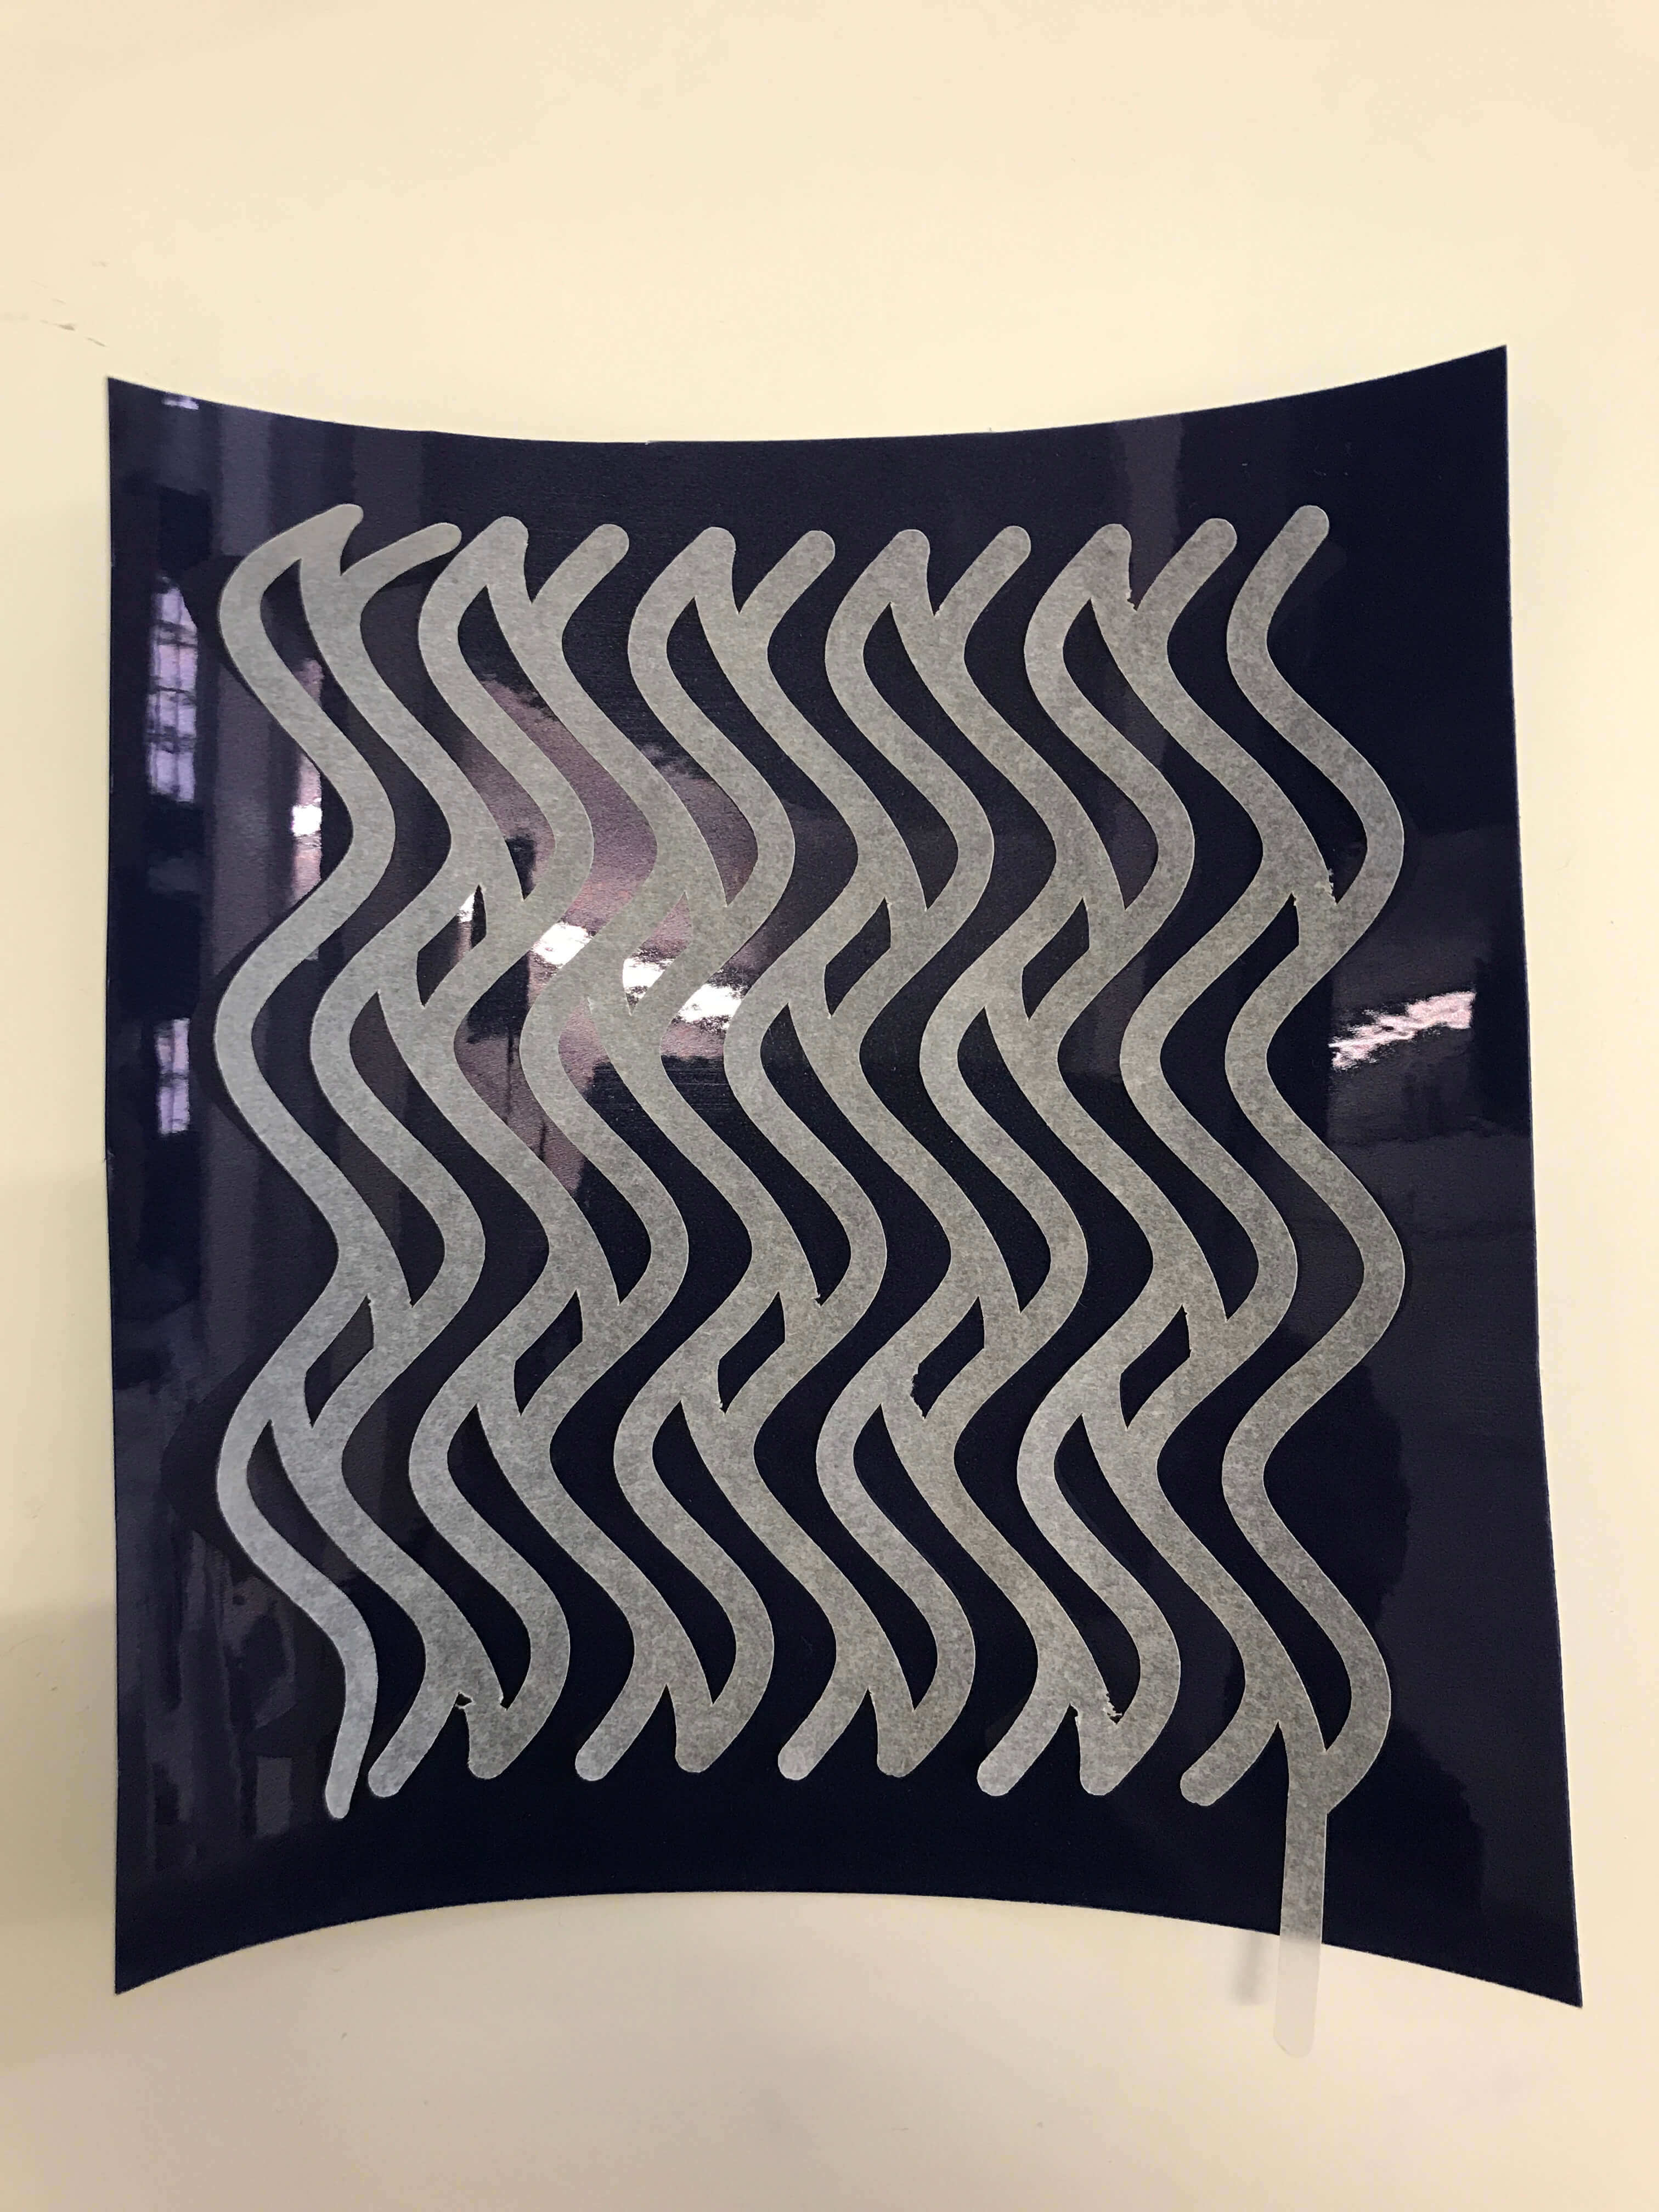
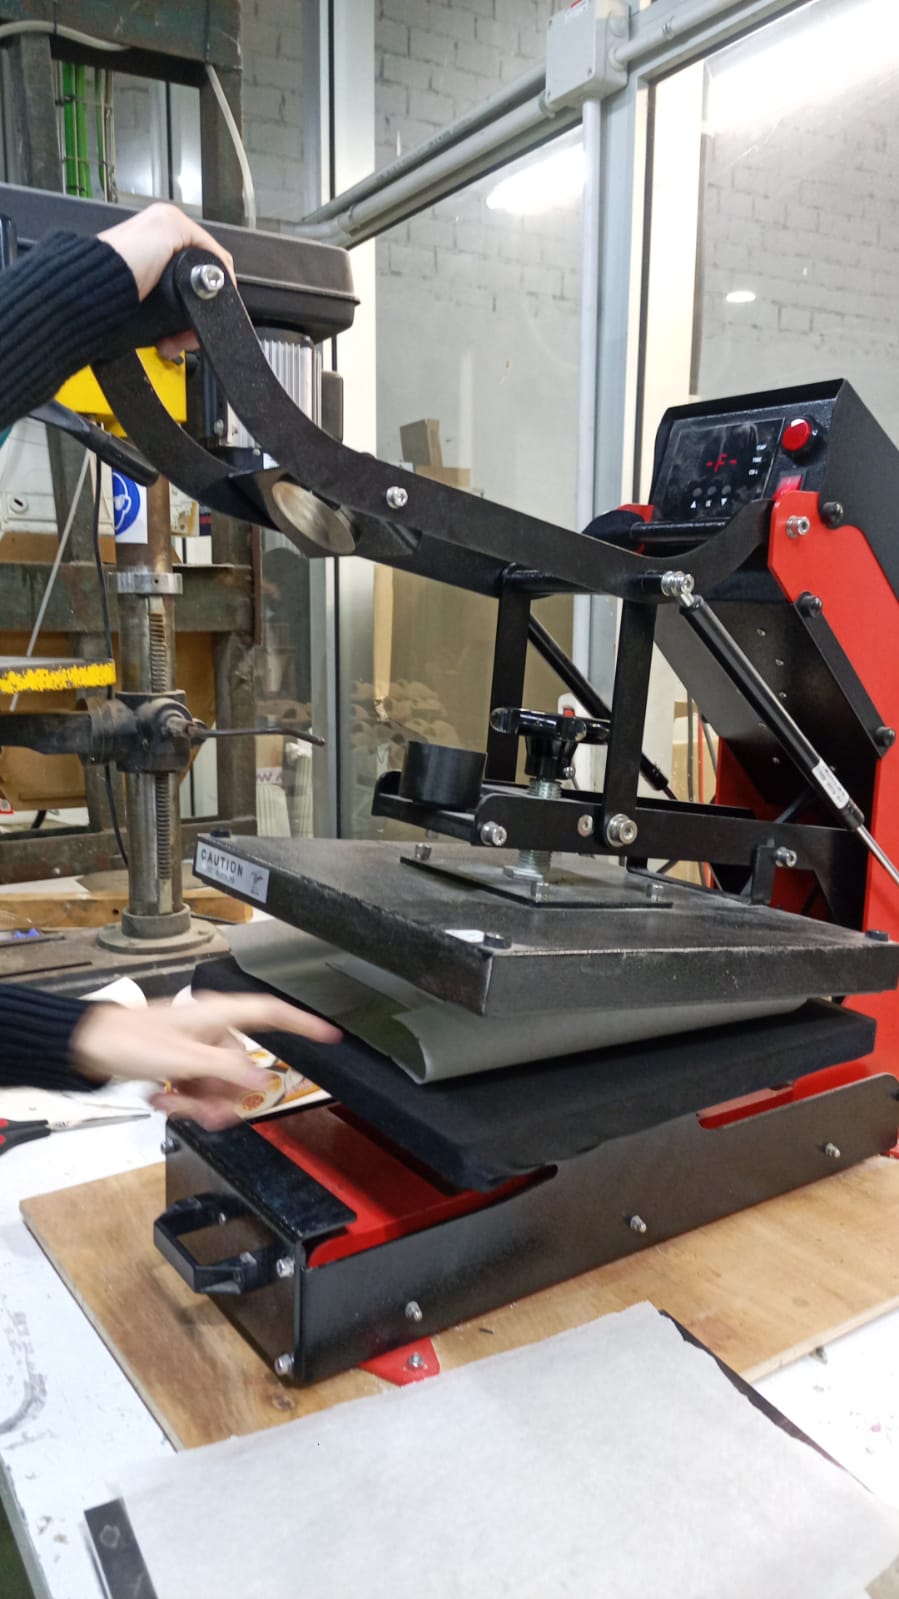
HEAT PRESS
PROCESS
- Remove plastic layer of the heattransfer vinyl fabric. Place your baking paper with the geometry on the top of the vinyl fabric and cover it another one. - The fluffy side outside, the shinny one inside. - The shinny one will melt them together. - Use heatpress with the parametres below. Do not forget to use a baking paper - one layer on the bottom and one on the top. - Let it cool down on a flat place - you can put a book on the top.
| Name | Temperature | Time |
|---|---|---|
| Heatpress something | 130ºC | 30 s |
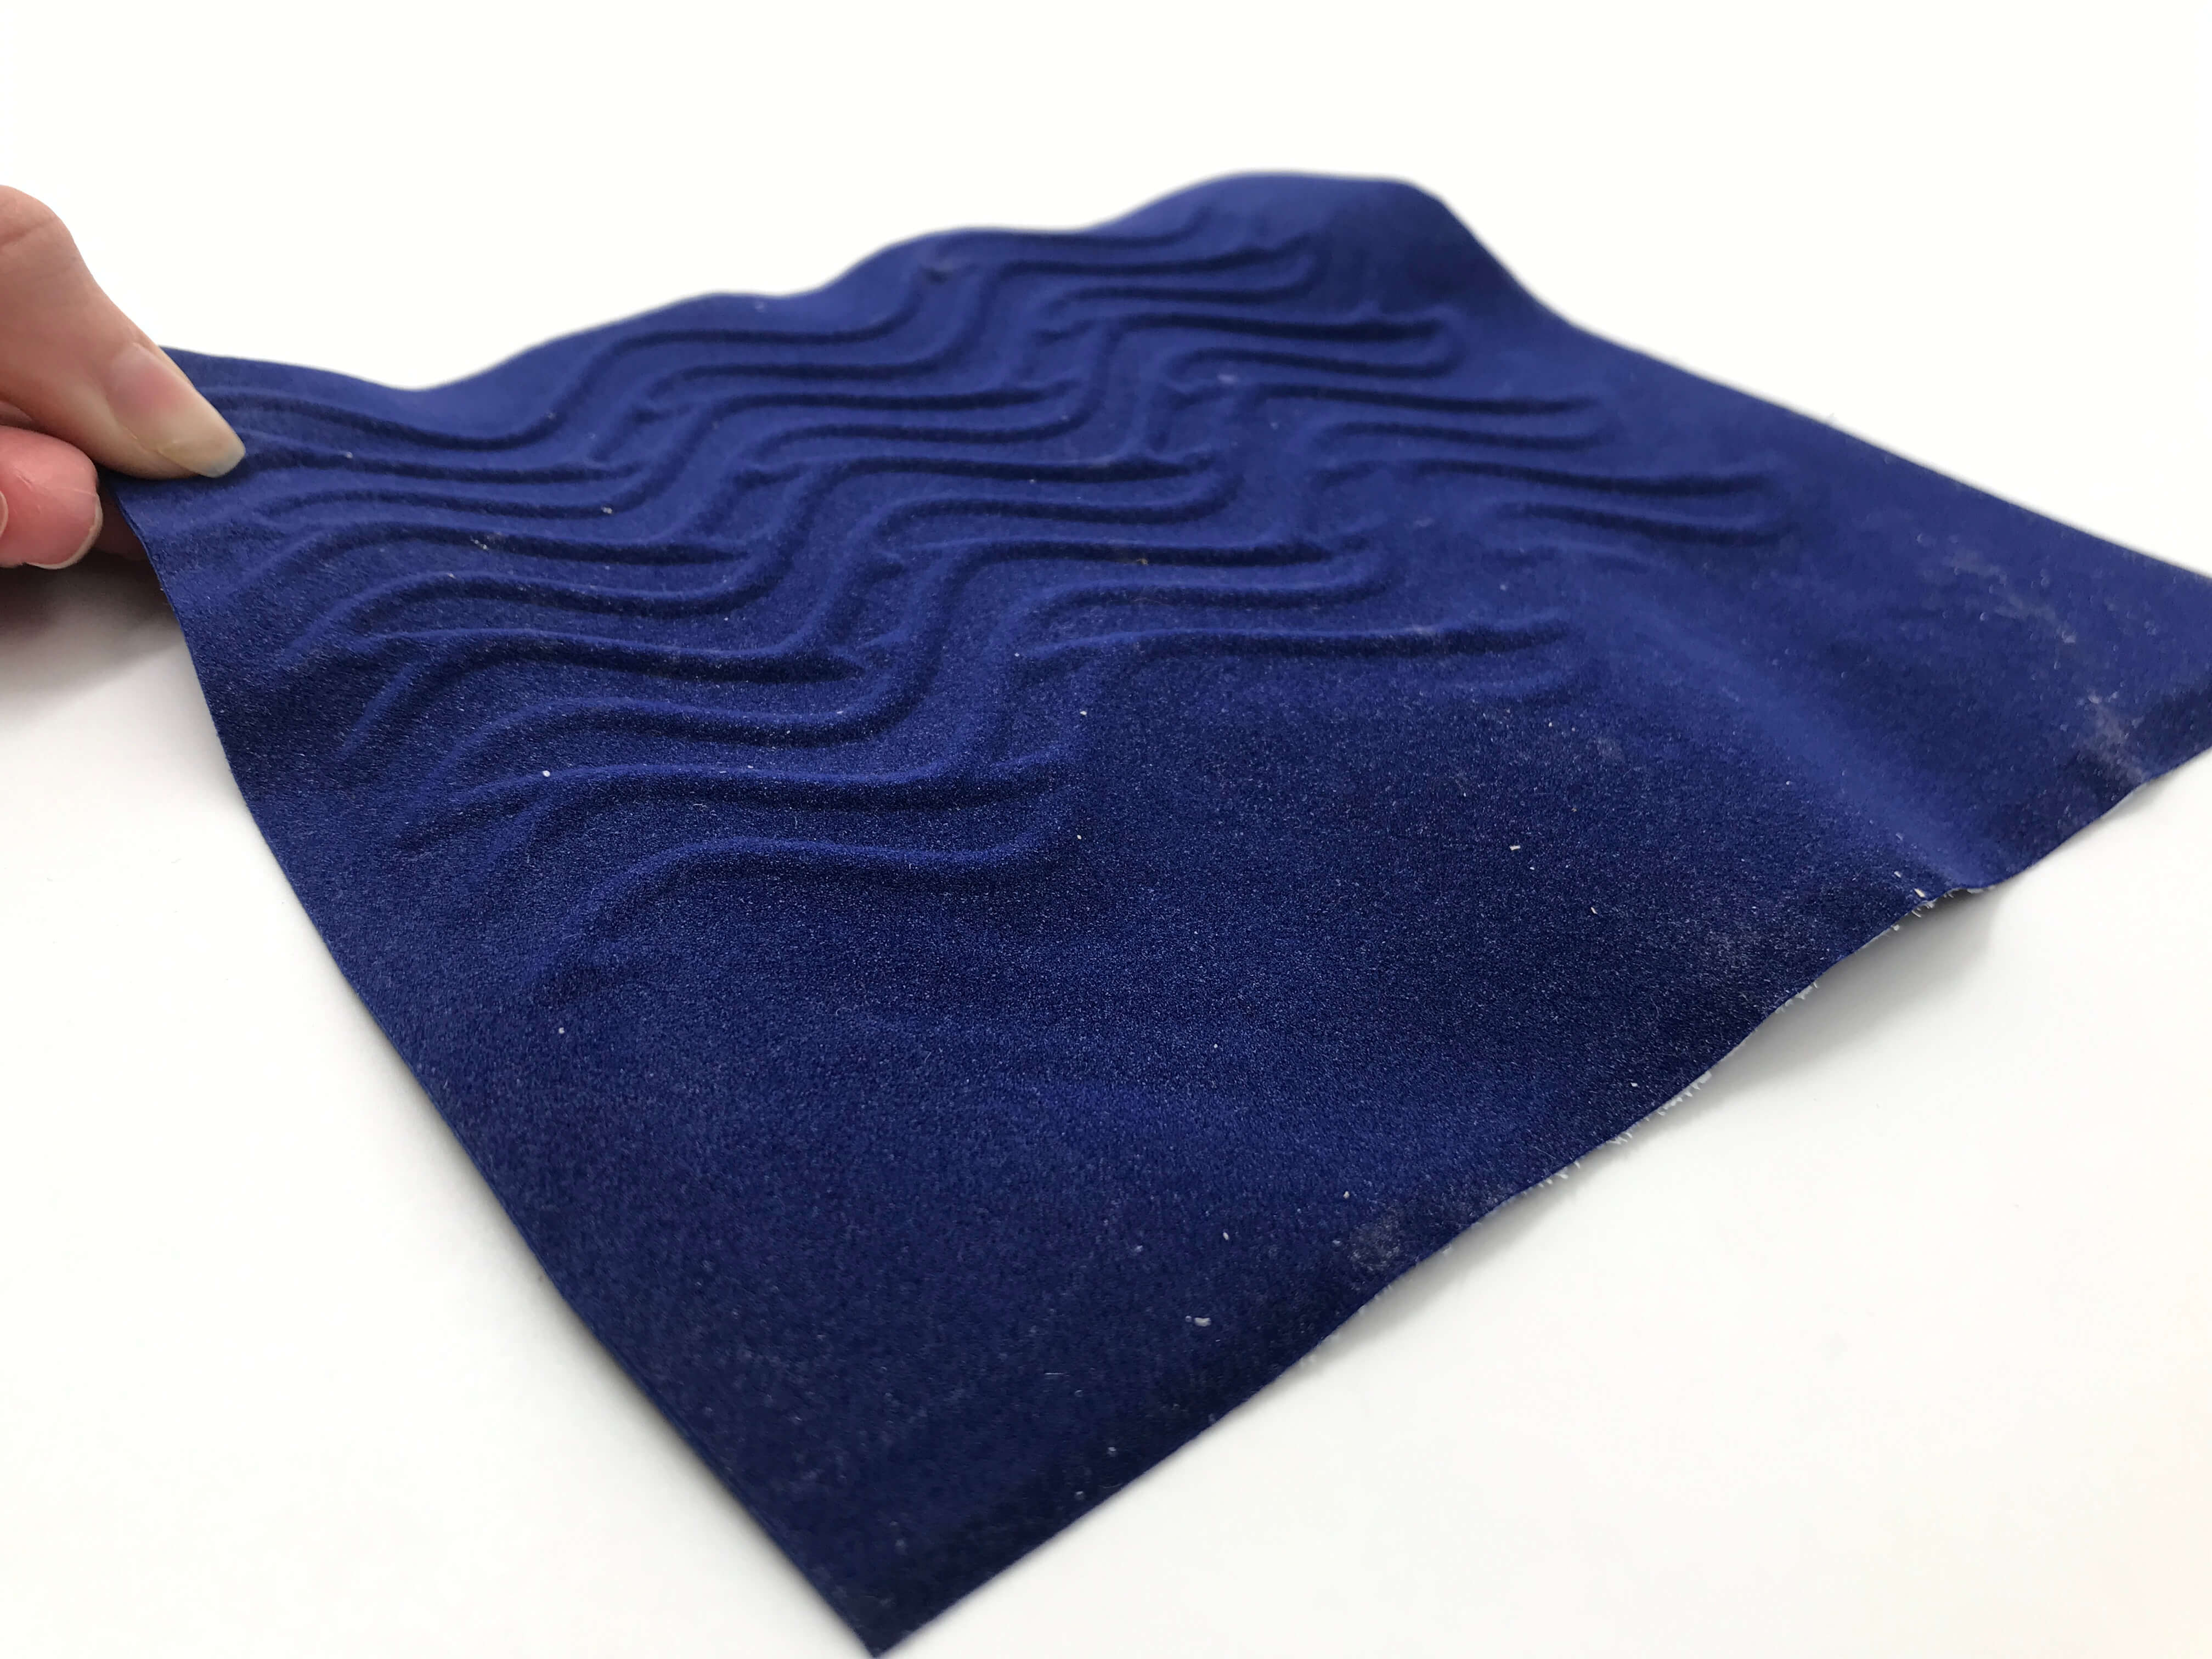
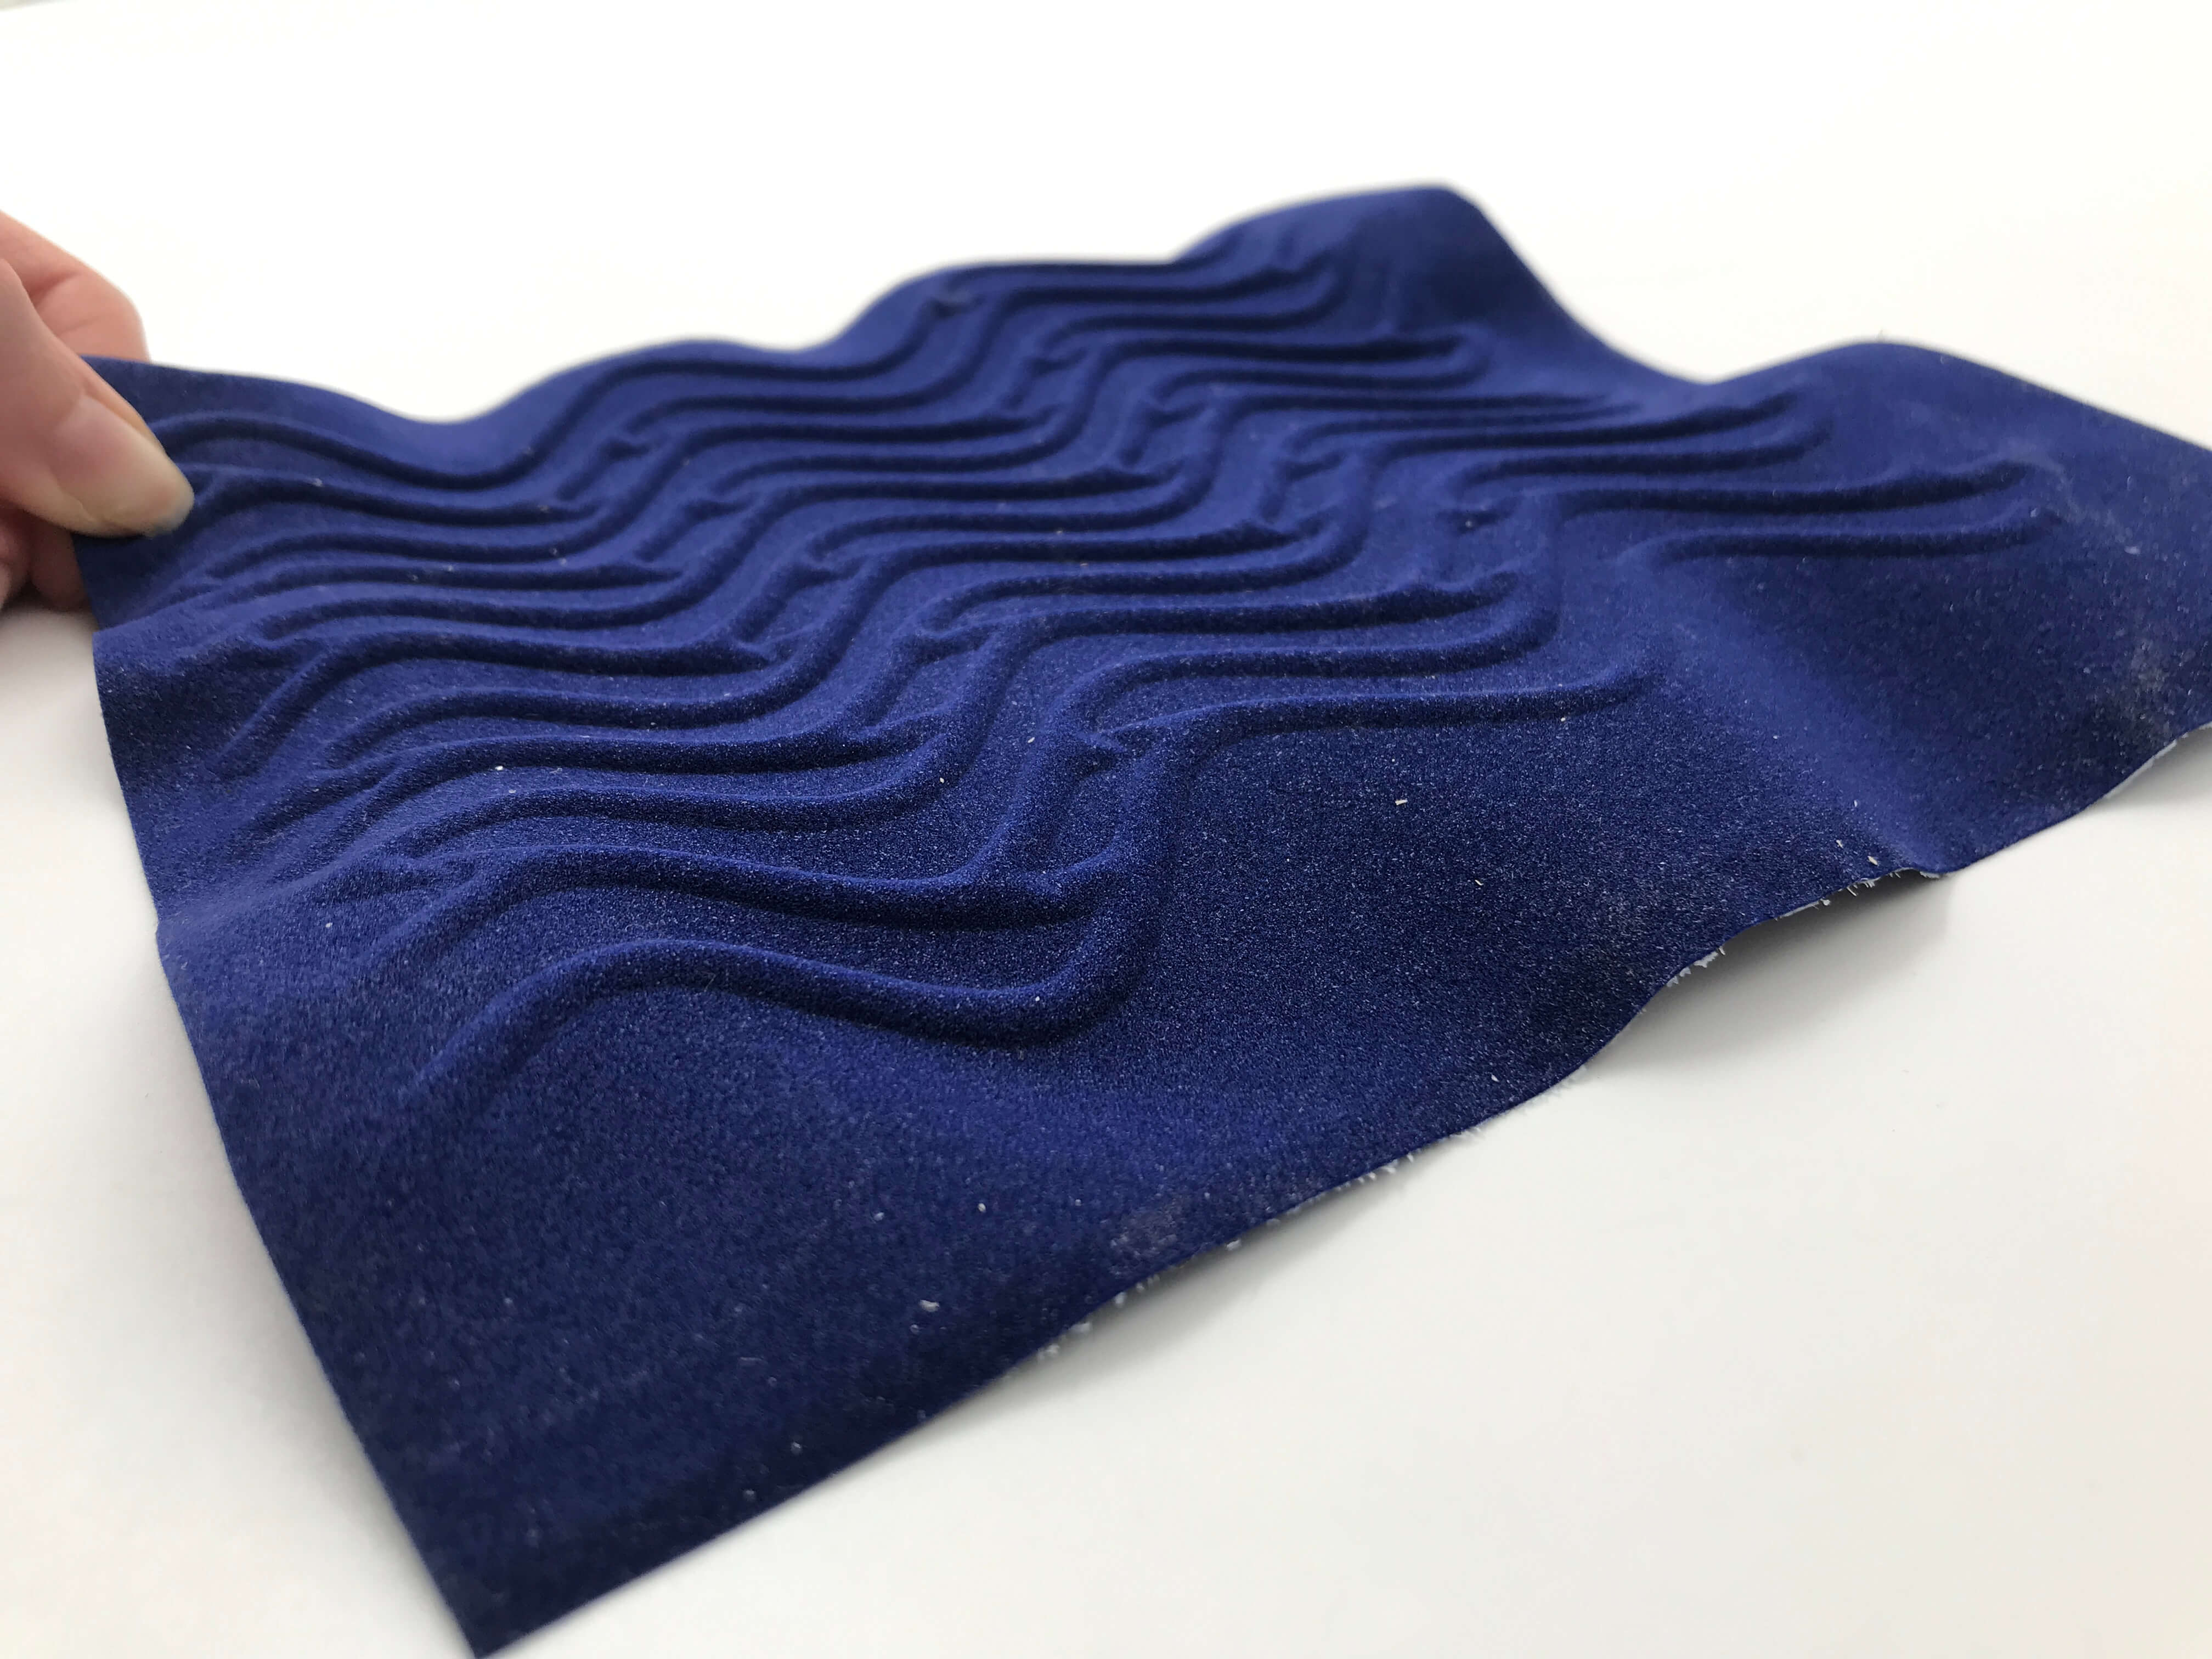
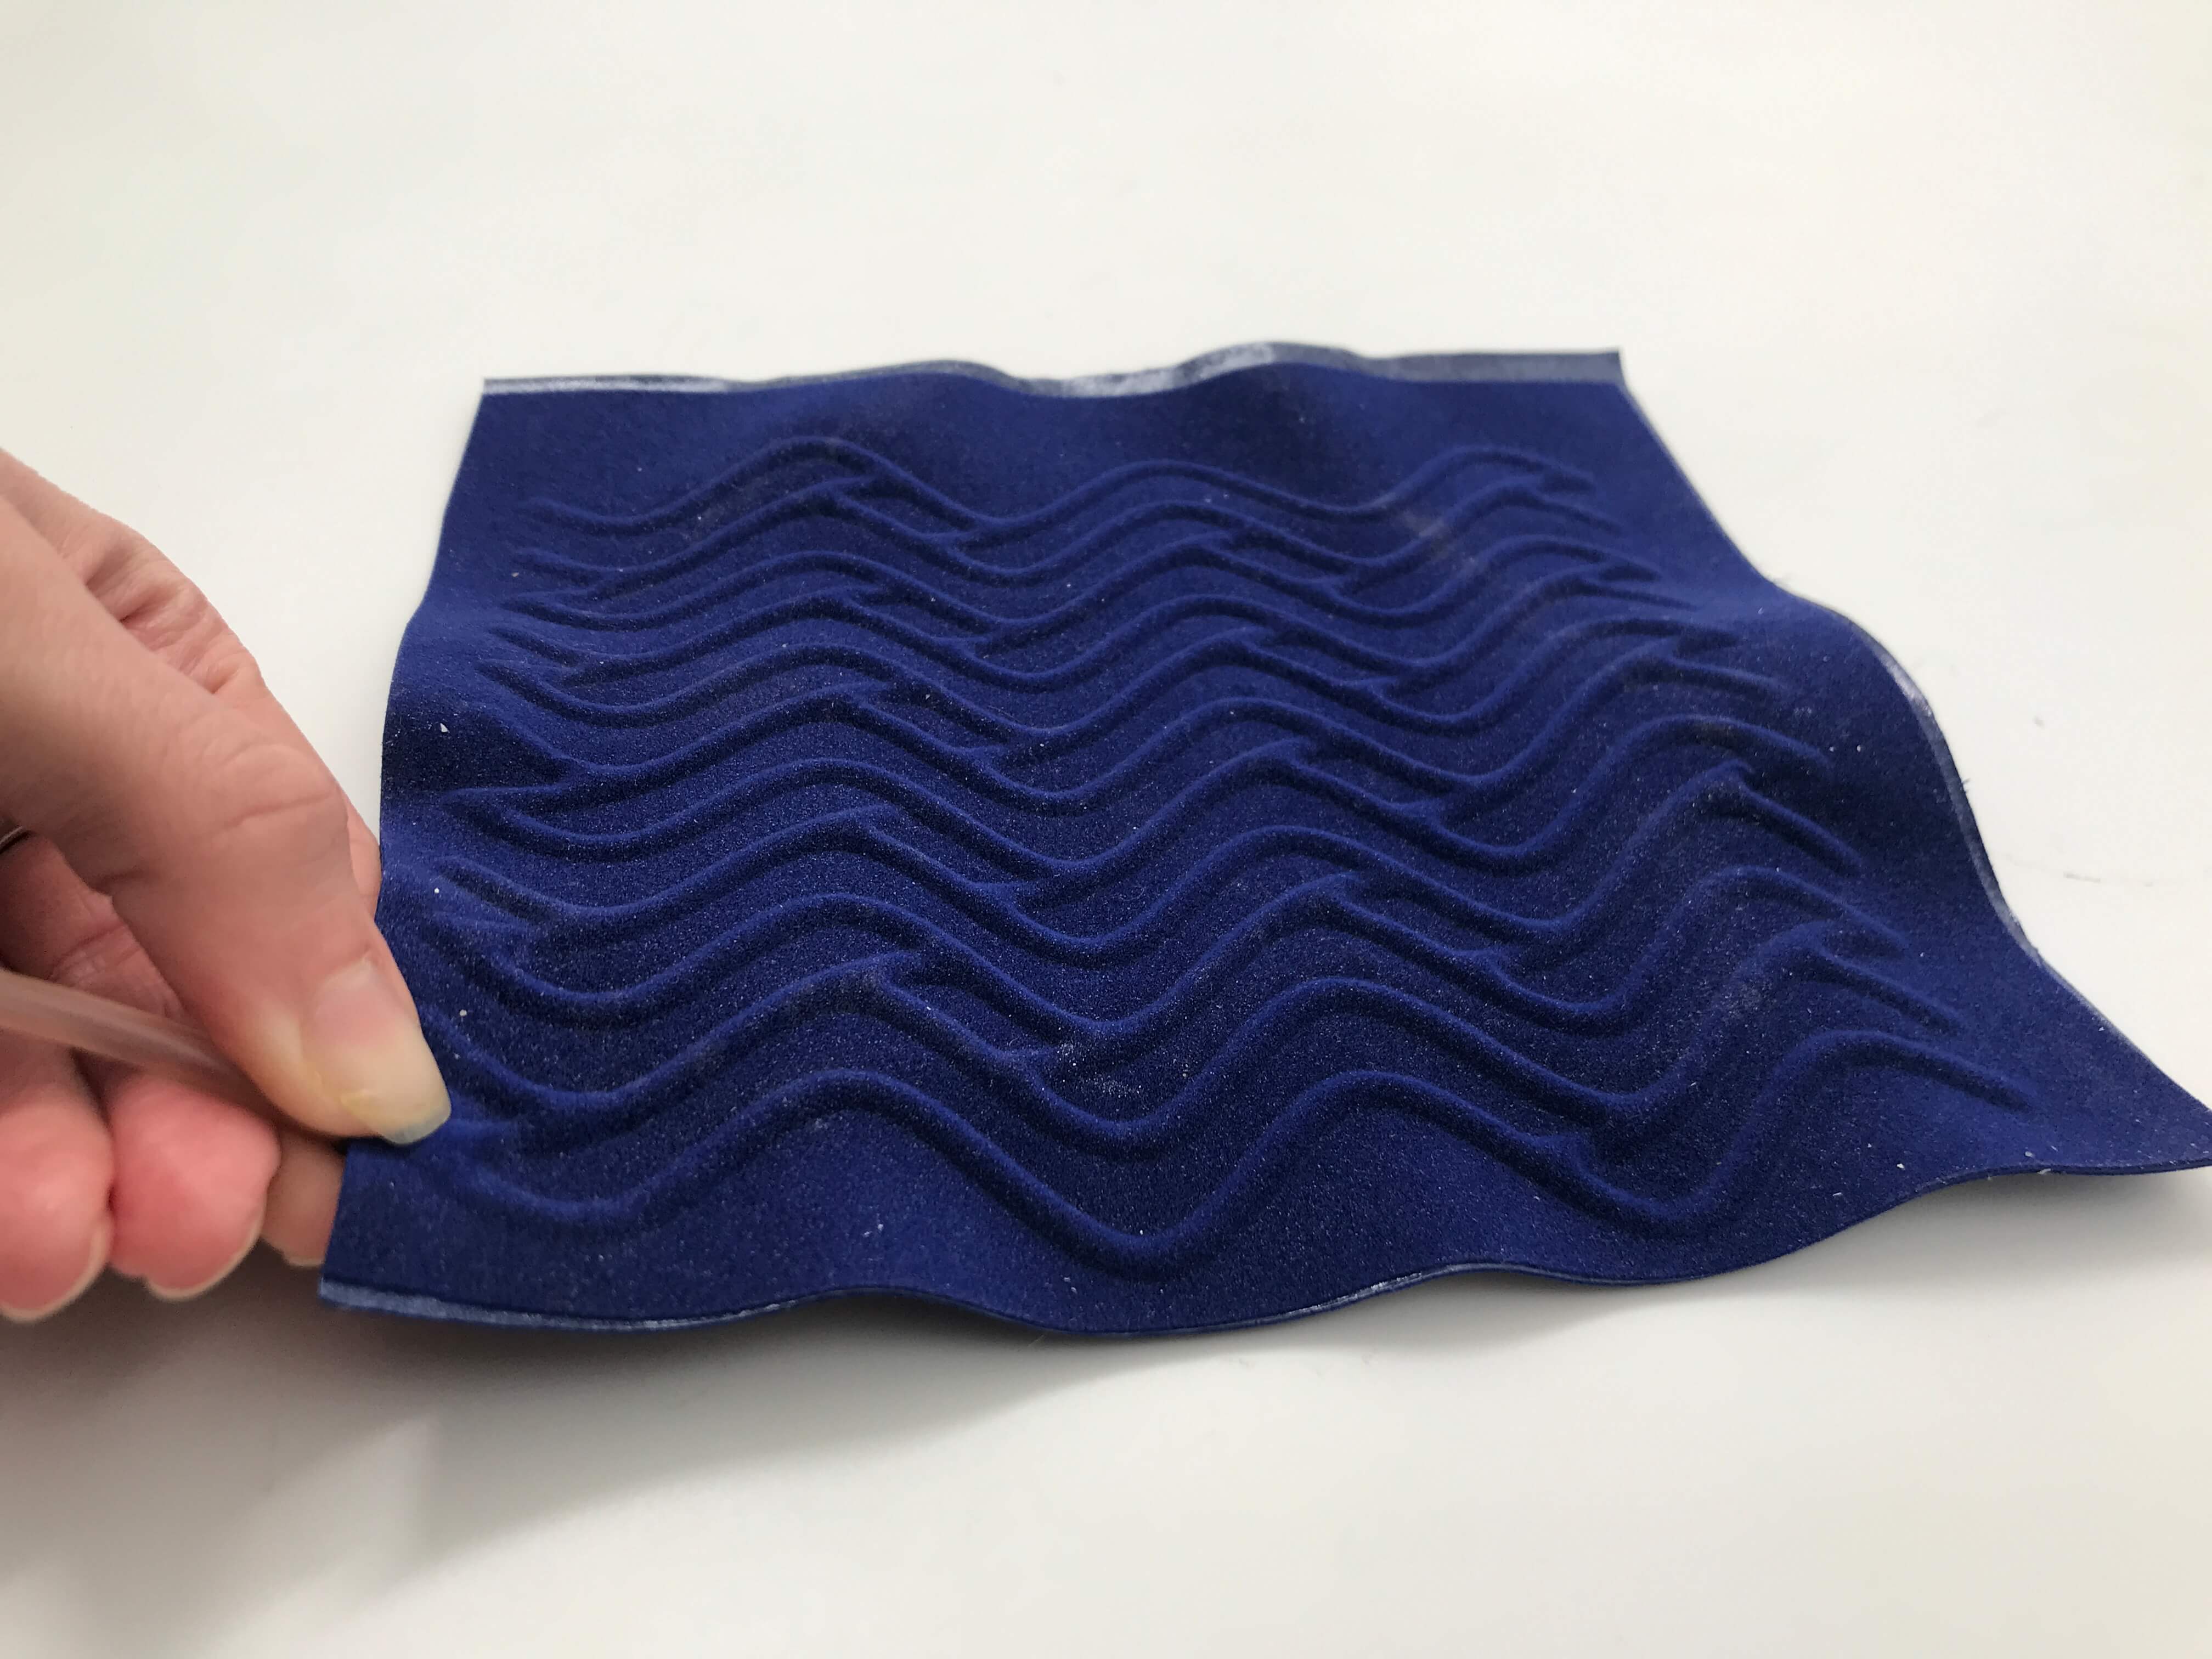
RESULT

| INFLATING |
TOOLS
- plastic pipe, shyringe
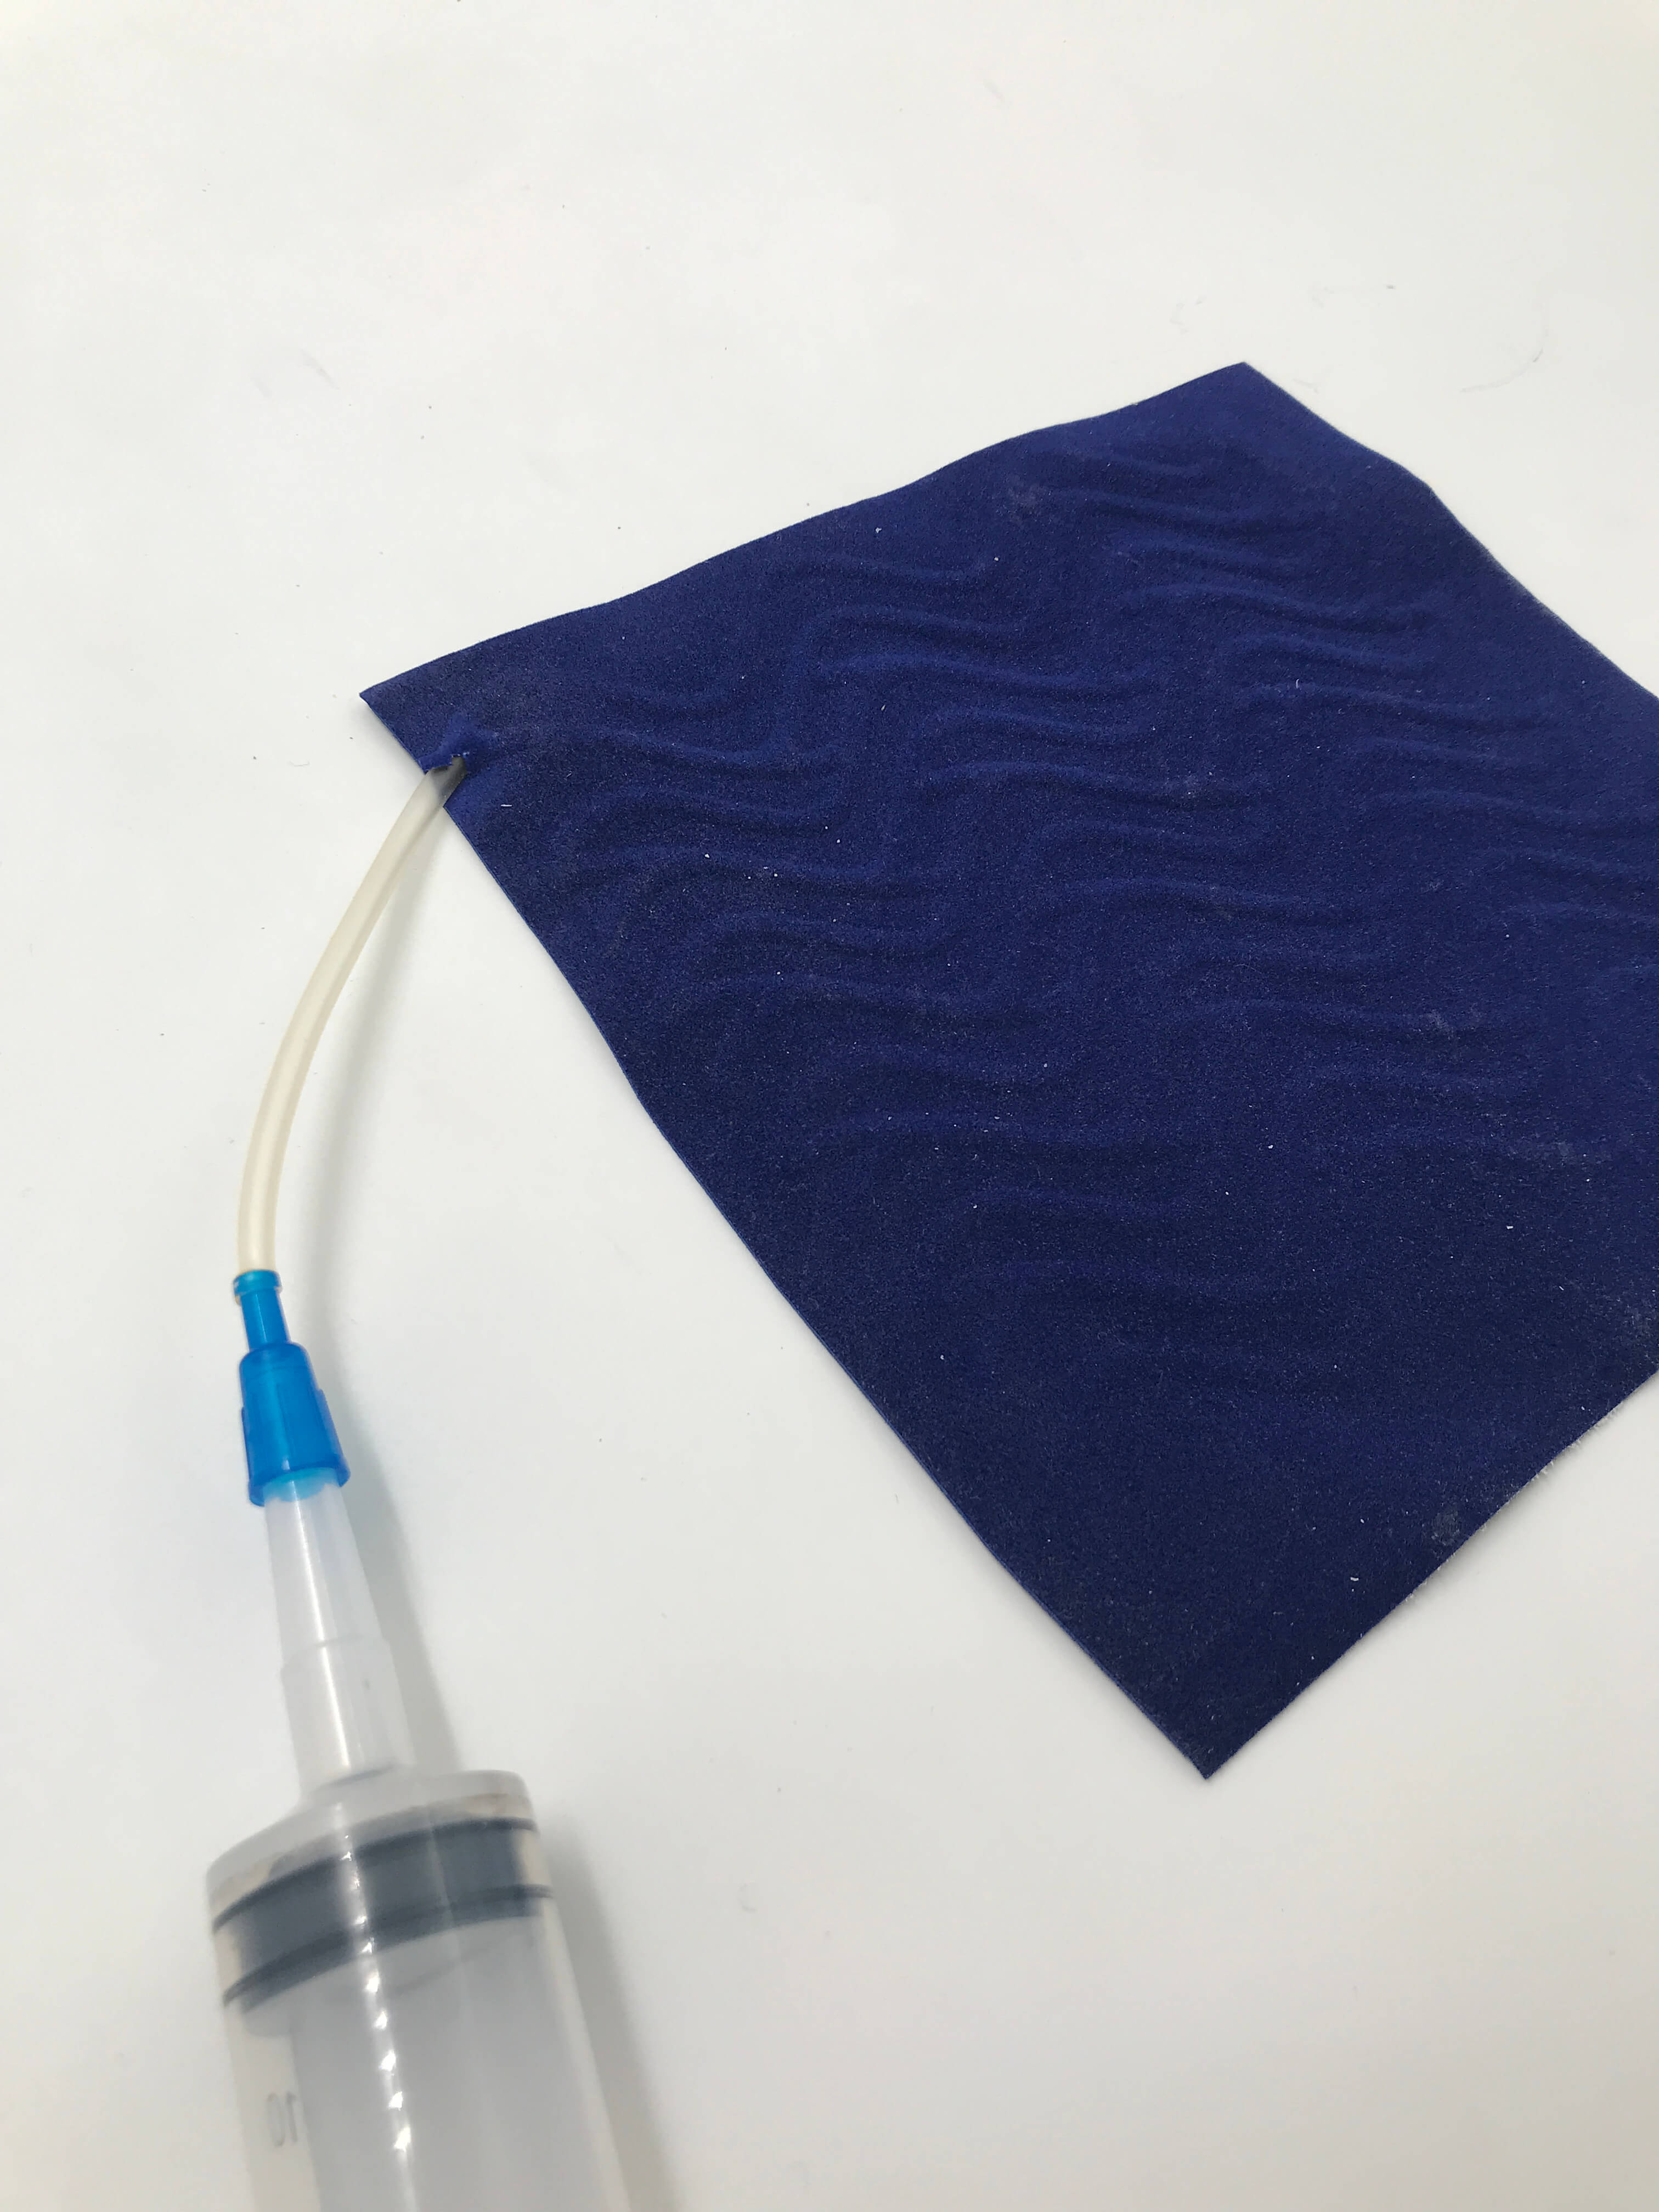
* Put the plastic pipe in the hole you kept as an opening. Maybe you will need a scissors to make it bigger. You can inflate your prototype using a shyringe or by mouth. Probably you will also have to press it more with our fingers to avoid the air coming out.

FABRICADEMY SOFT ROBOTICS from PETRA GARAJOVÁ on Vimeo.
FABRICADEMY SOFT ROBOTICS from PETRA GARAJOVÁ on Vimeo.
RESULT
REFERENCES
| SILICONE |
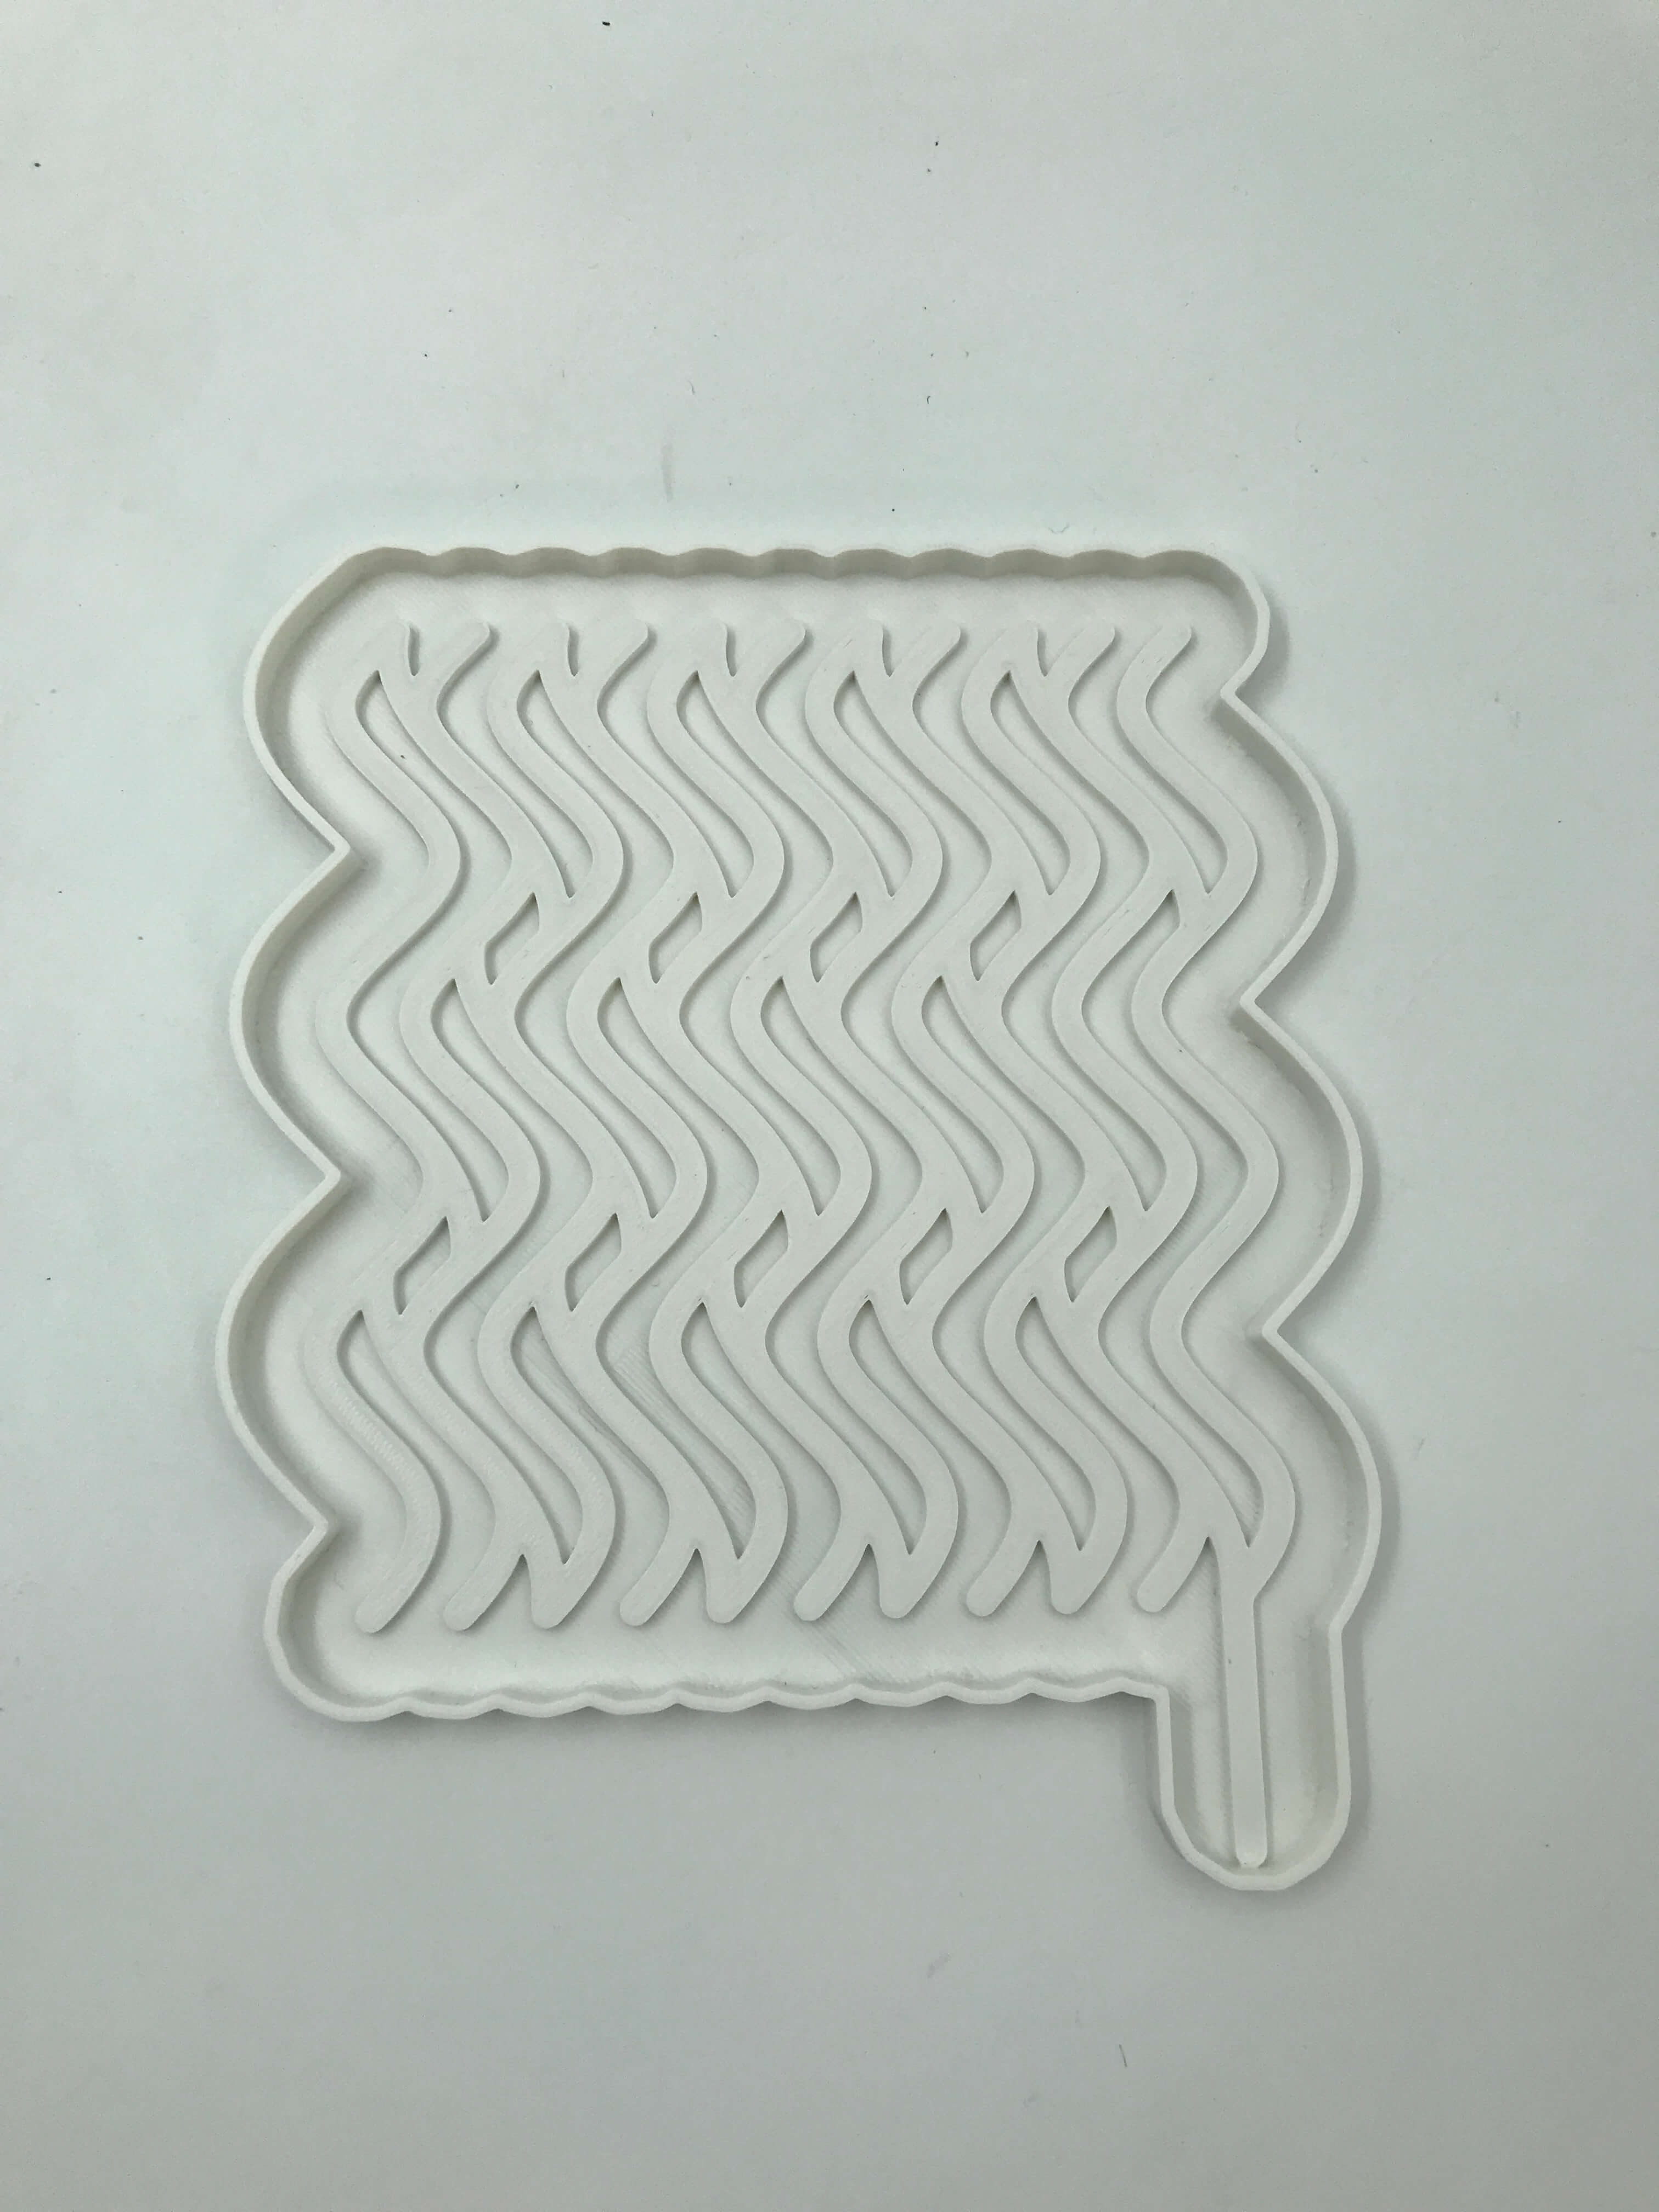
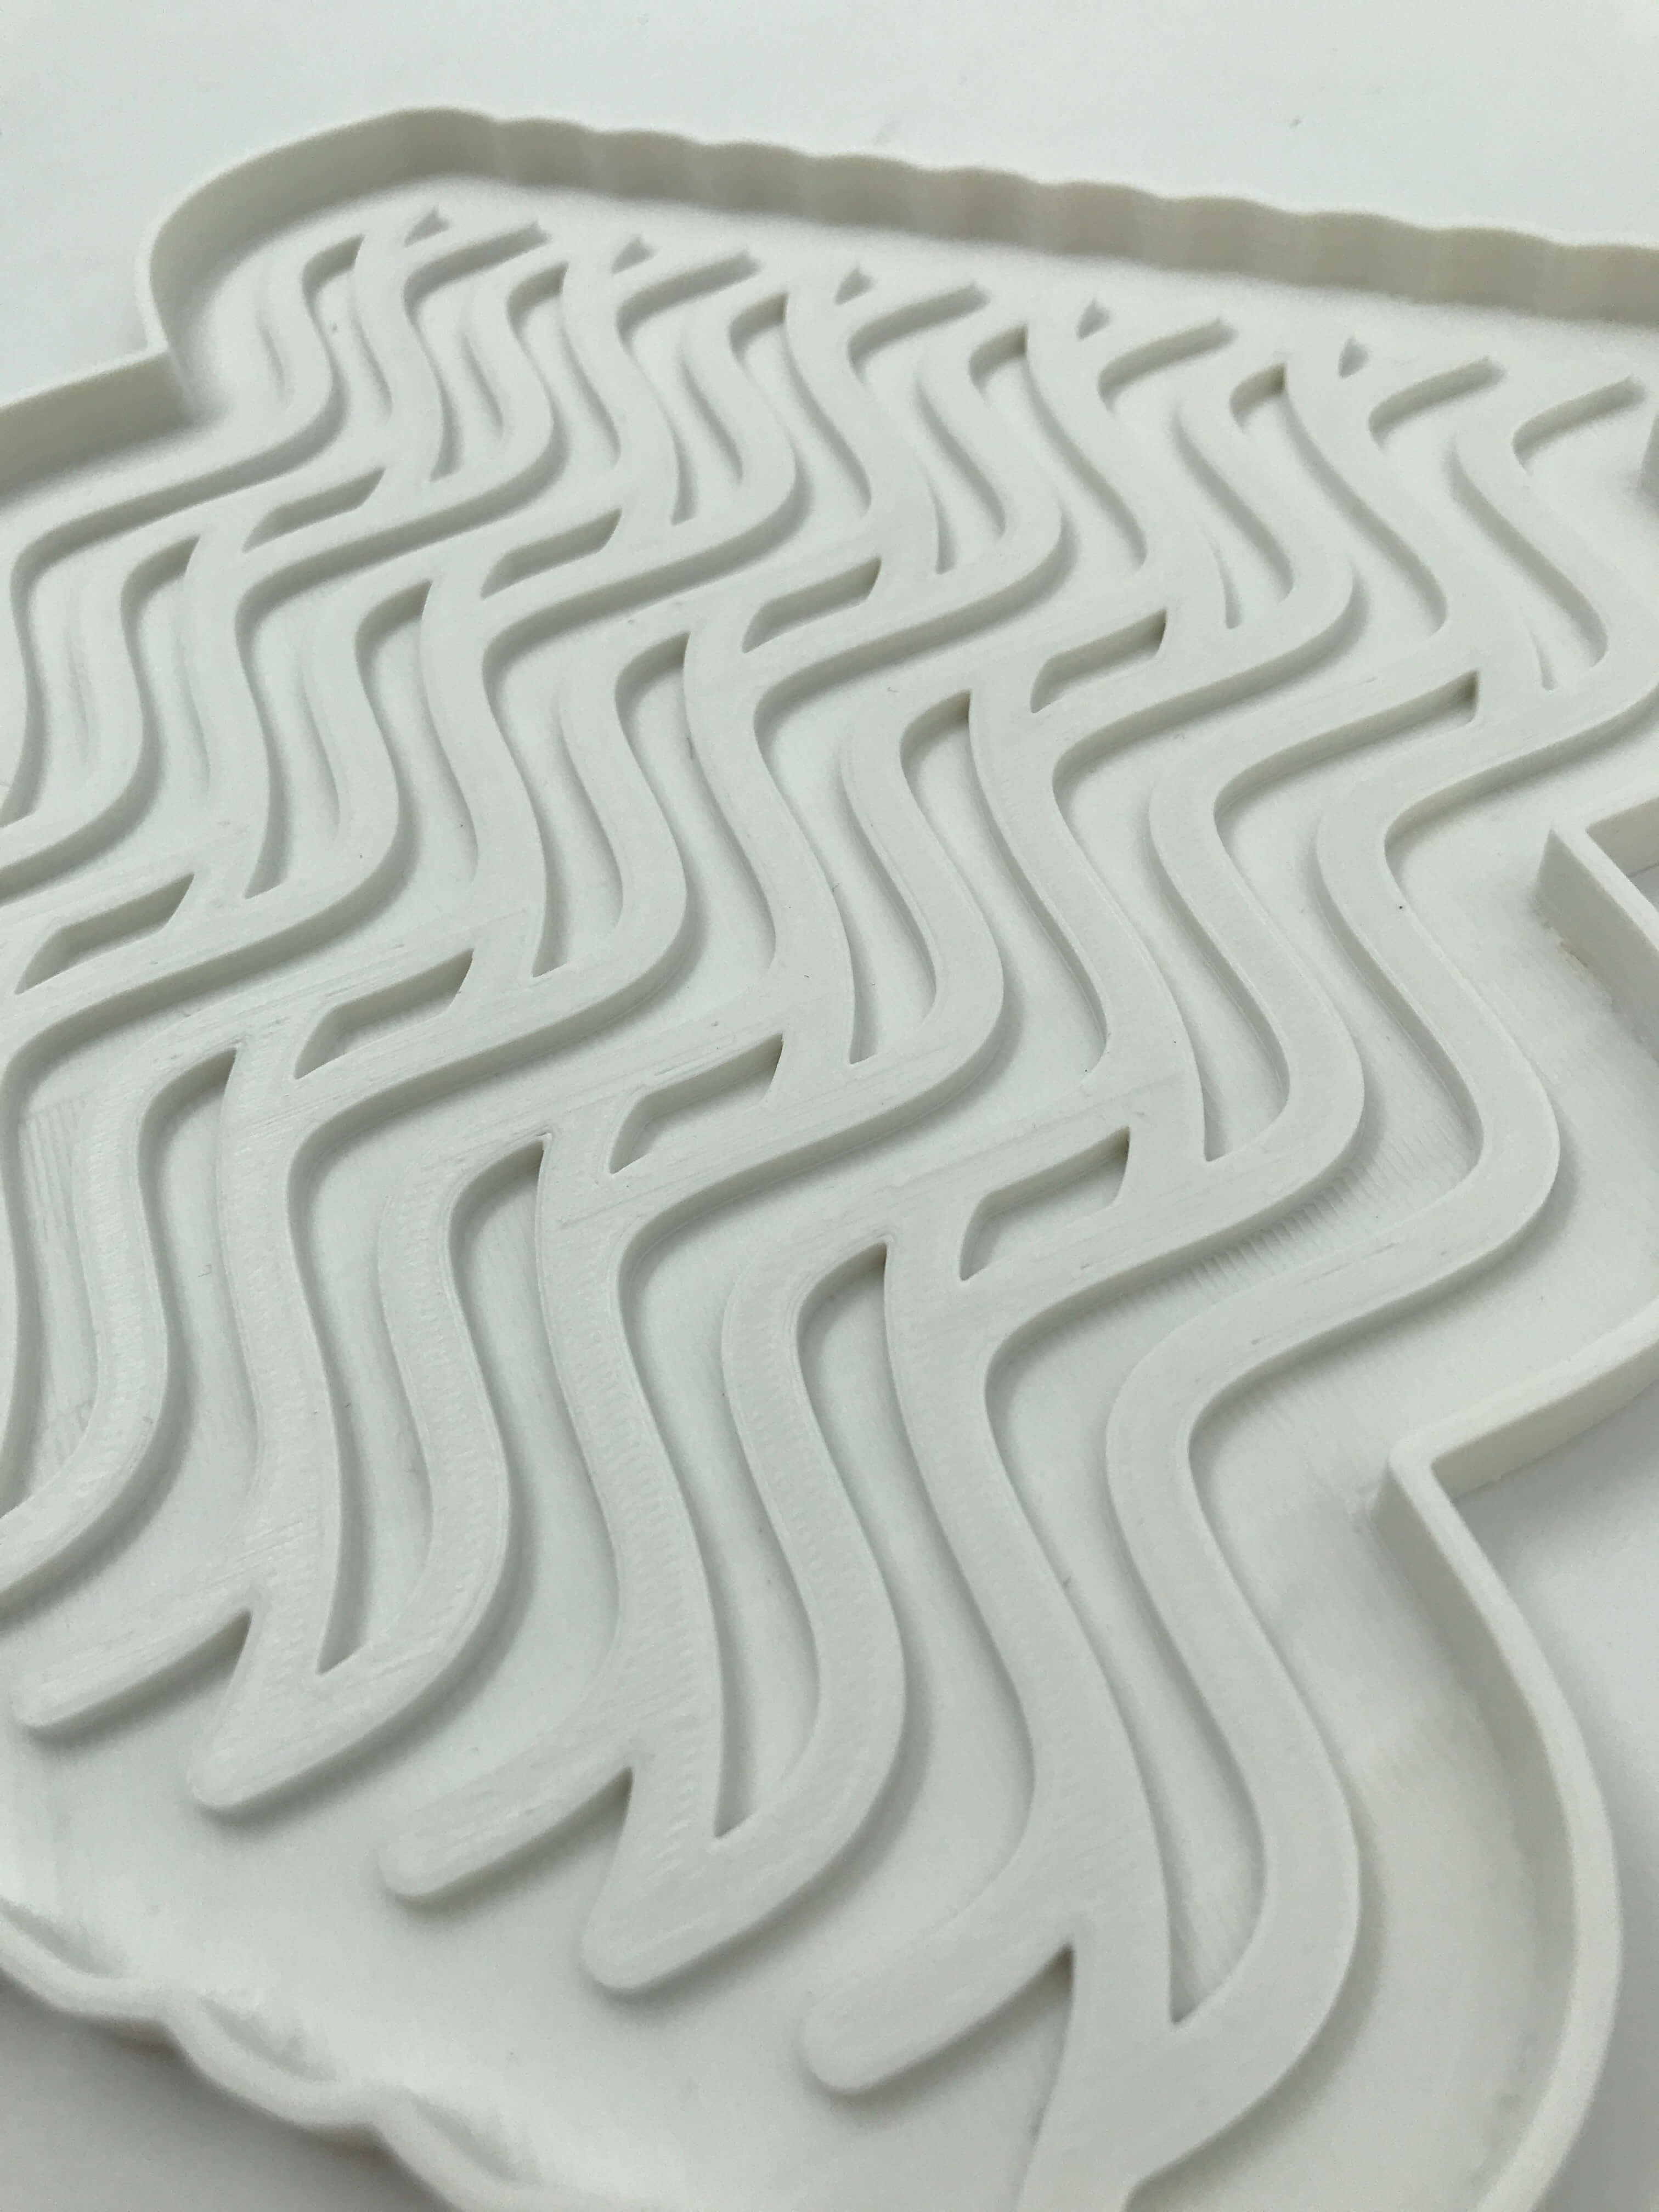
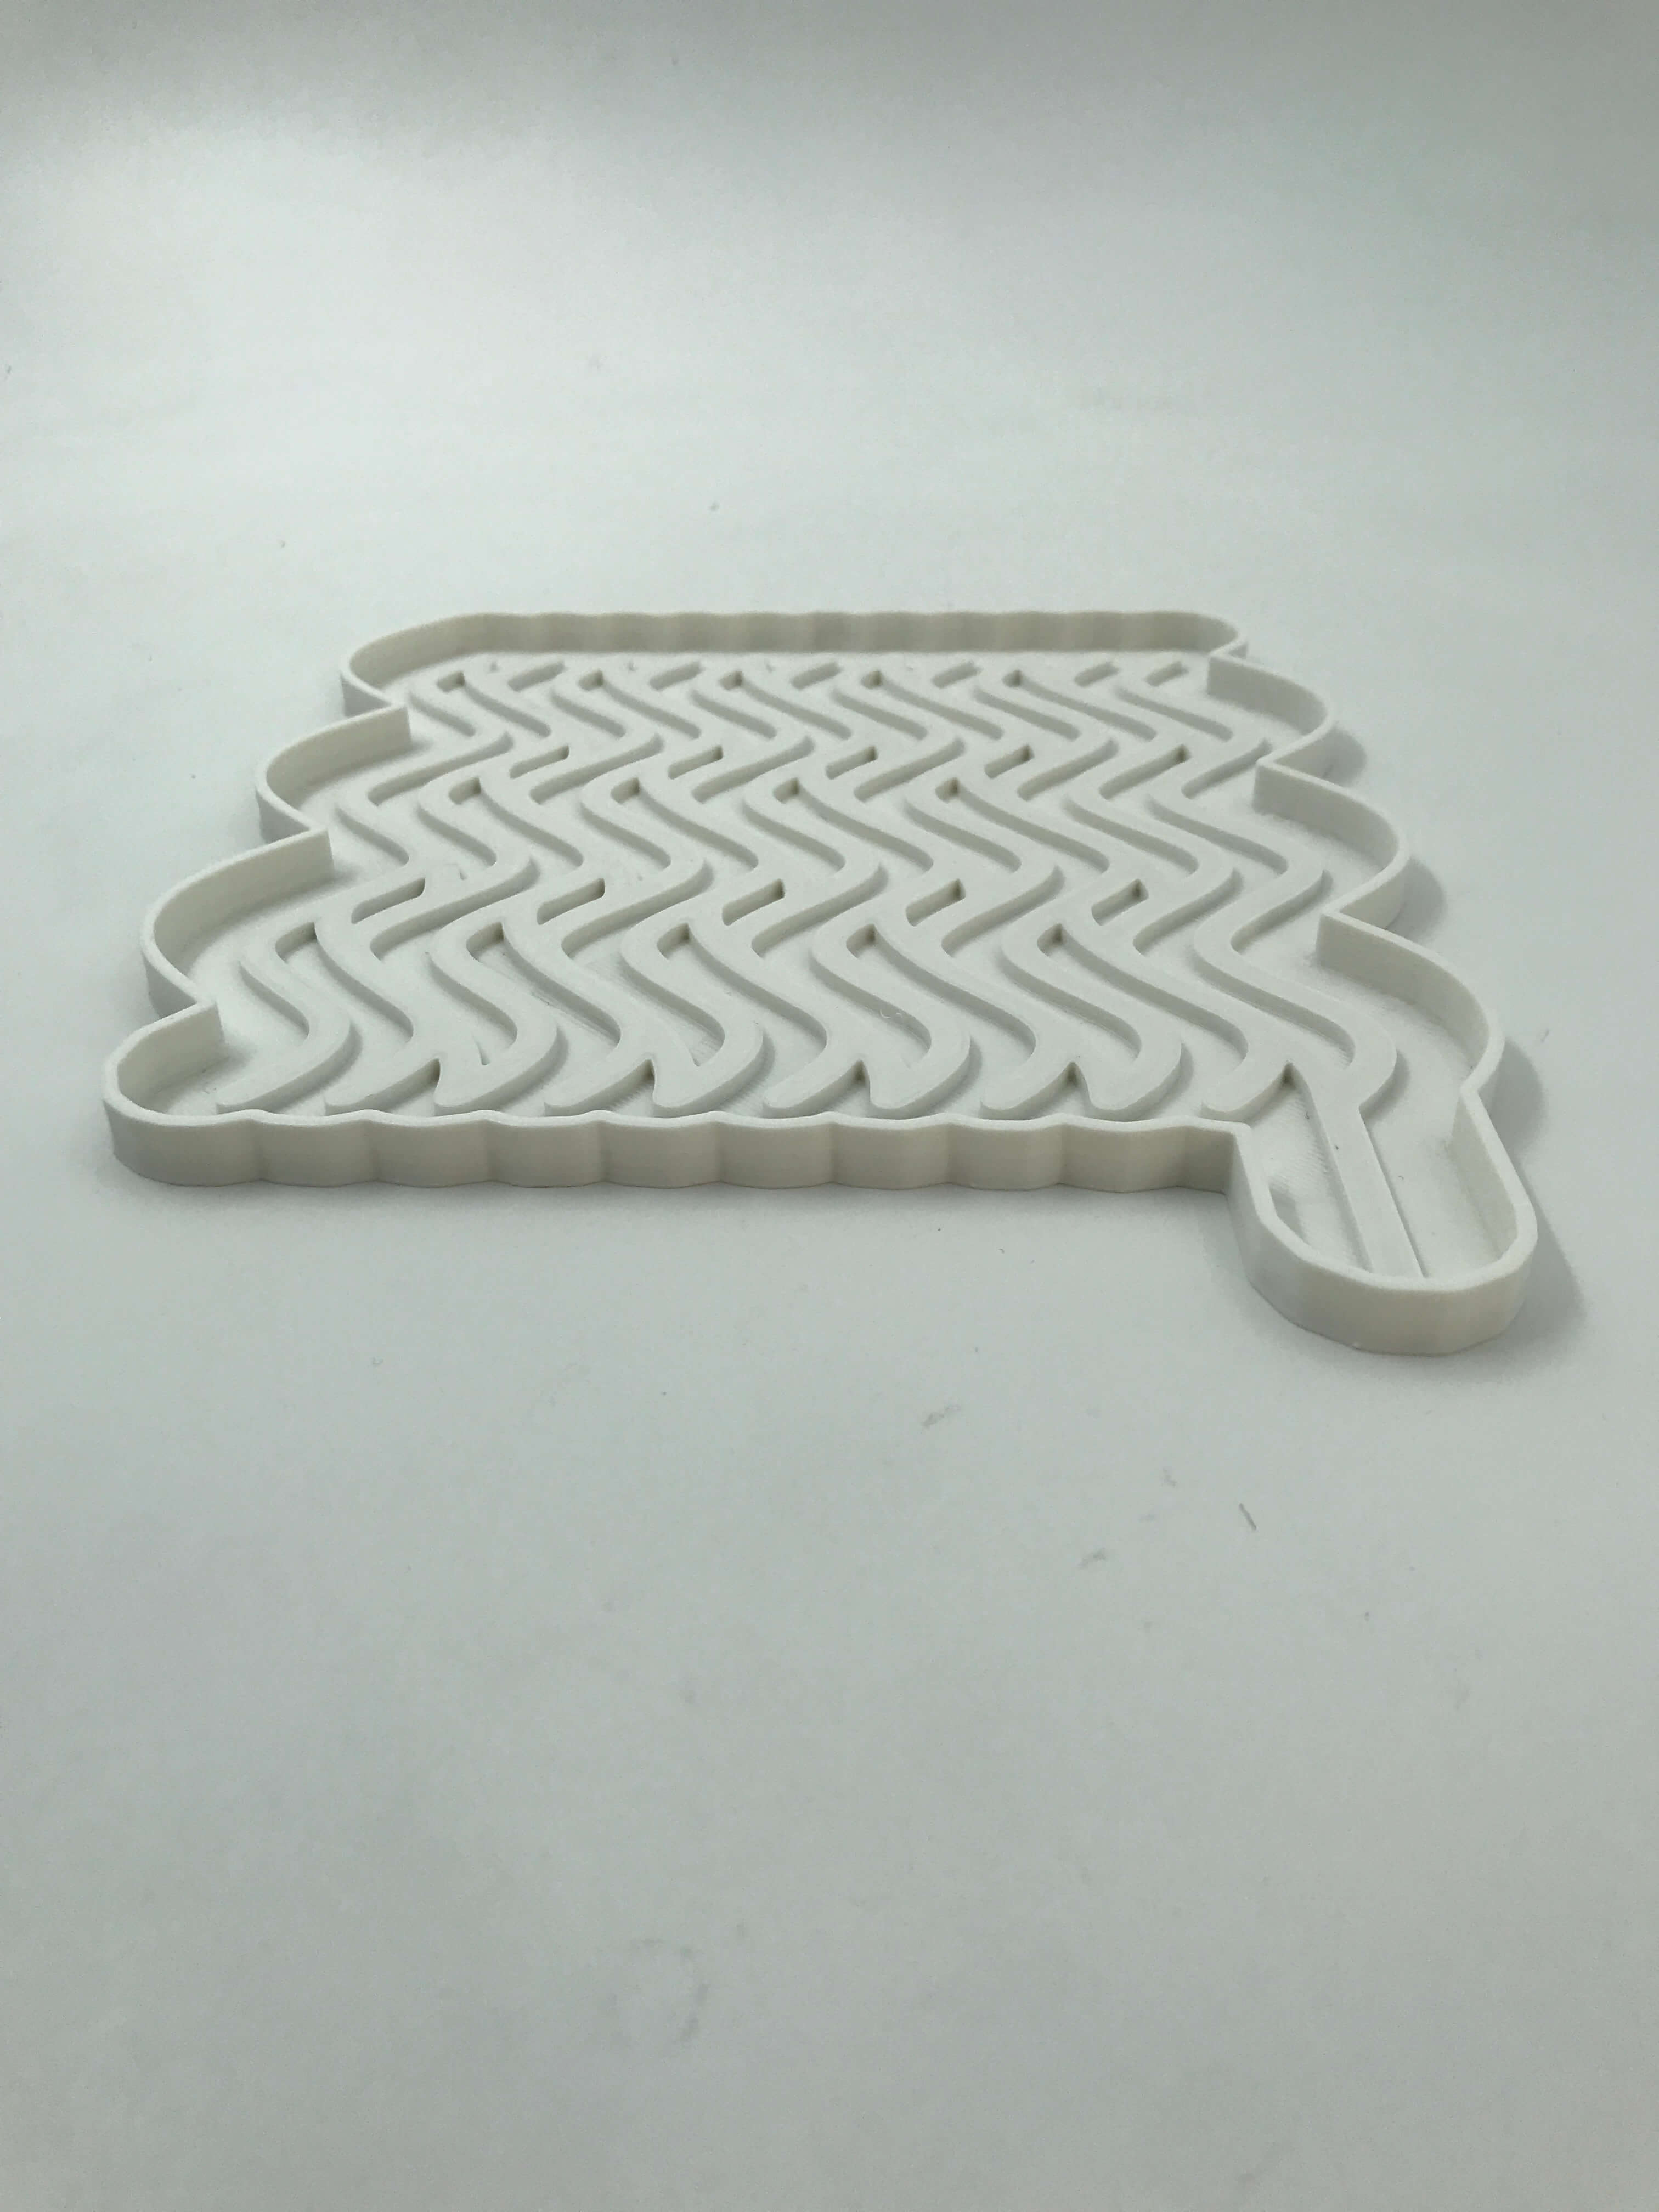
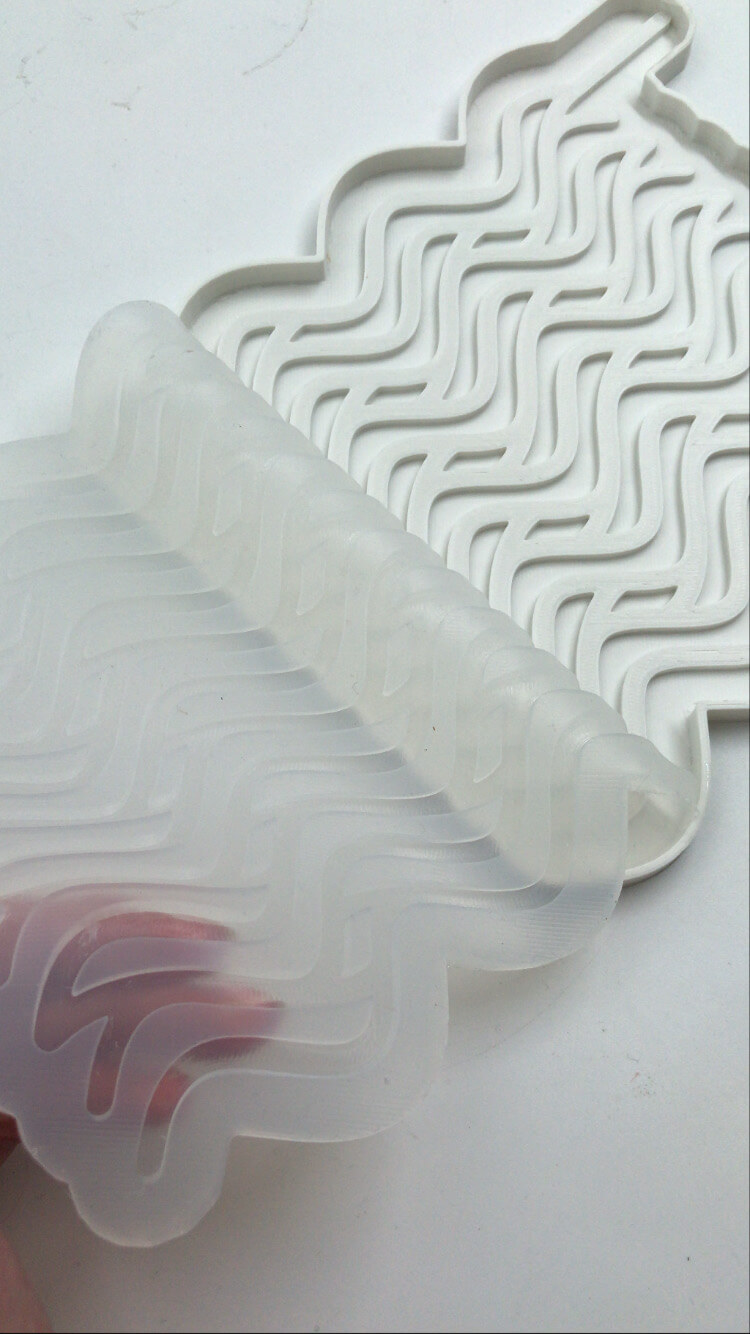
3D PRINTED MOLD
| Filament | 3D printer | Layer | Temperature | Printing speed | Printing time |
|---|---|---|---|---|---|
| PLA white | Ender 3 | 0.3 mm | 210°C | 30 mm/sec | 6 h 10 min |
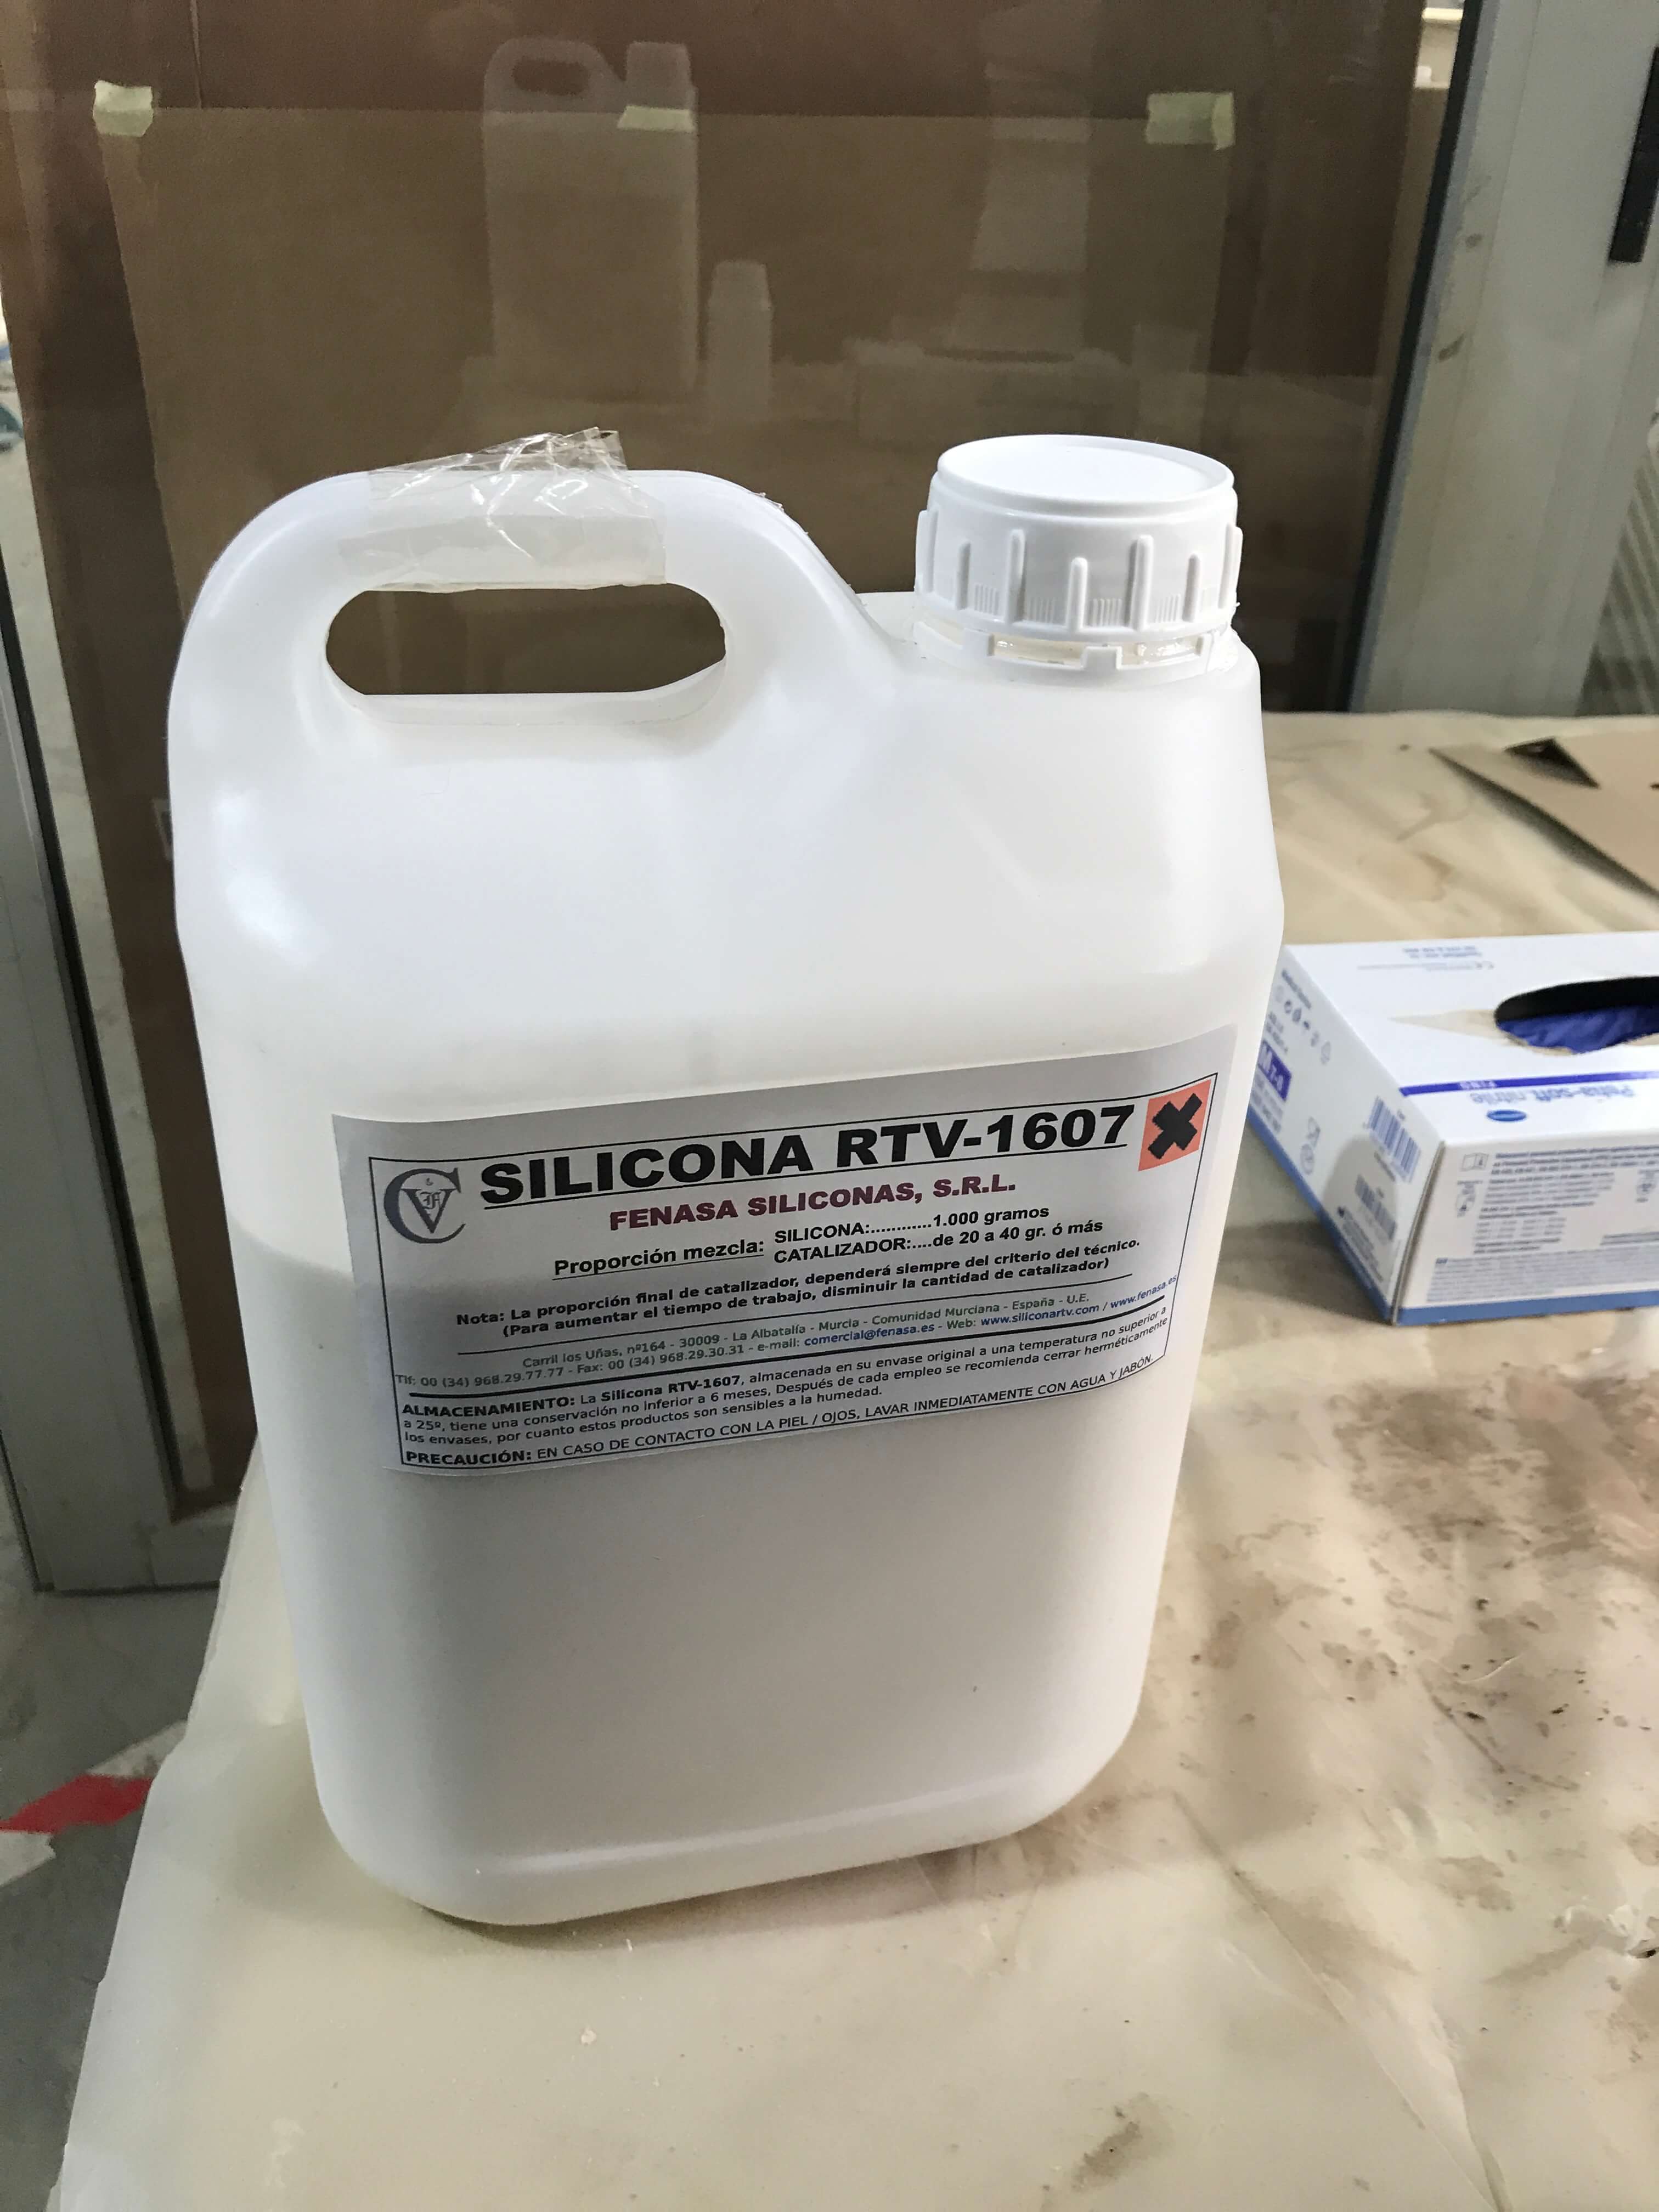
SILICONE RECIPE - 01
TOOLS
- 3D printed mold, textile, spoon, weight, 2x measuring cups, gloves
| A.part | B.part |
|---|---|
| 300 ml | 10 ml |
| (ratio 1 000 g) | (ratio 20-40 g) |
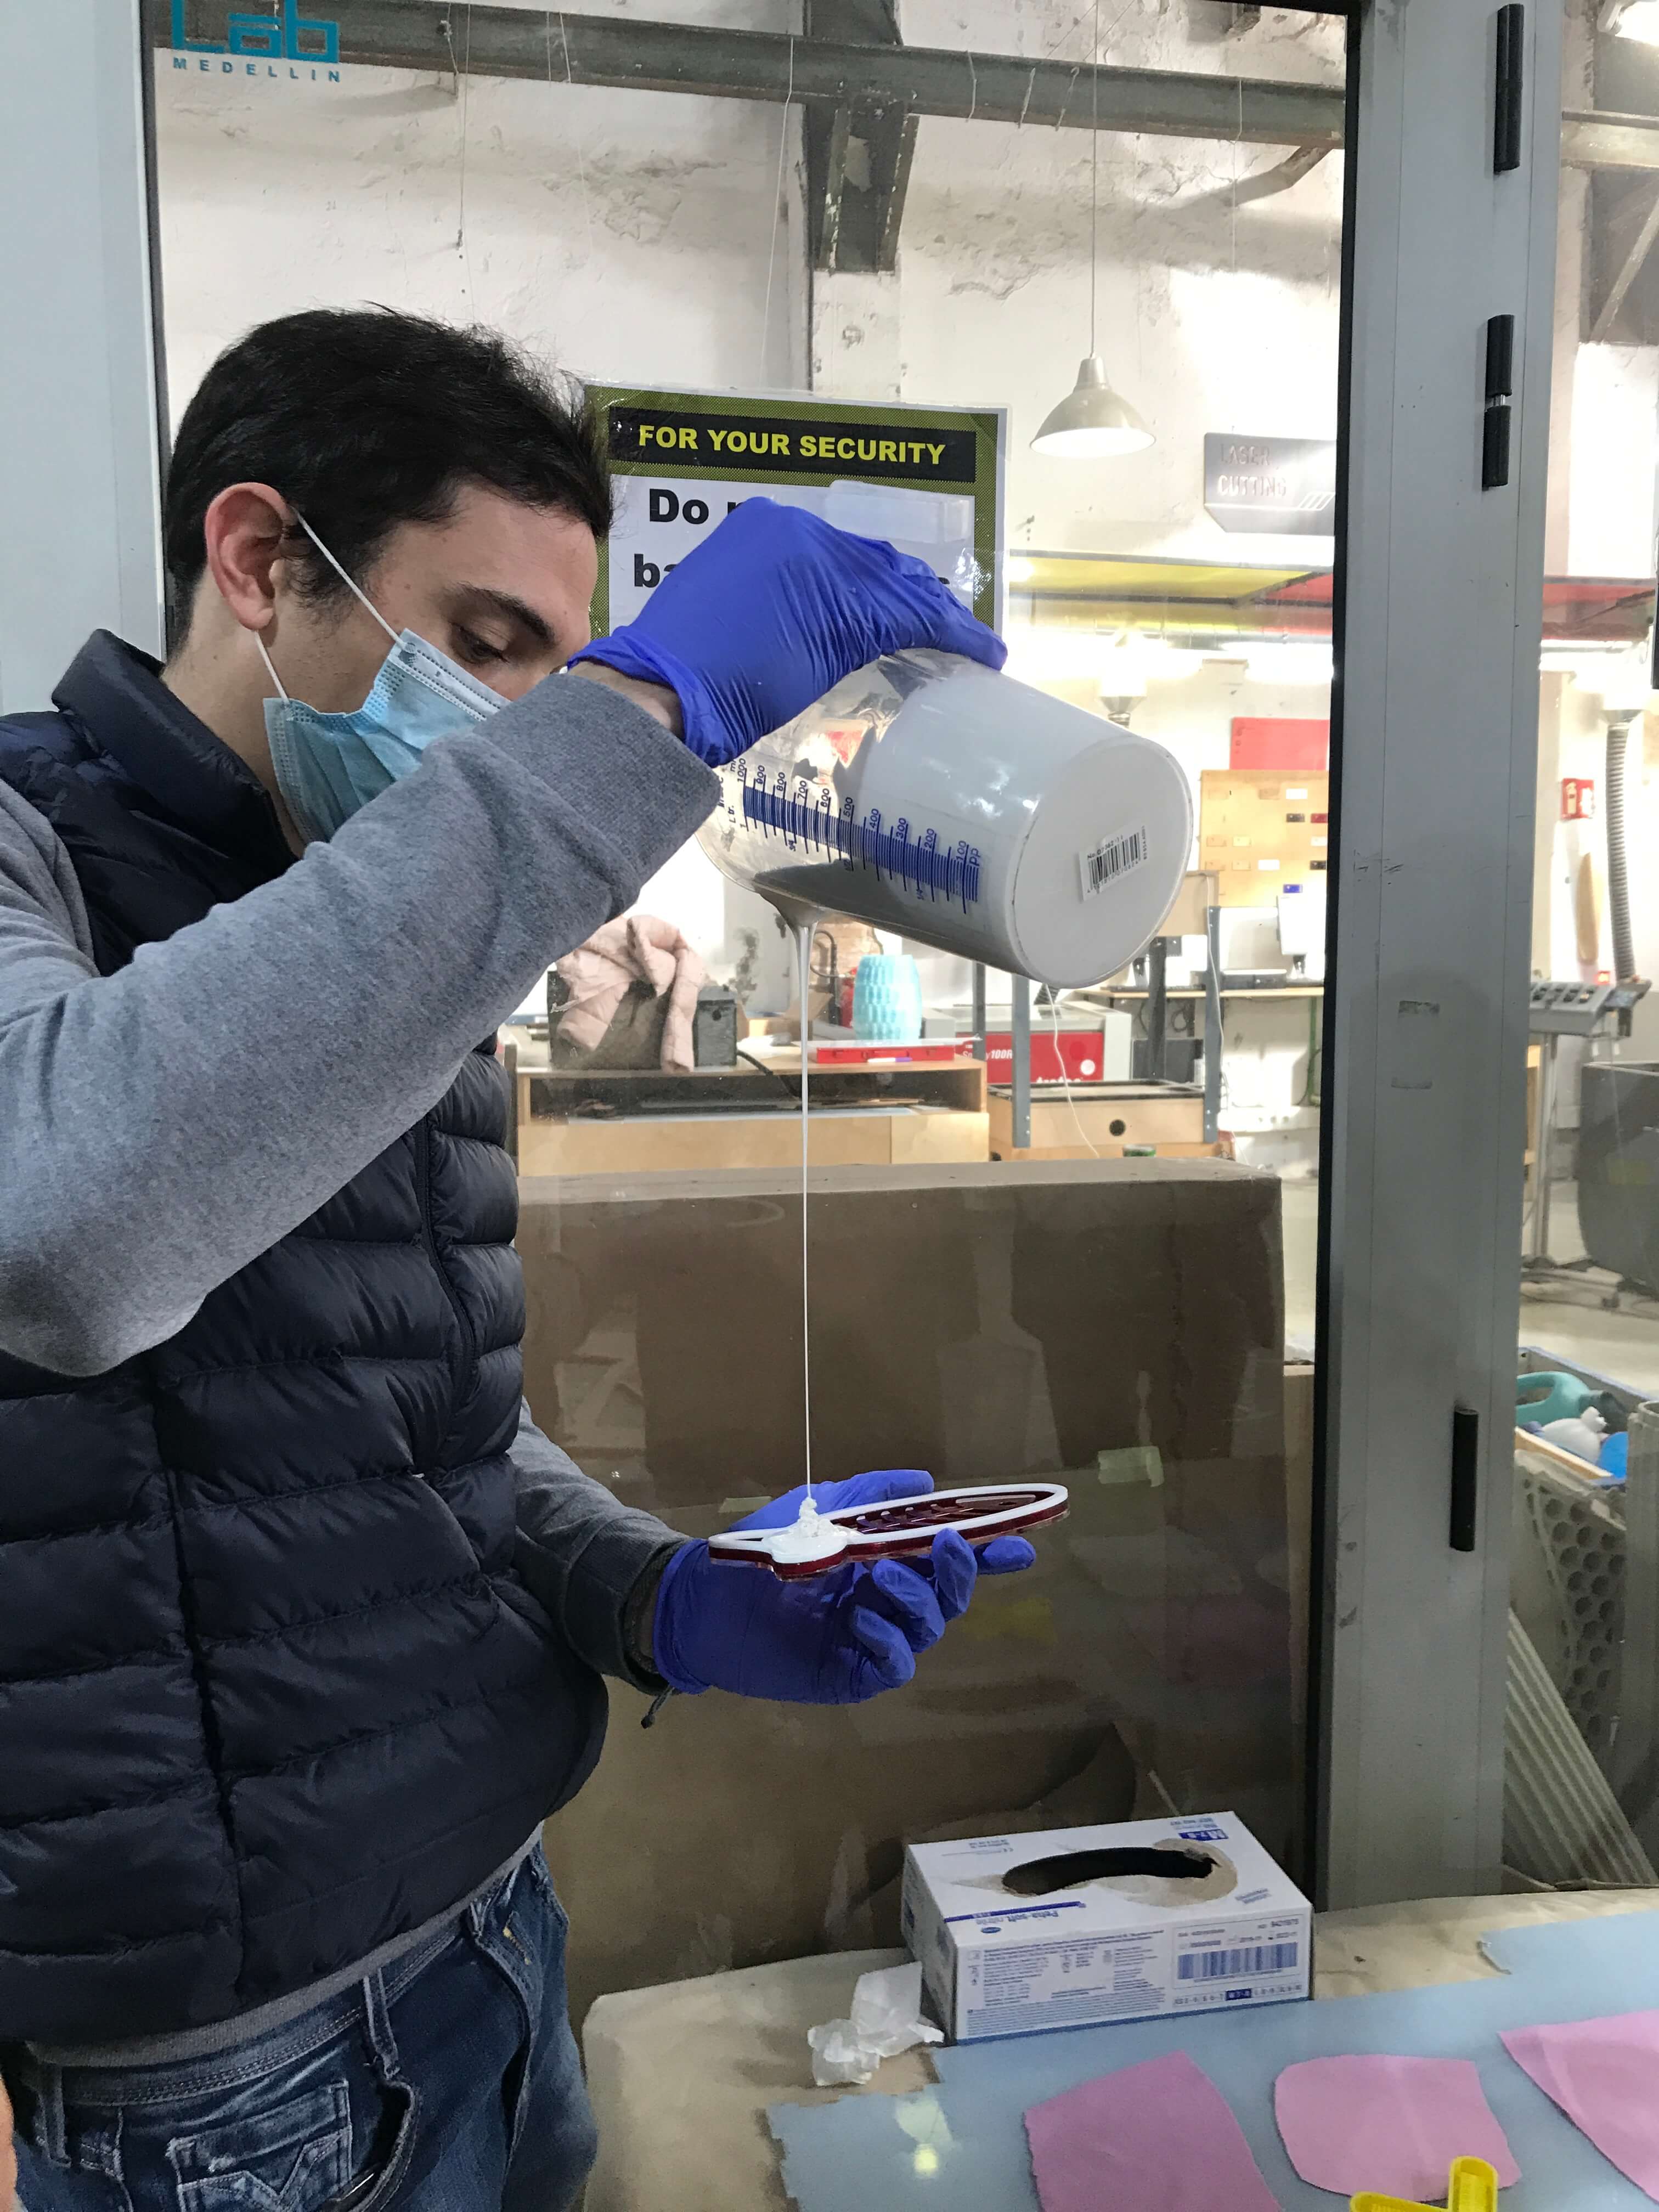
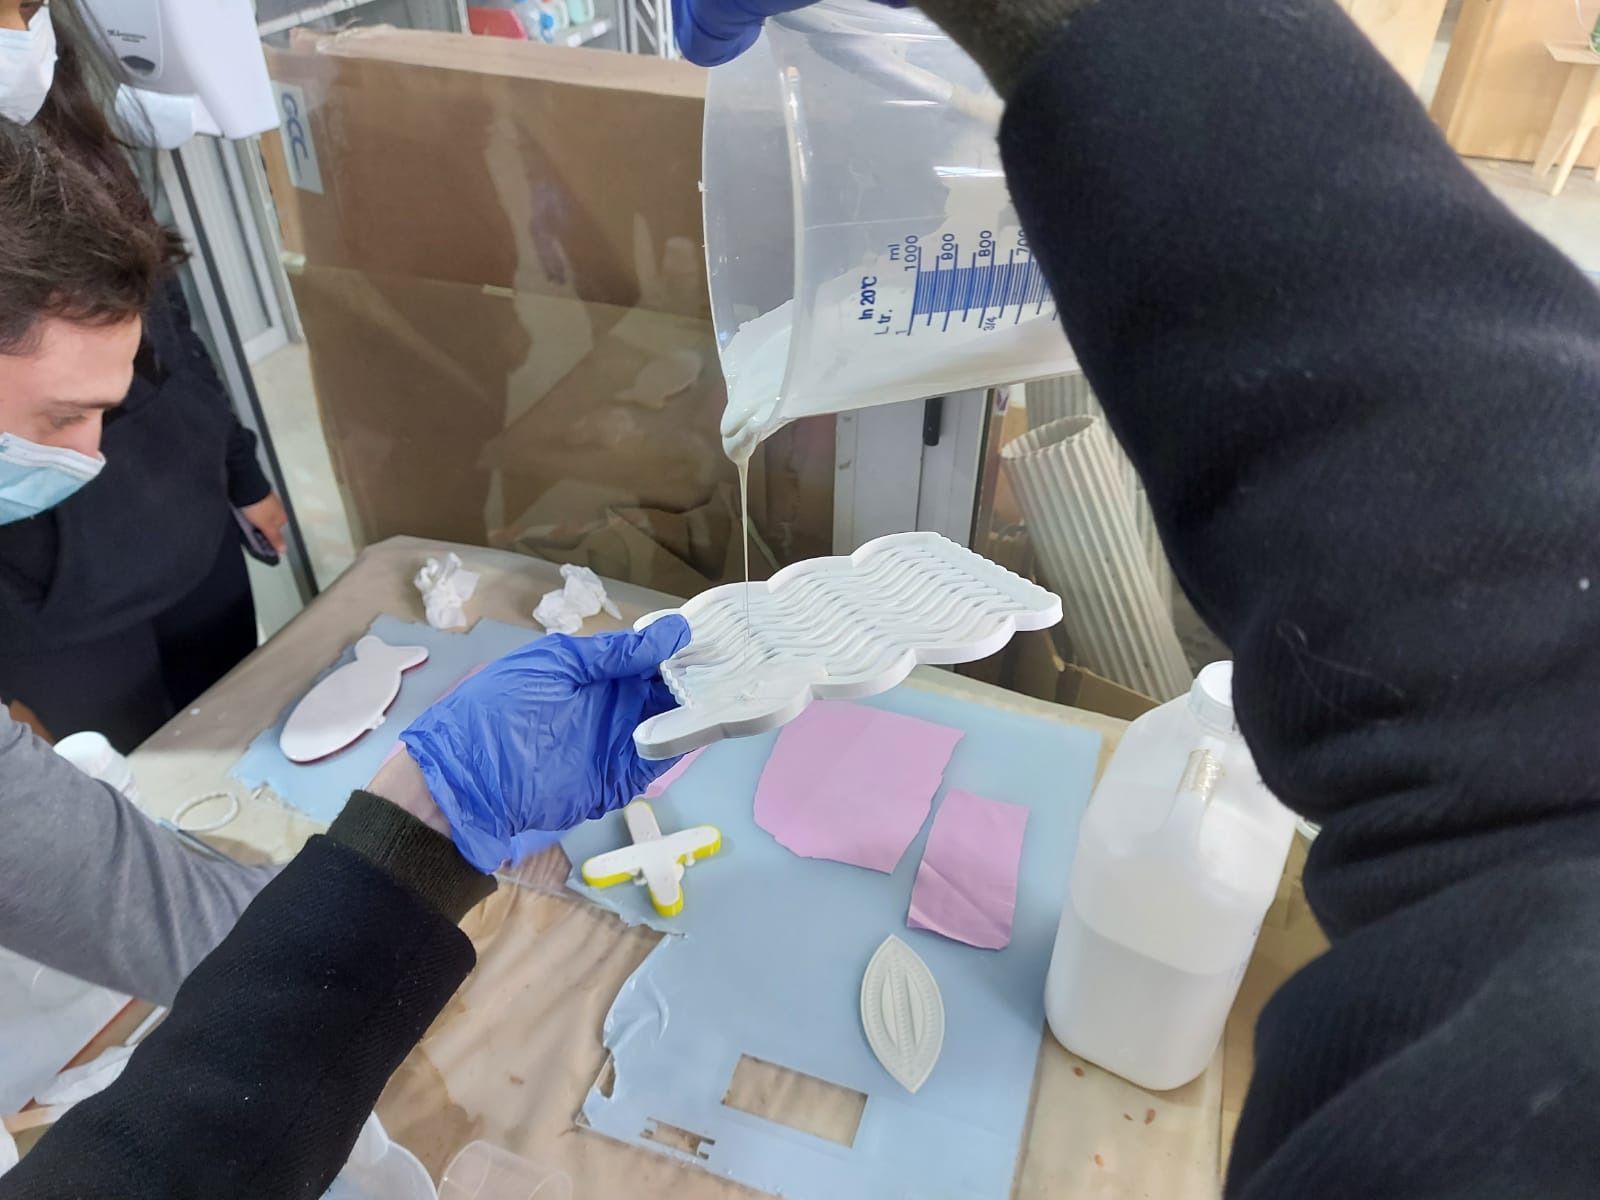
PROCESS
* Measure the proportion of silicone you want to use in two separate cups. When you will mix A. and B. part you have approx 20 minutes to work. Otherwise, the silicone will be too thick. * Pour the B. part into the cup with A. and mix them thoroughly with a spoon. Make sure they are mixed very well. * Take your mold and start slowly pouring the silicone slowly into one of the corners. To avoid bubbles in the silicone, only pour it on top of the porous silicone. Be careful - do it slowly and keep the cup high. * Place it on a flat surface and add a little bit more silicone to fill all empty corners or gaps. * Hit the table several times to flush out all the bubbles. Use a pin to remove them from the surface. * Place an acrylic sheet under the piece of textile tbe used as (non)inflatable bottom layer and pour the rest of the silicon on top. Rub it with a spoon.

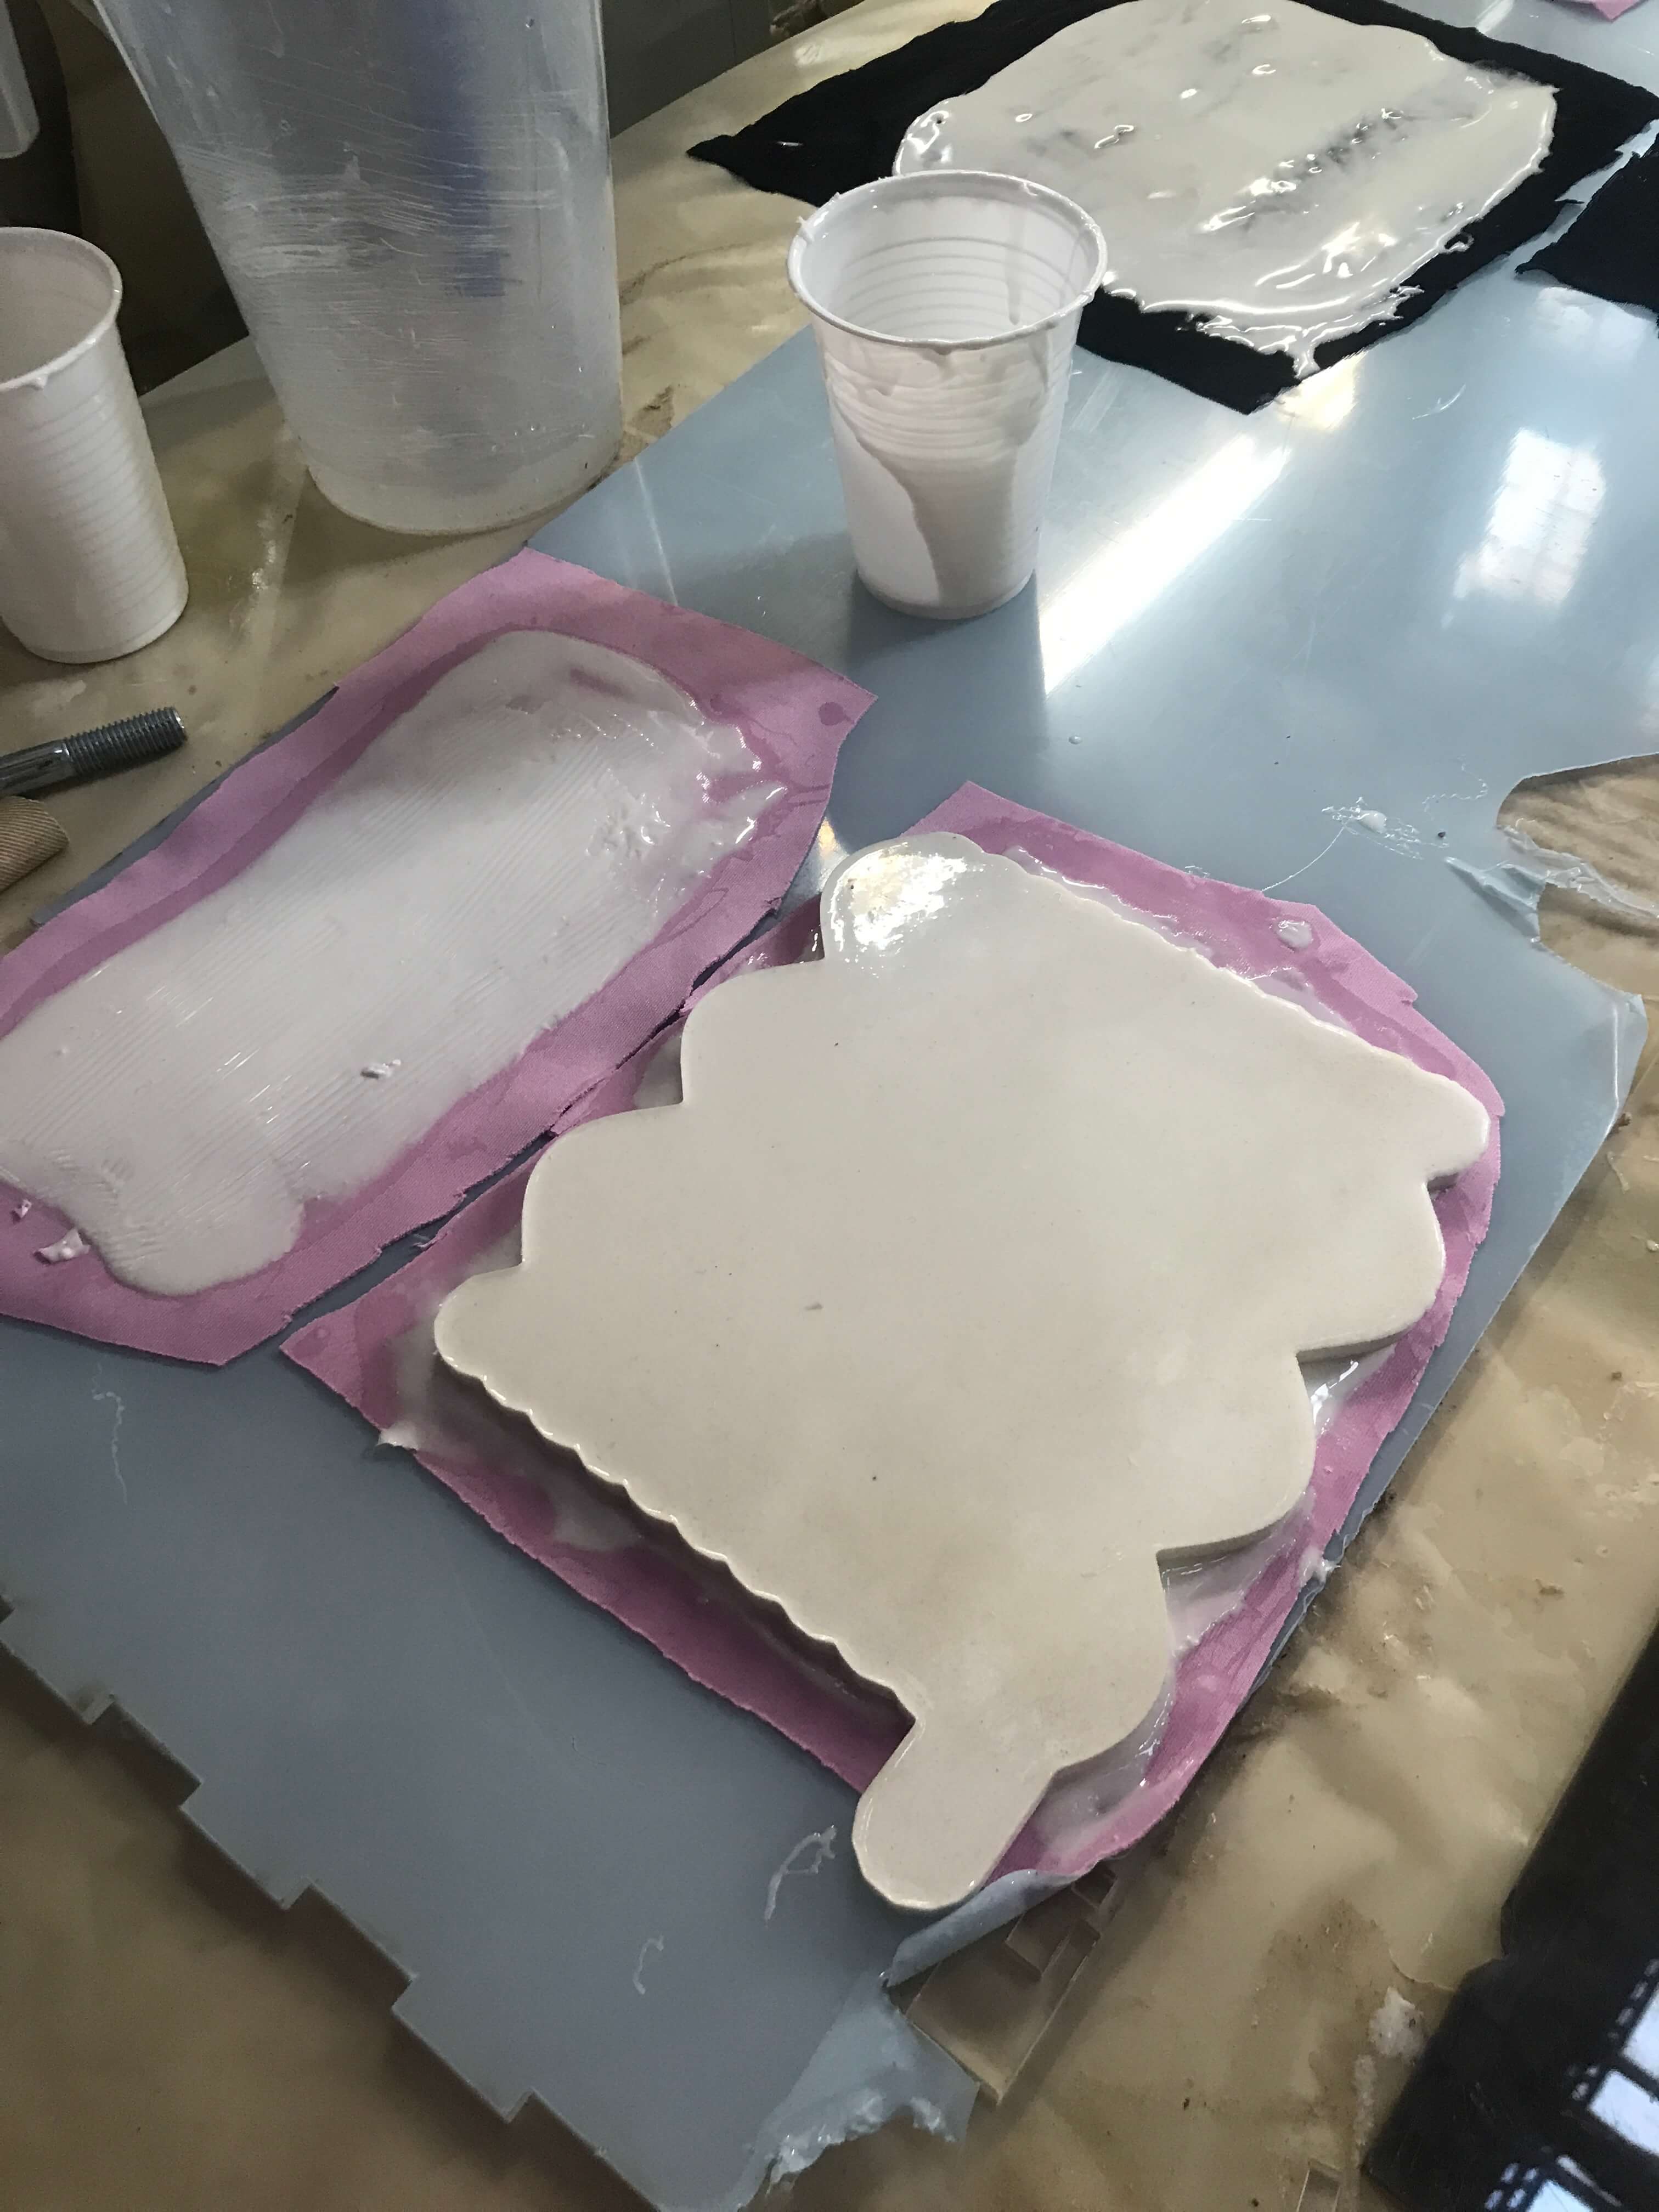
RESULT
- Conclusion: 1. prototype was too thick and the silicone lost its flexibility and it was too hard to inflate.
| Viscosity | Curing time | Melting point | Stickiness | Flexibility | Visual | Structure | Color | Strengh |
|---|---|---|---|---|---|---|---|---|
| High | 12 - 24 h | Fireproof | Low | Low | Opaque | Water resistant | White | Low |
SILICONE RECIPE - 02
TOOLS
- 3D printed mold, textile, spoon, weight, 2x measuring cups, gloves
| A.part | B.part |
|---|---|
| 50 ml | 50 ml |
PROCESS
* Measure the proportion of silicone you want to use in two separate cups. When you will mix A. and B. part you have approx 20 minutes to work. Otherwise, the silicone will be too thick. * Pour the B. part into the cup with A. and mix them thoroughly with a spoon. Make sure they are mixed very well. * Take your mold and start slowly pouring the silicone slowly into one of the corners. To avoid bubbles in the silicone, only pour it on top of the porous silicone. Be careful - do it slowly and keep the cup high. * Place it on a flat surface and add a little bit more silicone to fill all empty corners or gaps. * Hit the table several times to flush out all the bubbles. Use a pin to remove them from the surface. * Place an acrylic sheet under the piece of textile tbe used as (non)inflatable bottom layer and pour the rest of the silicon on top. Rub it with a spoon.
MOLDING
-
BEFORE

-
AFTER

FABRICADEMY WEEK 12 from PETRA GARAJOVÁ on Vimeo.
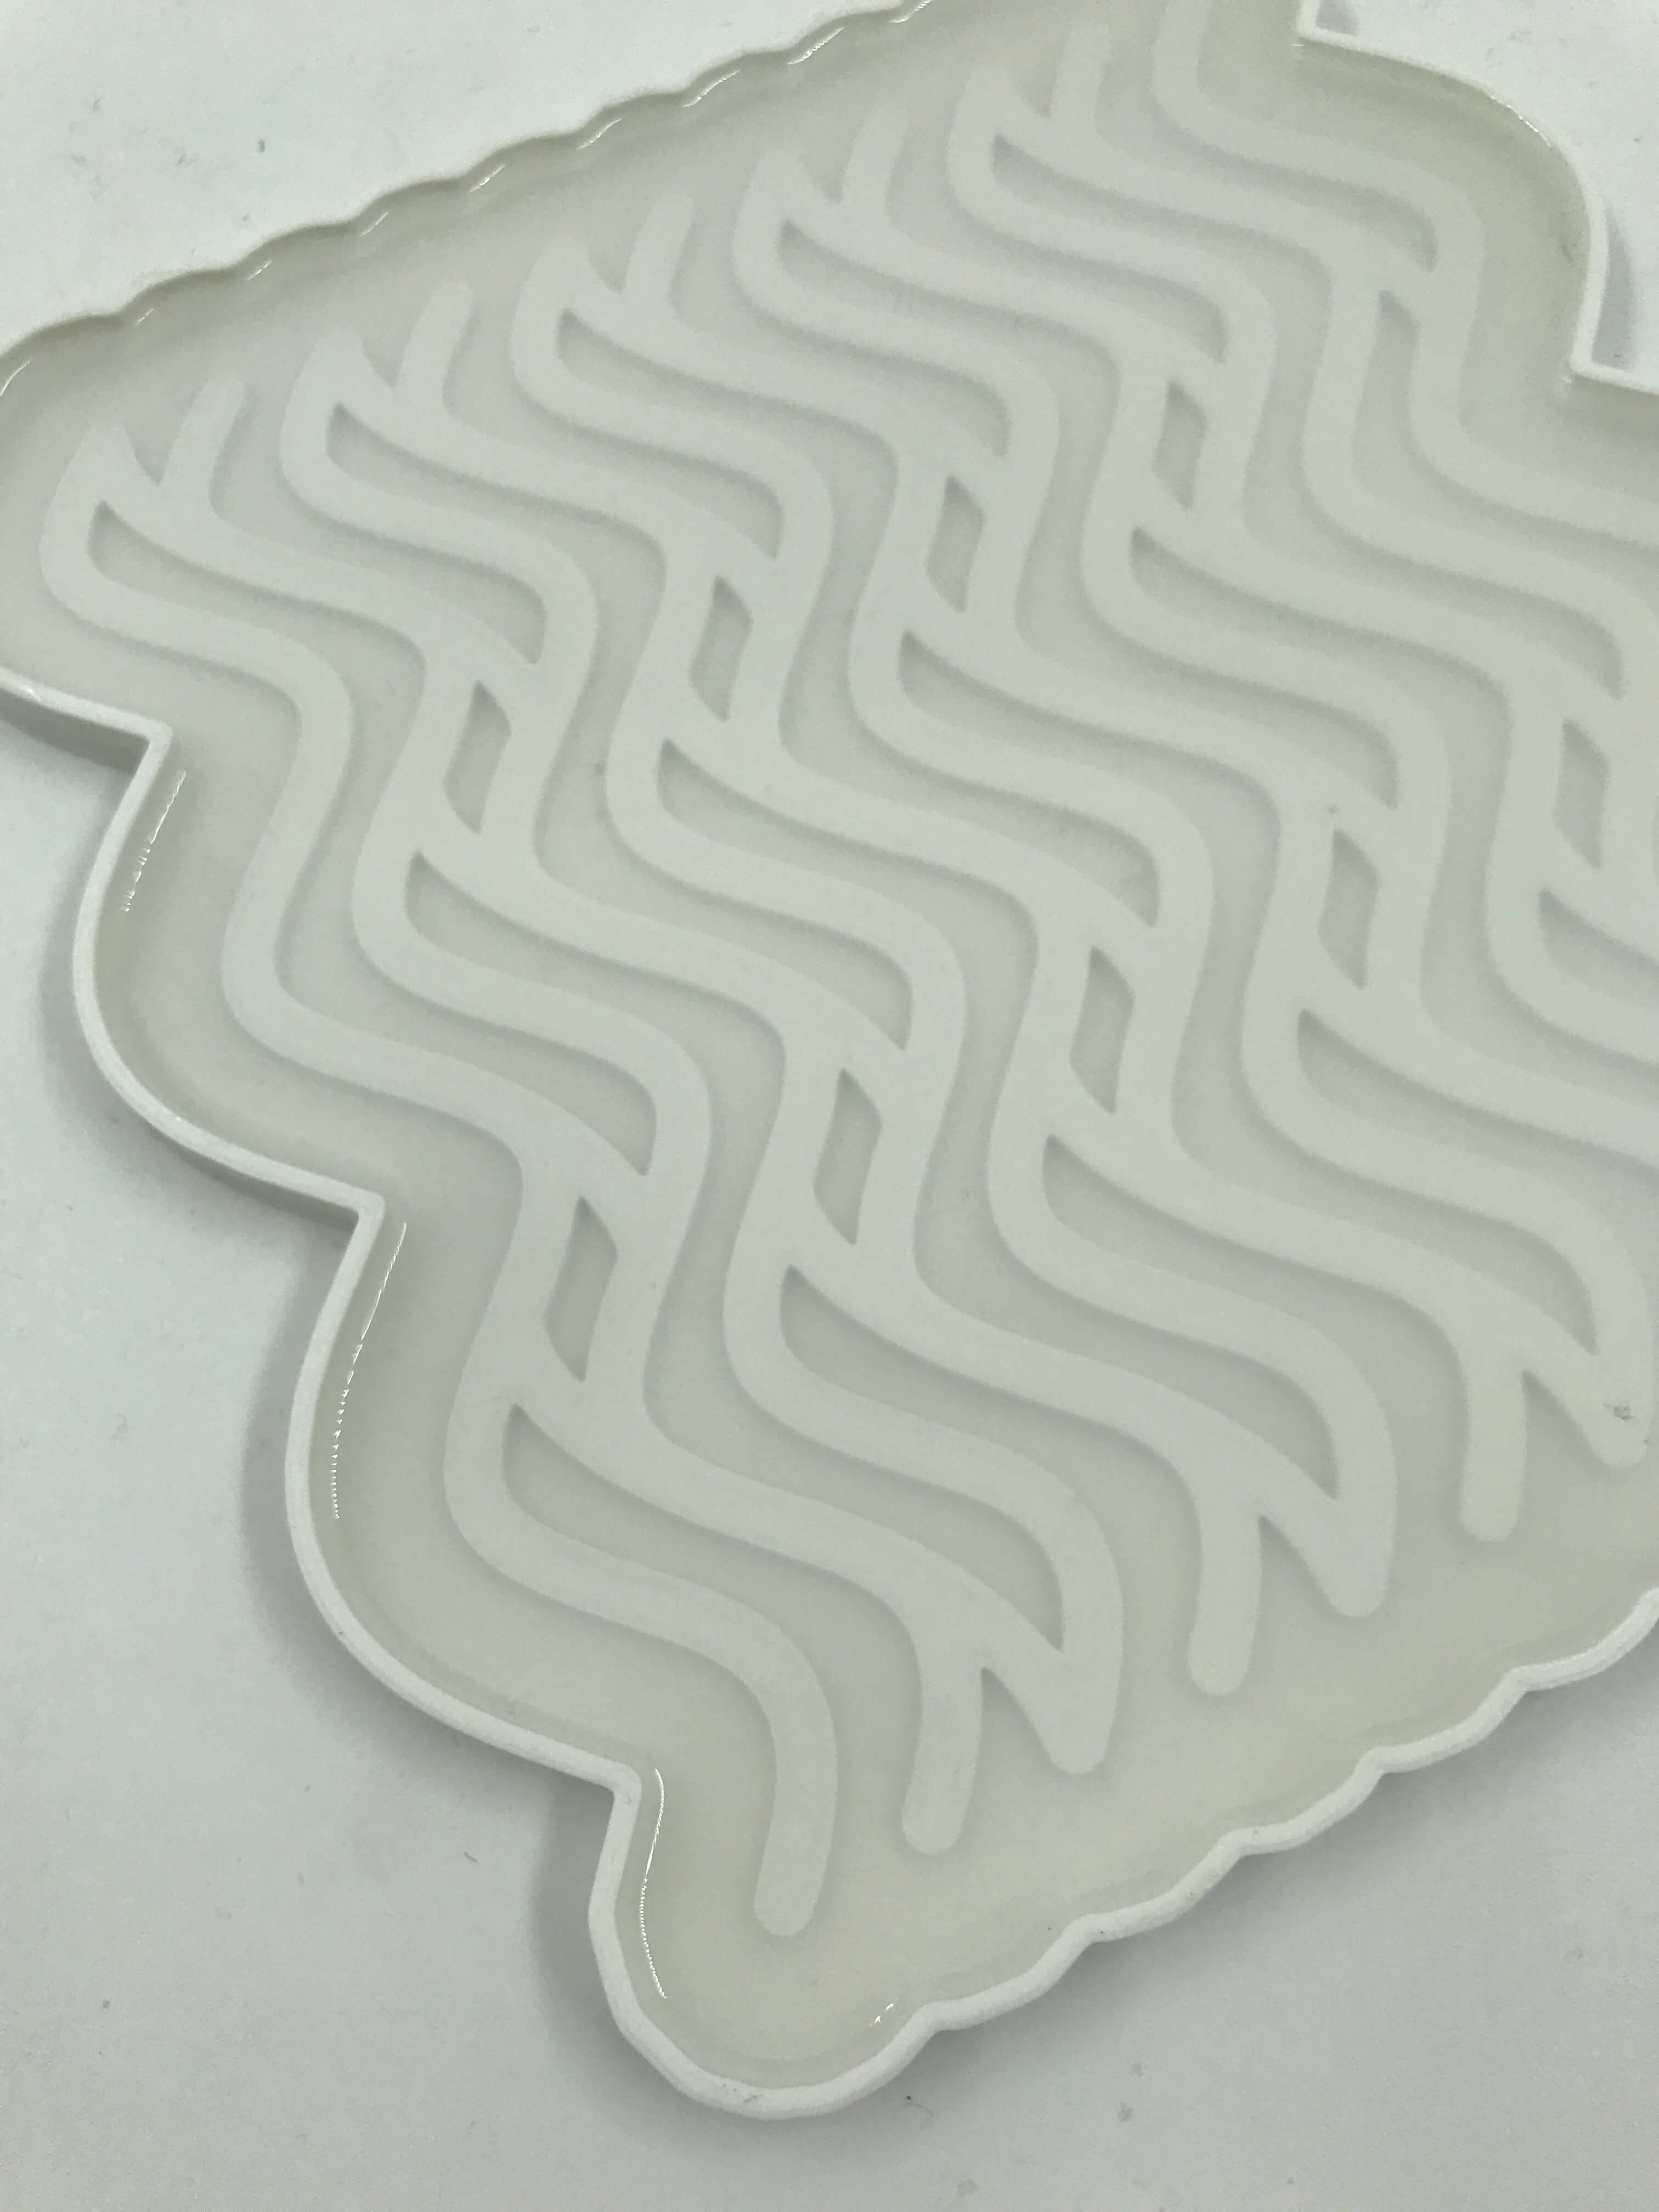
RESULT
| Viscosity | Curing time | Melting point | Stickiness | Flexibility | Visual | Structure | Color | Strengh |
|---|---|---|---|---|---|---|---|---|
| High | 4 h | Fireproof | High | Very flexible | Translucent | Water resistant | Transparent | Very low |
![]()
![]()
RESULT

docs/images/week12/silicone_inflate.gif