3. Circular Open Source Fashion
Start of a new week. We had a new theme, new homework but i was very anxious about this one. Because i choose this as one of the themes i want to try for my final project. So this is how i started to do this assignment.
Research & Ideation
We kickstart this week with a lecture on CIRCULAR OPEN SOURCE FASHION. After the lecture i went to my archives to search for the model i did at the Fabricademy Bootcamp in Switzerland, Geneva. There i found my first design i did on this theme.
 As usually my first step is to browse some of the others participants pages, so some of my favourites were: V I C K Y + L U A N. I also enjoyed reading the Micky van Zeijl's MAKING SUSTAINABILITY WORK and how she was able to create the interlocking system.
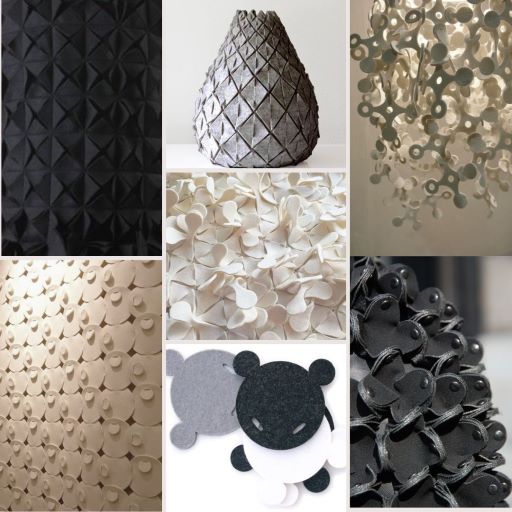
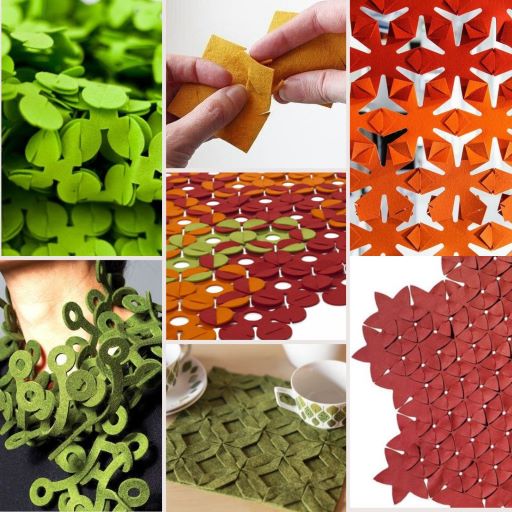
References & Inspiration
After that i went to Pinterest to search for my inspiration and some references and put together the mood board with what i liked and inspires me.
Process and workflow
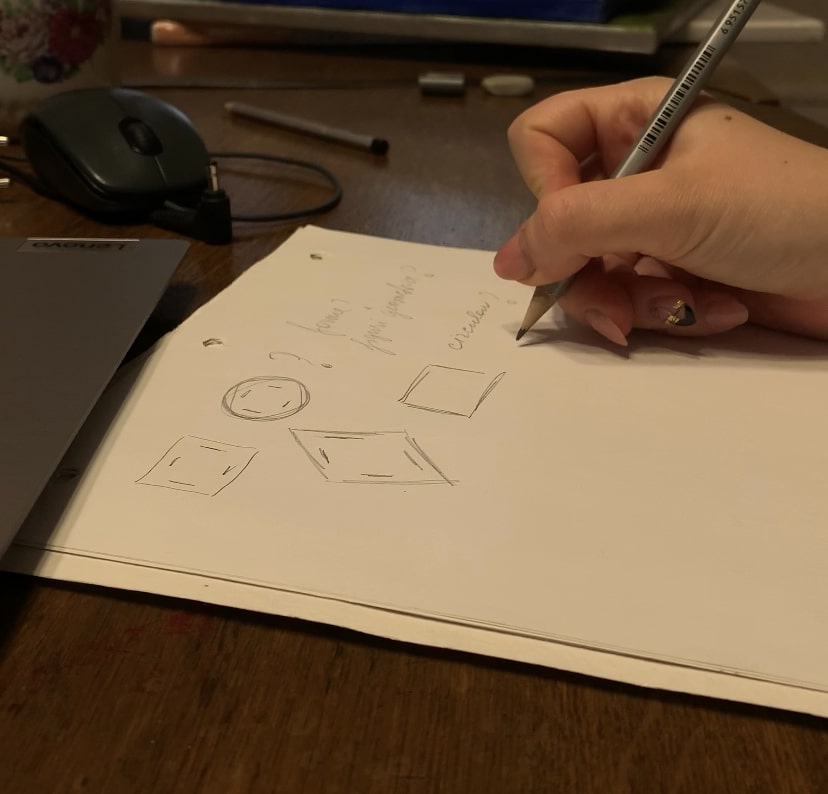
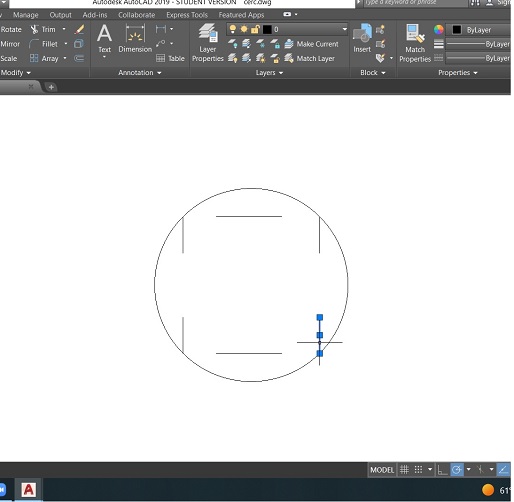
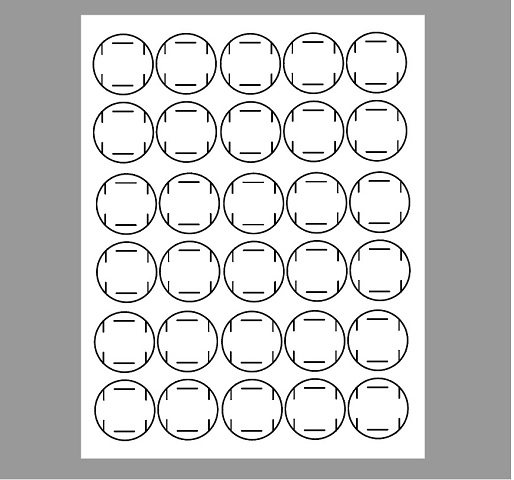
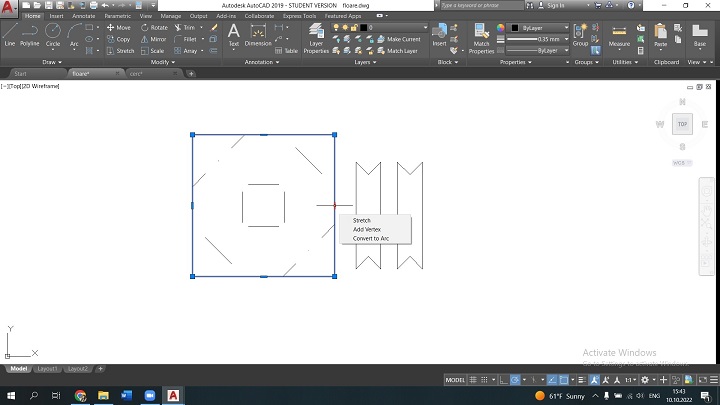
I started my project with doodling on a piece of paper. I began to work with basic shapes like square and circles, and basic interlocking, just to star to understand better how this process works. After that i started to work with AutoCAD to try to get the basic shapes in a 2D format. After that i multiply them, exported as an pdf and printed on paper to do the mock up test and to see approximately what i have to work with.
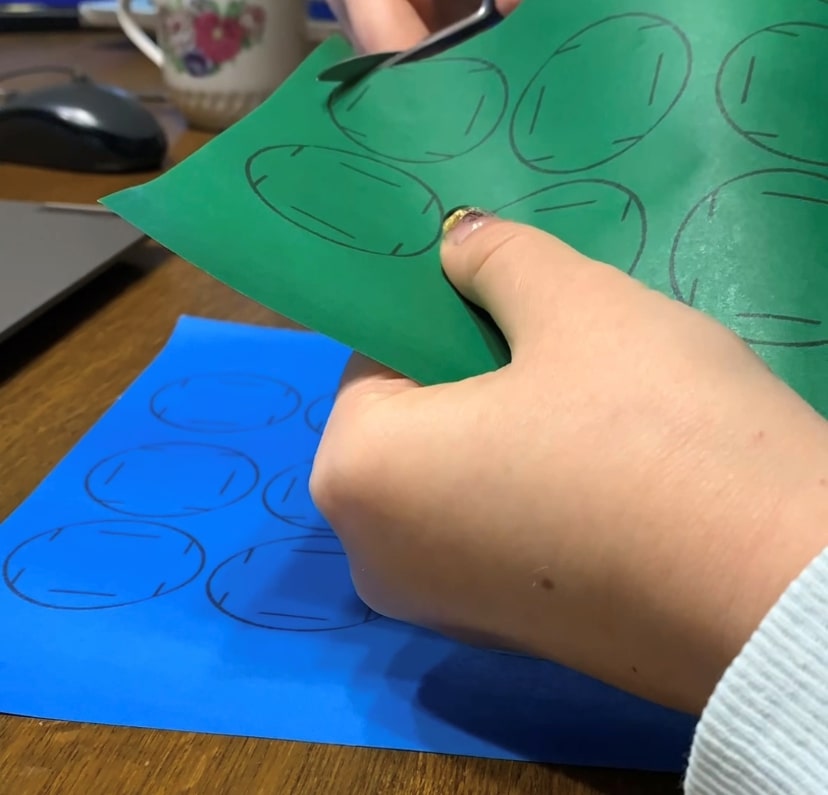
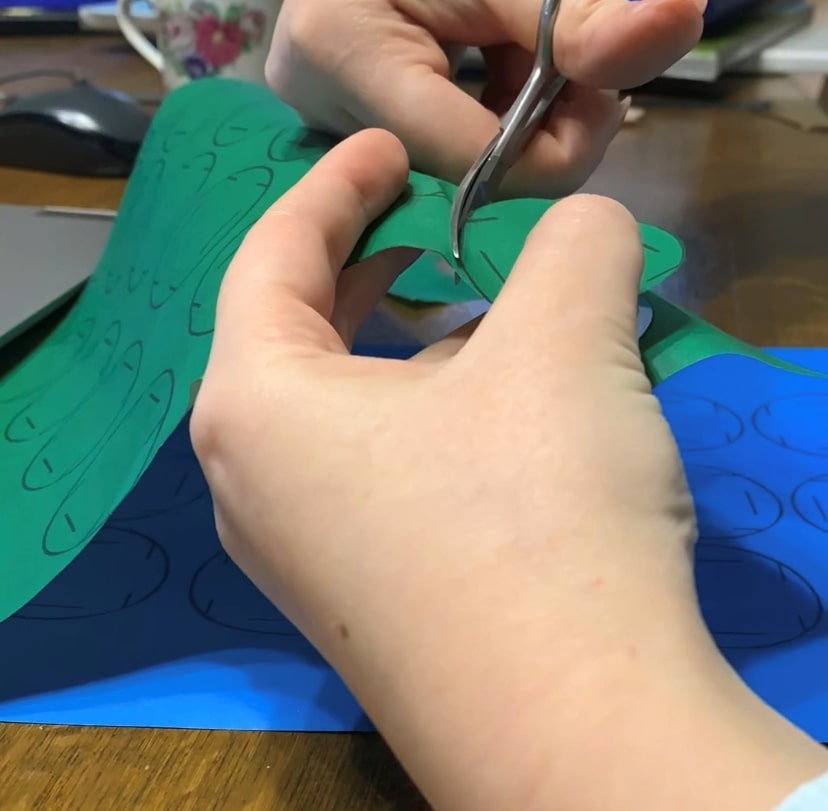
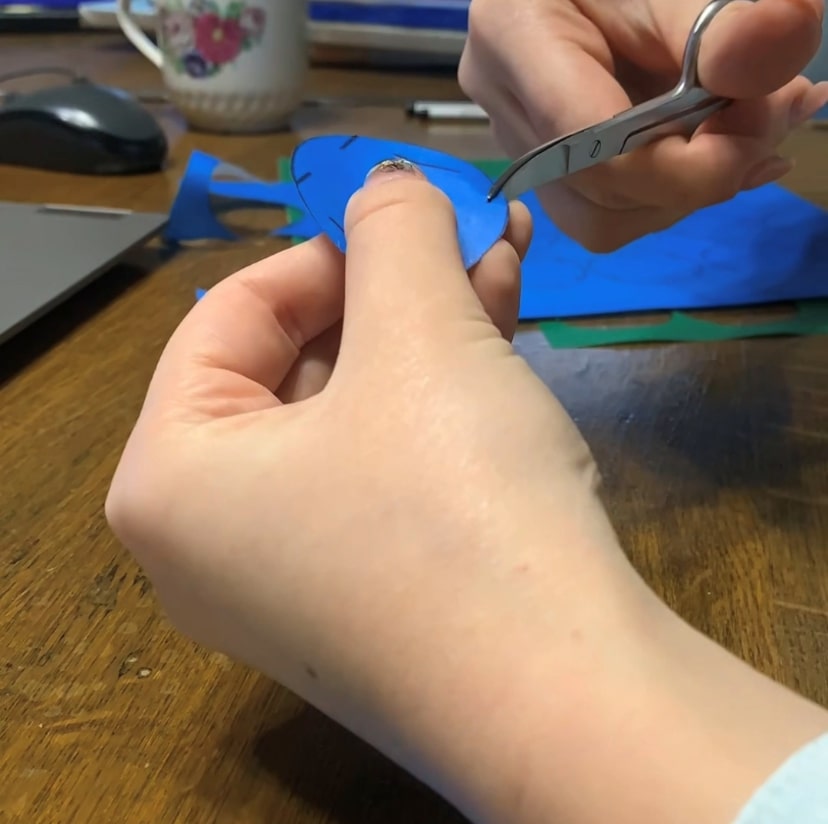
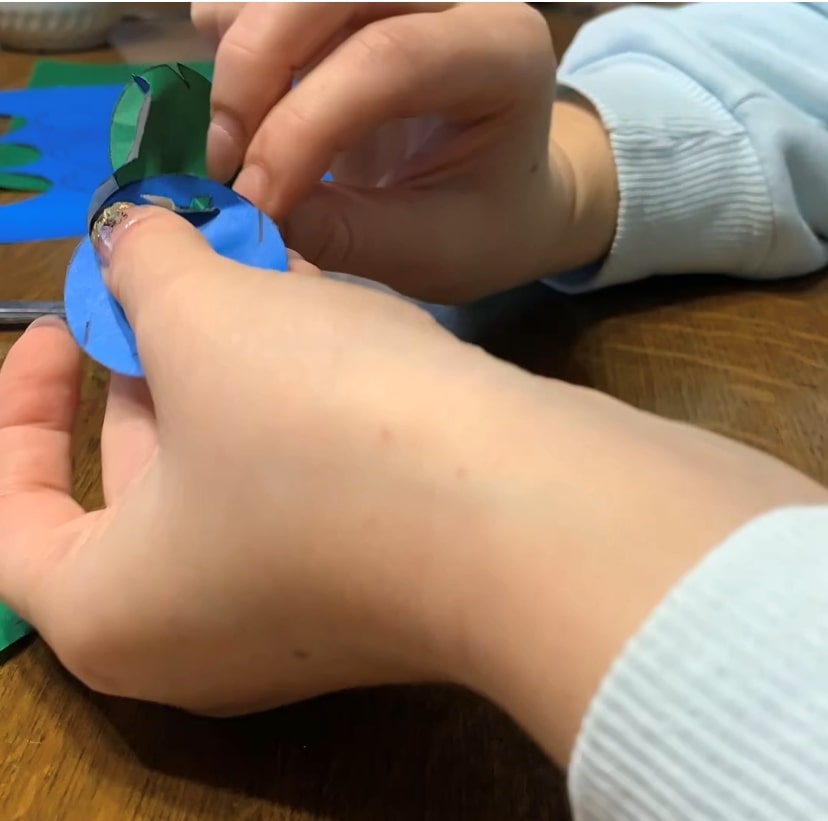
Paper tasting
This is the paper testing results
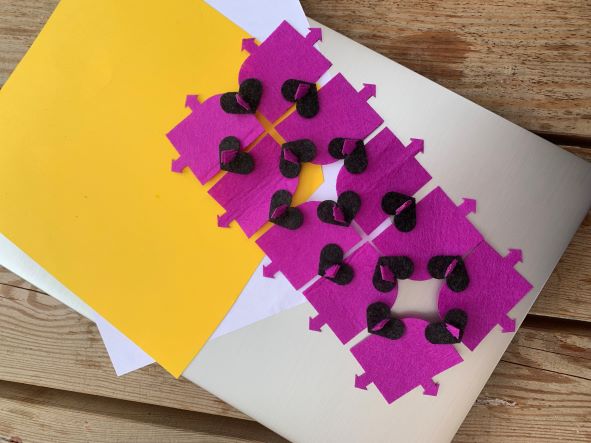
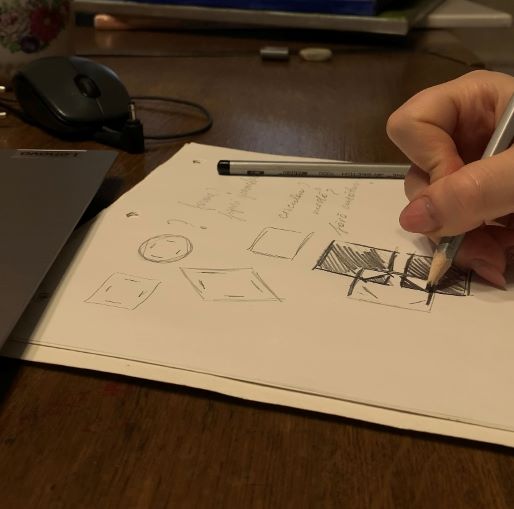
Failed ideas
Also some failed ideas
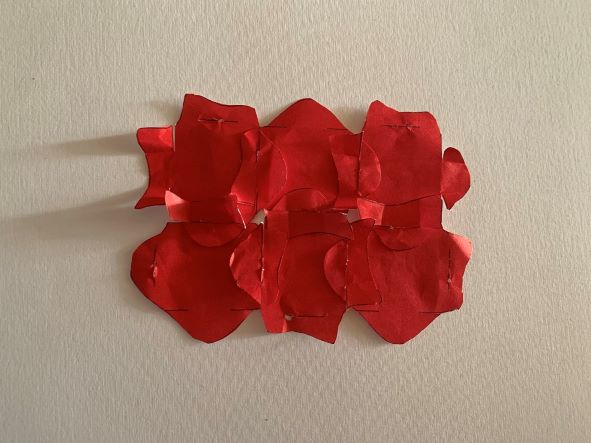
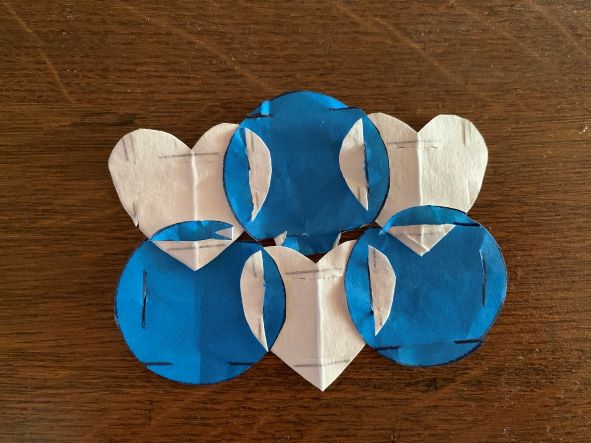
Here i tried to do something like a fish and heart. But i feel like these are failed designs.
Designing my model
I really wanted to do something simple but interesting, with a touch of myself. So i decided to try to recreate the basic folk flower that can be found and recognized everywhere in Moldova. This can be found mostly in traditional clothing as it's a traditional stitch design.
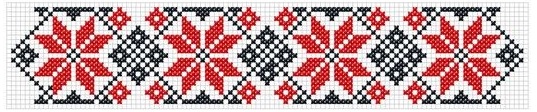
Following this design i tried to capture the most important part and started to create my 2D format in AutoCAD.
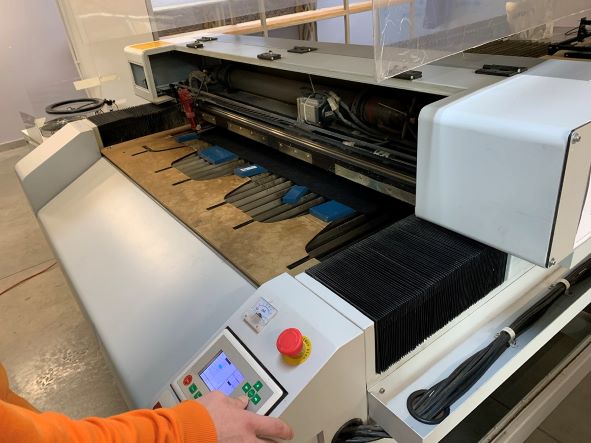
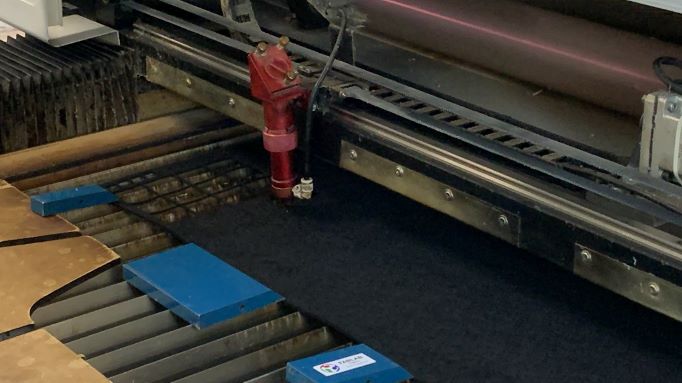
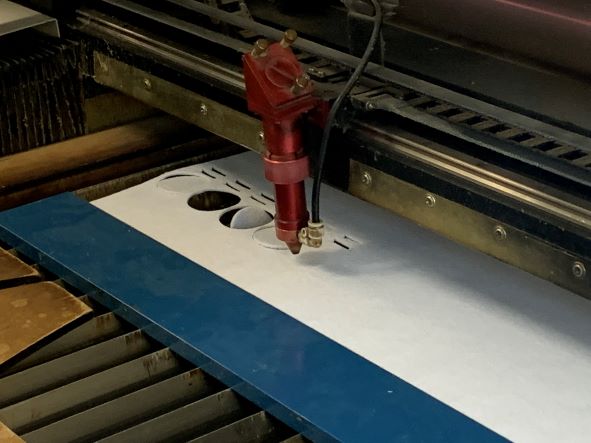
After i was satisfied with my design i export it as a [.dxf] file, and went to the FabLab to get the needed pieces cut from felt with the height of 4 mm in black and white colors. Firstly, at the FabLab, together with the local instructor, we set the needed parameters for the laser to cut the felt and tested it.
Then i did some testing of my design, and i was not happy with the size, so i changes the size on the bigger side.
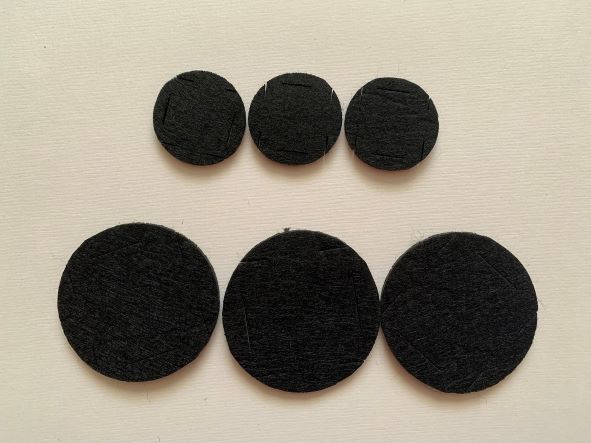
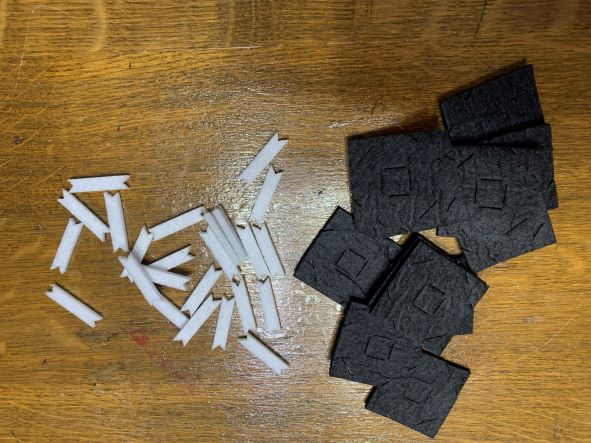
After all the corrections and editing, when i was finally happy with everything i cut the design at the laser.
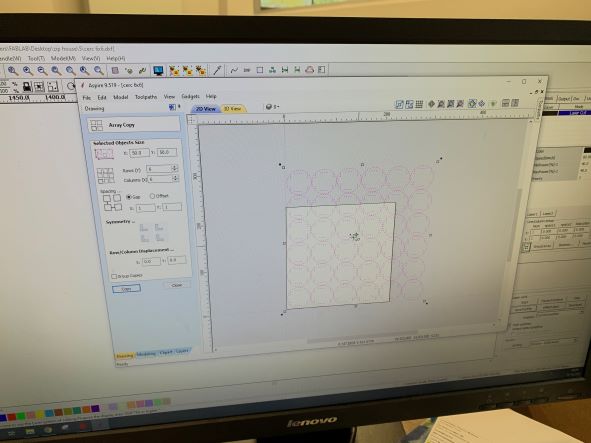

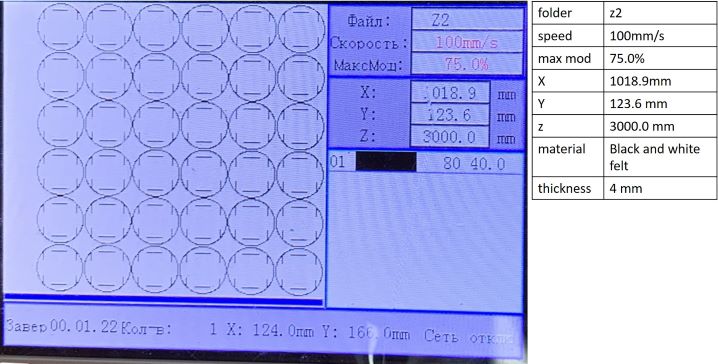
Laser data
Here are the laser data
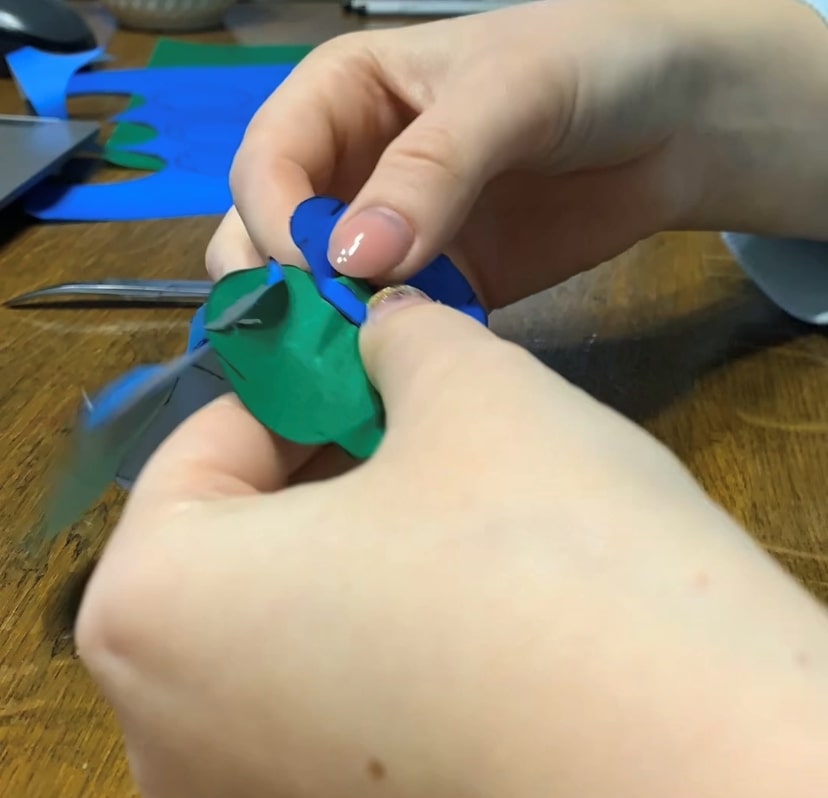
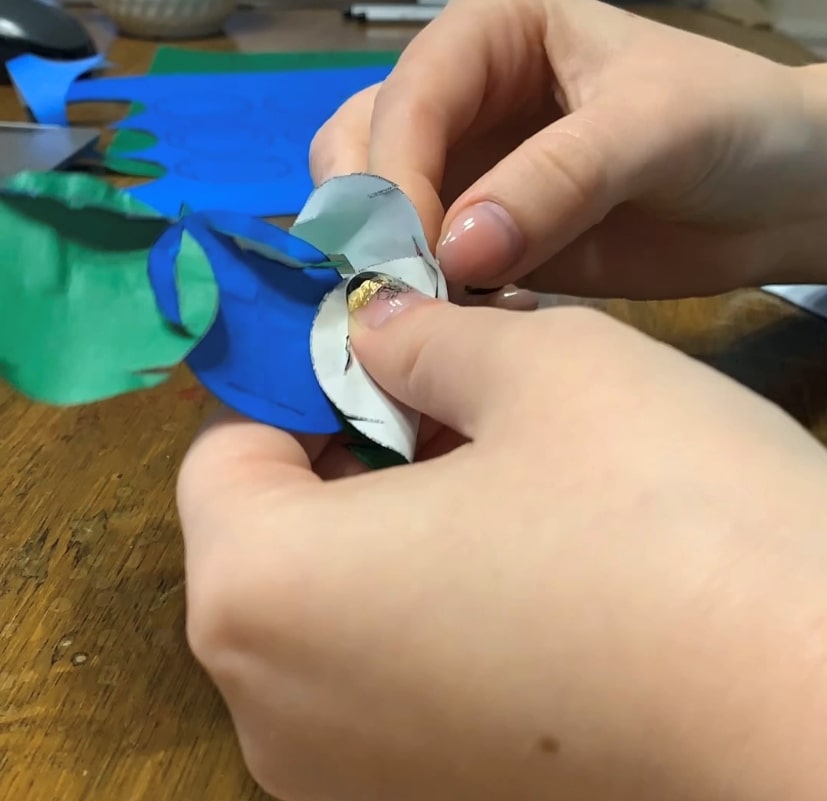
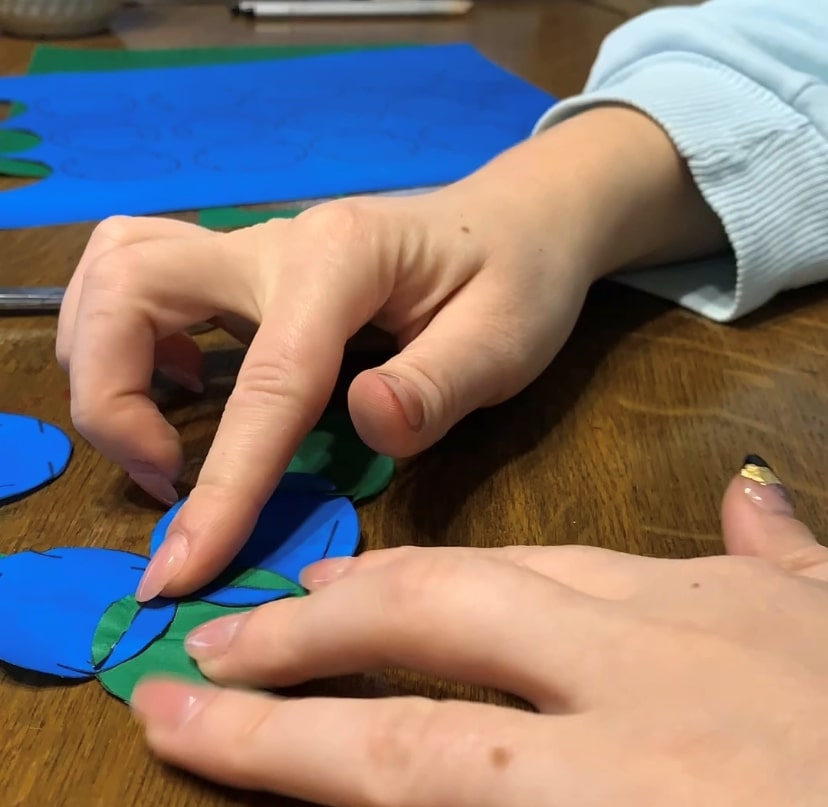
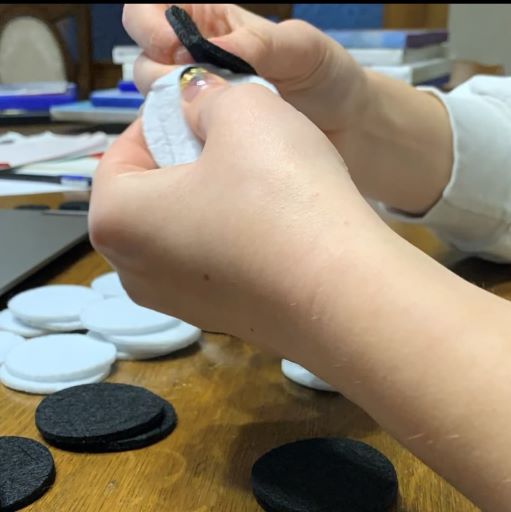
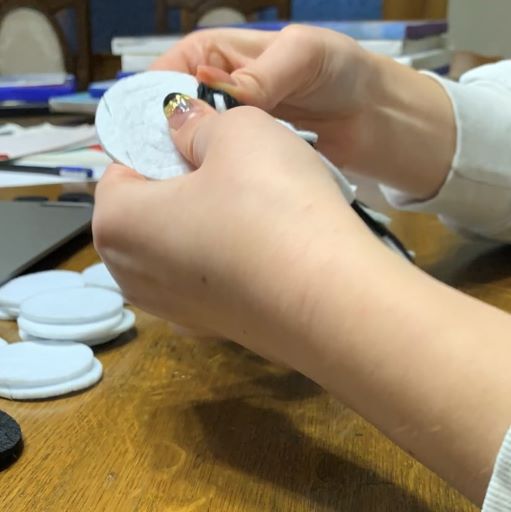
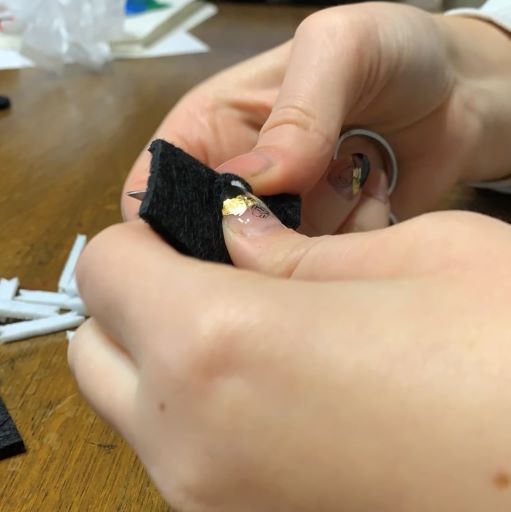
Then came the assembling process
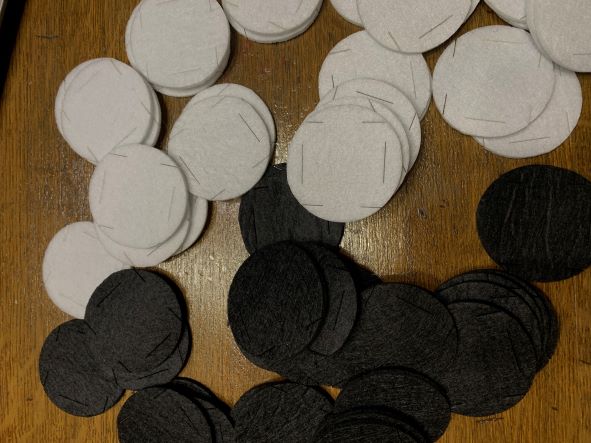
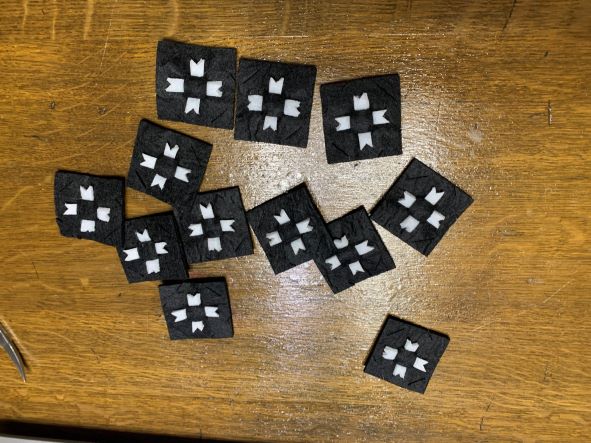
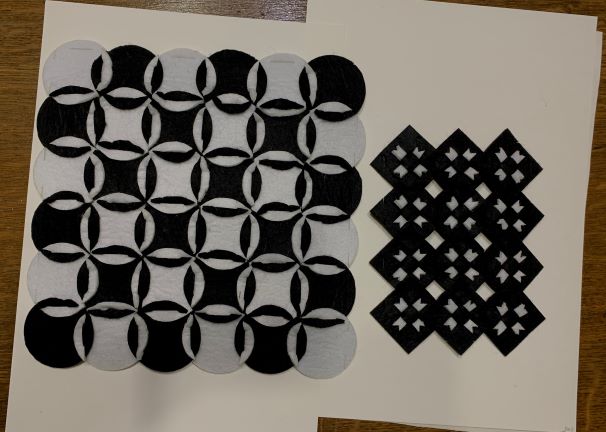
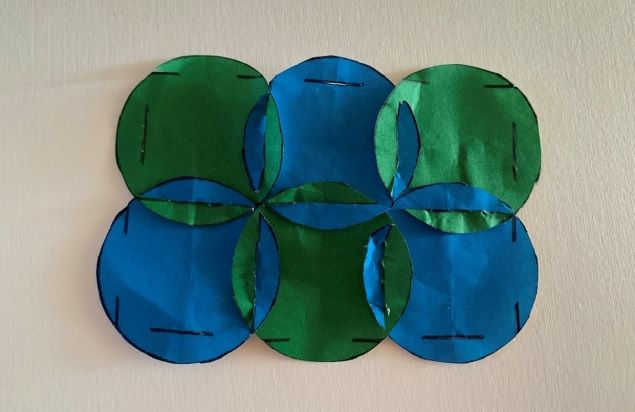
Final result
And the final result.