4. BioChromes
The 4th week. This one was very interesting but a very hard and intense one. Also it was a week full of information and experiments.
Research
The first step is as always browsing thru the Fabricademy participants of last years. This week it really helped me a lot, because here at our lab this theme was new and we were quite lost at the beginning. Thanks to the lecture given by Cecilia Raspanti on BIOCHROMES and her tutorials we started to try to do the lab work. A big help and guide were the next pages. Laura Caroline, ByLessPlus and Patty Jansen. The way they documented the process and their work really helped me to understand and made my work a lot easier.
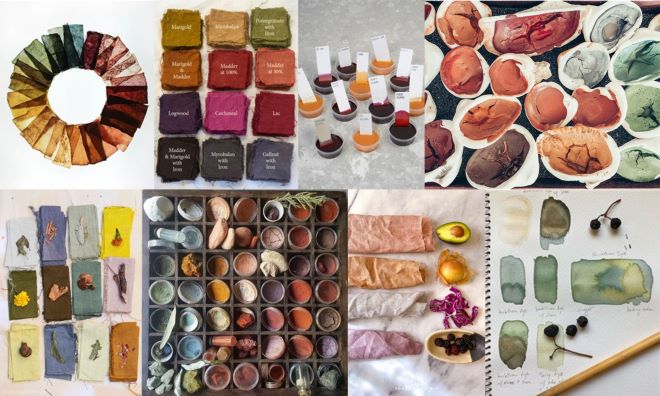
References & Inspiration
For this week i did a lot of research and based on what i sew i gathered some posts that inspire me.
Process and workflow
Preparation of fabrics and fibers before the dye bath
Tools
- cooking pots,
- stirring spoon,
- weight,
- strainer,
- cooking stove,
- glass jar,
- coffee filters, etc.
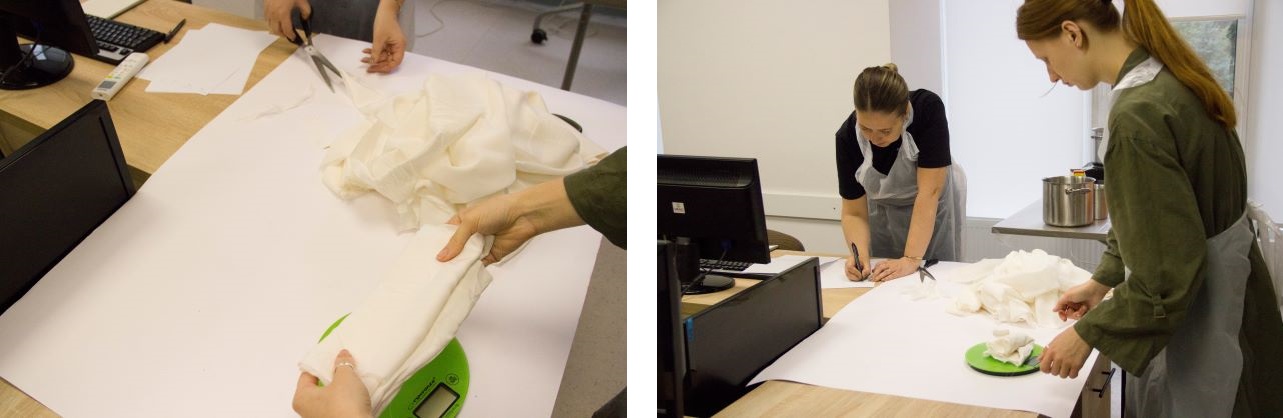
Weight of Fibers (WoF)
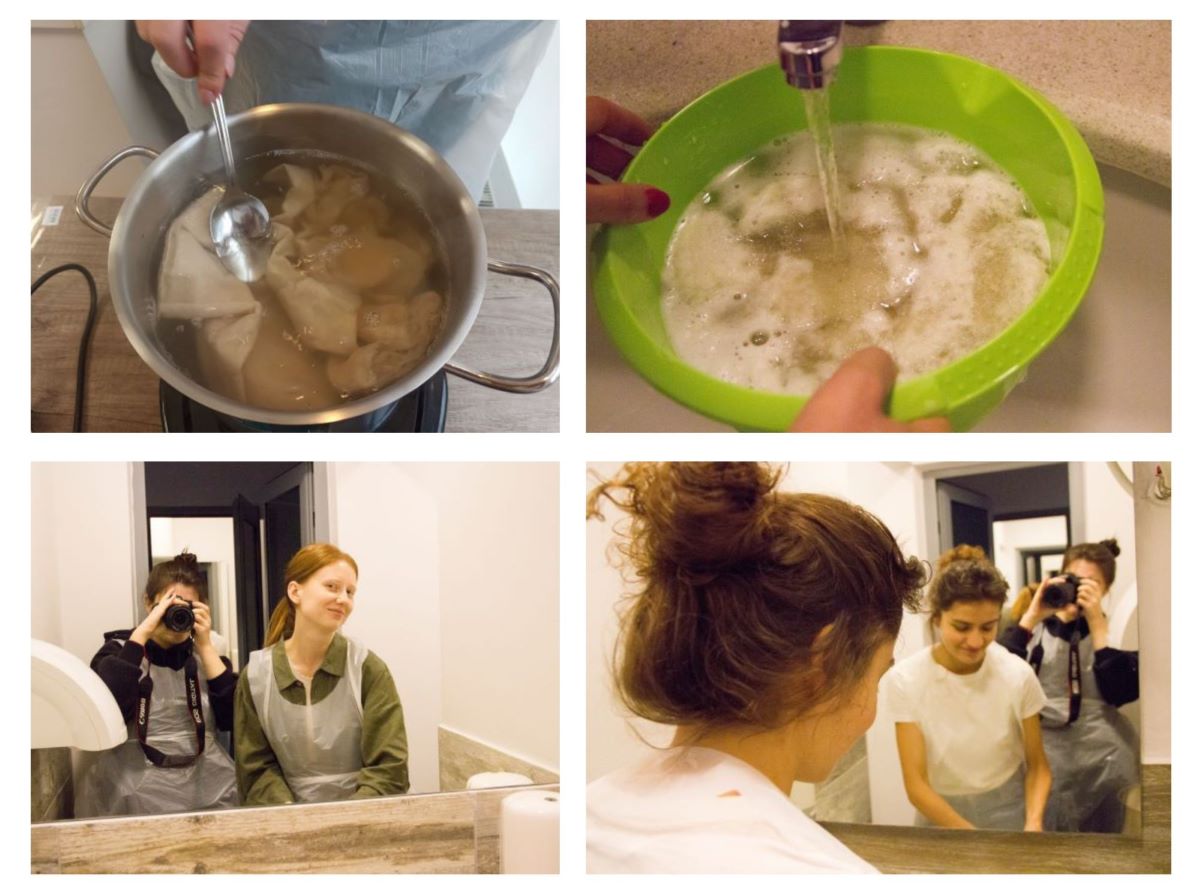
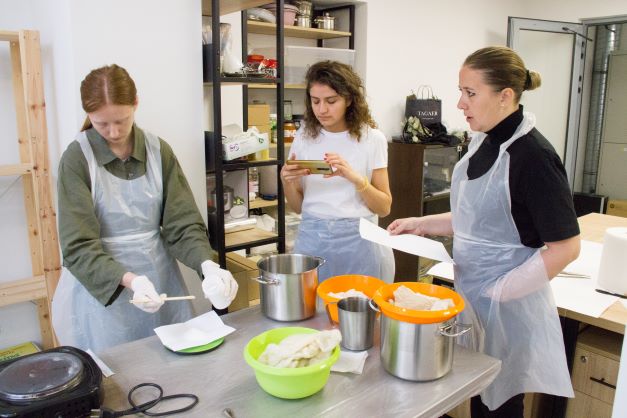
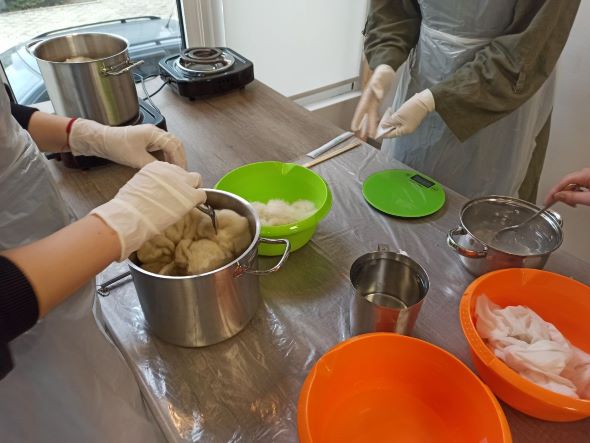
So, we started to do the work in our lab ZipHouse. We did it by rewatching the tutorials. After that we started to prepare the fabric. We had 4 types of fabric: unbleached cotton, linen, wool, and silk. We devided the textile in needed parts, weighted them and then started to prepare them for the first step which is scouring. For the process of dying we prepared a batch of 5 pieces for each type of fabric that we had. Each piece was about 7 by 10 cm.
Scouring
Scouring is a process in which we clean our fibers. For the vegetable fibers, unbleached cotton and linen, we did this process by using sodium bicarbonate. We used 2 spoons of sodium bicarbonate to 4l of water. For the animal one, wool and silk we gave them them a warm bath.
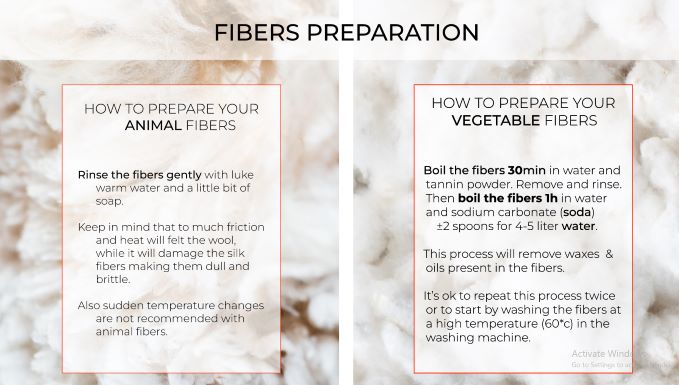
The scouring process was done by following the instructions above.
Tanning
Tanning is not a fondamental step, it helps in the color fastness. After all this we did the next step which is Mordanting.
Mordanting
Mordant is a substance, typically an inorganic oxide, that combines with a dye or stain and thereby fixes it in a material. We used Alum as our mordant.
- Animal fibers: 15% of WoF of Alum;
- Plant fiber: 10% of WoF of Alum.

Following the instructions provided to us we prepared the textile for the dyeing process.
Preparing the dye bath and the dyeing process
Individual work
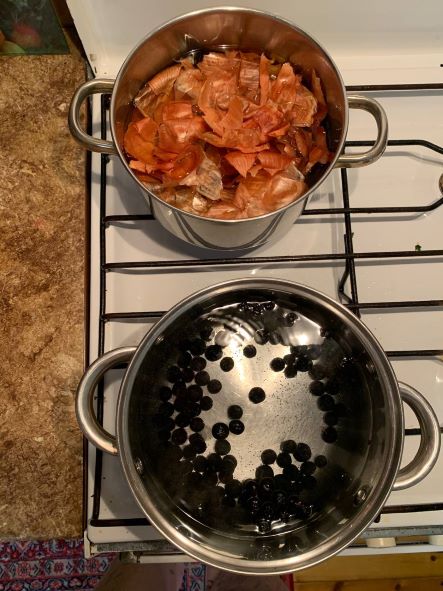
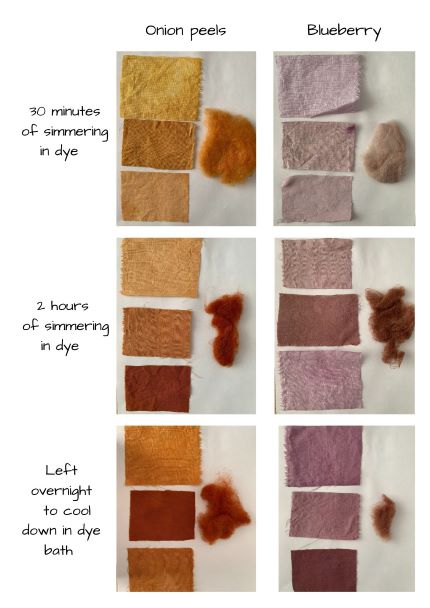
After that we divide the work and everyone took home 2 ingredients to work and create dyes. I got the blueberry and onion peels. I started the work by preparing the ustensiles and the water. When the water heated i added the blueberys and the onions peels in the pot. The ratio was:
- blueberry - about 200g to 2l water;
- onion peels - about 5 hand of onion peels to 2l of water.
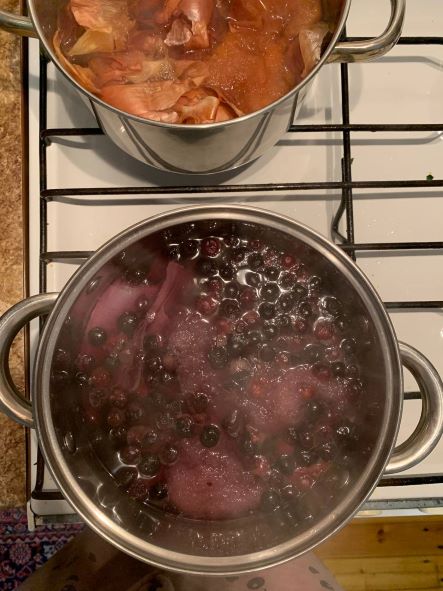
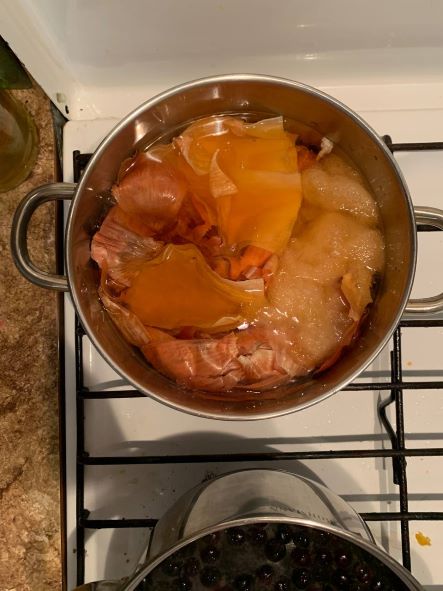
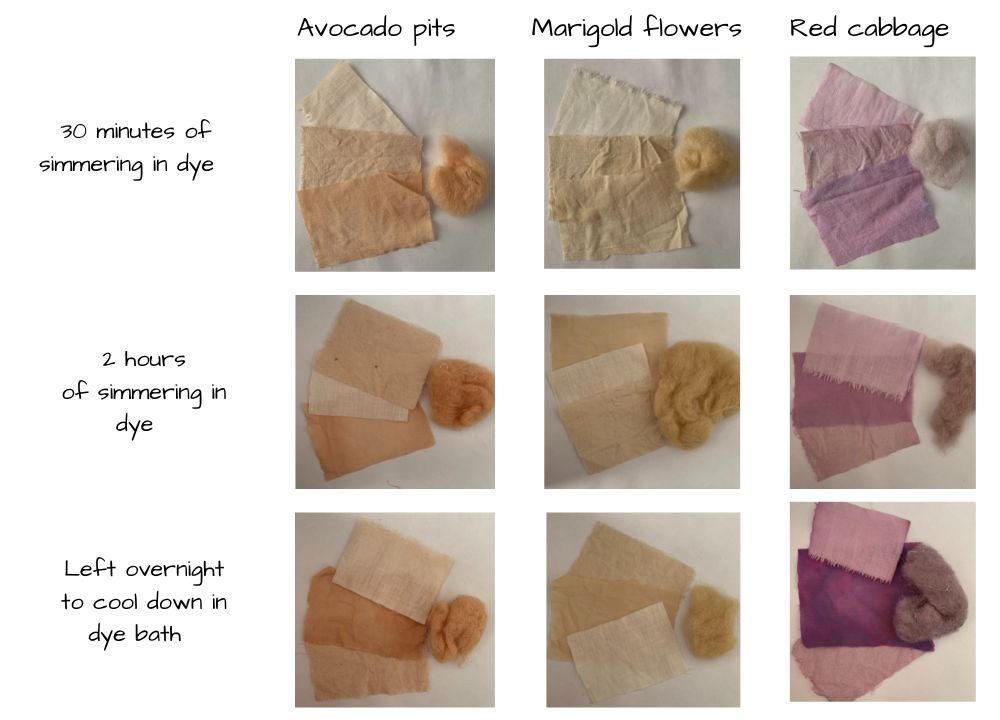
Results
Here are the results of 30 minutes, 2 hours of dying in simmering water and left overnight to cool down in the dye bath.
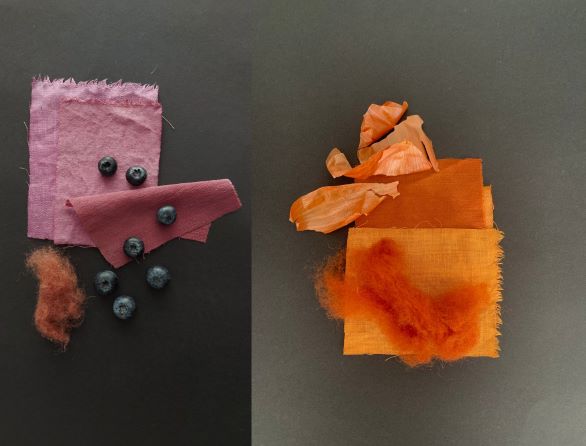
Final results
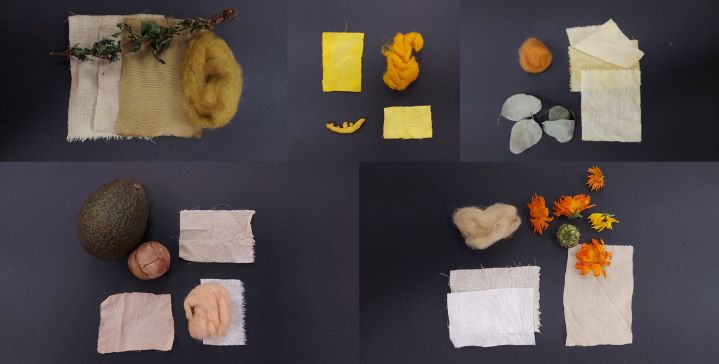
In the lab
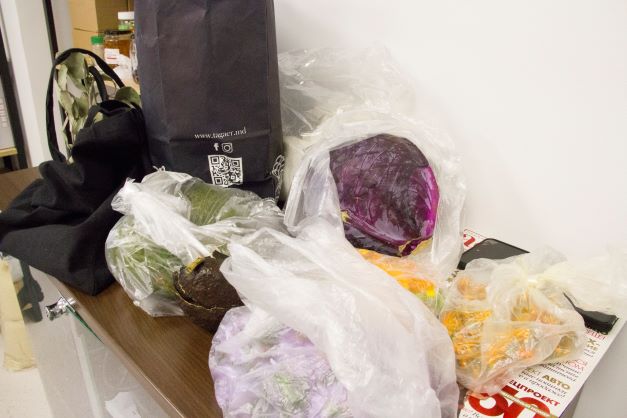
After the preparation we started to prepare the ingredients for the dyeing process. In the lab we decided to do 3 ingredients.
- avocado pits - 1pit;
- marigold flowers - about 30% of WoF;
- red cabbage - about 40% of WoF.
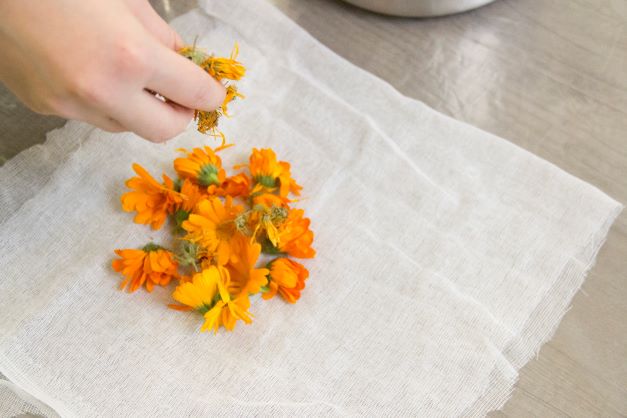
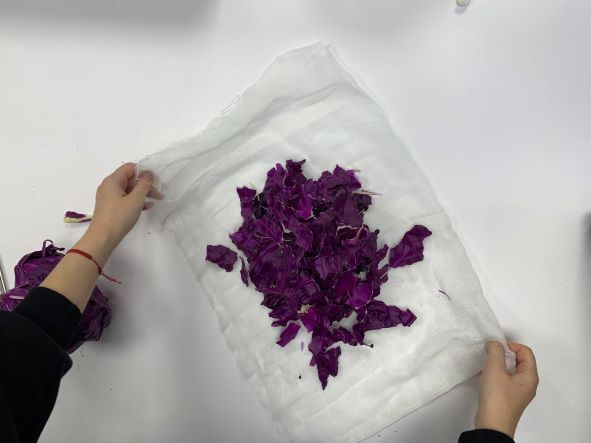
After this we put them in and let them simmer and added the textile.
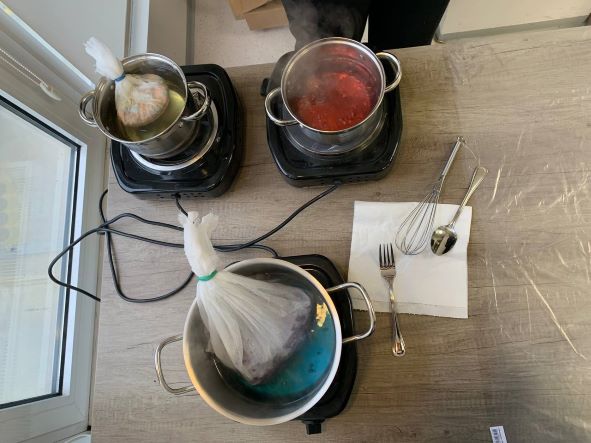
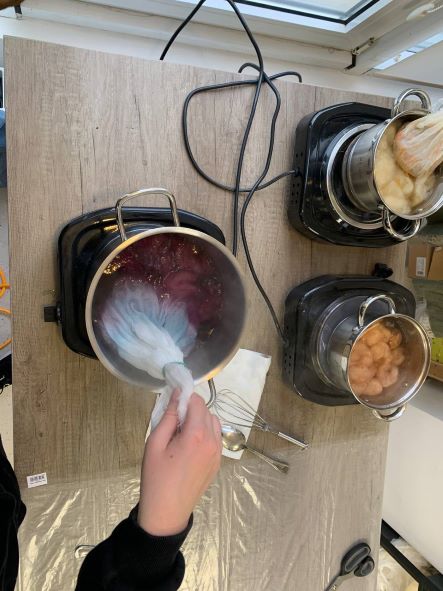
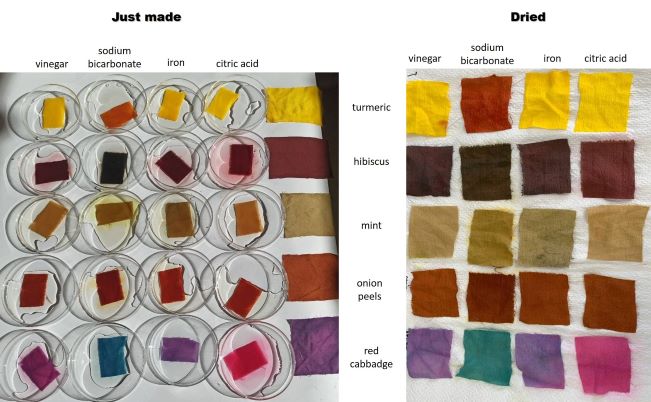
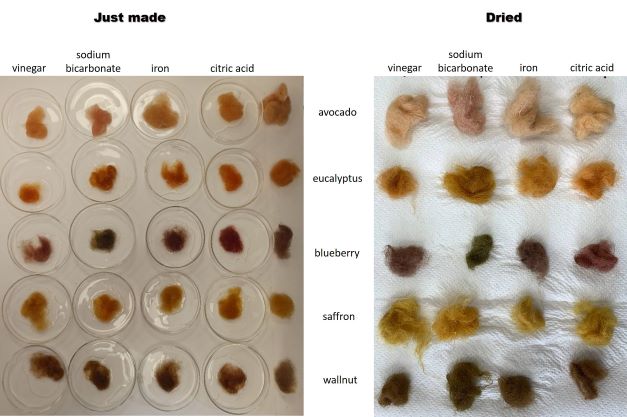
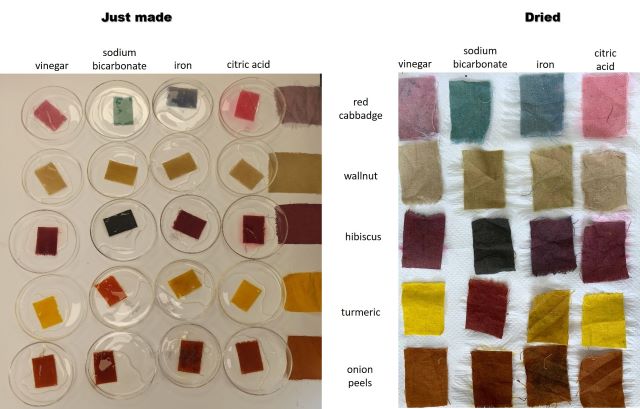
Here are all of our dyed fabrics and colors obtained.
In group we obtained eight more types of coloring. The ingredients used were: walnut leaves, hibiscus tea, blackberry, chives, dried lavender, turmeric, saffron and mint. these results can be seen on my collegs pages Elena Bannaia; Elena Rotaru; Elena Florea and Aliona Raru.
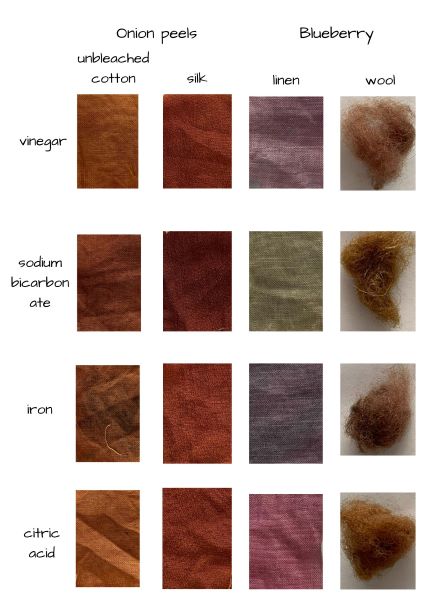
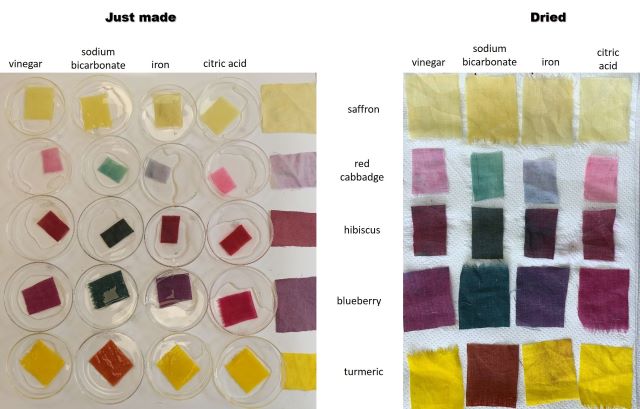
Coloring modifications
We did the color modification by using 4 diferent mediums: vinegar, sodium bicarbonate, iron and citric acid. Here are the results for diferent types of textiles.
The recipe we used to create the modifiers:

Individual work
Using the 4 mediums here are the obtained results for the onion peel and blueberry.
In the lab
- Silk
- Wool
- Unbleached cotton
- Linen
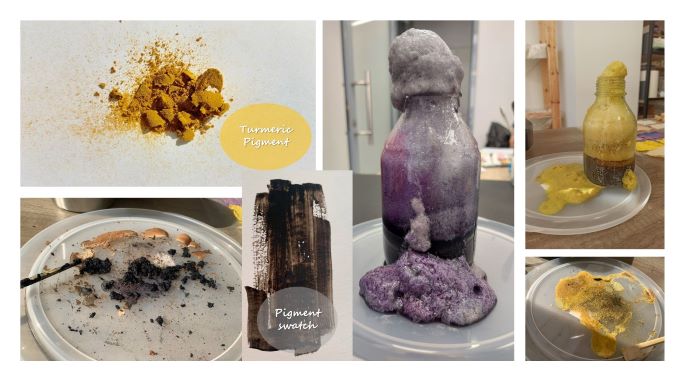
Recycling the dye into inks and pigments
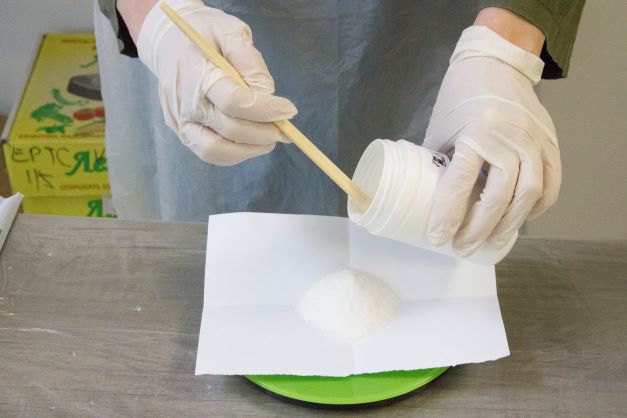
Pigments
Using the left dye, we divide it and used it for the inks and pigments. For creating pigments we used about 300 ml of dye and did the 2 alum to 1 sodium bicarbonate ratio. First we put in the alum dissolved with hot water and mixed the jar. After that we carefully added the sodium bicarbonate dissolved with water in the jar. After the "volcano" effect we used a coffe filtre to poure the mixture and let everything dry. The pigments were done together with Elena Bannaia.
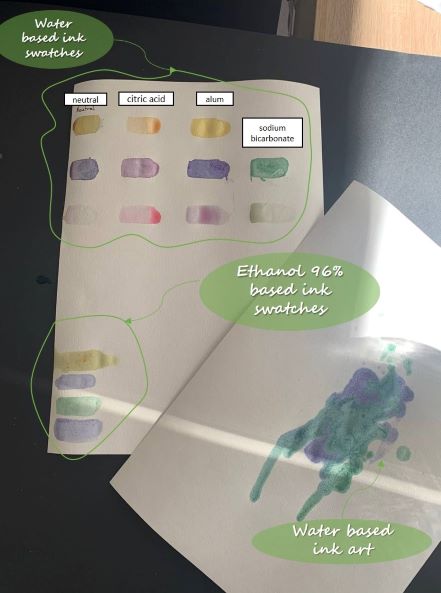
Inks
For the ink making we used the last 100 ml of dye and used two kind of vehicles. water and ethanol 96%. We combine the dye with the selected vehicle and boiled/mixed it. After that we needed a binder, but because we didn't have arabic gum we substitute it with gelatin, agar agar and cornstarch. At the end we pailed around with modifiers. We used citric acid, alum and sodium bicarbonate. The inks were done together with Elena Bannaia.
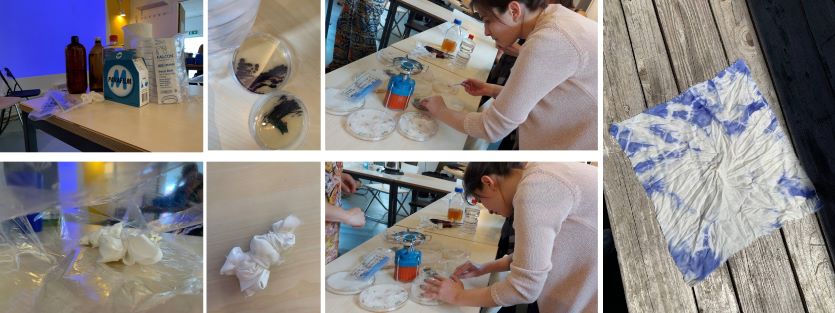
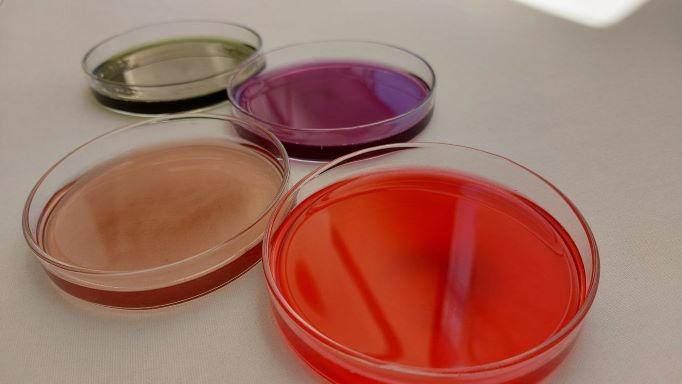
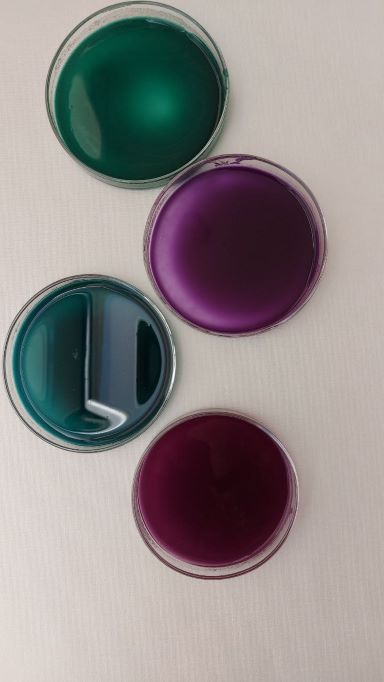
Bacterial dyes
At the ZipHouse, this year we did not have the oppurtunity to do the bacterial dye, but i had the amazing opportunity to participate in the Fabricademy Bootcamp 2022 GENEVA, were we did the bacterial dye. There we use a pressure cooker to sterilize the bag and the textile. we sterilized the working area with ethanol and camping gas.
- First we made our knots from the textile given;
- Next it was sterilized in the pressure cooker;
- After everything was prepared for work, each of us first took the textile and put it into the petri dishes;
- Next step was to carefully take a bit of bacteria and put it on the textile;
- After that we poured some food;
- And lastly we use parafilm tape to secure everything.
- All the steps above were done near the fire and the working surface was constantly sterilized with ethanol.
After some time the textile was taken, sterilized and the bacteria were killed and we got the final result. Here is the process and the result obtained.