13. Skin Electronics
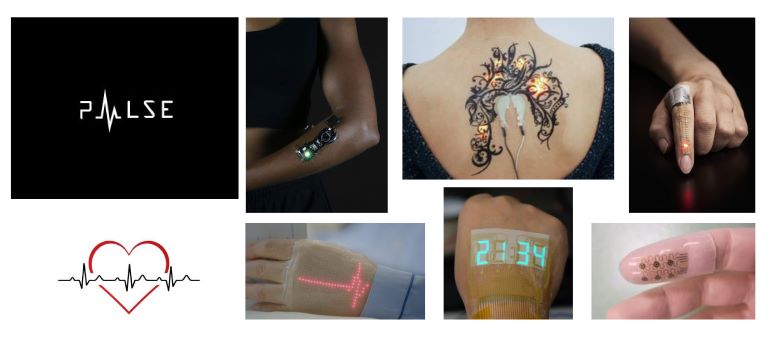
Research, References & Inspiration
As always i start by browsing the Fabricademy page with the results of the students from previous years. This week Elsa Gil was the main source of information and inspiration. After the lecture and tutorials on Skin Electronics i started to browse and think of what i can make.
Process and workflow
Inspiration
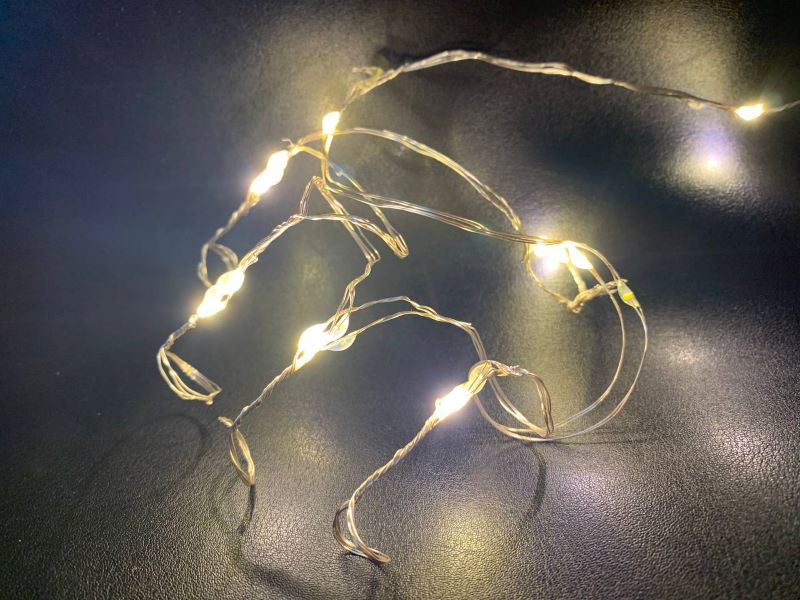
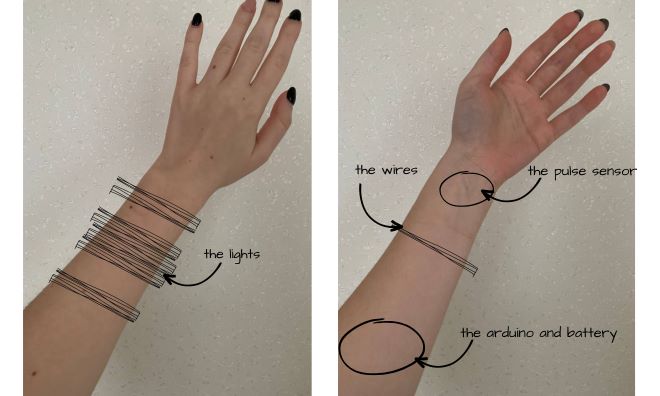
I decided to base my work on the idea of using a pulse sensor as a way to show my heart to others. I started my work by mapping the design i want to make on my hand, and then started to create the circuit and to test the sensor to see how well it works.
Mapping the design
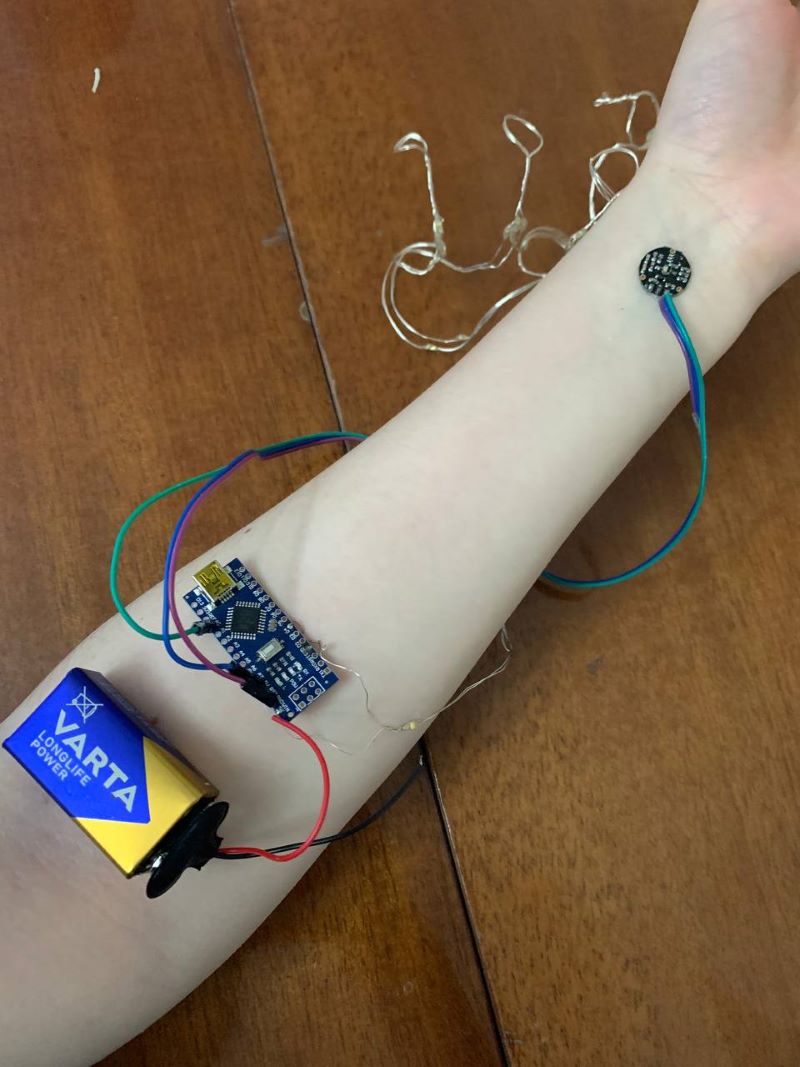
Creating the circuit
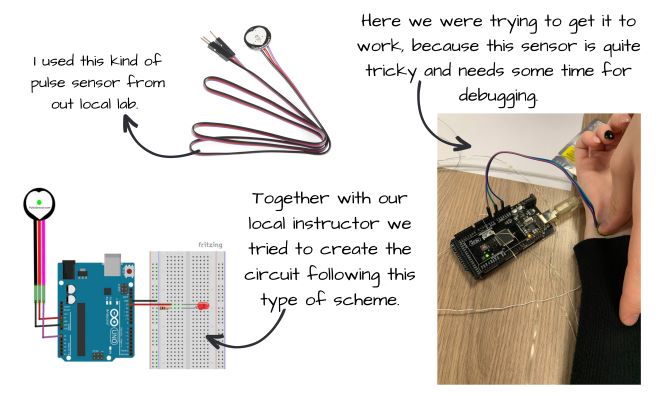
Testing
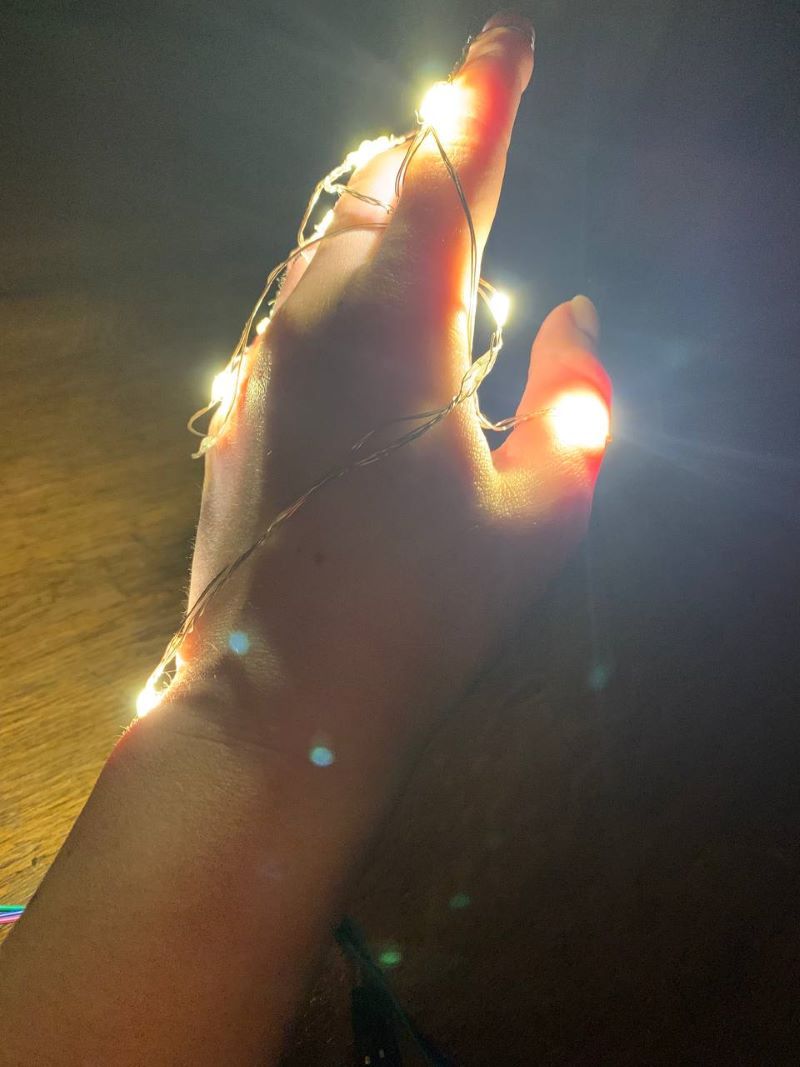
After this we started to test the circuit and play with it to make it work.
- First testing
Here the sensor was catching some noise so the lights were not showing the right way a pulse beats, so together with our local instructor we started to debug and work on the code.
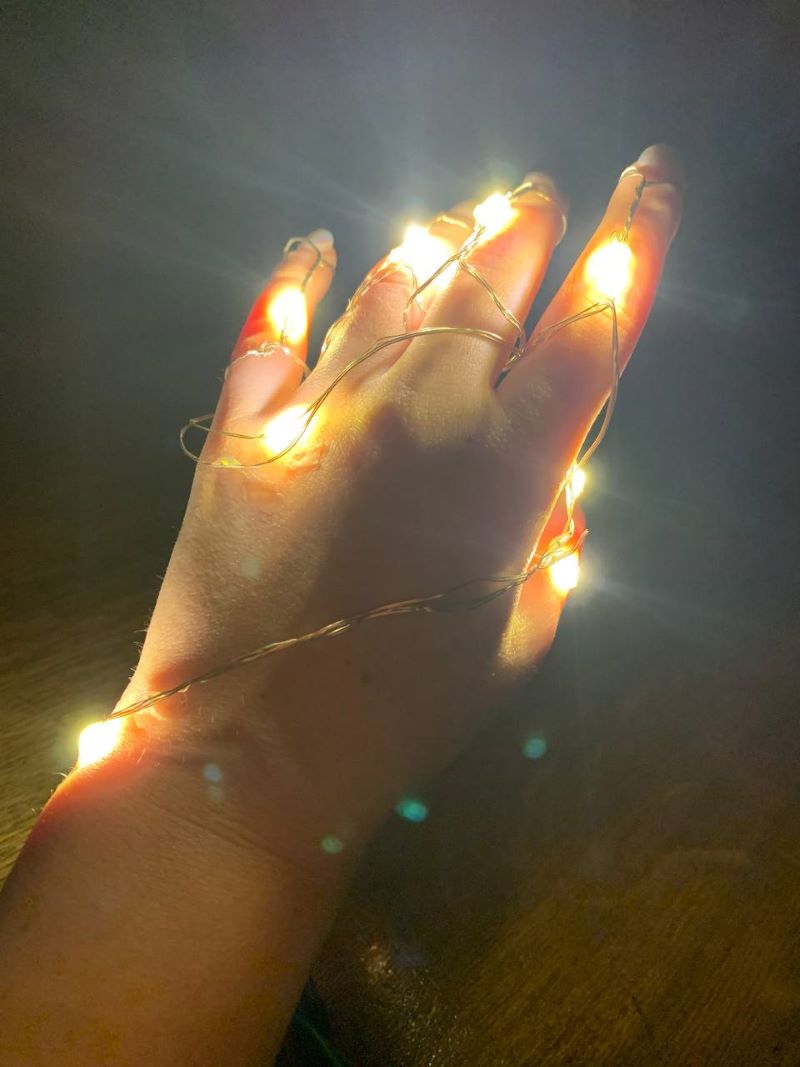
- Second testing
In the second testing we did correct the the lights show a more accurate pulse.
- Third testing
In the third testing i tried to inncorporate it in something, so i decided to make and use a glove.
- Forth testing
Code Example
#define USE_ARDUINO_INTERRUPTS true // Set-up low-level interrupts for most acurate BPM math.
#include <PulseSensorPlayground.h> // Includes the PulseSensorPlayground Library.

// Variables
const int PulseWire = 0; // PulseSensor PURPLE WIRE connected to ANALOG PIN 0
const int LED_STRIP = 13; // The LED Strip that will light up when a heartbeat is connected
int Threshold = 550; // Determine which Signal to "count as a beat" and which to ignore.
// Use the "Gettting Started Project" to fine-tune Threshold Value beyond default setting.
// Otherwise leave the default "550" value.

PulseSensorPlayground pulseSensor; // Creates an instance of the PulseSensorPlayground object called "pulseSensor"
void setup() {

Serial.begin(9600); // For Serial Monitor

// Configure the PulseSensor object, by assigning our variables to it.
pulseSensor.analogInput(PulseWire);
pulseSensor.blinkOnPulse(LED_STRIP); //auto-magically blink Arduino's LED with heartbeat.
pulseSensor.setThreshold(Threshold);

// Double-check the "pulseSensor" object was created and "began" seeing a signal.
if (pulseSensor.begin()) {
Serial.println("We created a pulseSensor Object !"); //This prints one time at Arduino power-up, or on Arduino reset.


}
}

void loop() {

int myBPM = pulseSensor.getBeatsPerMinute(); // Calls function on our pulseSensor object that returns BPM as an "int".
// "myBPM" hold this BPM value now.
if (pulseSensor.sawStartOfBeat()) {
  digitalWrite(LED_STRIP,  HIGH);
}
delay(20); // considered best practice in a simple sketch.
}
Results
Here are the obtained results