12. Soft robotics
Research
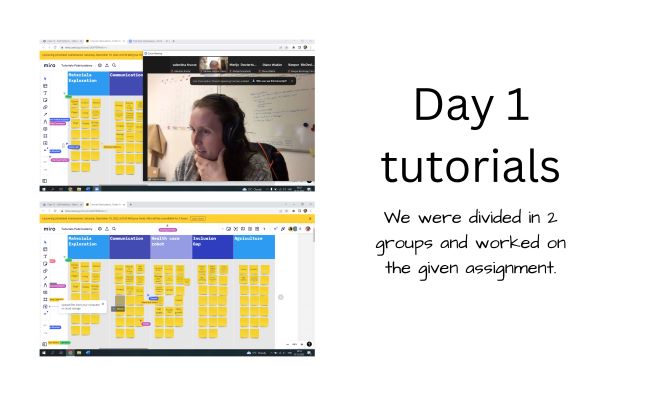
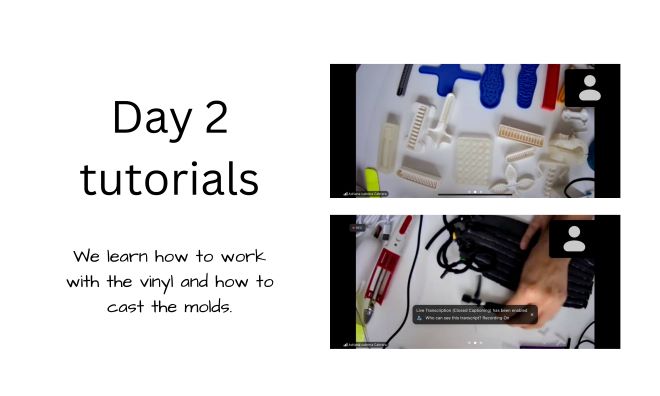
This week started ok, as always by browsing the Fabricademy page with the results of the students from previous years. The first page i always browse is Diane Wakim and Vicky Luan. We also had a great lecture on Soft robotics. Also the tutorials were quite helpful in explaining what we had to achieve this week.
References & Inspiration
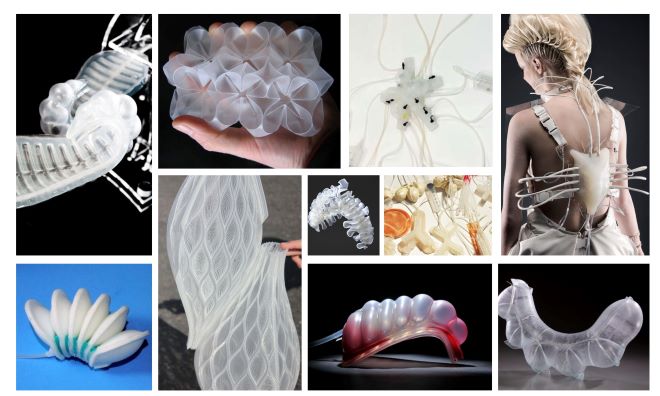
Soft Robotics are based on biomimicry and are bio-inspired. The can be used in differnt areas such as: wearables, rehabilitation prosthetics, surgical robots, rescuing and others.
Process and workflow
VINYL CUTTING
Silhouette Machine Set Up
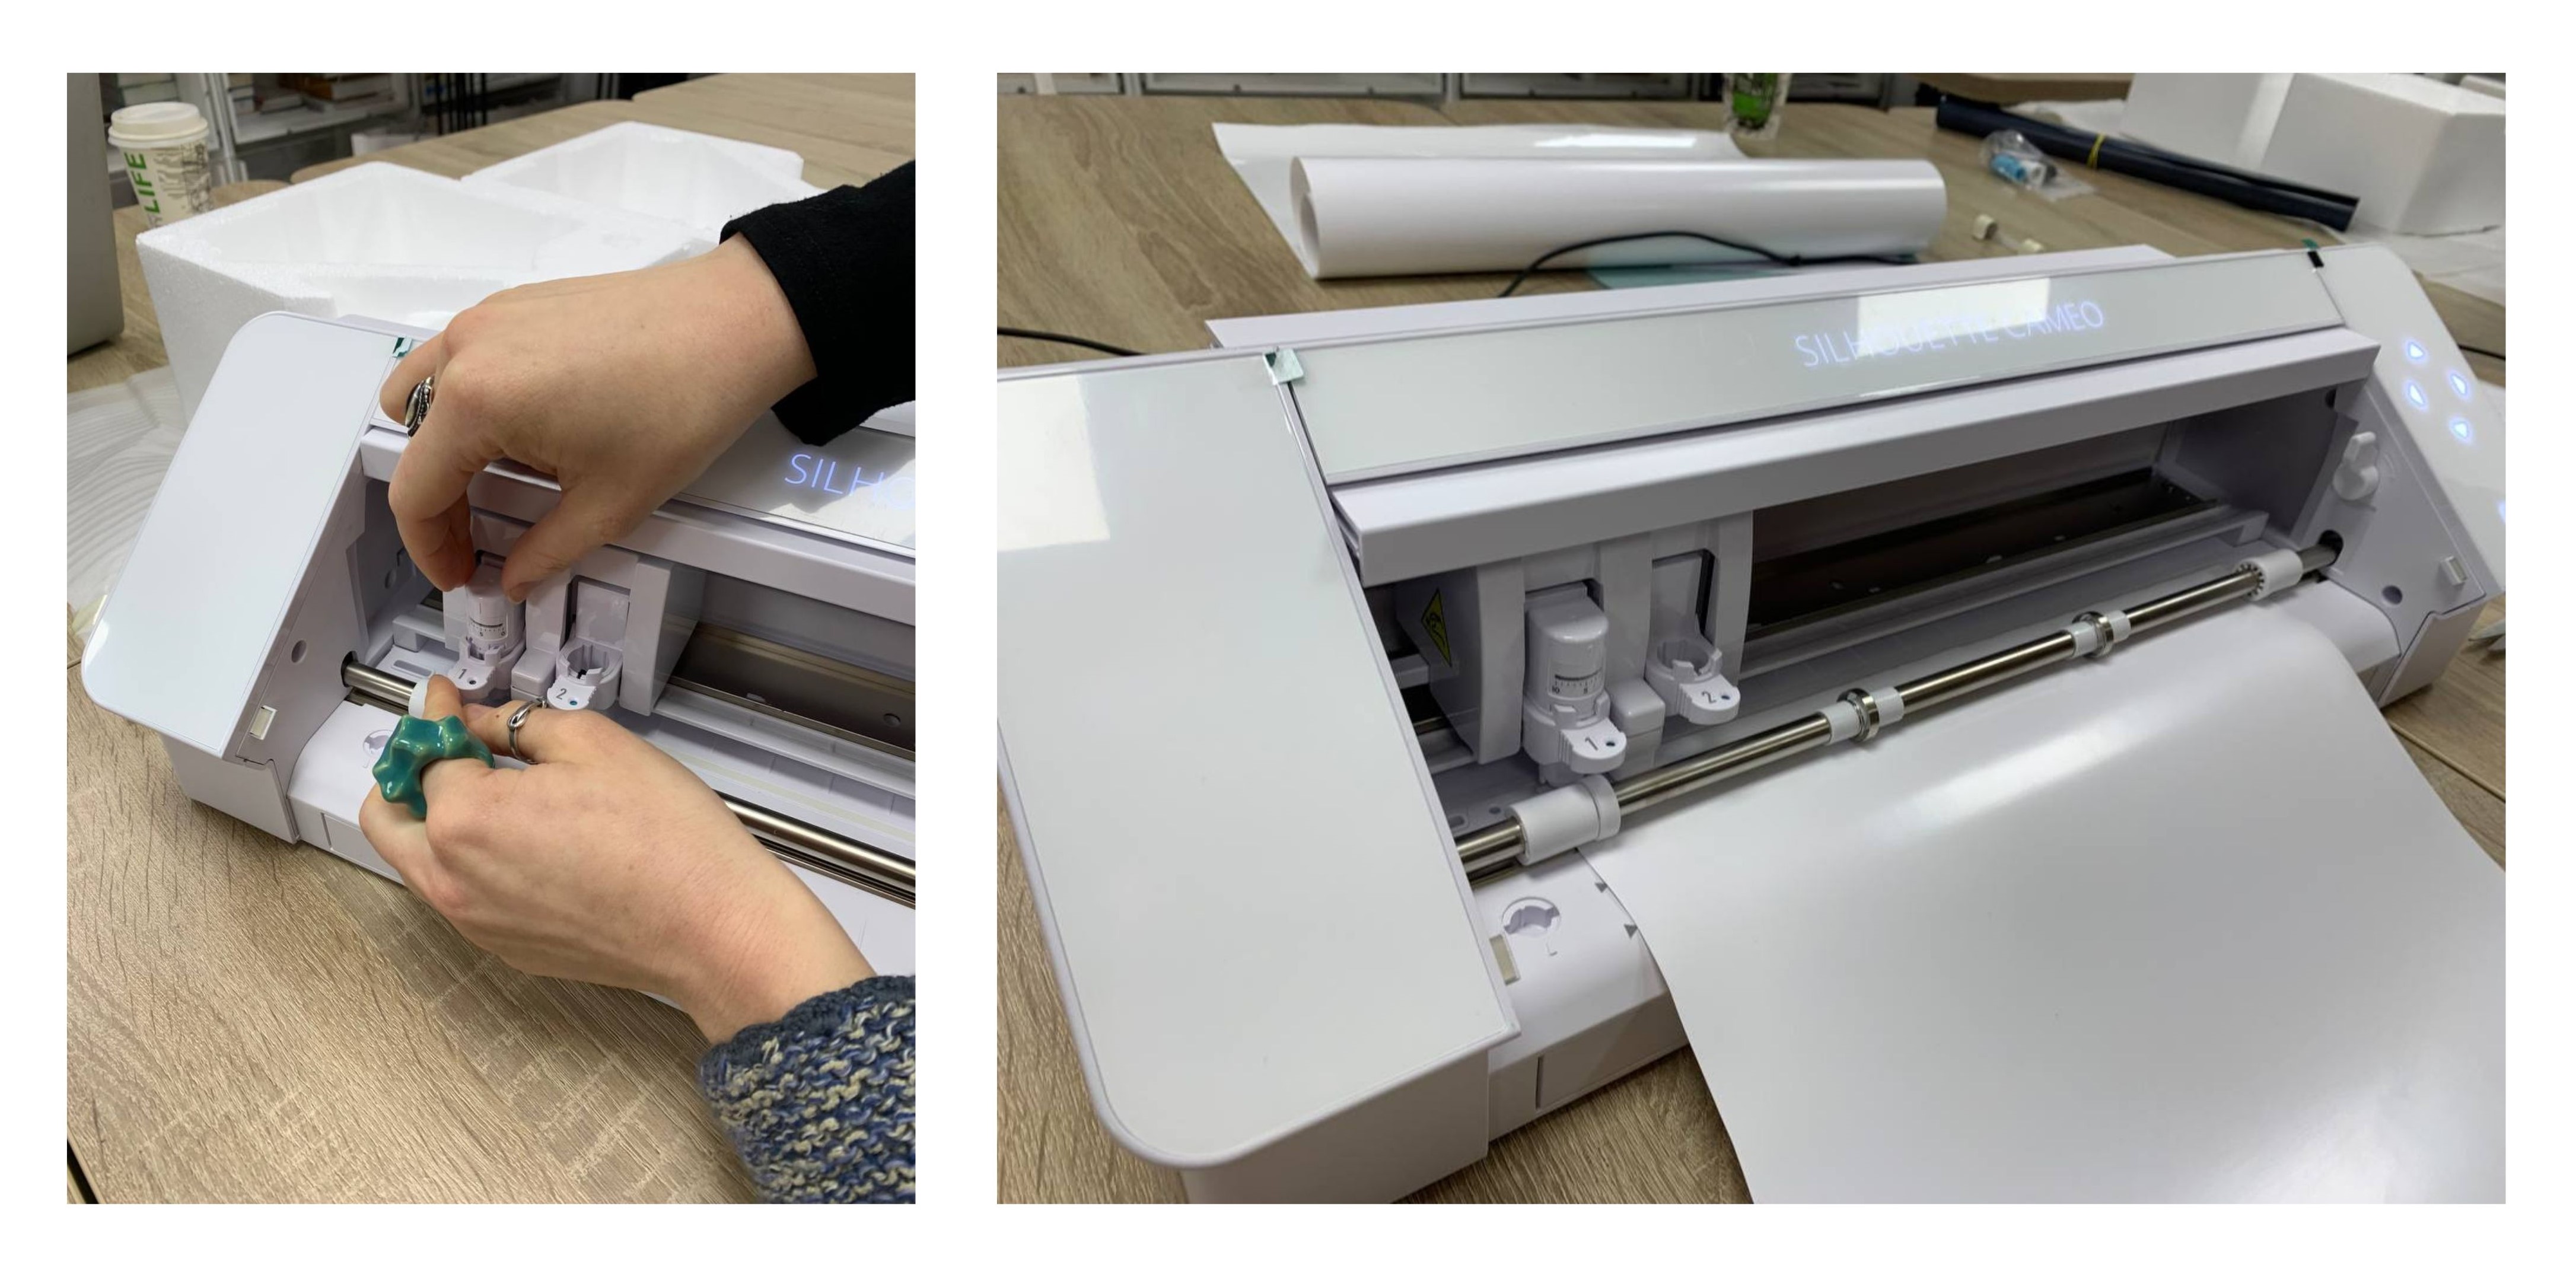
The ZipHouse group started the work by setting up the vinyl cutter machine. First we read the instruction and installed the app needed for the Silhouette machine. After that we started to experiment to get used to the machine and to understand how it works. All these steps were done by following this link.
First attempt
I started the work by testing the vinyl cut patterns. While testing i observed some things. First we need to use 2 sheets of backing paper, because by using only one we can't pump the air inside. Everything gets glued together. Second we need to iron oly the parts that need to get glued. third we have to be careful what is the temperature of the iron. Here are my first failed attempts while experimenting with the vinyl.
Second attempt
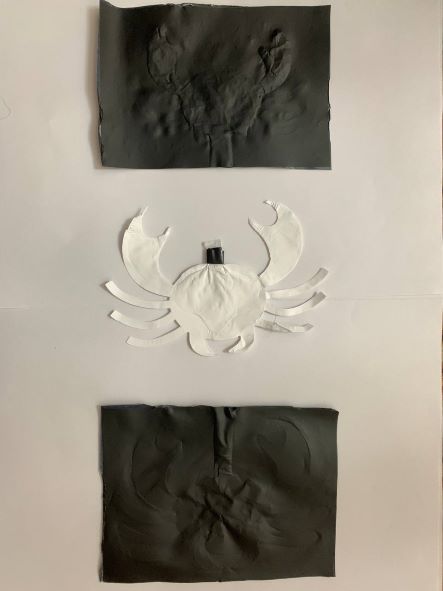
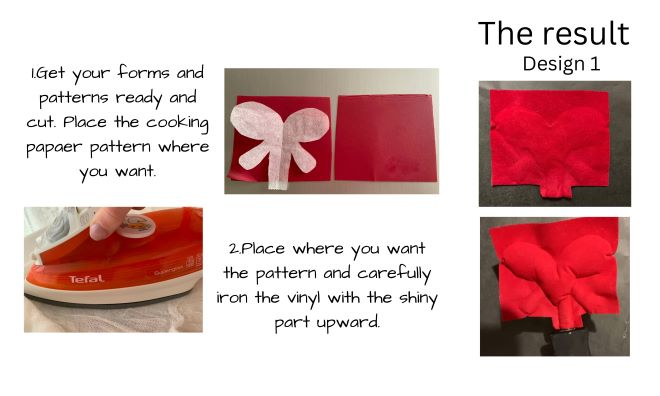
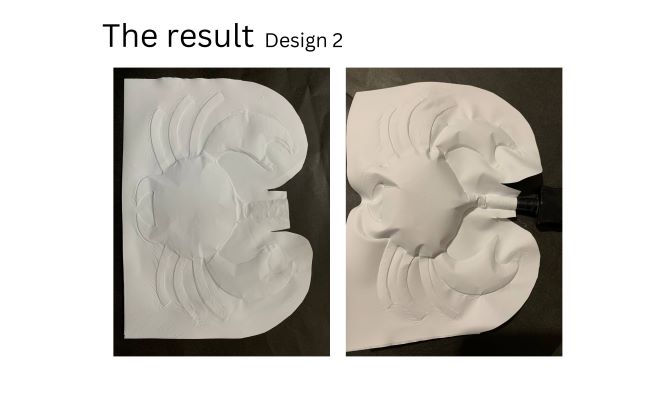
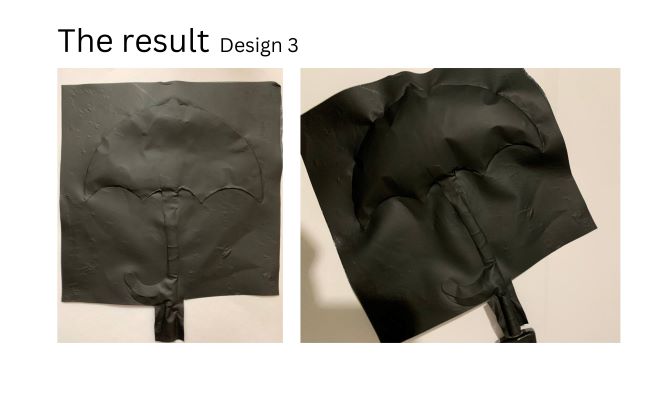
After the first trials that have failed, i started to do my second attempt. For this i changed my tactic a little bit. Instead of backing paper that was to thin i use regular paper and doubled it. Second i checked the iron temperature and only tried to iron the outer part of the design. Here are my designs, and my trials.
Video results
- Design 1
- Desing 2 (crab)
- Desing 3 (umbrella)
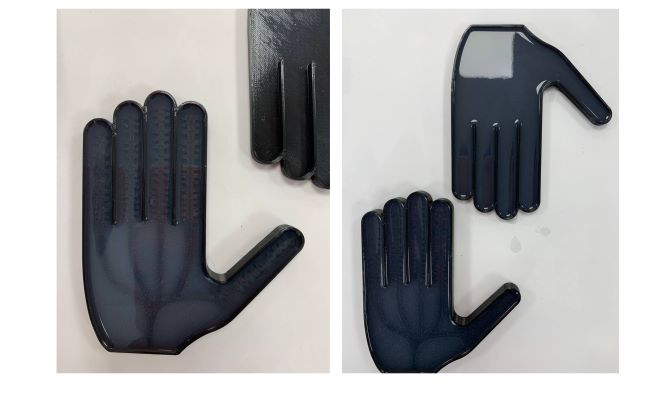
SILICONE
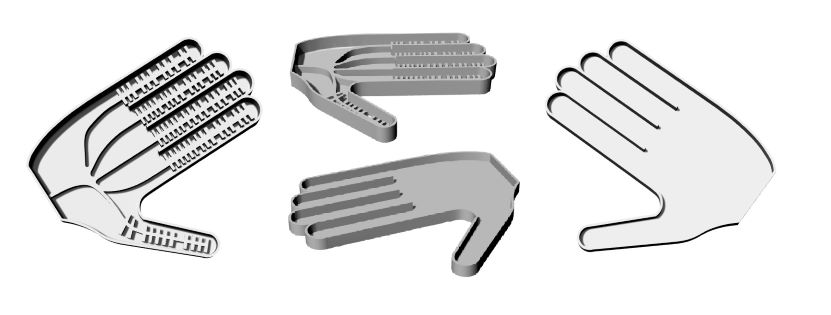
3D mold
After browsing the open source pages and seeing different kind of molds, together with the instructor from the 3D part of the lab i started to adjust my mold.
How to
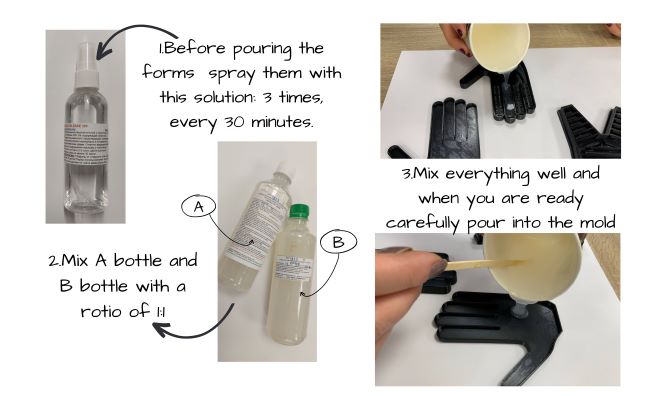
- Before pouring the forms spray them with the solution ease release: 3 times, every 30 minutes.
- Measure the proportion of silicone you want to use in two separate cups. (The ratio should be 1:1)
- When mixing A and B part we have about 20 minuts to work, otherwise, the silicone will be too thick.
- Pour the B part into the cup with A and make sure they are mixed very well.
- Take your mold and start slowly pouring the silicone slowly into one of the corners.
- To avoid bubbles in the silicone, only pour it on top of the porous silicone.
- Be careful - do it slowly and keep the cup high.
- Let it dry in a warm and dry room.
Trail 1
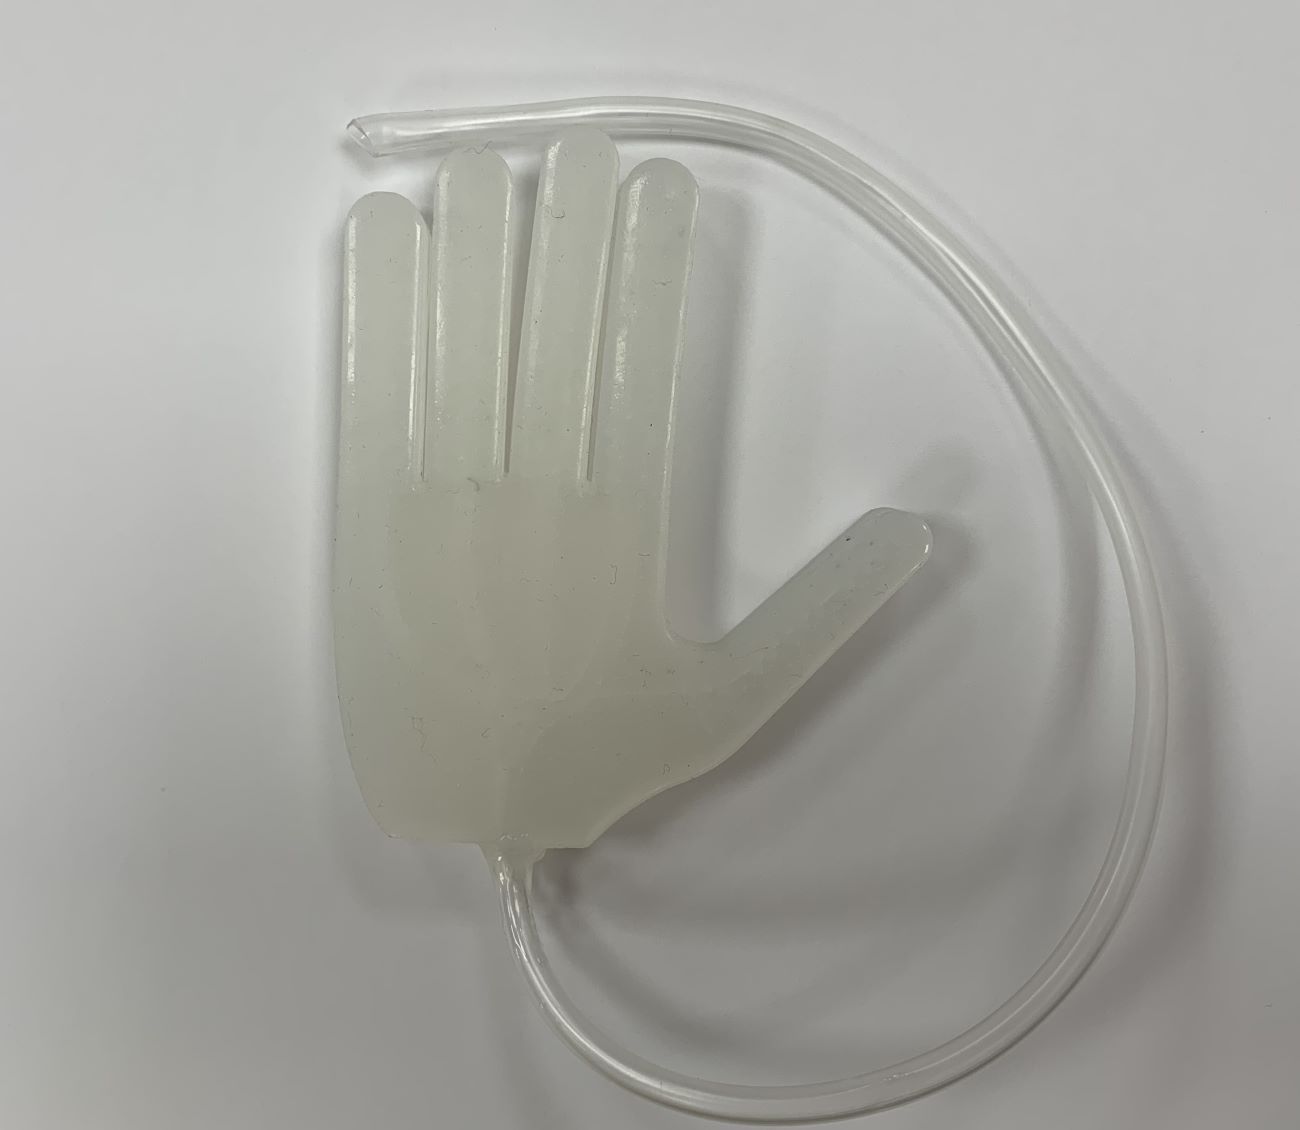
In the video we can see that the hand doesn't want to work. My best guess is that the hand is to thick for the size i made it. So because of that the hand doesn't want to bend.
Trail 2
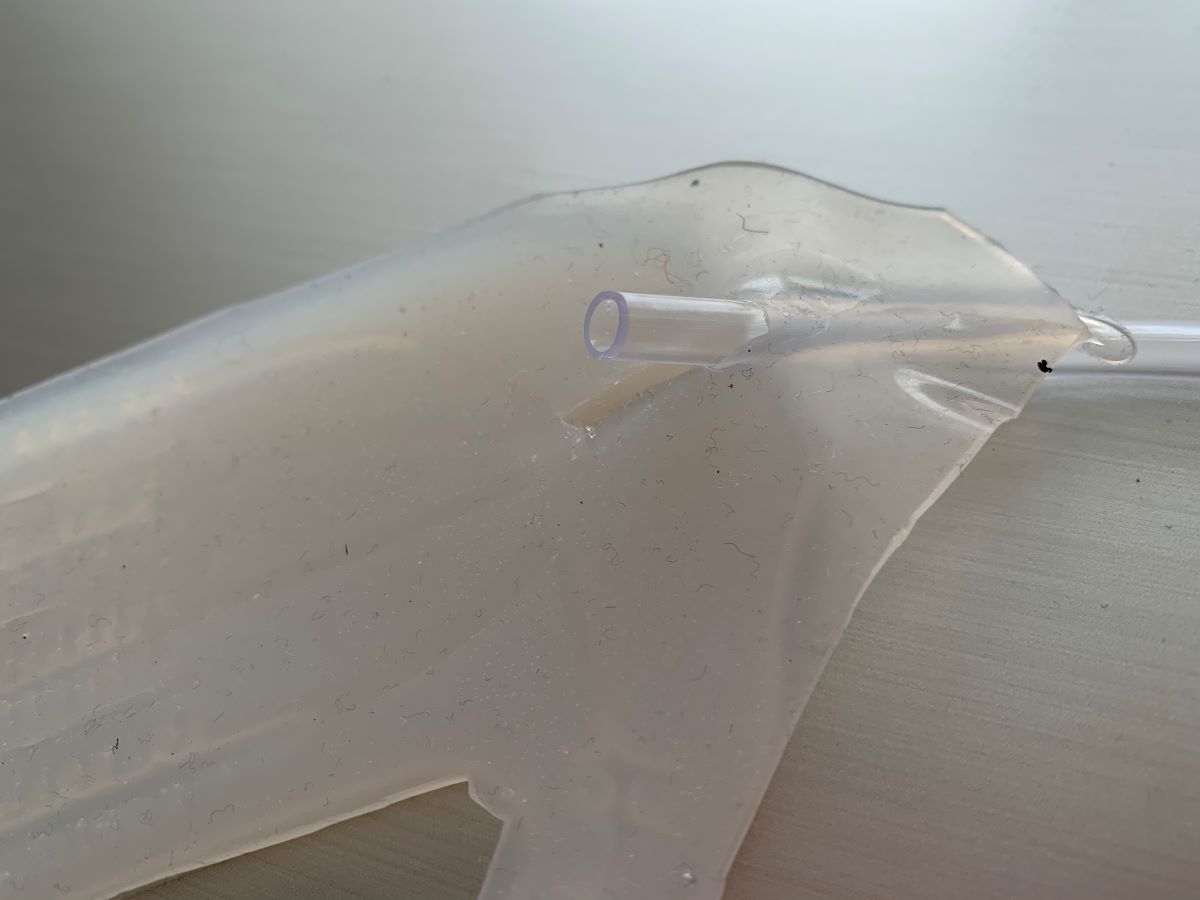
Based on the results of the first try, i did another bach of my hand, but i only put one part of my hand at the full size. The second part of the hand was done as thin as possible.
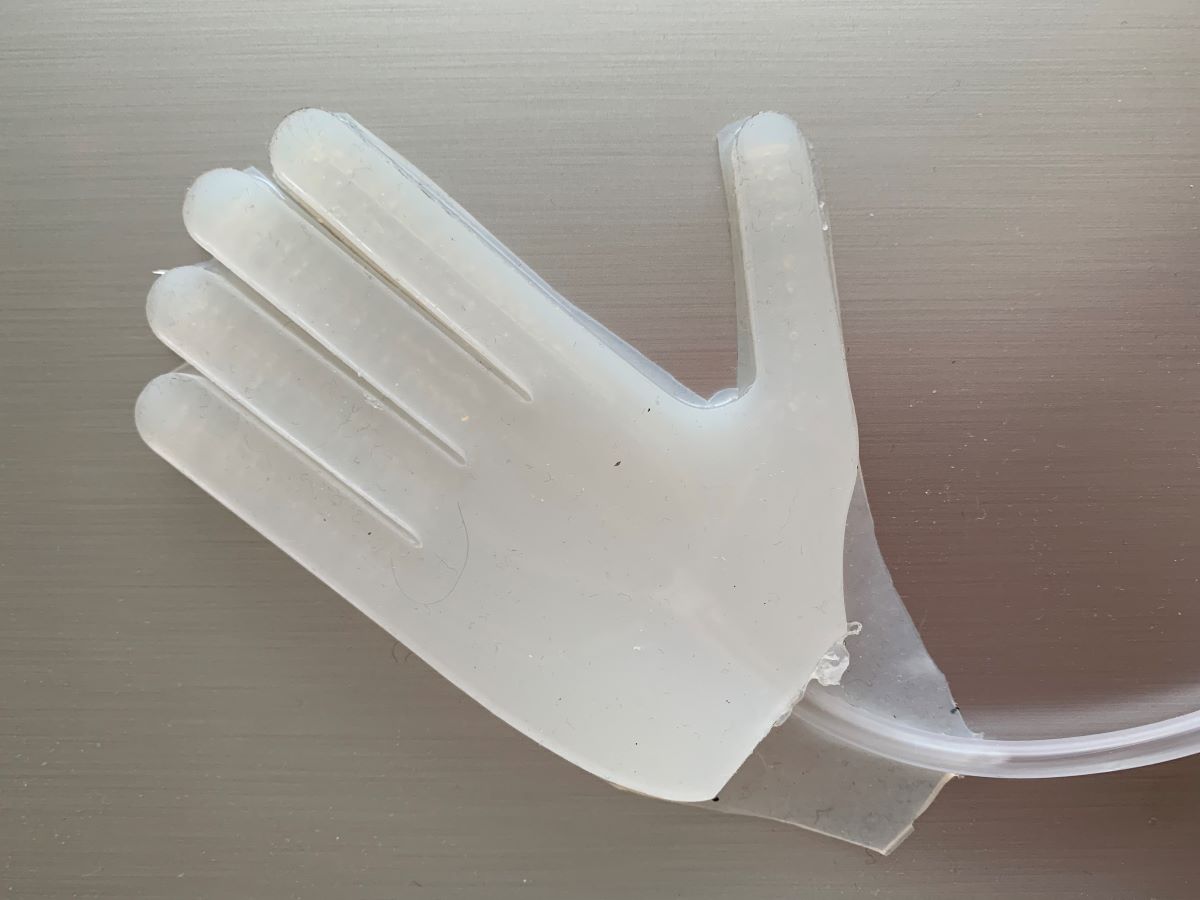
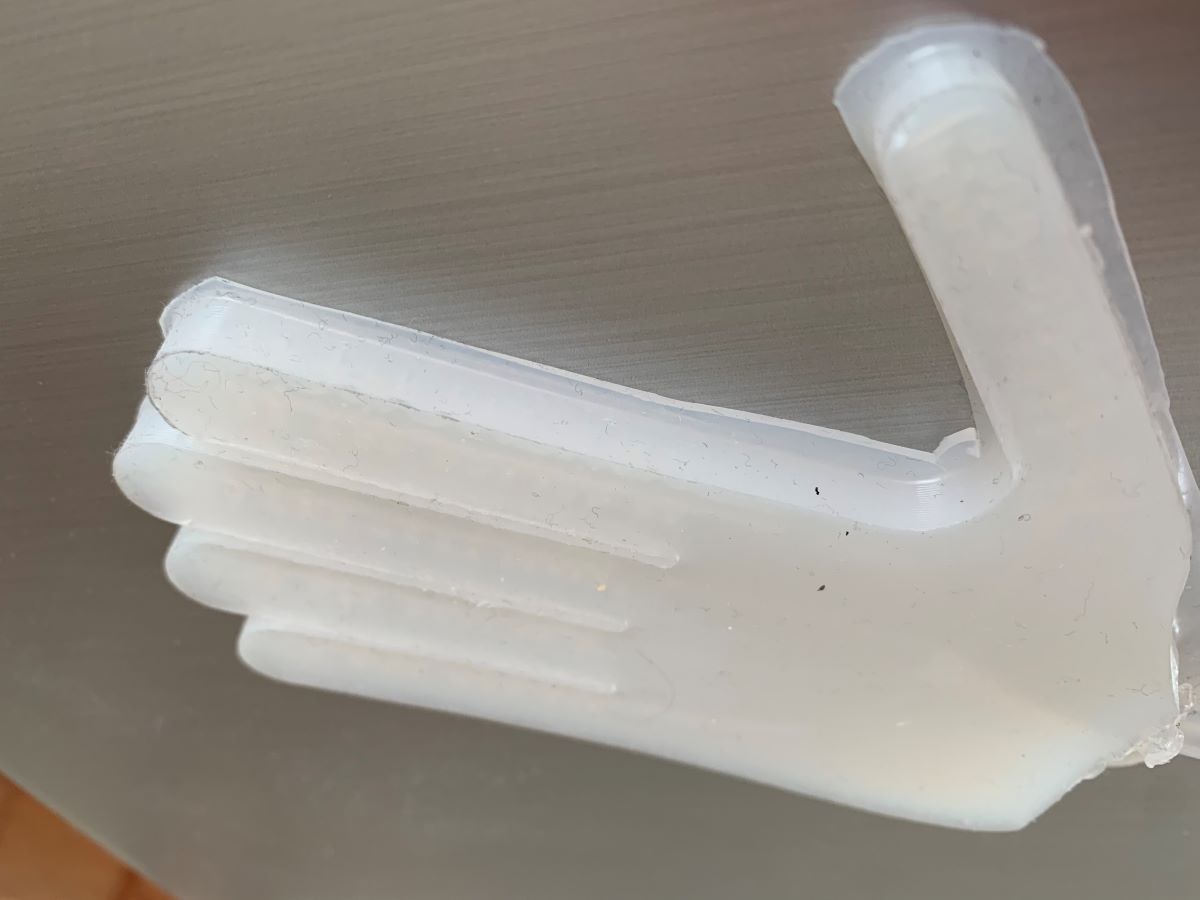
For the second hand i did the layer too thin and so when i tried to pump the air, the most vulnerable place where the air has to go to the hand chanel broke and made a big gap.
Results
So in conclusion i can say that this week was interesting and had lots of trials and fails till i got something that can be considered as a result. I would like to try again in the future the silicon experiment, but i saw the idea of what i need to get from the result of my ZipHouse colleagues Elena Bannaia; Elena Rotaru; Elena Florea and Aliona Raru.
Fabrication files
-
File: Crab figure pdf ↩
-
File: Umbrella figure pdf ↩
-
File: Hand part 1 stl ↩
-
File: Hand part 2 stl ↩