12. Soft robotics
I found the Soft Robotics week very inspiring and with a variety of applications in different sectors in a practical way.
Inspiration
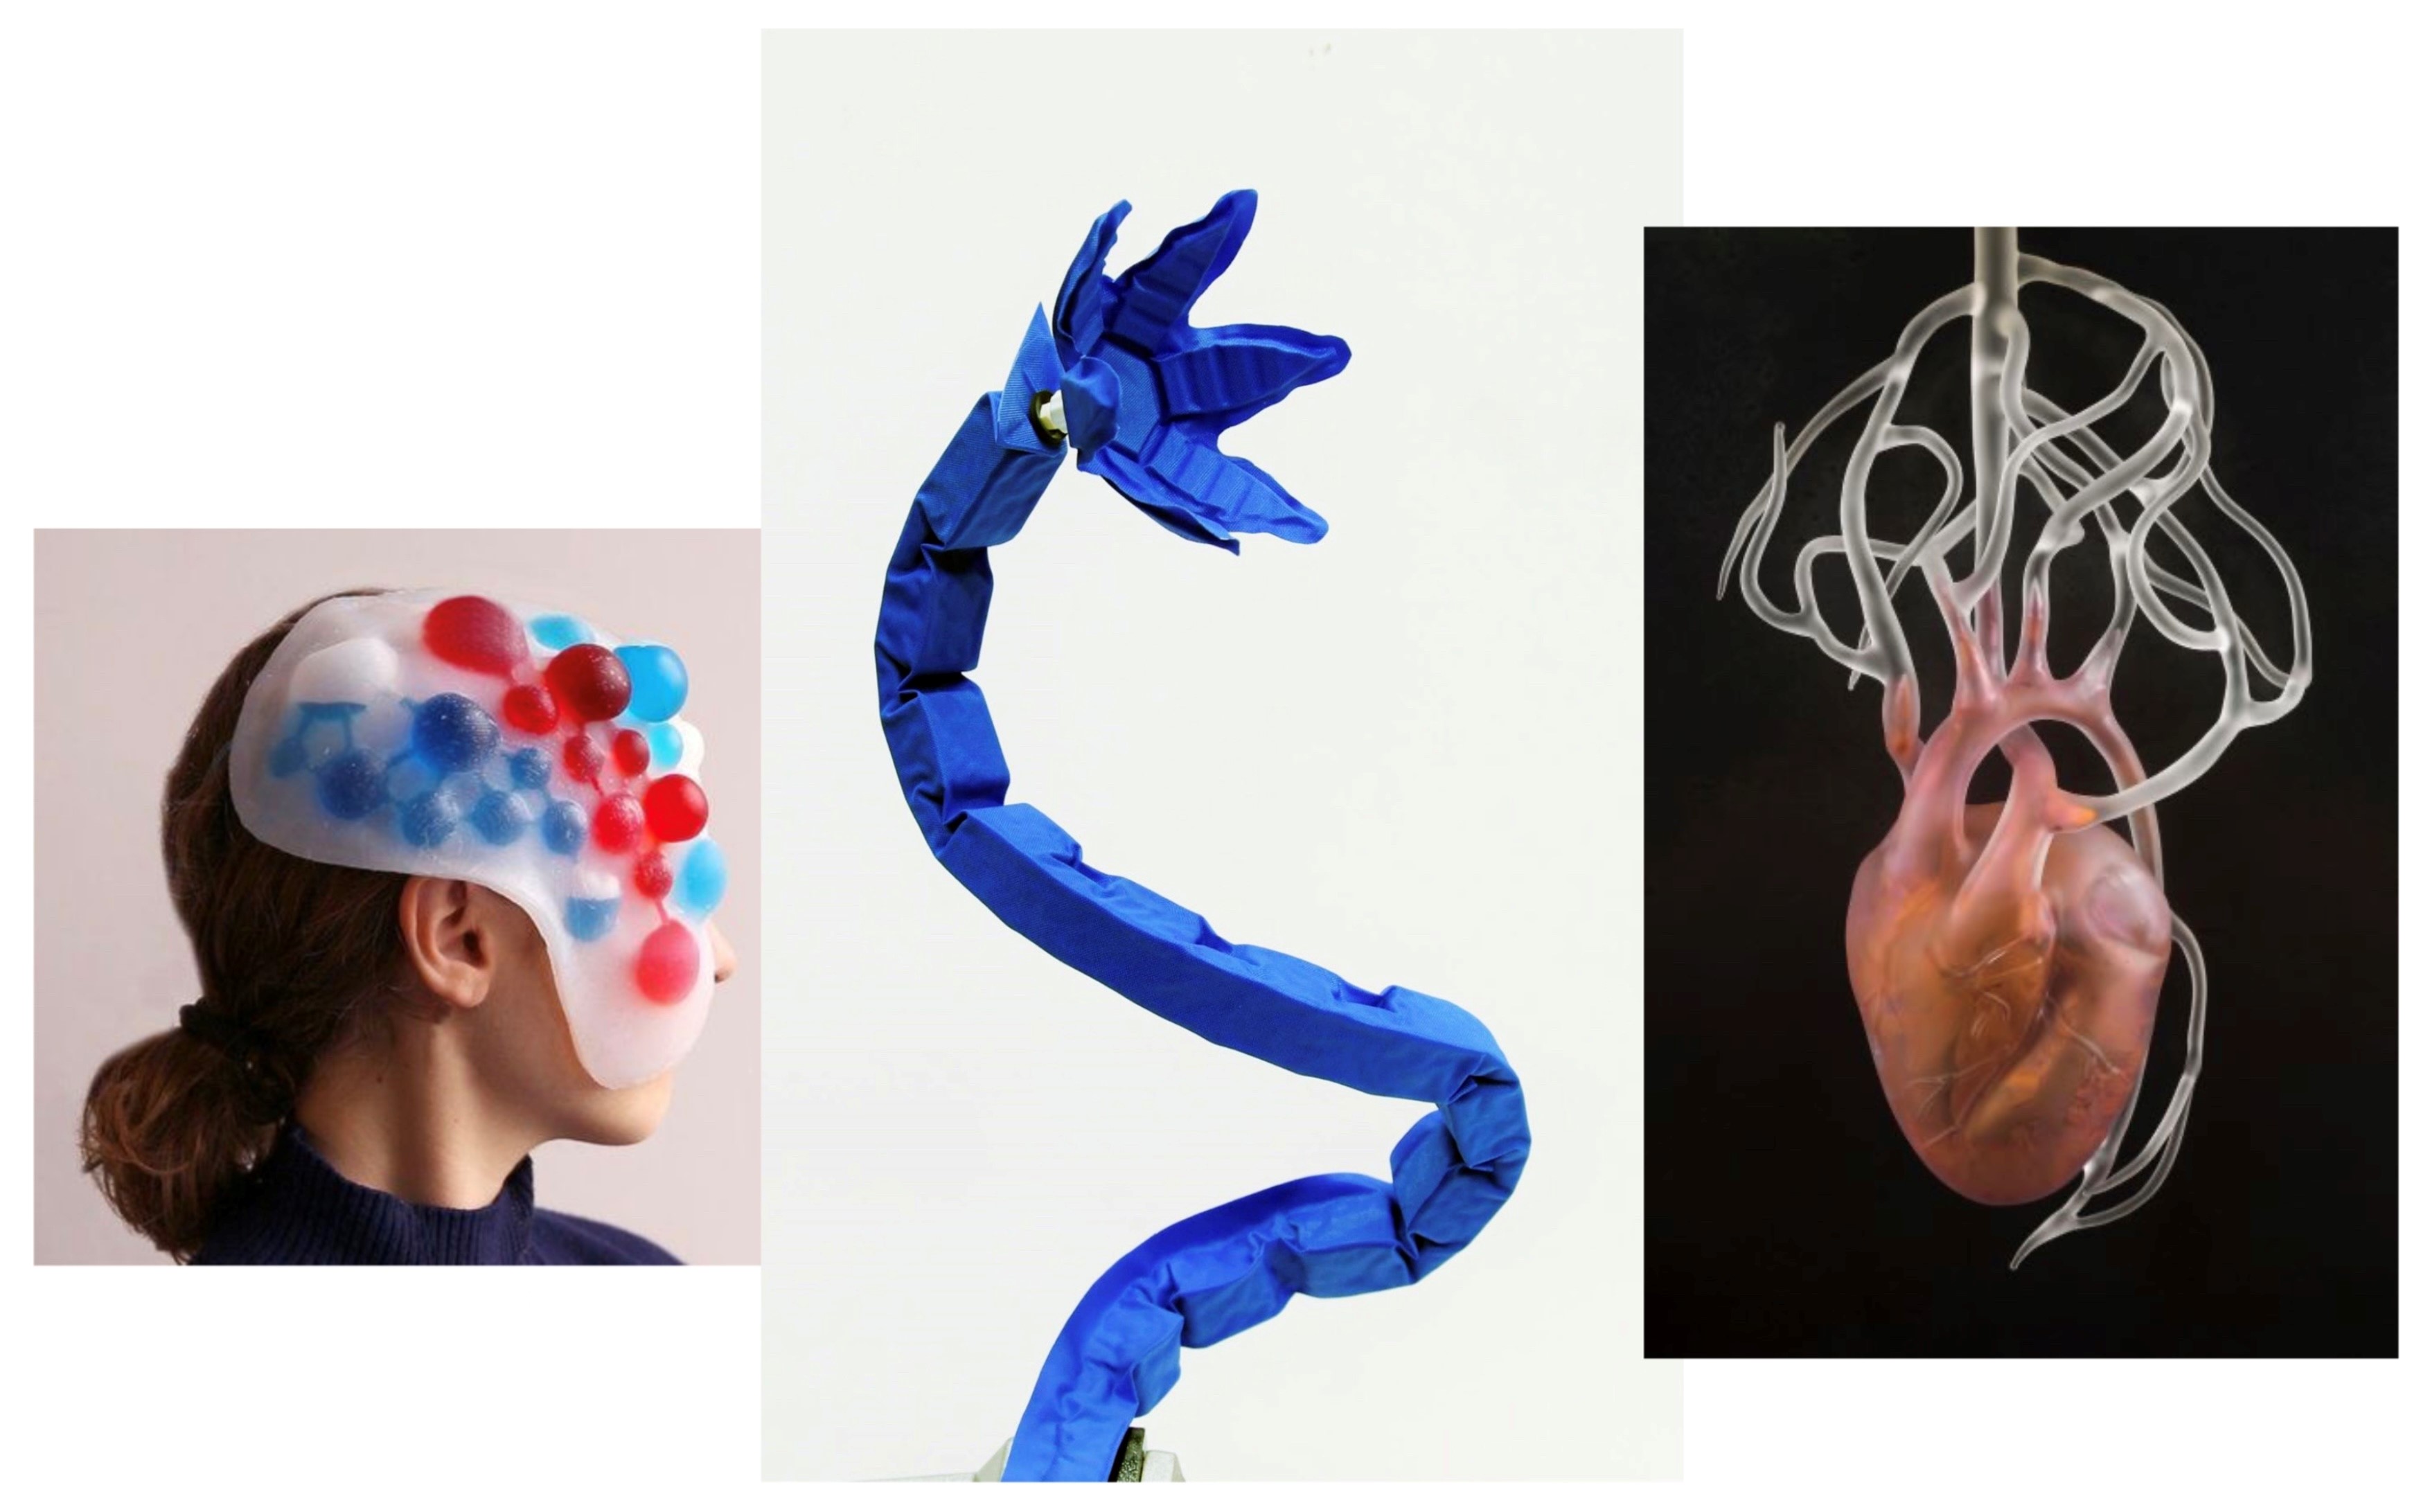
Aposema Mask | Origami Skeleton | Janis Miltenberger
Sanitary applications
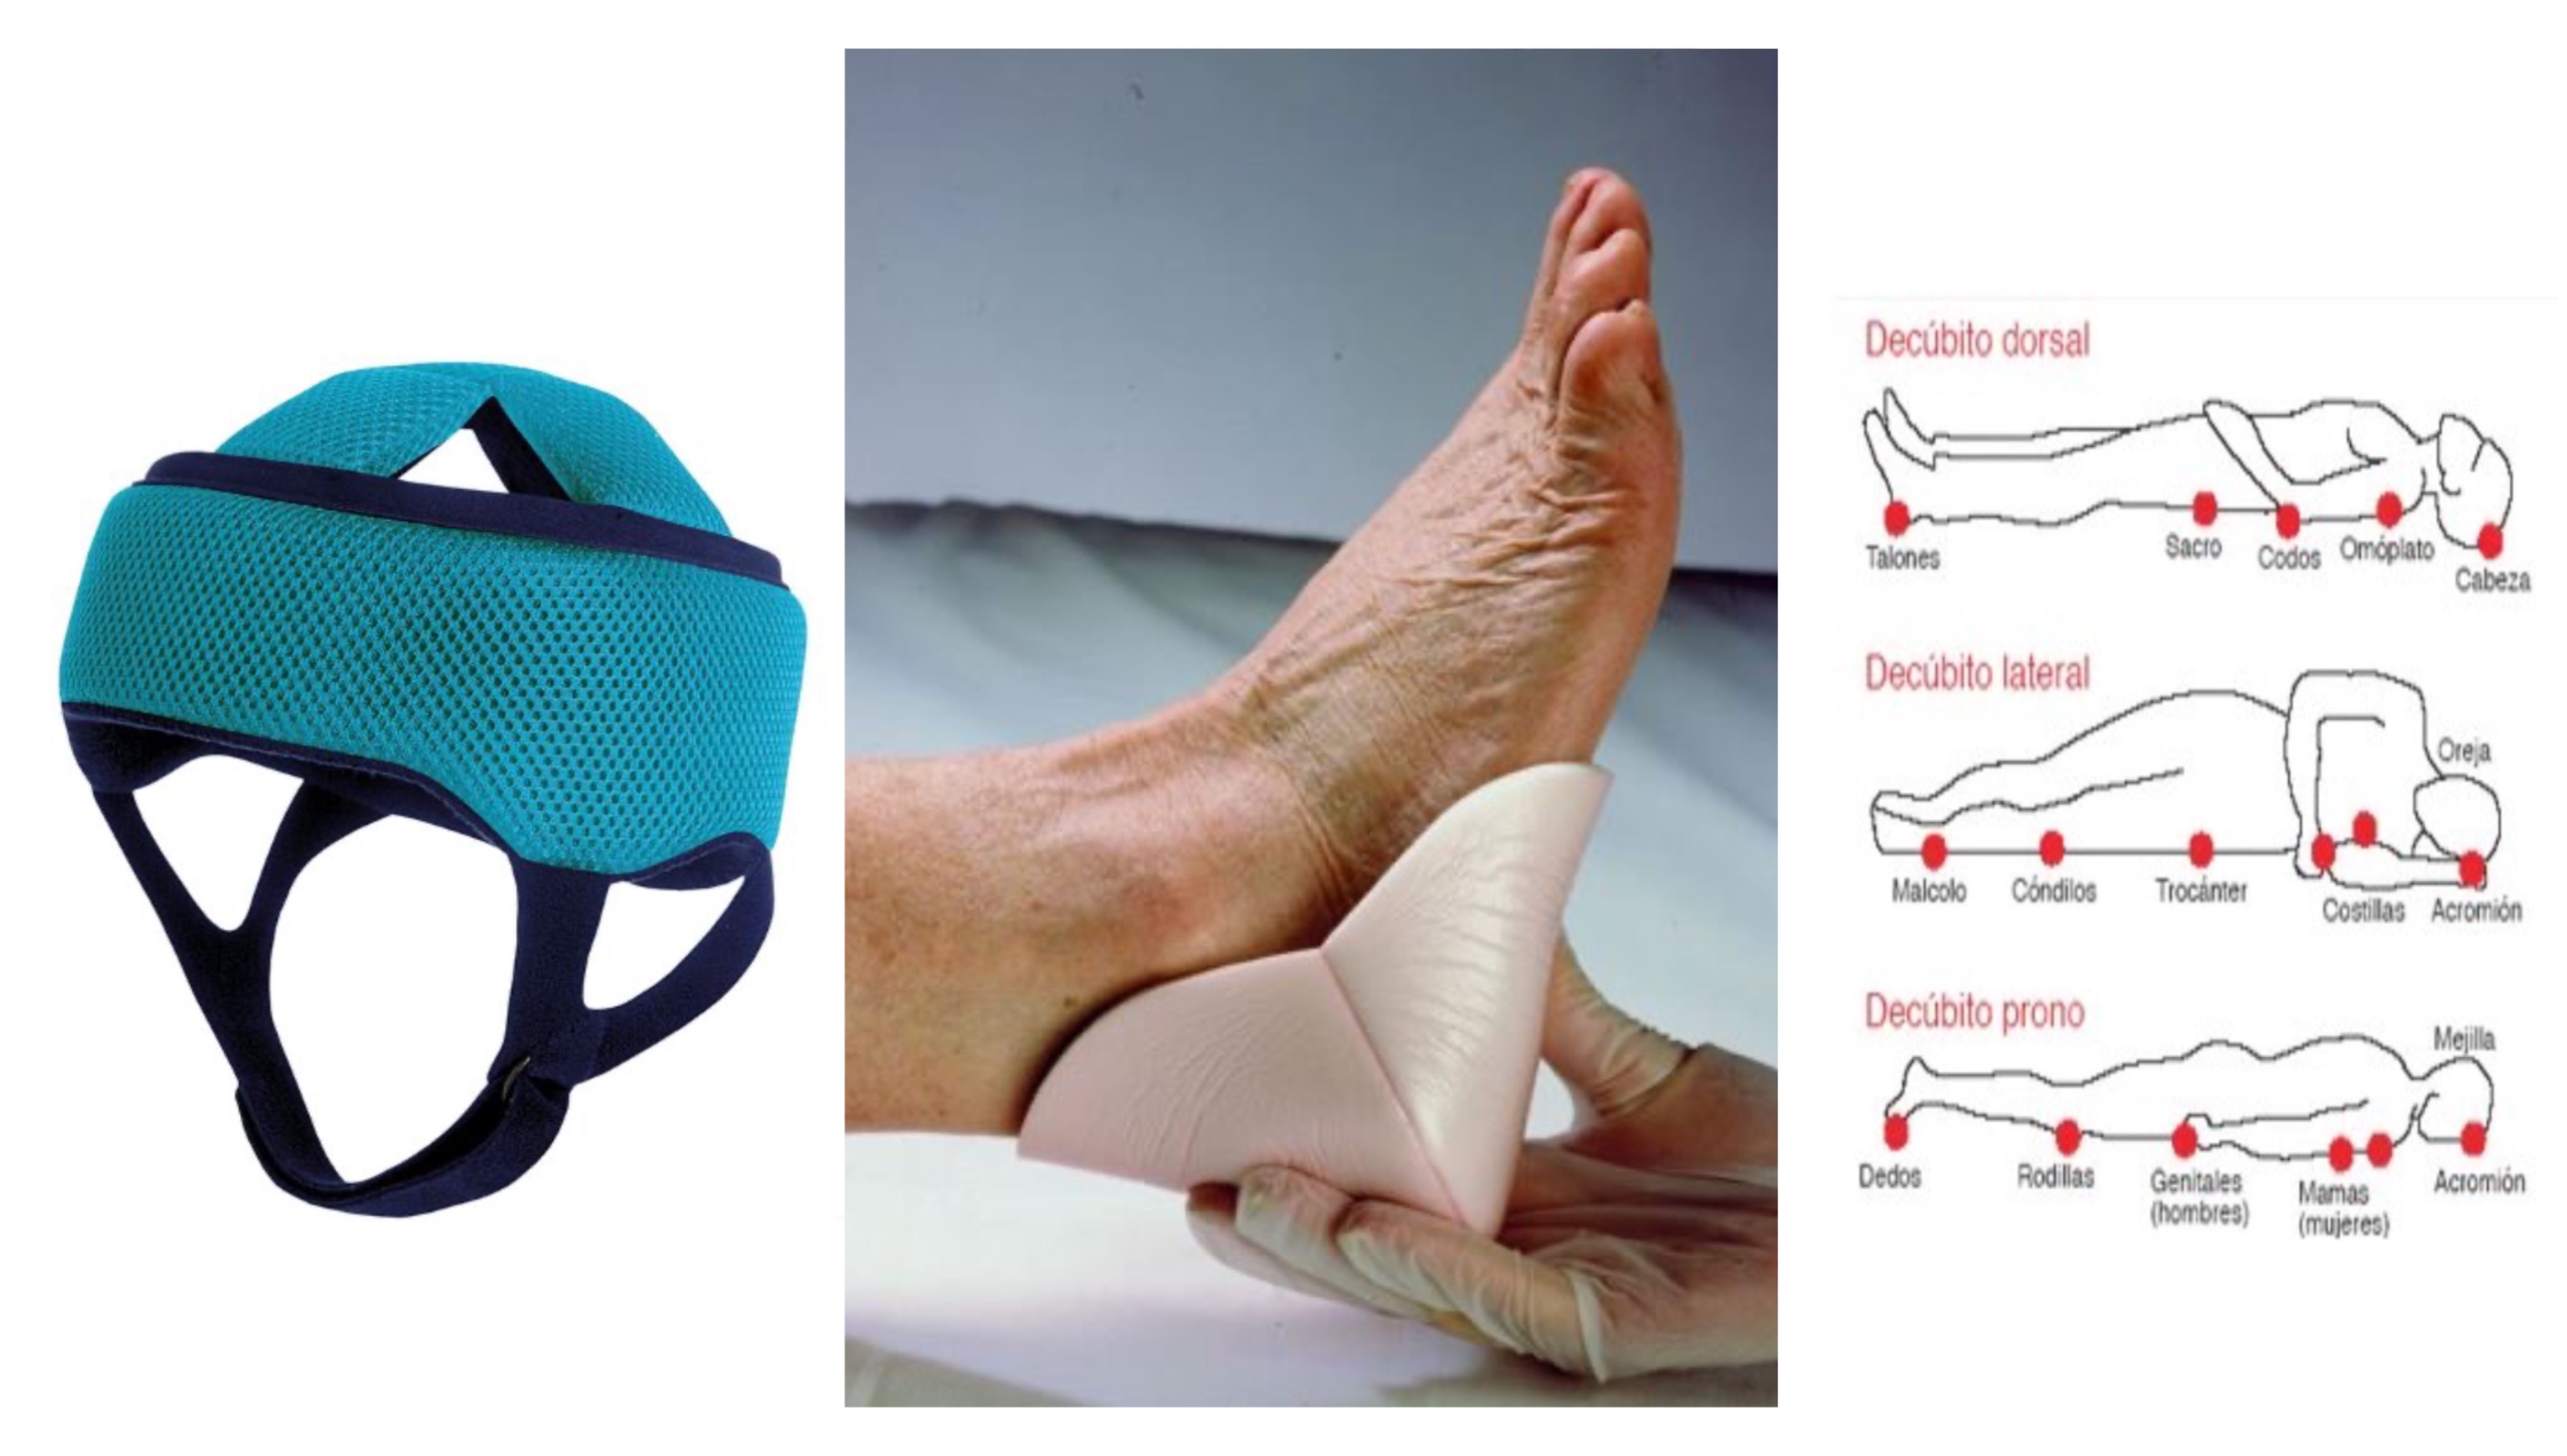
We start the week working with Miro and sharing the applications that it may have in different fields. Given that part of my time is dedicated to the health field, I have decided to work on the mold taking prevention devices as a reference, applying it either after a neurosurgery postoperative period or as a prevention of pressure ulcers on the heels.
To avoid continued pressure on both the head and the extremities, the idea is to generate a padded surface that can be adapted to the measurements. On the head it would work as a helmet that covers the occipital part of the head and part of the front. In the case of the heel, it would cover the entire heel, facilitating its rotation.
Vinyl Inflatable
Taking prevention devices as a point of reference, I have made two molds and see the effectiveness of the channels. For this, we have had to create different circuits that are interconnected between them. Variety of options:
- Stripy
- Curling
- Twisting
- Square
- Double curving
- Texture Changing
- Polygonal
- Folding
- Popping
The characteristics of the first mold have led me to design the second. Both have a similar appearance with a different channel composition.
This is the process I followed:
- First I have designed the two models in Rhino. I have experimented with different shapes.
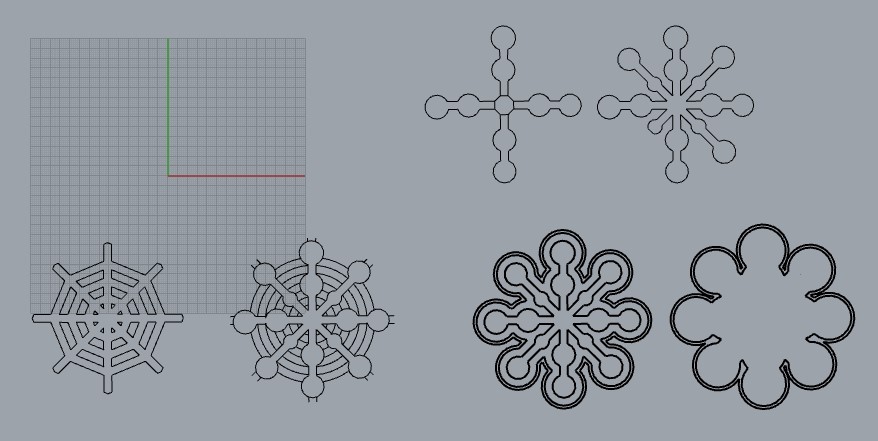
- I Cut the baking paper on the laser cutter. These are the machine settings:
| Material type | Material Thickness | Speed | MinPower | MaxPower |
|---|---|---|---|---|
| Baking Paper | 0,5mm | 150mm/s | 20% | 24% |
-
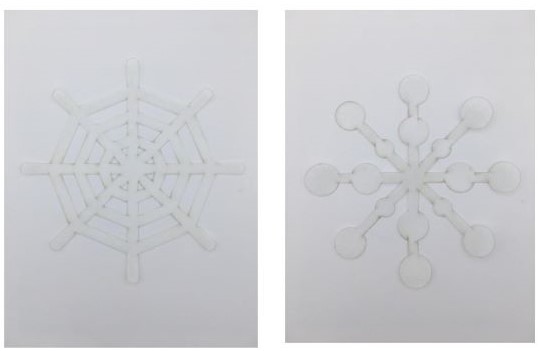
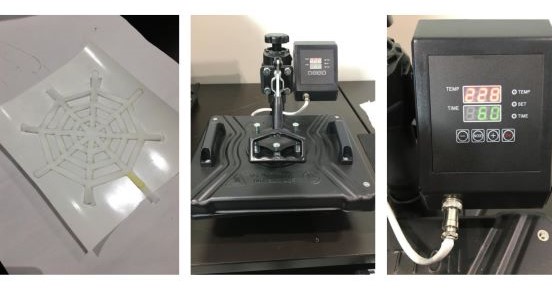
I put the baking paper in between 2 small pieces of vinyl.
-
I used the hot press for sticking both layers.
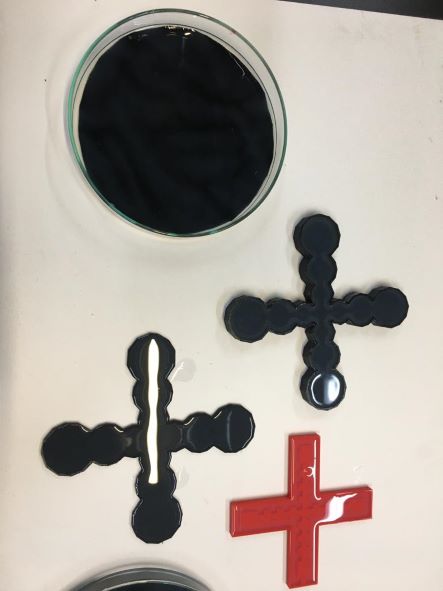
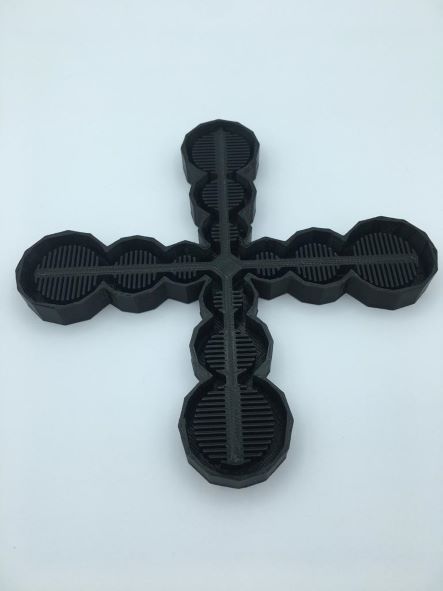
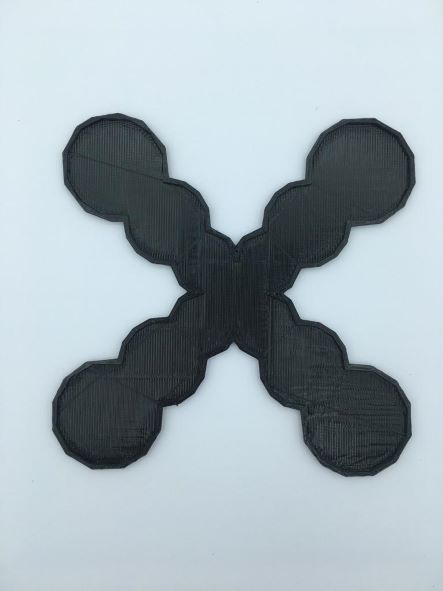
Prototype 1 & 2
Silicone Mold
Rhino
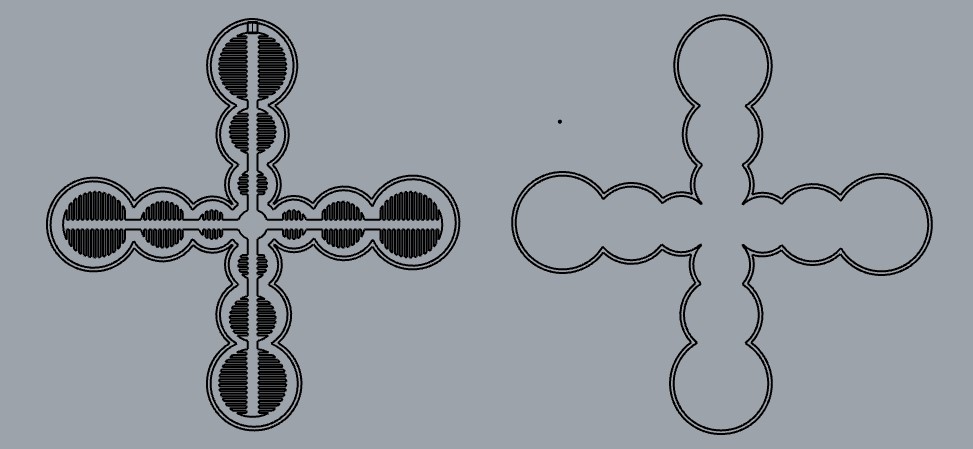
To achieve torsion and make it easier for the structure to adapt to the extremities, I have decided to make a new figure. For this I have used the following commands like;
- Mirror
- Offset. For the base of the mold I have given 1.5mm and 4mm of contour.
- Trim
- Join
- Extrude
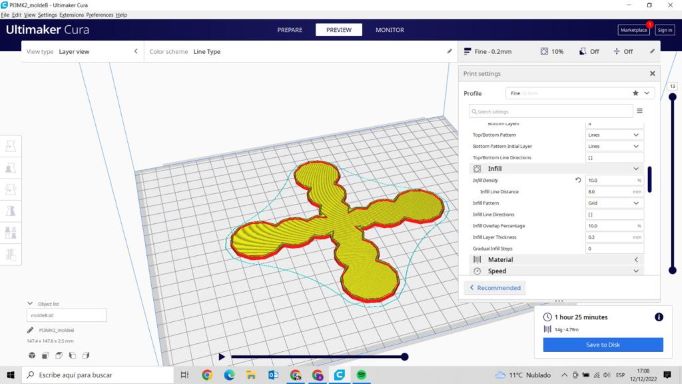
Ultimaker Cura
Last step before proceeding to 3D printing. Through Cura we modify the printing parameters and scale the size of the final sample.
| Material name | Layer height | Extruder temperature | Temperature of bed | Speed | Retraction speed | Retraction distance |
|---|---|---|---|---|---|---|
| PLA | 0,2mm | 210ºC | 60ºC | 40mm/seg | 35mm/seg | 0,8mm/seg |
We calibrate the printer, check that the parameters are adequate and finally, we transform them to GCode.

We choose the appropriate measures to reduce printing time. We check that the material temperature, print speed and filament material are the correct one.
Final Results
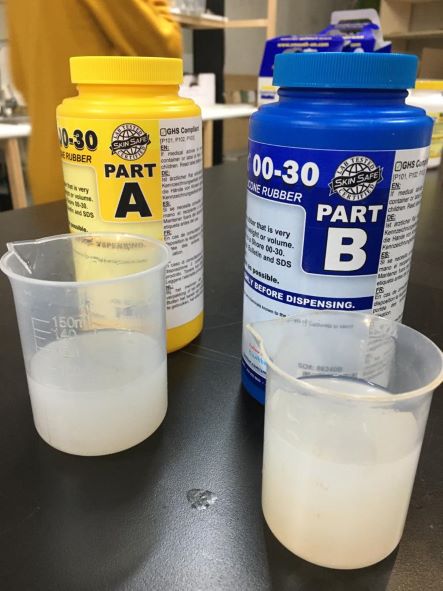
Casting with silicone and molding
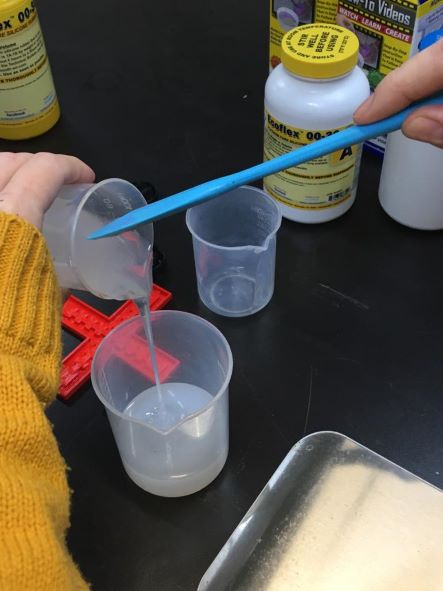
Measuring and mixing
- Material to mix: 140ml H2O + 70ml Ecoflex part A + 70ml Ecoflex part B
-
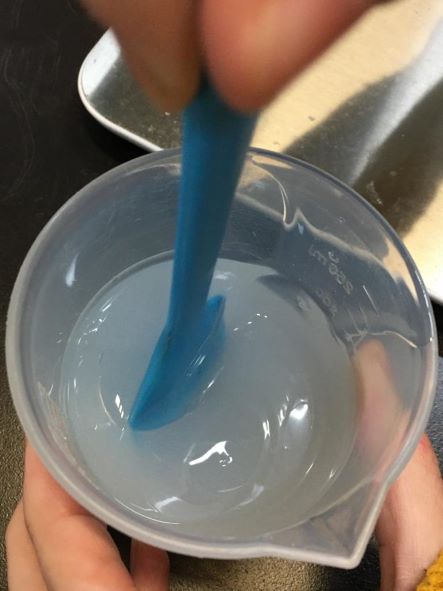
After dispensing required amounts of Parts A and B into mixing container (1A:1B by volume or weight), mix thoroughly for 3 minutes making sure that you scrape the sides and bottom of the mixing container several times.
-
After mixing parts A and B, vacuum degassing is recommended to eliminate any entrapped air in liquid rubber.
-
Your vacuum pump must pull a minimum of 29 inches of mercury (or 1 Bar / 100 KPa). Leave enough room in container for material expansion.
-
Vacuum material until it rises, breaks and falls. Vacuum for 1 minute after material falls.
 |
 |
 |
Pouring
I have used two types of covers, on the one hand, the mold itself and on the other hand, a piece of lycra to see how it works on textiles.