6. BioFabricating Materials
Research
Some thoughts on biomaterials and printing:
MYCELLIUM
Mycelium is part of the fungi kingdom and is the network of threads, called hyphae, from which mushrooms grow.
In fact there is a network of mycelium known as The Humongous Fungus, which covers nearly four square miles in Oregon’s Malheur National Forest.
Mycelium is used to create better medicines, materials, biofuels, and many other products that we use in our everyday life.
It can be used to make building materials fire-resistant, stronger, and lighter. In some cases, it can even be used as a bonding agent for building materials, such as brick.
mycelium leather
Spores of mycelia cells are fed sawdust and other organic material and then spread out on mats, where it grows to form a cascading, foam-like substance.
Mycelium can be tanned in the same way as animal or synthetic leather. It can also be dyed as well as embossed to take on different textures.
* Substrate amount dependent on size of your piece
* 60% WOS (weight of substrate) of sculpting mix
* Water
* Mother mycelium block
* Bowl
* Plastic wrap
* Alcohol, gloves, mask
* Mold
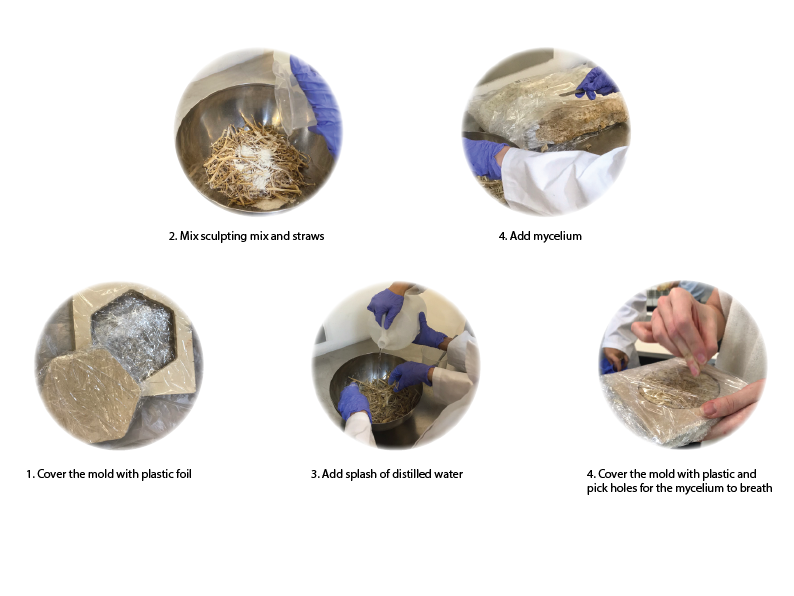
* Measure out your substrate in grams - measure 60% of that amount of sculpting mix
* Add those two toegther with some water and mix untl it is chunky and pasty
* In a sterile environment, take a piece from your "mother" mycelium block and add it to the mix
* Prep your mold by covering it in sterile plastic wrap or sterilizing it well
* Press your mix into the mold and cover the entire thing with plastic wrap
* Poke some holes with a needle to allow some air flow
* Poke some holes with a needle to allow some air flow
* Leave it in a clean place and wait for it to grow
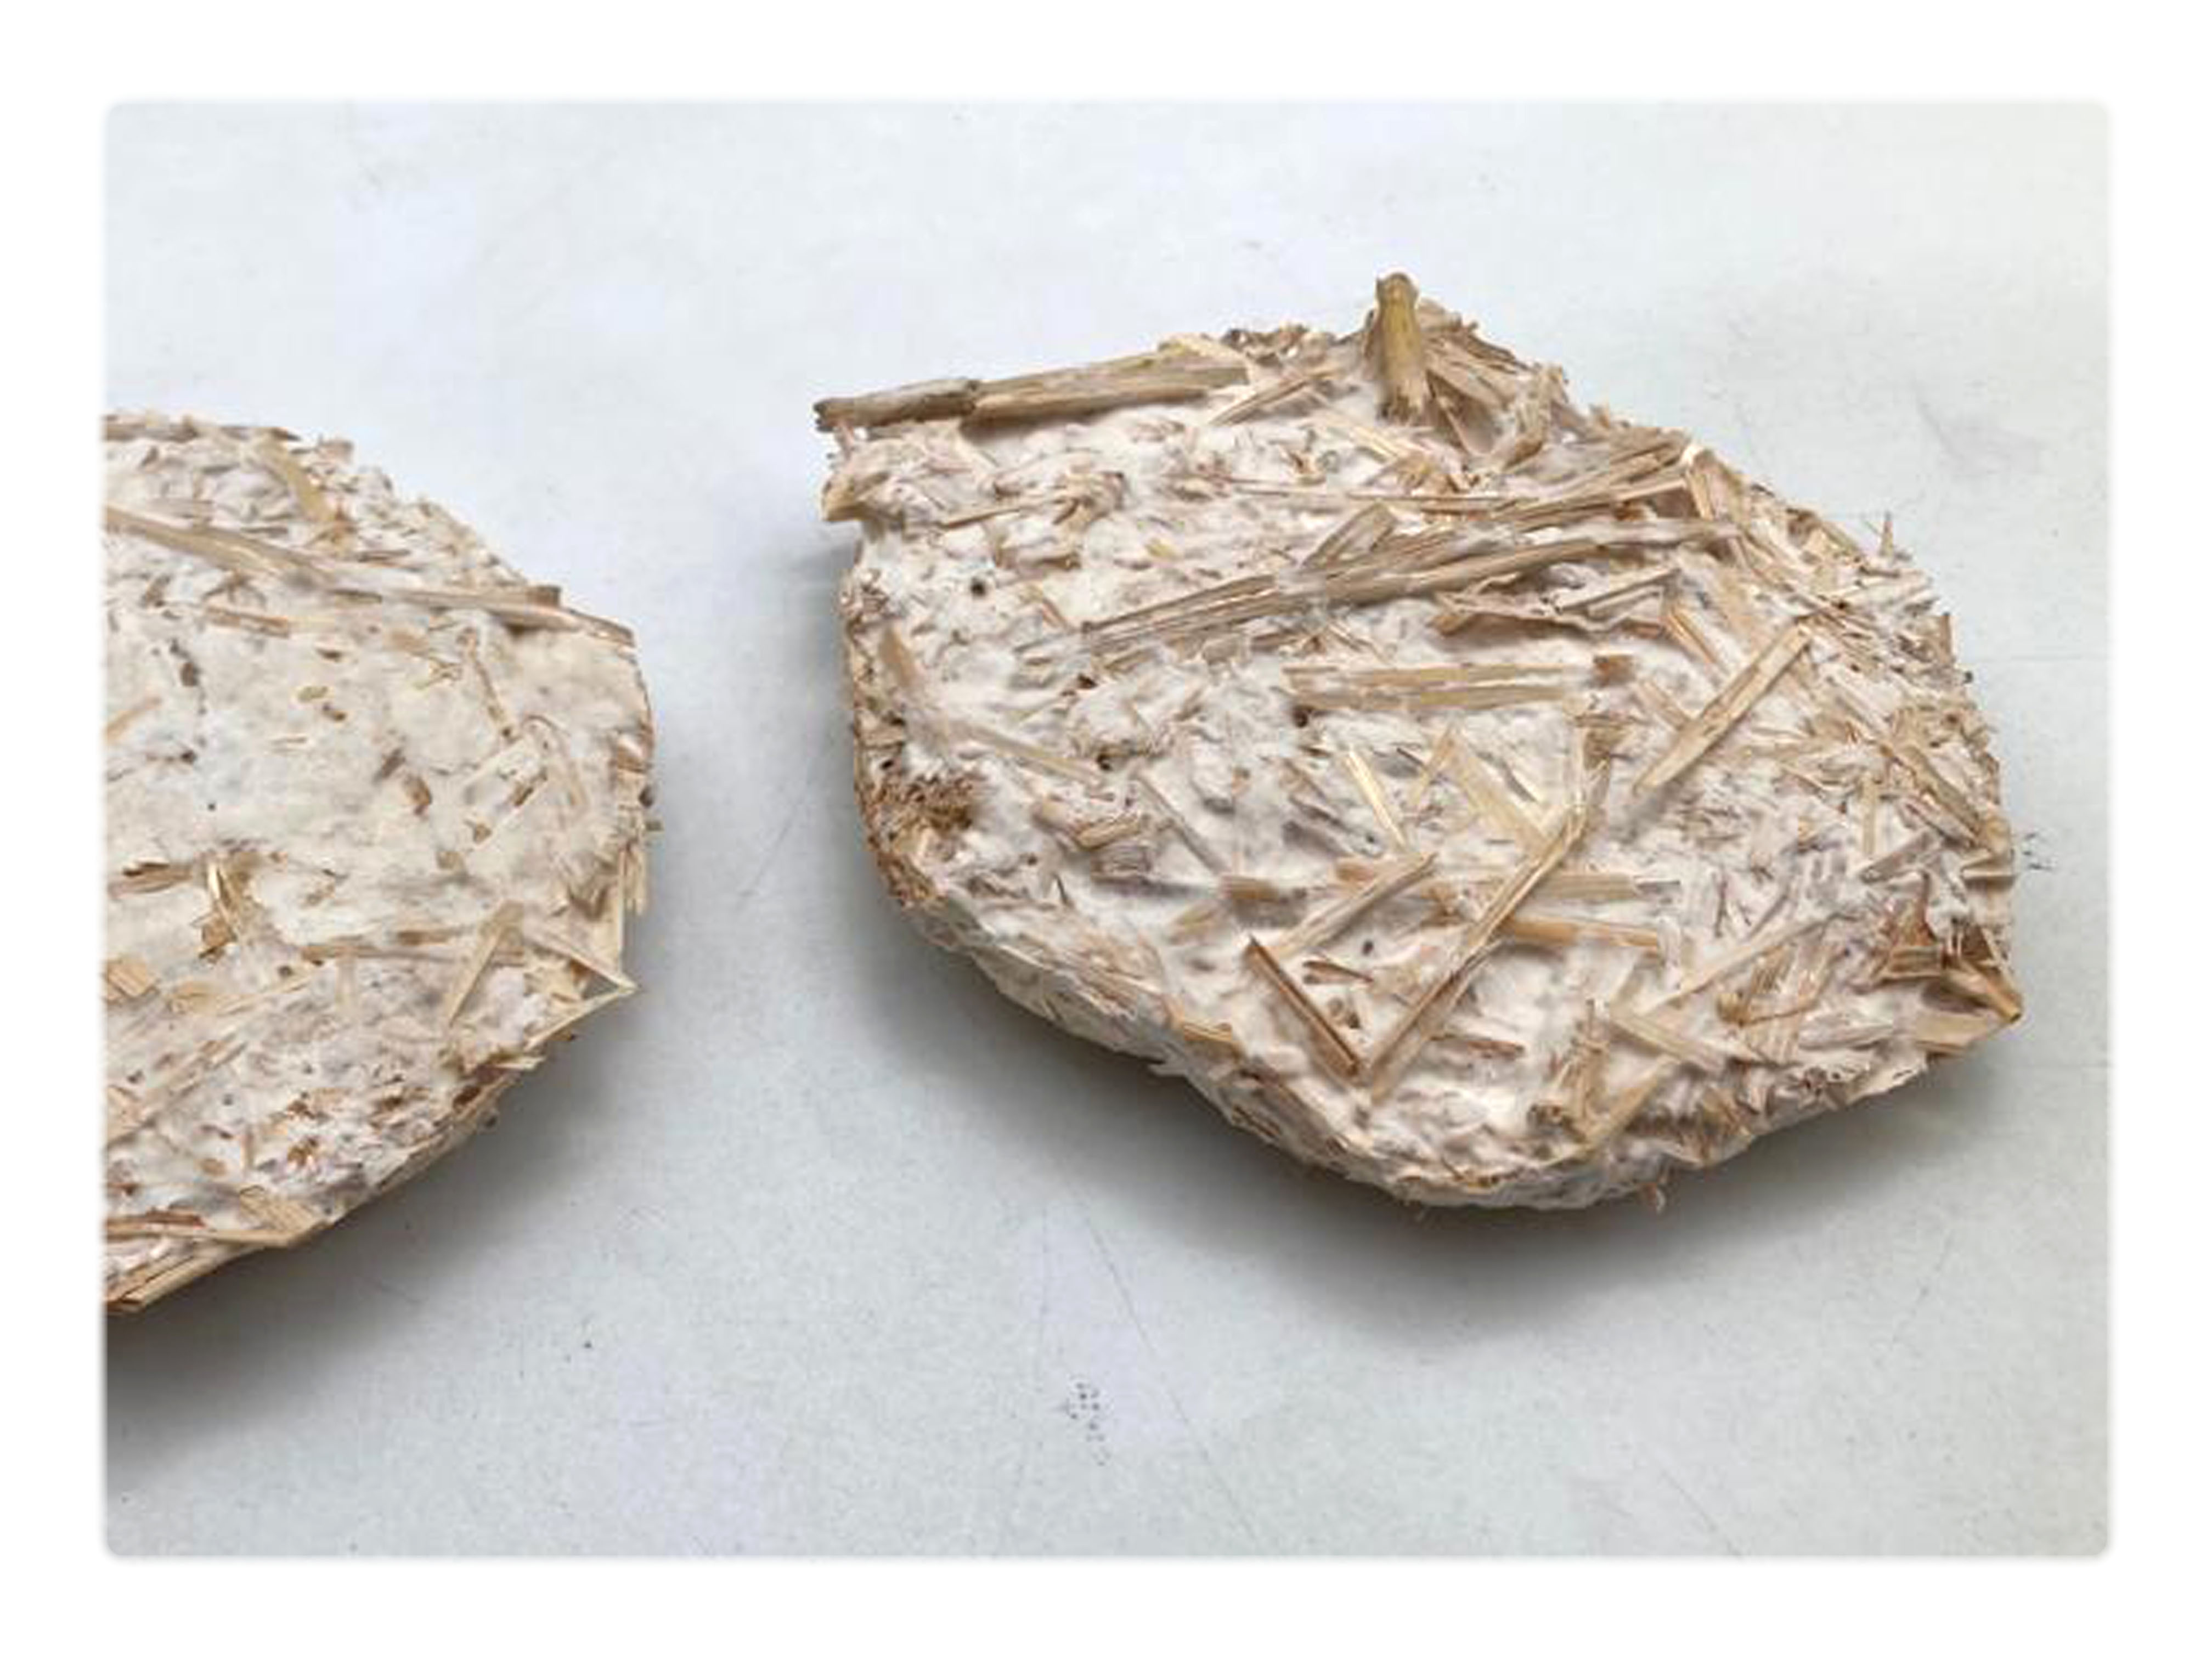
final result

final result
Conclusion: Result after 10 days growth time, 2 of 7 molds came out succesful.
MICROBIAL LEATHER
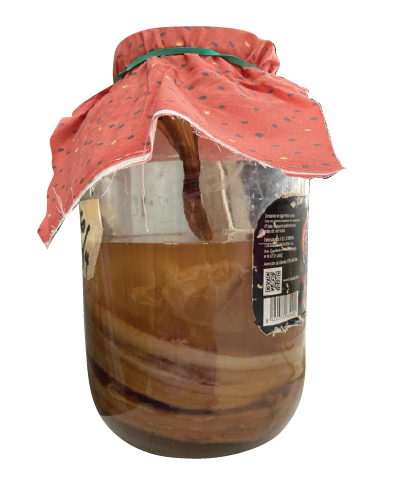
kombucha mother
Kombucha is a microbial colony of bacterial yeast (Scoby)
For the bacteria to grow it needs a feed stock such a tea, sugar, wine or beers which allows them to spin cellulose layers.
It grows best between 25-30 degree and dependent on how long you leave it to grow the outcome can be thick leather like product or a thin foil.
Growth time is comparable slow 1-3 month.
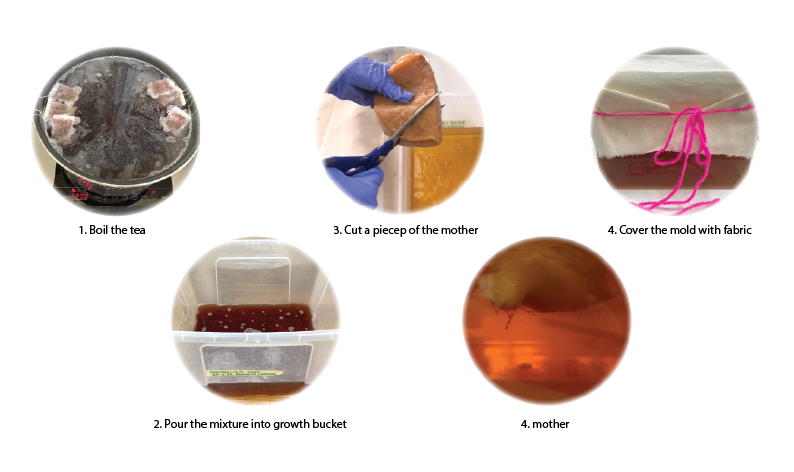
* 300 ml beer
* 300 ml water
* 60 gr sugar
* 60 gr vinegar
* mix all the ingredients
* let it cool down to 30 degree
* add the scoby
* cover the bucket with a breathable fabric
* wait
TIPS: The water should always be acid, in case it turns neutral or basic you can ad a splash of vineager.
the two batches of kombucha we prepared is still growing (2-3 months) so we dont have the final result of them yet, however the beer one is expected to have a lighter shade of color then the tea mixture.
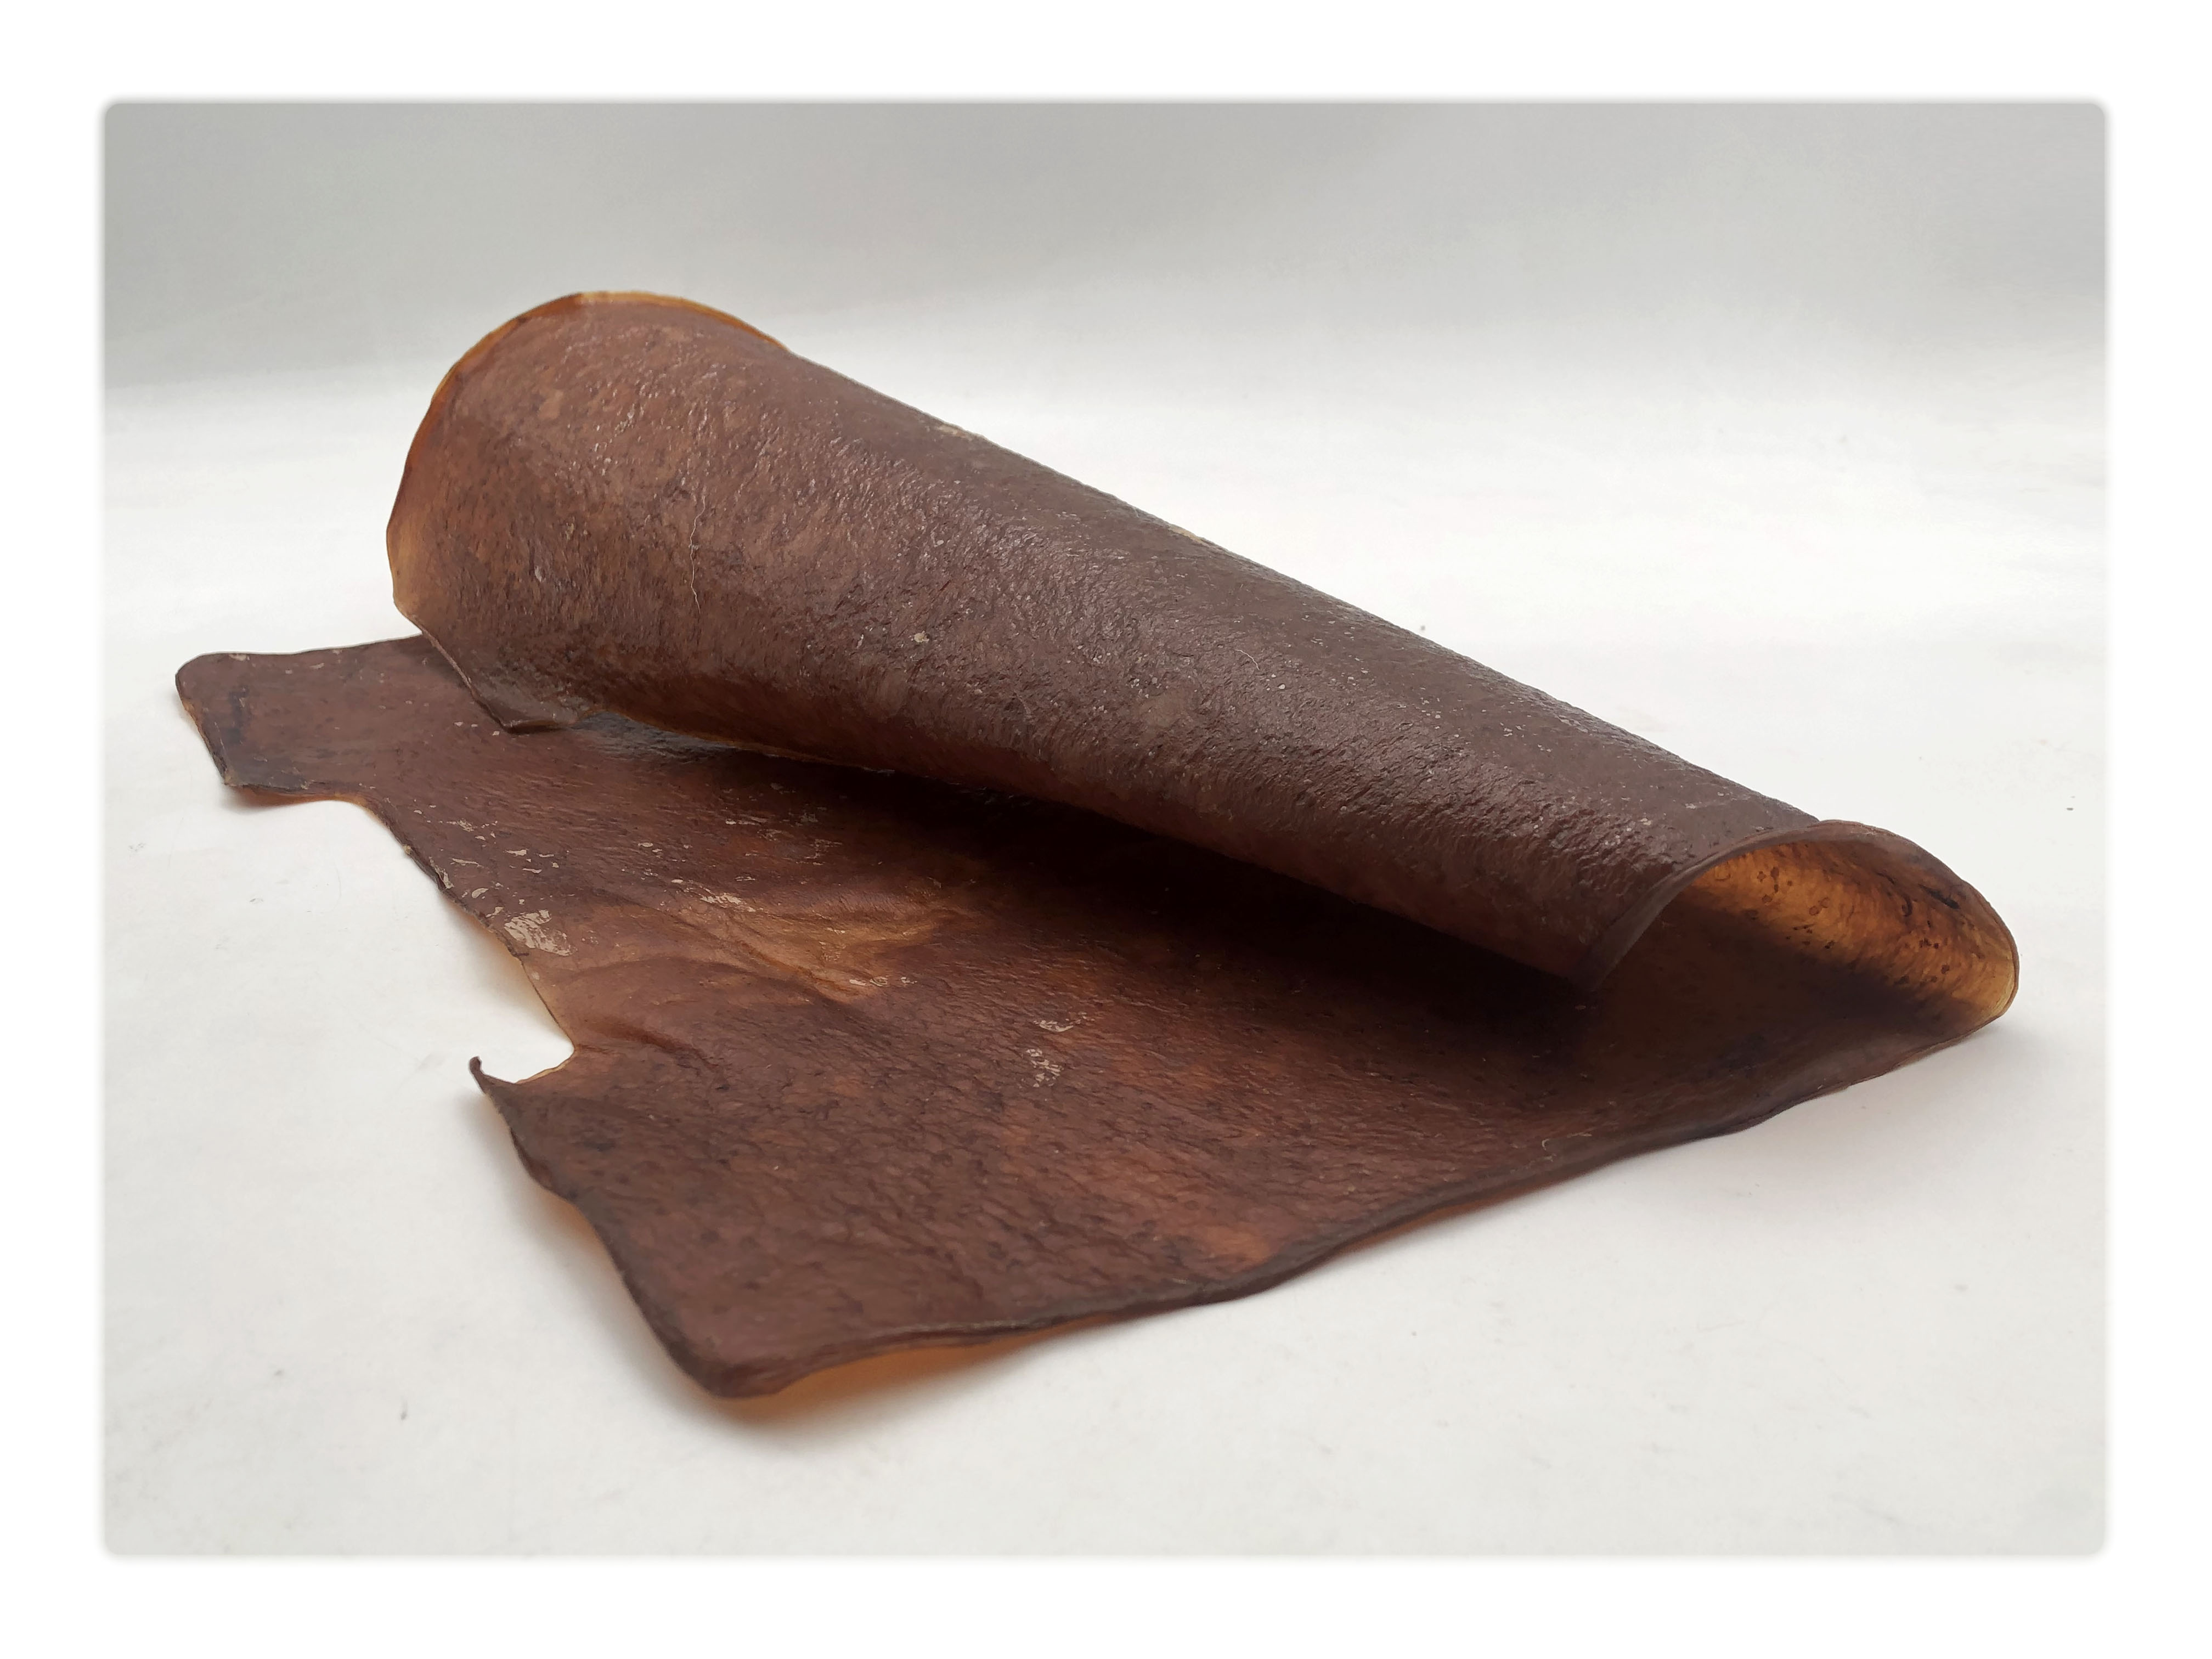
this is another tea kombucha batch that we have been postprocessing with wax and oil.
1) dry the kombucha for several days (it will loose up to 80-90% of its volume during drying)
2) apply wax and/or oil with a brush
Conclusion: the final product that we got is soft and flexible with a strong tear strengh that should be suitable for replacement of many stronger leather products like bags or shoes.
BIOPLASTIC
There are endless variation of recipes and combination of bioplastics online but there is some basic principles that is helpful to understand in order to be more creative in your developments:
The base for all plastics are a polymer some of the most common biopolymer are:
Collagen: Because of its mechanical structure, collagen has high tensile strength and is a non toxic, easily absorbable, biodegradable and biocompatible material.
Silk fibroin: is another protein rich biopolymer that can be obtained from different silk worm species. In contrast to collagen, SF has a lower tensile strength but has strong adhesive properties due to its insoluble and fibrous protein composition.
Gelatin: obtained from type I collagen and comes from bones, tissues and skin of animals. Elevated temperatures cause the gelatin to melts and exists as coils, whereas lower temperatures result in coil to helix transformation. Gelatin is an Extracellular Matrix protein which allows it to be applied for applications such as wound dressings, drug delivery and gene transfection.
Starch: an inexpensive biodegradable biopolymer and copious in supply. Nanofibers and microfibers can be added to the polymer matrix to increase the mechanical properties of starch improving elasticity and strength. Without the fibers, starch has poor mechanical properties due to its sensitivity to moisture.
Cellulose: is very structured with stacked chains that result in stability and strength. The strength and stability comes from the straighter shape of cellulose caused by glucose monomers joined together by glycogen bonds. The straight shape allows the molecules to pack closely. Cellulose is very common in application due to its abundant supply. Cellulose is used vastly in the form of nano-fibrils called nano-cellulose. Nano-cellulose presented at low concentrations produces a transparent gel material. This material can be used for biodegradable, homogeneous, dense films that are very useful in the biomedical field.
Alginate: the most copious marine natural polymer derived from brown seaweed. Alginate biopolymer applications range from packaging, textile and food industry to biomedical and chemical engineering. The first ever application of alginate was in the form of wound dressing, where its gel-like and absorbent properties were discovered. Additionally, there have been developments with alginate as a drug delivery medium, as drug release rate can easily be manipulated due to a variety of alginate densities and fibrous composition.
polymer
acts as a binder for the material
we used: Gelatine, Alginate and Agar agar
Once you have choose your polymer to work with you can adjust the physical properties of the plastic by using:
plastizer
To create flexibility to the material
We used: Glycerin it is a type of carbohydrate called a sugar alcohol. Glycerin occurs naturally in fermented foods and beverages, including beer, honey, vinegar, wine and wine vinegar. It is also commercially produced from fats and oils or through the fermentation of yeast, sugar or starch.
filler
To avoid shrinkage
We used: Egg shelves, fibers, chalk oils etc
stiffening
To structure and reinforce
We used: fibers
expanding agent
For creating foams
We used: Soap
EXPERIMENTS: Gelatine
stretch bio film
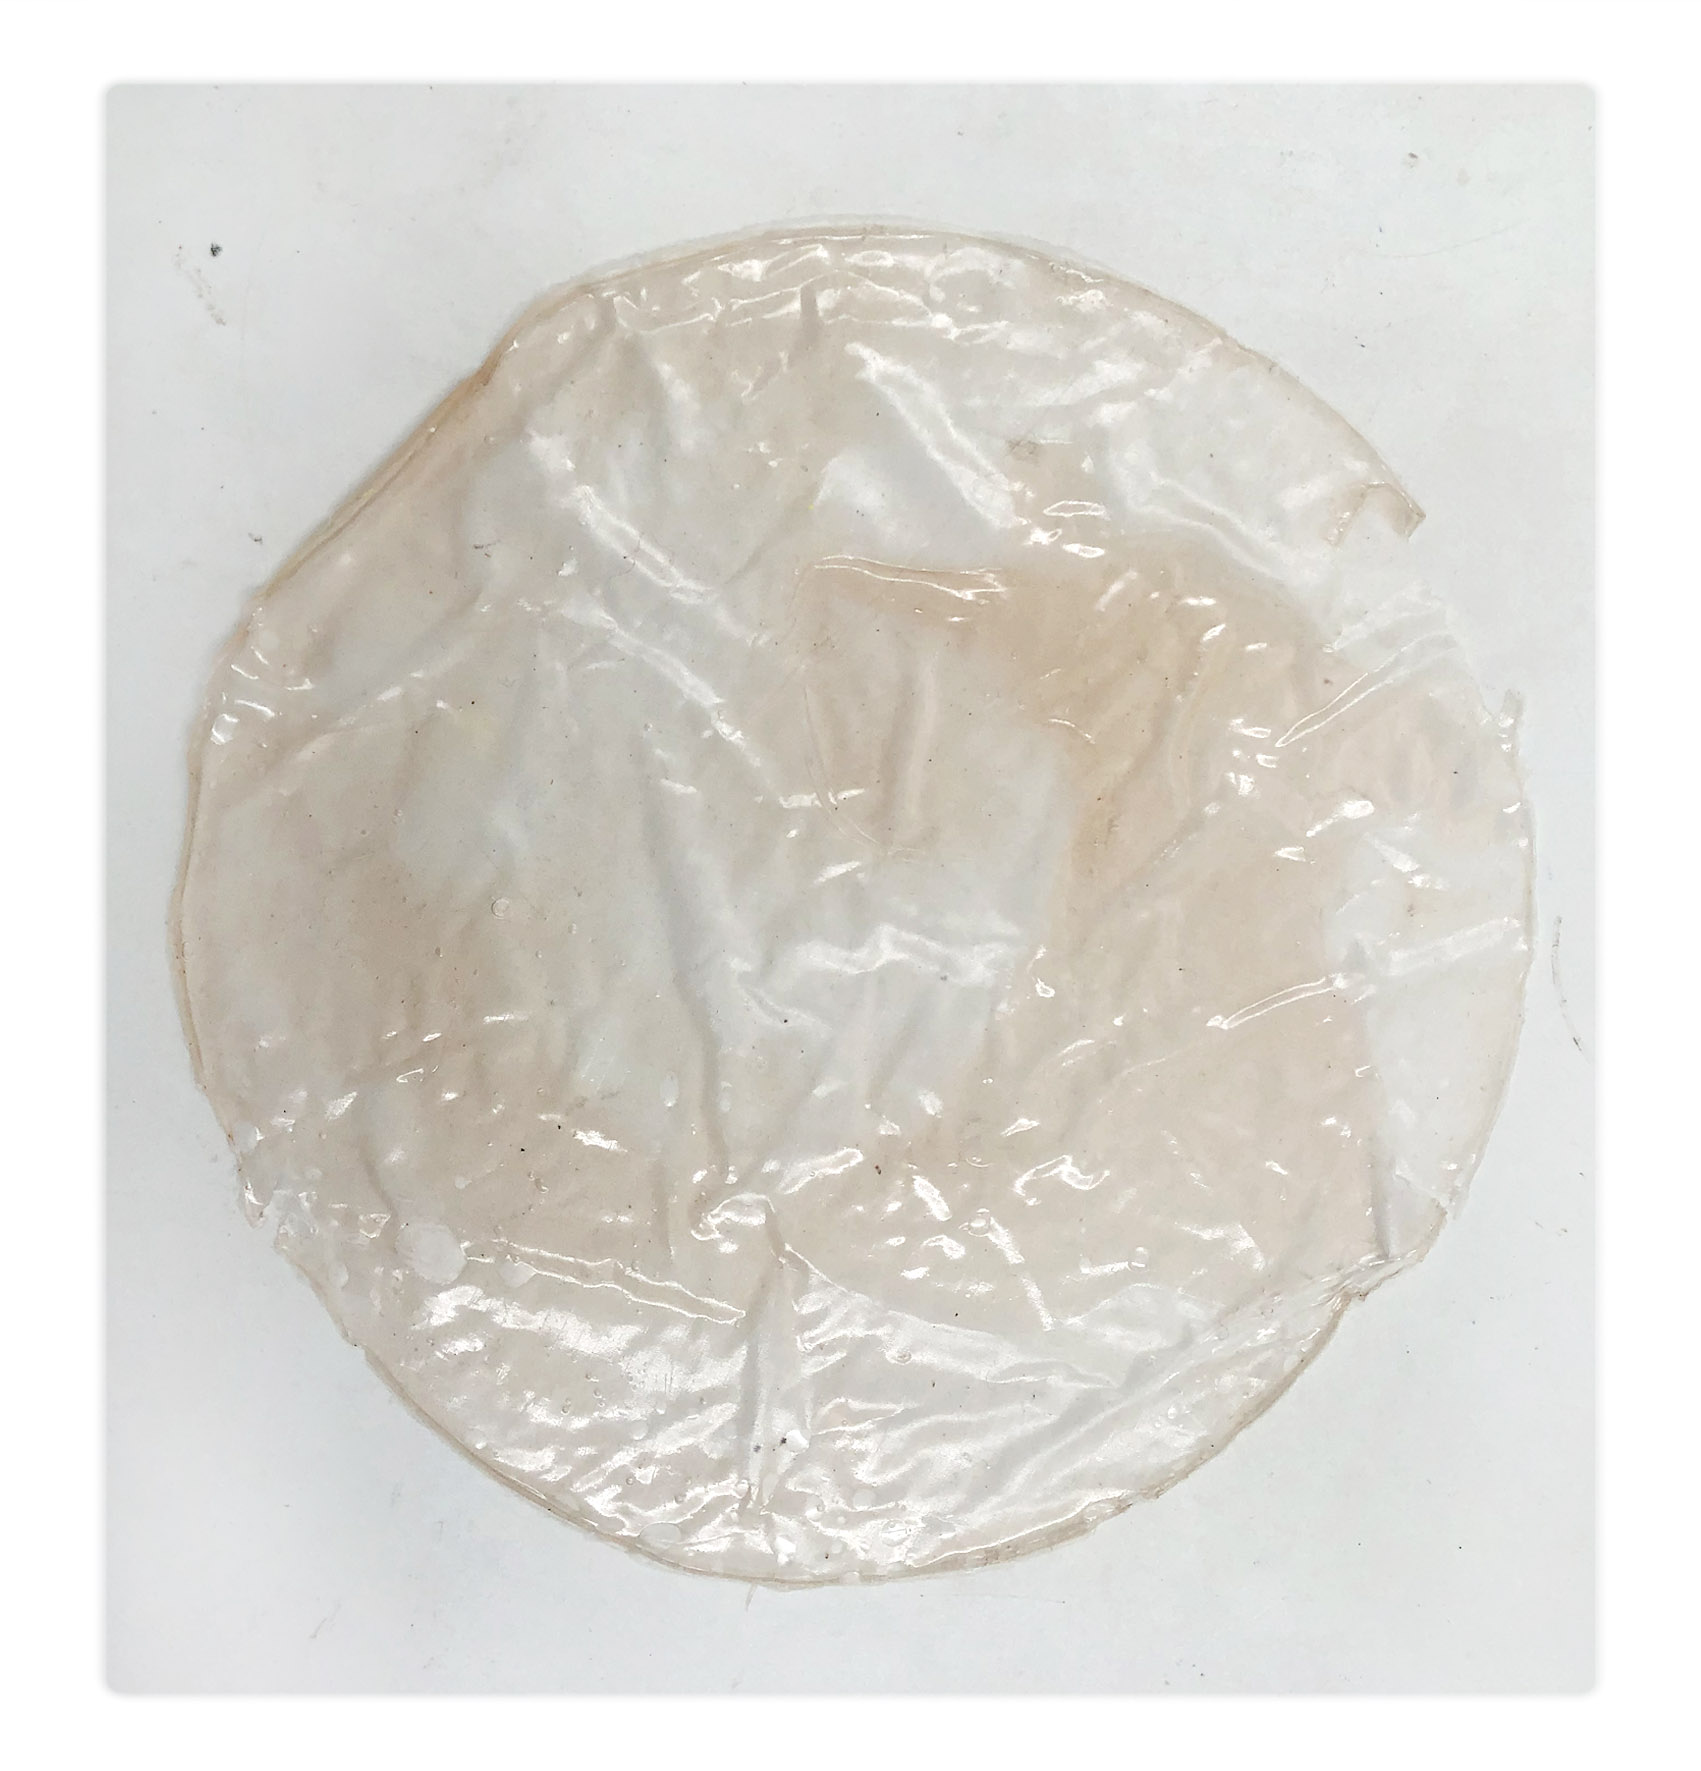
A: casted on ribstop waterproof nylon fabric
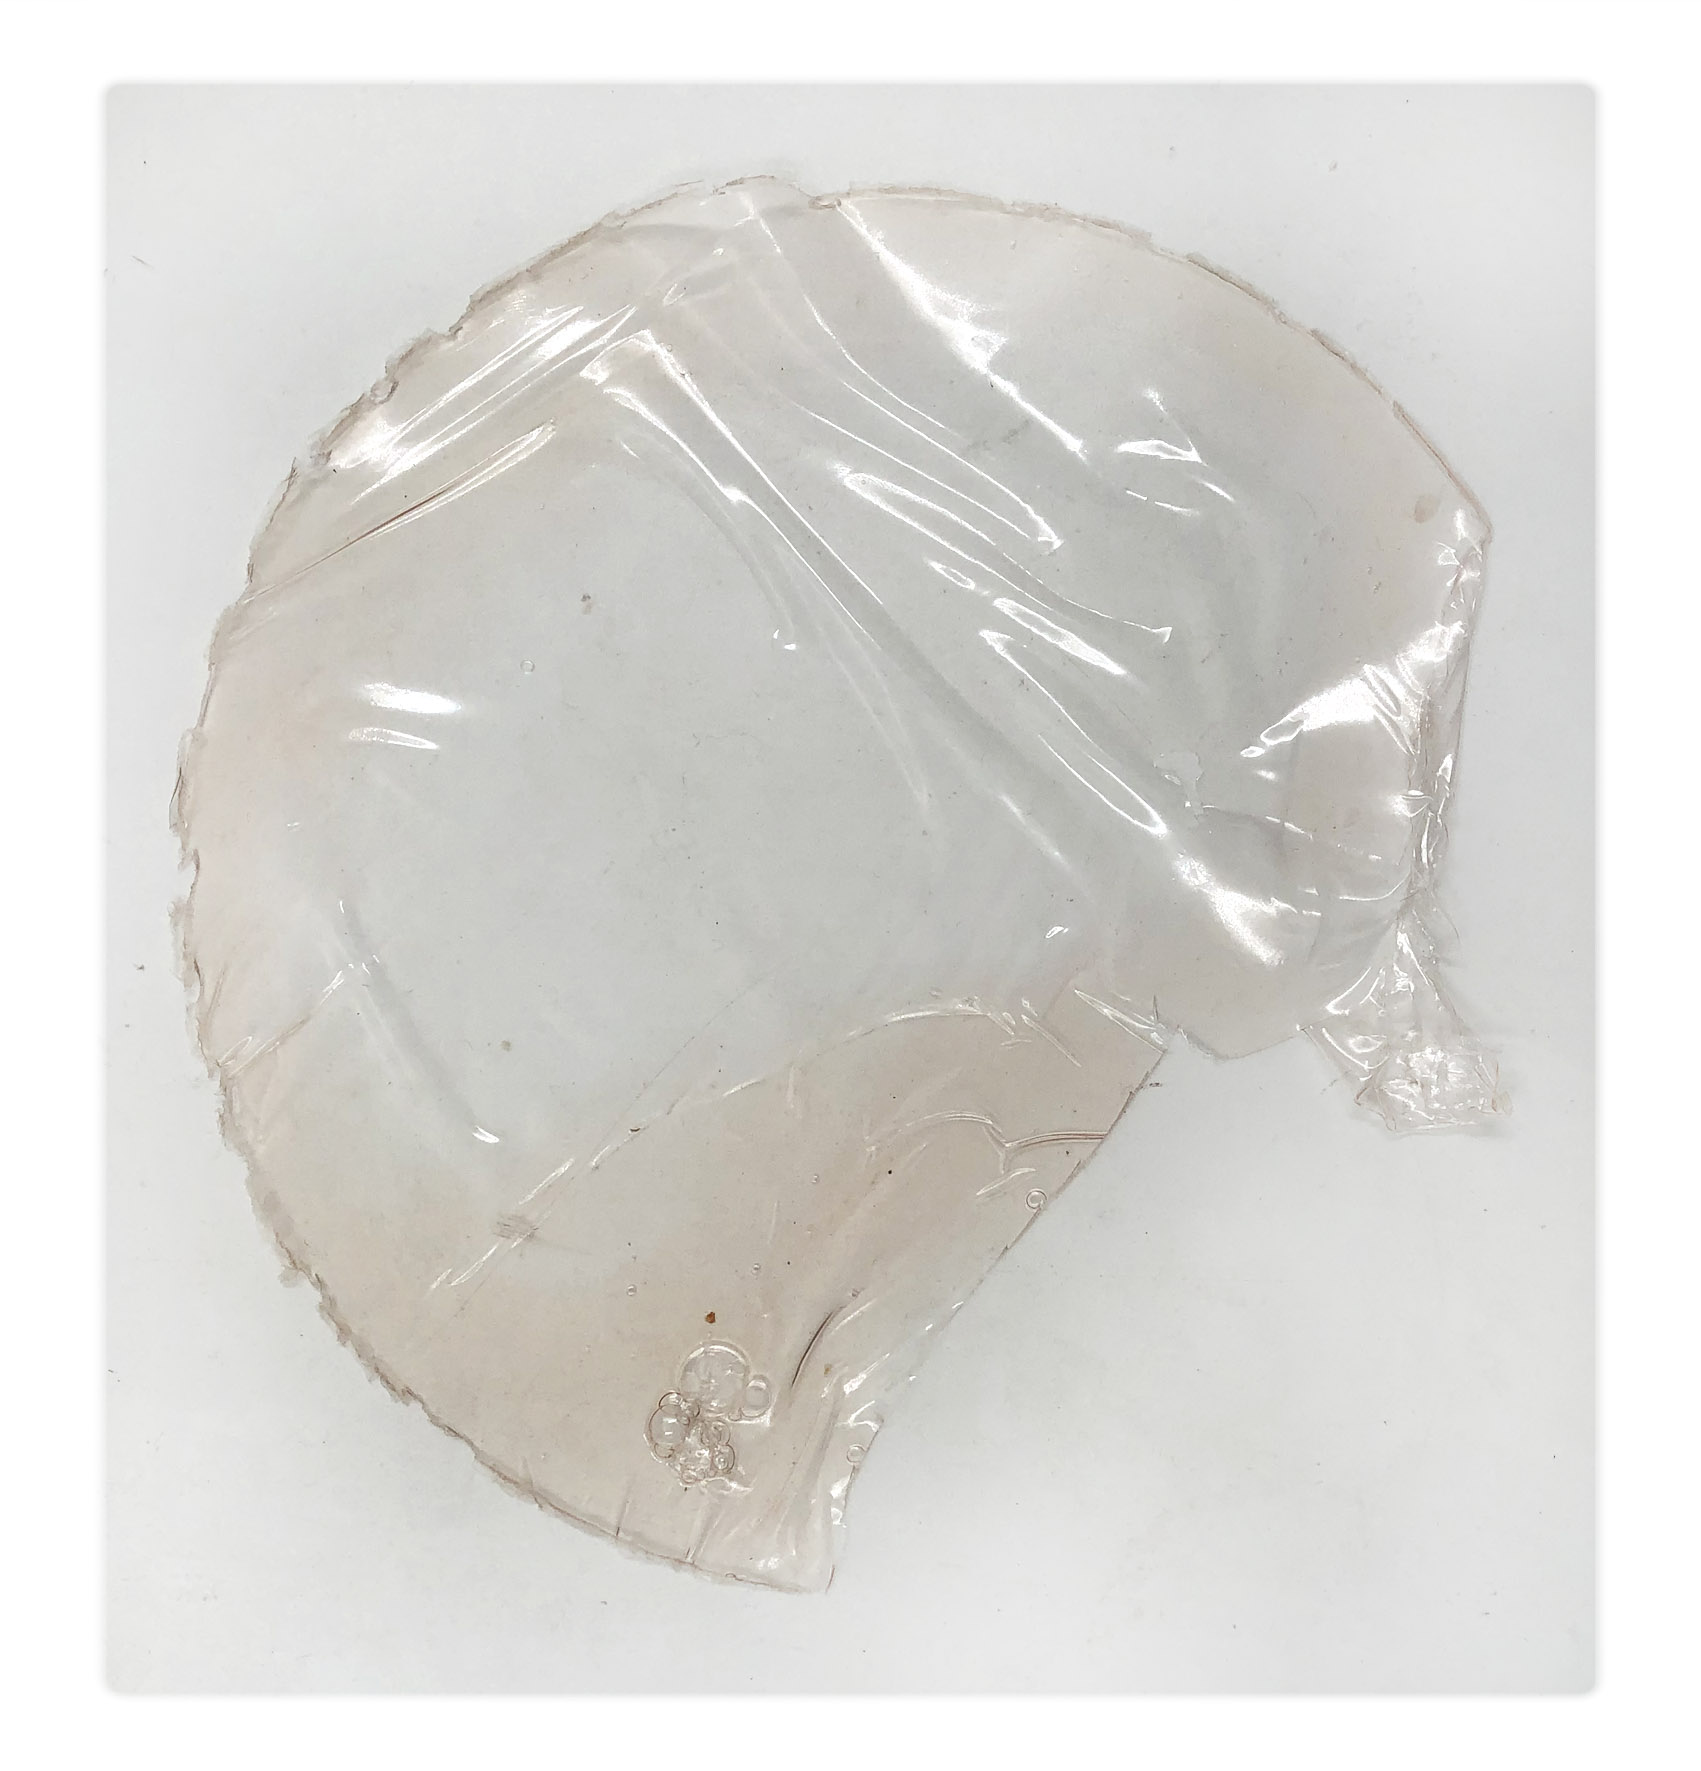
B: casted on plastic wrap (kitchen supply)
* 3 gr Agar
* 20 gr Gelatin
* 15 ml Glycerin
* 400 ml water
* Warm up water to max 80C
* Add your plasticizer
* Add your polymer
* mix until smooth
* simmer for 45 min
Conclusion: For this test I wanted to see how thin foil that I could make.
Since the plastic wrap surface (sample B) was smoother then the fabric it was easier to distribute a thinner layer then with sample B . However it was breaking when demolding.
The foil have a very sticky texture that makes it difficult to find suitable applications for further use
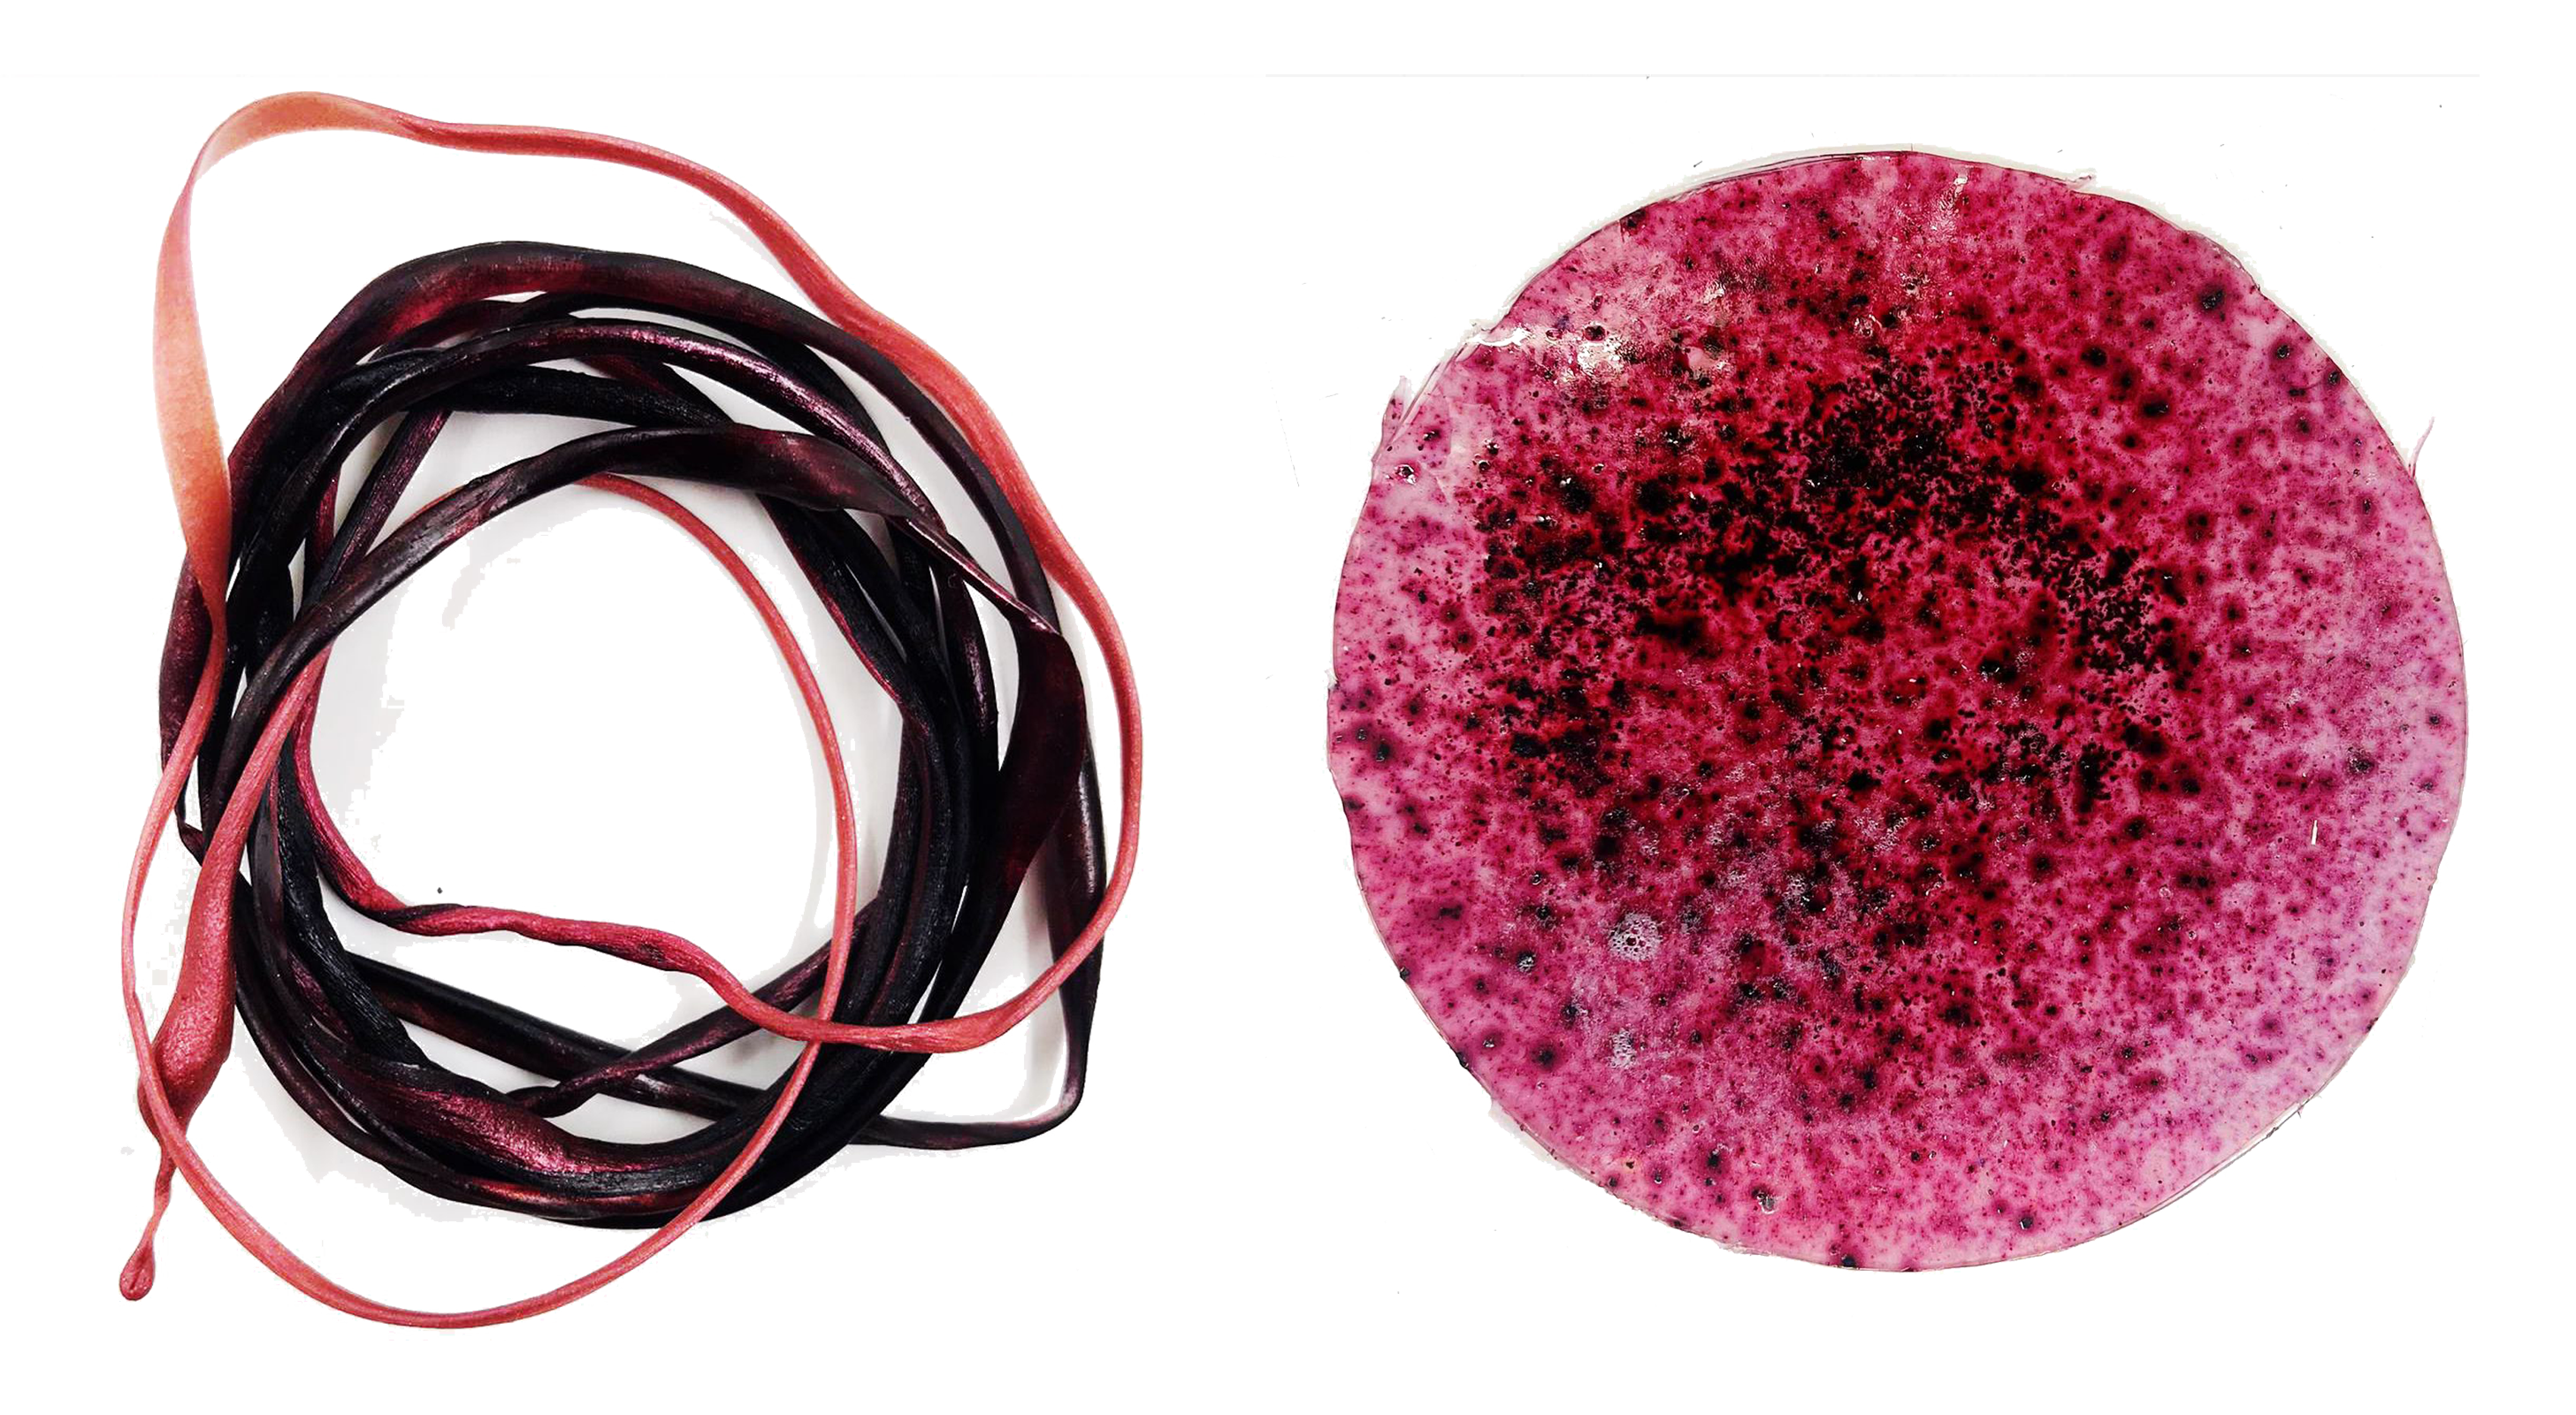
Bio-silicone
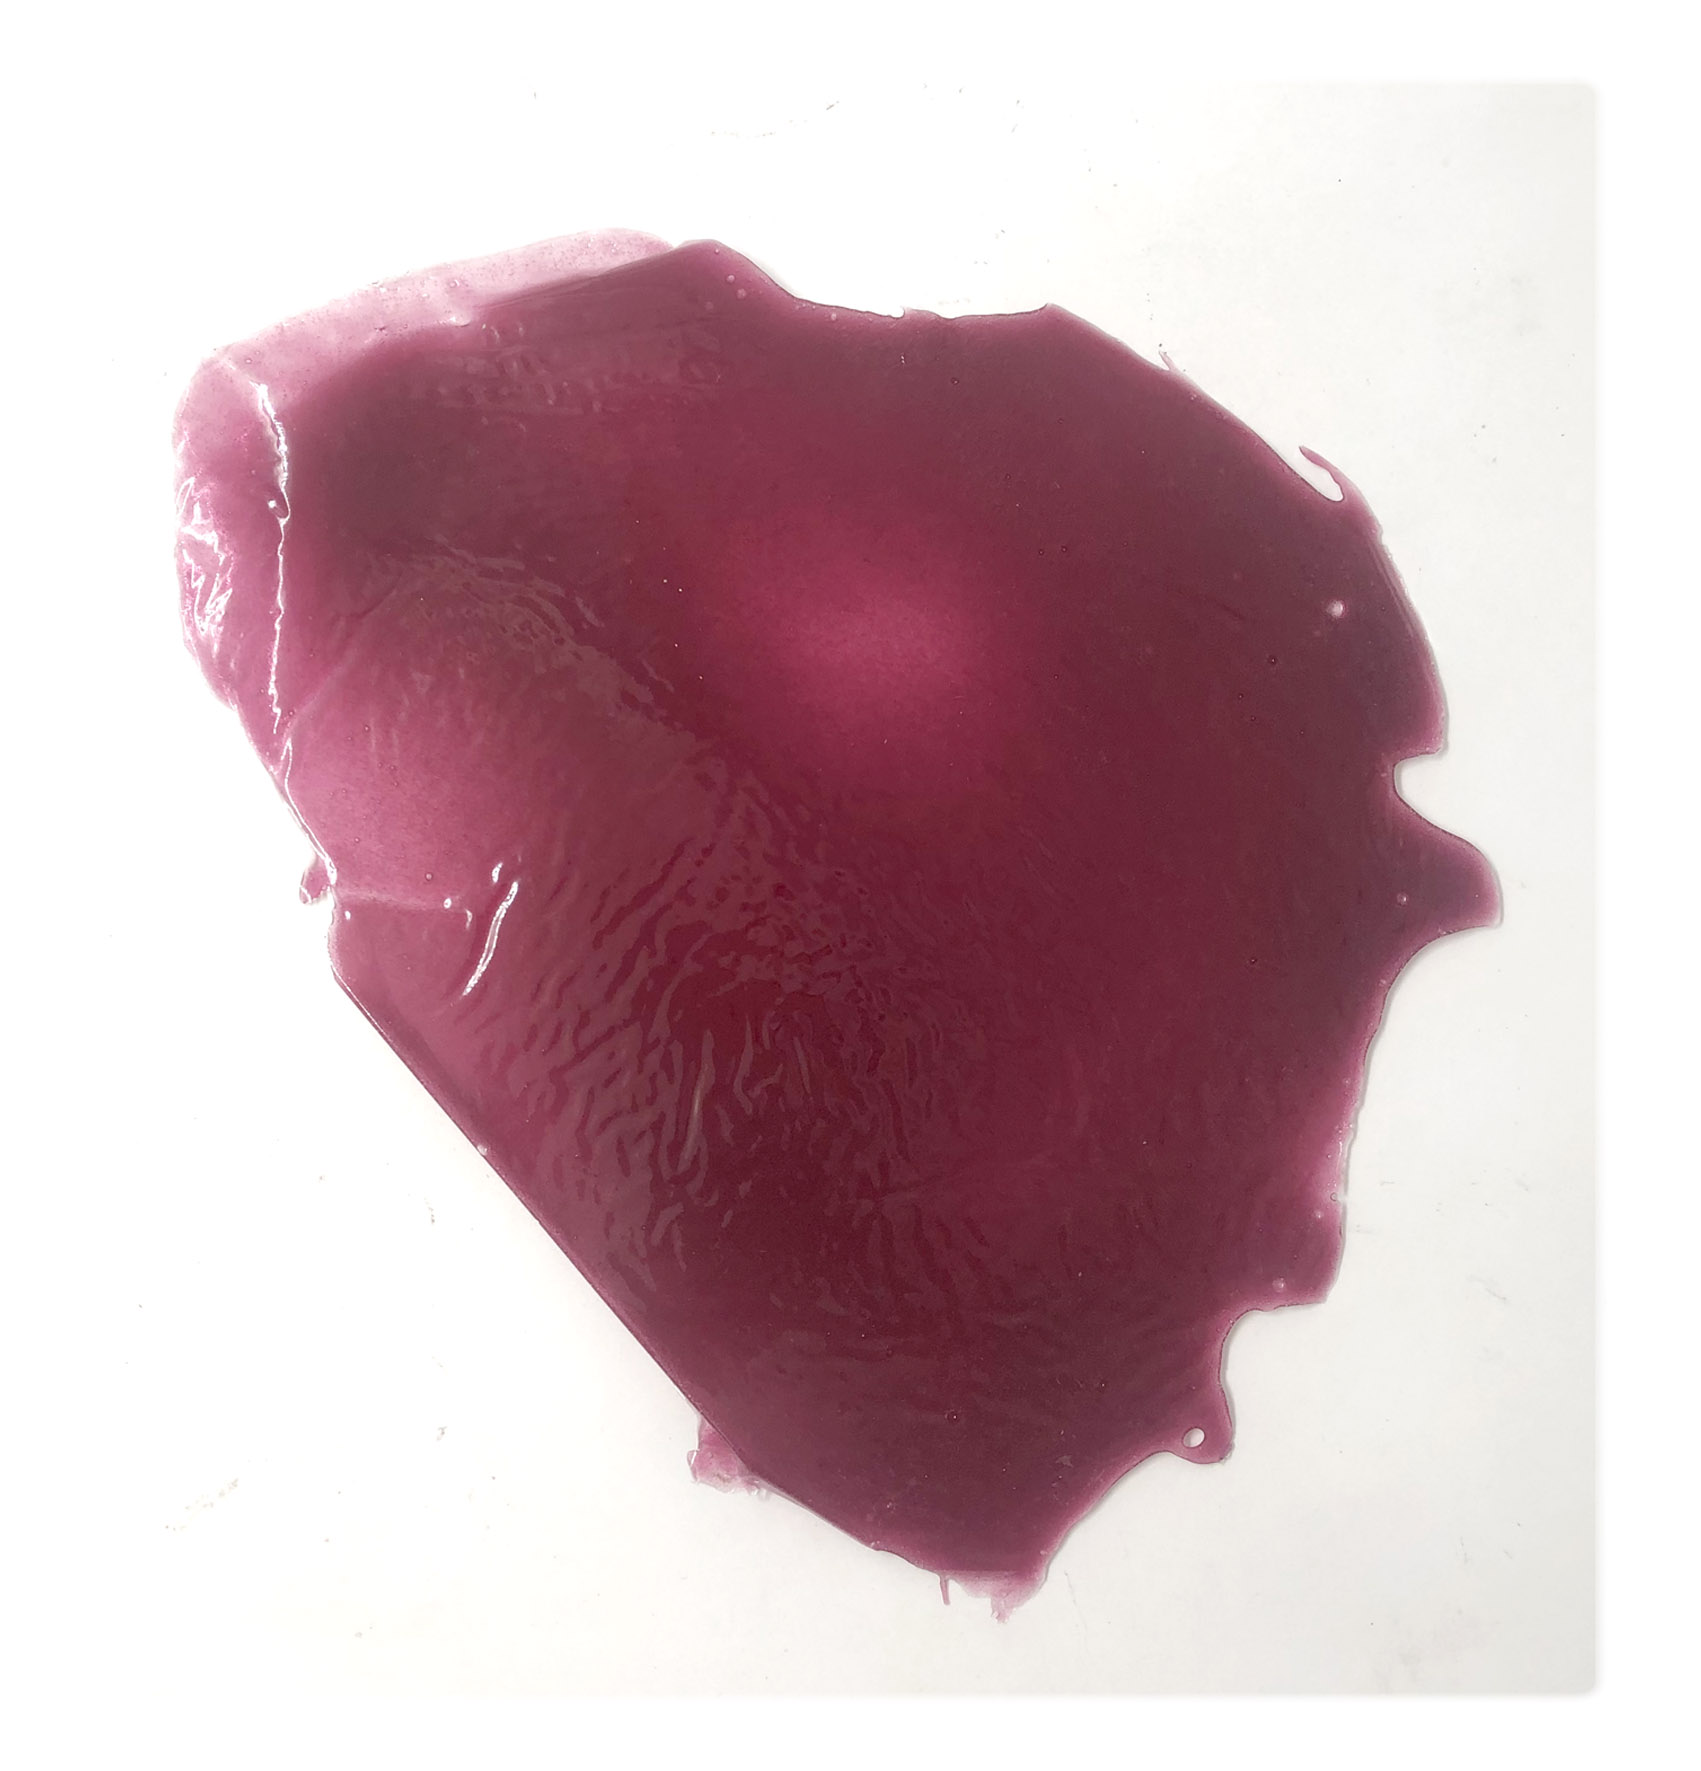
* 48 gr Gelatin
* 48 ml Glycerin
* 15 ml dye batch (Cochineal)
* Warm up water to max 80C
* Add your plasticizer
* Add your polymer
* Mix until smooth, it should have a thick honey like consistency
* simmer for 30 min
Conclusion: The consistency of the liquid is quite thick so it hard to distribute an even layer when casting, when working with detailed molds it might be better to ad more water into the mixture.
The silicone is highly flexible and stretchy
For more gelatine experiments see Olivias documentation
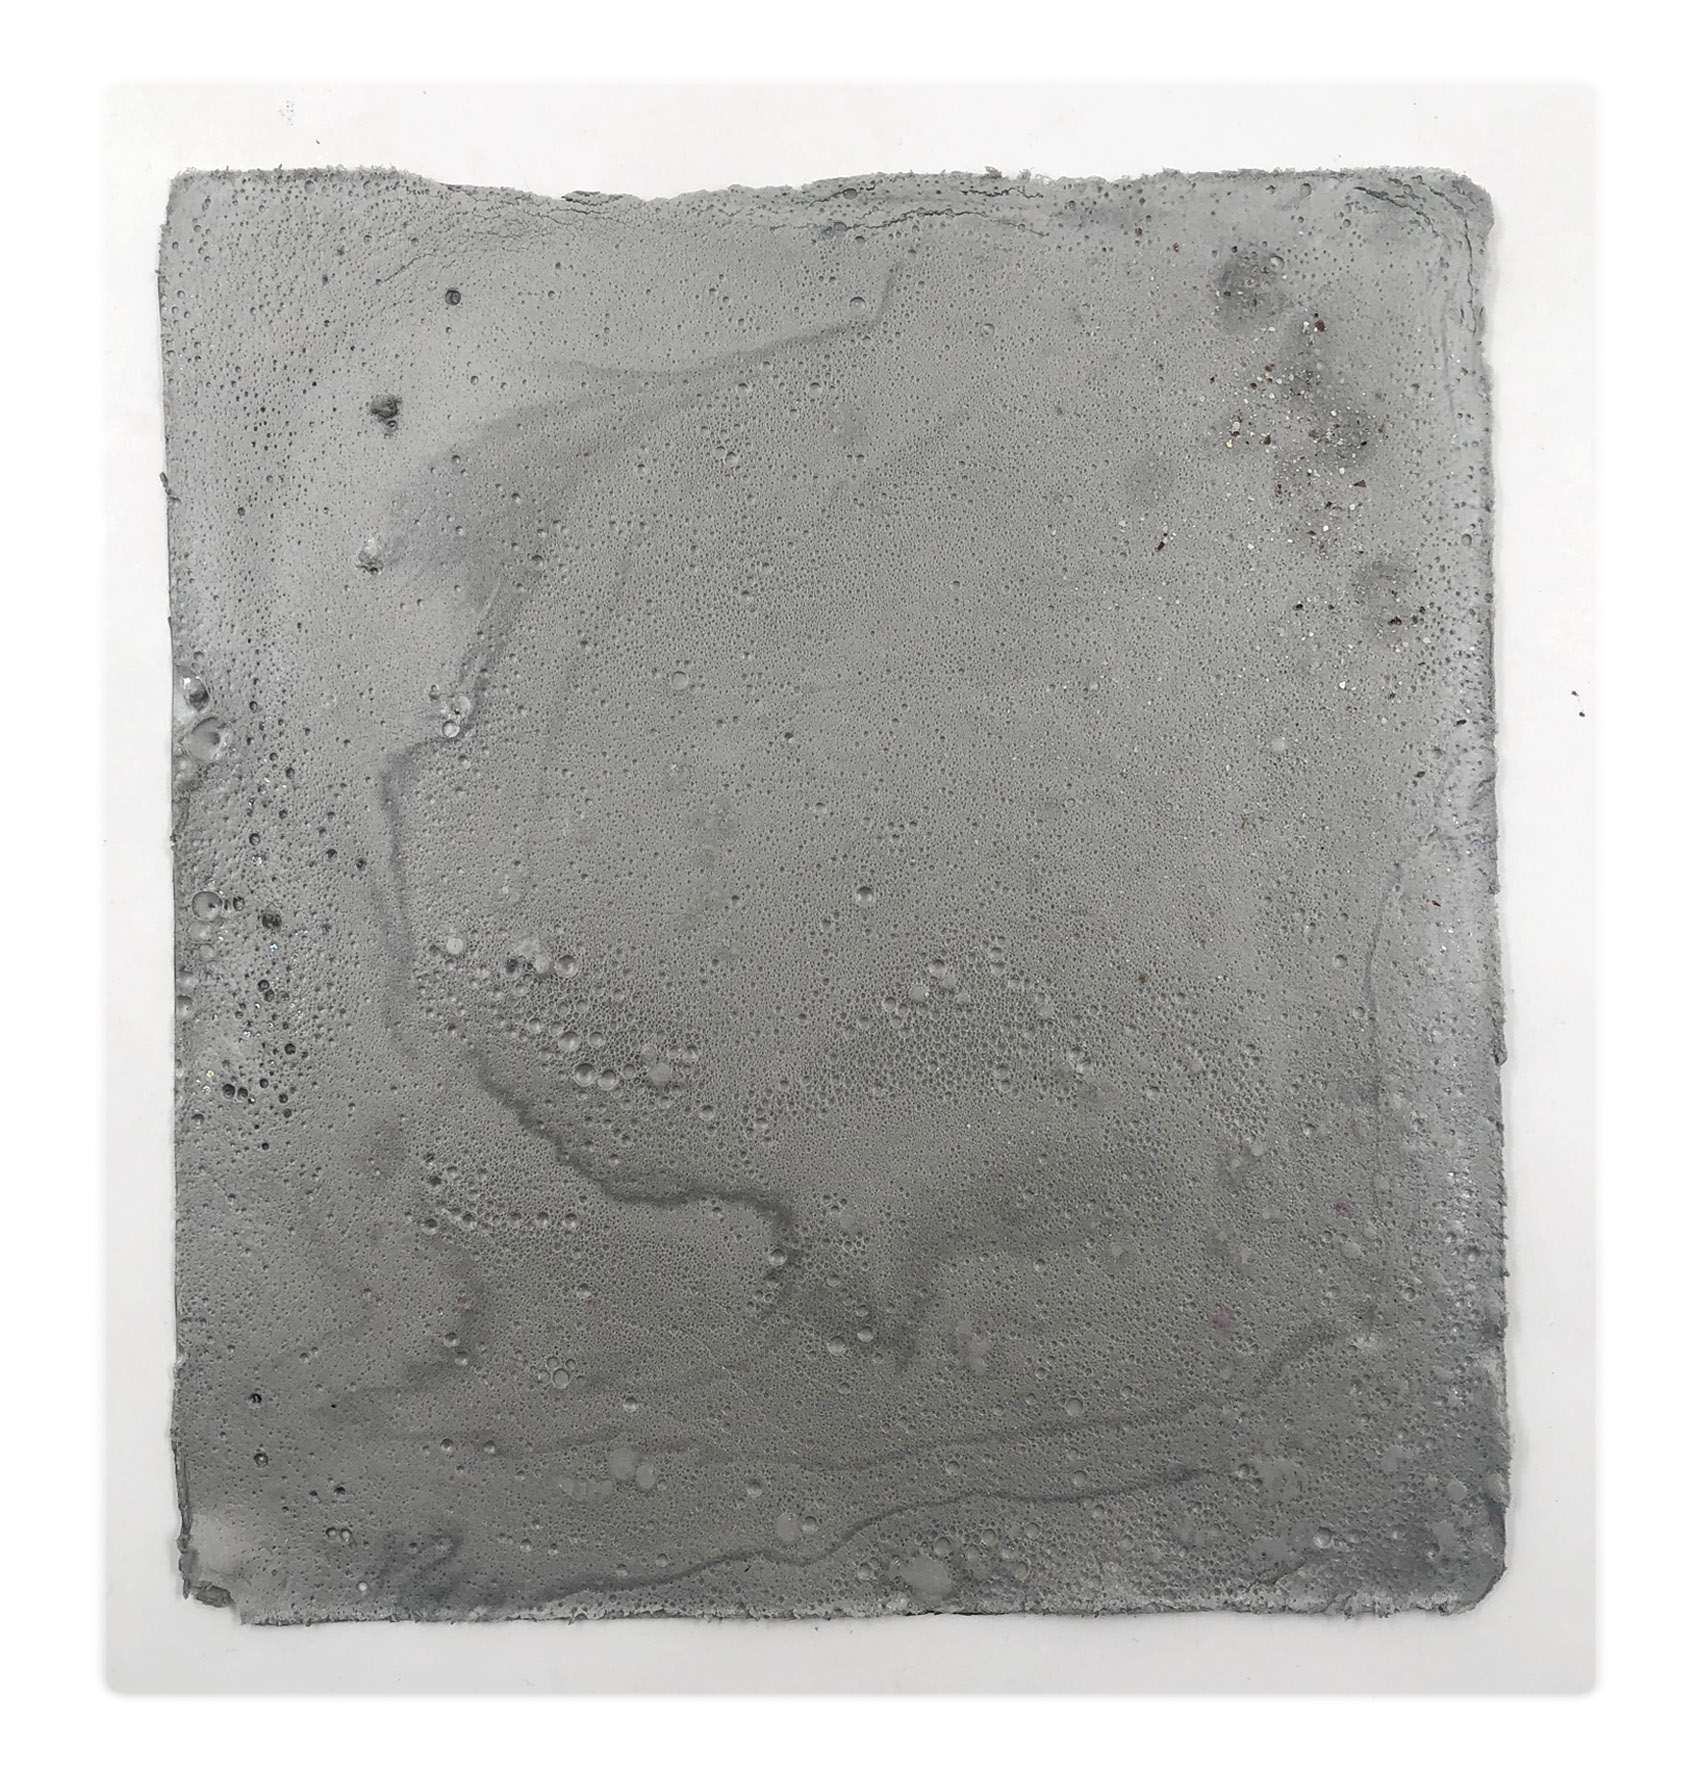
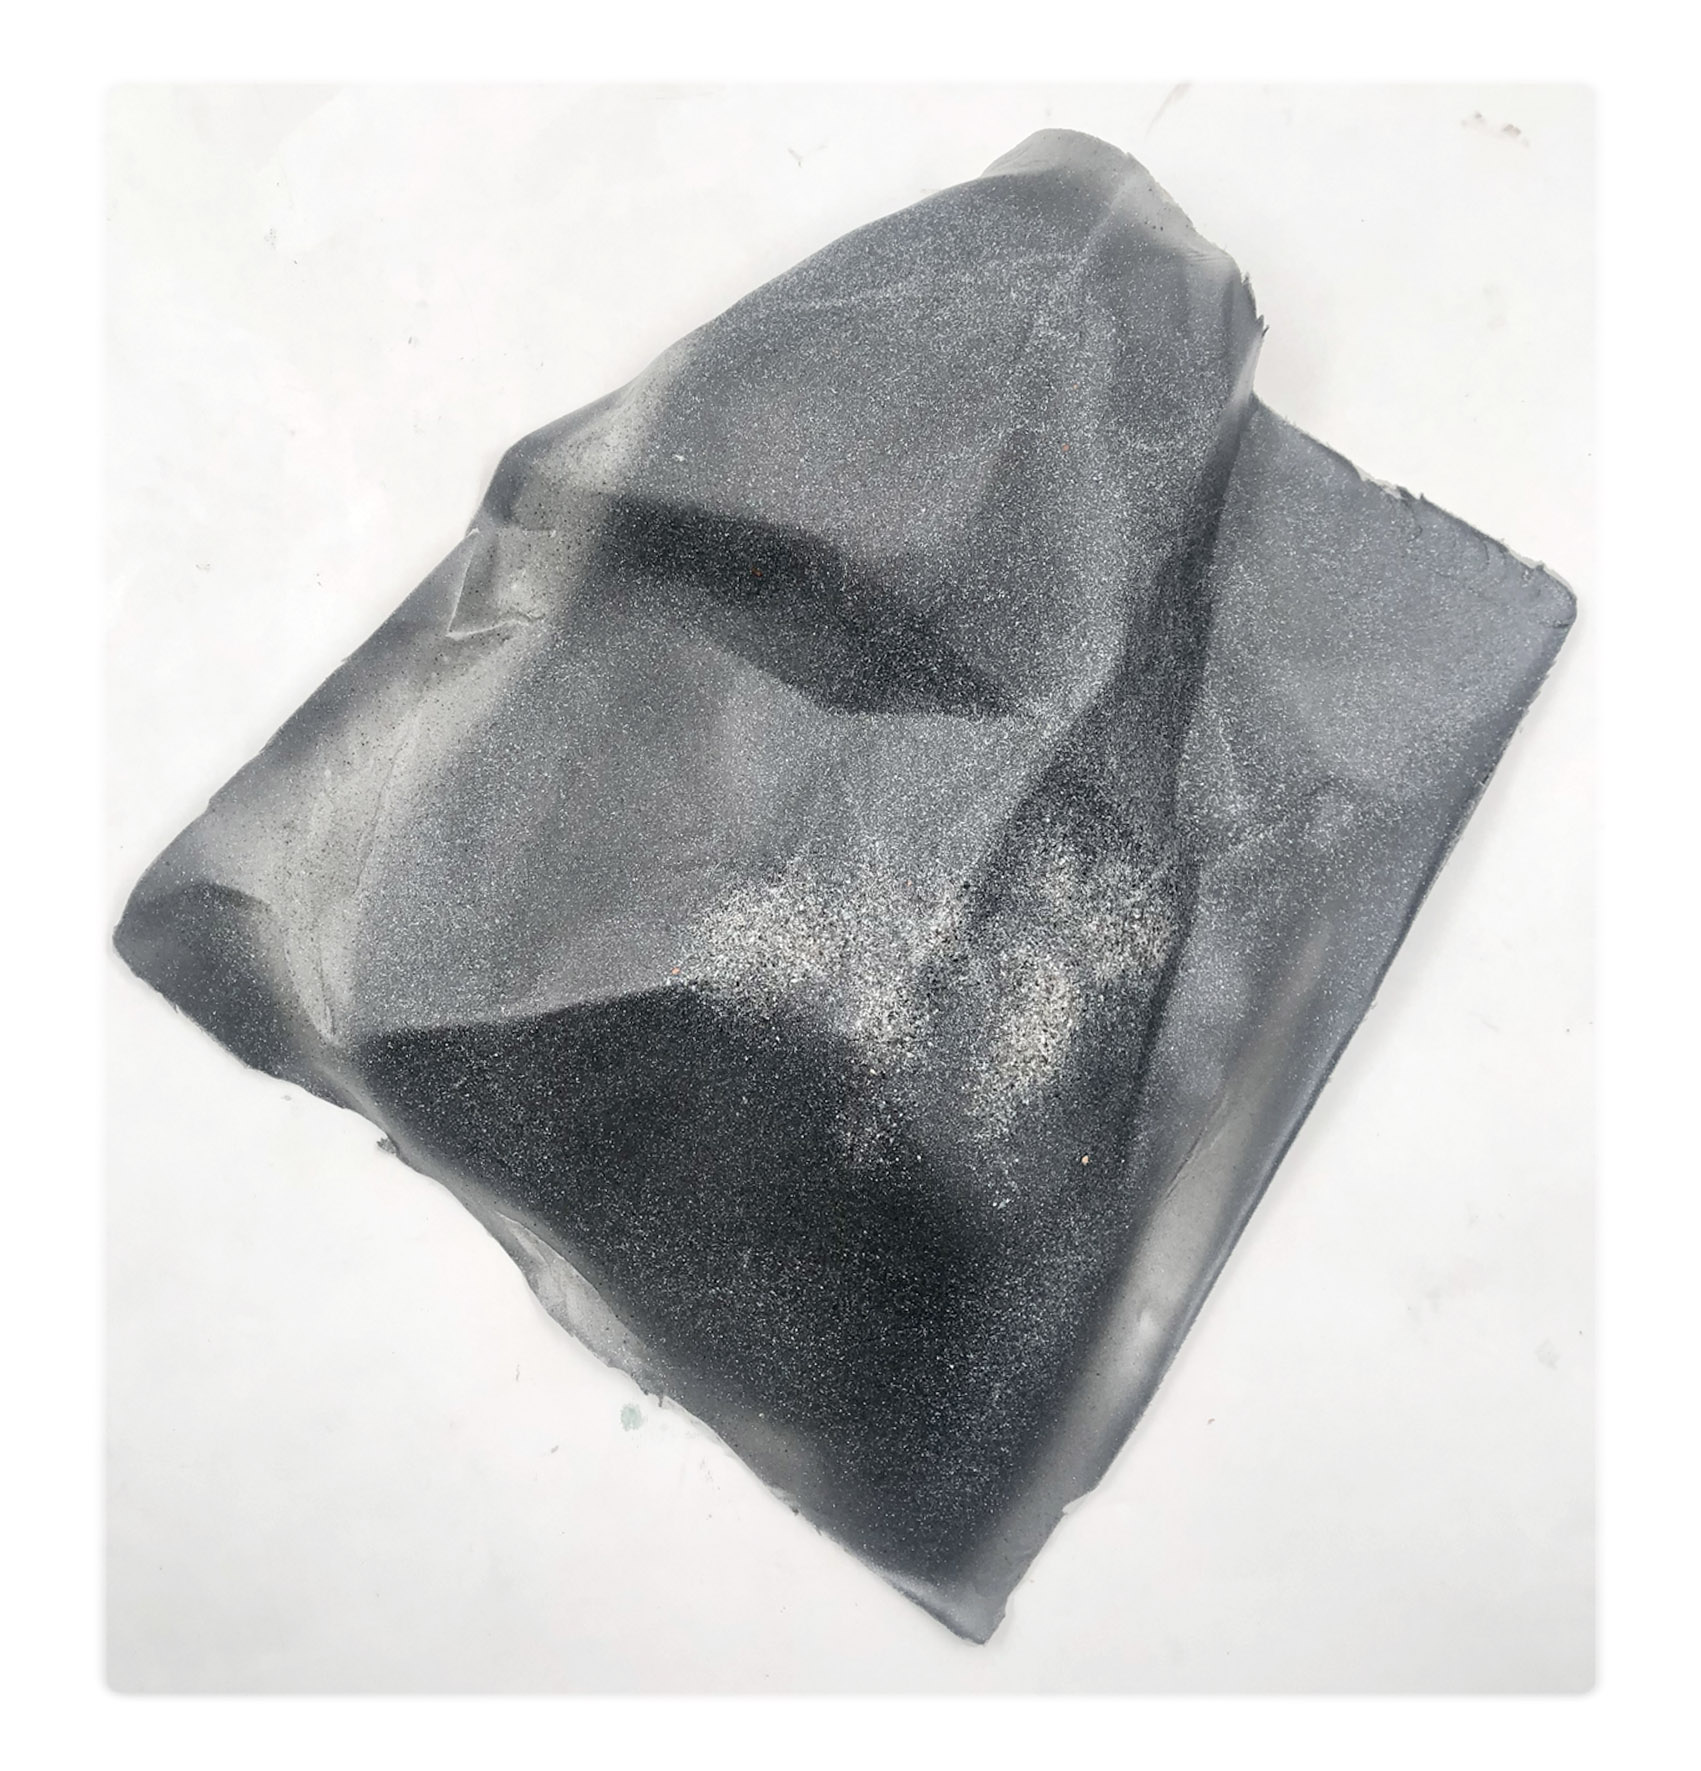
Bio-foam
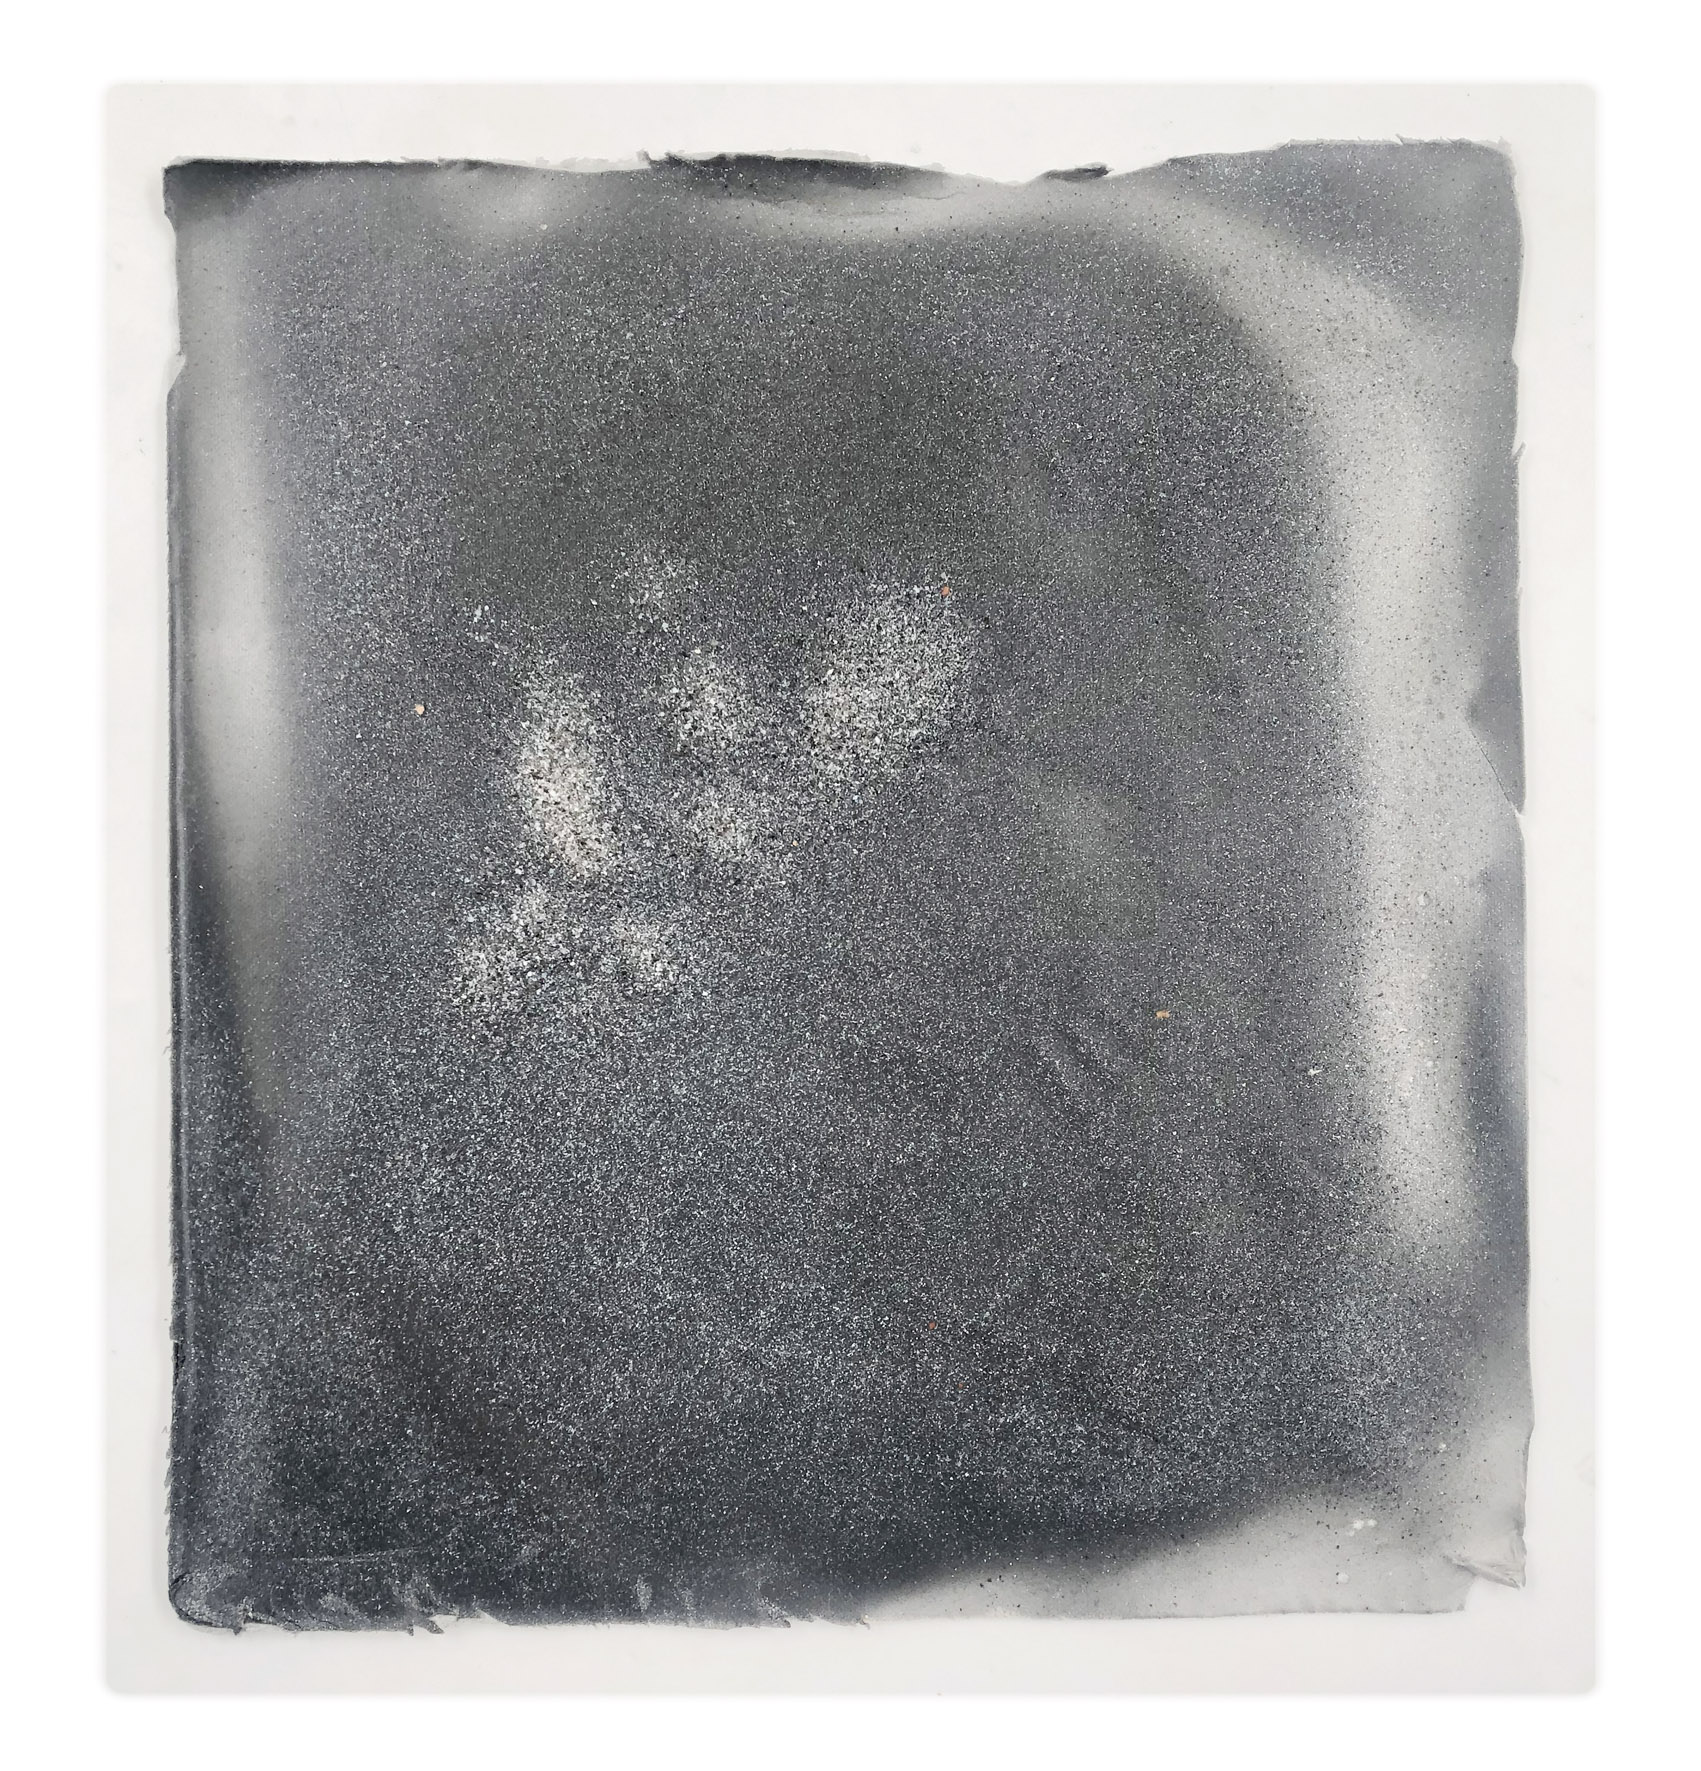
sample A front
sample A back
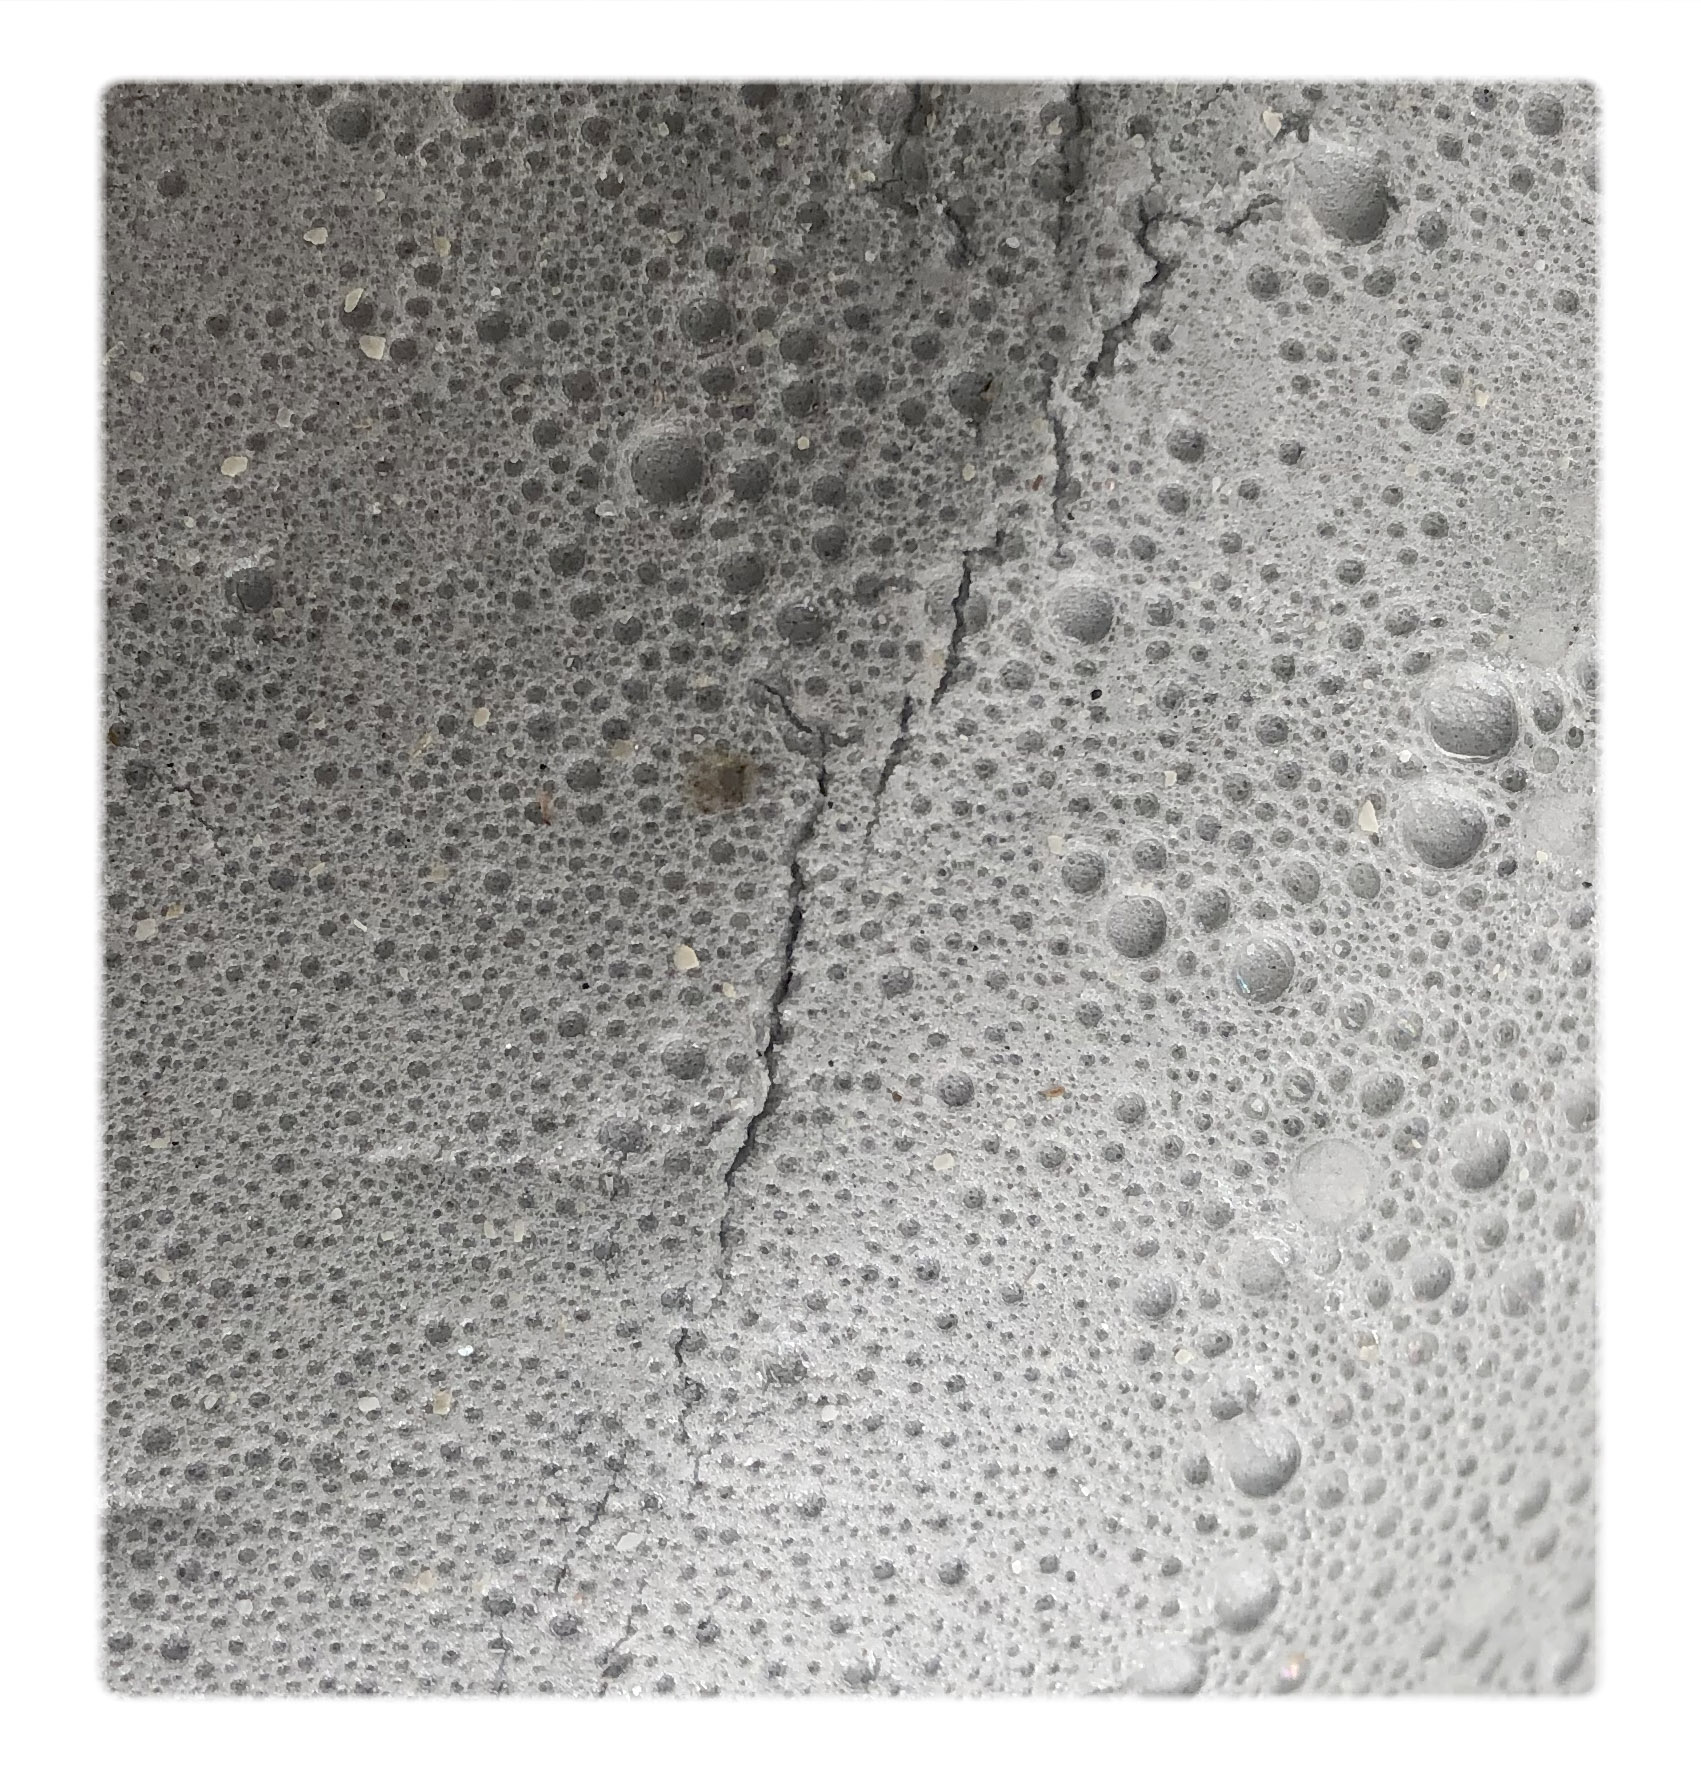
cracking
sample A
sample B same reciepe with higher concentration of mussel shelves
* 20 gr Glycerin
* 48 gr Gelatin
* 240 ml Water
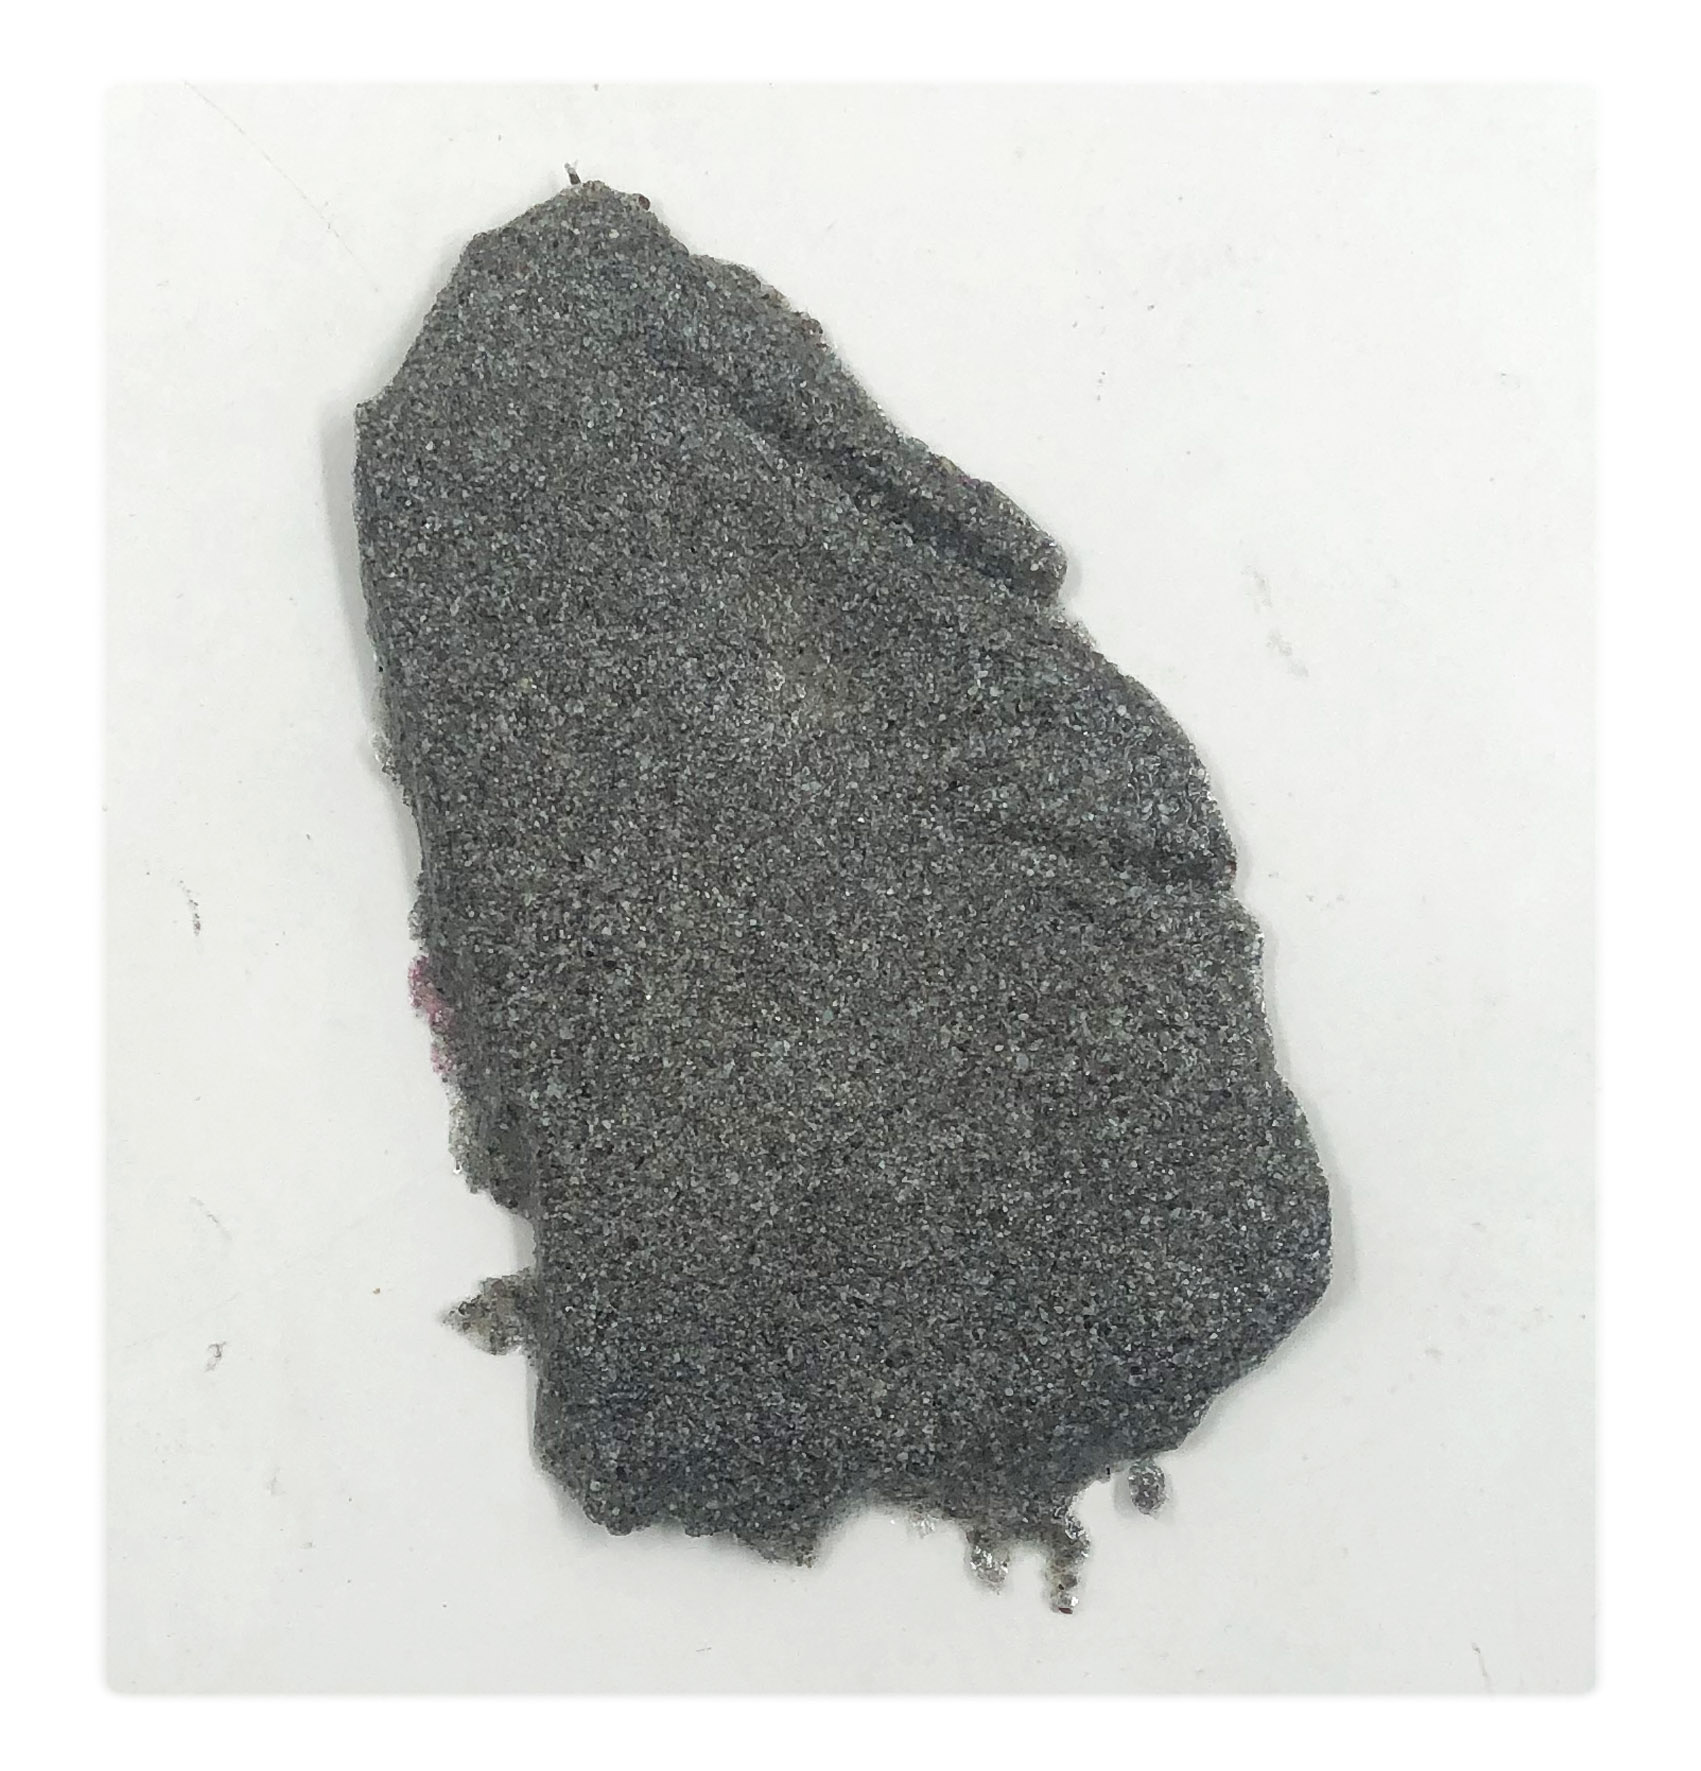
* 2 tbs charcoal
* 5 tbs mussel shelves
* 10 ml Soap
* Warm up water to max 80C
* Add your plasticizer
* Add your polymer and additives
* Blend the mixture with a hand blender, milk foamer until you get desired amount of foam
* simmer for 30 min
Conclusion: This recipe will create a slightly rigid but strong foam, however it have a tendency to crack by intence mechanical treatment.
The dye pigment separated when casting creating a quite interesting double-sided effect.
-I used a hand blender to foam the material to get more foamy consistency it might be better to use a milkfoamer
-The mussel shells was too heavy for the liquid and ended up in the bottom of the pan but I was able to cast that into a smaller more rigid test (sample B)
EXPERIMENTS: Resin
for more info see Emmas documentation
EXPERIMENTS: Sodium alginate and agar agar
Sodium alginate is a cold recipe that hardens in contact by Chloride hydrate.
We experimented with two different ways of fabricating the polymer
a) Molding (more info here)
b) Extrusion
EXPERIMENT: extruding alginate
Process
1) Mix polymer, plasticizer, liquid and filler with a hand blender
2) Let the mixture stand for 3-4 hours to remove air-bubbles from the mixture (or use a vacuum pump)
3) Dissolve calcium carbonate in water
4) Use a syringe to extrude the plastic mixture into the calcium carbonate water
5) Wash the strings in normal water
6) Hang to dry
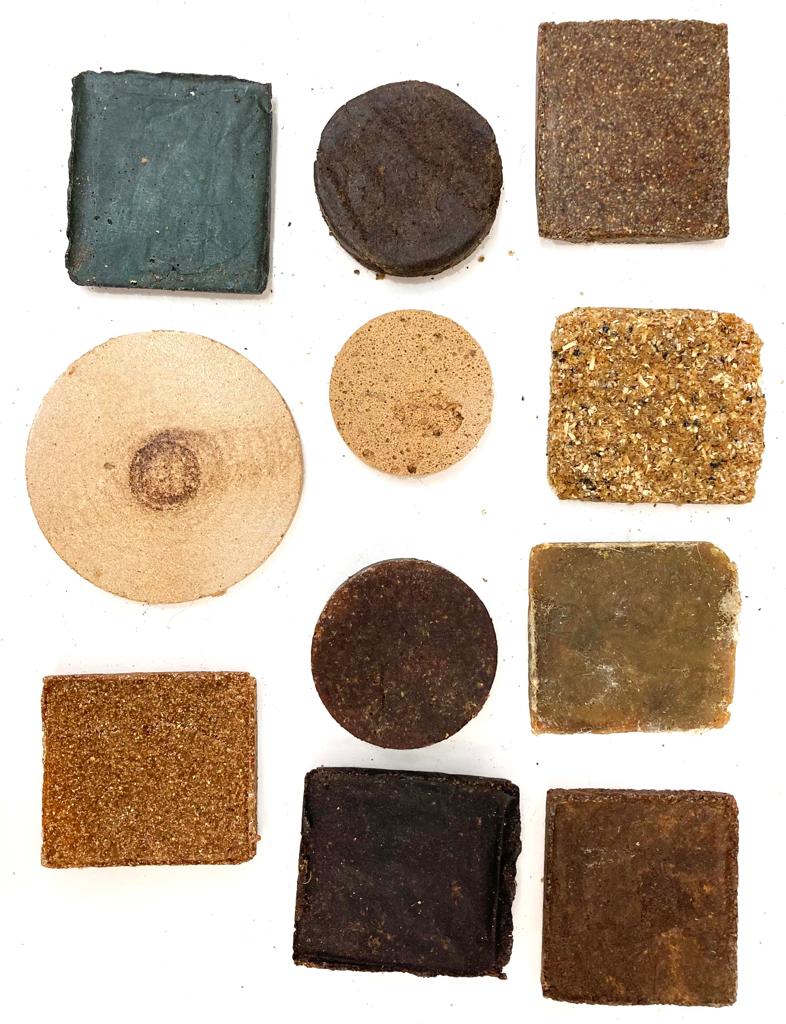
During the week we did several tryout with the extruding technique experimenting with different recipes and syringe sizes
See overview bellow:

Conclusion:
shrinkage: The strings will shrink a lot when drying (approximately 2/3 its original size, it is possible to lessen the shrinkage:
Sample D: the oil will reduce the shrinkage substantial
Sample A: By reducing the amount of water in the recipe you will naturally also reduce shrinkage
finishing: Different filler will give different properties to the material
Sample e: Chitosan will give an interesting dry touch to the material
Sample B: is very similar to “normal” paper threads
Sample D: slightly oily finishing
strengh: No proper strengh tests was conducted however at first glance it seemed that Sample E ( because of Chitosan) and sample A twisted with 6 ply was the strongest strings
Sample F: was also strong due to its stretchiness however due to thickness of material it was only extruded with the thicker syringe and therefore hard to compare.
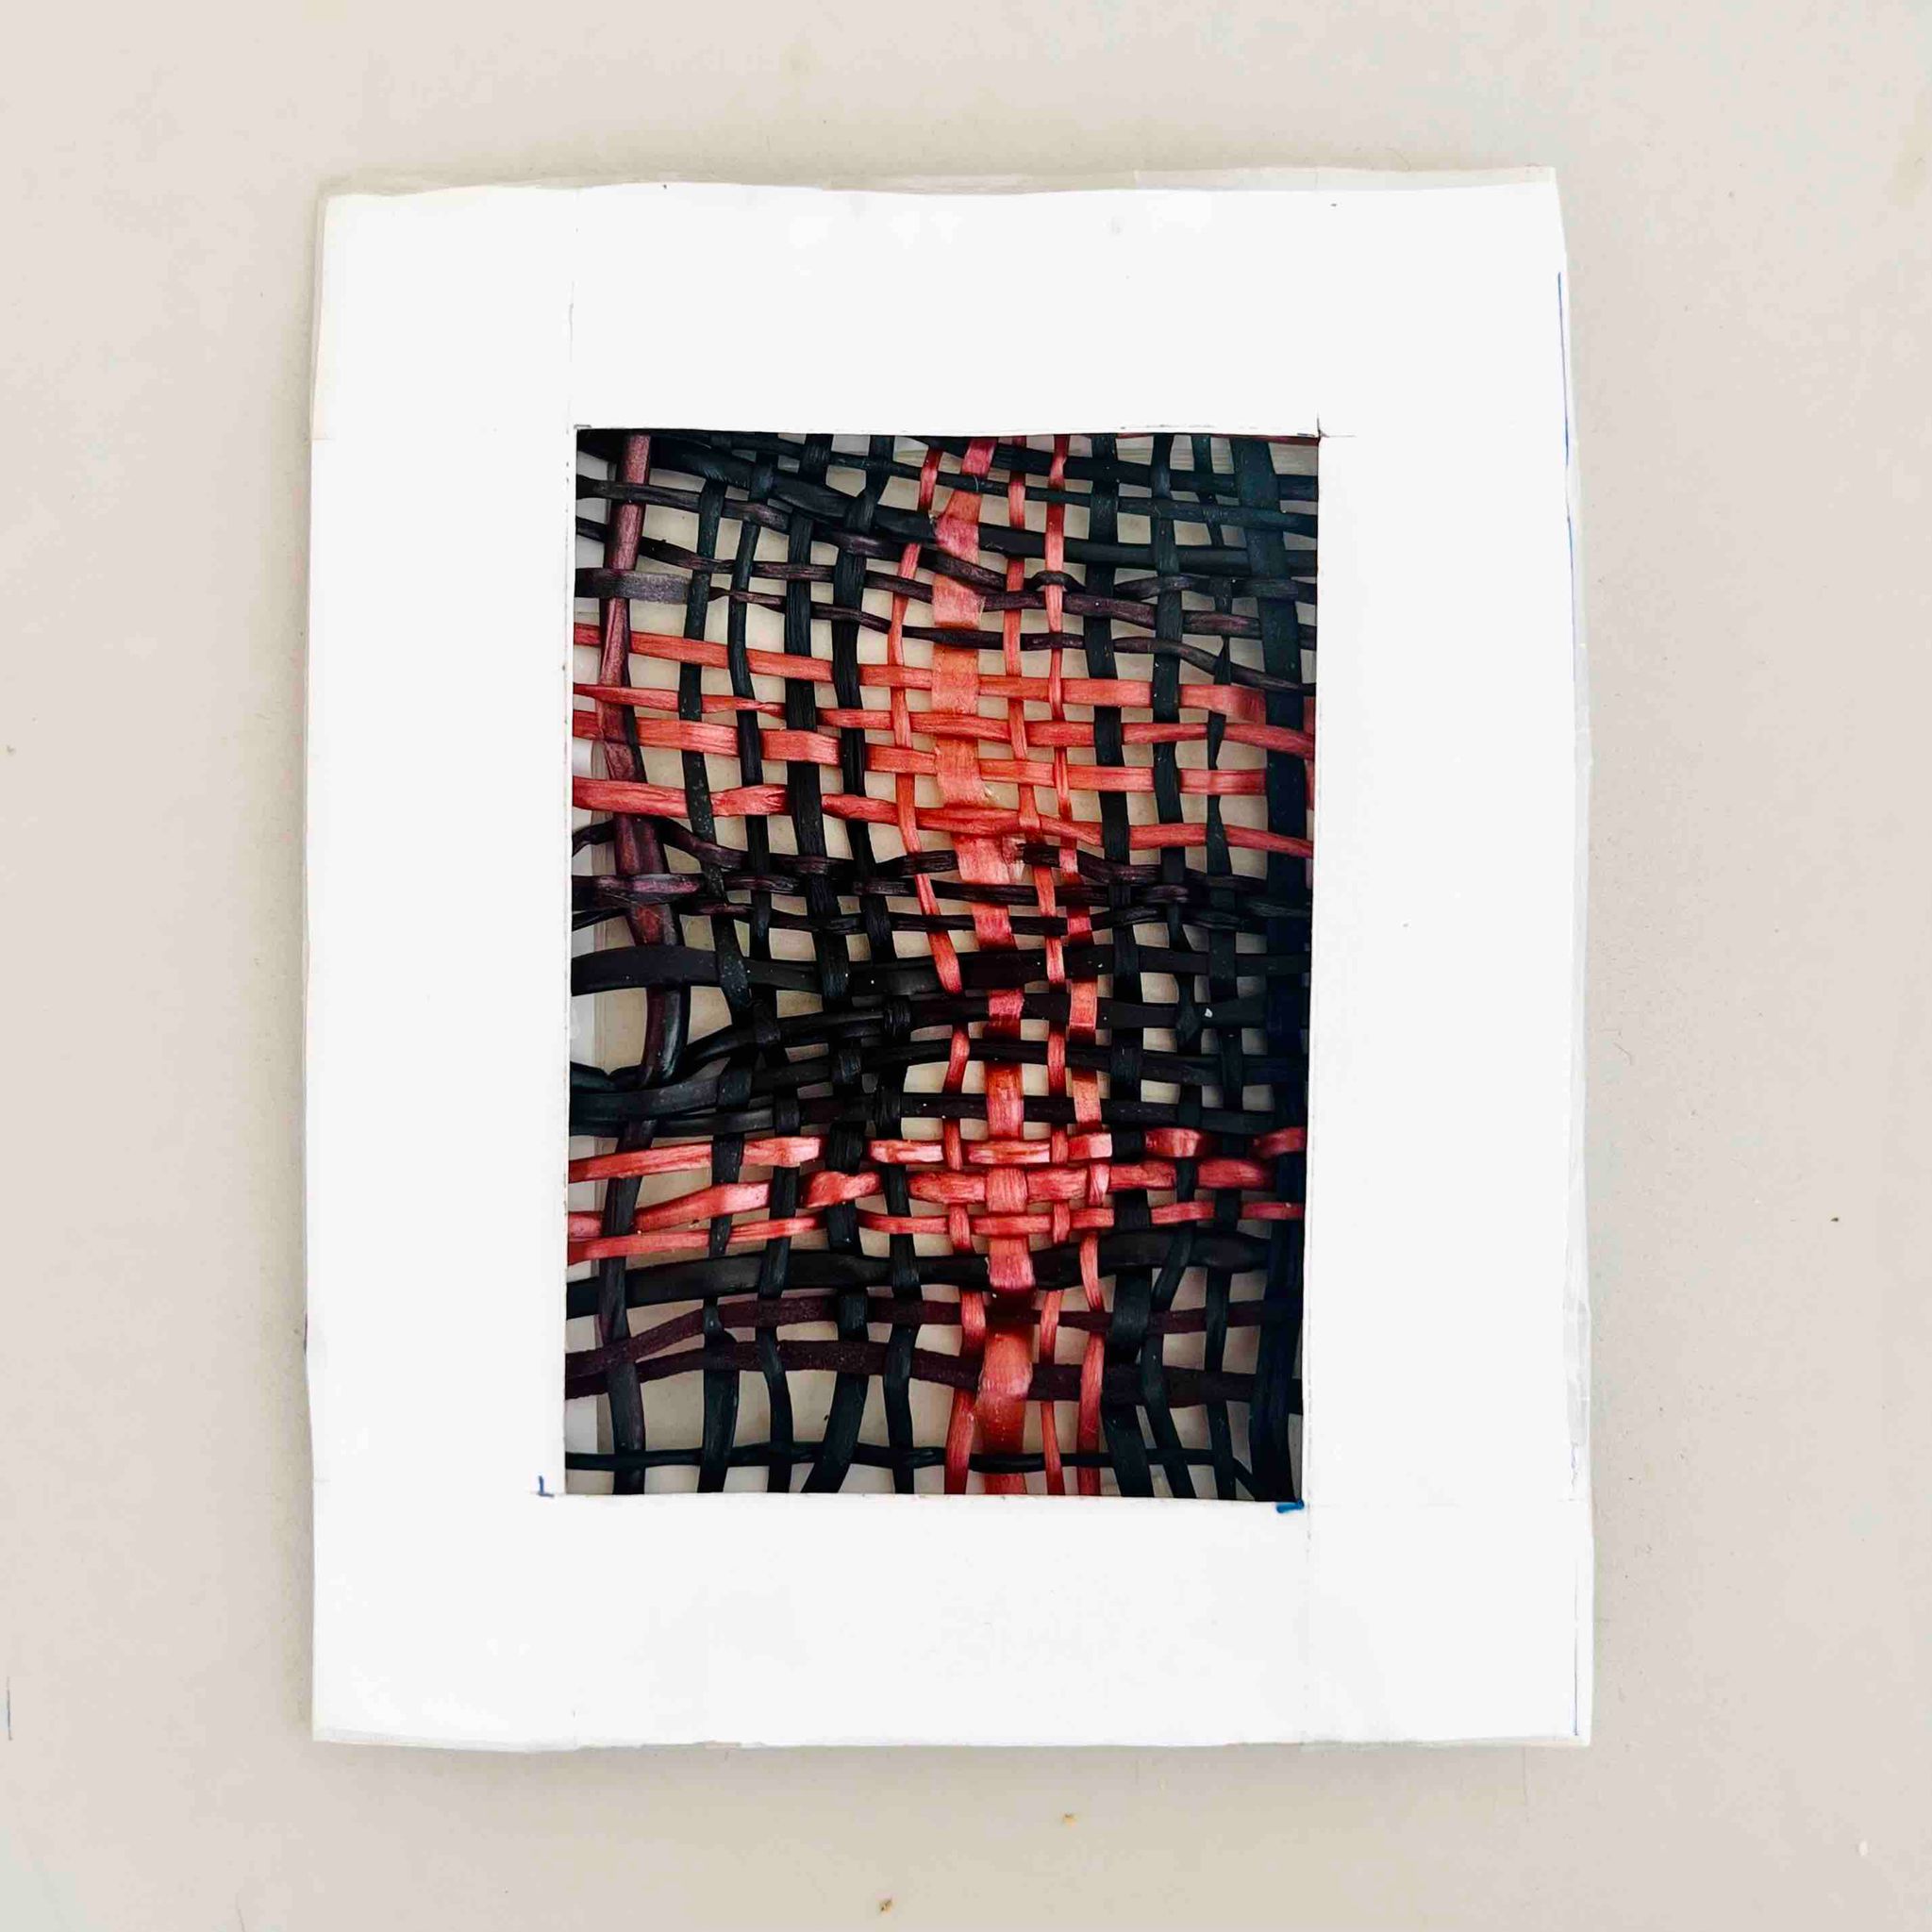
woven bioprinting strings by Dineash
bioprinting
There is two different ways we can bioprint
a) printing out living cells (more info here)
b) printing out a “bio-pate” similar to a bioplastic
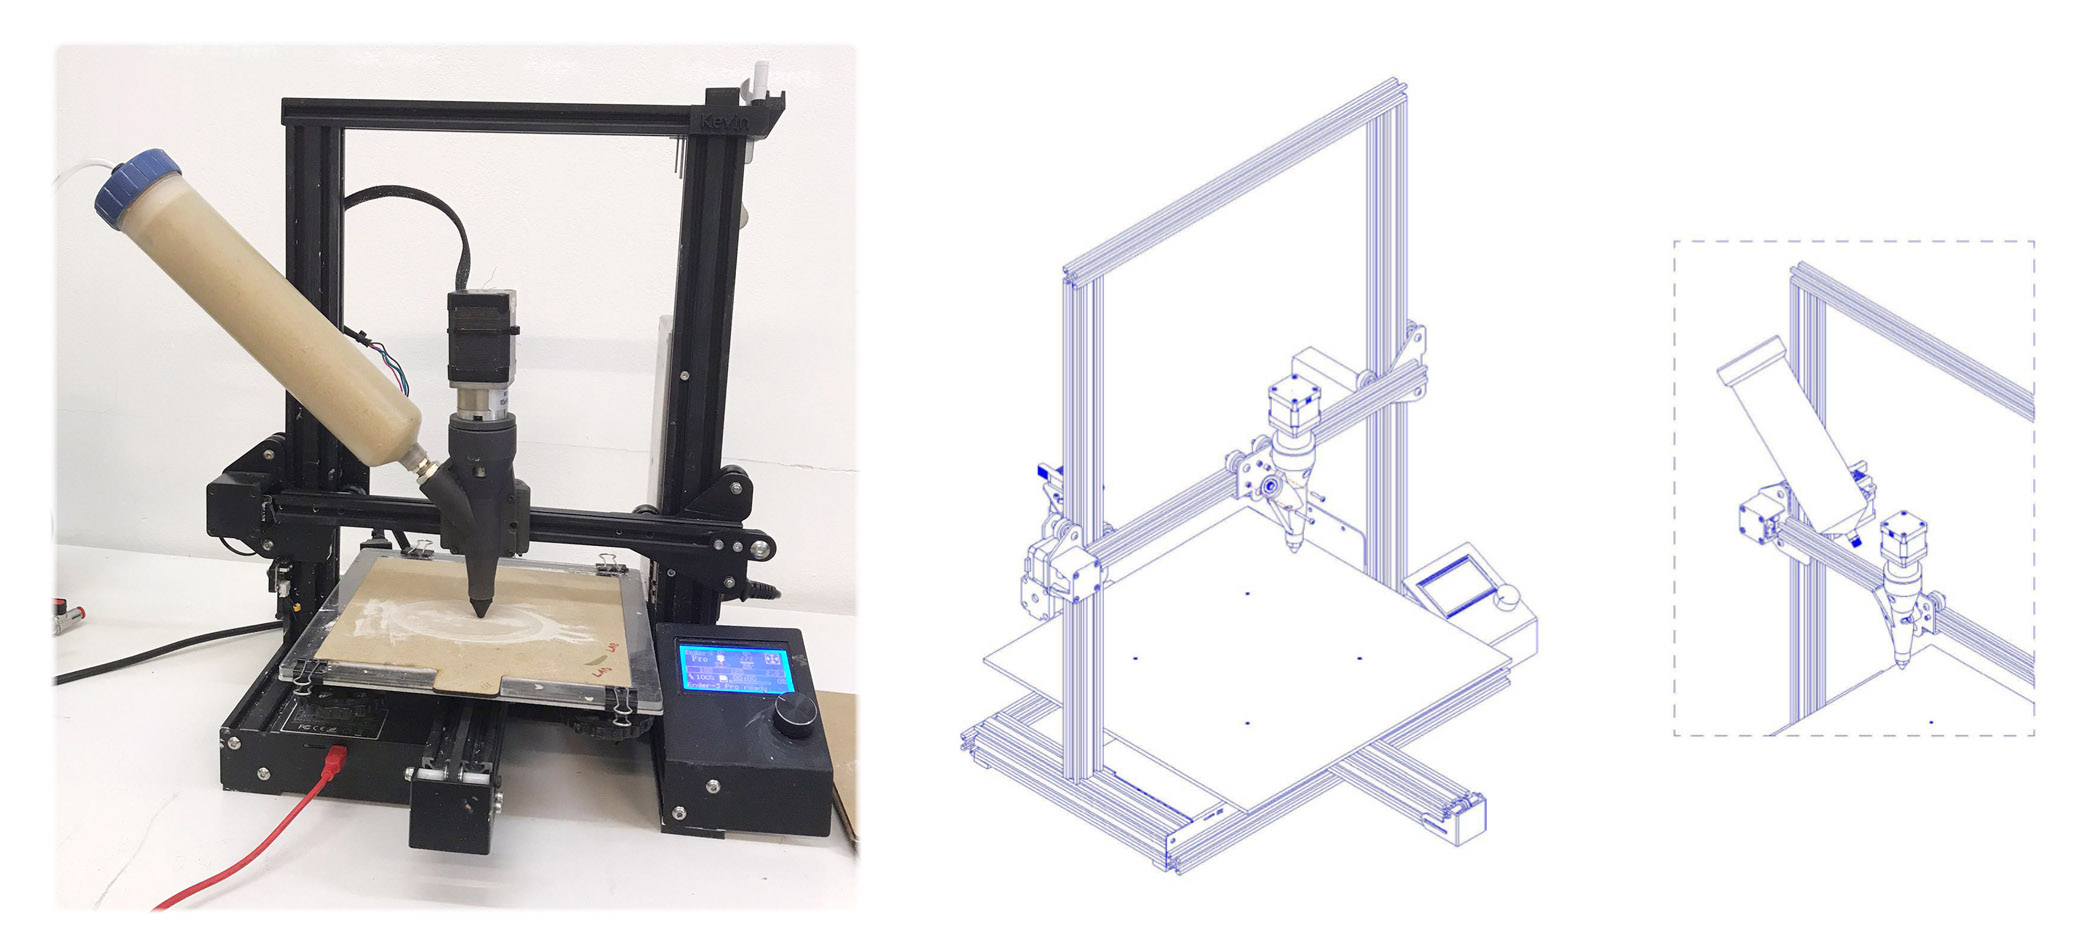
We did several experiments with the bio-pate technique on a hacked 3D printer developed here in the Barcelona lab:
We experimented both with handextrusion using a syringe as well as with the machine
by machine:
1) connect the material container to the 3d printer and the air compressor
2) test the level of air pressure
3) Slowly bring up the pressure (it is controlled by the two knobs).
4) Adjust the speed on the software depending on your material.
5) Send to print
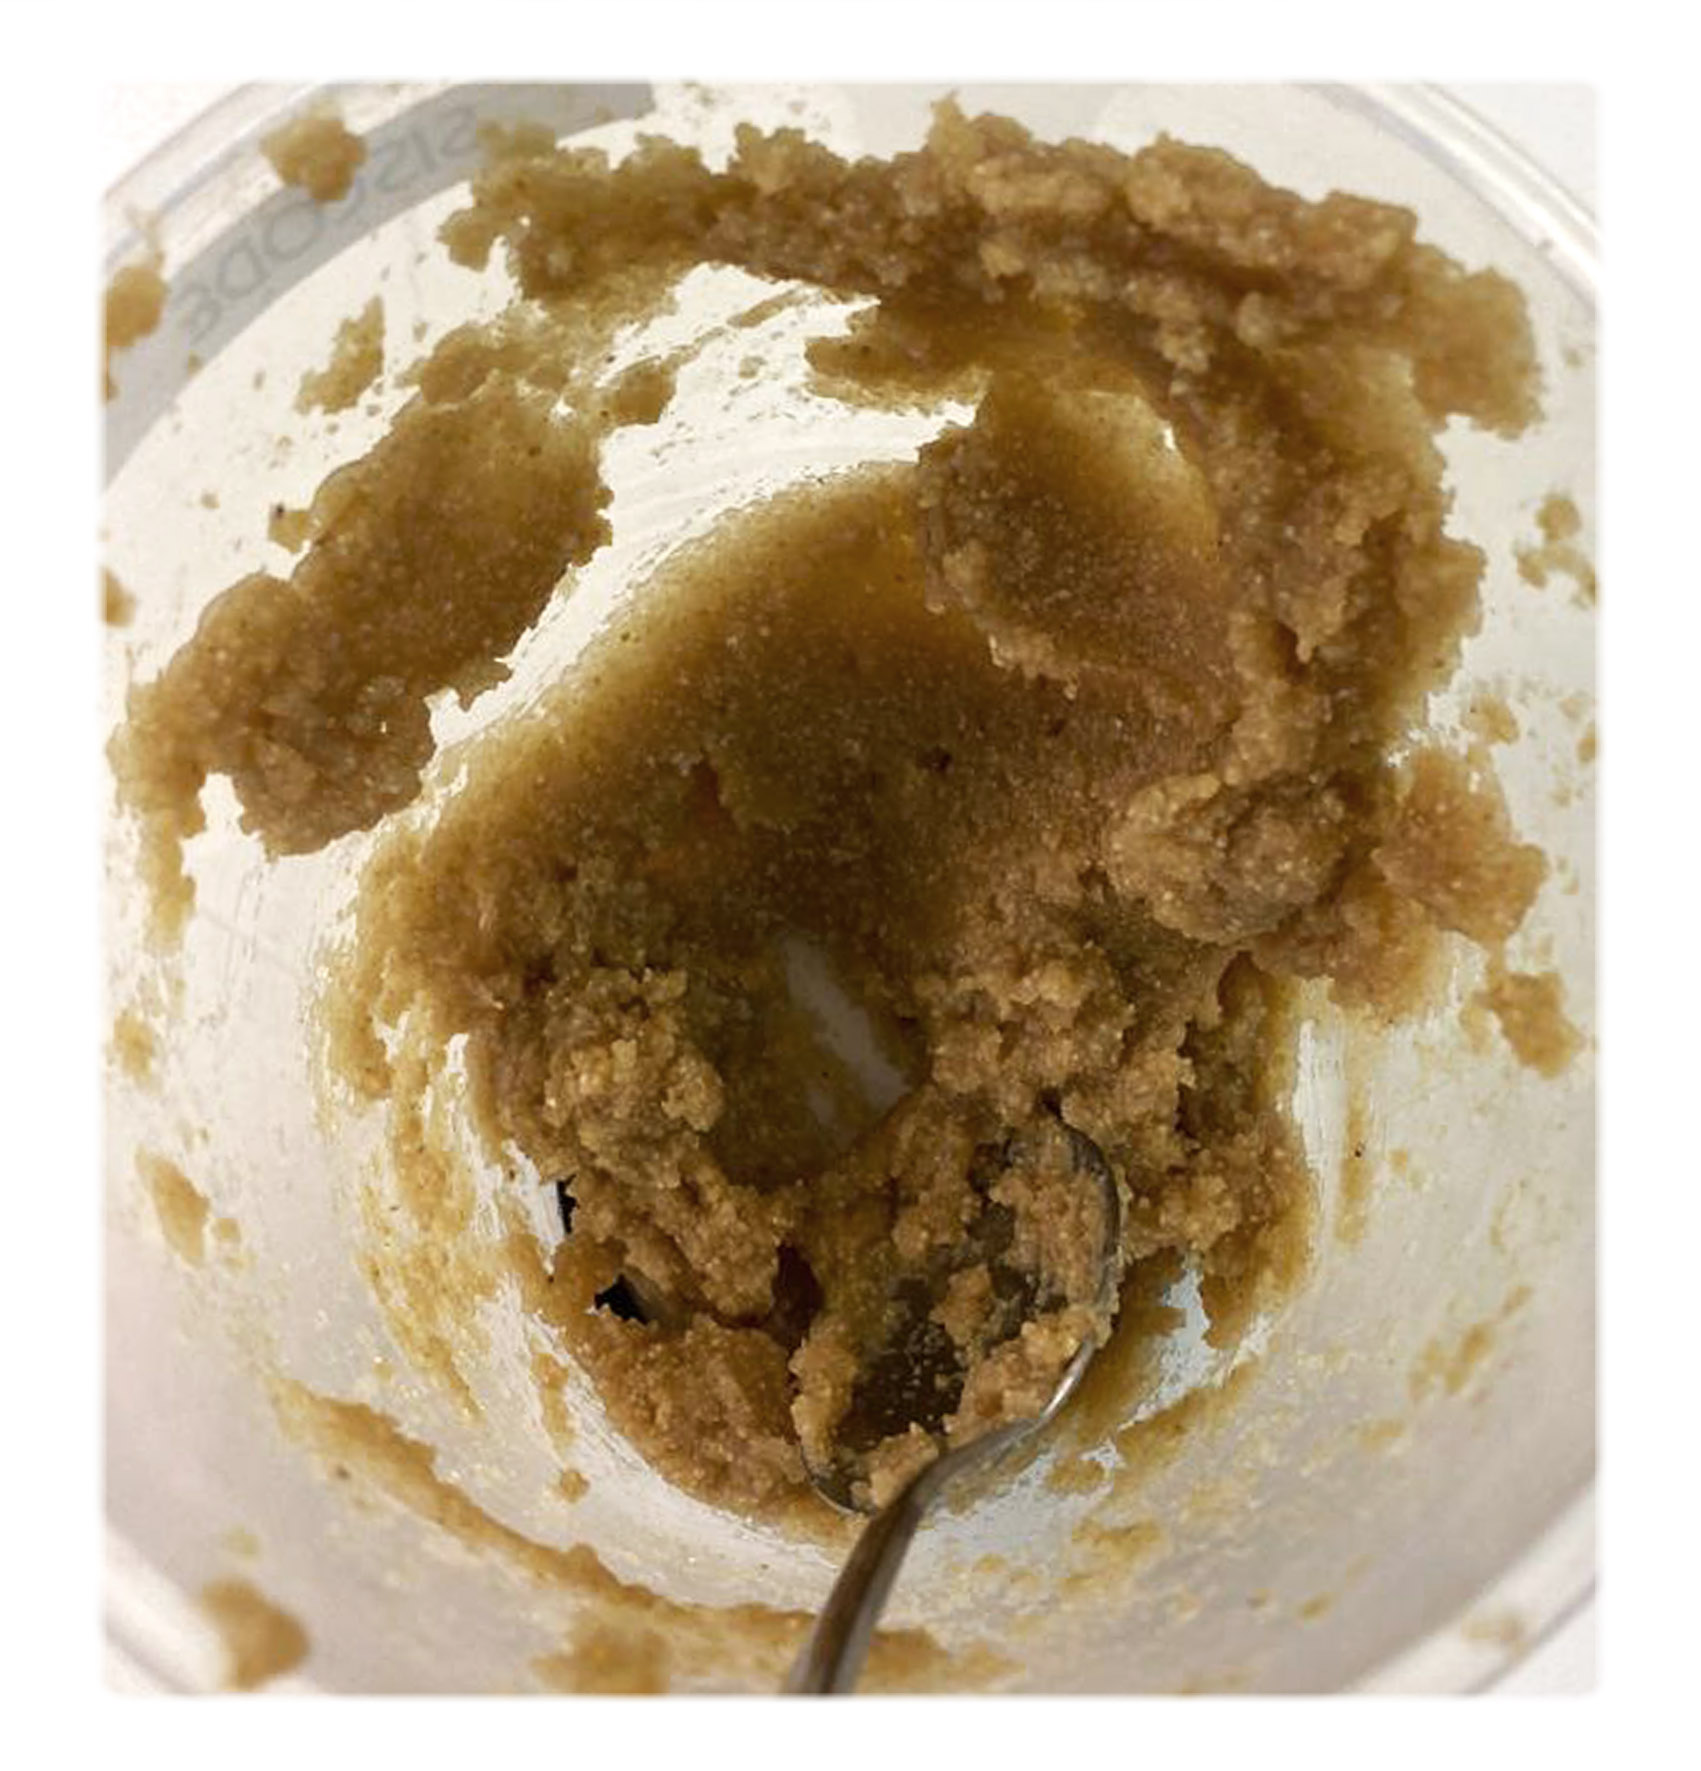
printing pate
* 4g sodium alginate
* 5g carboxymethyl cellulose (CMC)
* 200ml water
* 1 tbsp glycerin
* 5 spoons of filler (adjustable)
*  Measure out ingredients
* Mix the CMC and sodium alginate together in a cup with the mixer
* Add the filler and adjust amount to create a printable viscosity
* Put the paste in a syringe or whatever device you are using to print
* Tap on the table to avoid air bubbles
* Press out the paste into whatever geometry you want
* Leave to dry
* 8g guar gum
* 200 ml water
* 1 tbsp filler (adjustable)
*  Measure out ingredients
* Mix the CMC and sodium alginate together in a cup with the mixer
* Add the filler and adjust amount to create a printable viscosity
* Put the paste in a syringe or whatever device you are using to print
* Tap on the table to avoid air bubbles
* Press out the paste into whatever geometry you want
* Leave to dry
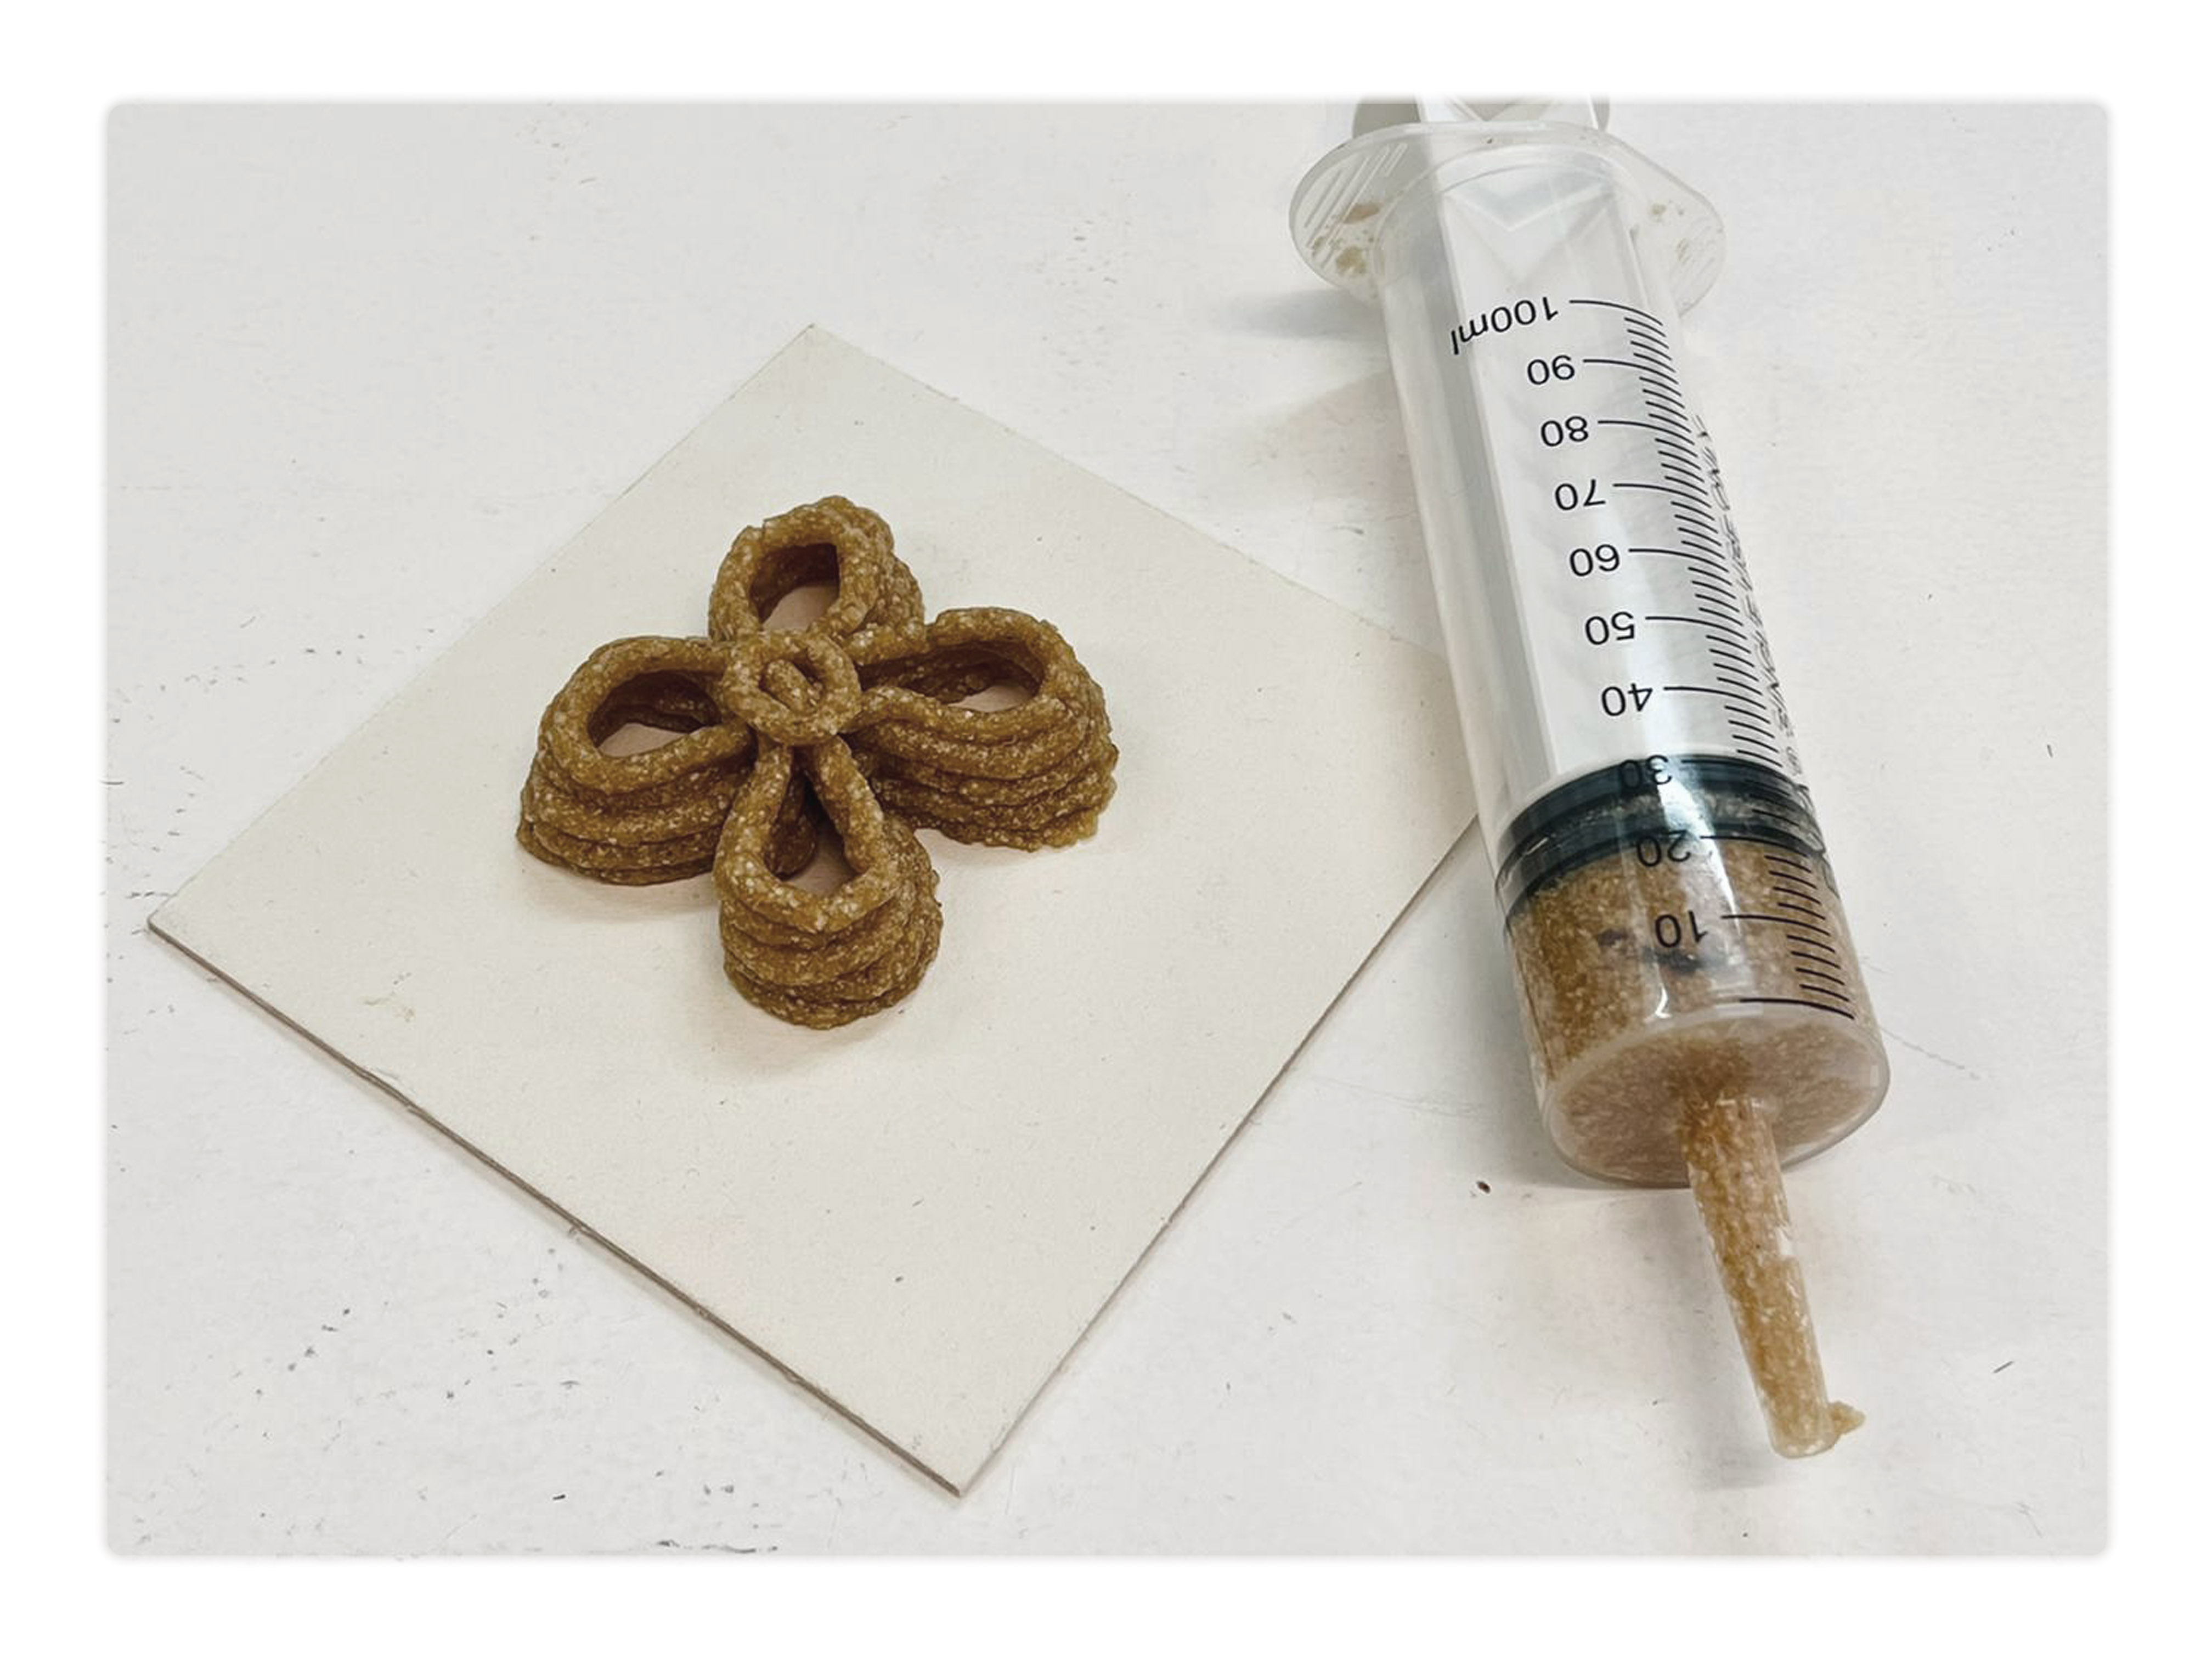
printing test
e
Iaac tutorial: how to use and build the machine