2. DIGITAL BODIES
RESEARCH:

•Exploring the process of 3D into 2D and back into 3D
•The possibilities and limitations with 3D software in comparison to traditional fabrication techniques.

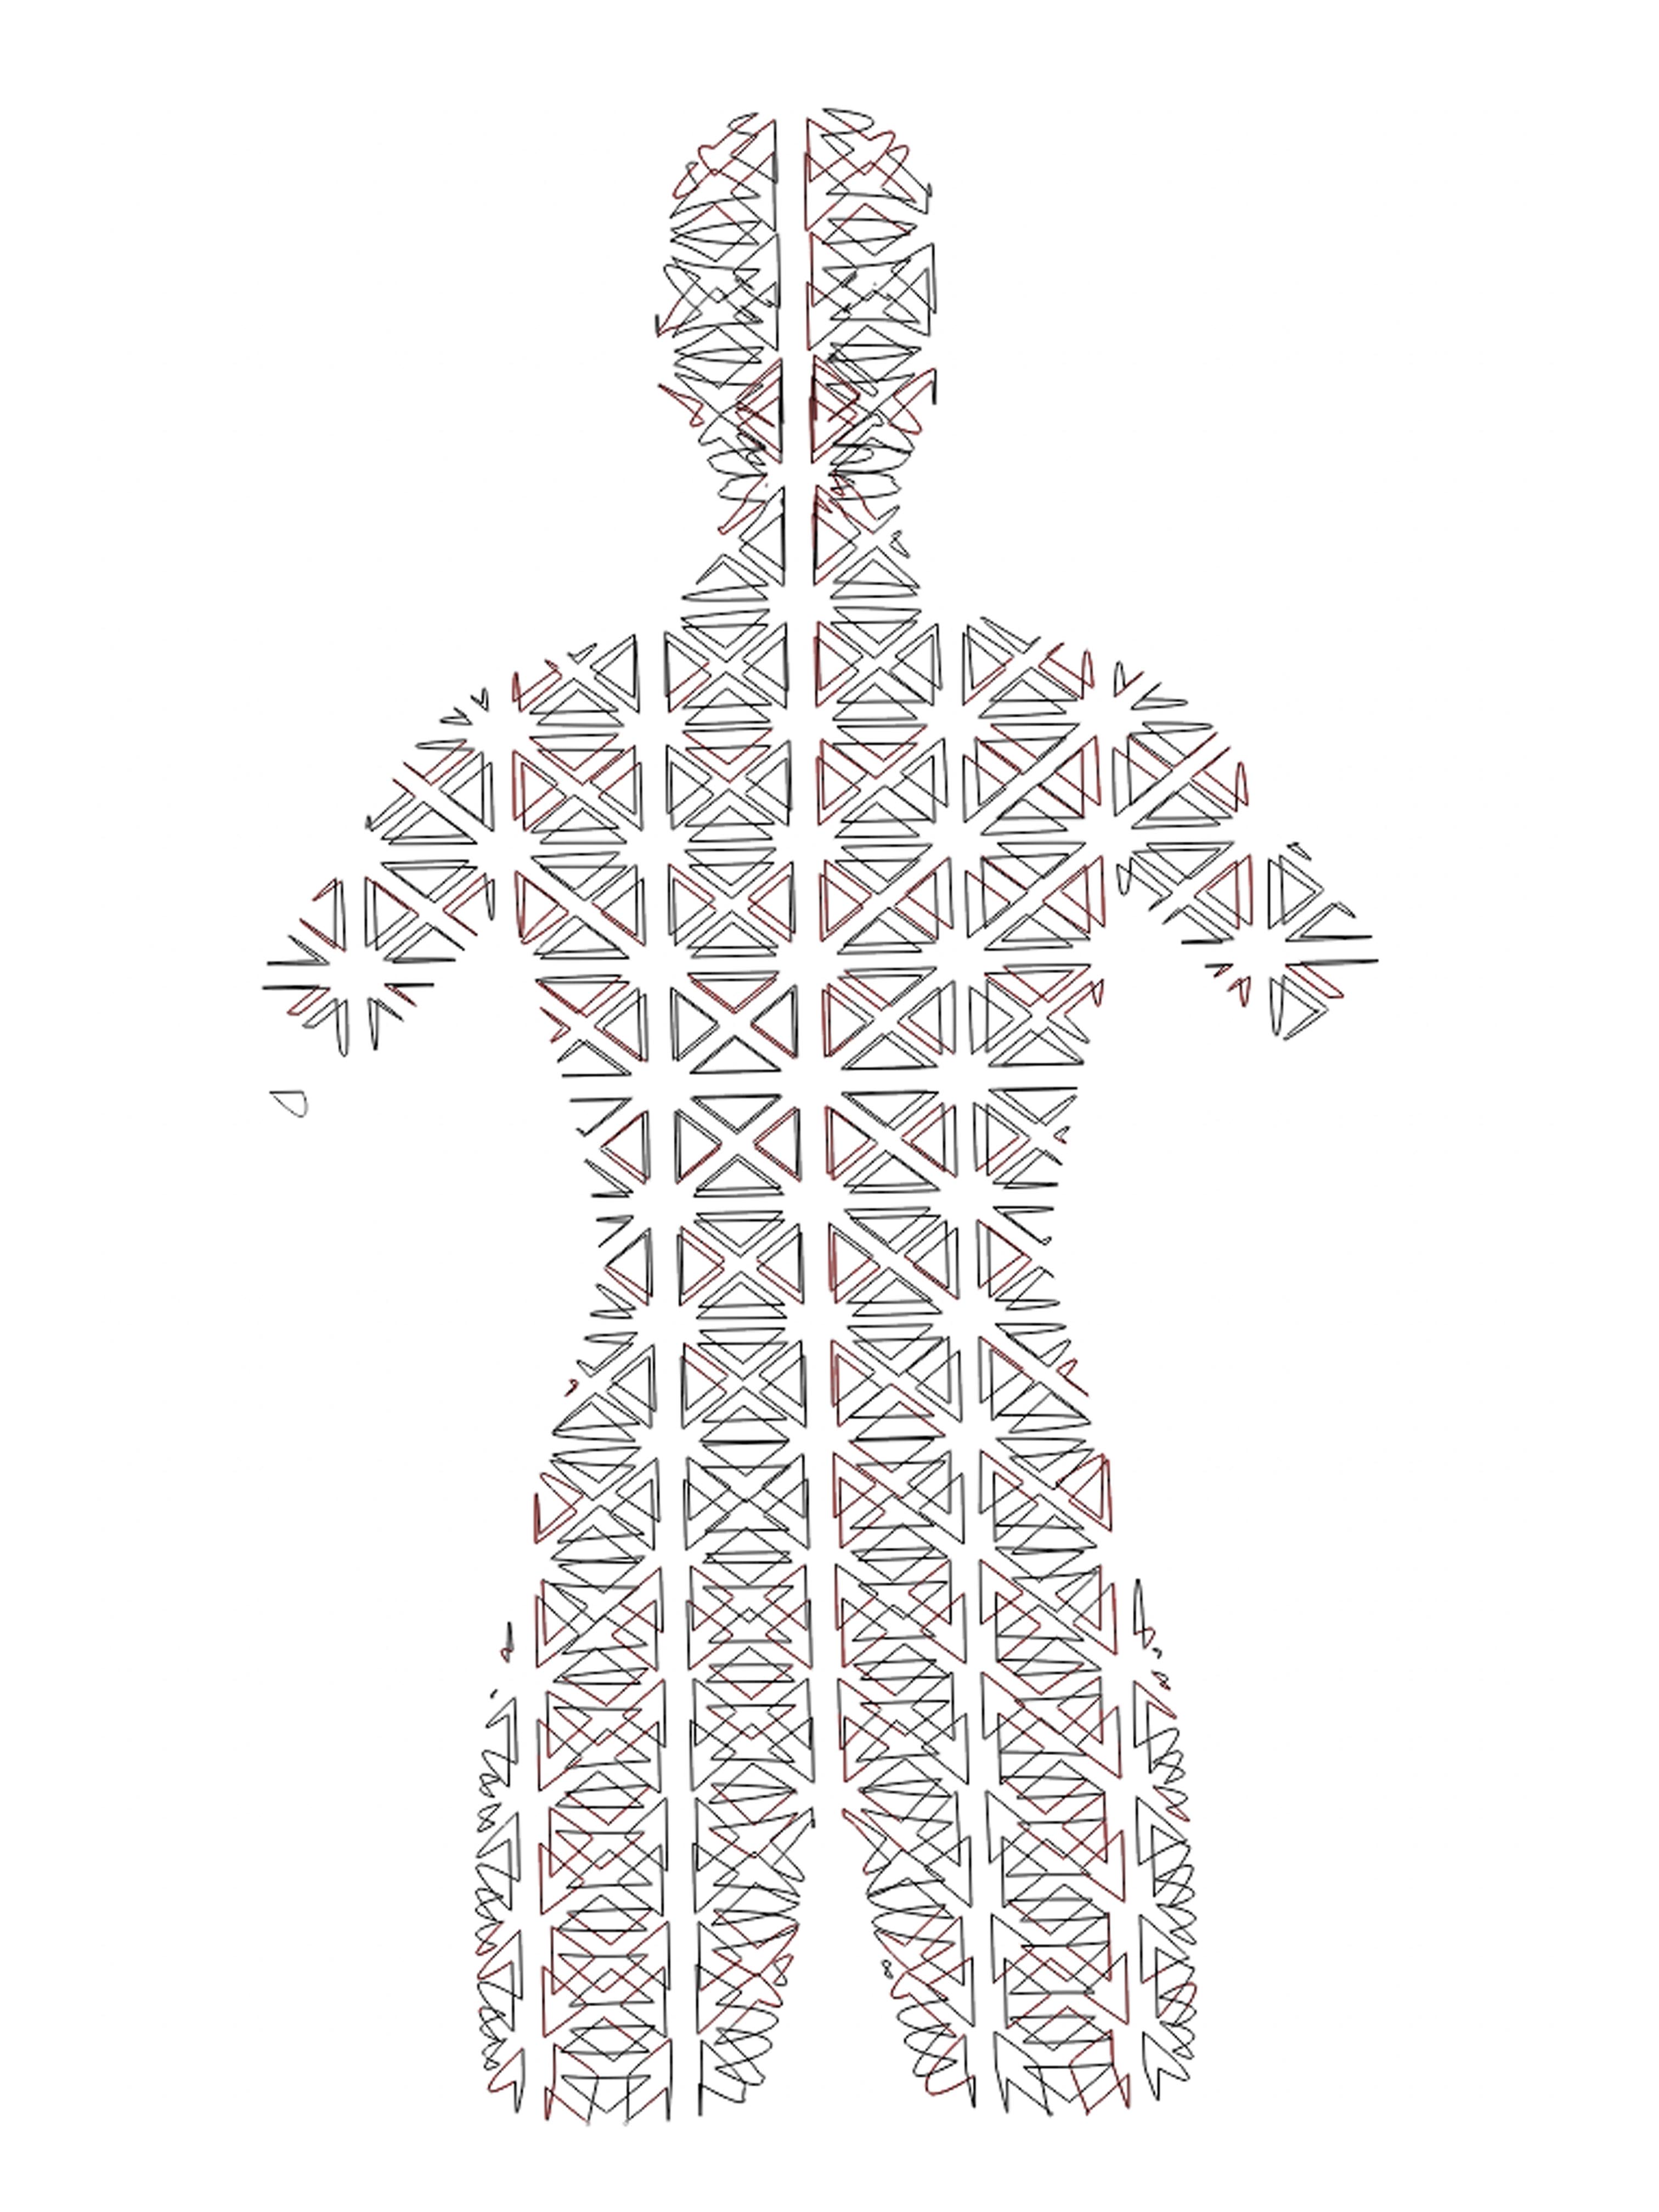
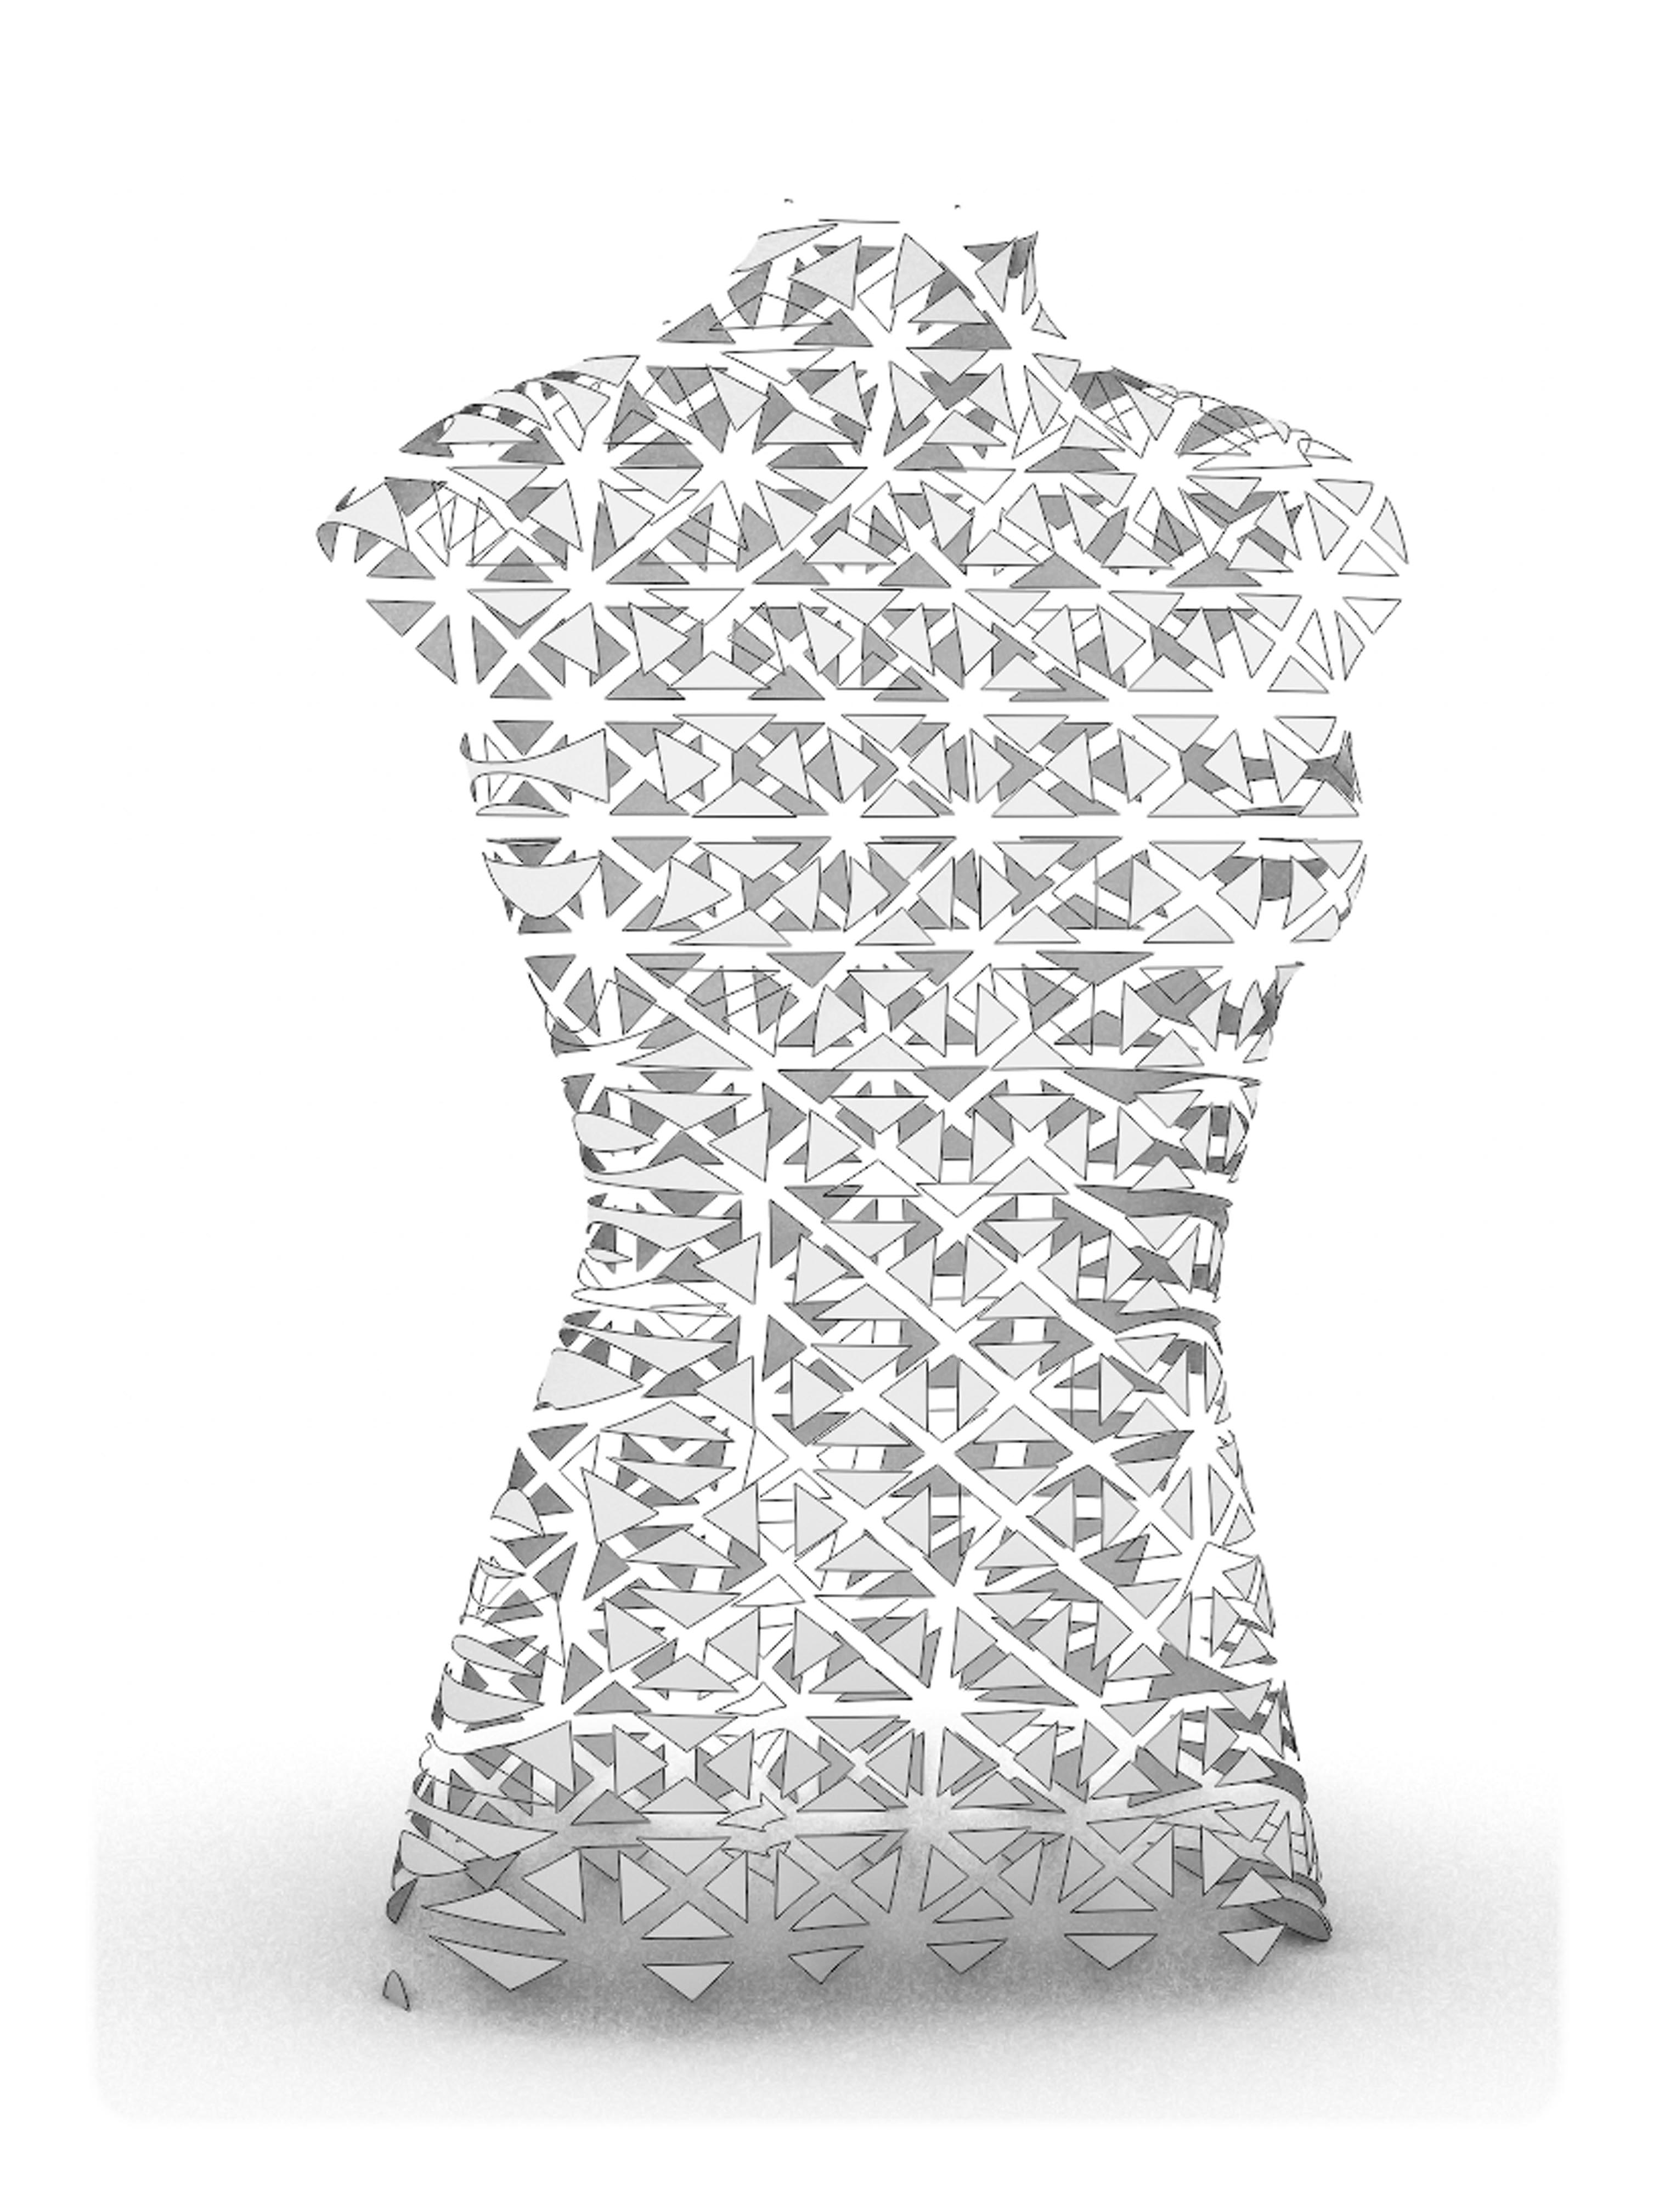
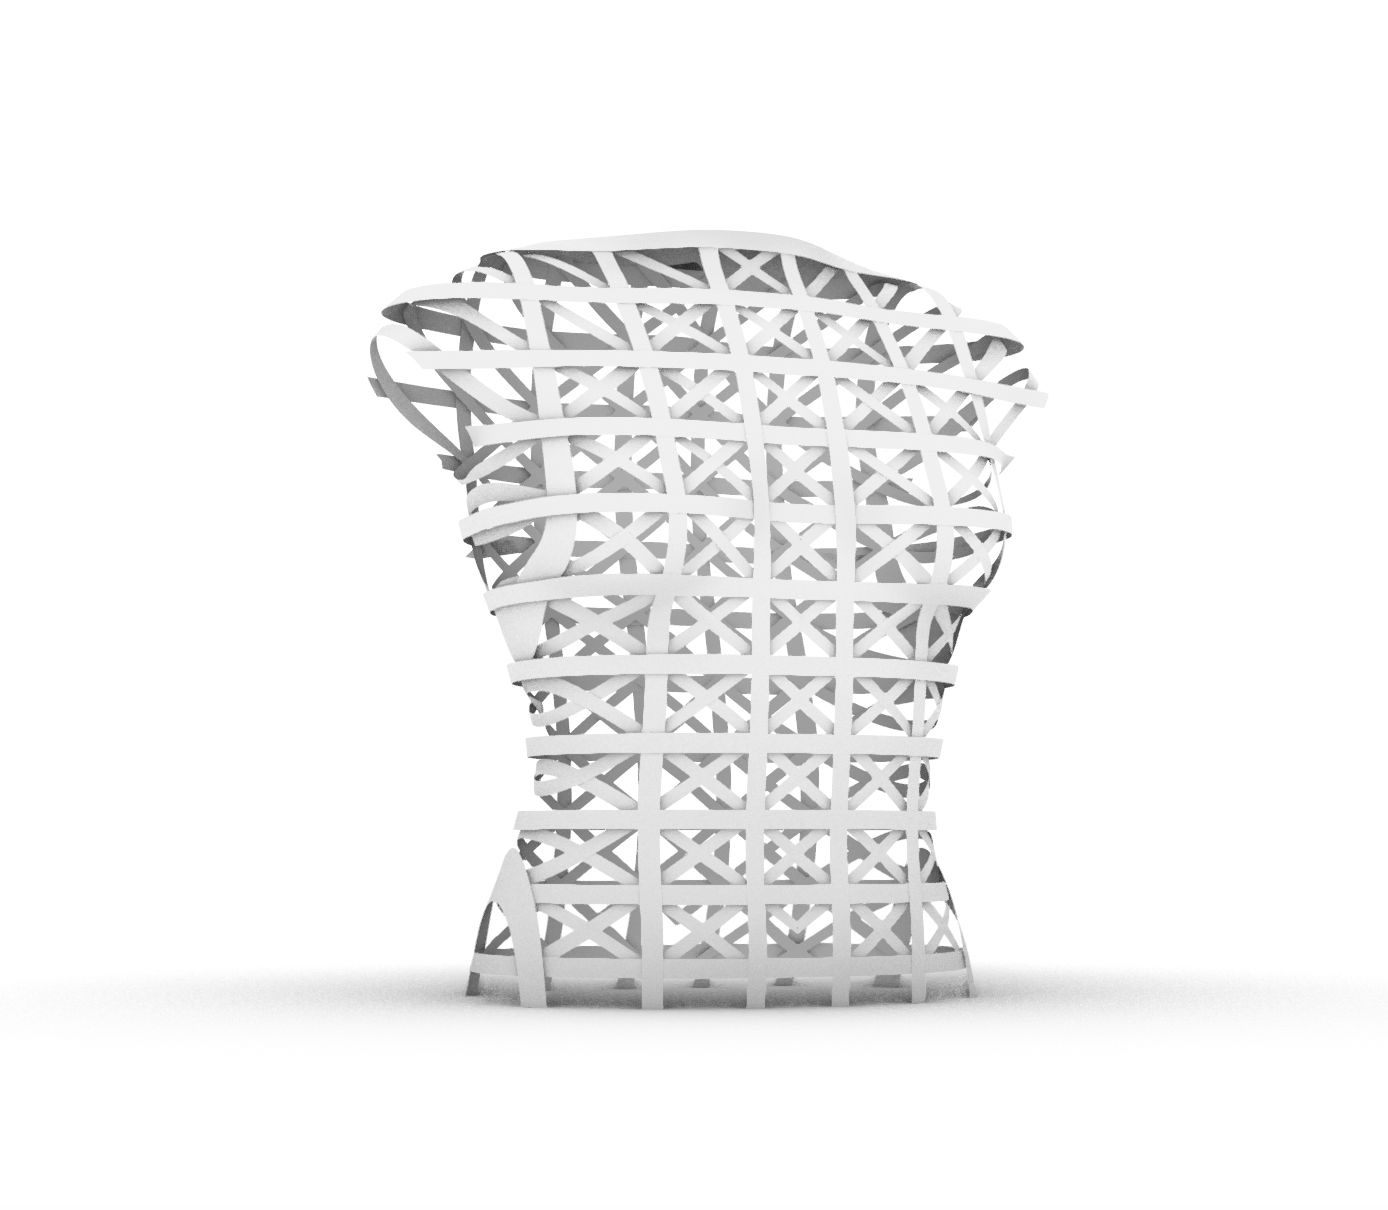
The idea was to try to create a basket-weaved "mesh" like 3D structure for a seamless body, using old traditional techniques.
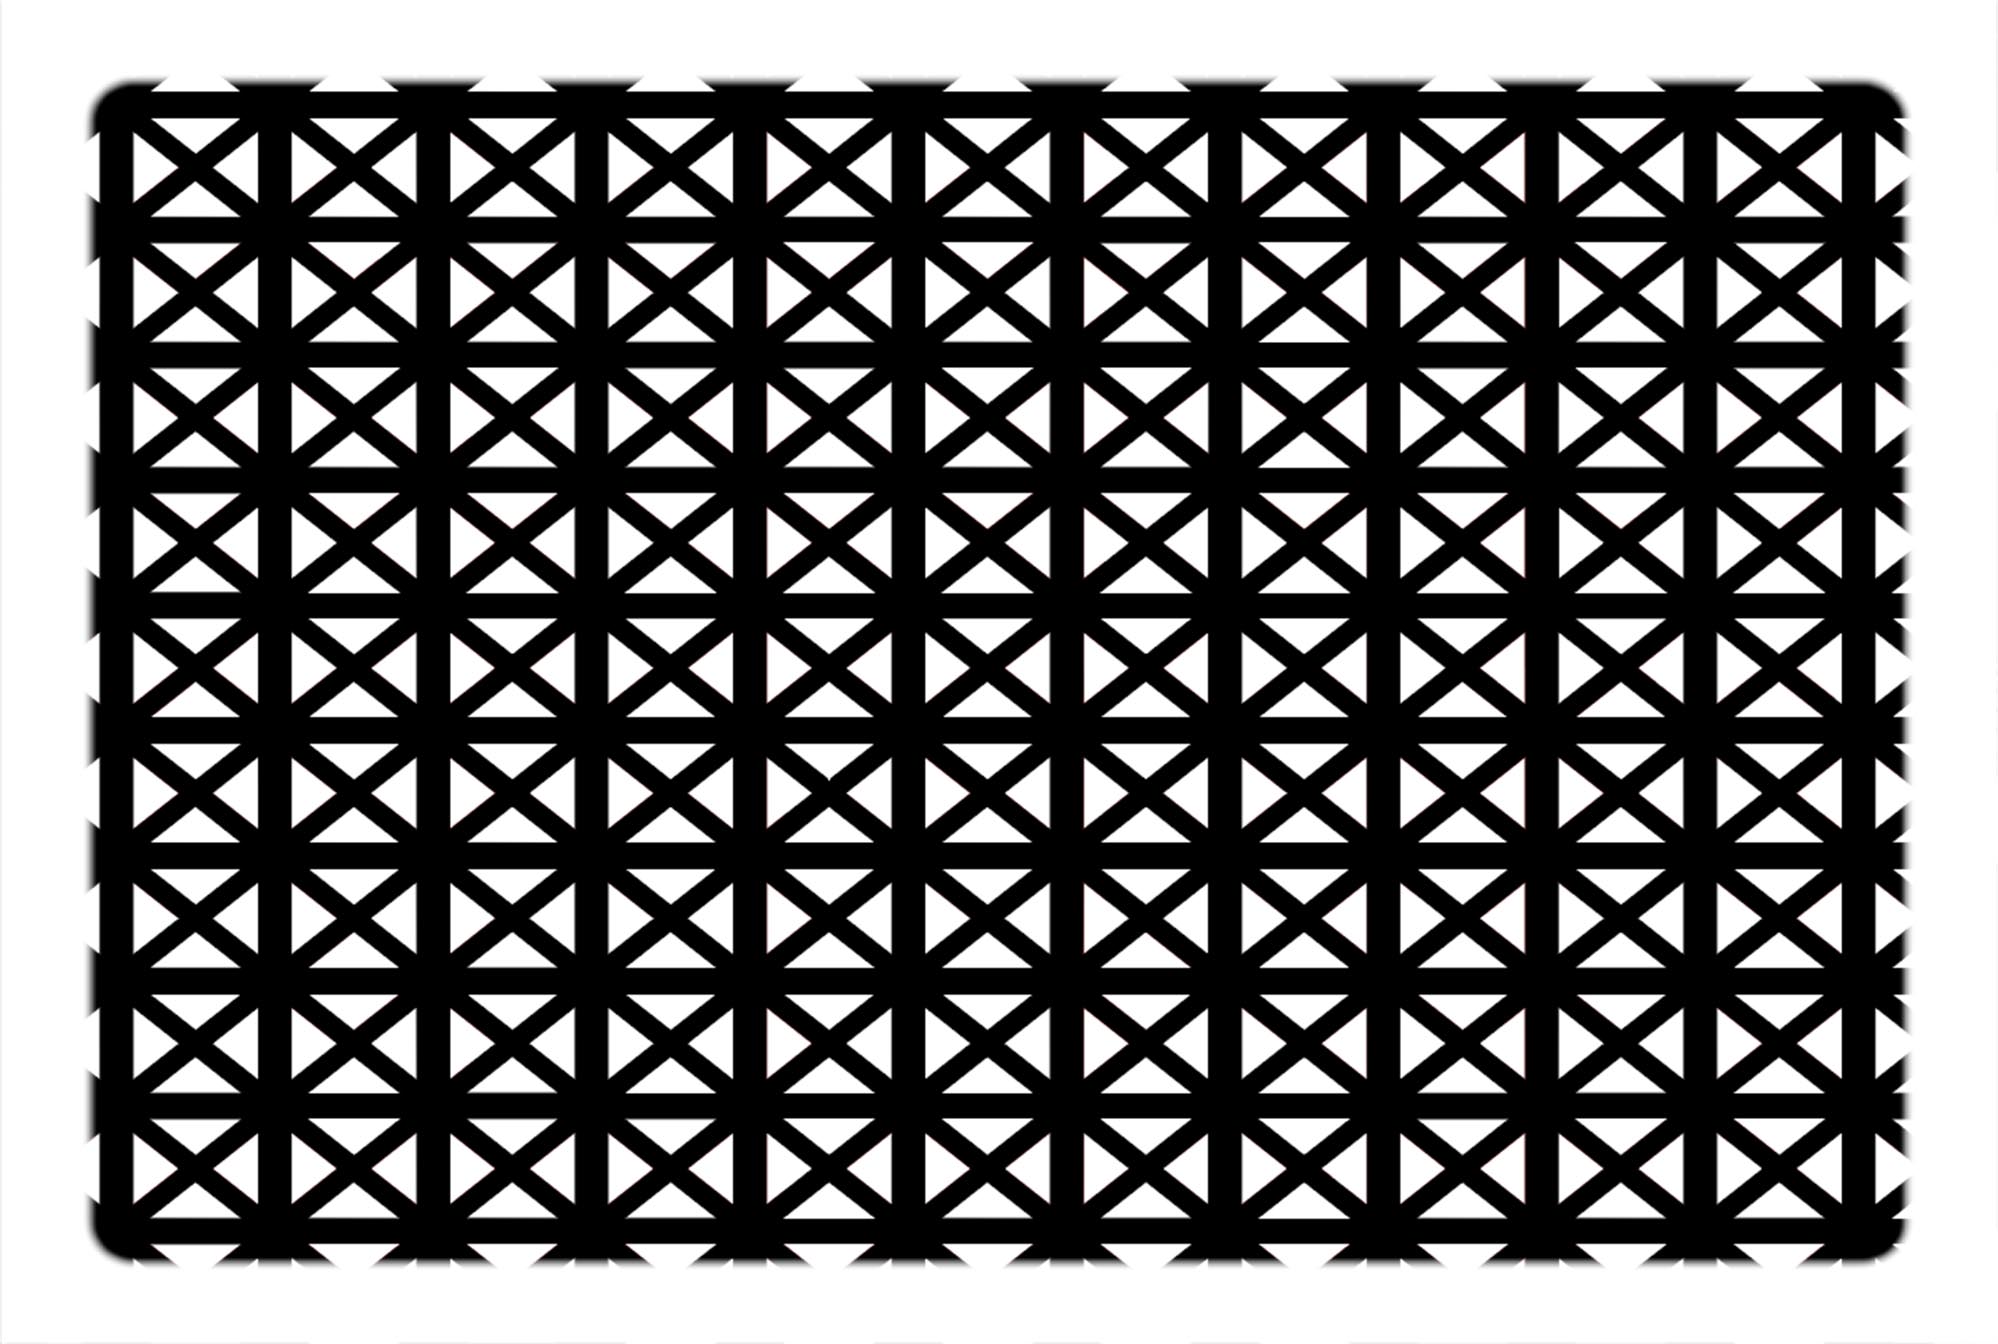
- Design pattern (Adobe Illustrator)
- “Project” pattern (Rhino) onto the avatar
- “Offset” pattern and cut out the negative space using “Boolean different”
- Redraw the weave in Rhino
- "Unroll" the new surfaces

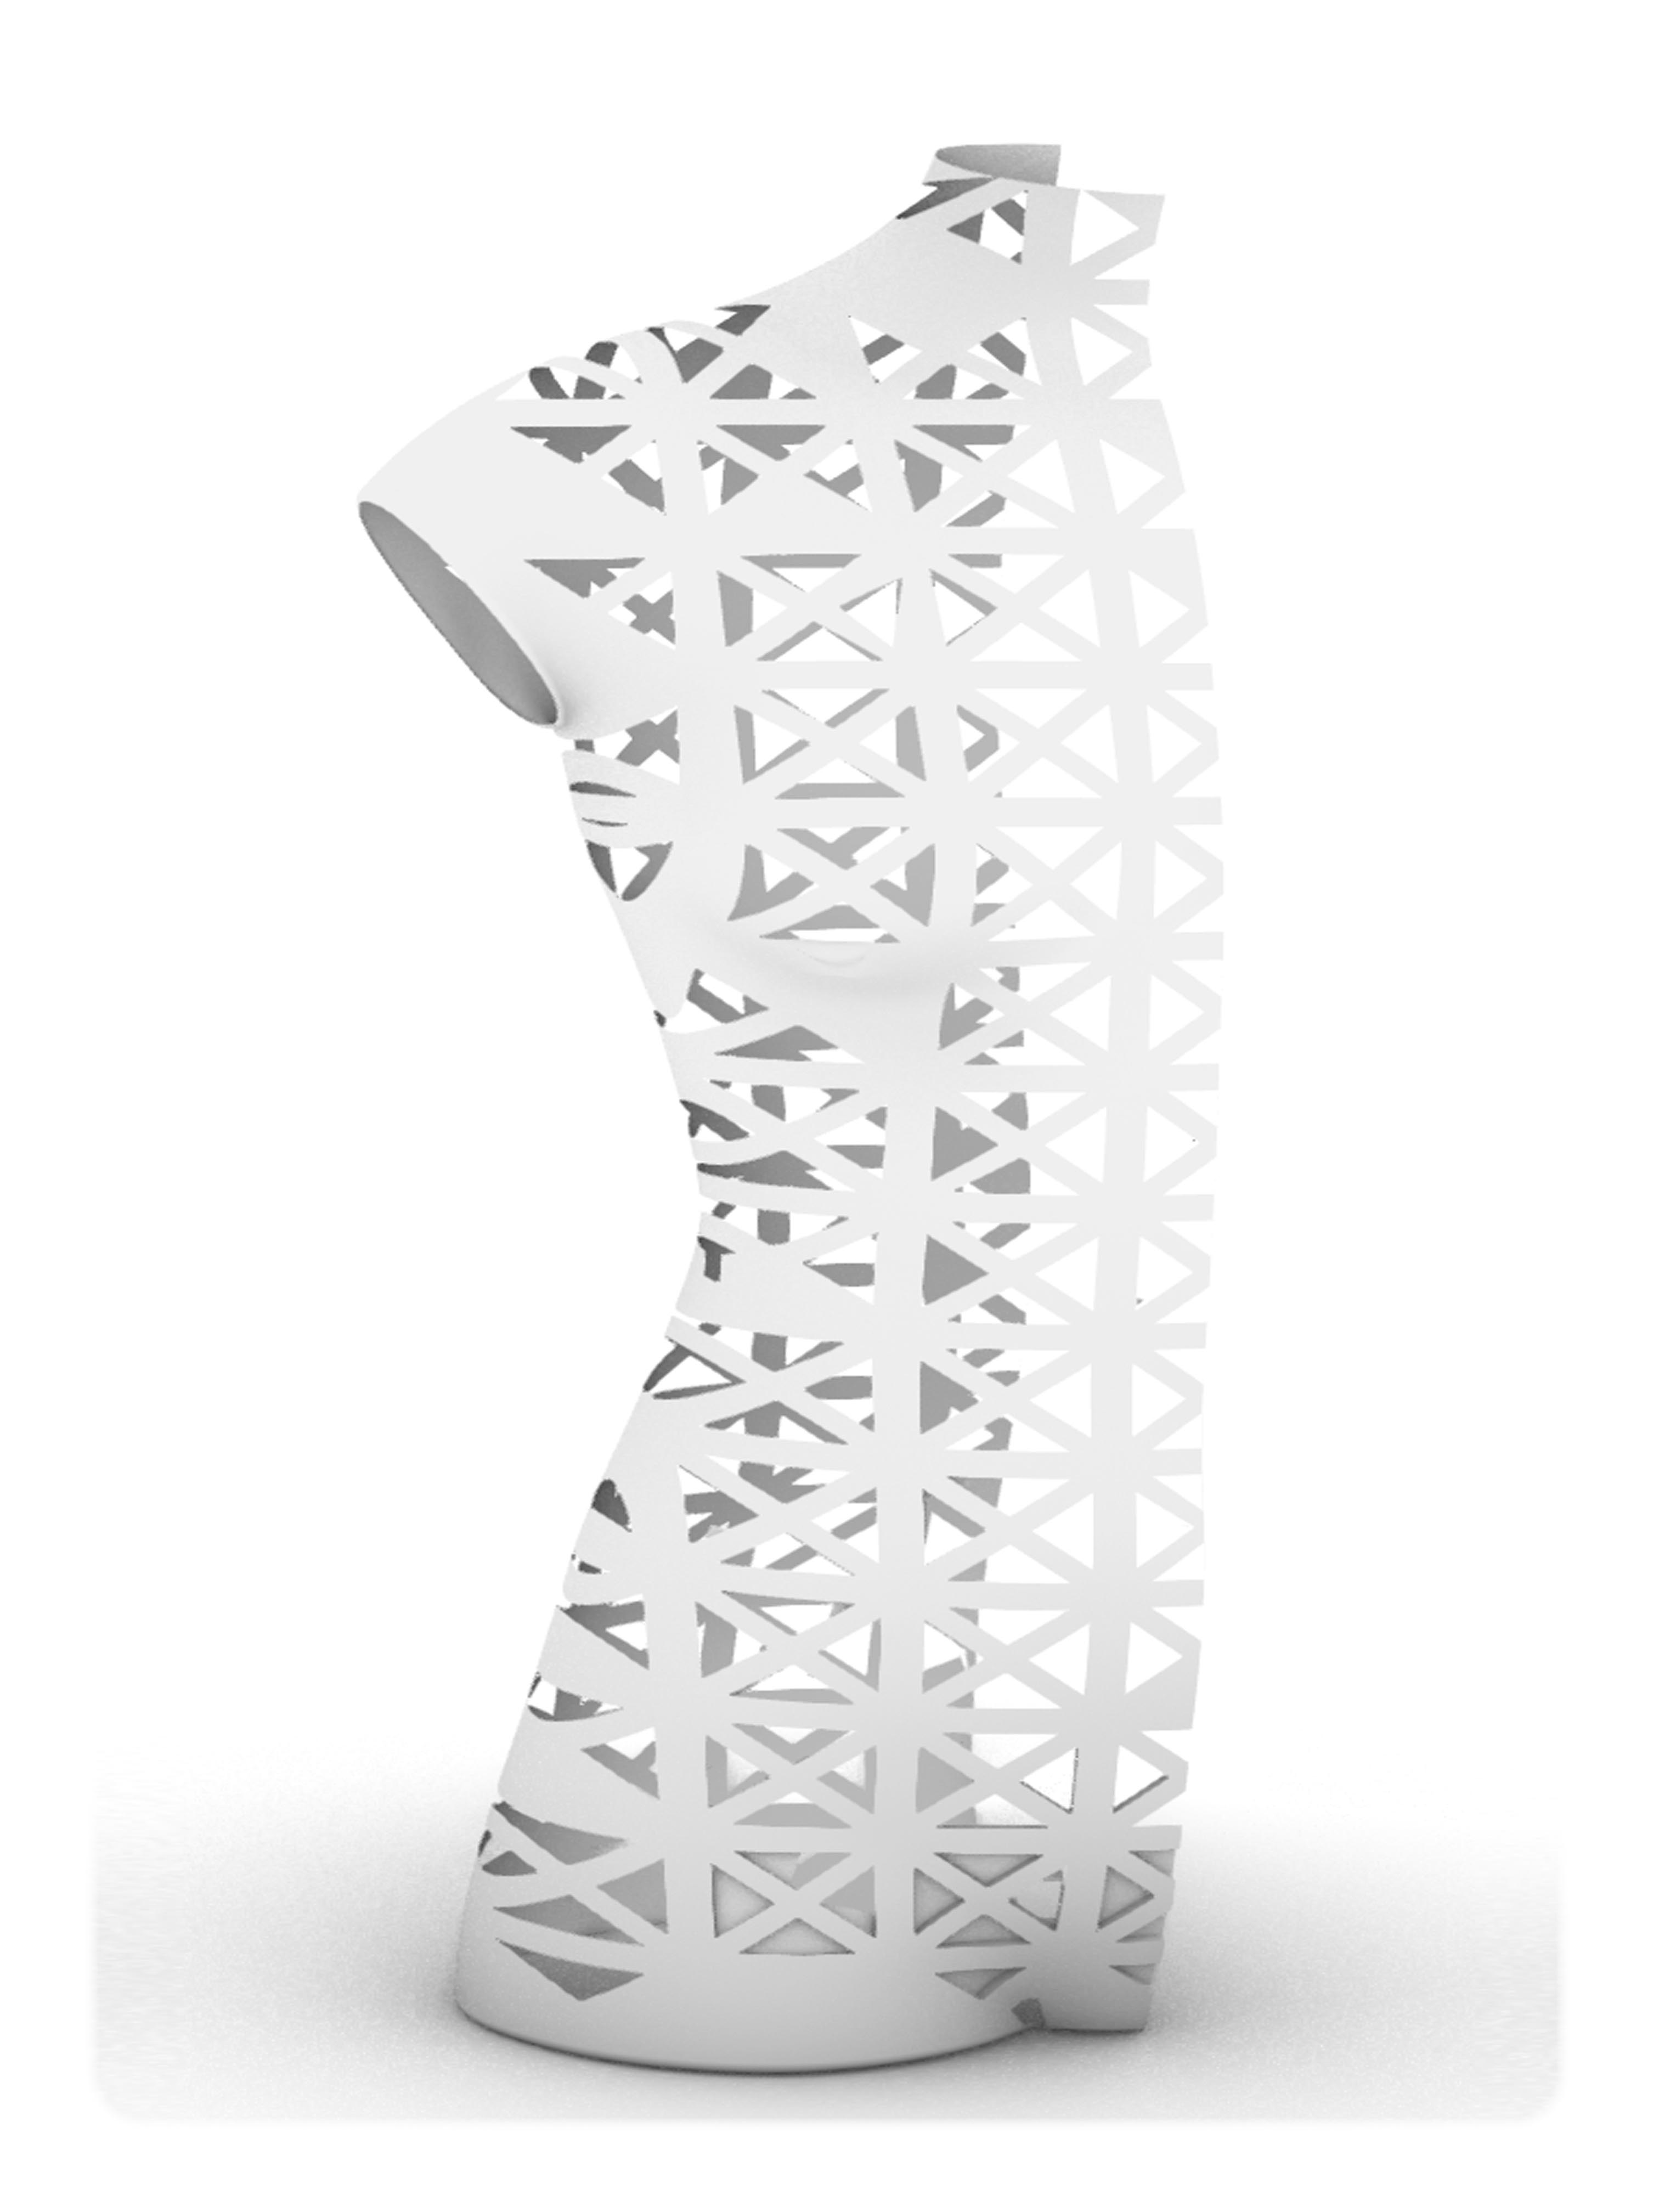
Conclusion:
The process I developed for the design might not be the most efficient, but it was definitely a good exercise to learn the possibilities and limitations of Rhino.
For the future I think it could be interesting to develop the technique in Grasshopper
WORKFLOW: preparation
3D scanning:
We used Kinect 3D scanner attached to a Kuka robotic arm to scan ourselves.
The model was standing on a rotating table wile we manually operated the robotic arm scanning Vertically from top to bottom.
To save time for fabrication I created an avatar in MakeHuman.
MakeHuman:
is a free and open source 3D computer software for prototyping human models, it has a lot of options to customize your avatar or you can also download already developed models from the community page
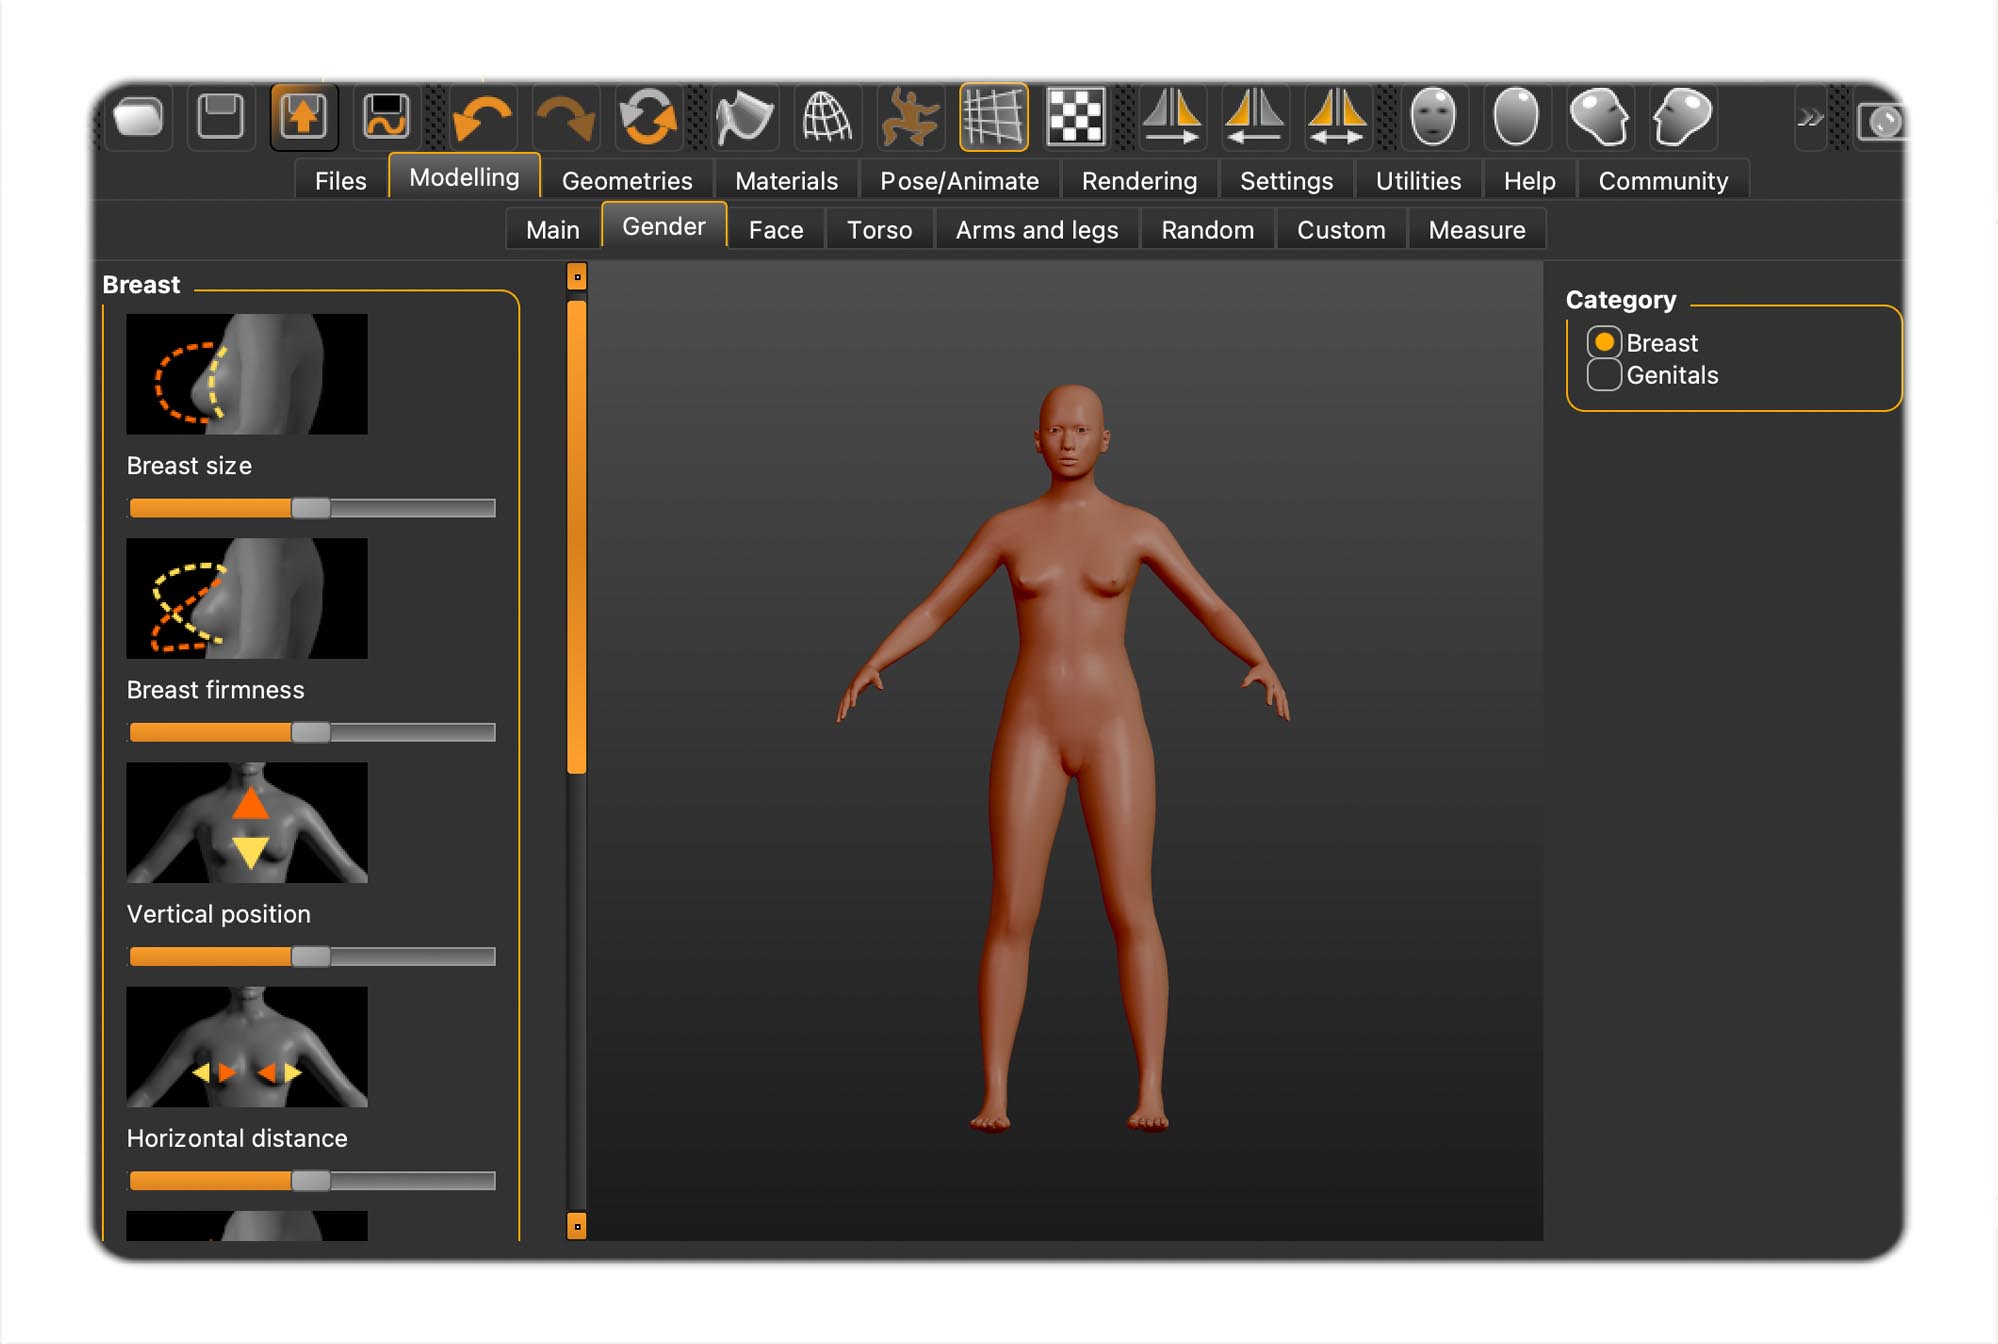
Export the file as STL or OBJ
RHINO3D 360:
Use rhino to check the mesh and trim the model into desired manequin size:
If the file is to heavy you need to reduce the mesh using command "reducemesh"
If their is errors in the mesh:
1. Show edges
2. Edge analyses
3. Sel Naked Mesh Edges Pt
4. Shift to select and move the points to close the mesh.
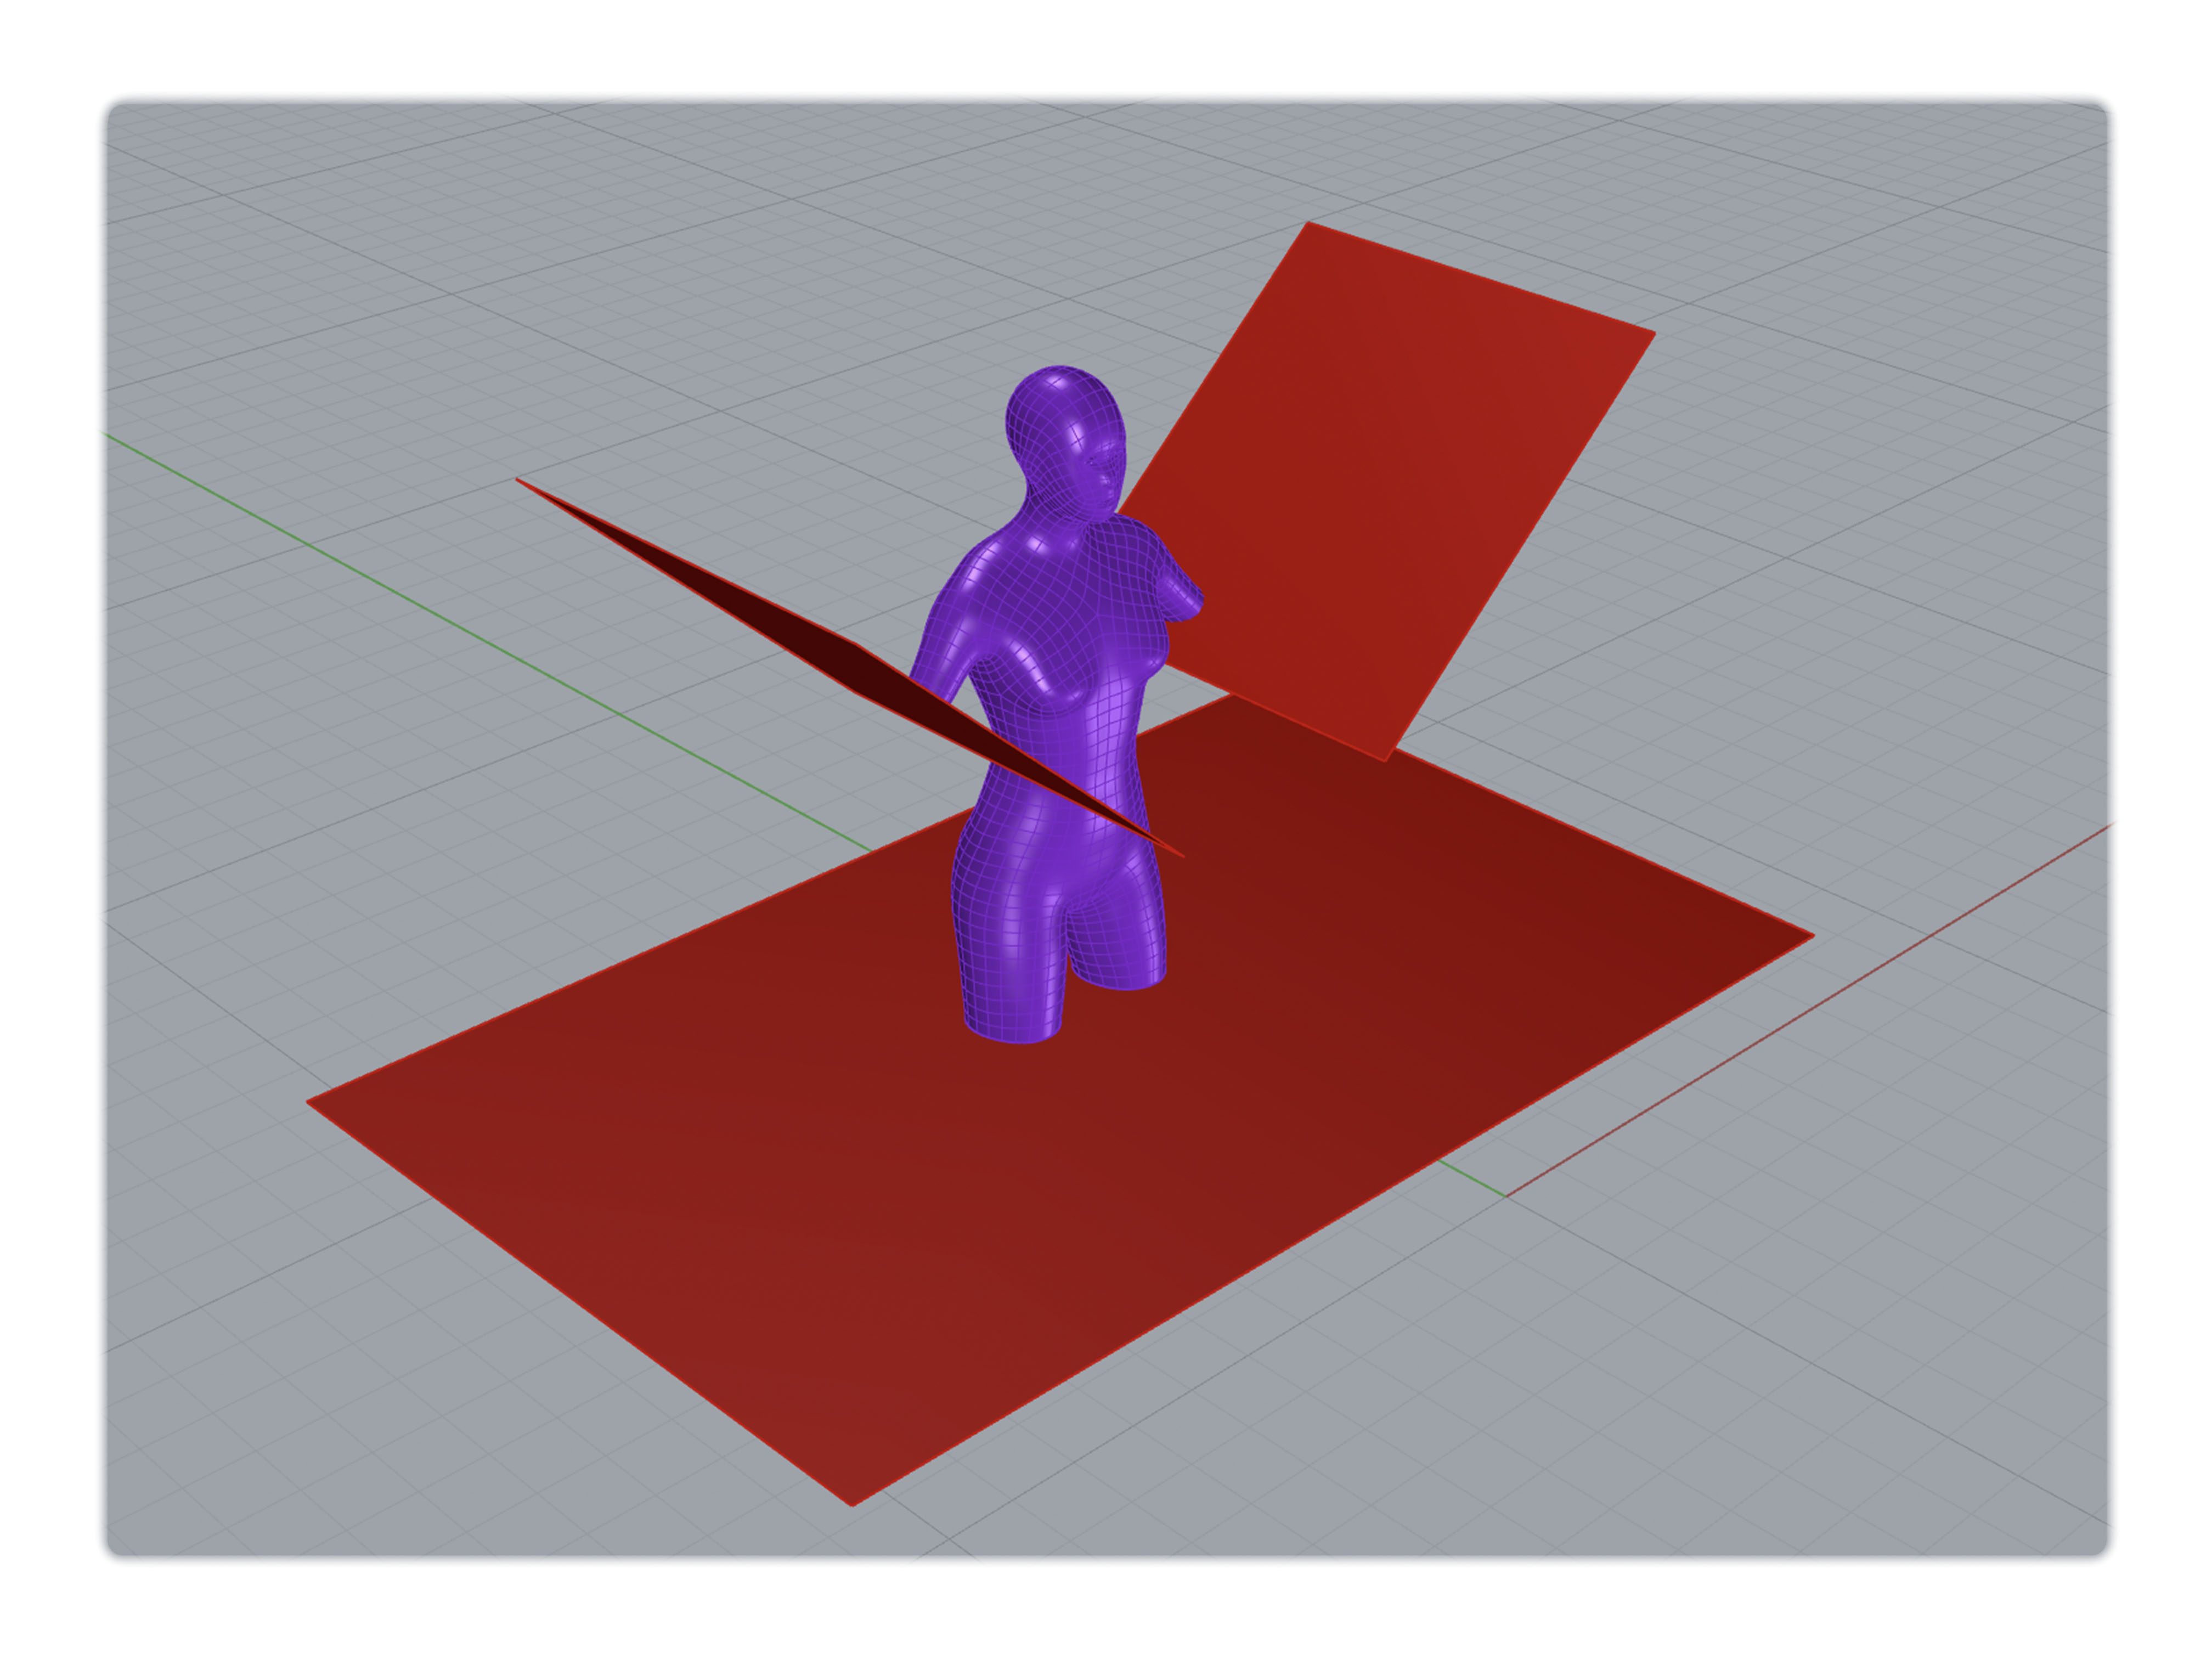
cut arms and legs:
1. create cutting surfaces on one side of the mannequin
2. "mirror" surfaces
3. Cut the arms and legs using command: “Boolean different”
SLICER FUSION 360:
a 3D program that can generate layered structures to create fabrication ideas for laser cutting designs.
You can choose from a range of different construction methods, construction manuals and cutting planes.

WORKFLOW: lasercutting
Software prep:
Save the file into Rhino5 (that's what the workshop computer supports.)
color code the file:
• Black: engraving
• Red, green, and blue: different layers of cutting
Press print on Rhino, the Trotect (lasercutting) software should automaticly open up the computer.
Set the desired printing modes, depending on your material and artwork.
There are 3 different modes for the laser cutter:
• Engraving (raster)- should be marked with black and printed first
• Marking (vector)- This is used to mark up the panels
• Cutting (vector)- For cutting
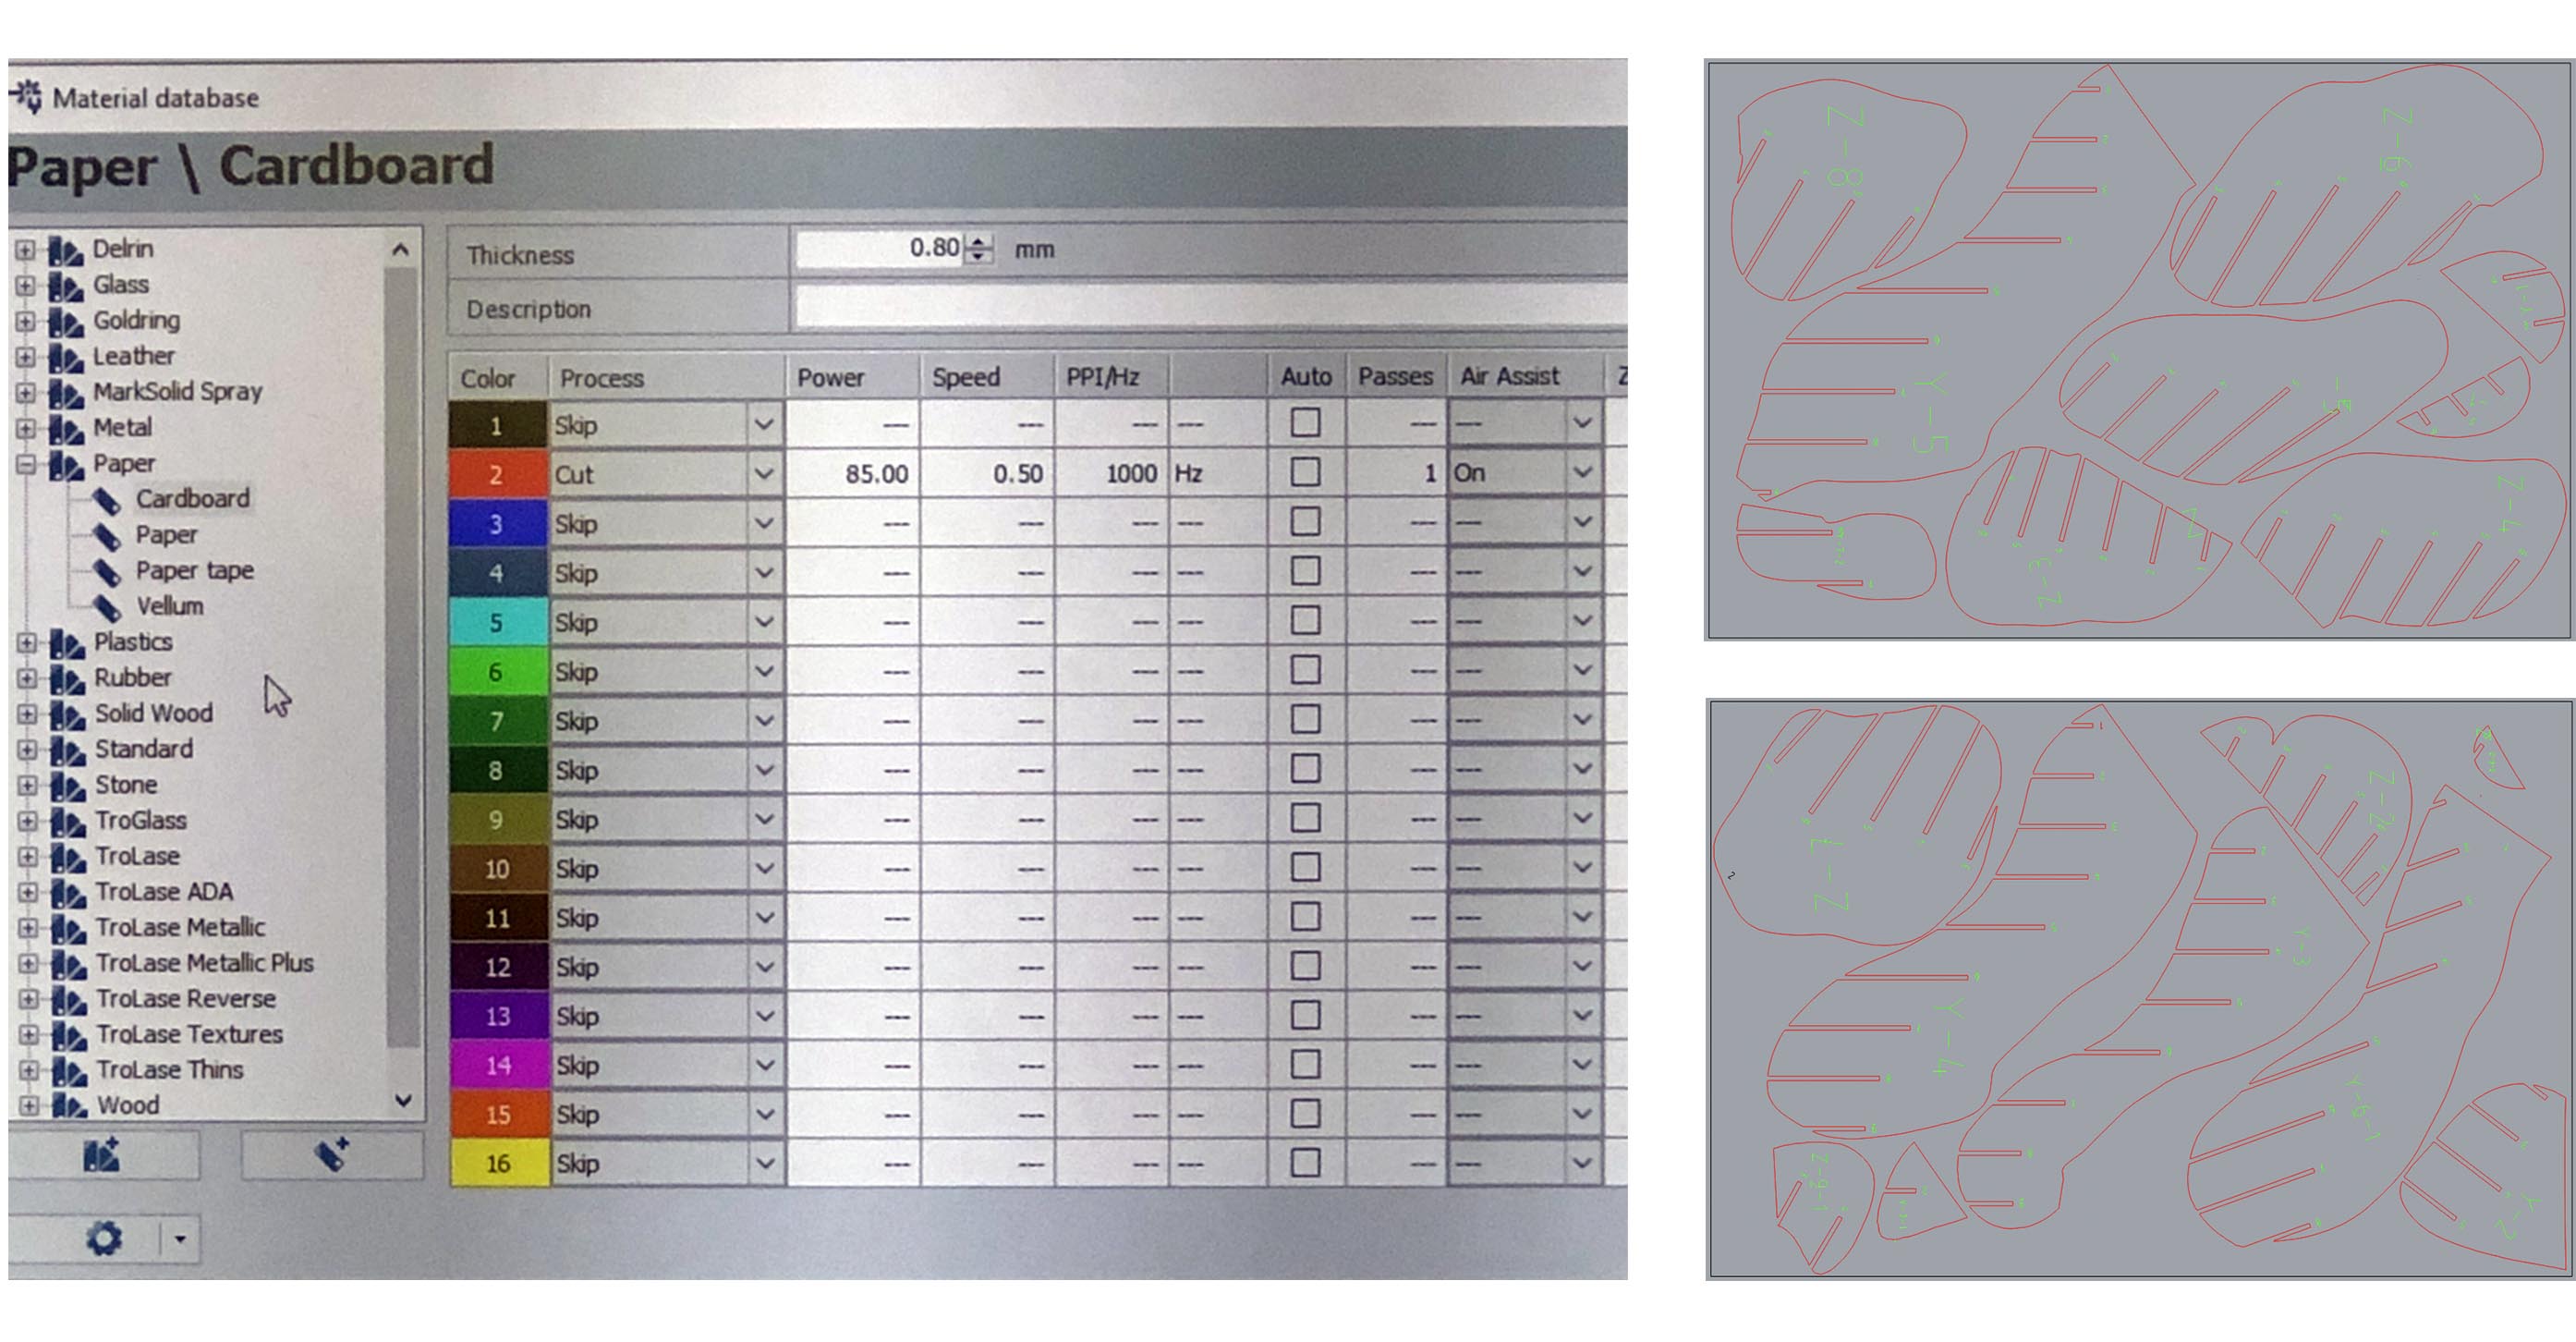
Three points to consider in order to optimize the quality of the printing:
POWER, SPEED and FREQUENCY, different materials will require different balance between them.
For the most used material in lab There is already a recommendation for machine settings but remember to always do a small test print before printing the full artwork.
Hardware prep:
Our lab is using a Trotect laser cutter
The print bed is: 60x 90cm
Before printing, you should:
1. Turn on the machine
2. Tape down your material as flat as possible
3. Set the focus for the laser using the small plexi glas pin
4. Positioning the laser head so that you are sure the artwork will not end up outside the material area
5. Turn on the extraction fan
6. PRINT
I used 2 pieces of 1,5 mm cardboard
P: 40 S: 1 Hz: 1000
P: 70 S: 100 Hz: 1000
Printing time approximately 15 min
 assembley
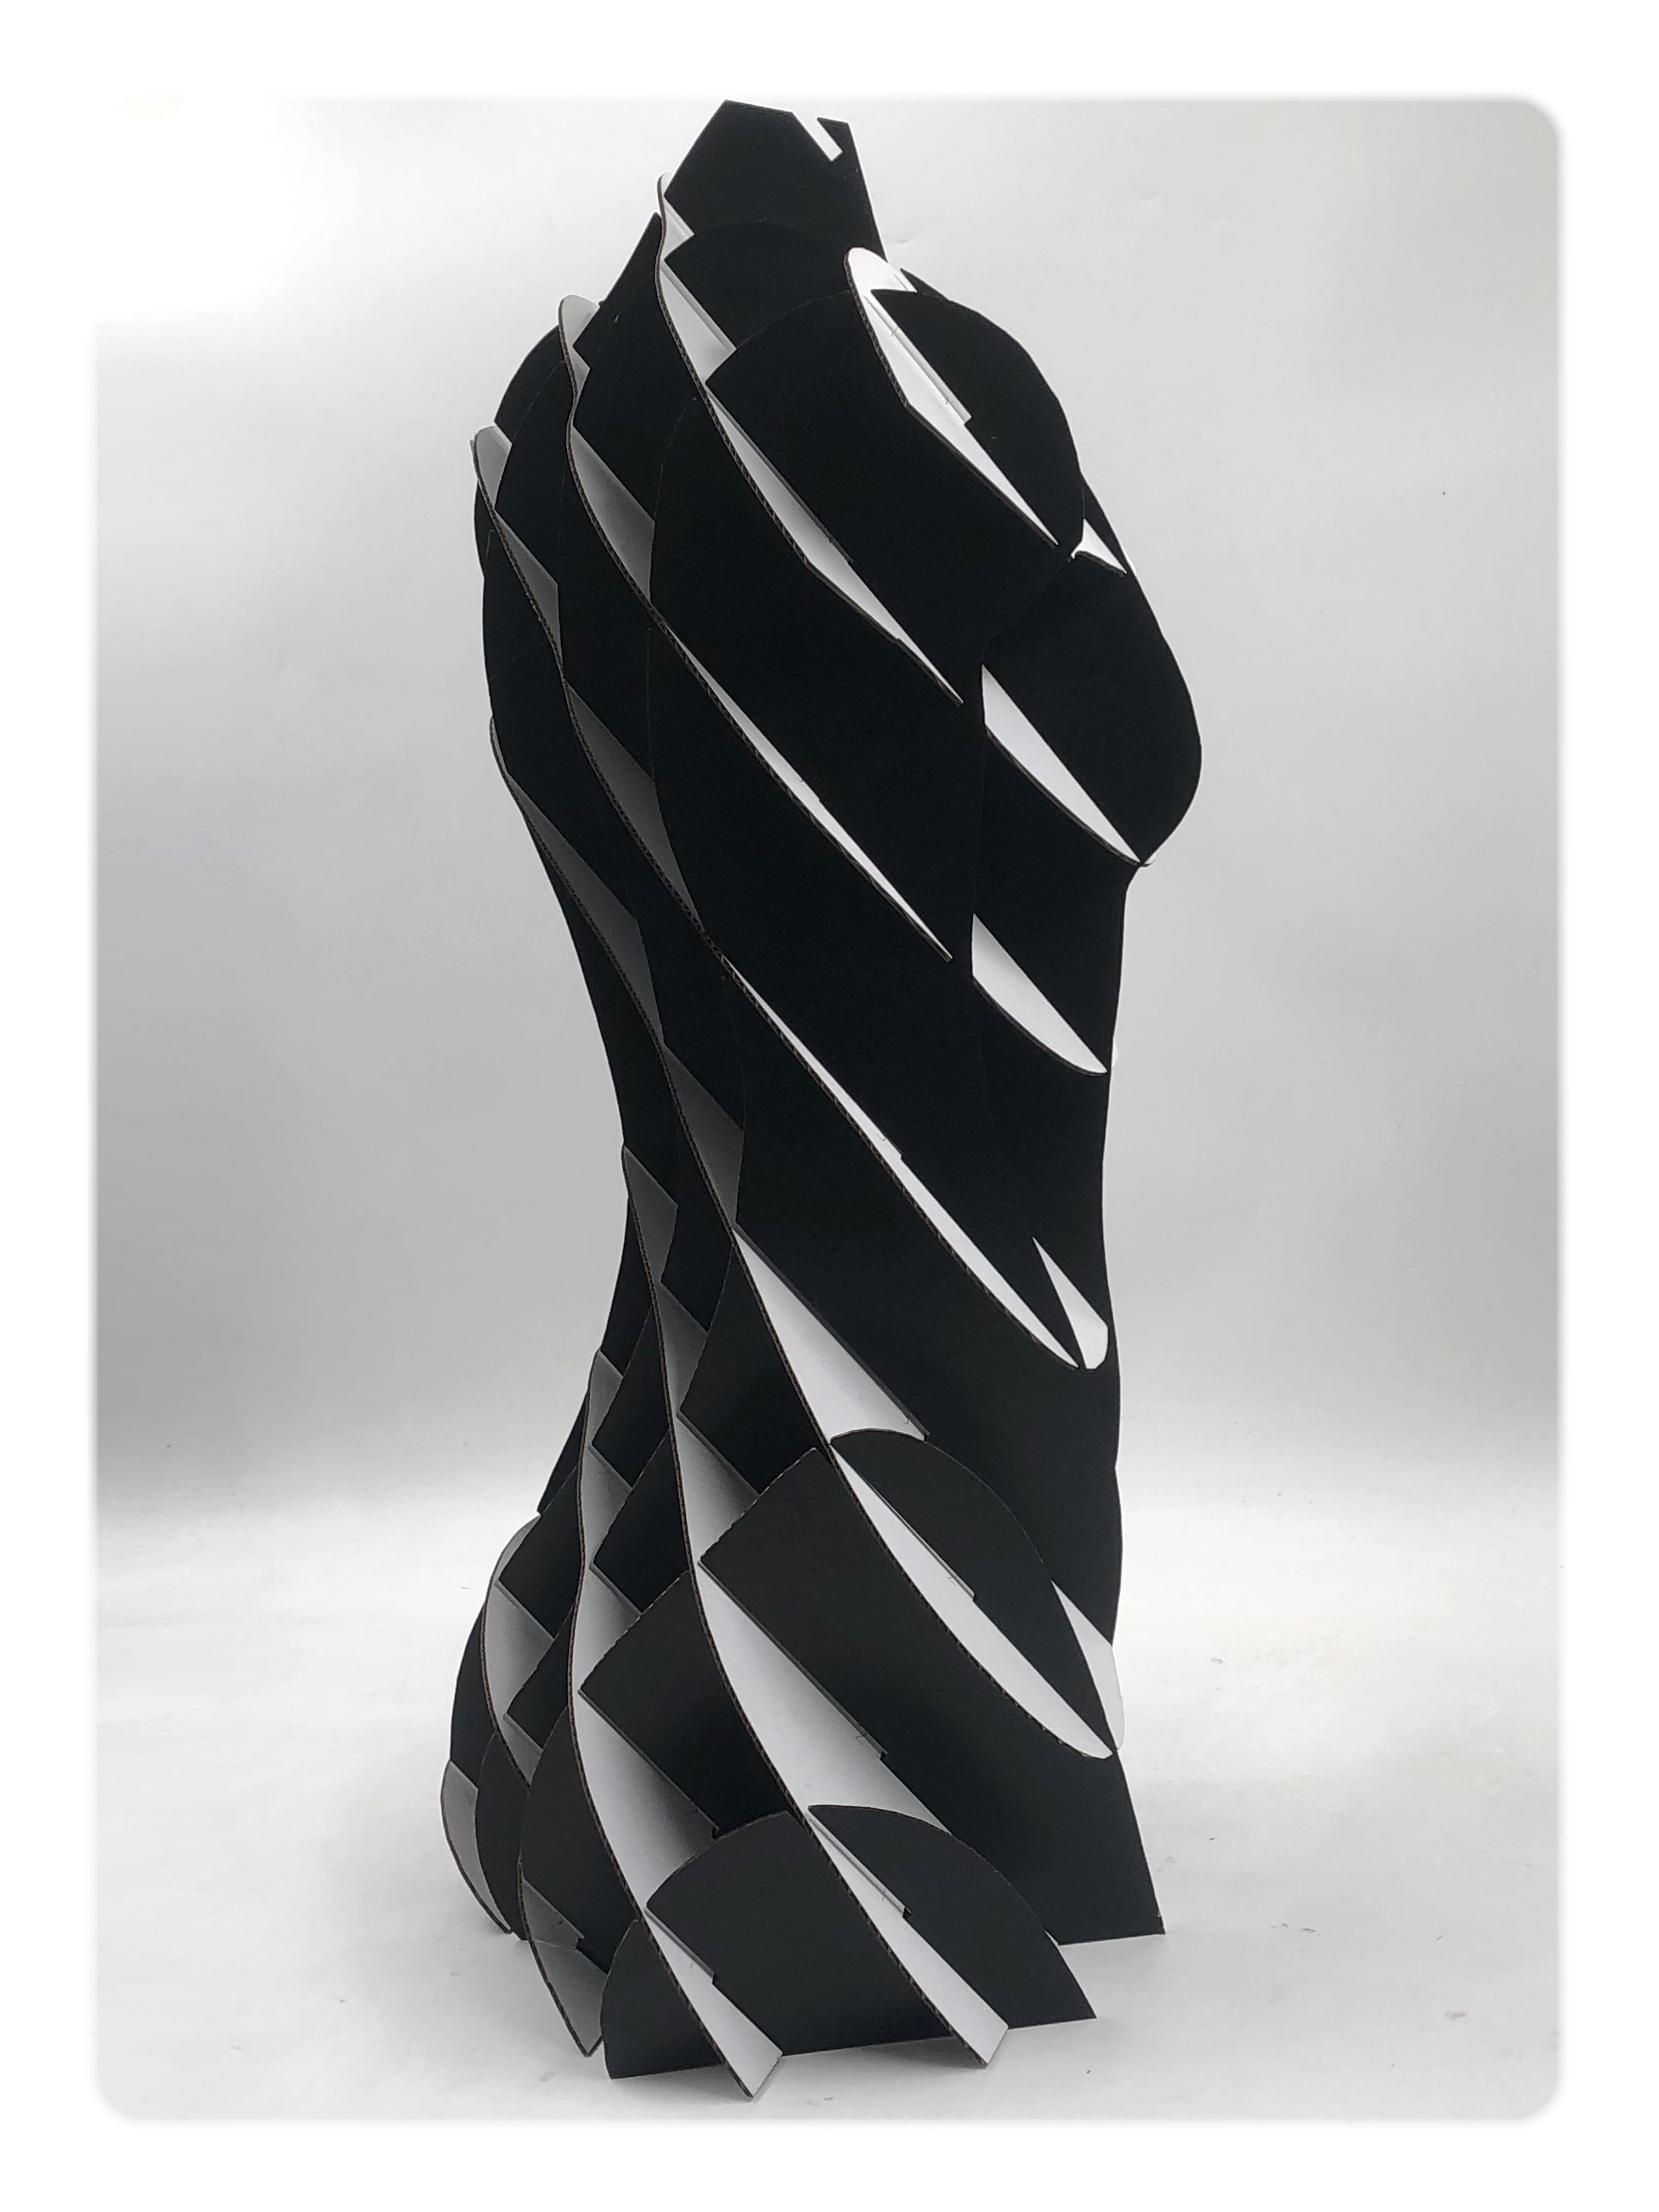
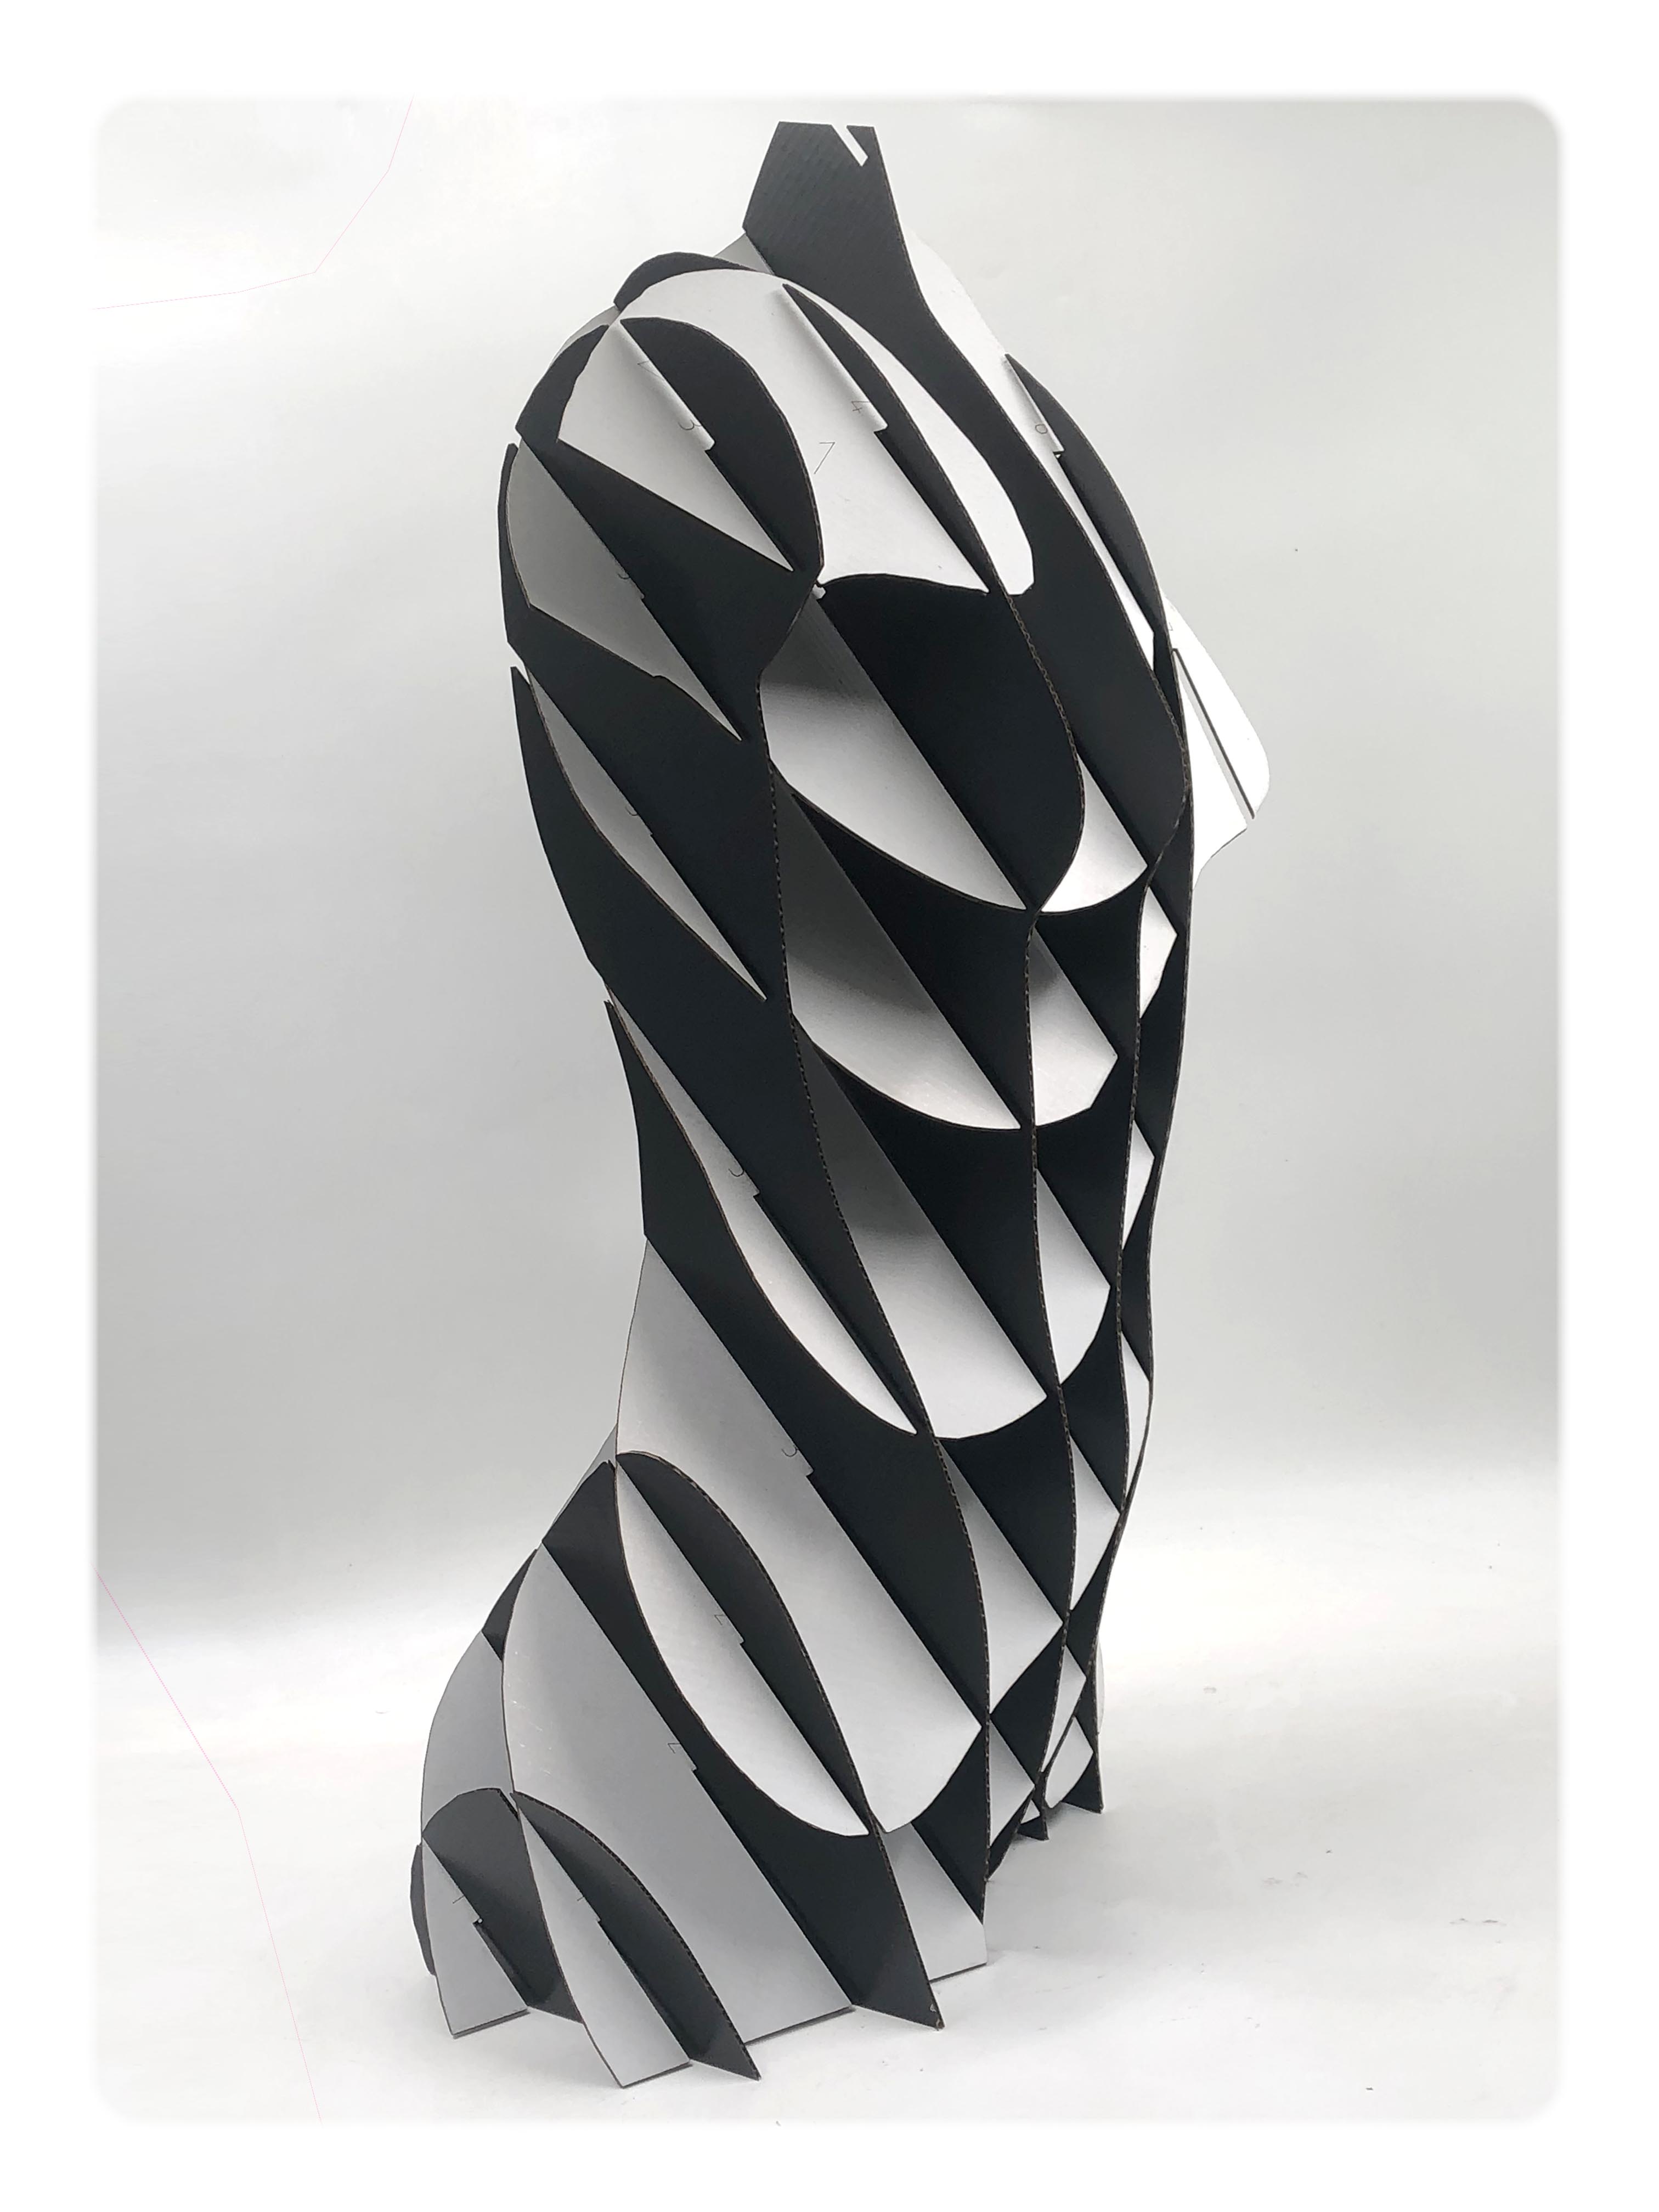
Conclusion:
The final mannequin is quite unstable since my cutting intersections were slightly too big for the material that I used, good reminder to always double-check the files before printing.
Fabrication Files
-
File: Final Prototype1 ↩
-
File: Final Prototype2 ↩
-
File: Final Prototype3 ↩
-
File: Final Prototype4 ↩