How to edit your website#
This tutorial will guide you in editing and publishing your website using the Gitlab system.
You don’t need to be a Gitlab or Git expert to publish your website. If you are an expert of course, you have total freedom in editing and customizing your website.
If you never made a website, you can edit the template site provided, deleting and changing the existing content.
Objectives#
By the end of the tutorial you will be able to:
-
Access your website project
-
Edit pages
-
Upload and link images and other multimedia material
-
Embed videos and 3D models into your website
Prerequisites#
-
Your Fablabs.io Account, you have received it with an email from the Fabricademy coordination along with your password.
-
A modern browser such as Chrome or Firefox installed on your computer.
If you have all the pre-requisites it’s time to get started!
Access your website project#
The first thing to do is to find your project and start understanding where the content is located.
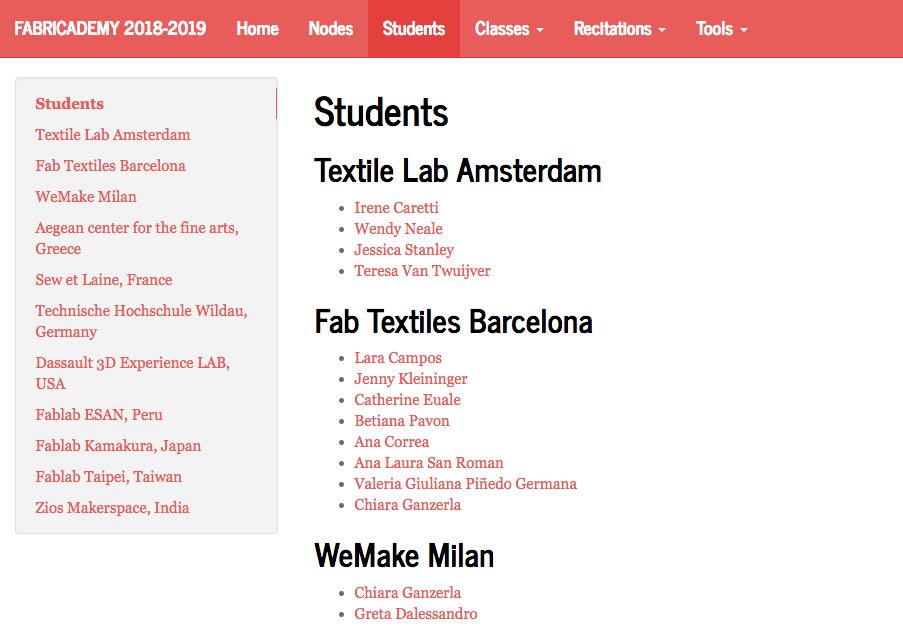
You can start navigating the class website: http://class.textile-academy.org
Go to the Students page, and click on your name:
Your website will be loaded, similar to the picture below:
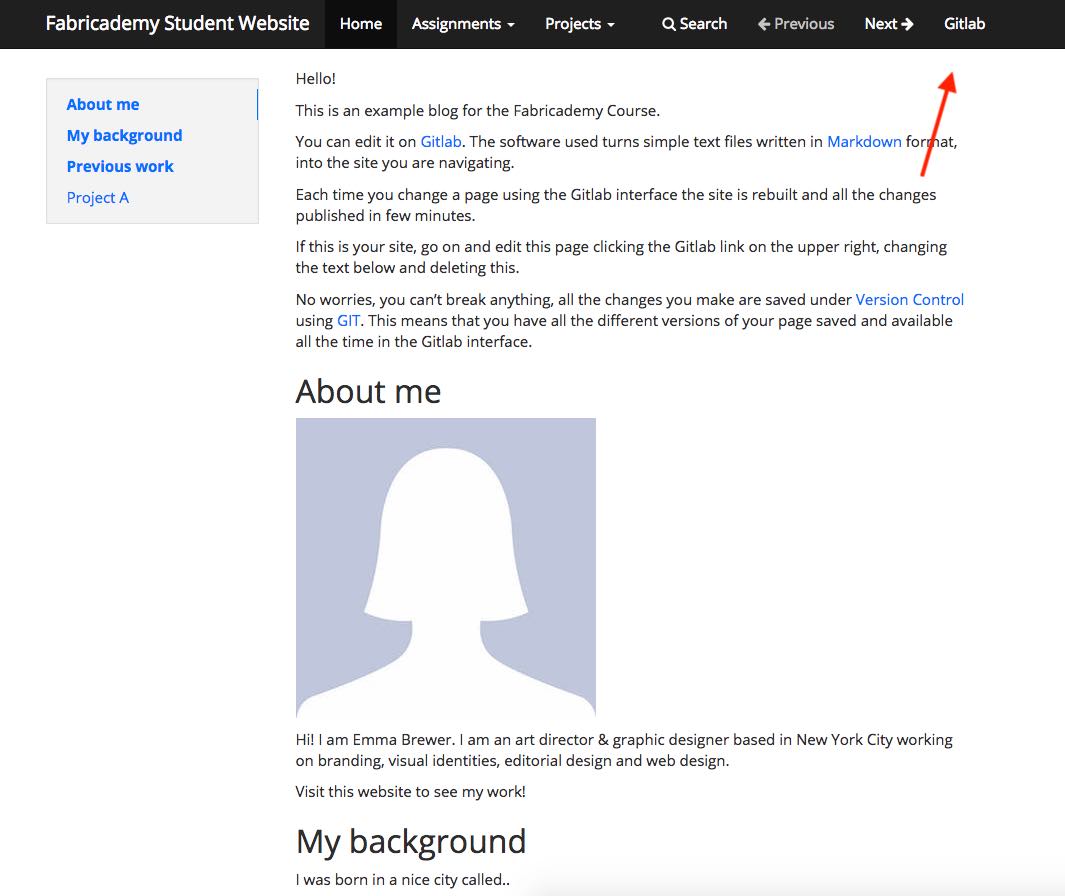
Now click the button on the top right of your new website “Gitlab”, this will bring you to the Gitlab editing interface.
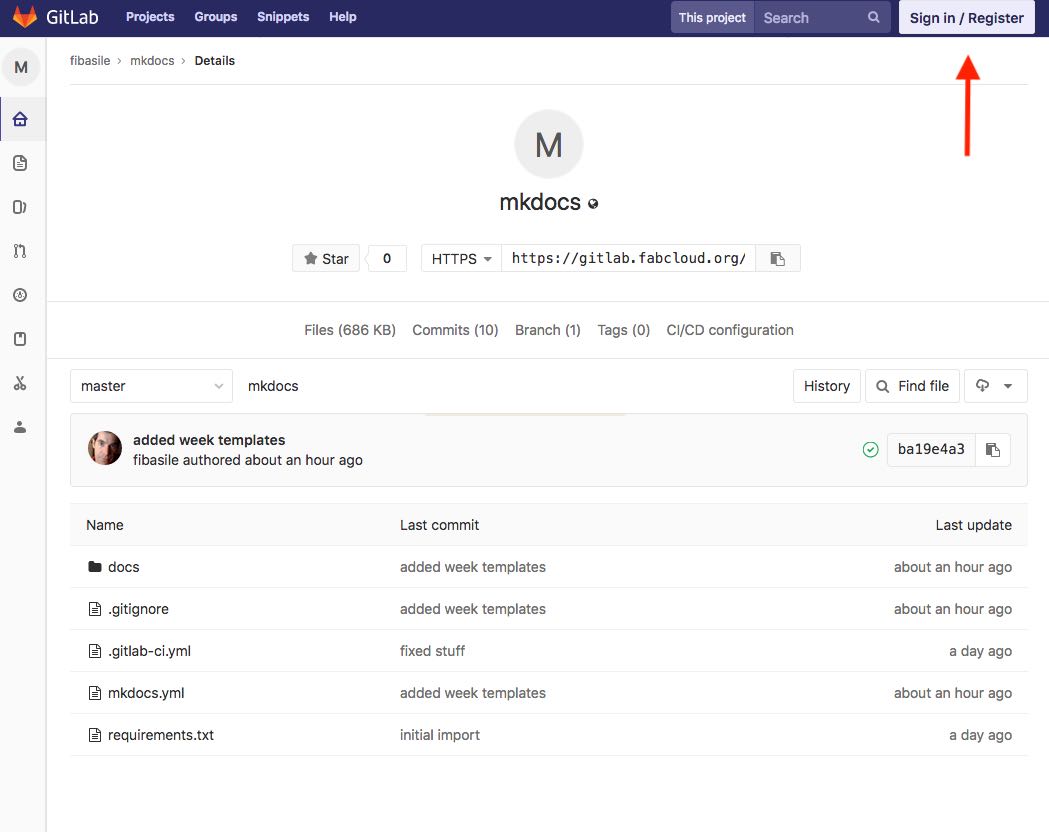
NOTE: The first time you are visiting Gitlab you won’t be logged in. So you will be only see your project but won’t be able to edit any content.
Login to Gitlab#
Click the button the upper right corner Sign-in / Register to login.
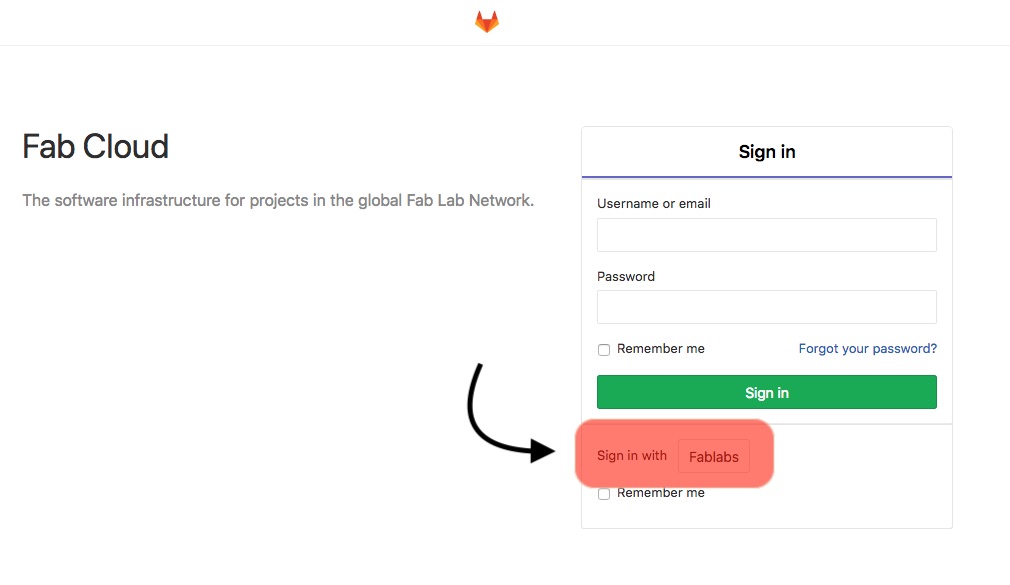
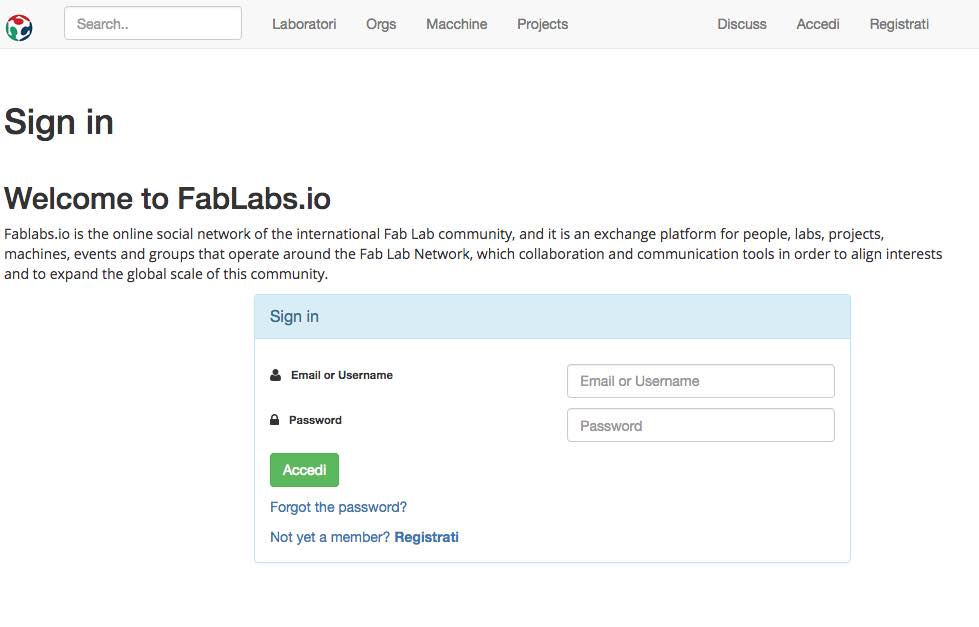
You don’t need to put any username and password, but just click on the “Login with Fablabs” button.
You will be redirected to fablabs.io where you can enter the username and password you received (see Prerequisites).
Editing your website#
The website is structured as following:
-
Homepage: you can use it to describe yourself and some of your most relevant work including assignments, etc.
-
Assignments: you have one page for each week of the Textile Academy, where you will document your work during the course. We have already created the pages for you, and you just need to update their content.
-
Projects: one page per project, ready to be used to document the final project, but also other projects that you would like to document separately from your assignments documentation.
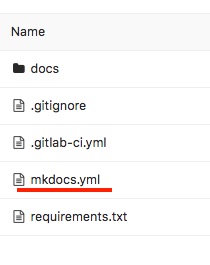
Each of these items are stored in a text files in your project. To edit the content easily you should get used to the folder structure:
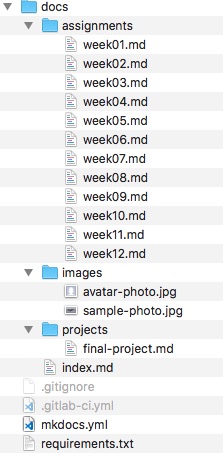
This is a summary of what you find:
- index.md: is the homepage of your site.
- assignments/week01.md: is the first assignment page
- …
- projects/final-project.md: is the page describing your final project
- mkdocs.yml: is the file containing the configuration of your website, edit this to customize it
- other files: including
.gitignore,.gitlab-ci.yml,requirements.txtyou can safely ignore them, and you should not edit them unless you know what to do.
Editing a page#
Navigate to any page clicking the folders, always starting from the docs folder.
Clicking on a page file for example index.md, will allow you to see a preview of its contents.
Select the Edit button and go in edit mode for changing the content.
Finally, save your page using the Commit button at the bottom of the page. You can/must add a comment to identify your change in the future.
See the example below:
Learning Markdown#
Markdown is an established format for documentation. It works using text files, that contain no formatting for fonts, alignment, pages and layouts. So you focus on what you write, and use few conventions to define titles, paragraphs, images, bullet lists and so on.
The website is automatically created from your content with a common style and search funcionality. You can change how your site looks changing the configuration used to generate your site.
The version we use is documented in detail on the Gitlab Markdown page.
It’s useful to have ready the Markdown Cheatsheet, you can find many others online searching for the same title.
Your website contains already lots of examples, that you can save for copying and pasting when you need them for documenting your work.
Creating a new page#
You can add as many pages as you want to your website. You will discover that adding a new page in the main docs/ folder will link it to the main menu. While if you create a folder and a page inside it, it will create a new menu.
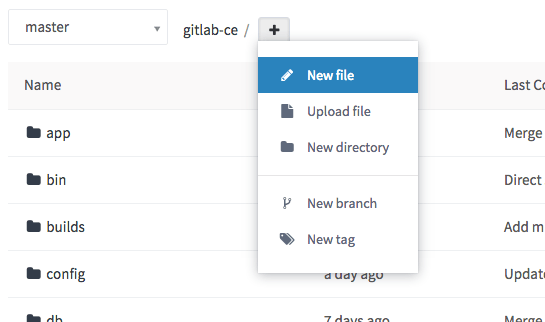
From a project’s files page, click the ‘+’ button to the right of the branch selector. Choose New file from the dropdown.
Now edit the page, adding a file name first. All content should be named with a .md extension so it’s recognized by the publishing system. Type in a name, for example pagename.md, the start typing your page content.
Finally, save your page using the Commit button at the bottom of the page. You can/must add a comment to identify your change in the future.
Uploading a file#
The ability to create a file is great when the content is text. However, this doesn’t work well for binary data such as images, PDFs or other file types. In this case you need to upload a file.
From a project’s files page, click the ‘+’ button to the right of the branch selector. Choose Upload file from the dropdown. We don’t need to dig into branches, they are for advanced collaboration. We always work on the master branch.

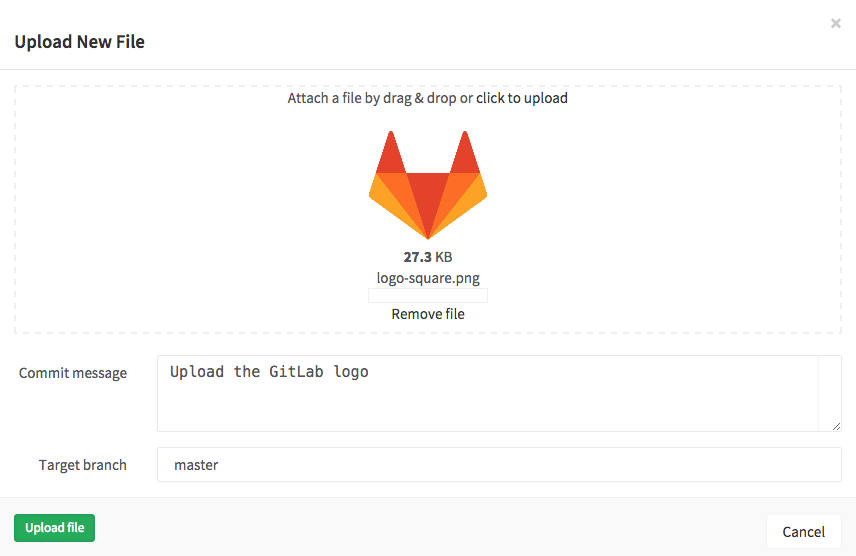
Once the upload dialog pops up there are two ways to upload your file. Either drag and drop a file on the pop up or use the click to upload link. A file preview will appear once you have selected a file to upload.
The file is uploaded in the current folder. So you can navigate any folder and upload files inside it.
Uploading and linking an image#
Inside the docs/ folder you will find an images/ folder, that you can use to collect all images in the same place. You can also create separate folders and upload images to them, but try to keep things tidy.

Follow the same instructions as the previous section Uploading a file. Once you are done uploading, browse to the uploaded image, clicking its title and preview it.
Now right-click and select Copy image address from the menu.
Go back to the page you want to insert the image and add the following code, pasting the address you just copied.

So it will look like

Alternative method#
You can also link your images using relative paths so instead of copying and pasting the address you can figure it out easily.
The relative path depends on the page you are editing. If you are editing the index.md then the images
folder is in the same folder as the page, so the relative link will start with ./images.
If you are in the assignments folder, the images folder is one level up. So you will need to add two dots to the address: ../../images/.
So for example the picture above would be linked as

from index.md, while it would be different for a page in assignments or projects.

Deleting a file#
For deleting a file you go to the file preview, clicking on the name in the file list. Then select the Delete button.
The file will not be shown anymore, but a copy of it will be saved in the version history.
Make sure your file or page is not reference by other pages in the site, or you will get a broken link.
Deleting a folder#
If you need to delete a whole folder, you must first delete all the files inside it. The folder will disappear automatically.
This happens unless you create an empty file named .gitkeep inside the folder. In this case it won’t disappear.
Creating a folder#
To keep files in the repository organized it is often helpful to create a new directory.
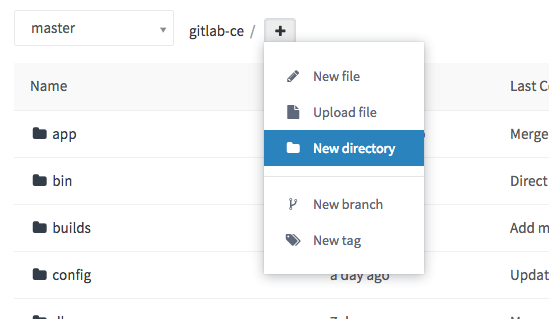
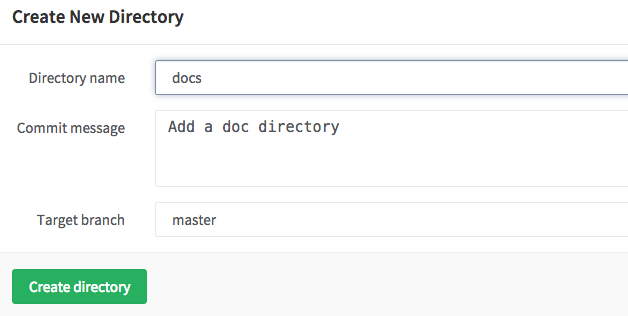
From a project’s files page, click the ‘+’ button to the right of the branch selector. Choose New directory from the dropdown.
In the new directory dialog enter a directory name, a commit message and choose master. Click Create directory to finish.
Attaching a video from Vimeo#
Starting from a video uploaded to Vimeo, you can embed a code and show it in your page.
NOTE: the model might not show up the preview inside Gitlab, as the interface disables external includes. It’s ok, it will show up in the published website.

Attaching a video from Youtube#
Starting from a video uploaded to Youtube, you can embed a code and show it in your page.
NOTE: the model might not show up the preview inside Gitlab, as the interface disables external includes. It’s ok, it will show up in the published website.
Attaching a 3D Model from Sketchfab#
The process is similar of that of embedding a video.
Visit Sketchfab, upload your model and make it available to the public.
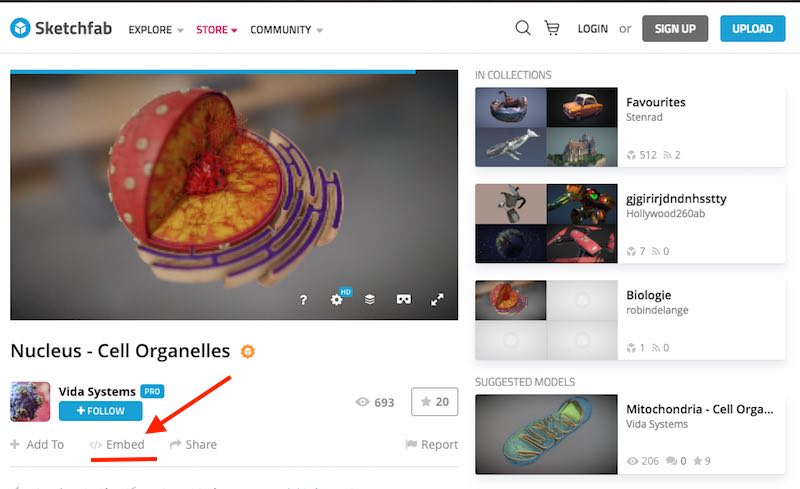
Next click on “Embed” and copy the code in the clipboard.
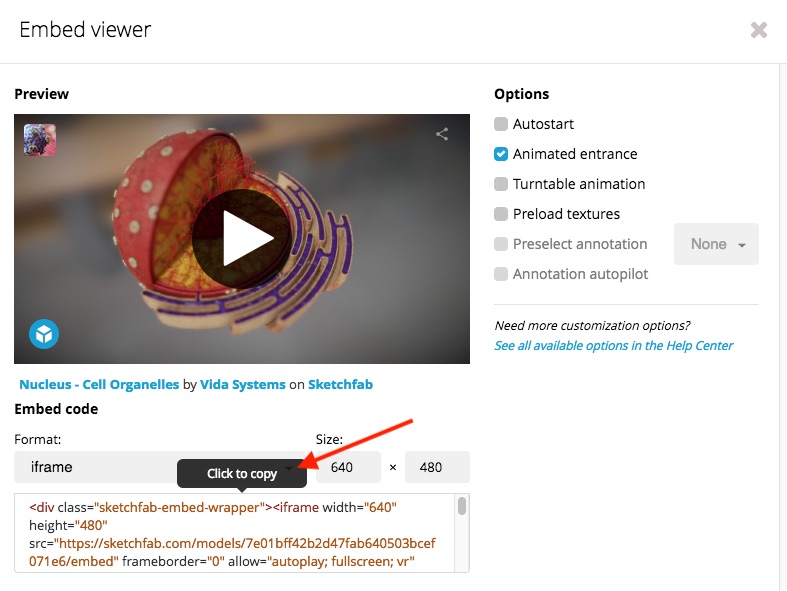
Finally simply paste the code in any page and Commit to make your changes permanent.
NOTE: the model might not show up the preview inside Gitlab, as the interface disables external includes. It’s ok, it will show up in the published website.
Embedding any HTML content#
As you can see, you can add any html code to your website pages. Markdown accepts most of the HTML embeds, so you are free to include other services in your website.
Customizing your site#
You might be wondering how to change the looks of your website. This is done editing the mkdocs.yml file,
that you find in the main folder of your site, along with docs folder.
Click on the file to see its contents:
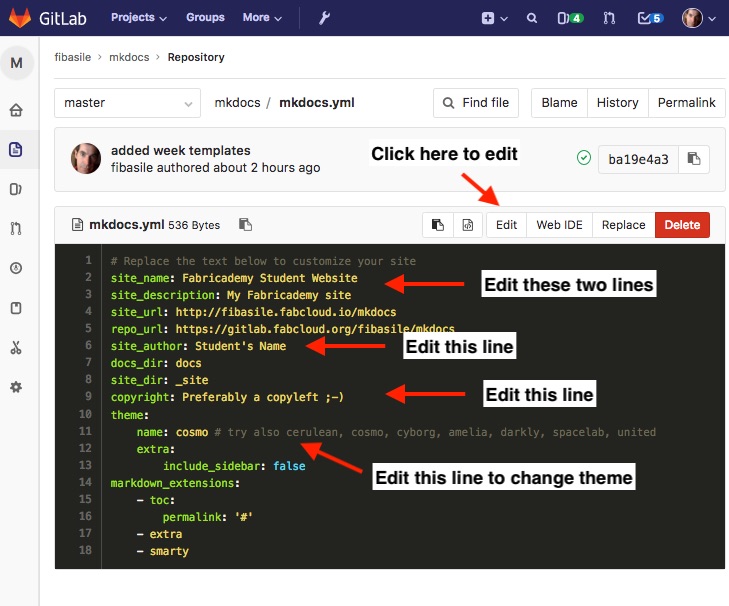
Now edit the file, clicking the Edit button and change the lines shown in the picture above. When you are done, you must Commit your changes, making them permanent.
Behind the scenes, Gitlab is generating a new version of your site, usually within a minute.
You can go back to your website and check the changes.
ADVANCED USERS You have many more options to change your site.
The first is to get started with Mkdocs cloning the site and previewing your changes locally using
mkdocs serve.You can install mkdocs other plugins tweaking the
requirements.txt.You can also replace mkdocs deleting all the files in the project and uploading any static site or using other static site generators supported by Gitlab CI and Gitlab Pages.