Colours of Bacteria
BACTERIAL DYEING (Detailed instructables on Bioshades.bio)
Ingredients Required
-
LB broth
-
Nutrient Agar
-
Glycerine
-
Water
-
Ethanol
Tools Required
-
Inoculation loop
-
Pipette
-
500 ml glass bottle with cap (that fits into the pressure cooker)
-
Pressure cooker
-
Electric stove
-
Petri dishes
-
Camping gas + lighter
-
Parafilm tape
-
Autoclave tape
-
Autoclave bags
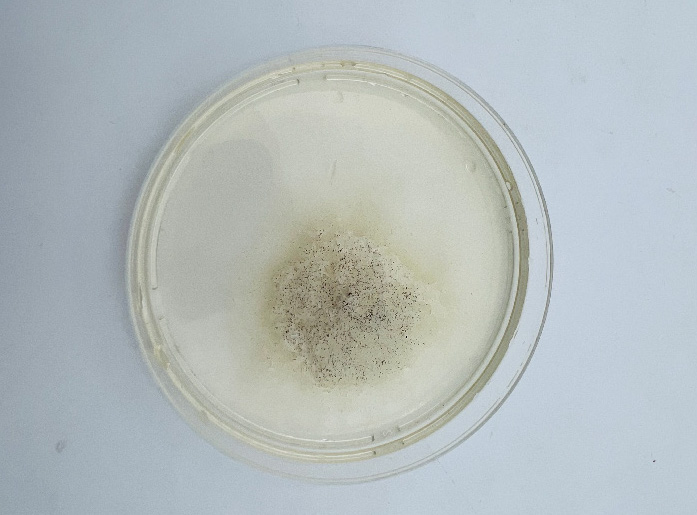
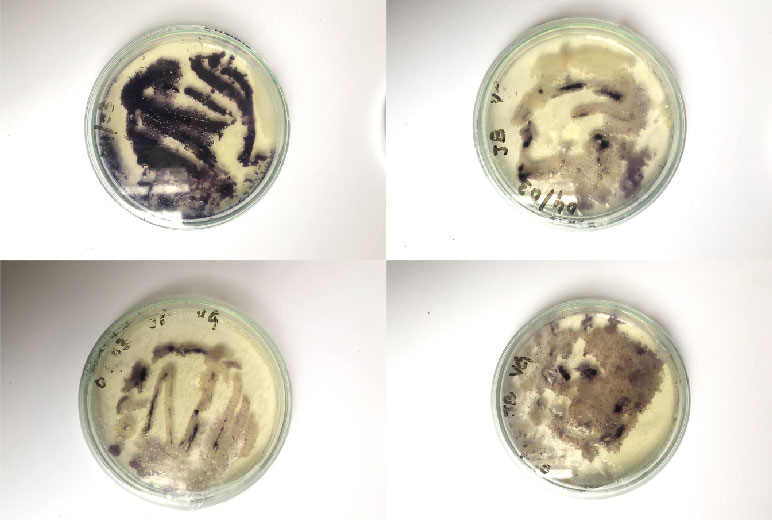
Putting Janthinobacterium Lividum to grow
The first step was to put bacteria, in this case Janthinobacterium Lividum to grow. Janthinobacterium lividum is an aerobic, Gram-negative, soil-dwelling bacterium that has a distinctive dark-violet (almost black) color, due to a compound called violacein, which is produced when glycerol is metabolized as a carbon source. Violacein has antibacterial, antiviral, and antifungal properties. Its antifungal properties are of particular interest, since J. lividum is found on the skin of certain amphibians, including the red-backed salamander (Plethodon cinereus), where it prevents infection by the devastating chytrid fungus. Bacteria survive through freezing and keeping them at minus 80 degrees, at this temperature they go into hibernation at this temperatyre. To start growing them again we wake them up through this method.
Steps to follow
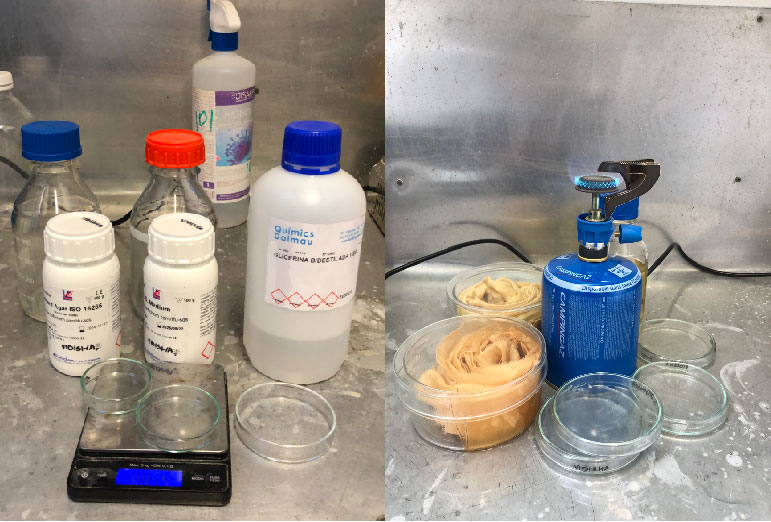
Prepararation of Nutrient Agar
-
Take the 500 ml bottle and fill it up to 250 ml with (distilled if available) water
-
Dissolve 5 gr of nutrient agar (dosage is 20gr / liter)
-
Add 0,5 ml of glycerine with a pipette
-
Close the bottle with the cap and gently mix a little bit
-
Unscrew the cap a little bit so that it’s not sealed
Prepararation of Nutrient Broth
-
Take the 500 ml bottle and fill it up to 250 ml with (distilled if available) water
-
Dissolve 6,75 gr of nutrient broth (dosage is 25gr / liter)
-
Add 0,5 ml of glycerine with a pipette
-
Close the bottle with the cap and gently mix a little bit
-
Unscrew the cap a little bit so that it’s not sealed
Sterilise
-
Sterilize with the pressure cooker
-
Add ±1 liter water in the pressure cooker (as reference: less than in the liquid in the bottle you are sterilizing)
-
Put some petridishes in an autoclave bag and the bottles in the pressure cooker (with the cap slightly unscrewed)
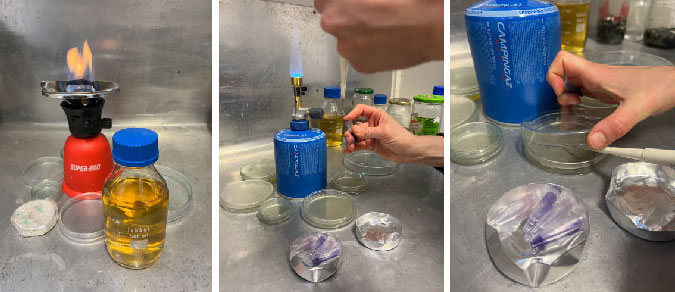
Preparing the Petri Dishes
-
Prepare the petri dishes by writing all the information on the back (medium, bacteria name, date and person)
-
Poor some alcohol on the table and sterilize area
-
Place the camping fire next to the sterile area and turn it on
-
Unscrew the bottle’s cap and sterilize the edge of the neck of the bottle on the fire
-
Quickly open the petri dish and poor in a layer (a couple of mm) of nutrient agar in some and nutrient broth in some
-
Let it rest until firm/cooled down
The Inoculation
-
Poor some alcohol on the table and sterilyze area
-
Place the camping fire next to the sterile area and turn it on
-
Take your tubes with the frozen bacteria
-
Take the metal inoculation loop and sterilize it by passing it onto the flame (if plastic skip the sterilizing)
-
With quick and carefull movements:
-
Open slightly the cap of the dish with the bacteria
-
Dip the still warm inoculation loop in the medium next to the bacteria (not on bacteria)
-
Now swipe gently over the bacteria
-
Transfer bacteria on the new petri dish (or on the textile)
-
(TIP: always open both the petridishes on the flame/sterile side)
-
Now seal the petridish with some Parafilm tape
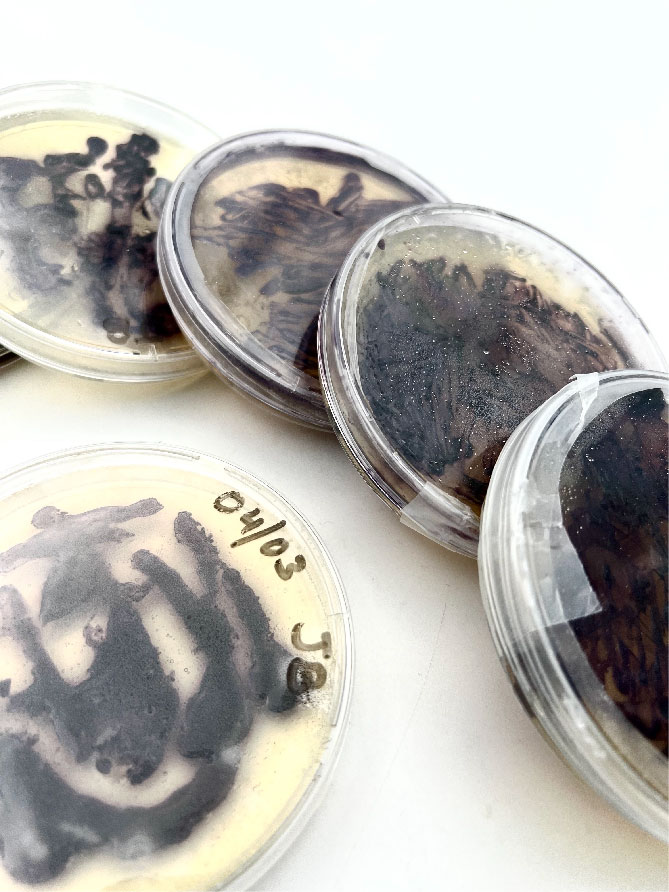
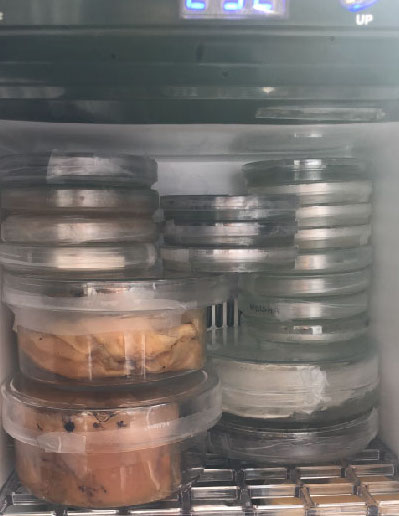
Growing
- Now that petri dishes have been inoculated they need to be stored at around 23-26 degrees celsius in an incubator or similar.

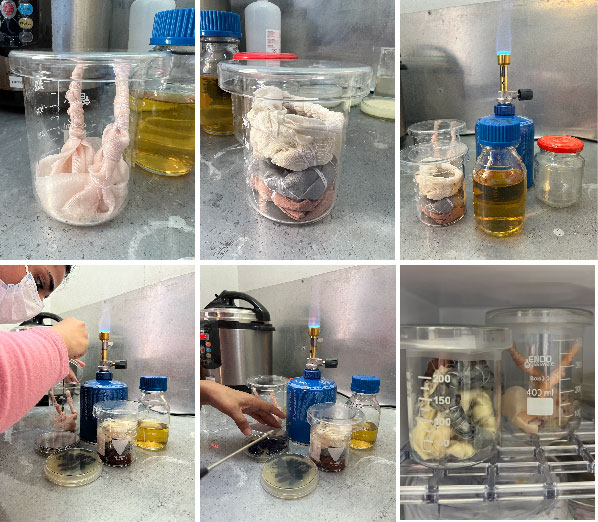
Bacteria dyeing textile
-
For this project I have only used 100% silk fibres, fabnrics like silk crepe and silk organza.
-
I prepared my fabric through scouring, the fibres tend to absorb the colour better then. Also 250mL of nutrient broth.
-
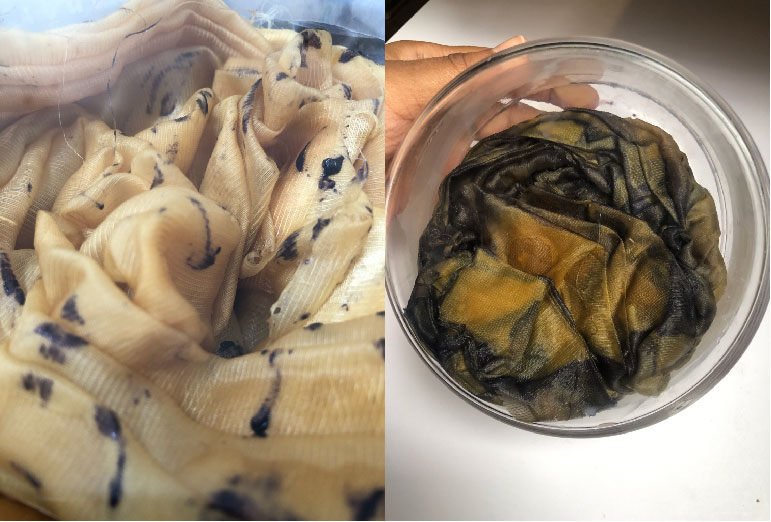
For the first experiment I wanted to observe how it grows and what different tieing techniques result in. For the first experiment I used small sizes of fabric and tied them randomly, tieing them tighter with the thread at some areas and loosely at some places
-
Arranged my tied pieces in petri dishes and cylindrical jars
-
Sterilised everything for 20 minutes in the pressure cooker
-
Prepared a sterile environment using ethanol and camping fire
-
Once they're sterlised I waited for around 30 mins for the nutrient broth to cool down.
-
Once it has cooled down I poured the broth very carefully over the fabric pieces, making sure they're all damp with the broth.
-
Then I started inoculating each piece with the bacteria from agar plates carefully, trying to put bacteria at close distances and cpvering every side of the fabric.
-
Repeated the same for all pieces.
-
Once they're all done sealed all the petri dishes with parafilm tape and placed them in the incubator to grow.
The results were promising and I got an idea how it grows, only thing I had to remember was to tie them loosely because the tighter it gets, the more difficult it is for bacteria to reach those places.
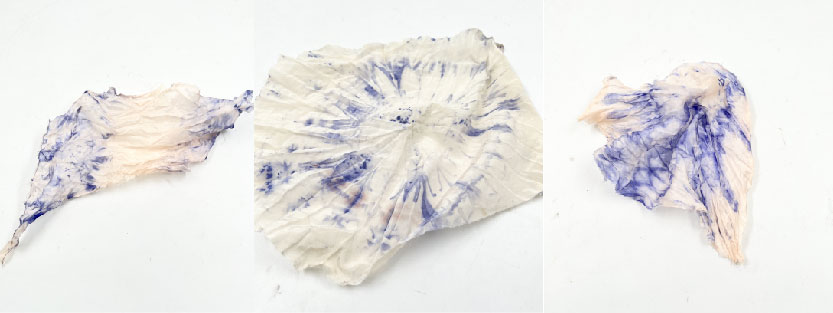
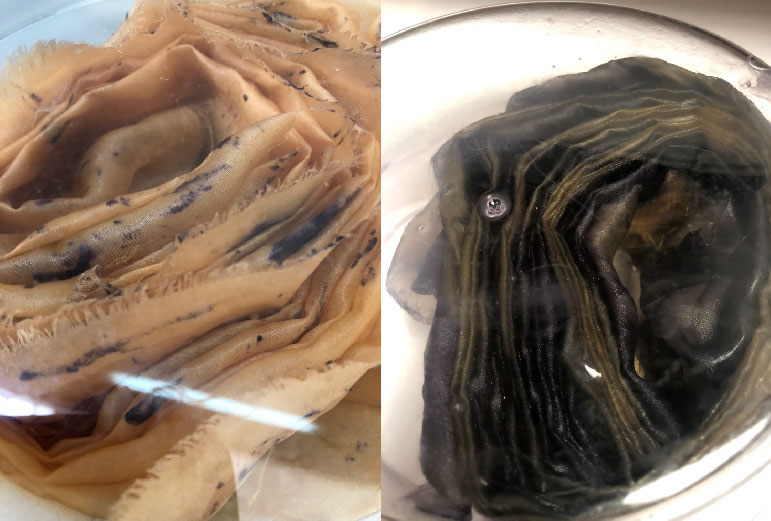
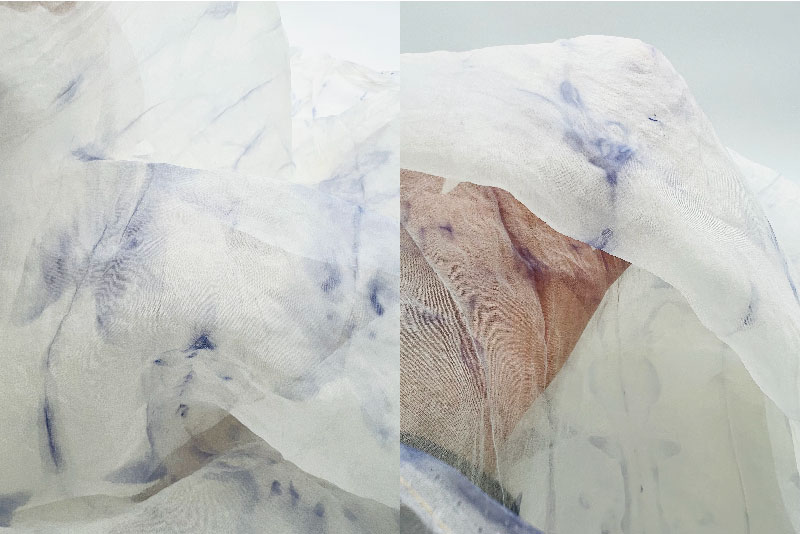
For the next step I dyed bigger pieces of onion dyed fabric. These pieces had been dyed with leftover dye bath which had already been used to dye 4 metres of silk before. But it still managed to give nice light shades of yellow. Because these were bigger pieces I pleated them intricately with an iron to make them fit into petri dishes. And then inoculated them.

The results were amazing, the bacteria had grown so beautifully all over the fabric. Because of the pleating it was like a linear pattern with lines where there was no colour.
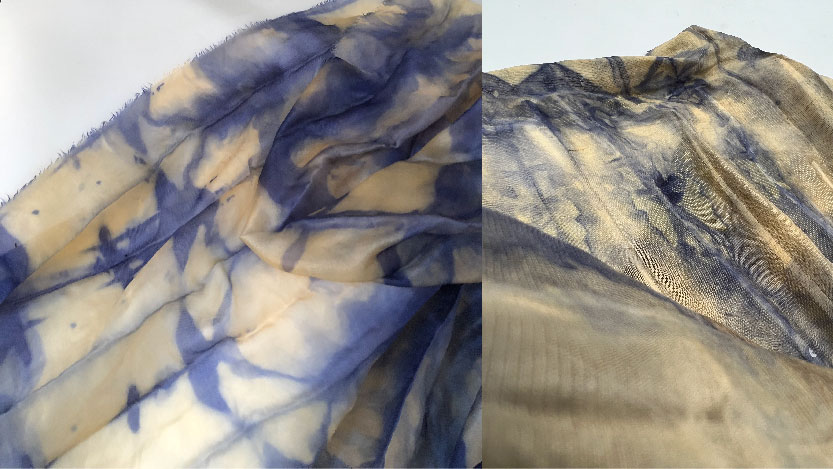
Next I wanted to scale up even more so I used a big glass bowl to dye atleast 1 and a half metres of fabric altogether. For this one I did not use an onion dyed fabric but rather a plain white organza fabric.
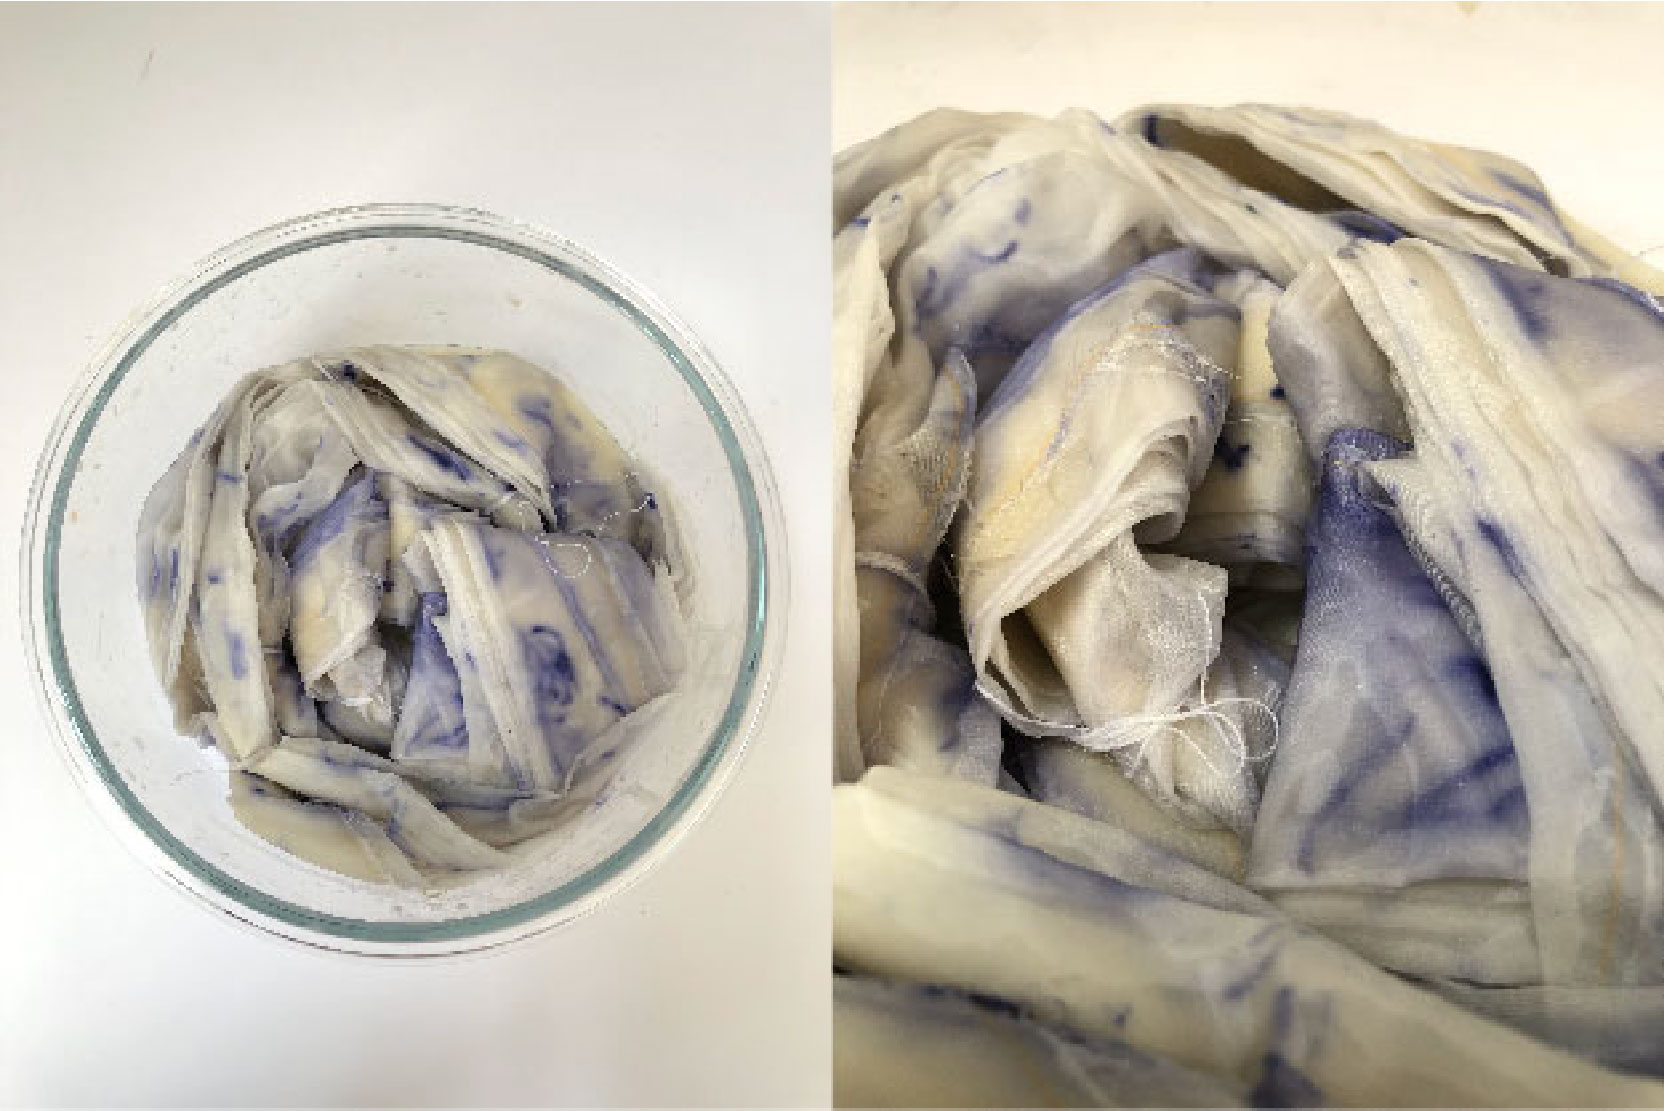 Unfortunately, this one did not dye so well, It could be due to multiple reasons like contamination or the bacteria getting old and not growing much or even because its a big pieces of fabric it gives a lot of room for contamination.
Then I tried again with onion dyed fabrics. Unfortunately, from this moment onwards there was no success with the dyeing. It could be affected by muttiple reasons like the bacteria getting old, also the tannins in the onion dye seemed to be prohibiting thr growth. Because earlier it was a recycled bath so there wasnt a lot of colour left in the bath but these were freshly dyed fabrics and had deep colours so either the tannins or the alum which was used as mordant in the dye could have been preventing the growth. I tired to rinse them properly, wash them with pH neutral soap and ironed them while wet to avoid contamination of the fabric and to reduce the alum and tannin percentage but it did not work.


Conclusion
What I learnt from working with bacteria all this time was that there are a lot of things affecting the gowth of the bacteria. In my case they grew well in the beginning but when trying with onion dyed fabrics probably the tannins in the onion were prohibiting its growth and also the entire natural dyeing process contaminates the fabric a lot but that can be managed by sterilising it for a long period of time - 1 to 2 hours. Also the fact that with time the bacteria gets old and doesn't grow very well. Also the conditions in the incubator can affect like the presence of other organisms too can prohibit the growth. Or some other organisms can grow in place too, it takes time to learn how to take care of these wonderful microorganisms.