4. Biochromes
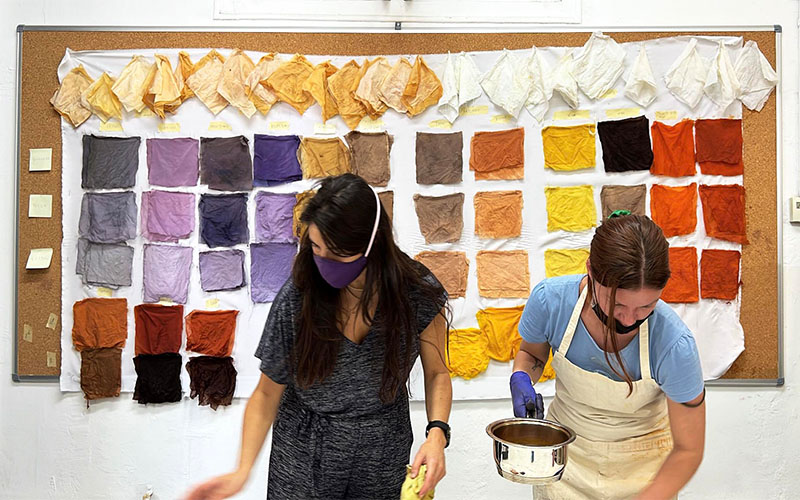
It was a colourful week full of interesting experiments and new learnings. To learn the entire process of natural dyeing all of us did it together and picked one natural dyeing source which can be anything that has colour and did all the steps together with our own dye. The natural ingredients we used in FabLab Barcelona were:
-
Avocado pits
-
Pomogrenate
Janvi and I worked as a pair and experimented with Avocado pits which Anastasia had saved up from a very long time, thankfully!
Dyeing with Avocado Pits
Key Characteristics
(According to this article, a very good link for reference)
-
In order to use avocado skins and pits for dyeing, you will need to collect and store them until you have enough (how much depends on how intense you want the colour to be, and how much fiber you want to dye in one go). You can either dry avocados, freeze them, or use them fresh. Using fresh dyestuff is always preferred but frozen and dried avocados work well too.
-
Avocado dye is wonderfully colourfast if you use a mordant, cure your fiber before rinsing it, and keep it out of direct sunlight for prolonged periods. For instance, if you dyed your curtains with avocado they may turn slightly yellow and fade eventually.
-
Avocados do not dye green as you might expect, in fact they dye pink! They dye pink because they contain anthocyanins, a pigment that dyes anywhere from red, pink, purple, and even black depending on the pH. According to Wikipedia , food plants high in anthocyanins include blueberries, black rice, raspberries, and black soybeans. Due to the pH sensitivity of anthocyanins, it is easy to dramatically change the colour of a dye bath using pH modifiers. It is also for this reason, that it is difficult to get the same result twice as anything that can change the pH even just a small amount will affect the end result. This includes the pH of the soil used to grow the avocado, and the tap water you used in the dye bath.
-
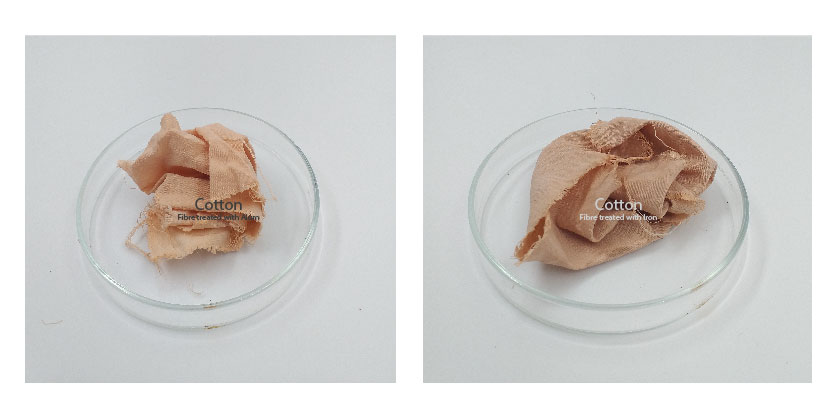
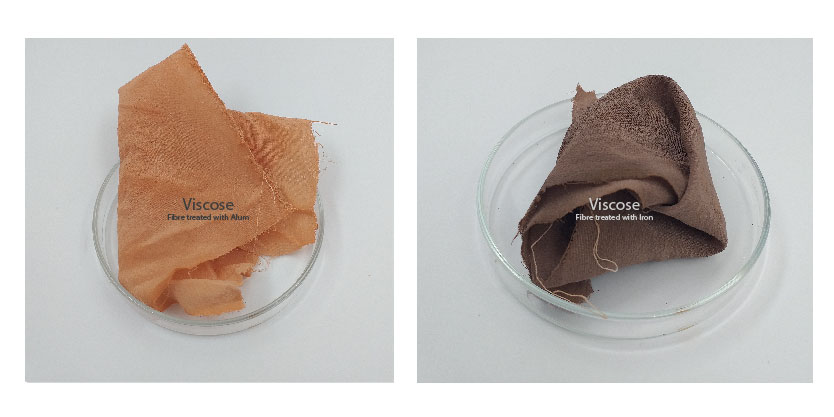
The colour of the dye highly depends on the pH of the soil and water in your country so here in Barcelona we did not get the standard pink that avocado's are mostly known for rather we got an earthy peach and a dull muddy brown on mordanting it with Iron.
We started with gathering whatever information we could find about the process and the characteristics about avocado dye. Here are some words that you will see a lot in the mentioned process which are infact very important for the dyeing process:
TERMS TO KNOW
- WOF - Weight of Fibre.
- Mordant - The word mordant means “to bite” and that is literally what the mordant’s purpose is. A mordant is generally a natural chemical (such as aluminium which we will be using in this tutorial) that adheres to the fabric in a molecular level with the goal of preparing the fiber molecules to adhere to the molecules of the dyestuff better. This step is essential if you want your color to last and not fade away when washed after the dyeing process. This is what makes your color last for a long time, we call it color-fast.
- Modifier - A Modifier is a substance added after the dyeing to change the colour of your fibre or fabric. If for example, you took four squares of naturally dyed linen, set up three modifier baths & added a square to each leaving one as the test piece, you would potentially have four different shades from one dye.
Step 1: Scouring - Cleaning your fibre
We experimented with Cotton (Plant Fibre), Viscose (Cellulose Fibre), Silk (Animal Fibre) and carried out the process below seperately for each of them.
-
Boil enough water in a medium size pot. Just enough to cover your fibers.
-
Introduce 2% of WOF of Sodium Carbonate (Soda ash).
-
Mix thoroughly until dissolved.
-
Introduce your fibers to the hot pots and simmer for 1 hour.
-
Move your fibers around every once in a while. Do not let the fibers sit. This will avoid having uneven color and help you get nice even results
-
Remove and wash with cold water.
Step 2: Preparing Dye bath

-
In a medium size pot, heath up enough water to cover your fibers until its simmering. Is very important for you to NOT boil the water. If you do, you can burn and “brown” the dye and only get brown shades.
-
Add your avocado pits.
-
Stir occasionally and leave simmering for an hour and a half. You will start noticing the water changing color from a light peach to a dark orange and finally to a dark red/purple within the 1st hour.
-
You can leave the dye with the pits for as long as you want, the longer you wait the deeper the colour you get. We left it for the night and started the dyeing process the next day.
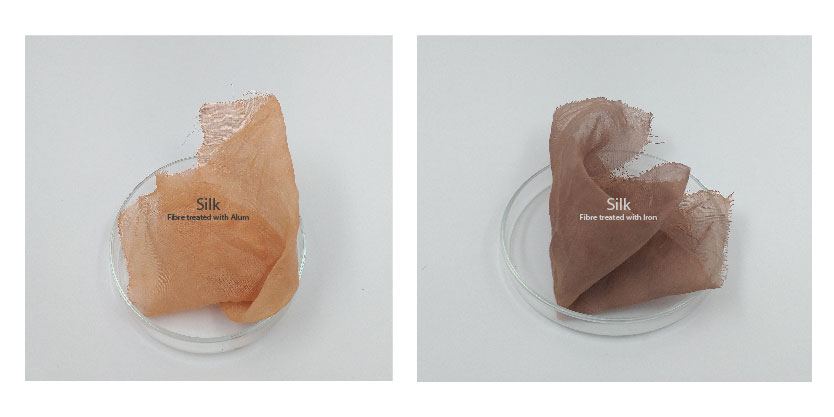
Step 3: Mordanting with Iron and Alum
This process was carried out for Cotton and Viscose. Animal fibres(Silk in our case) do not require mordanting as they are quite permeable and will easily absorb natural dyes. If you still wish to mordant them to make the colour more light fast you can do so with Alum and Cream of Tartar for animal fibres. - Boil enough water in two different medium sized pots. Just enough to cover your fibers.
-
Introduce 1% of WOF of Iron in one pot and 12% of WOF of Alum in the other.
-
Mix thoroughly until dissolved.
-
Introduce your fibers to the hot pot and simmer for 1 hour.
-
Move your fibers around every once in a while. Do not let the fibers sit. This will avoid having uneven color and help you get nice even results
-
Remove and wash with cold water.
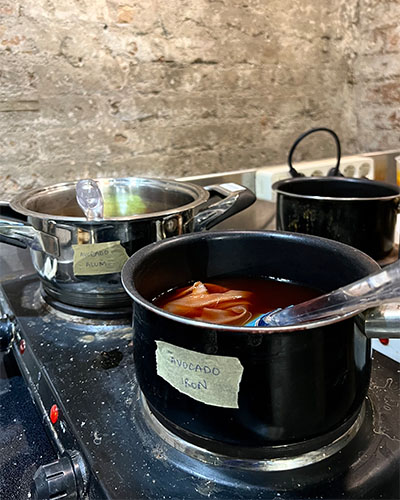
Step 4: Dyeing
The final dyeing process was carried out in two different pots, one with fibre mordanted with alum and the other with fibre mordanted with iron.
-
Introduce your scoured and mordanted fibres to the pots.
-
Leave it on simmer for an hour or two. The longer you leave it in the dyepot the deeper colour you get, we left it for approximately 80-90 minutes.
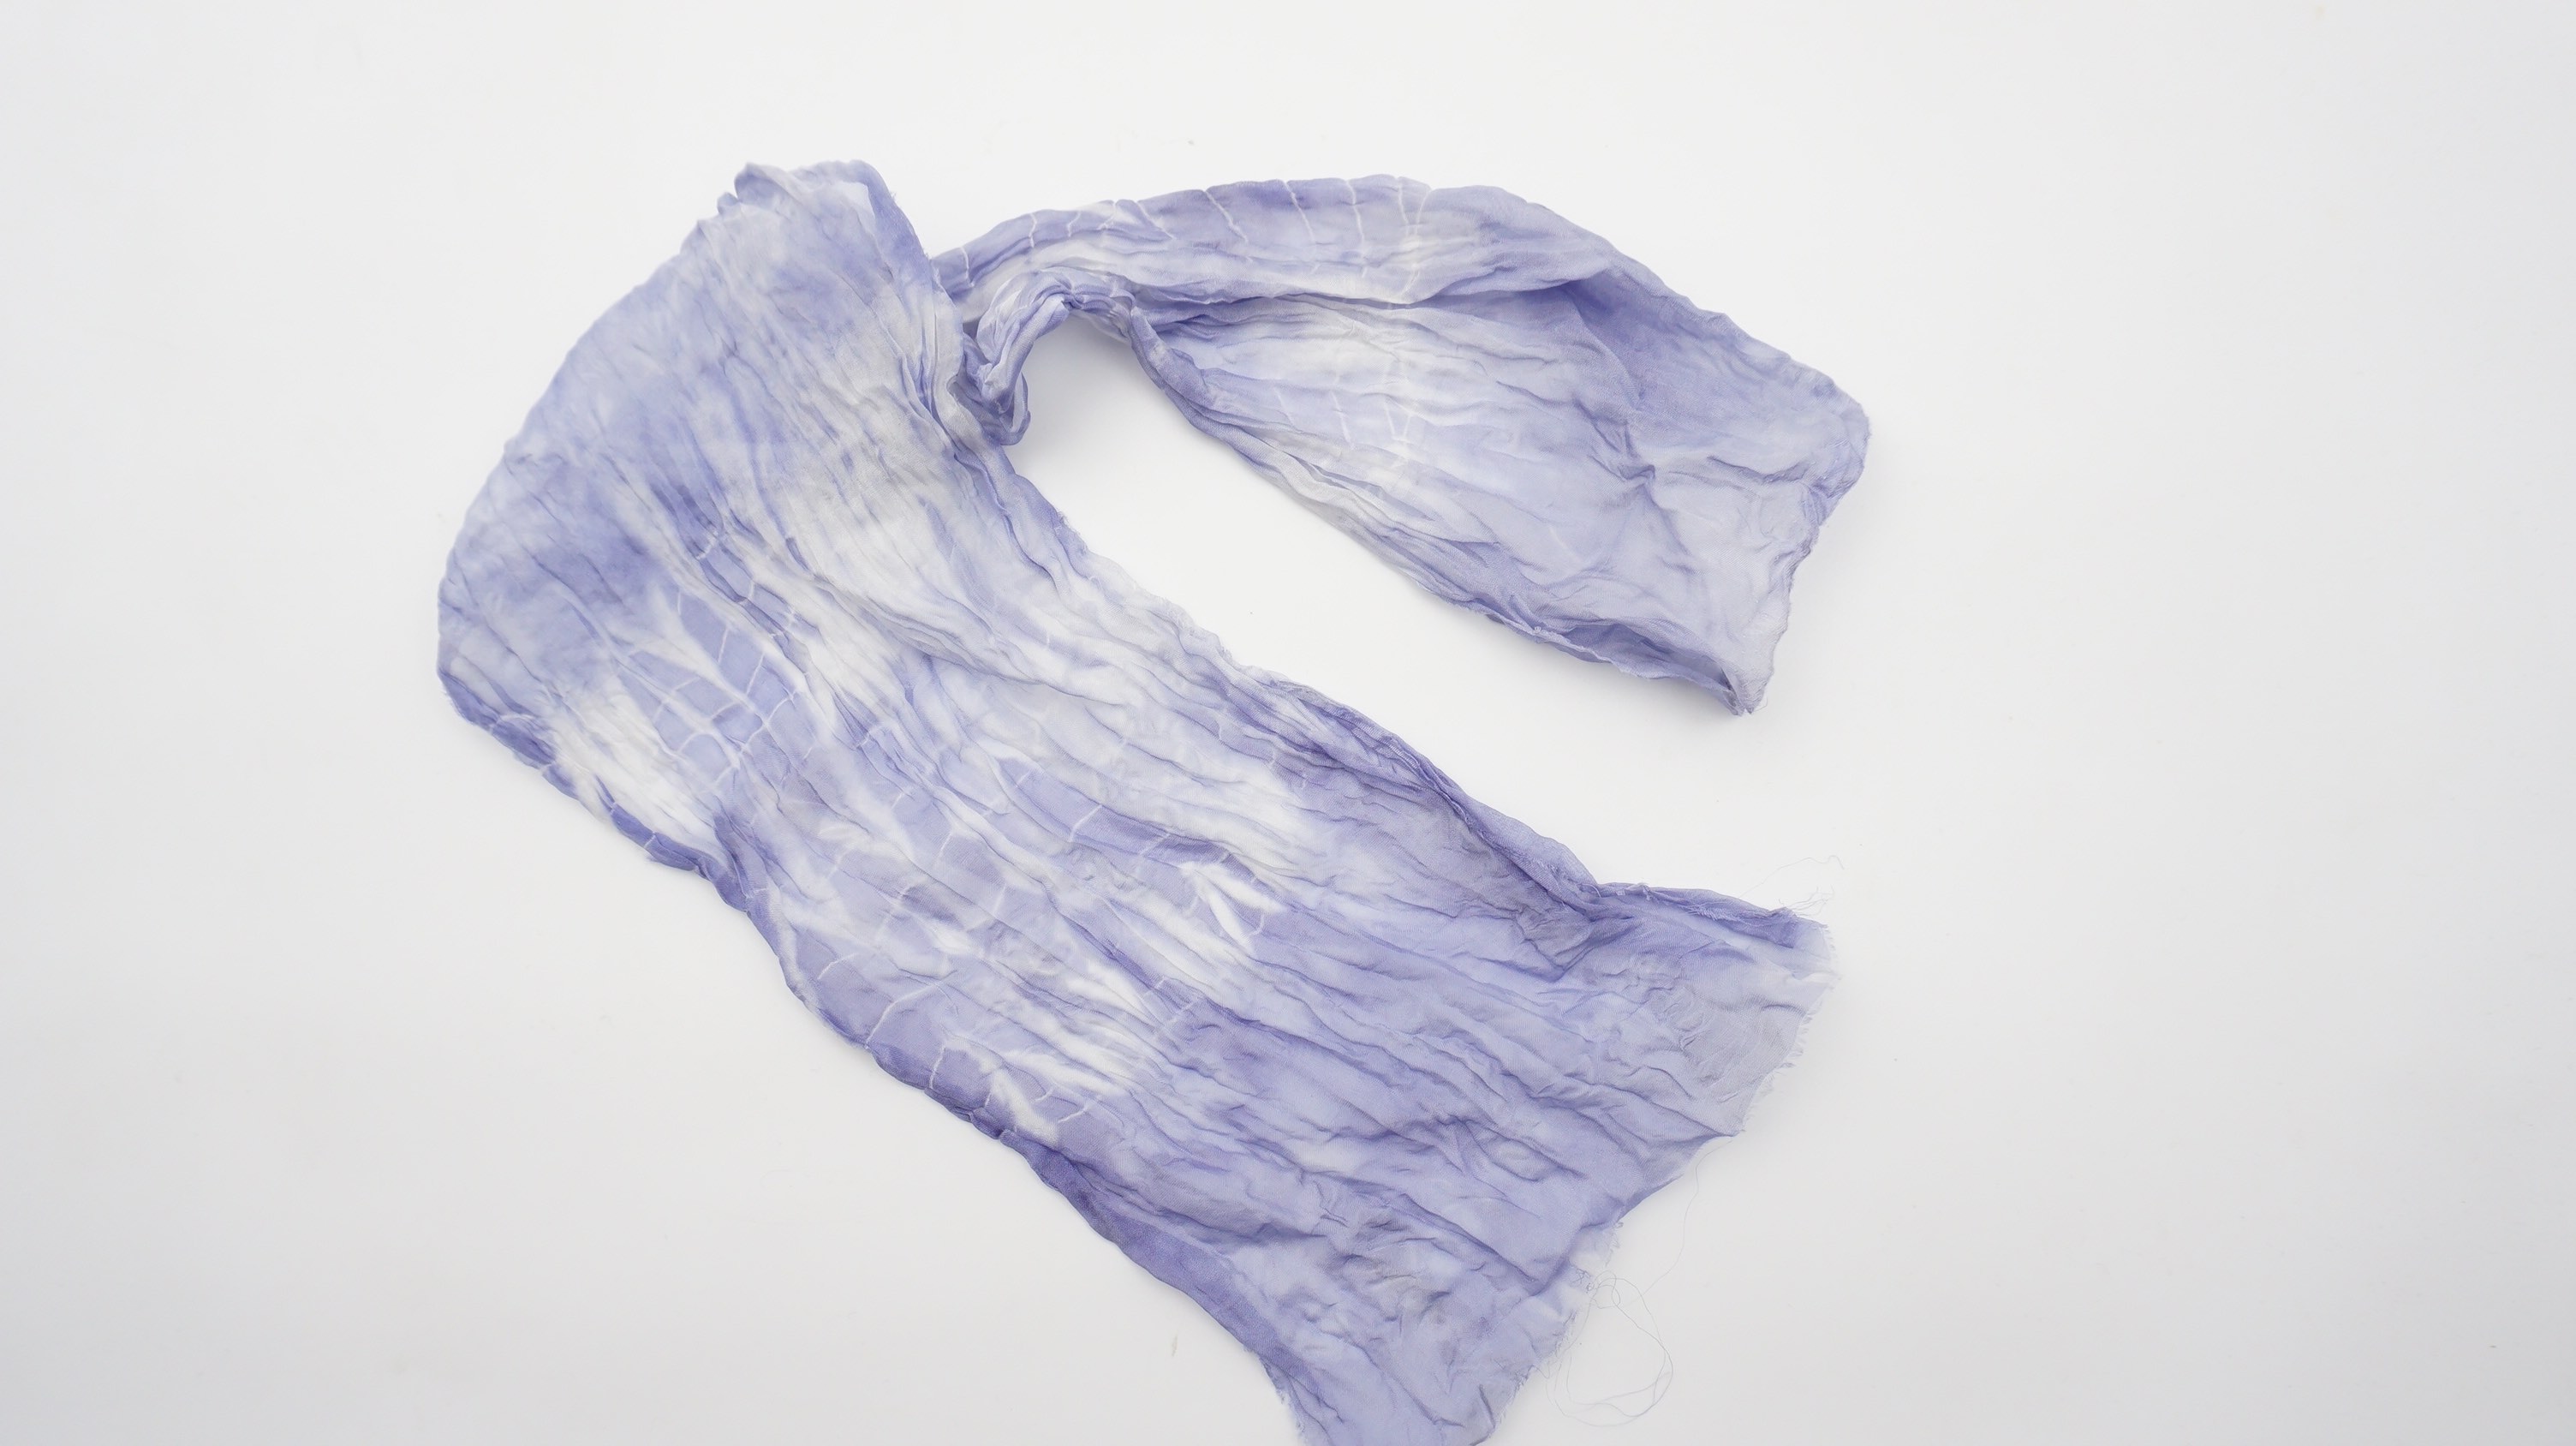
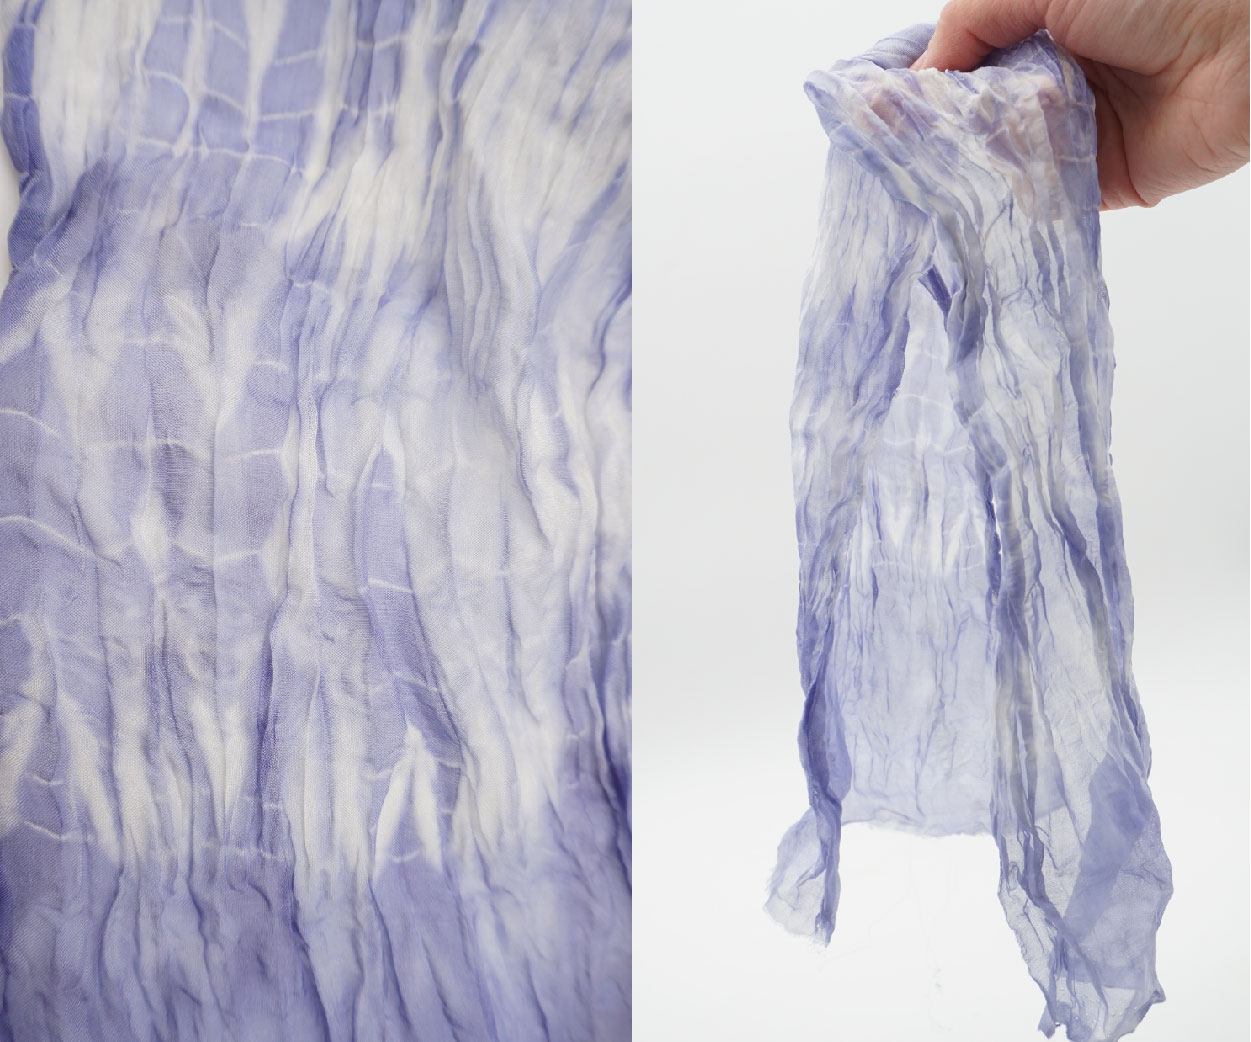
These are the colours we achieved, **the fabric here is wet so the colours were quite lighter than this when dry. A muddy dull brown of the iron mordanted fabric and shades of an earthy peach of the alum mordanted fabric.
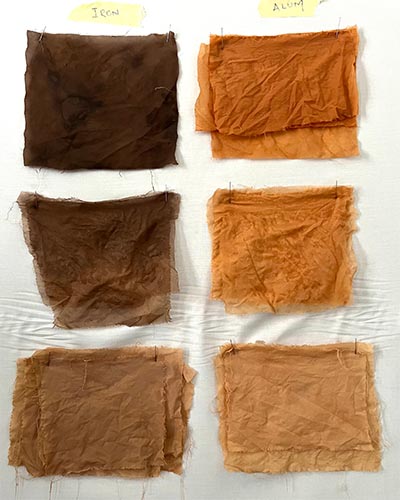
Here are the final shades after they have dried.
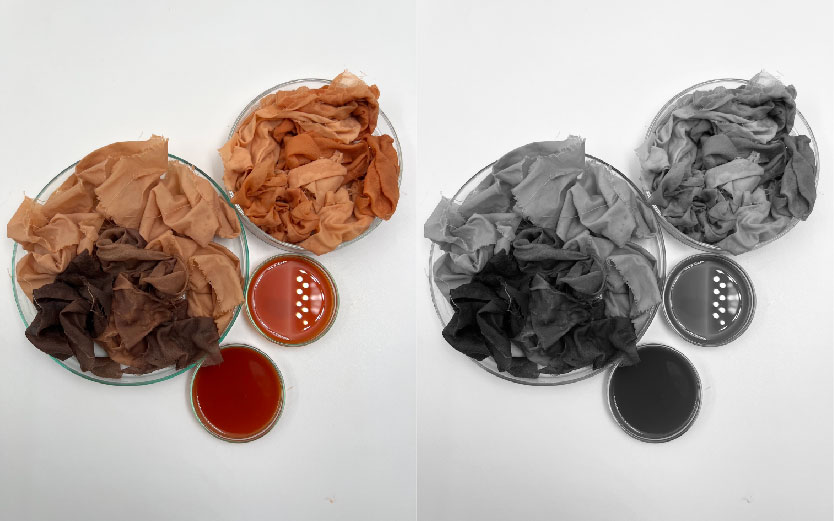
Step 5: Modifiying (NO change observed)
-
With Vinegar - To make the solution more acidic and see if we could achieve a pink colour we added vinegar to the some of the dyebath, added fabric mordanted with alum and let it simmer for approximately 2 hours and the left it in the pot overnight. There was no change in colour. We got the same colour that we got earlier.
-
With Sodium Bicarbonate - To try a basic solution we took some amount of sodium bicarbonate in a petridish and added hot water to it and then added one our dyed samples to it. No change in colour was observed.
Unfortunately, through our process we learnt that avocado dye doesn't change colour a lot, there are only limited colours that can be achieved with avocado pits. Dull Browns and Earthy Peaches in our case.
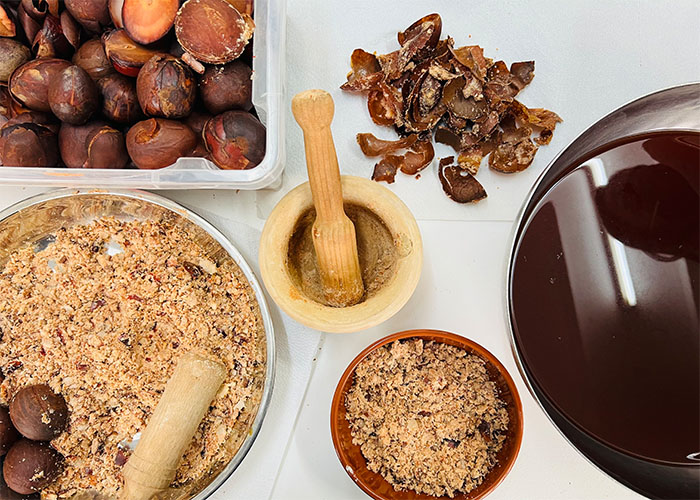
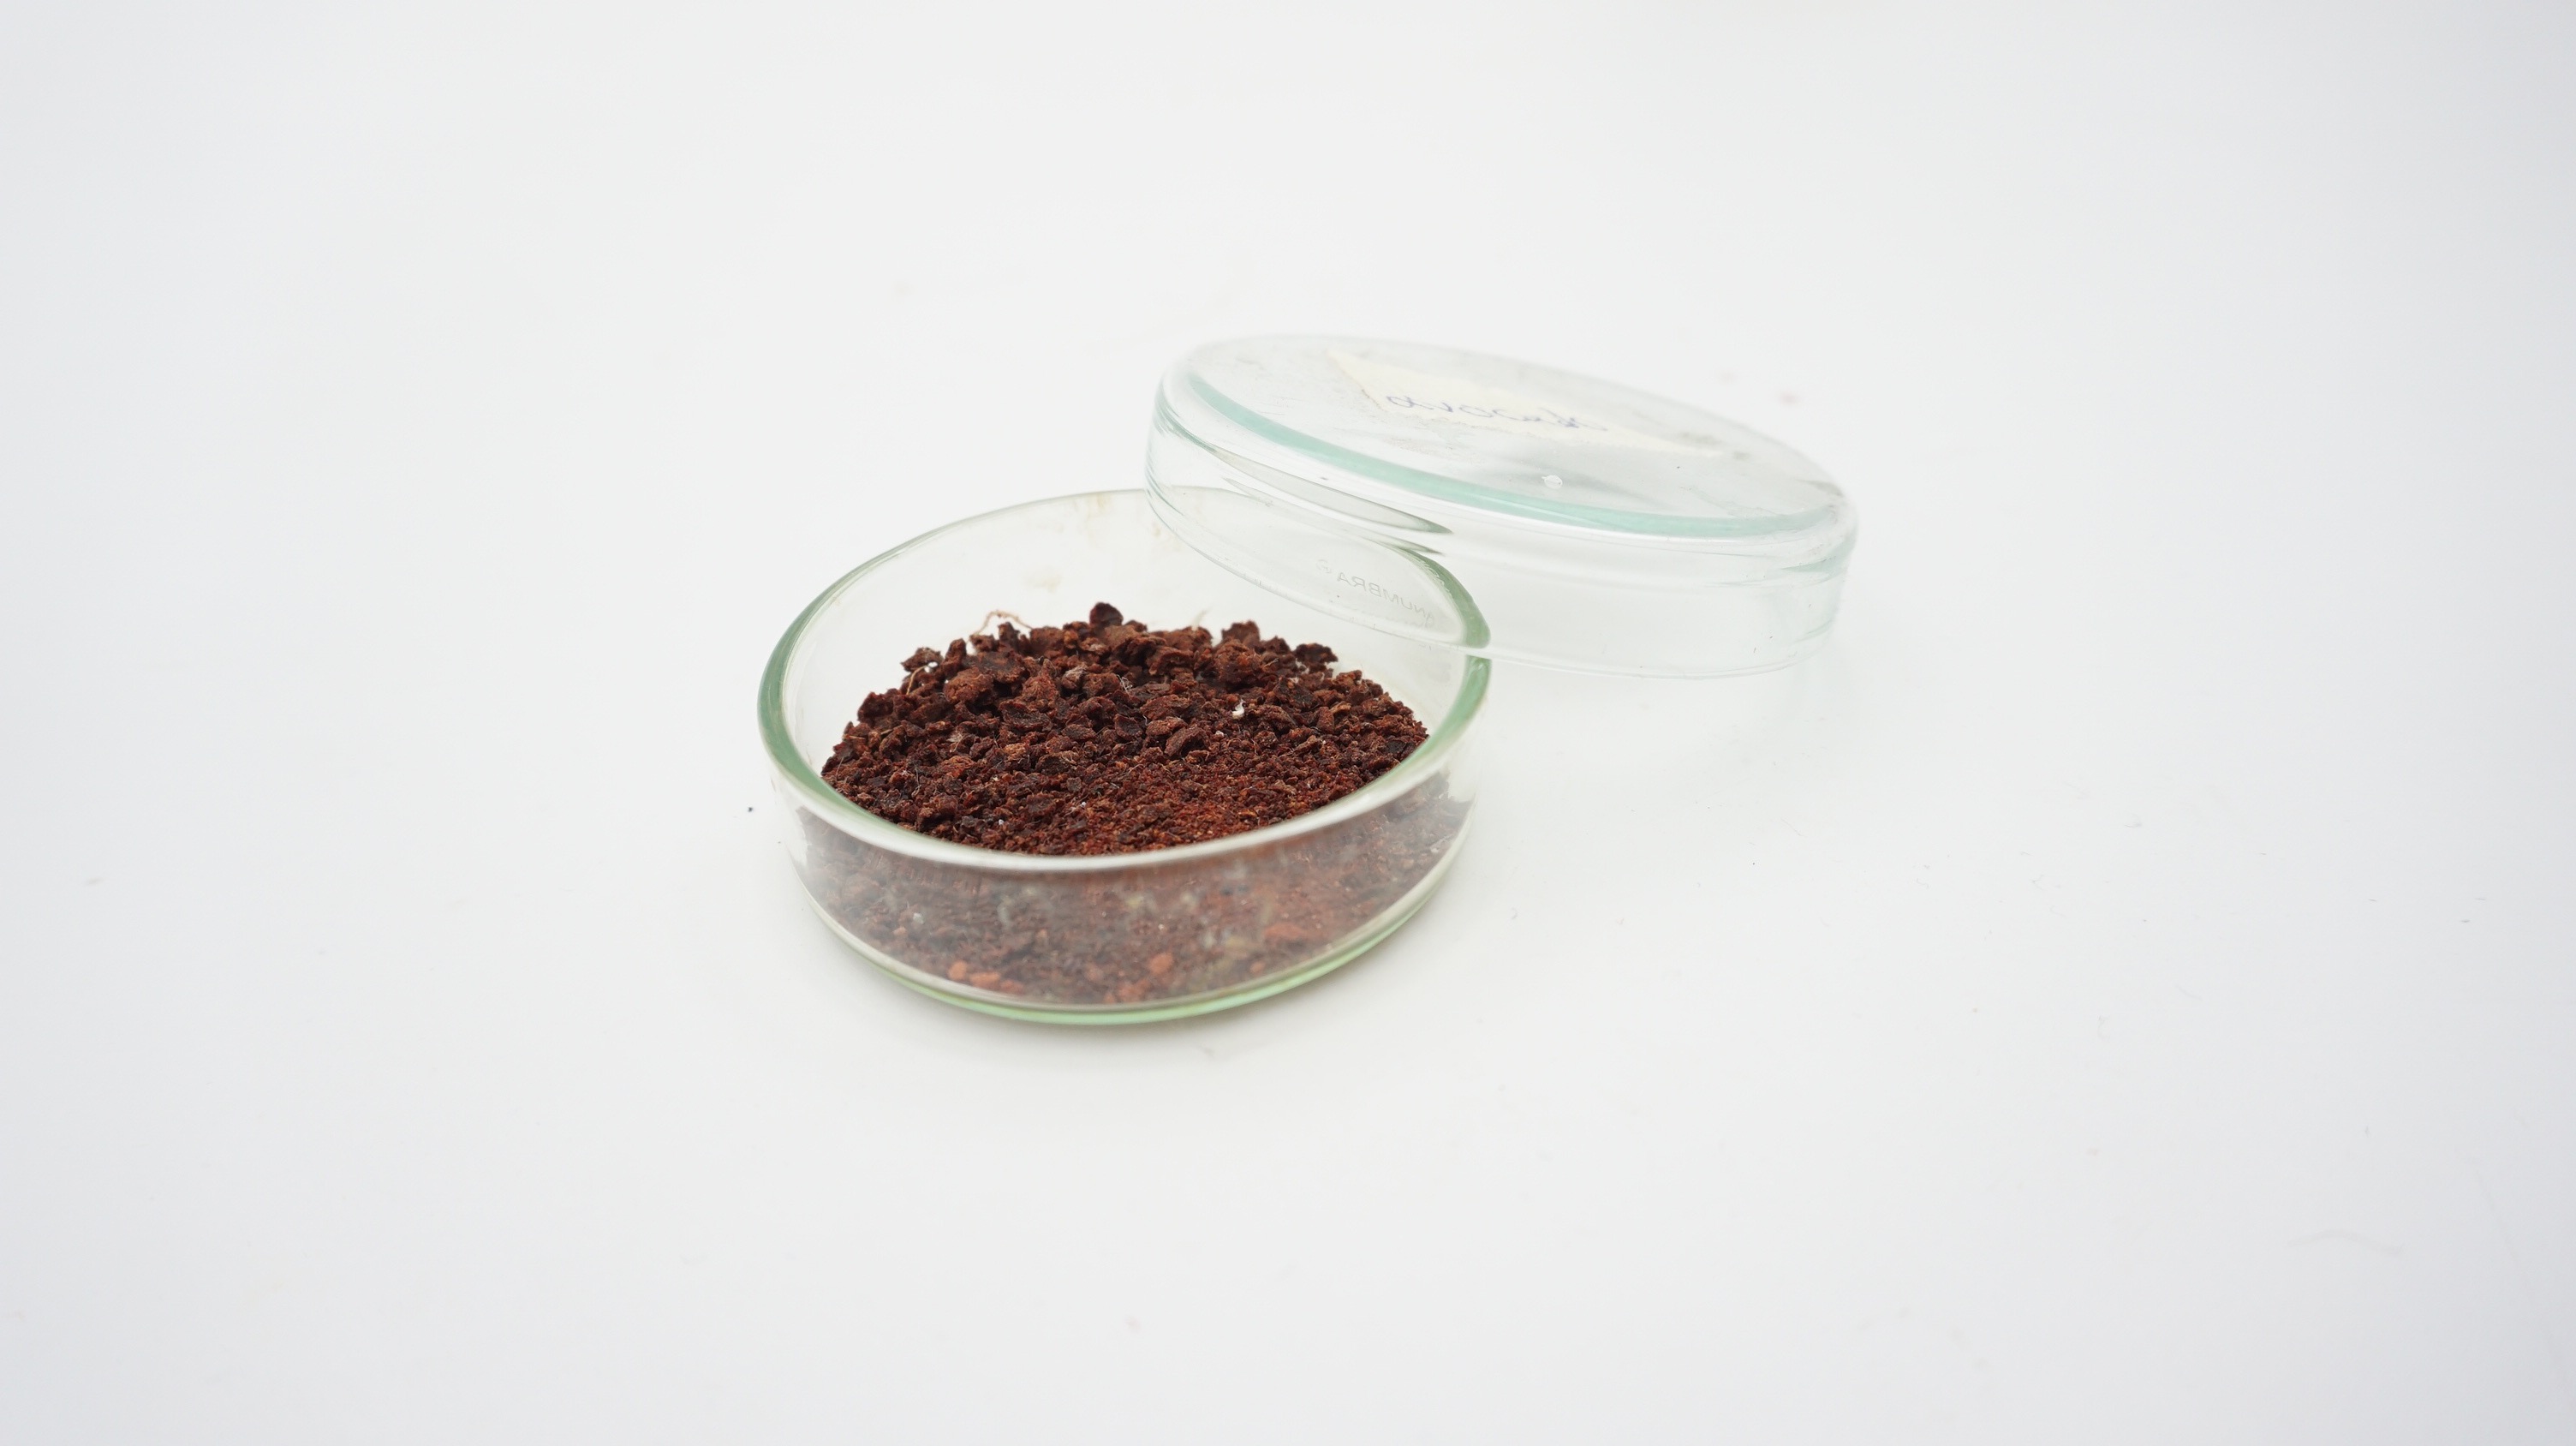
Making Pigment
-
Weight 18 g of alum and mix it with 100 ml of hot water. Keep stirring till it completely dissolves. Add the alum solution into the plastic cup with the dye leftovers, keep stirring.
-
Mix 6 g of baking soda with 100 ml of hot water, keep stirring till it dissolves.
-
Add the baking soda solution to your dye bath with alum slowly because there will be a reaction and a lot of foam might rise and fall out(Advise you to keep your container in a bigger container to avoid mess).

-
We left the mixture settle down overnight. You will see 2-3 cm layer of clear water and your dyestuff settled down below.
-
Place a coffee filter into the mesh strainer and pour the mixture inside to filtrate piecies of pigment from the water. The pigment sediments will stay on the surface of coffee filter which you can place into a dehydrator for 2h.
-
Leave this be till the filter seperates all the pigment from the dyestuff and then put it into the dehydrator to achieve your powder pigment.
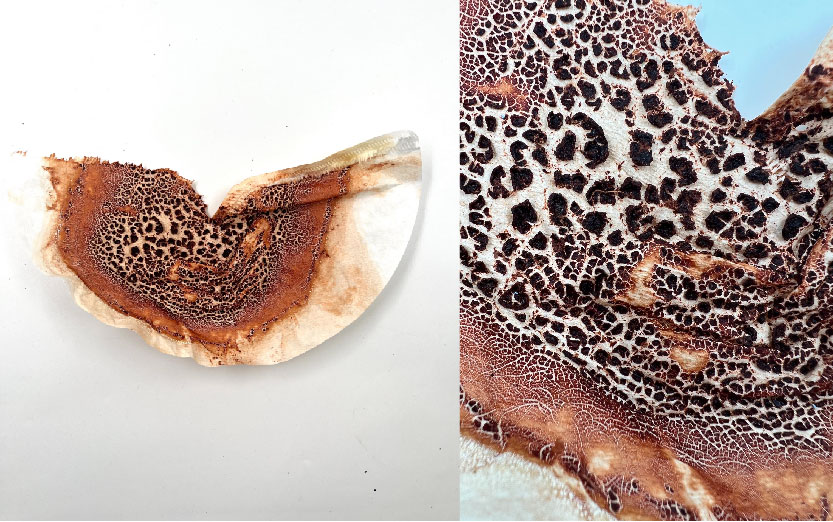
Bacterial Dyeing
First of all, we have to prepare our substrates where we are going to grow the bacteria, we have two ways to make this type of substrate:
Liquid Medium - LB Broth : To be able to grow the bacteria on the fabric.
Medium Agar - AGAR AGAR : To be able to reproduce the bacteria on several plates
Process
- Scouring: Place your textile in a larger pot (around 10 l) and add 2% of soda ash. Let it simmer for 1 hour. After 1 hour drain out the water and refill the pot with clean water. Simmer it again for another hour. If you want to use animal fibers you do not have to do this step. * Prepare LB Broth in a lab glass. Let the lid loose - do not close it completely otherwise it will explode in the pressure cooker. Before the pressure cooking put the fabric in a glass petri dish. Put LB Broth, petri dishes and all tthe tools you will use into a special plastic bag and then to the pressure cooker to sterilize them. (In Fabtextile's pressure cooker select option - CARNE and set the time to 2O min).
- Double check if there is enough water at the bottom of the pressure cooker. To do not melt your plastic bag.
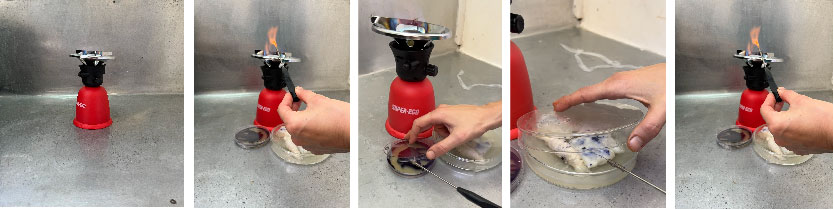
- Prepare your working place. You have to put the mini stove in the middle and light it. Pour alcohol in a circle around it and wait 10-15 minutes for a "safe bubble" to form around your workplace.
- When your pressure cooker is finished put it out. Keep everything it in the plastic bag until it will cool down.
- Put everything close to the mini stove and put the gloves on. Then disinfect your hands.
- Take the glass with LB Broth. Always use one hand to hold the glass with LB Broth and with other the cover of your petri dish with the fabric. * Open it only close and with the throat leaning towards the fire. Let the fire breathe for about 3 seconds. * After you can pour it onto the fabric in the petri dish. Lifts the cap of the petri dish only enough to pour the liquid into it. You have to do everything quickly to avoid the risk of contamination. * Take the inoculation loop and hold it under the fire till will get hot and red. With other hand open the petri dish with the bacteria. Touch the yellow part around the bacteria (medium) to cool down the inoculation loop. And then you can use it for bacteria inoculation. Do it gently with less pressure as you can and ttouch only the purple parts (no medium). * Transfer it to the petri dish with fabric with the inoculation loop. Try to do not open the cap of the petri dish too much.
- After the transfer put the inoculation loop back on the top of the fire. To kill all bacteria on it.
- Place your dyied fabric in the petri dish in to the fridge (around 25°C for 48 h).
- In two days you will see your result. If the bacteria did grow properly, maybe yoou put too much LB Broth. It is not necessary to put too much liquid. * You have to pressure cook everything again to kill the bacteria. Rinse the cloth in water.
- If you are not satisfied with your colours you can repeat all tthe process once again.-