6. BioFabricating Materials
THE MOST EXCITING WEEK OF THEM ALL!!
This week we worked with biomaterials. It was an extremely interesting week, how we can replace materials used today with bio-based/biodegrdable/biocompostable materials. I wanted to play with different textures and incorporating idfferent kinds of waste into the biomaterial. There are two major categories:
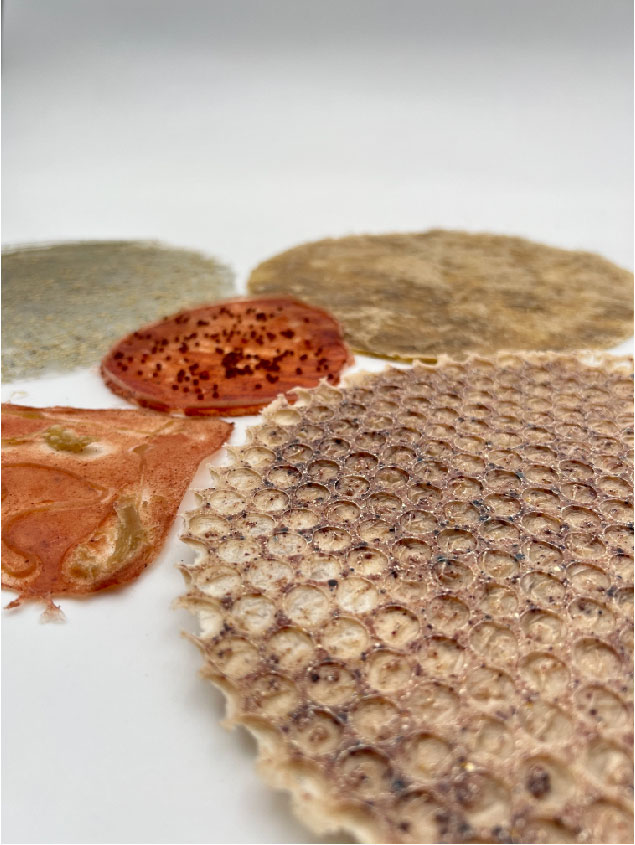
Crafted Materials / Bio-plastics
Gelatine
- Put your pot with water to heat
- Add ingredients one by one and keep stirring regularly
- Add pigment/dye in the pot for a better mix and spread of colour
- Always casted on synthetic materials because it's like a glue when liquid, it sticks to natural fabrics.
- Needs a cool temperature to solidify
- Elasticity varies with the amount of glycerine. Same amount of glycerine as gelatine gives most elasticity.
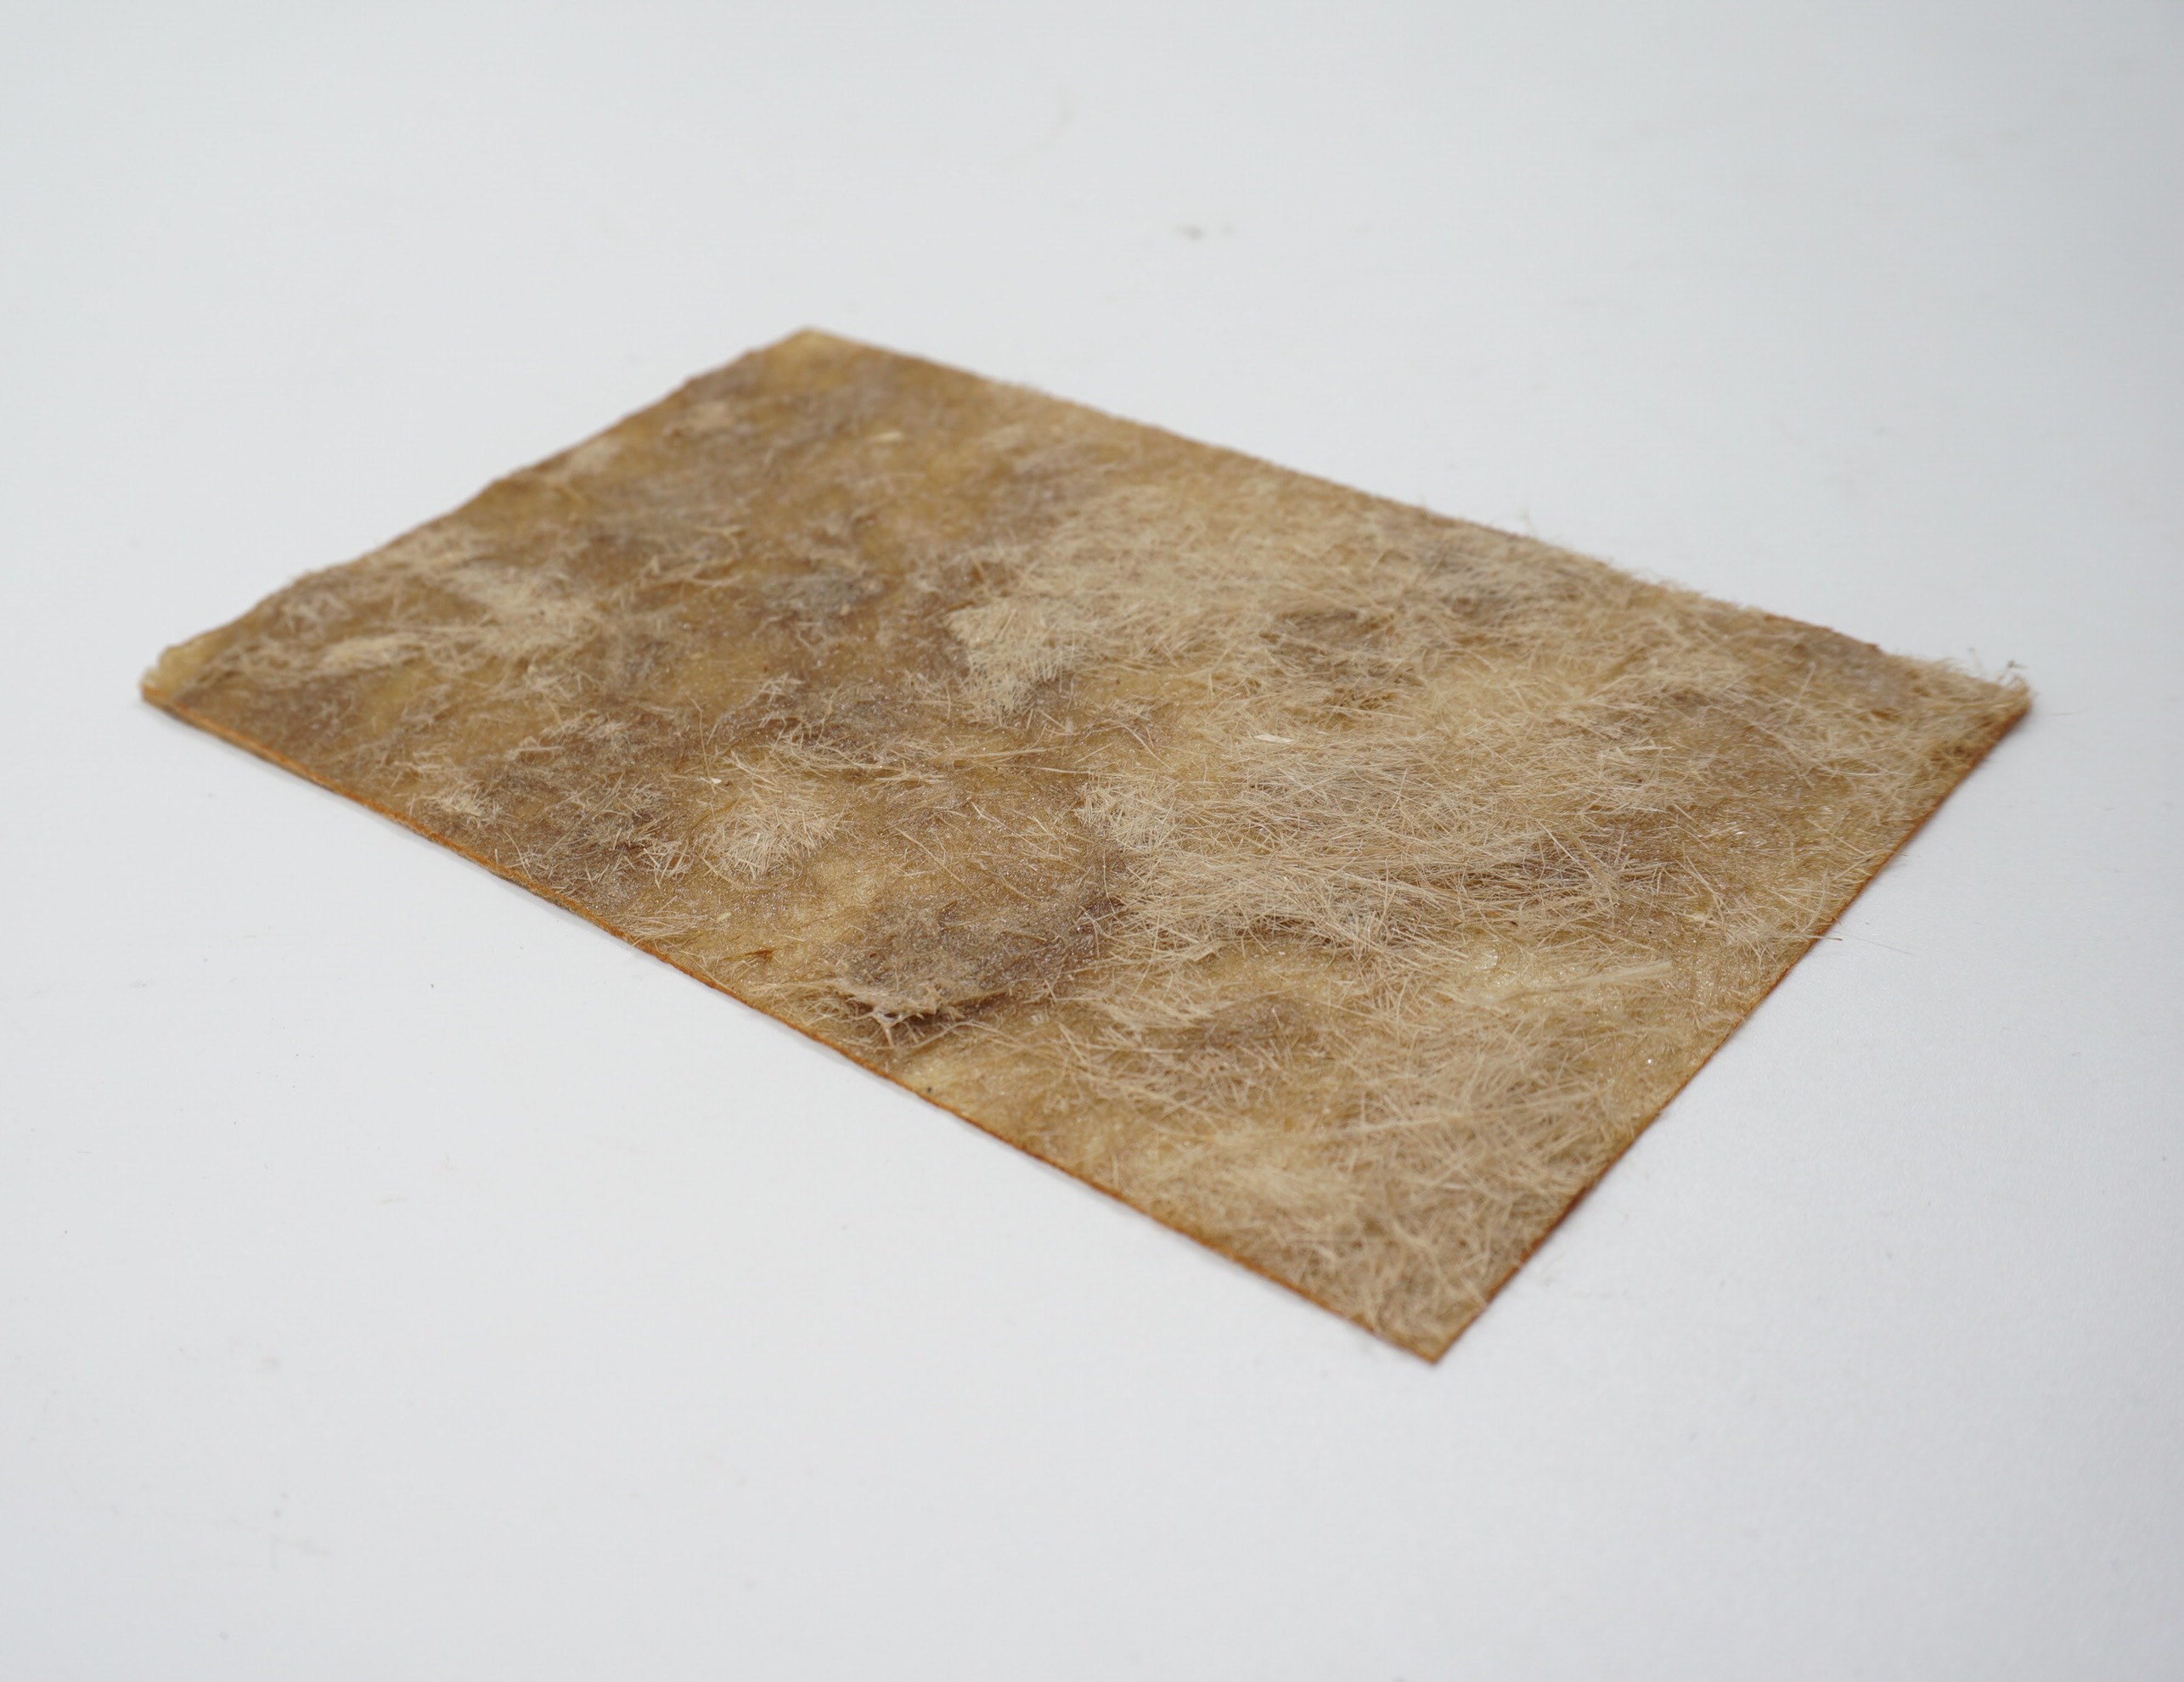
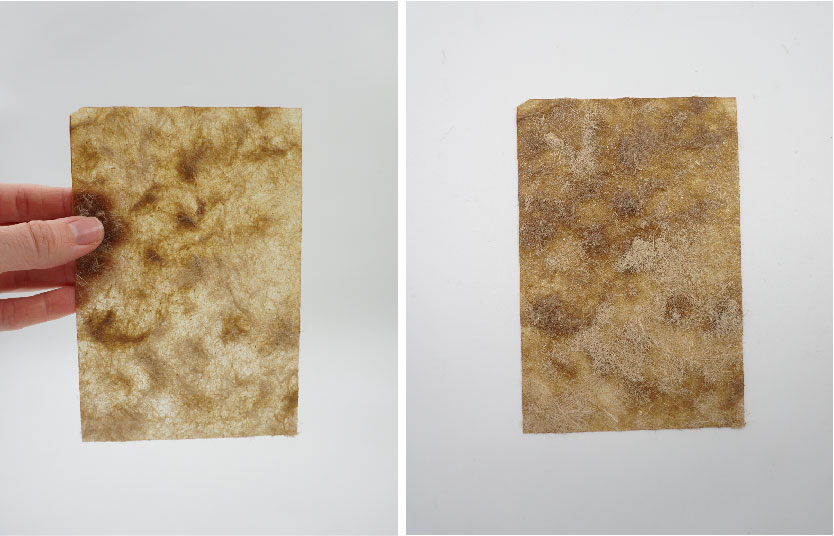
Gelatine + Hemp Fibres + Orange peel
RECIPE
240mL Water
48g Gelatine
48g Glycerine
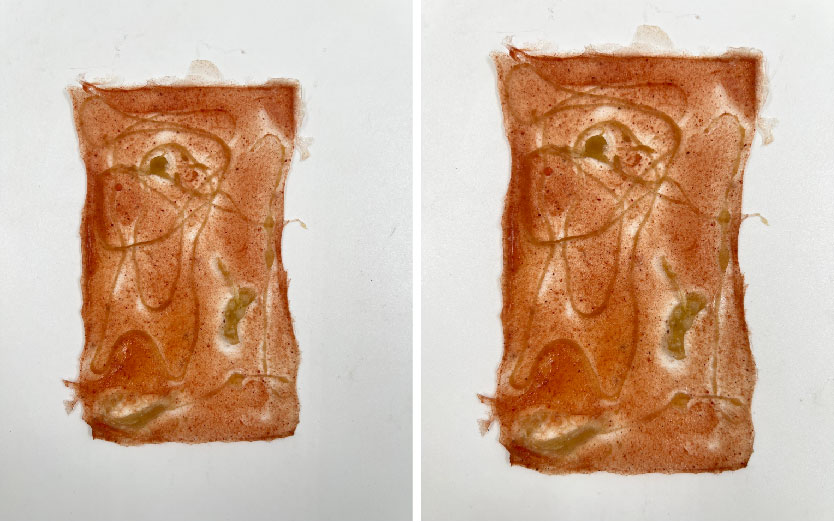
Gelatine + Avocado pigment + Titanium Dioxide + Green soap
- After performing the steps mentioned above take your solution in a jar and add green soap.
- Shake well, you will see a lot of foam being produced.
- Cast it with the foam.
RECIPE
240mL Water
48g Gelatine
48g Glycerine
Less than a gram of Titanium Dioxide
20g of green soap
10g of Avoacdo pigment sprinkled over
Alginate
- Made in cold.
- Add all your ingredients.
- Blend everything with a blender because it tends to form lumps.
To make it waterproof - Spray calcium chloride solution on your fabric/mould and dab it with tissue to remove excess. - Caste your material. - Spray over it with calcium chloride again and remove excess the same way.
Extrusion process - Make your solution of calcium chloride and water using the recipe mentioned below. - Take some of your alginate solution in a syringe. - Extrude it into the calcium chloride solution and you get threads/beads.
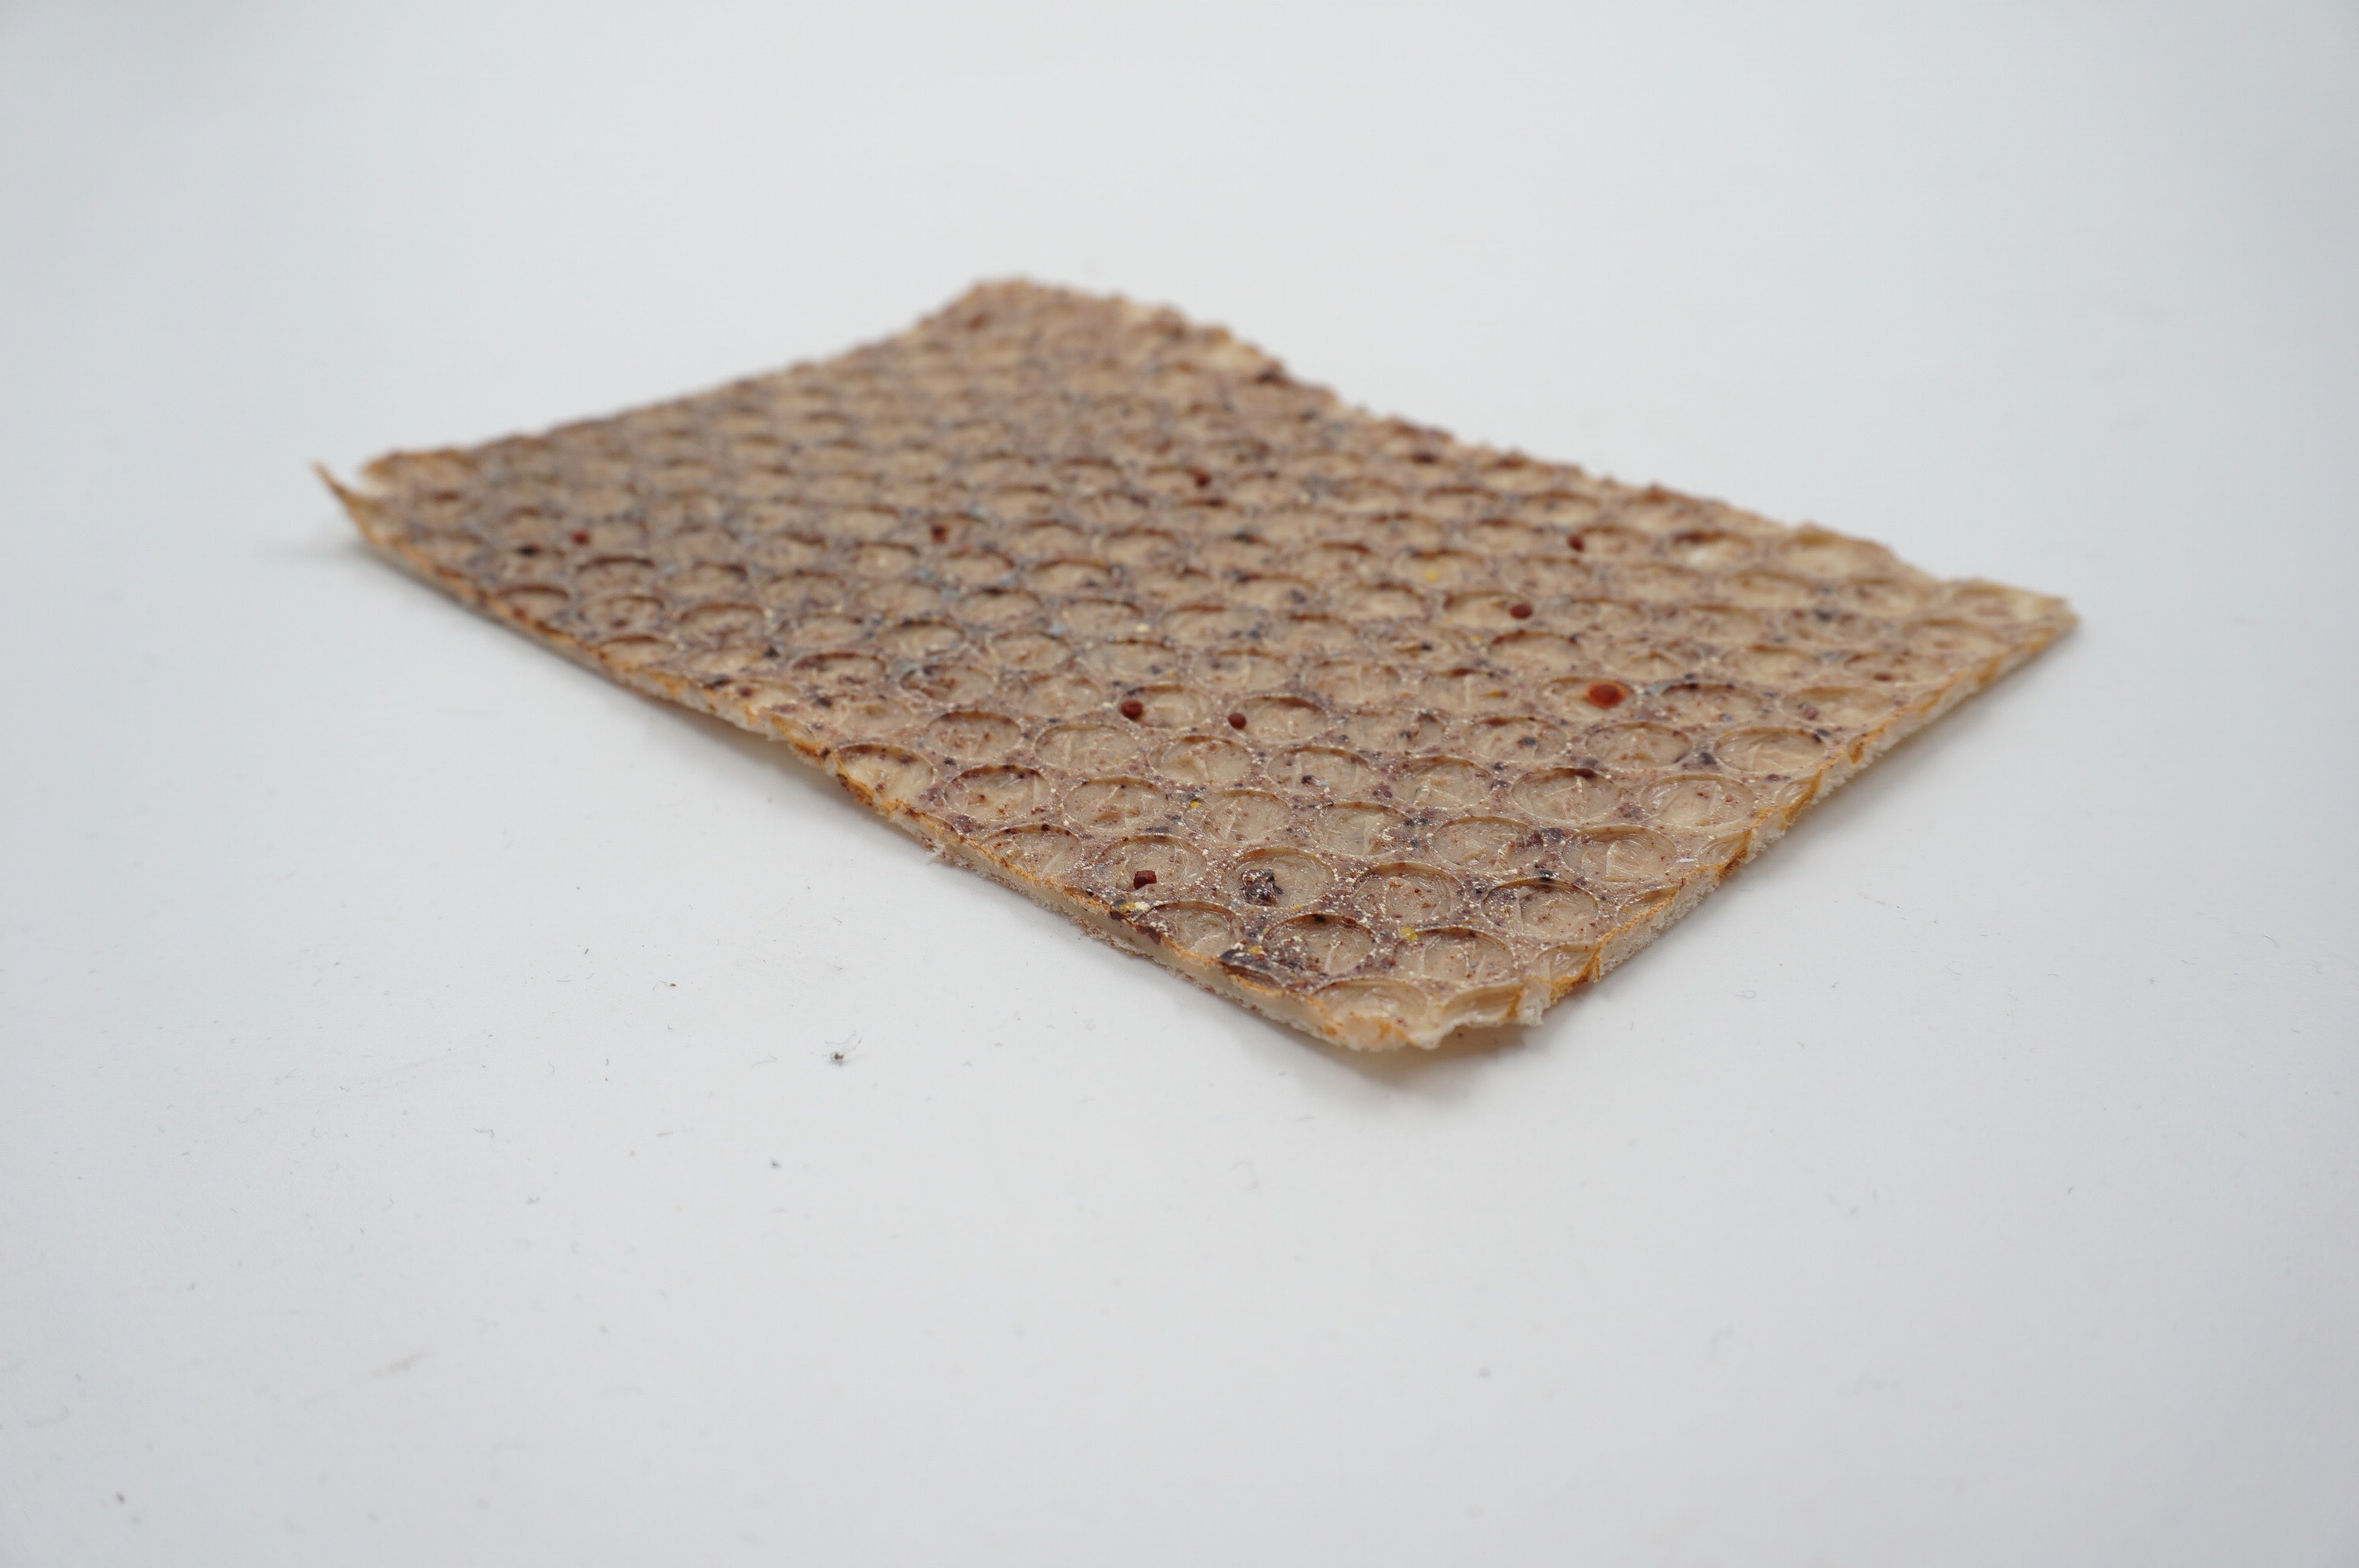
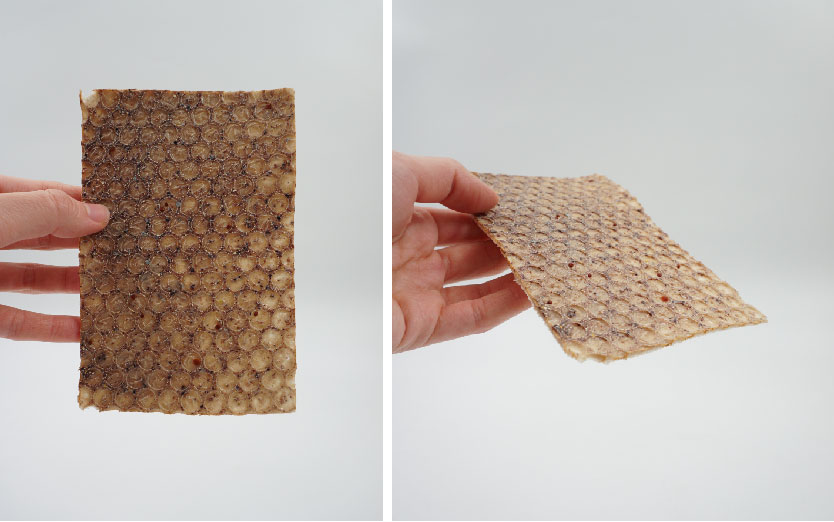
Alginate + Avocado pigment + Alginate threads extruded using Calcium Chloride
RECIPE
200mL Water
4g Alginate
8g Glycerine
20g of Avocado pigment
RECIPE FOR EXTRUSION
10G Calcium Chloride
100mL Water
Orange peel + Turmeric for the yellow colour
Alginate + Avocado pigment + Alginate beads extruded using Calcium Chloride
RECIPE
200mL Water
4g Alginate
8g Glycerine
20g of Avocado pigment
RECIPE FOR EXTRUSION
10G Calcium Chloride
100mL Water
Mica + Avocado pigment for the pink colour
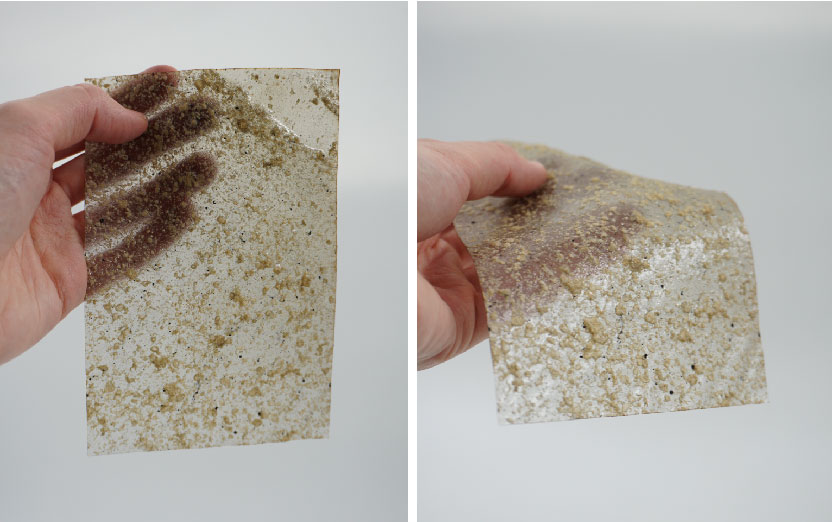
Alginate + Orange peel + Activated Charcoal
RECIPE
200mL Water
4g Alginate
8g Glycerine
20g of Orange peel
Less than a gram of activated charcoal

Agar
- Add all your ingredients in cold water.
- Start with low heat.
- Increase temperature bit by bit every 2 minutes.
- Within 4-5 mins you should observe a creamy texture thats when you know its ready to cast.
- Its very important to observe it constantly and cast it as soon as you see a creamy texture or it starts jellyfying.
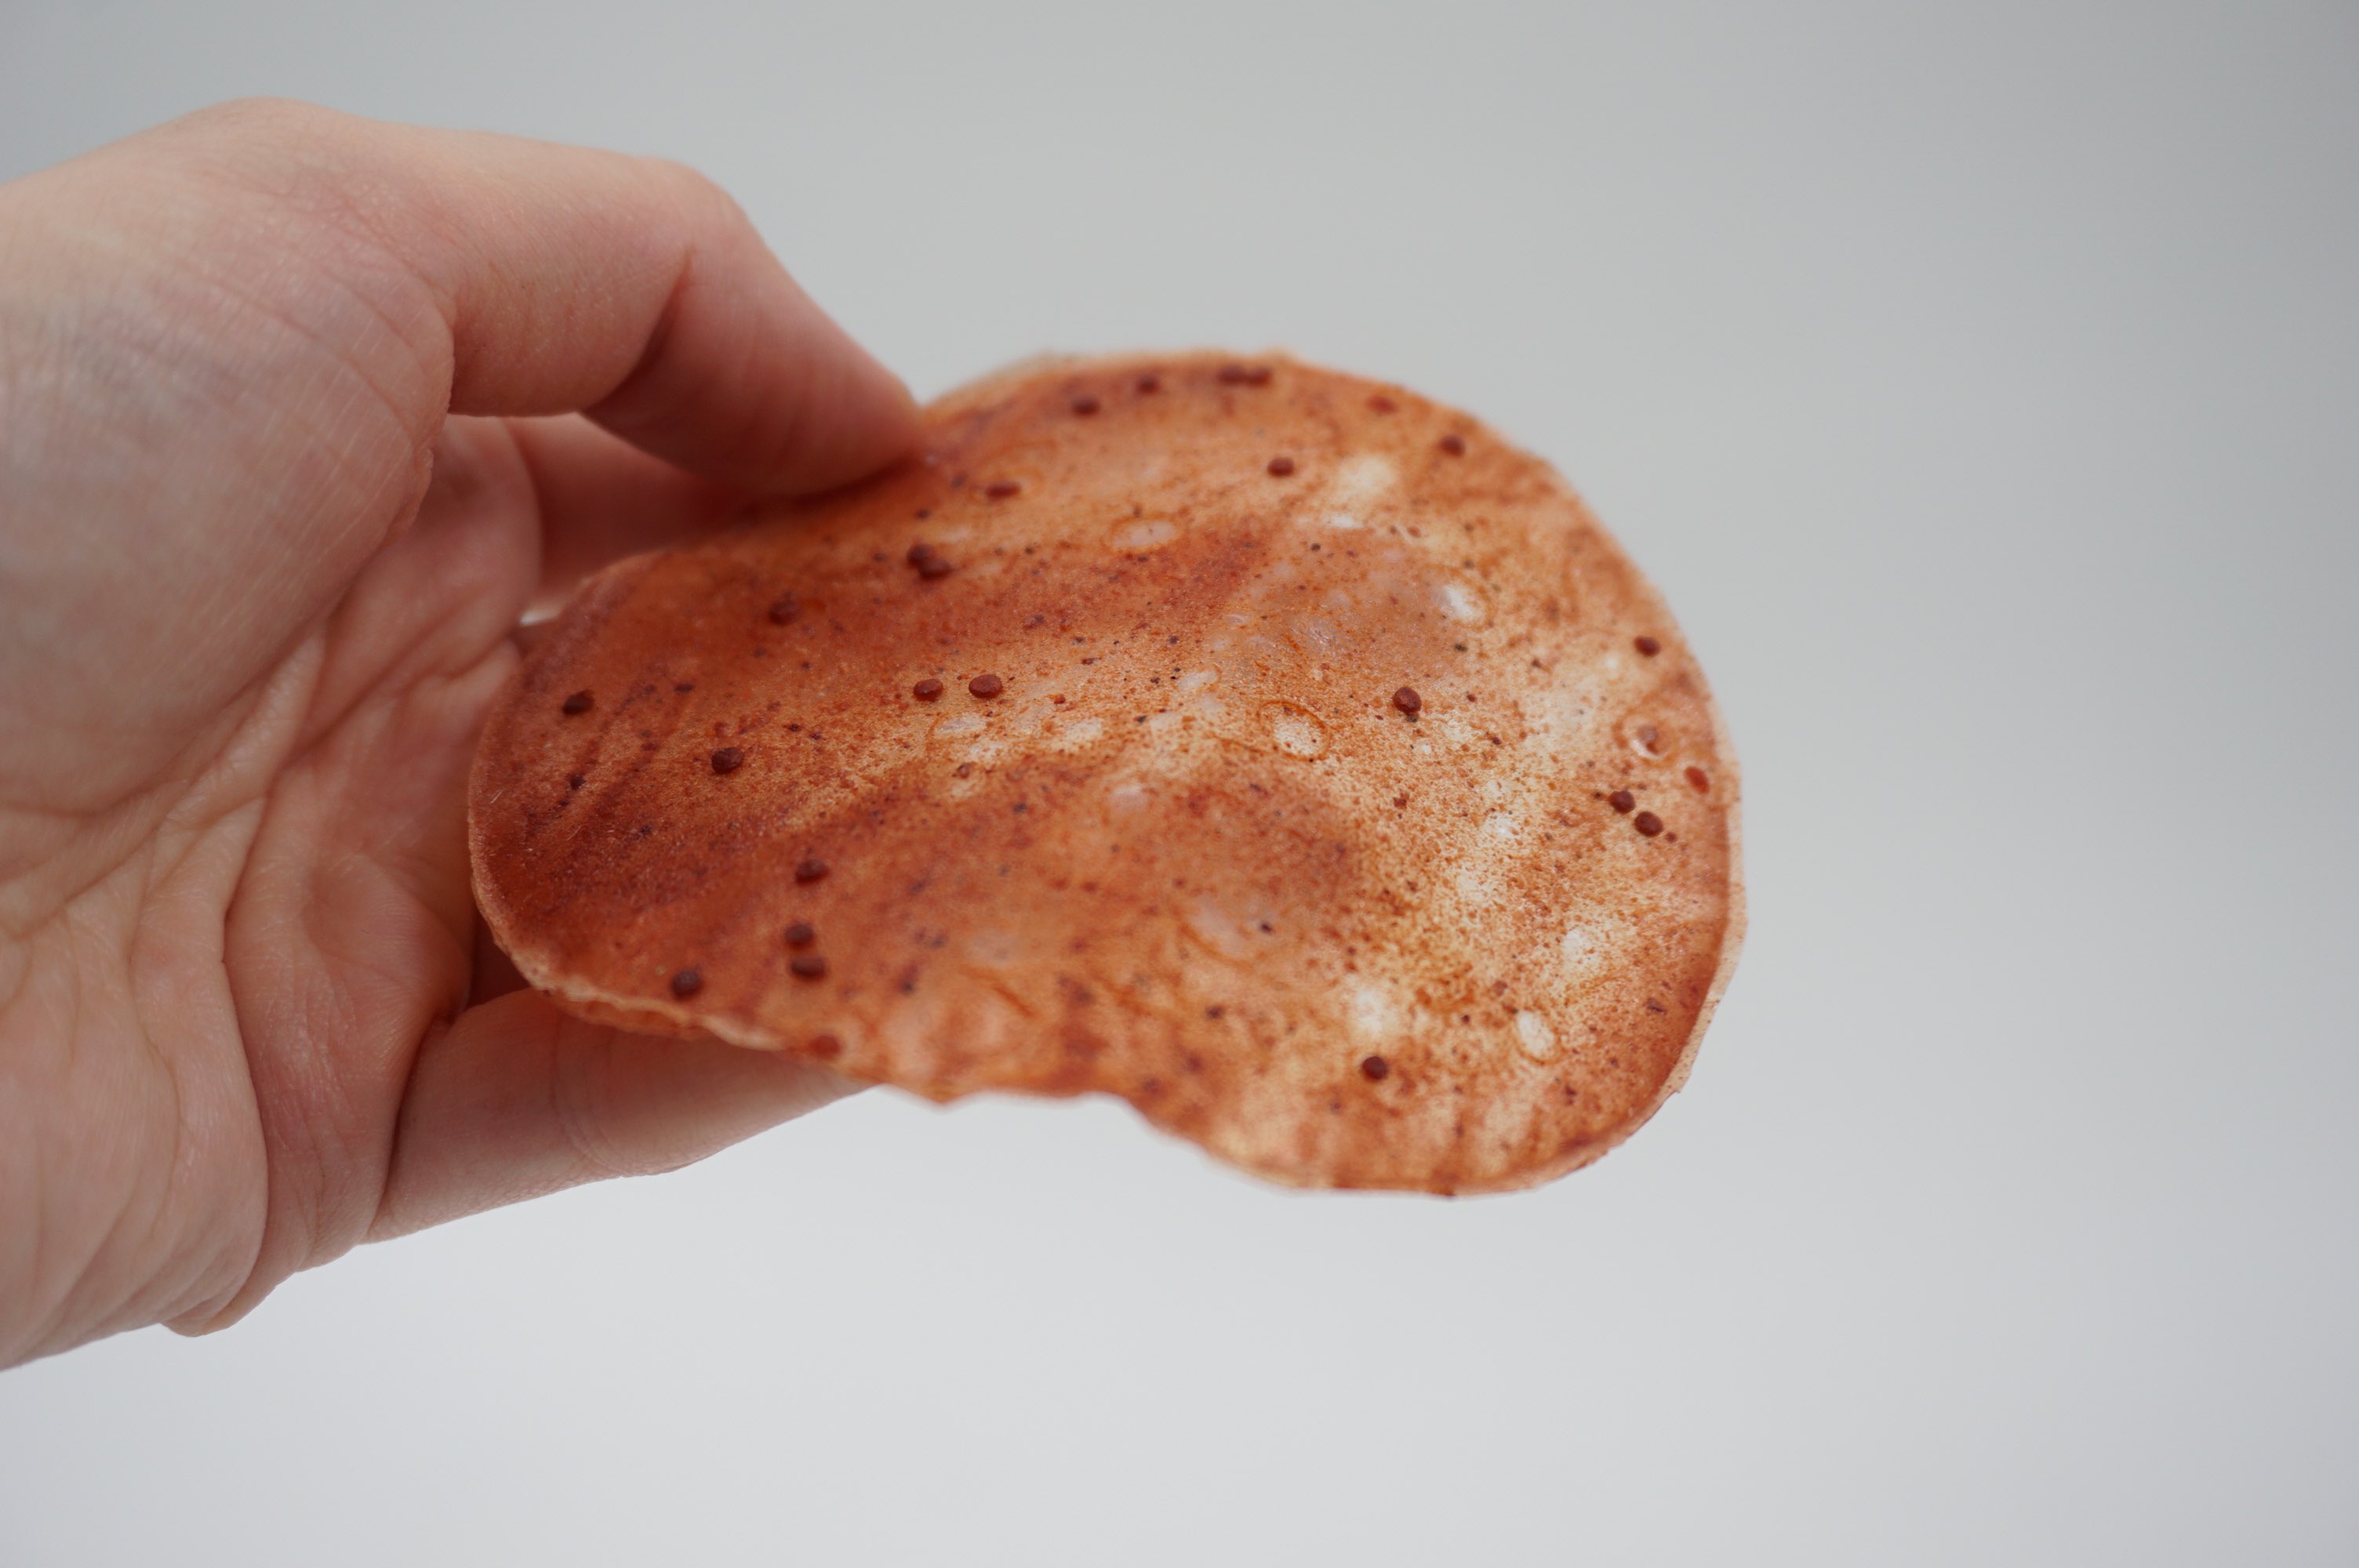
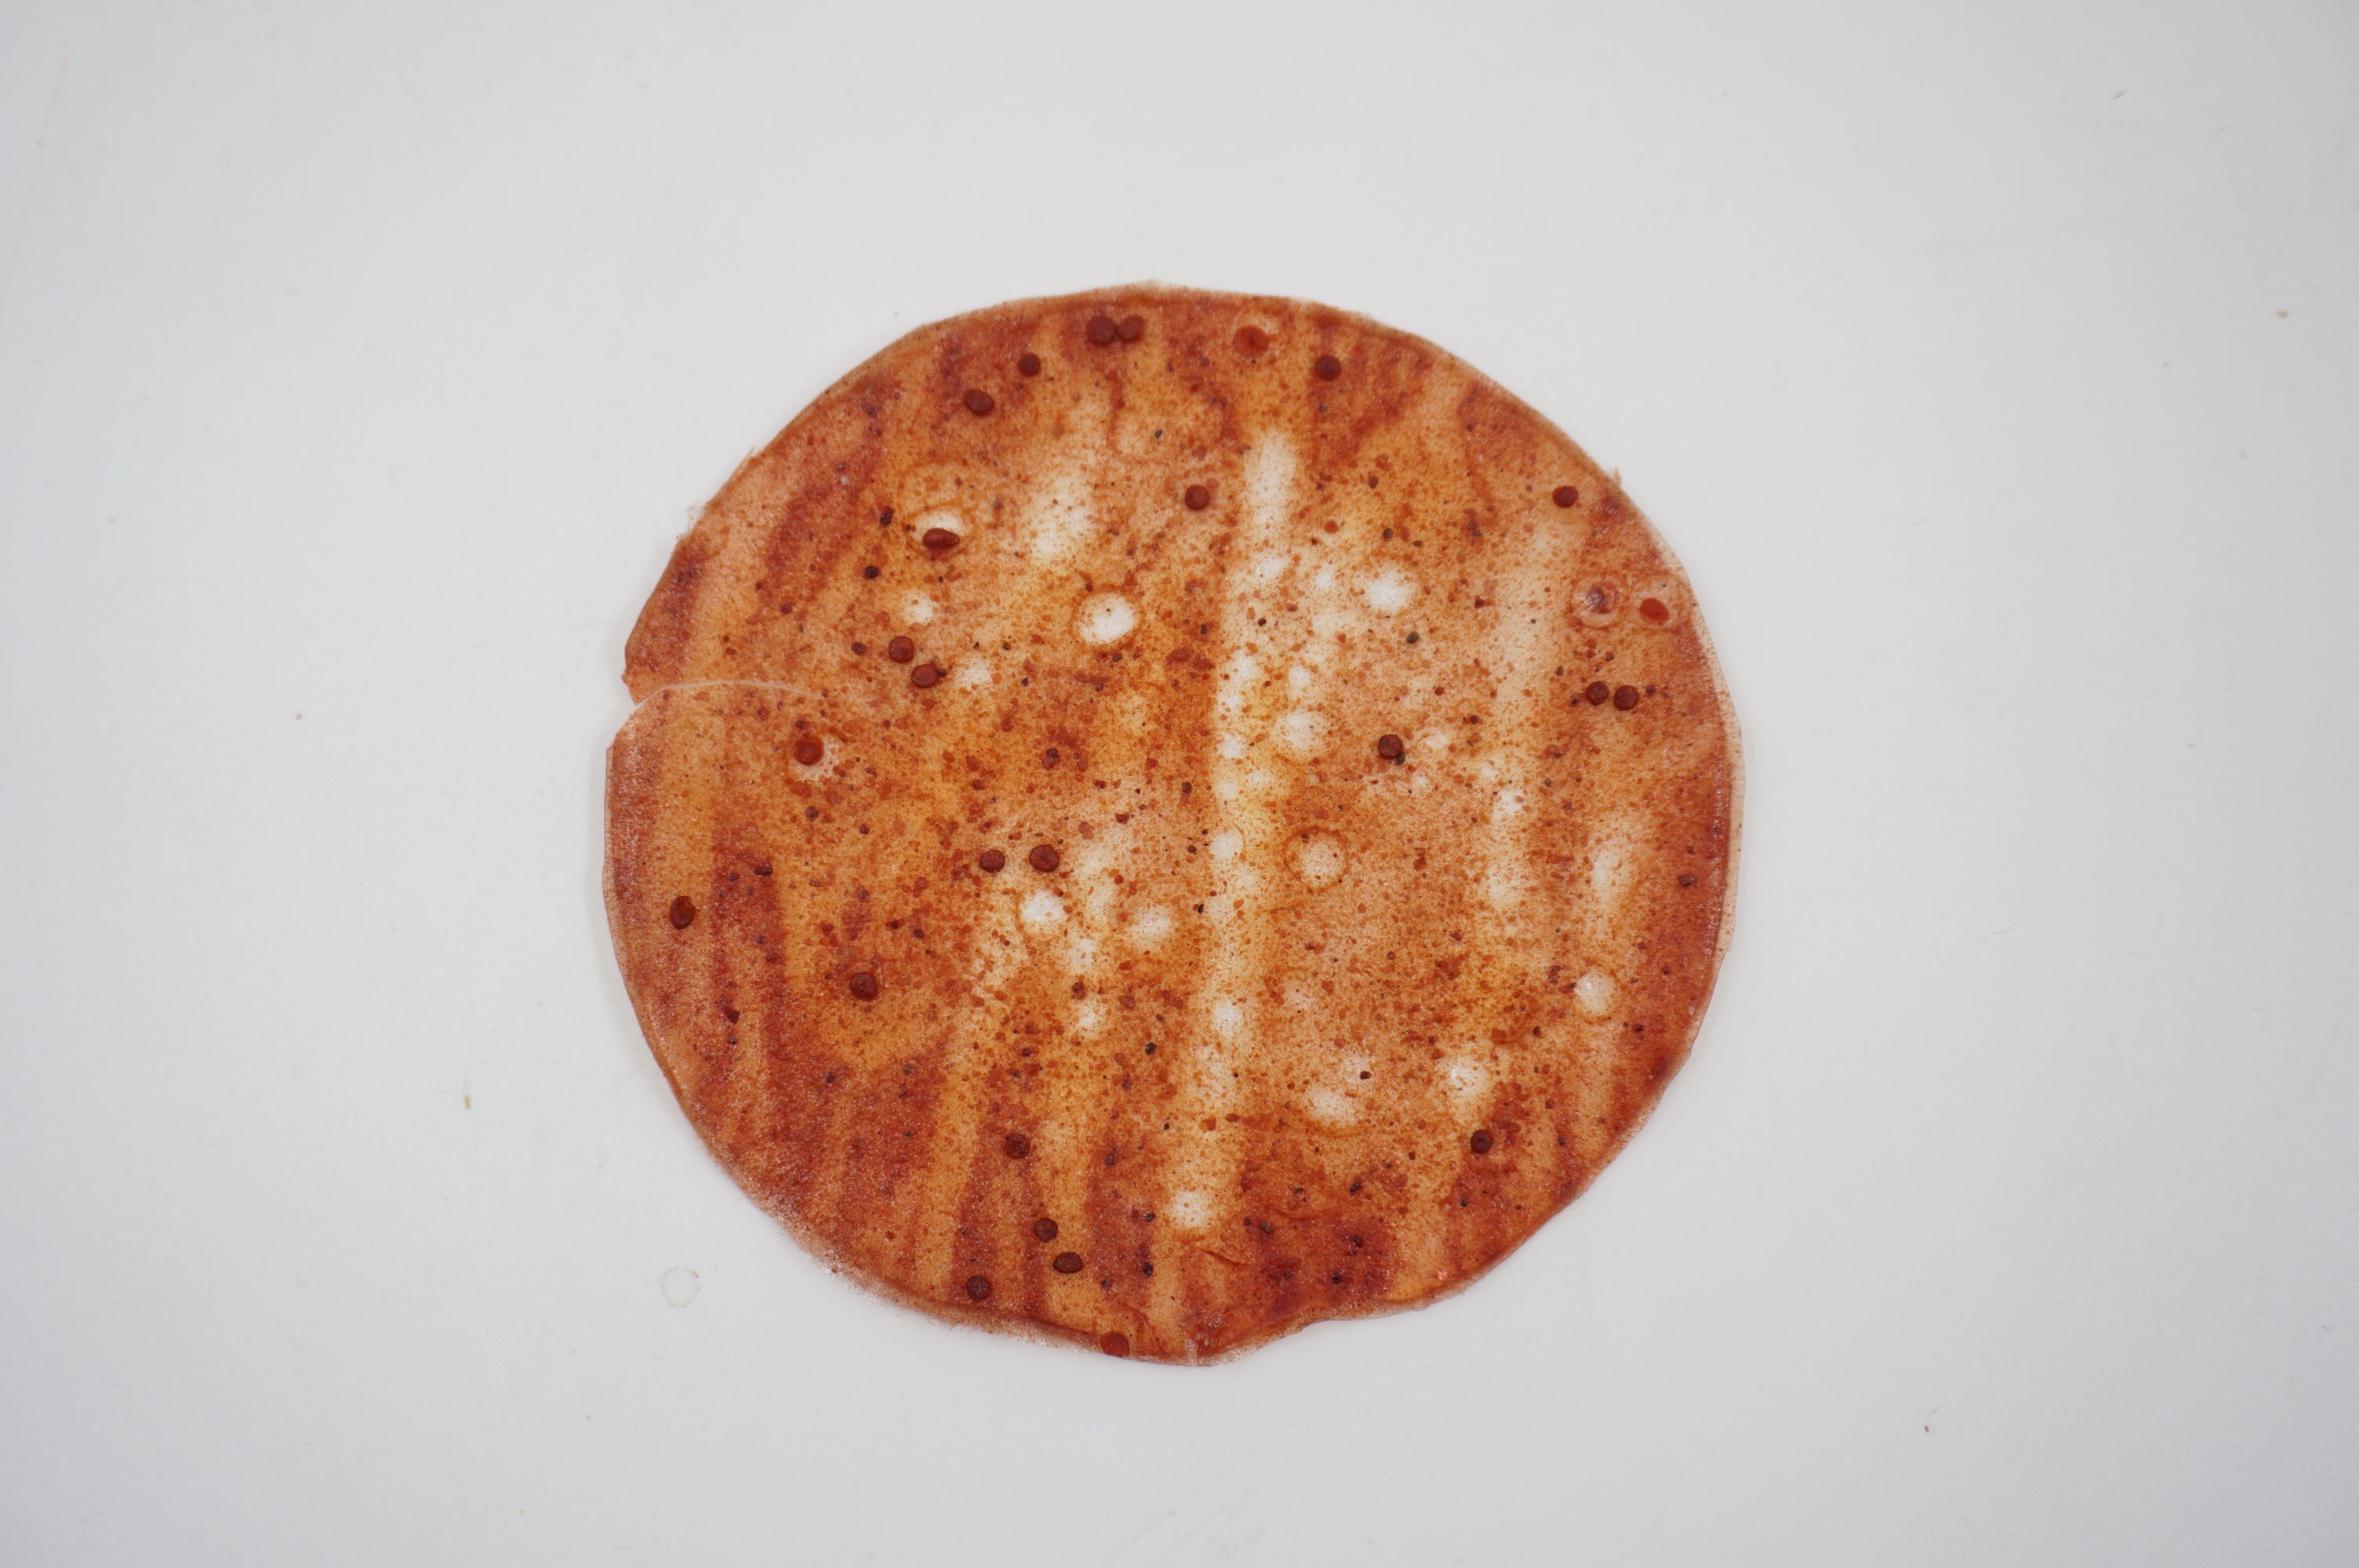
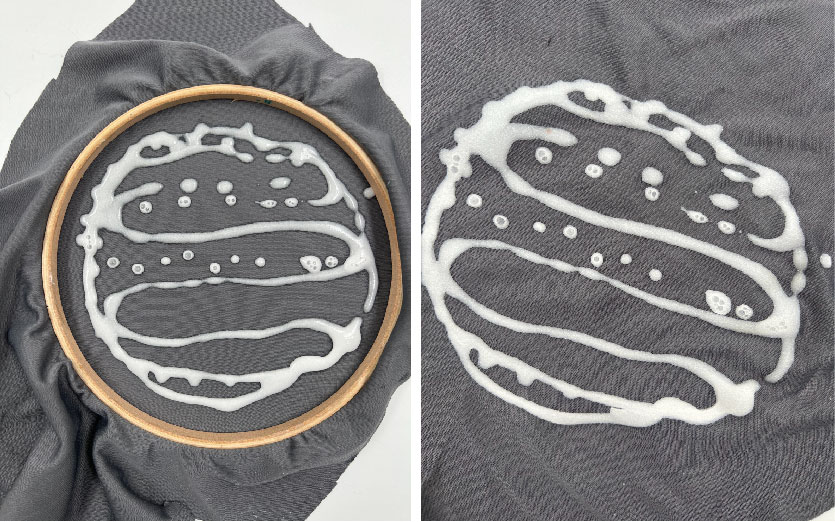
Agar + Titanium dioxide
RECIPE
300mL Water
10g Agar
32g Glycerine
1g Titanium Dioxide
My motive for this one was to cast on this extremely stretched fabric and let it loose when its dry. For that I stretched the fabric a lot and then put it in the ring. I wanted to caste it in a pattern and for it to shrink when I remove the ring but it did not work out. Firstly, gelatine is a better material to use for this technique because it sticks to the fabric and secondly, the elasticity should be very less so that it doesnt expand a lot. I definitely want to try this technique more it was extremely interesting.
Grown Materials / Mycellium
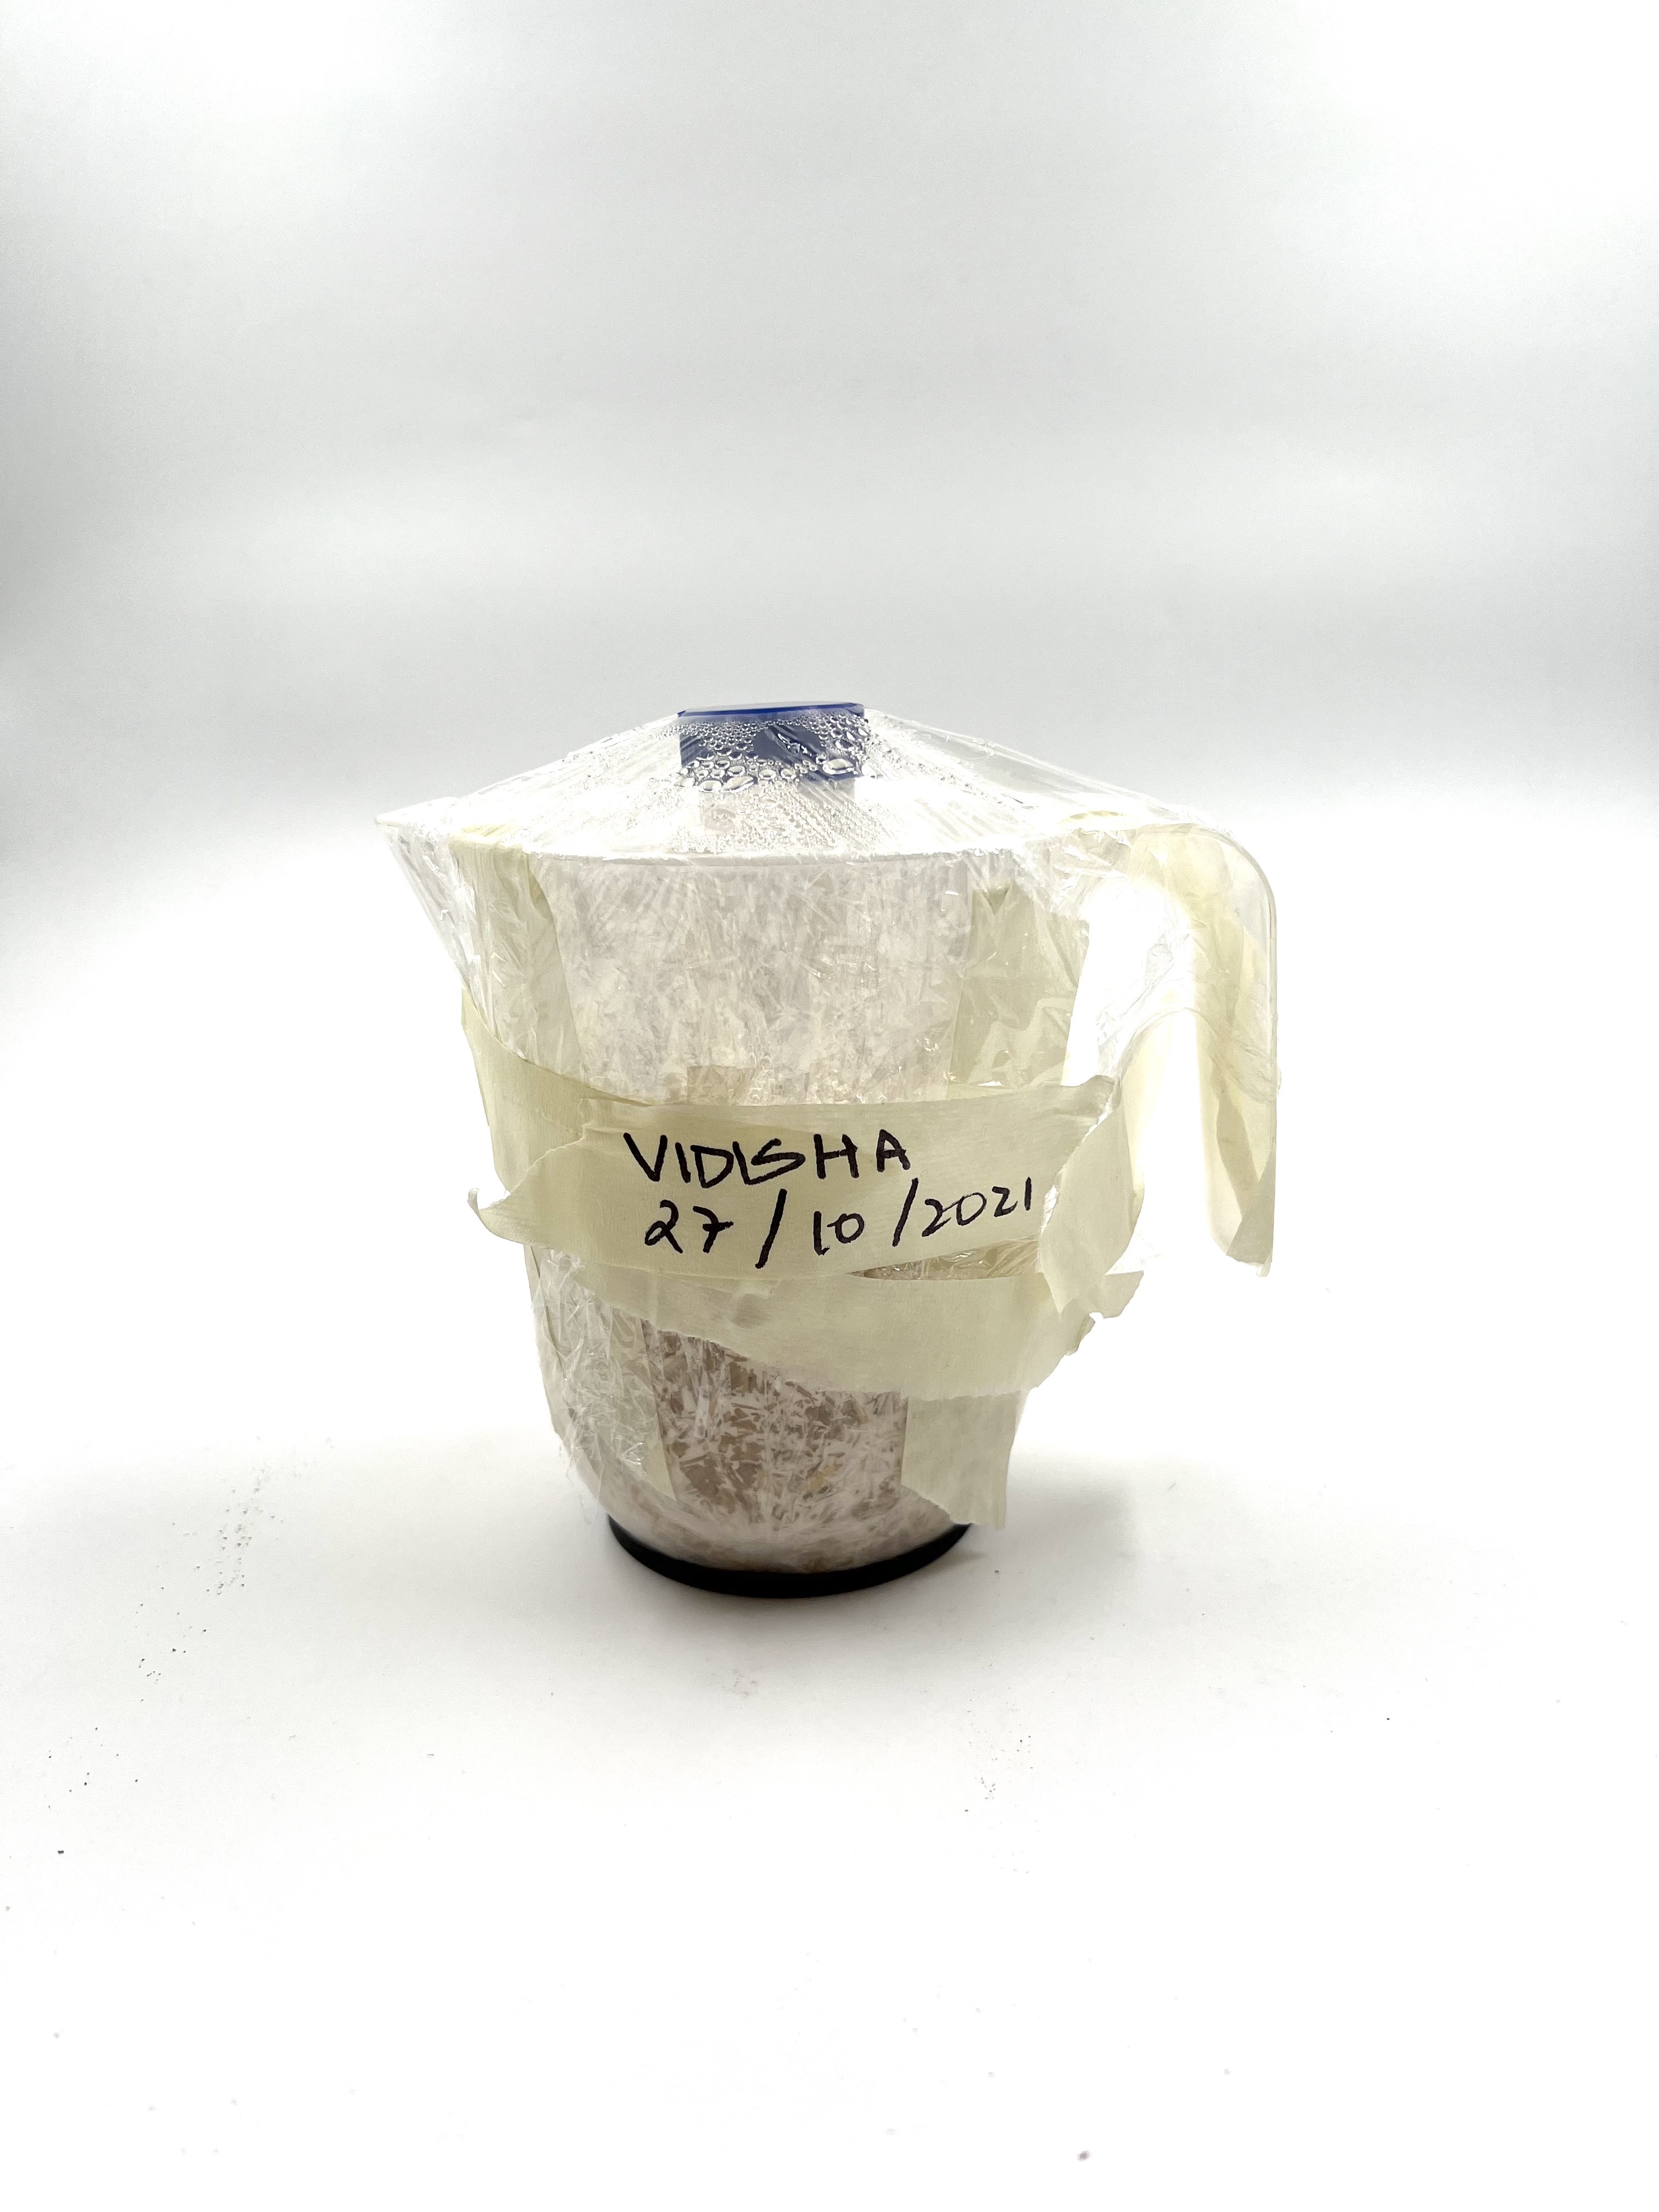
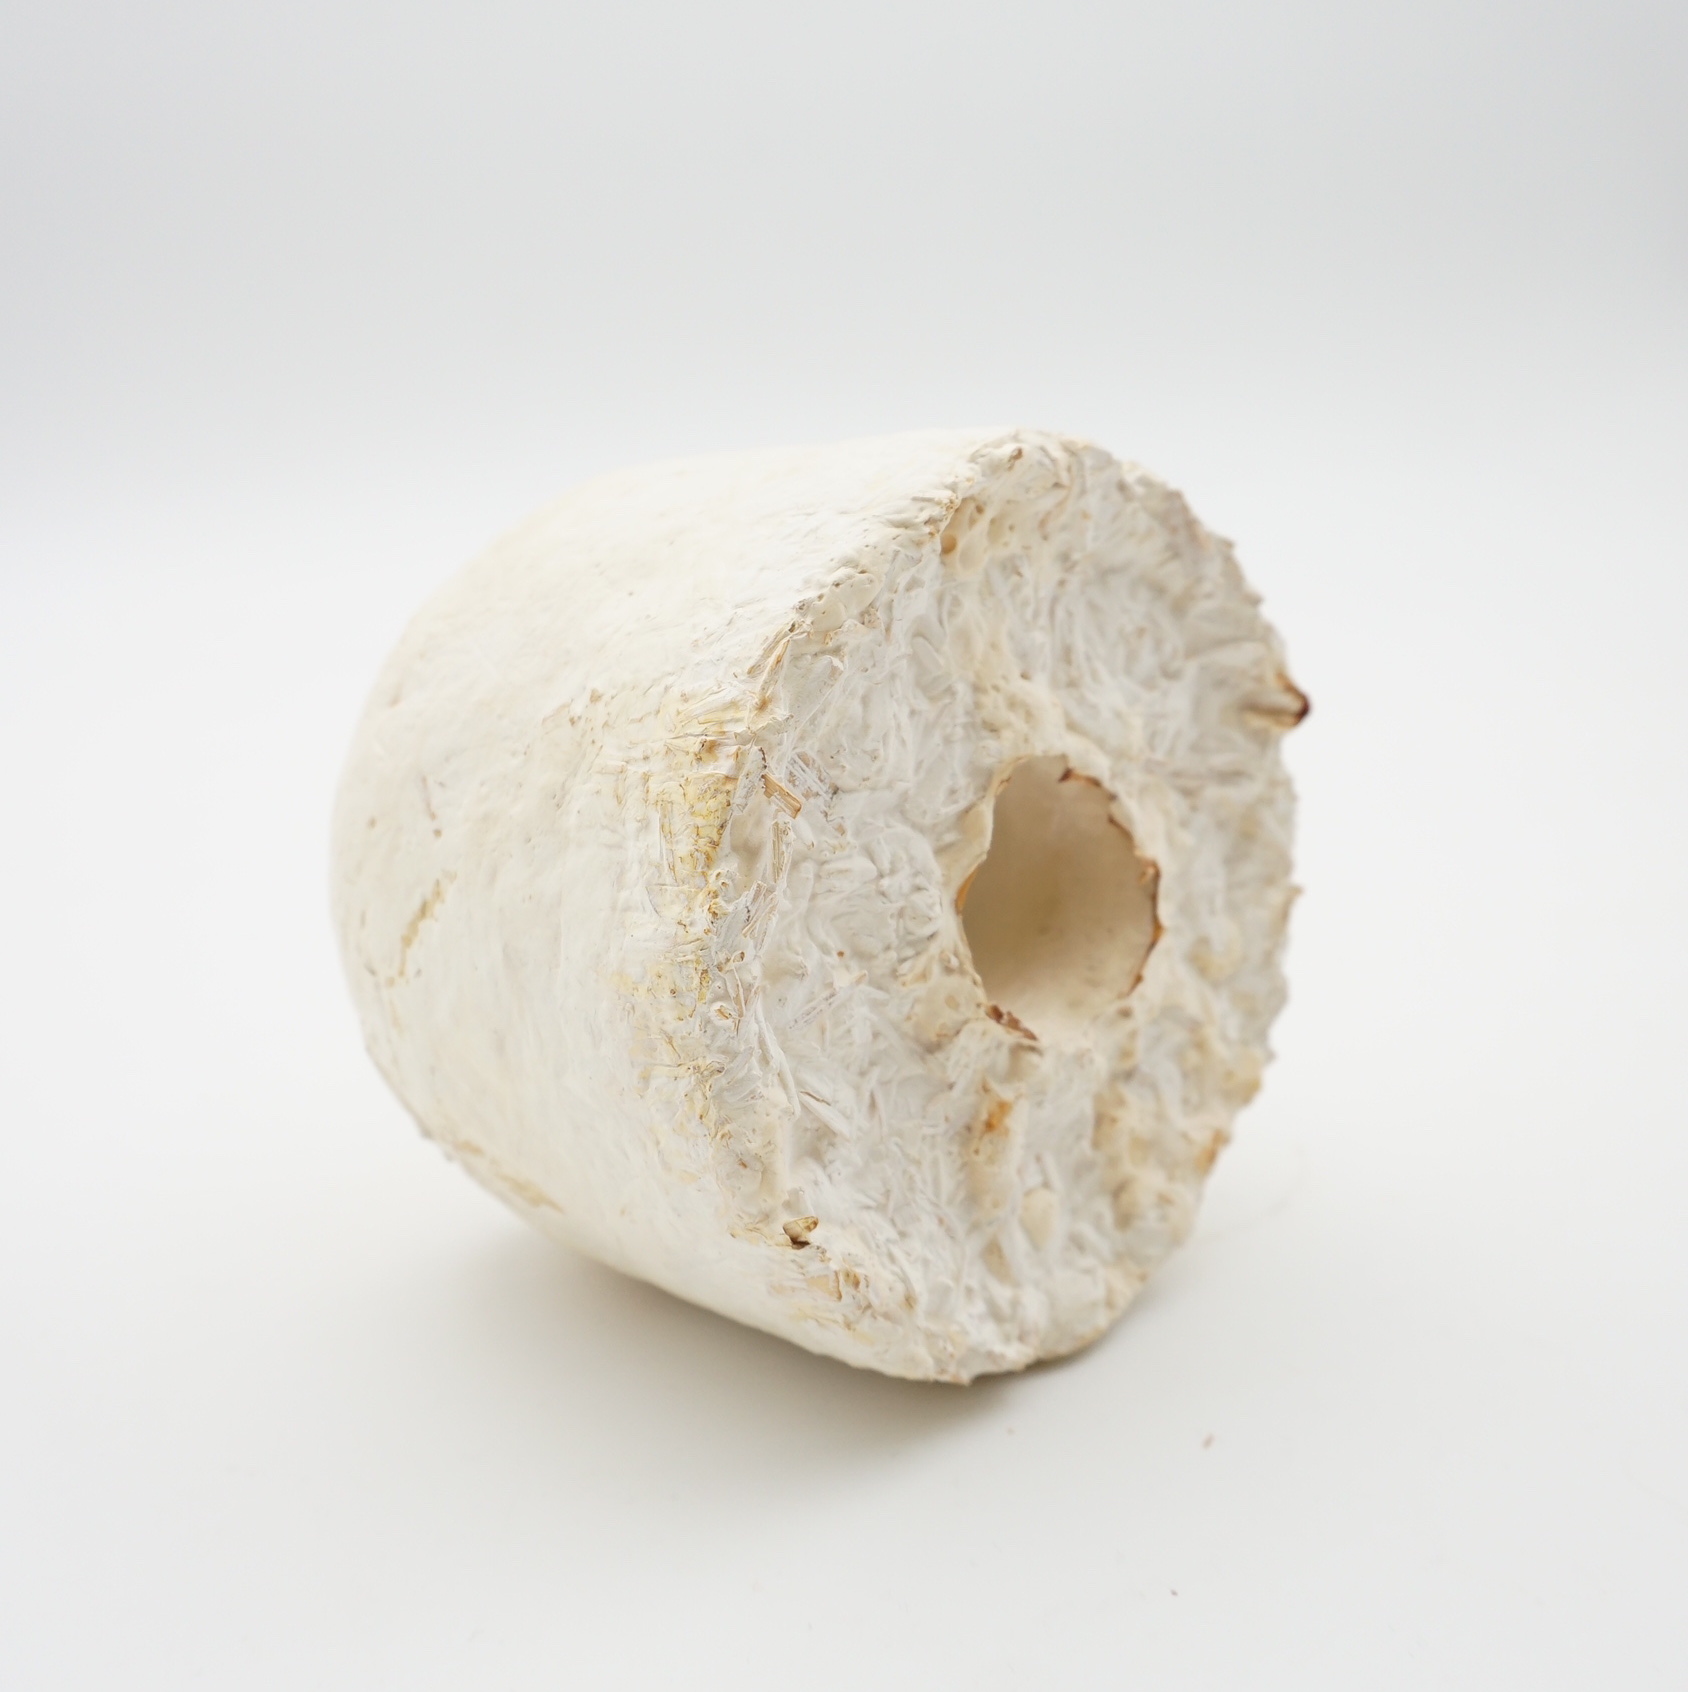
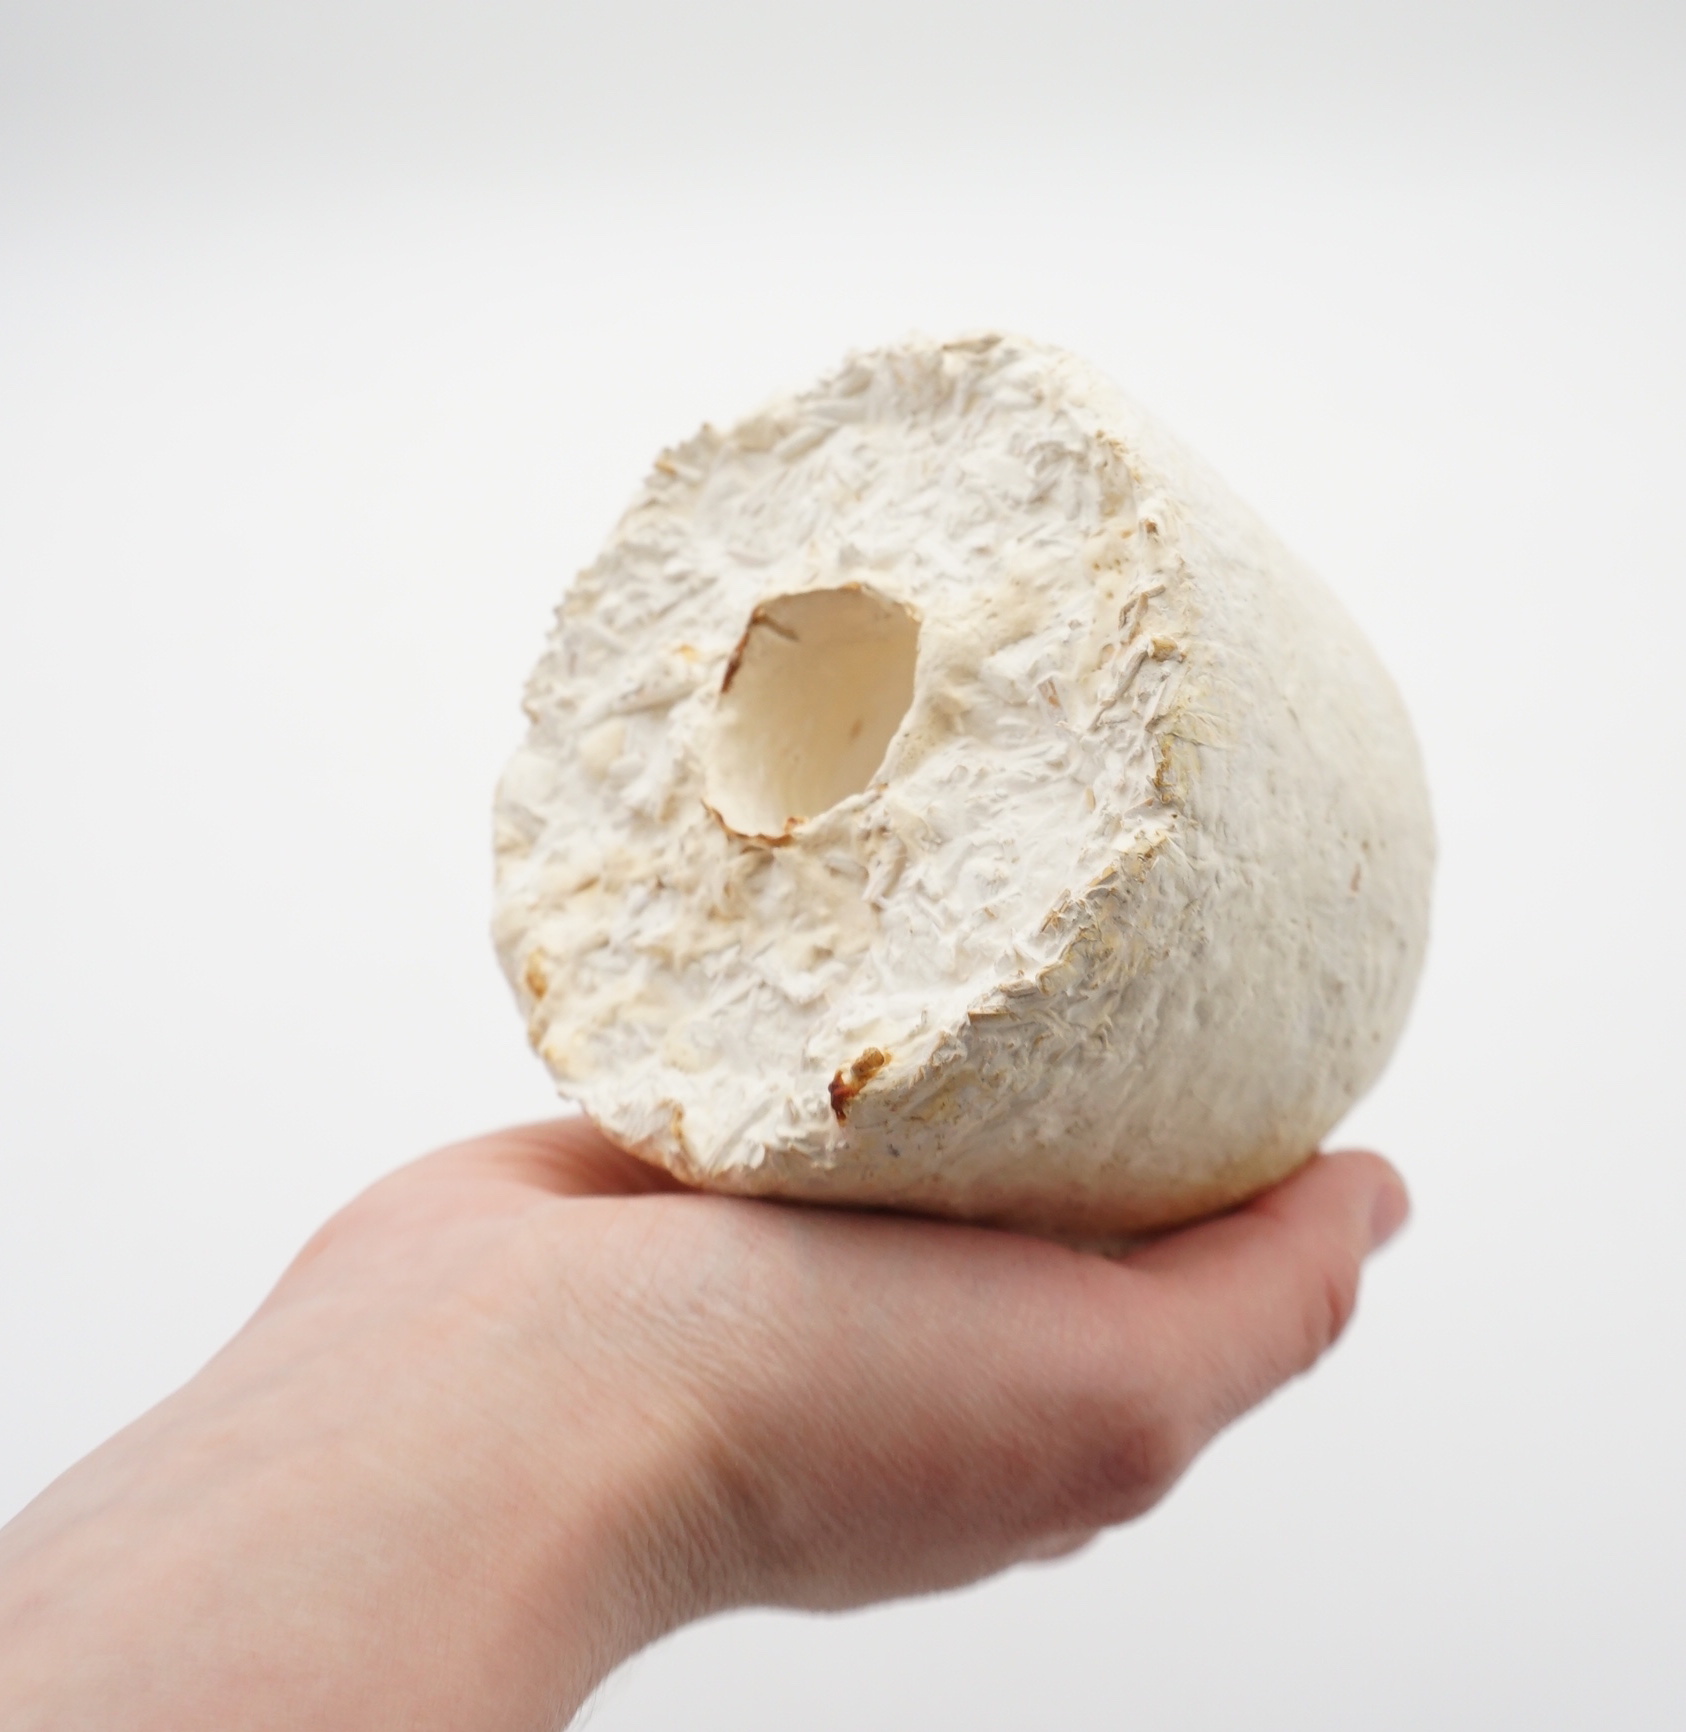
Mycelium Grown Kit
- Put your gloves and lab coat on and spray alcohol all around you!
- Put a bigger part of your Micelium Grow Kit into the clean and strerilazed bowl and start separating it into small piecies so you can fit into your mold shape. ! If you drop off some pieces out of the bowl DO NOT PUT IT BACK, you will contaminate your mixture!
- Add distilled water and flour to create a wet and sticky mixture. You can check it with your hands if it is strong enough and holds together.
- Take your clean mould and wrap it with plastic foil and tape. Clean it with alchol in spray. * Place a little bit of your micelium mixture on the bottom and press it hard with your fingers (always use gloves and spray alcohol everywhere). I tried to use a shoe mould first to see if that works but it was very difficult to hold it all together. So I ended up making a candle stand.
- Cover it with plastic foil, fix it with the tape and make holes with a pin to let mycelium breathe and grow! Mark your name and date.
- Wait approx one week.