13. Skin Electronics
This is a continuation of the Wearables assignment.
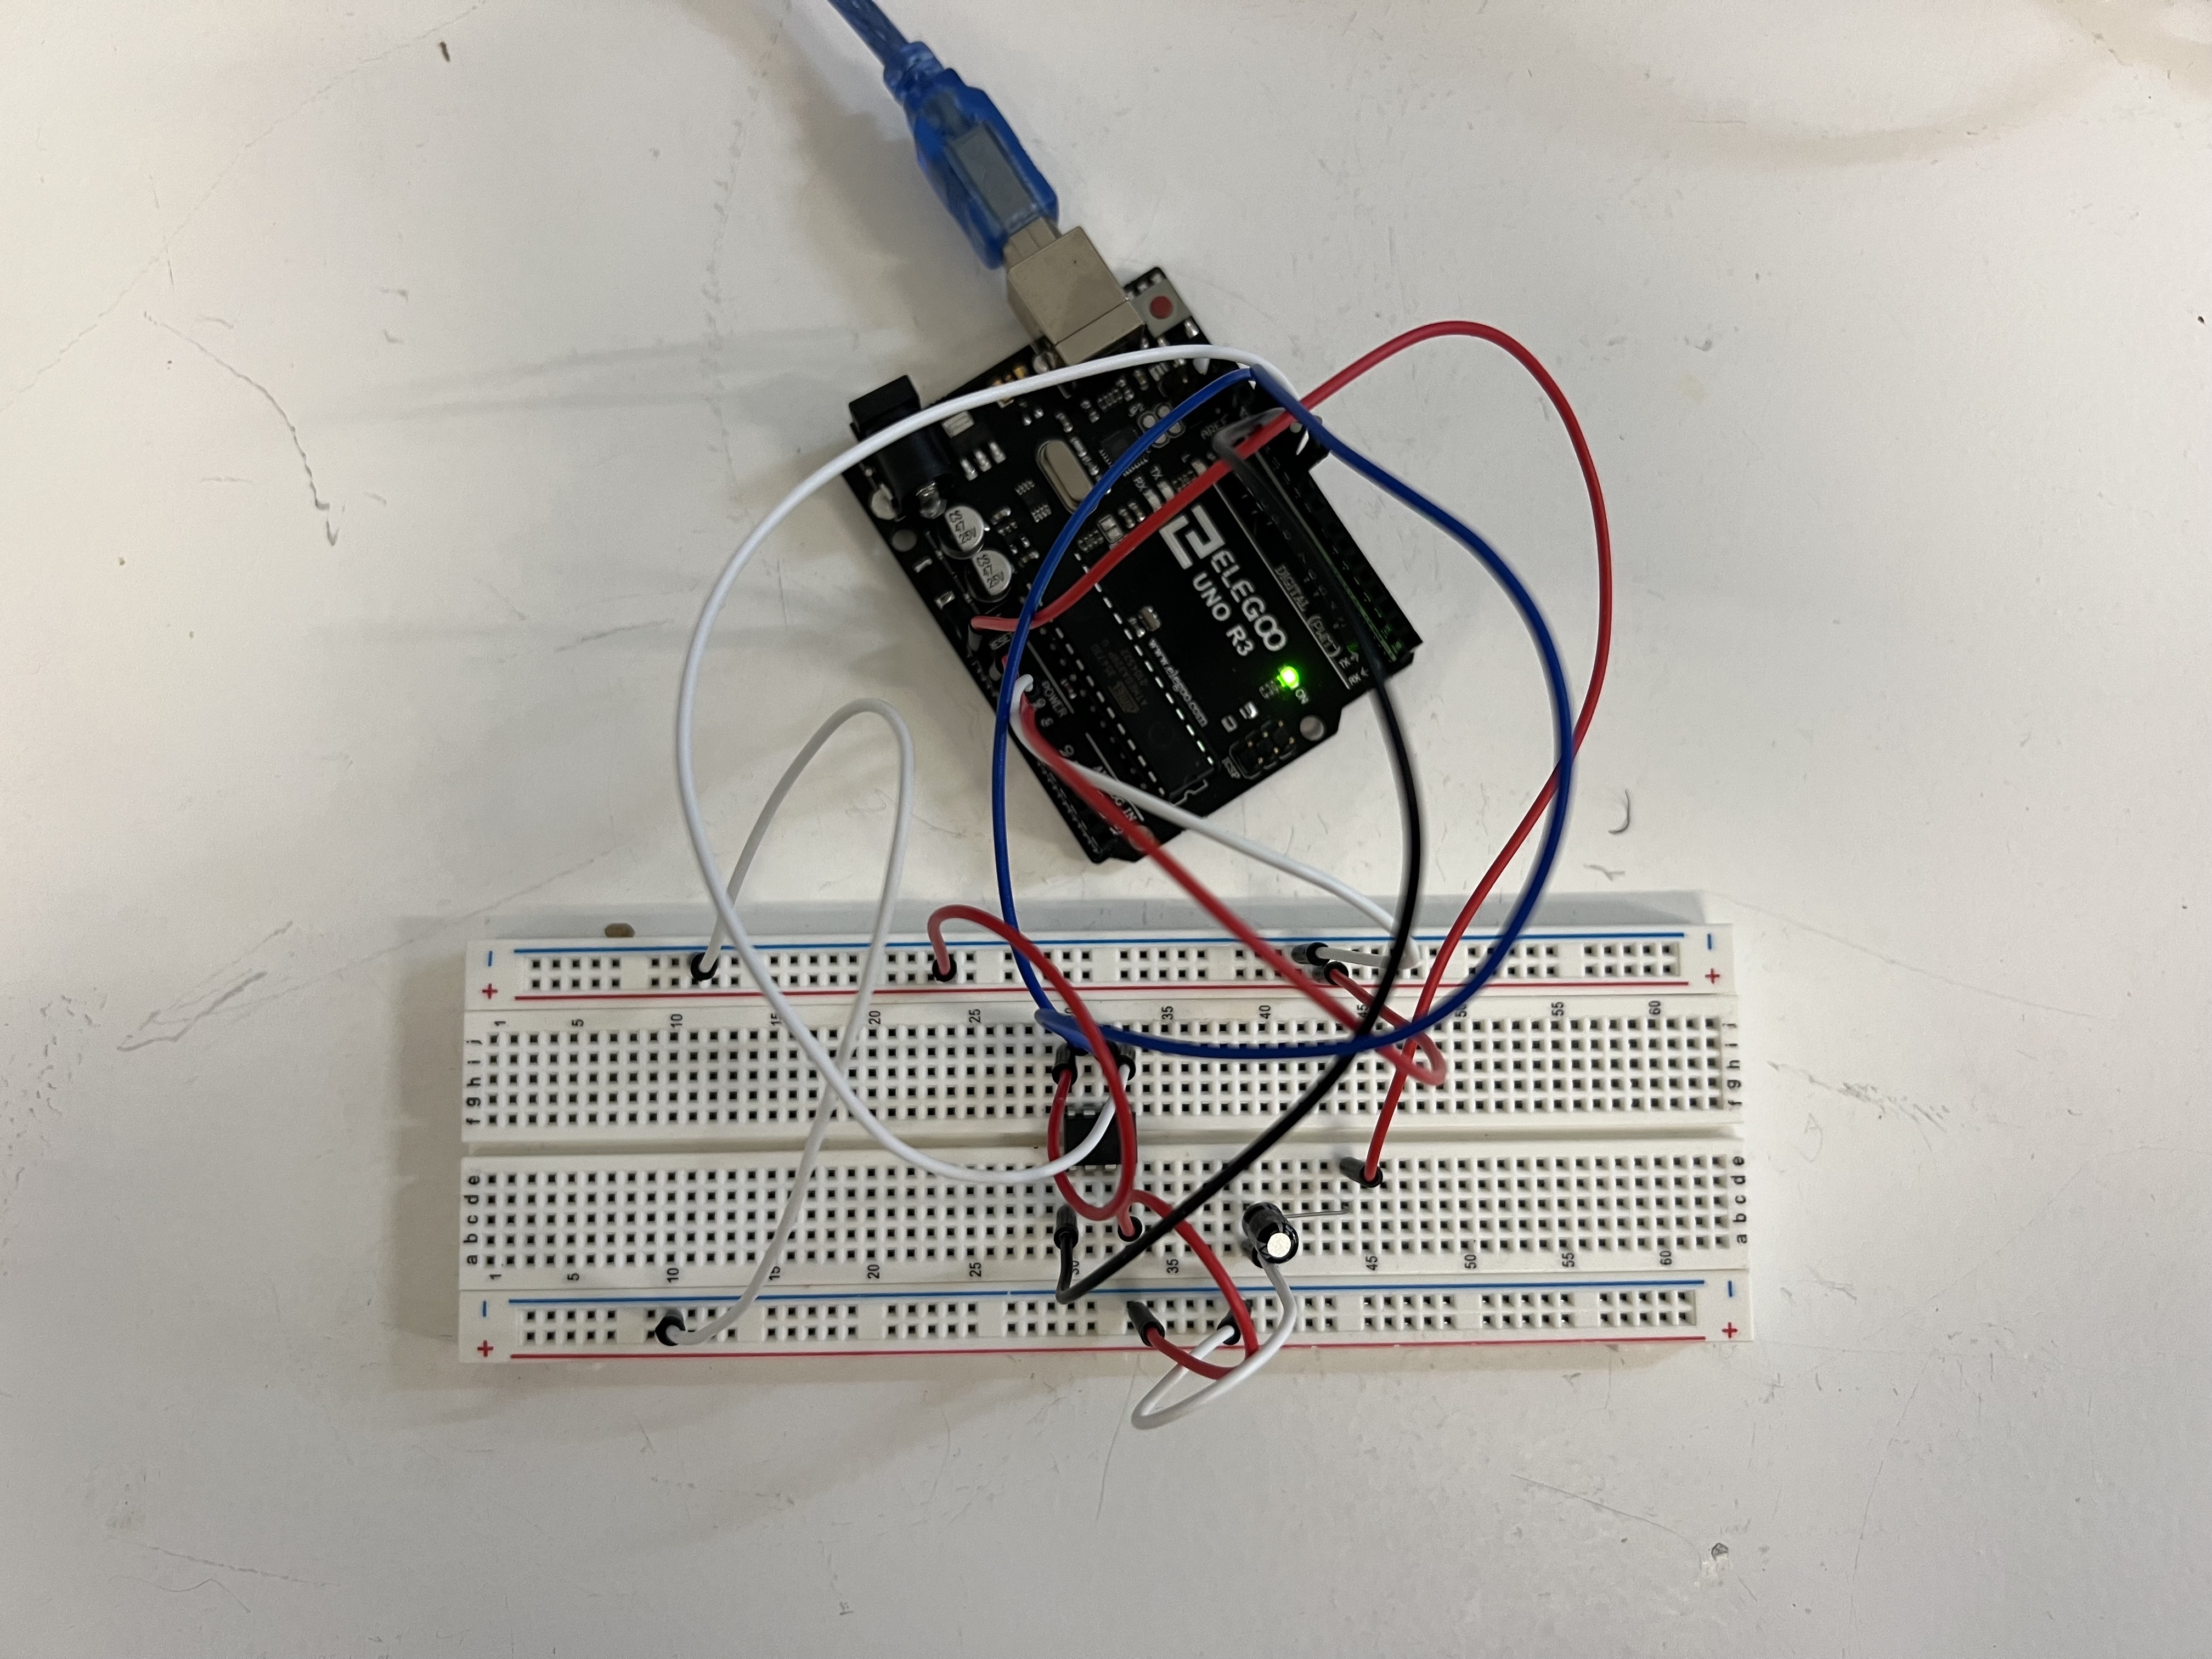
Neopixel Circuit using Arduino with the Fade animation:
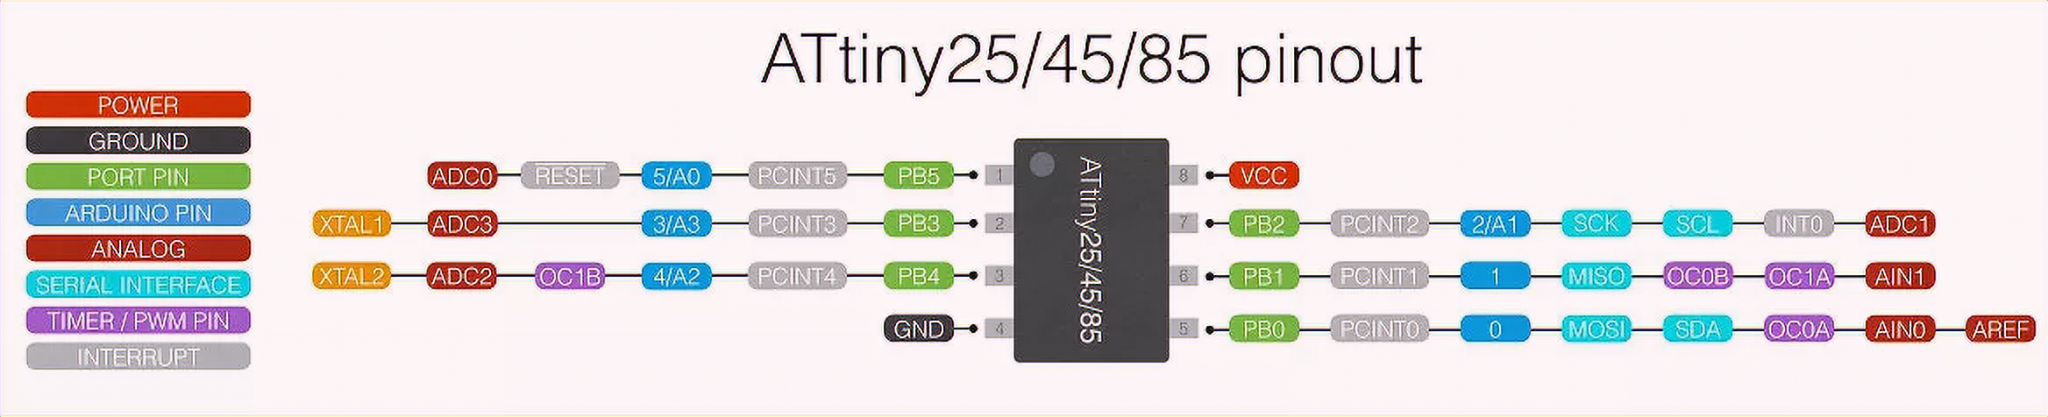
Progrmamming ATtiny
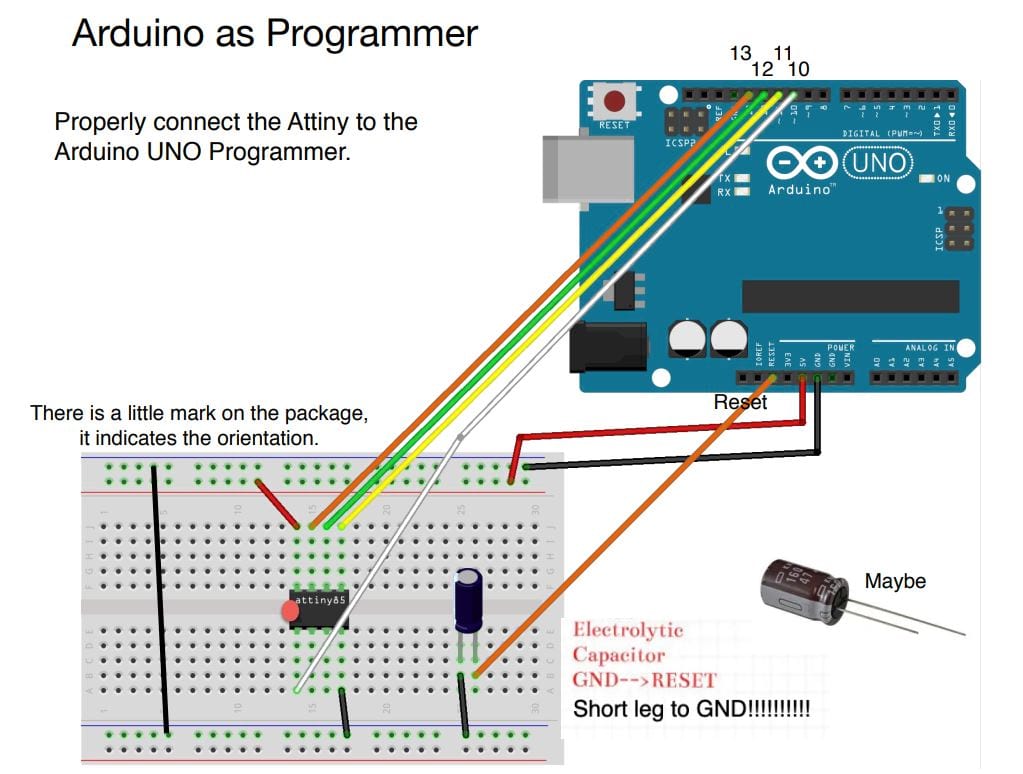
 Before programming an ATtiny, if you are using the Tiny AVR programmer, you need to install Zadig to make it recognizable by your computer (tutorial here). If you don't have a Tiny AVR programmer, you can still program the ATtiny with the Arduino following these instructions. You will need a certain setup to use arduino as a programmer for ATtiny, and a program which is already loaded in the Arduino.exe in Files > Examples > Arduino as ISP.
Open arduino interface. In tools, you need to select a new board. For that, you need to open preferences and add an additional board using the following link: https://raw.githubusercontent.com/damellis/attiny/ide-1.6.x-boards-manager/package_damellis_attiny_index.json.
- Then in Tools > Boards > Boards manager, search for "ATtiny" and install it.
- Then, you can select the ATtiny we are going to use un Tools > Boards > ATtiny Microcontrollers > ATtiny 84.
- You also need to check the processor in Tools > Processor > ATtiny 45 and define the clock in Tools > Clock > Internal 8 MHz. - The clock is the frequency at which we define the speed of execution of instruction, which depending on the setting, consumes more or less power from the battery. -The programmer needs to be set to Tools > Programmer > USBtinyISP.
- When everything is set, press Tools > Burn Bootloader. To swich back to Arduino, you only need to change the board again and the programmer. Here is the connections that should be made to use Arduiono as an ATtiny Programmer.
I adapted the arduino code to the ATtiny by simply adding these lines to the beginning of the code and deleting the lines involving Serial.begin or Serial.println.
#ifdef __AVR__
 #include <avr/power.h> // Required for 16 MHz Adafruit Trinket
#endif //This is required when using an ATtiny.
Code for Neopixels with Fade animation with ATtiny
#include <Adafruit_NeoPixel.h>

#ifdef __AVR__
 #include <avr/power.h> // Required for 16 MHz Adafruit Trinket
#endif //This is required when using an ATtiny.

#define PIN   2
#define LED_COUNT   12

// Parameter 1 = number of pixels in strip
// Parameter 2 = Arduino pin number (most are valid)
// Parameter 3 = pixel type flags, add together as needed:
//   NEO_KHZ800  800 KHz bitstream (most NeoPixel products w/WS2812 LEDs)
//   NEO_KHZ400  400 KHz (classic 'v1' (not v2) FLORA pixels, WS2811 drivers)
//   NEO_GRB     Pixels are wired for GRB bitstream (most NeoPixel products)
//   NEO_RGB     Pixels are wired for RGB bitstream (v1 FLORA pixels, not v2)
Adafruit_NeoPixel strip = Adafruit_NeoPixel(LED_COUNT, PIN, NEO_GRB + NEO_KHZ800);

// IMPORTANT: To reduce NeoPixel burnout risk, add 1000 uF capacitor across
// pixel power leads, add 300 - 500 Ohm resistor on first pixel's data input
// and minimize distance between Arduino and first pixel. Avoid connecting
// on a live circuit... if you must, connect GND first.

void setup() {
  strip.begin();
  strip.show(); // initialize all pixels to "off"
}

void loop() {
    brighten1();
    darken1();
    brighten2();
    darken2();
}

void brighten1() {
  uint16_t i, j;

  for (j = 20; j < 200; j++) {
    for (i = 0; i < strip.numPixels(); i++) {
      strip.setPixelColor(i, j + 10, 0, 200);
    }
    strip.show();
    delay(20);
  }
}


void darken1() {
  uint16_t i, j;

  for (j = 200; j > 20; j--) {
    for (i = 0; i < strip.numPixels(); i++) {
      strip.setPixelColor(i, 200, 0, j + 20);
    }
    strip.show();
    delay(20);
  }
}

void brighten2() {
  uint16_t i, j;

  for (j = 20; j < 200; j++) {
    for (i = 0; i < strip.numPixels(); i++) {
      strip.setPixelColor(i, 200, 0, j + 10);
    }
    strip.show();
    delay(20);
  }
}


void darken2() {
  uint16_t i, j;

  for (j = 200; j > 20; j--) {    //Serial.println(lecture);

    for (i = 0; i < strip.numPixels(); i++) {
      strip.setPixelColor(i, j + 10, 0, 200);
    }
    strip.show();
    delay(20);
  }
}
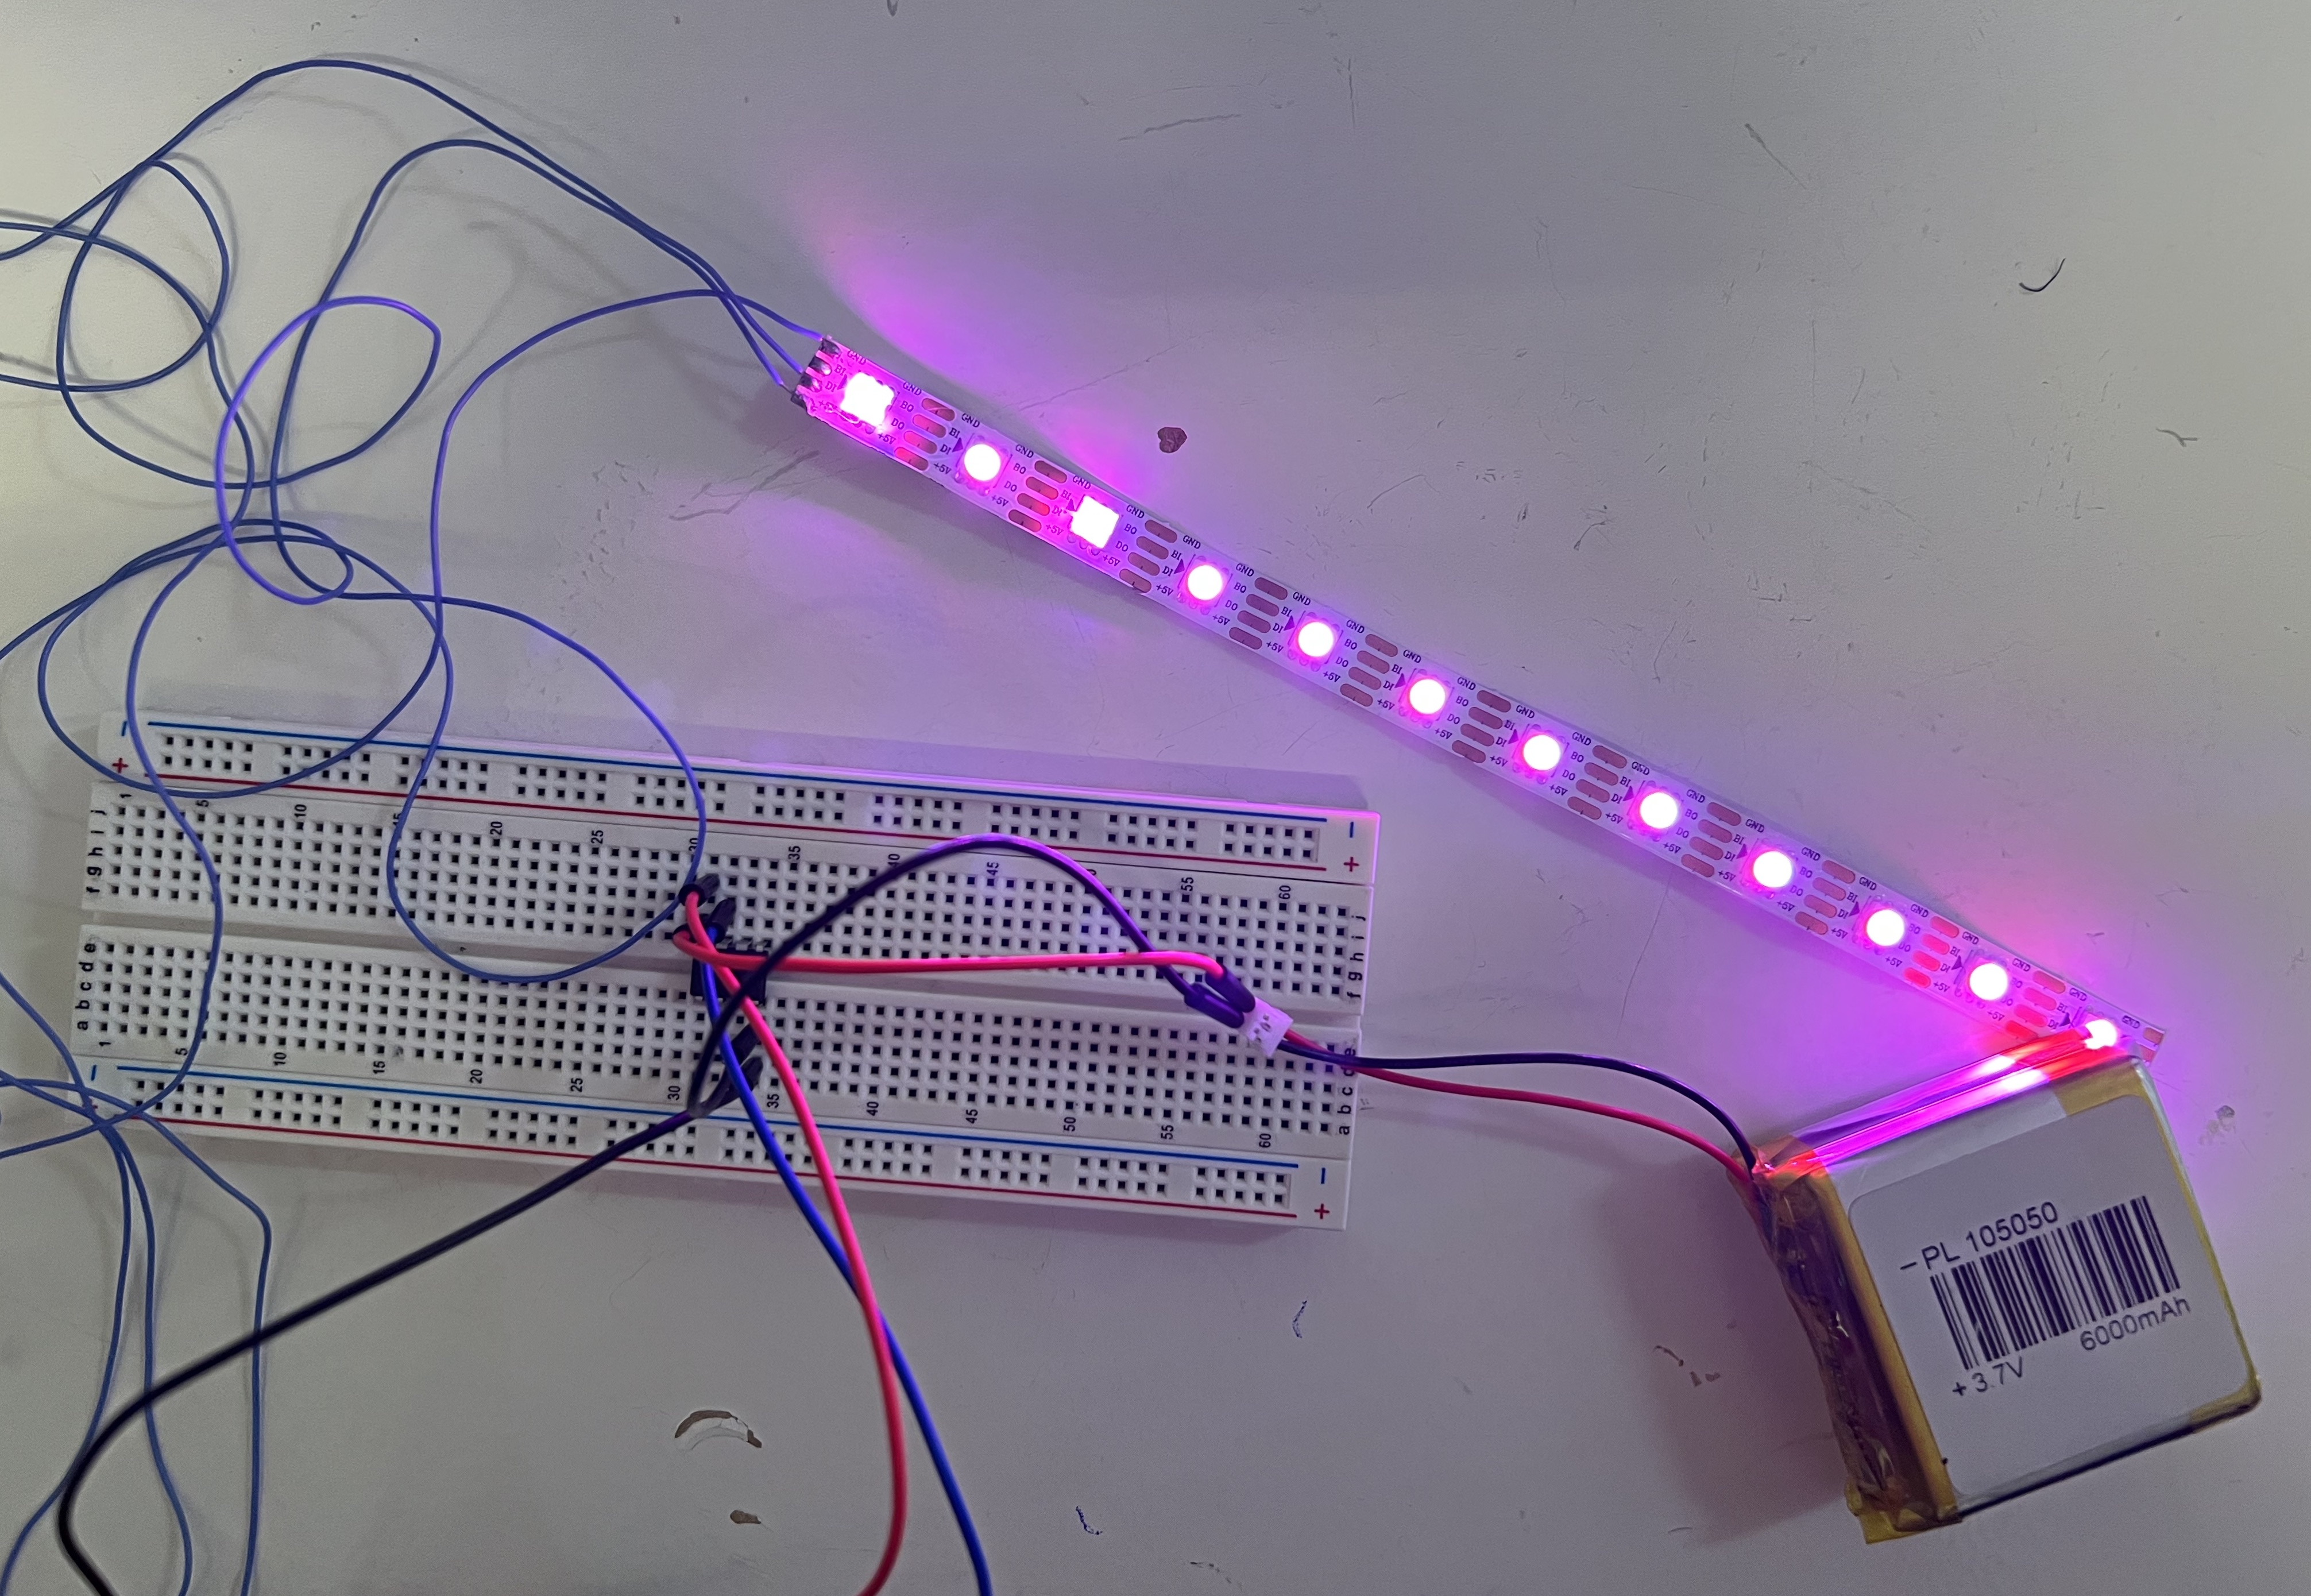
Final circuit with ATtiny and a Battery as the power source
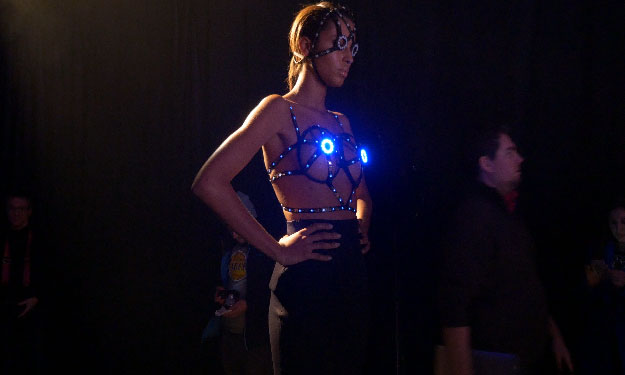
Inspiration
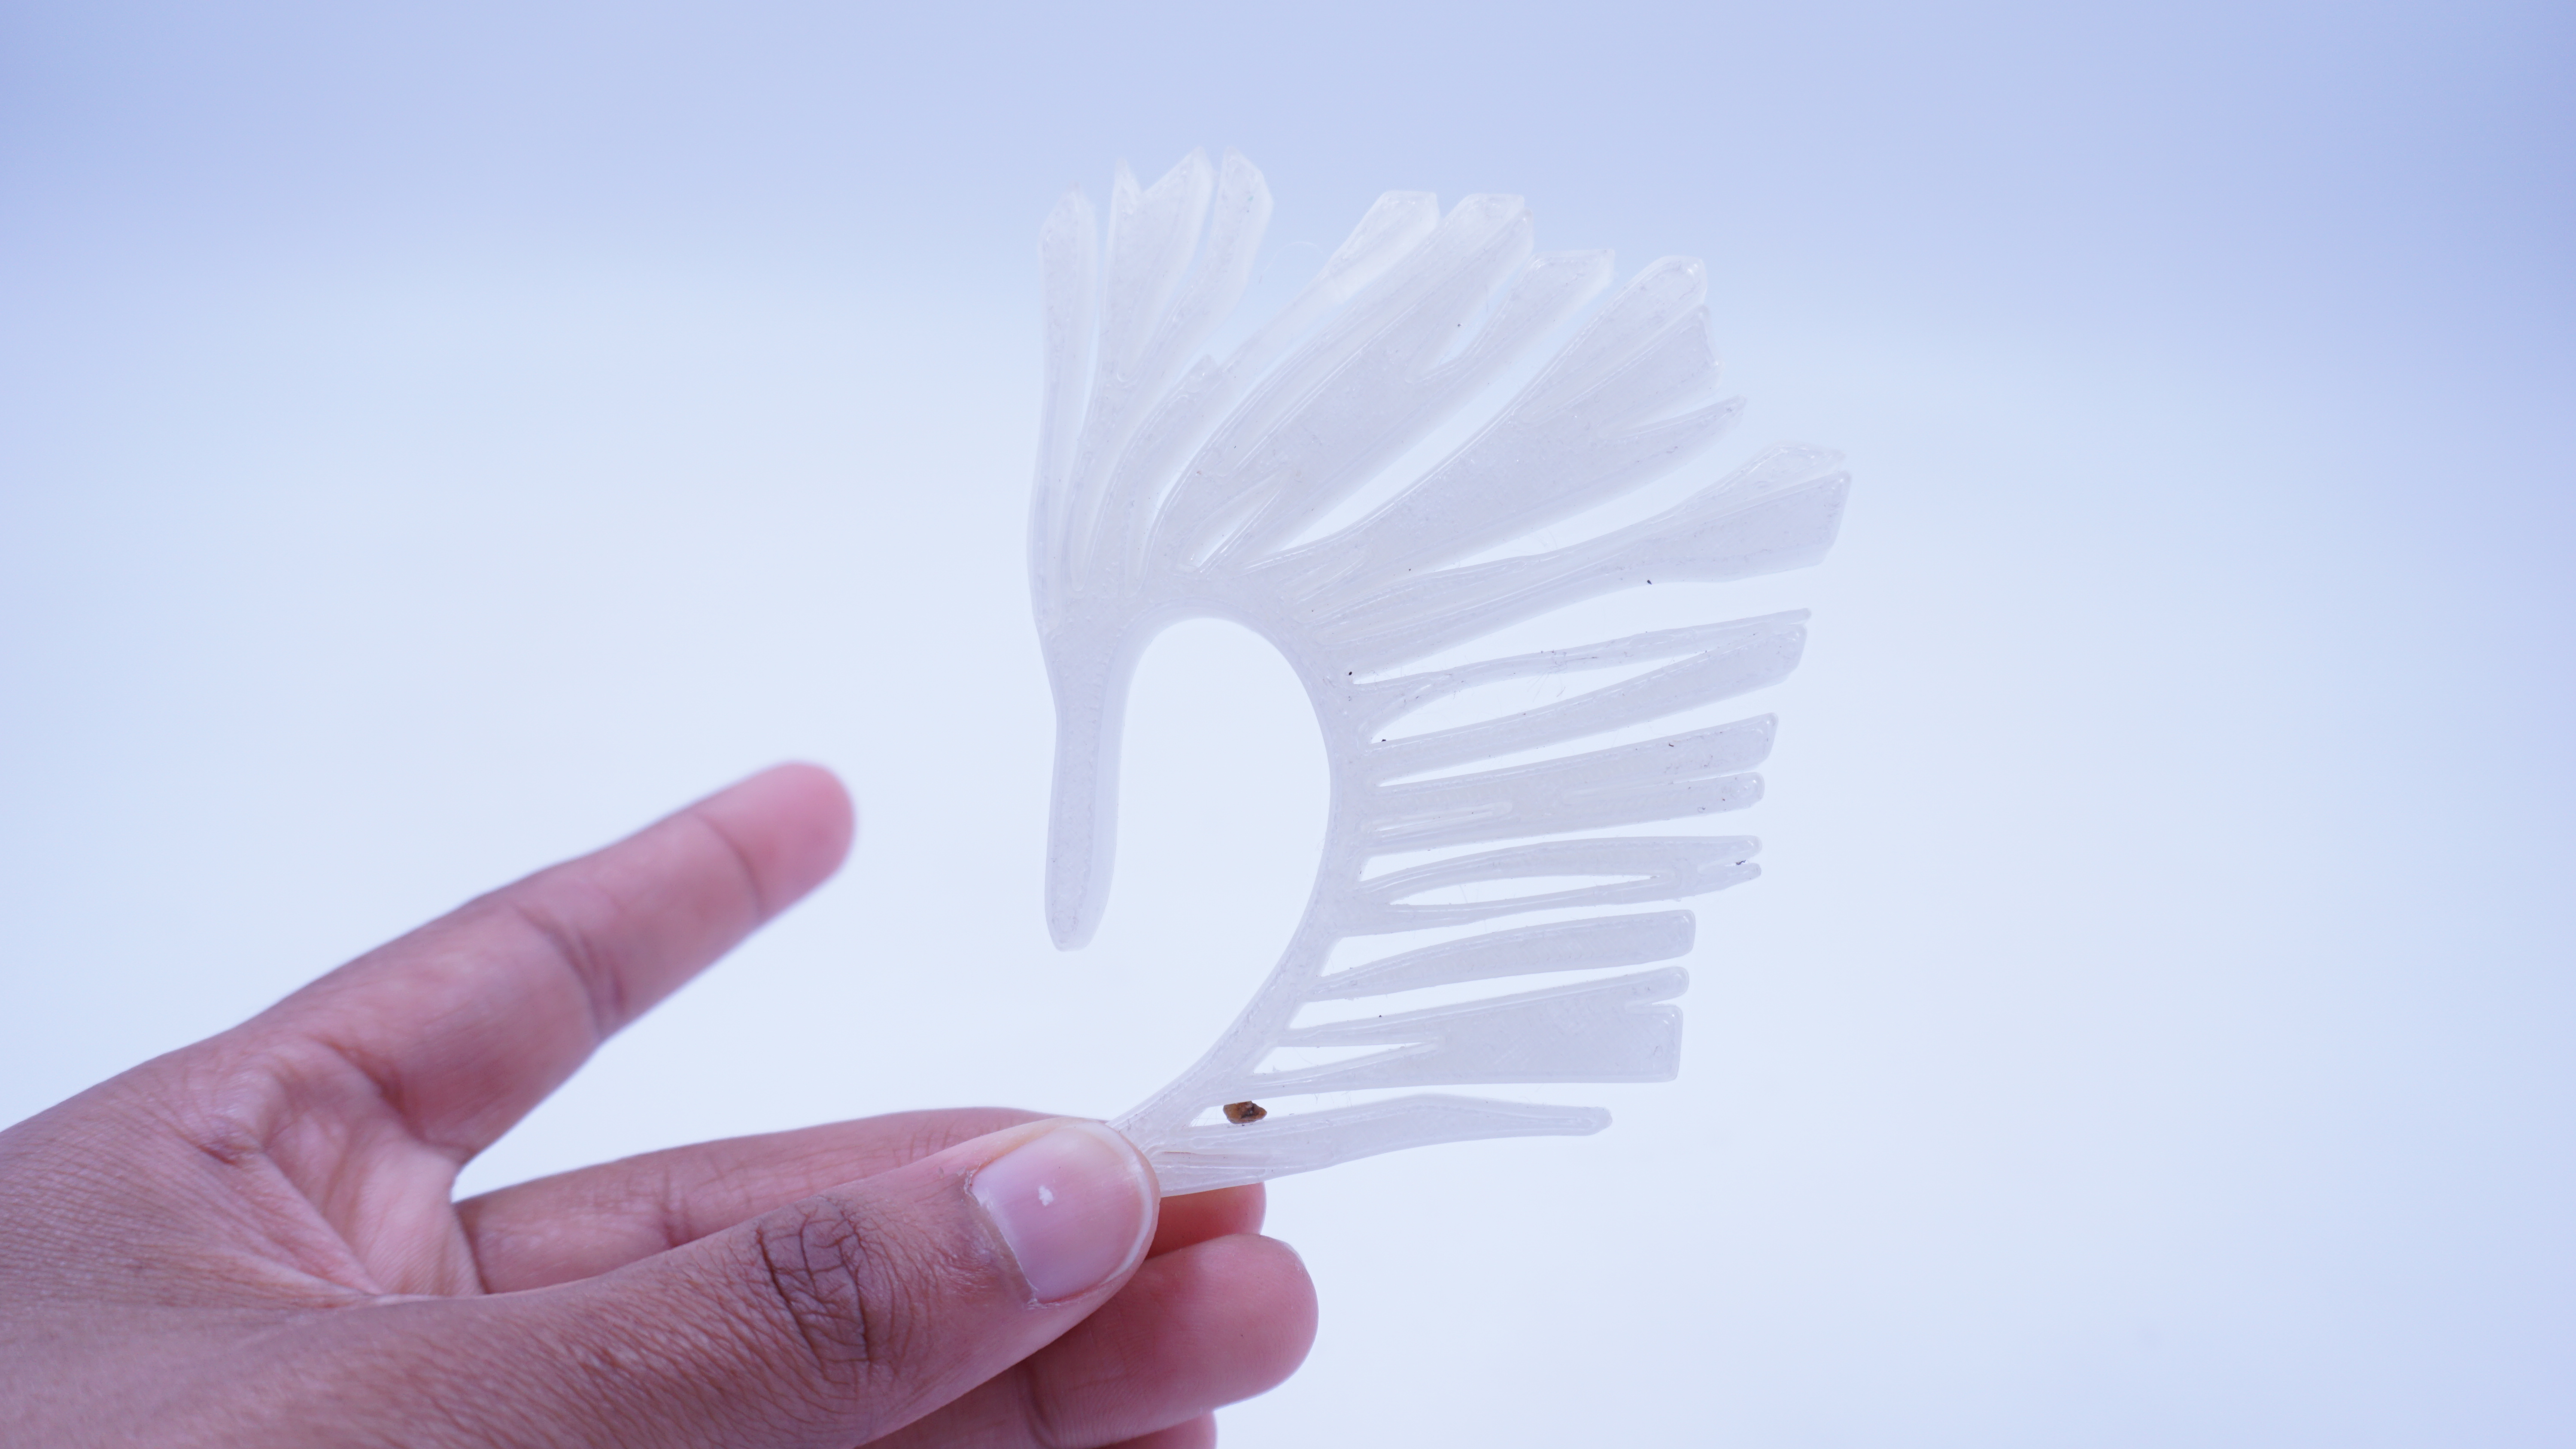
Insted of implementing this in clothing I decided to implement it somehow in an accesory because it sounded more fun and doable. I like earcuffs a lot and have always wanted to make one so lets do thiss!!


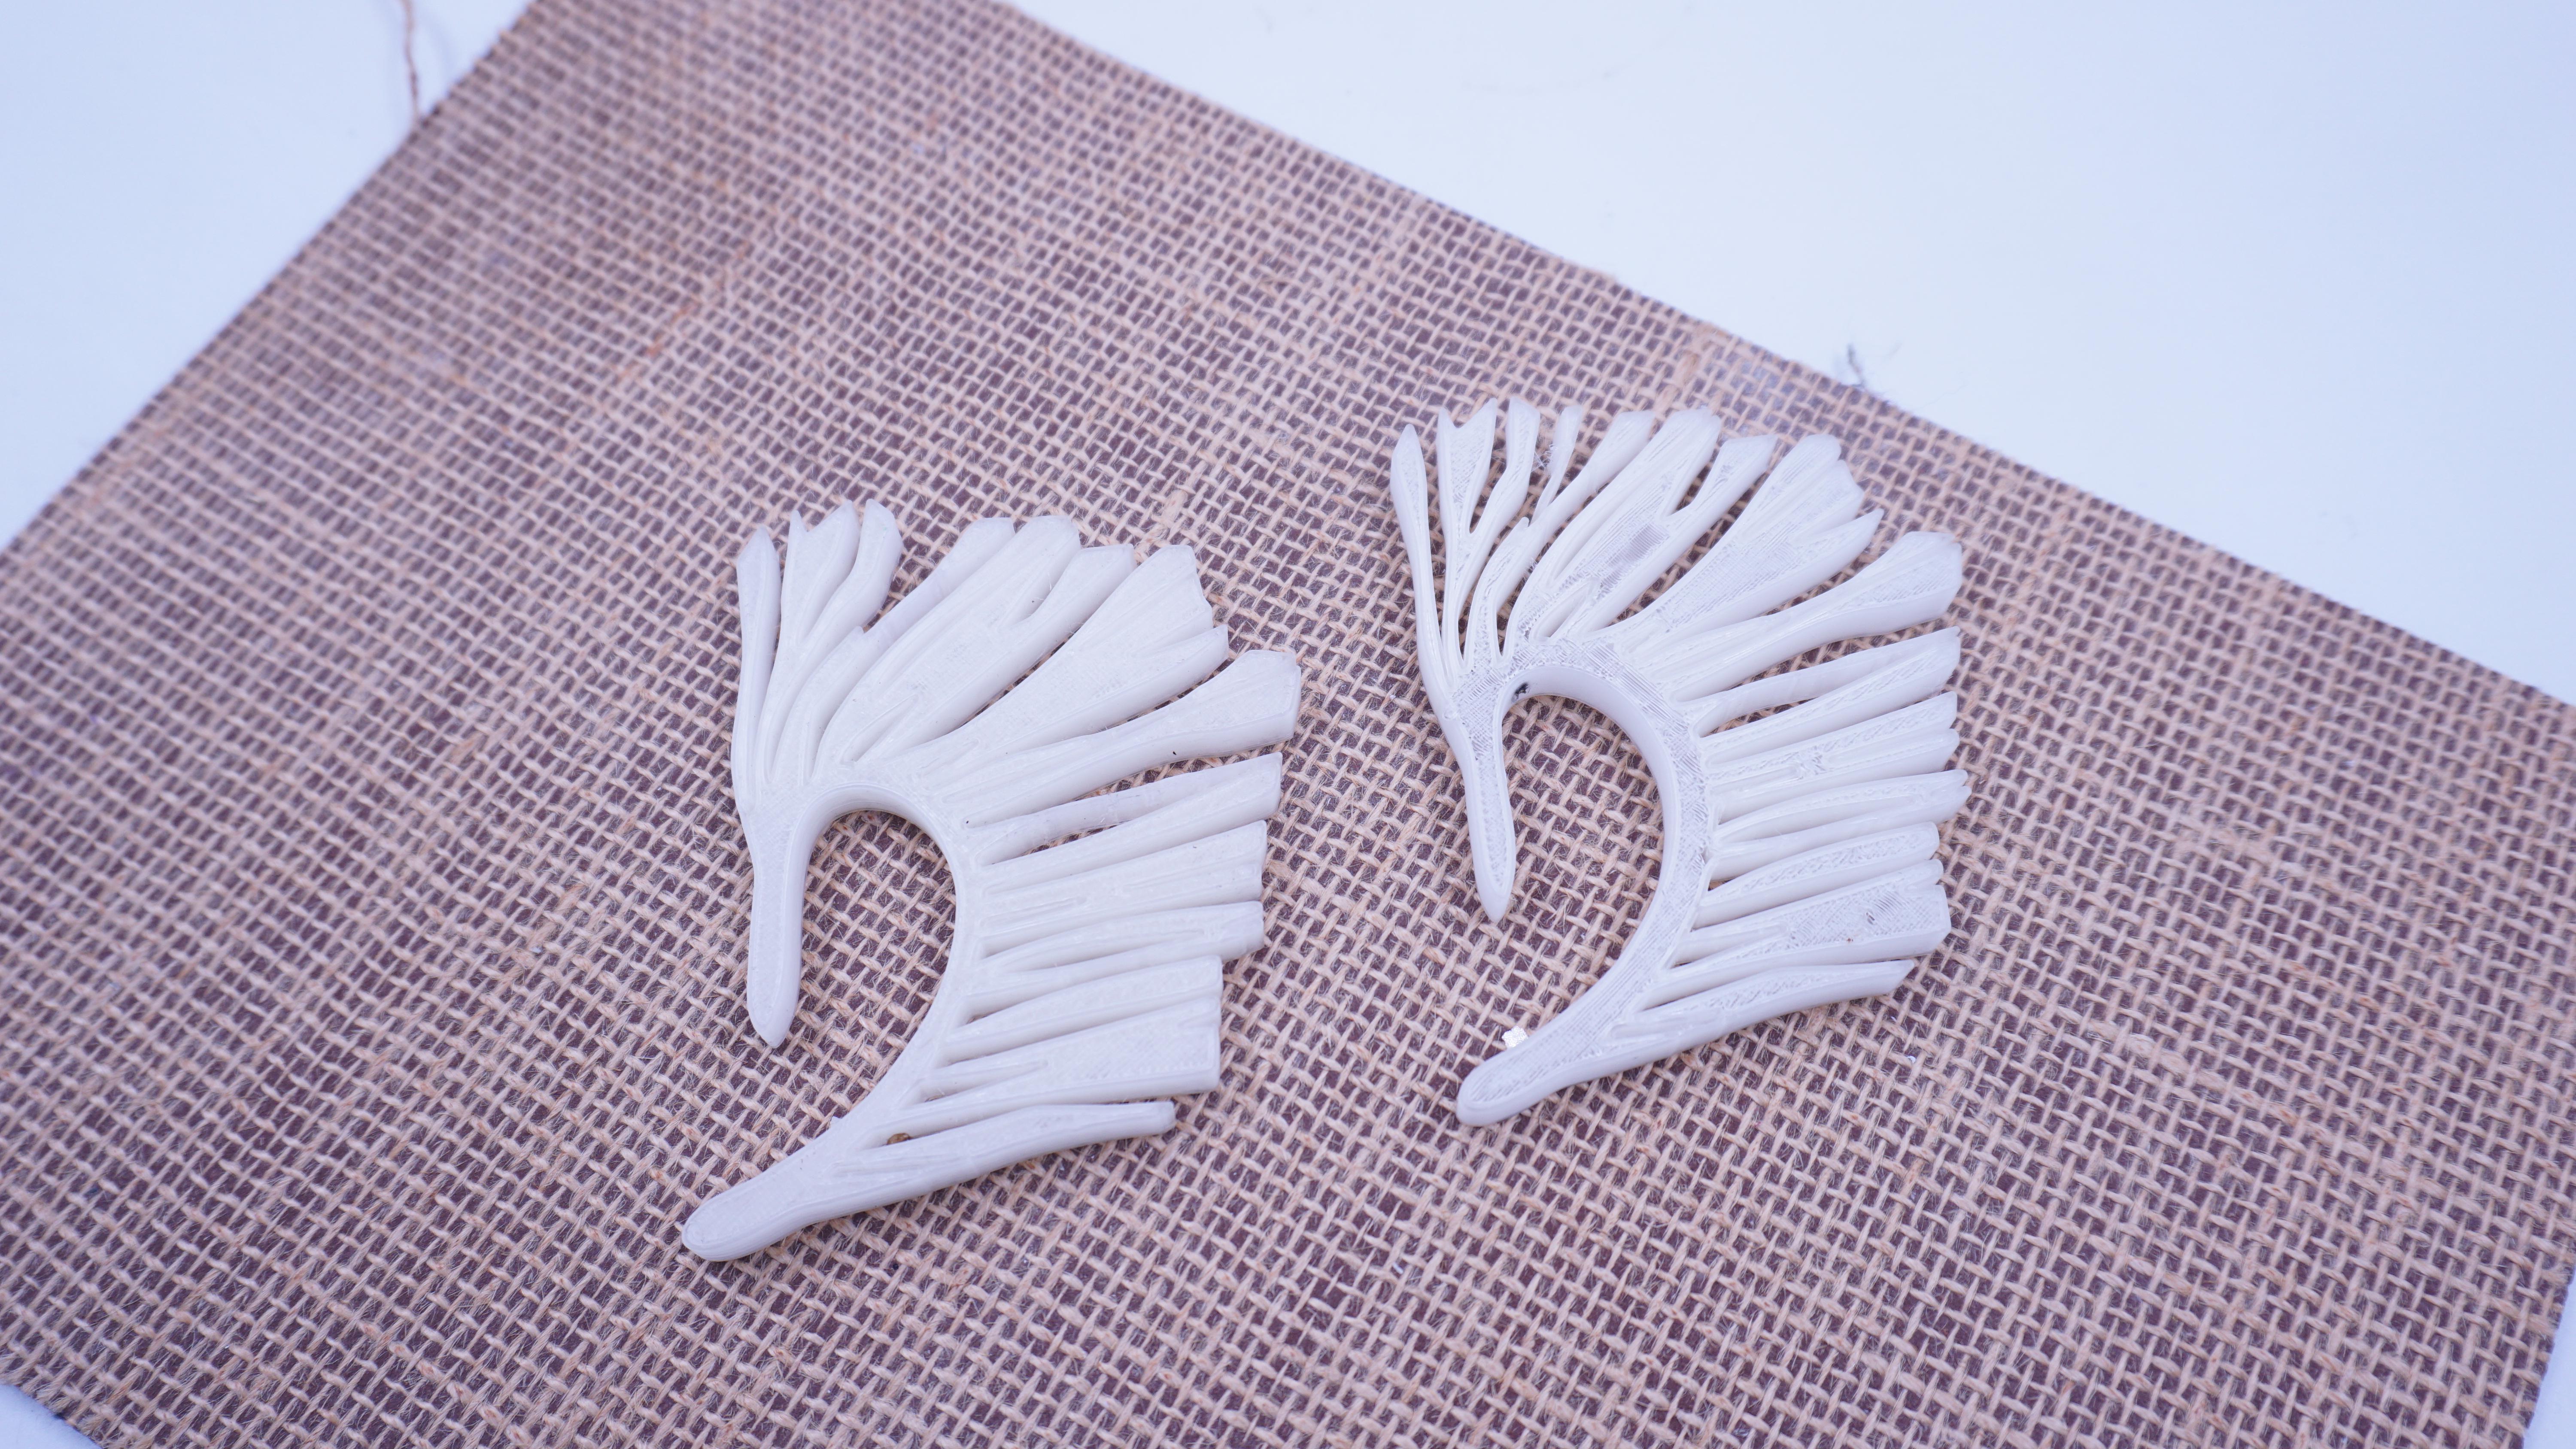
Making the file


3D Printing with PLA