3D Printing and Mycelium
EXPERIMENTS WITH 3D PRINTING
I wanted to 3D print with a biodegrdable filament GROWLAY link and then inoculate it with mycelium to show the outcome of various organisms collaborating together to produce a sustainable and organic outcome. Within this material there are two options with certain variations in properties:
- Brown Growlay
- White Growlay
Brown Growlay
The basis of functioning of the GROWLAY brown is the ability to serve as a means of growth to vegetables through its porosity and microcapillaries that form the material. A piece made with a 3D FDM printer and the brown GROWLAY filament is capable of absorbing water, liquid fertilizer or any nutrient that will be key to feeding the root of the vegetable that you want to grow. The brown GROWLAY, apart from containing porosity, incorporates natural cellular material derived from the wood that serves as food for every vegetable element that is inserted in the piece. Following is a series of applications of this material:
In pieces created with this material the moss grows in the same way as in stones or trees, with the same ease and speed. Mold also grows, through the capillaries of open cells, forming the mycelium. The mycelium is the vegetative apparatus of the fungi, by which they feed, being the crucial part for the growth of fungi on the pieces created with the brown GROWLAY. Developments carried out by Parthy demonstrate that it is possible to grow lichen to obtain cheese mold. The following images show the cultivation of blue cheese (Gorgonzola) mold and another of white cheese. The brown GROWLAY is a perfect base for the seeds of grasses or spores to find a place to germinate. During the growth the roots cling through the small cavities that the structure of the filling of the piece presents, giving rise to a fast and safe growth.
The brown GROWLAY can be easily printed by any current 3D FDM printer thanks to its good rigidity, tensile strength and adequate thermal stability, characteristics similar to other Kai Parthy filaments, such as the LAYWOO-D3.
White Growlay
Unlike brown Growlay, white Growlay is an experimental grade material, recommended for advanced users who have previously used brown Growlay. White Growlay is a biodegradable and compostable material, as it can decompose in less than 90 days without leaving toxic residues, turning into useful matter (compost).Like the brown Growlay, the white Growlay is made up of microcapillaries. Thus, it is able to absorb water, liquid fertiliser or any nutrient that will be key for the root nutrition of the plant you want to grow.
In terms of composition, the most striking difference between brown Growlay and white Growlay is that the latter does not contain any wood particles in its composition. Consequently, white Growlay has a lower tensile strength, as well as a lower stiffness, which makes it more difficult to print. For certain applications, it is very useful to differentiate between the different pieces printed with Growlay. Both Growlay brown and Growlay white can be dyed with food dyes, although the resulting colours will be much more saturated in white.
Research centers, pharmaceutical centers or even creative chefs benefit from this filament thanks to the fact that it can be sterilized by a liquid or gas process, never thermal. This great advantage makes GROWLAY brown a filament able to grow food in a healthy way for consumption, something never seen before in 3D FDM printing.
Printing with White GROWLAY
Like they said, it was definitely not easy to print with this filament. Due to the reason that it prints at 95 degrees it changes its diameter due to the atmosphere around. If it gets too humid the diameter tends to change so it requires alot of trial and error to make this work. I started to print with the filament along with Josep and it took an entire day to define a set of settings. We started with trying to print small cubes and it took almost 10 tries to get to a set of settings which were almost working.
Important note : White GROWLAY requires a very low temperature extrusion and 3D printers do not allow it for which after setting all the parameters in Cura you save the file and add an additional line in the code after home which allows for cold bed extrusion.
M302 P1
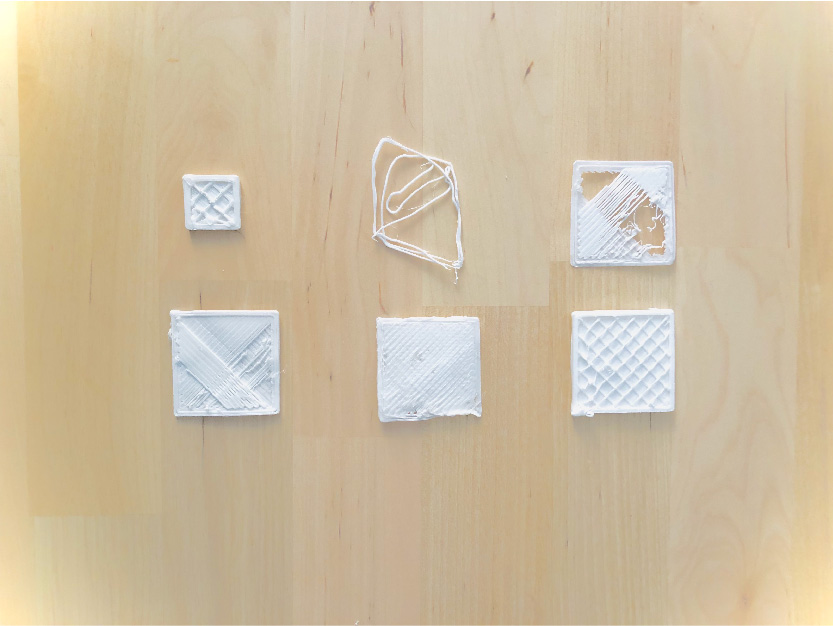
After a lot of tries I finally managed to get settings that were working but the next step was to modify the settings for printing on fabric. Mostly the layer height changes a little which you have to try a couple of times to see if the pressure is good enough for the filament to stick well to the fabric. This was the first test on the fabric which turned out pretty well. This is done on cotton jersey because I wanted to print on a stretched fabric so after its done the fabric collects together.

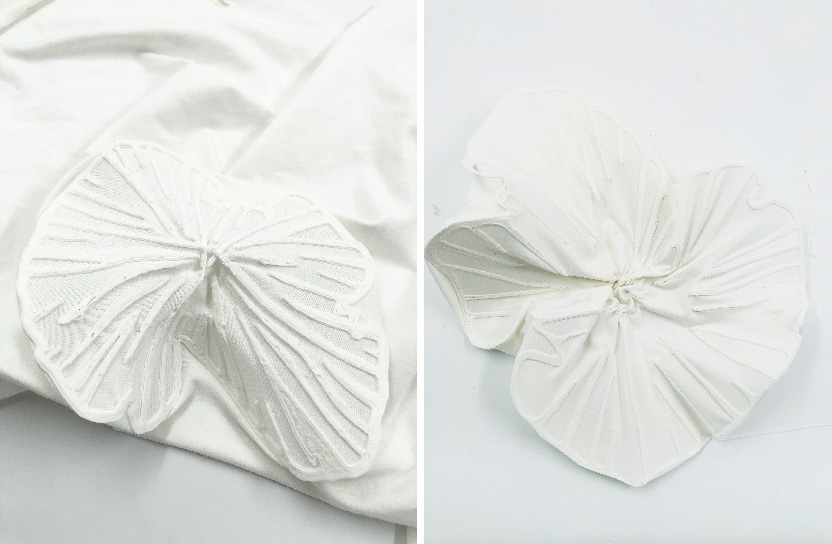
It did not work as well as I expexted. The fabric did not come together as I expected. The reasons behind it was that the fabric wasn't stretchable enough to have that affect. The filament was not sticking very well to the fabric. So I decided to change the fabric and use silk instead because it's thinner. To make the filament stick better I kept the bed temperature at 40 degrees so the filament melts and then sticks better due to the heat. This was the second try and I also tried with another pattern.
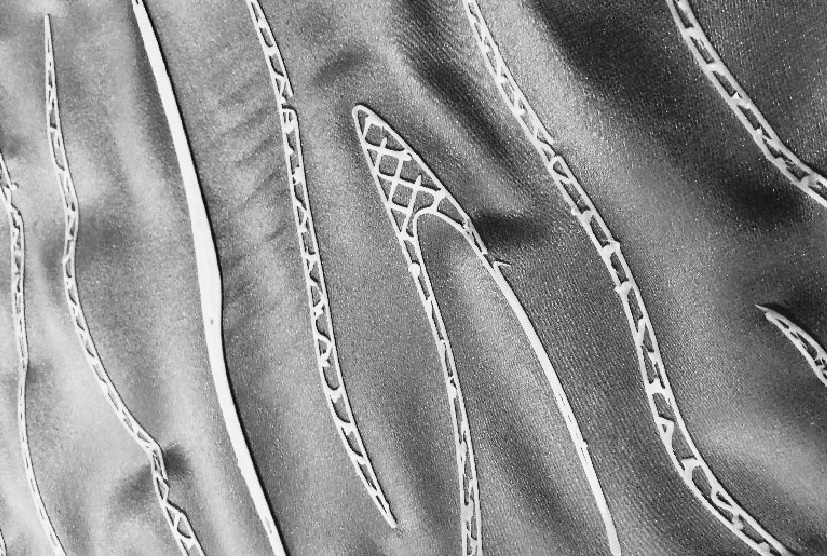
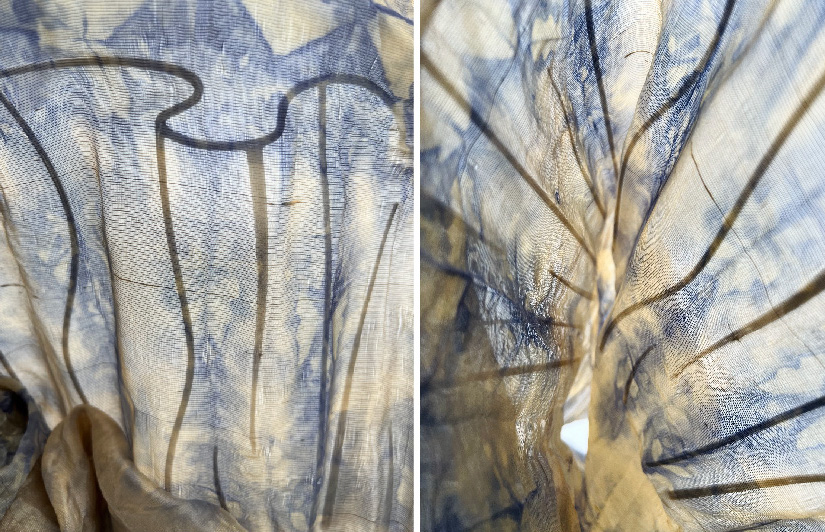
There was something wrong with the file that's why you can see the infill inside but it printed well, the settings were working perfectly. One thing to note is that before giving your final print you need to do a trial first to test the setting. Due to weather changes the diameter changes and the settings change. The difference is not a lot but it needs to be tested first. Just a few modifcations then you're good to go. The next was on a bacterial dyed silk organza fabric which was even thinner than the other one. The pattern was also a new one.
After a lot of tests it printed well but after this sample due to weather or other conditions the filament changed it's properties a lot. No matter how much I tried none of the settings were working. It was a very big disappointment at that point when there was only 2 weeks left for the final presentations. So I decided to change to PLA to finish a few pieces for the presentation and test the inoculation on the samples I had already managed to print.
Printing with PLA
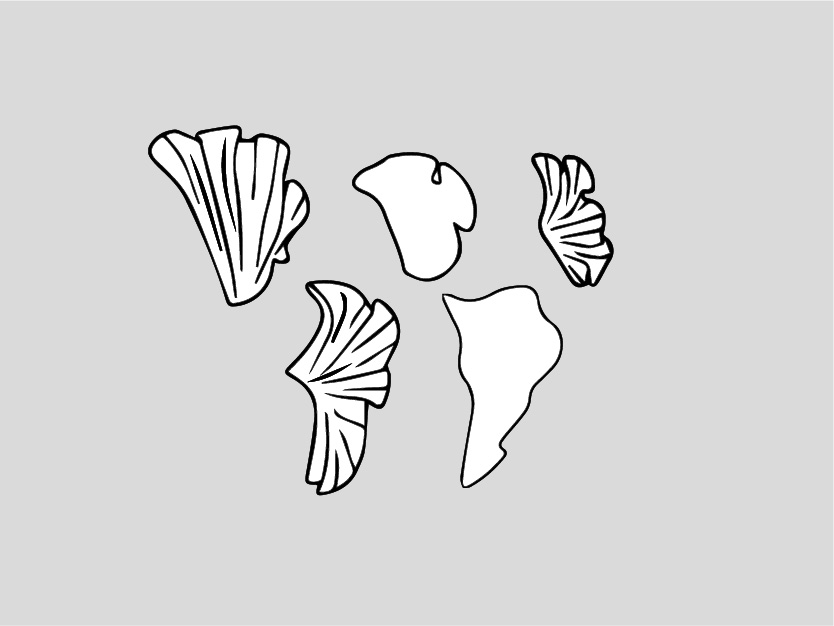
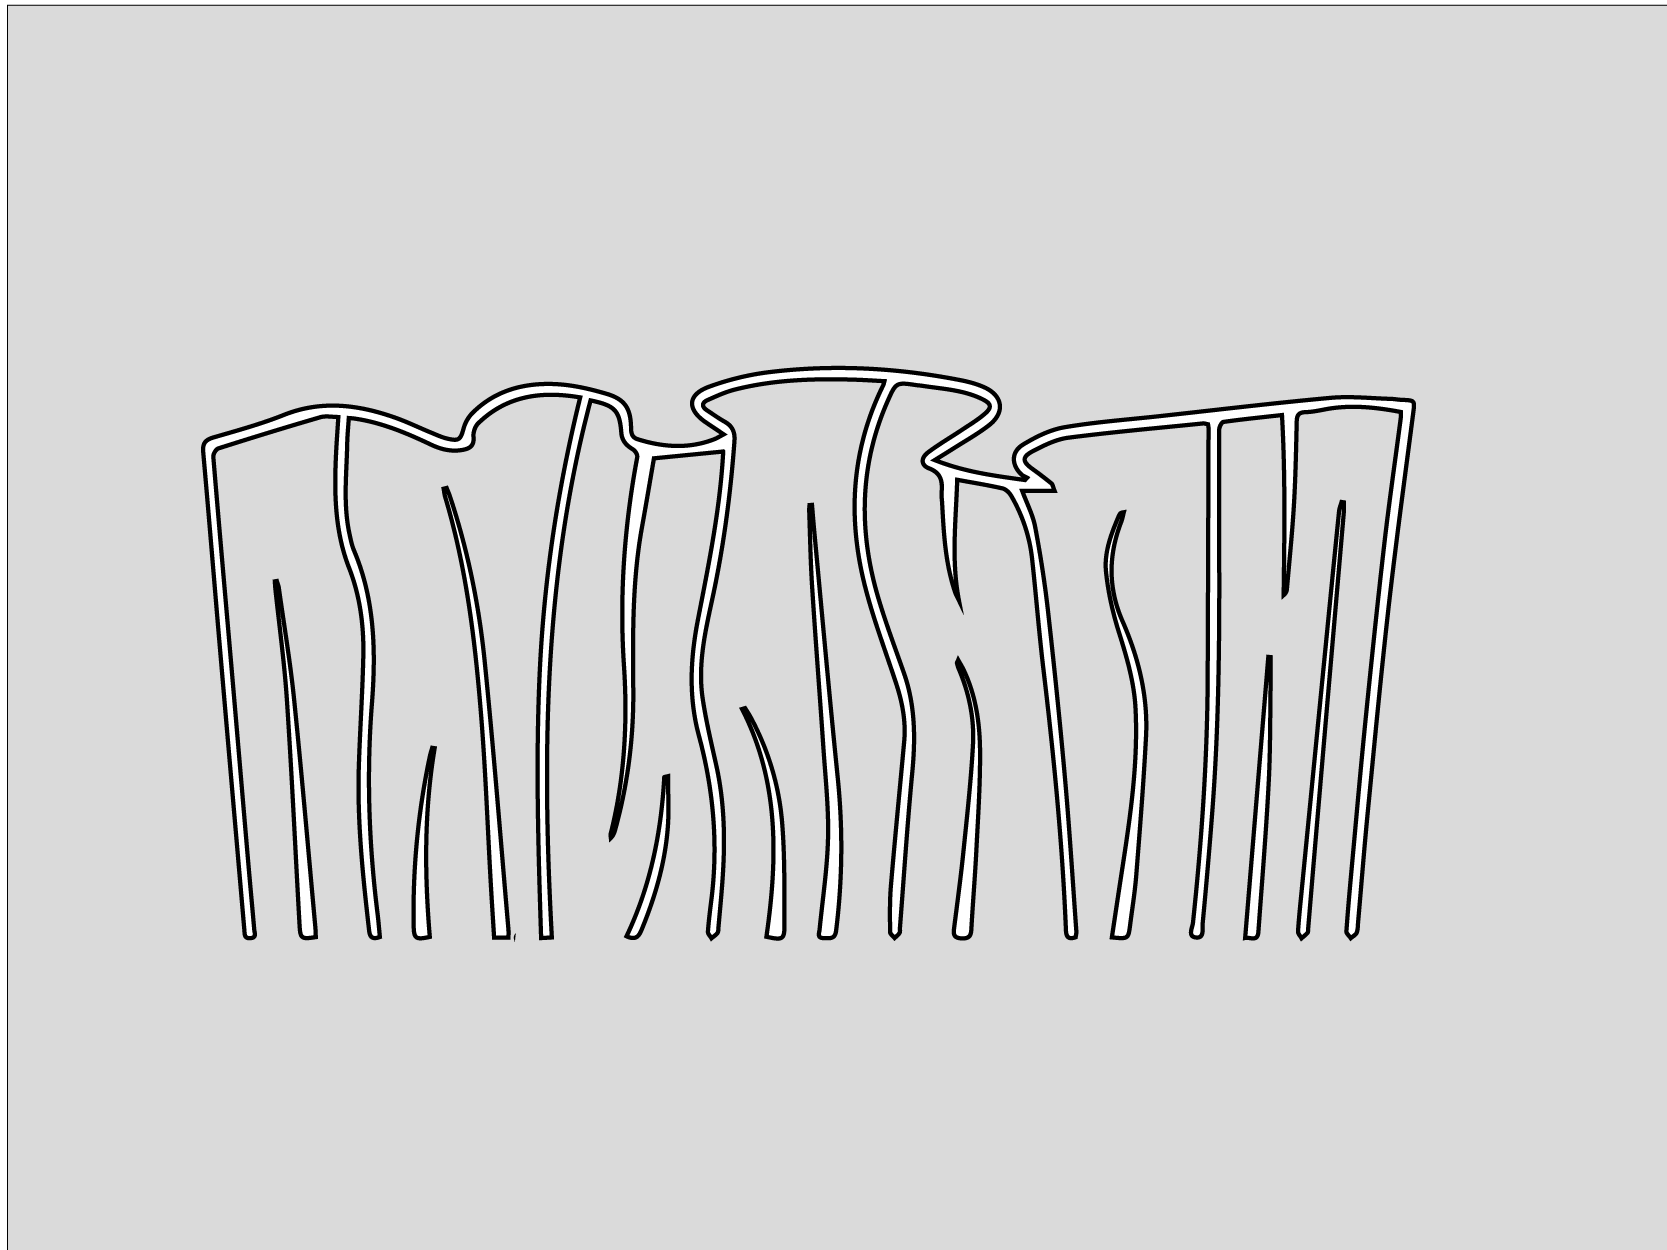
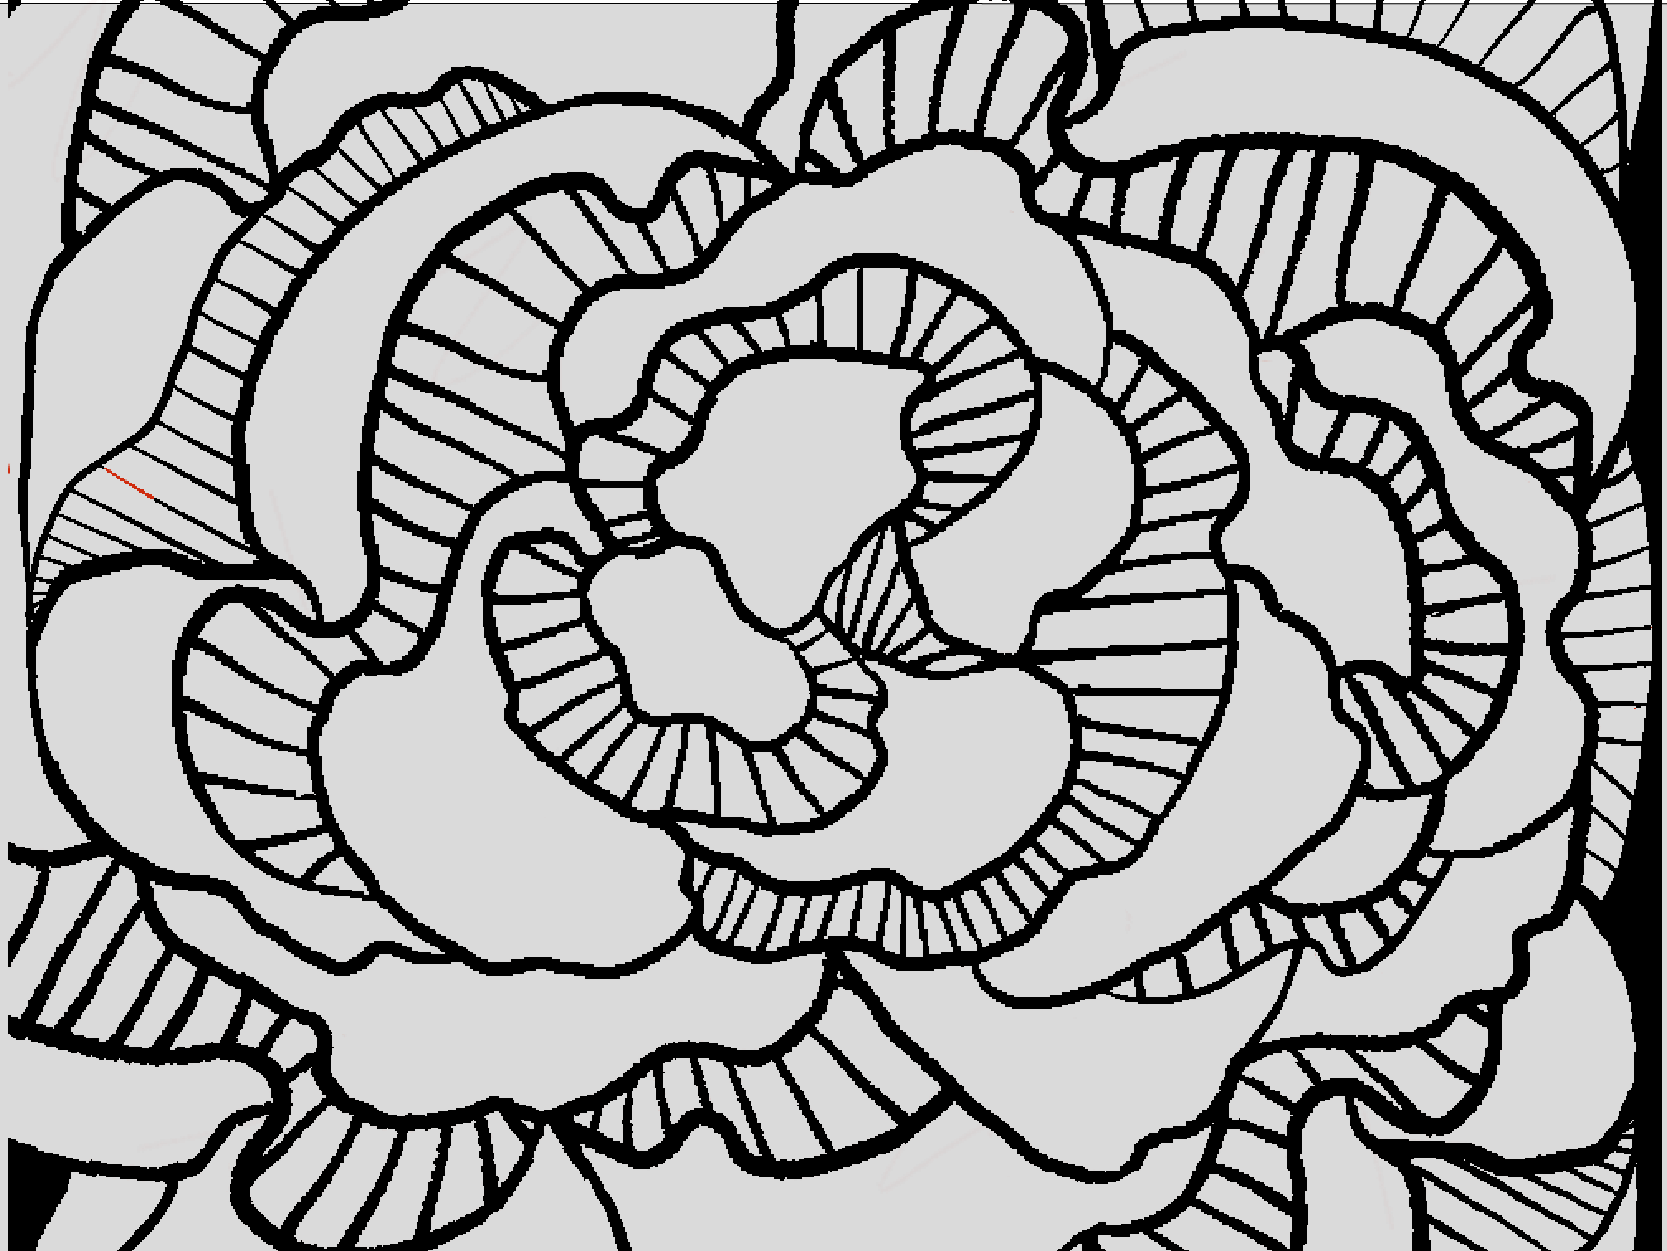
Printing with PLA was very easy as settings are constant, just a few tests before starting and it worked perfectly. I made new final patterns and then I had an idea to achieve the kind of forms I wanted to create. The printing would always be flat on the fabric which would result in a big flat sheet of printed fabric. To add a beautiful 3D element to it, inspired from mushrooms forms I tried to modify the form by heating the PLA and deforming it. This is the pattern I printed and tried the deforming technique on.
Deforming shape using a heat gun
I used the same pattern above to also print a belt and then deform it using a heatgun. Make sure to not keep the temperature very high otherwise it'll burn the fabric around it. Point to the region you want to shape until it becomes soft.
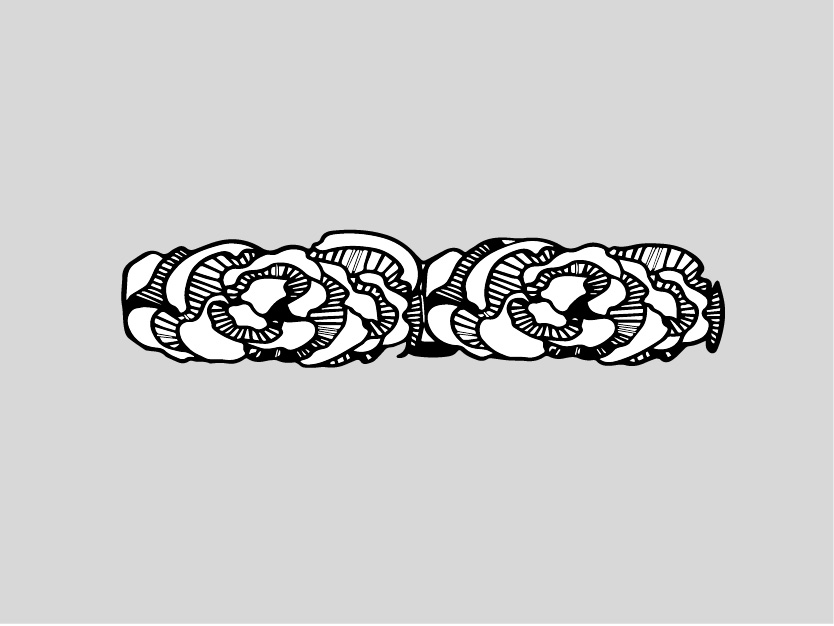
This next pattern was for look 2 where I mixed different dyed fabrics and printed mushroom inspired forms on them and then reshaped them using a heatgun.