Useful softwares
Clo 3D
Insight on what it is
I already had an insight on this type of 3D designs with the following Instagram account :
Blanc de blanc
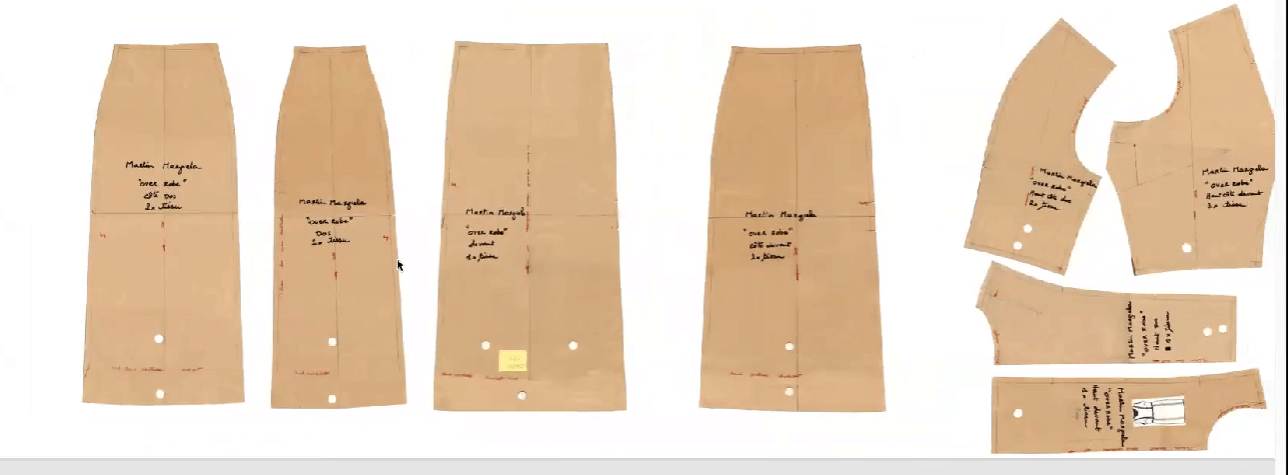
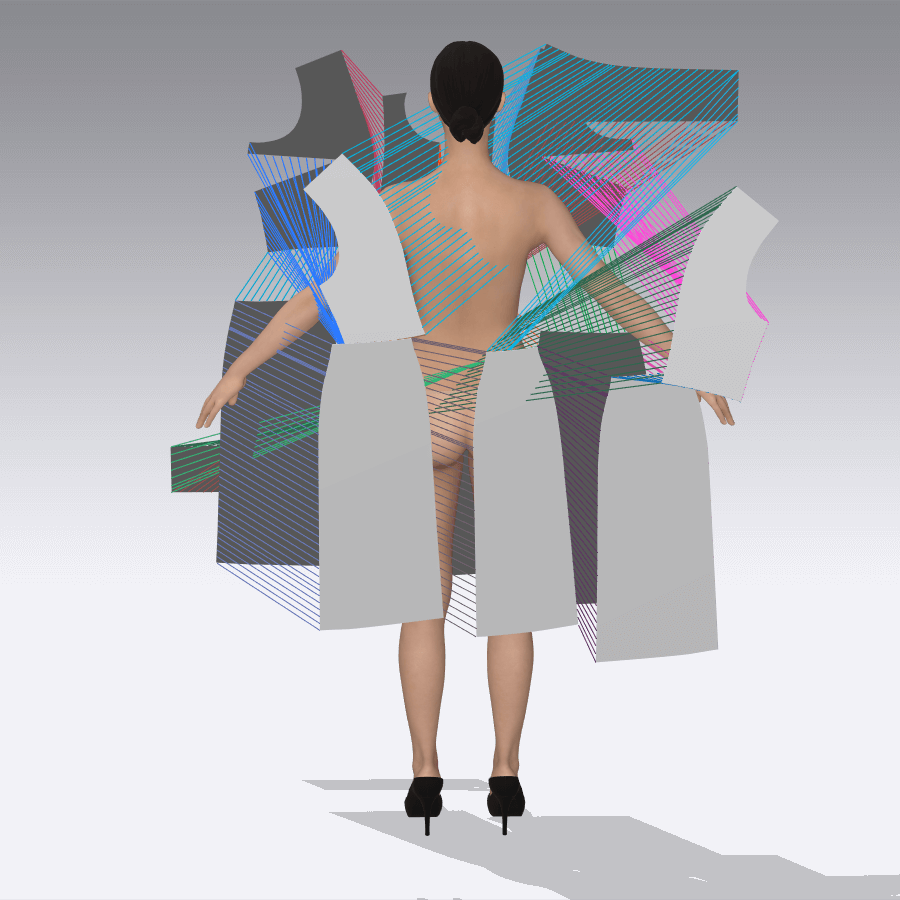
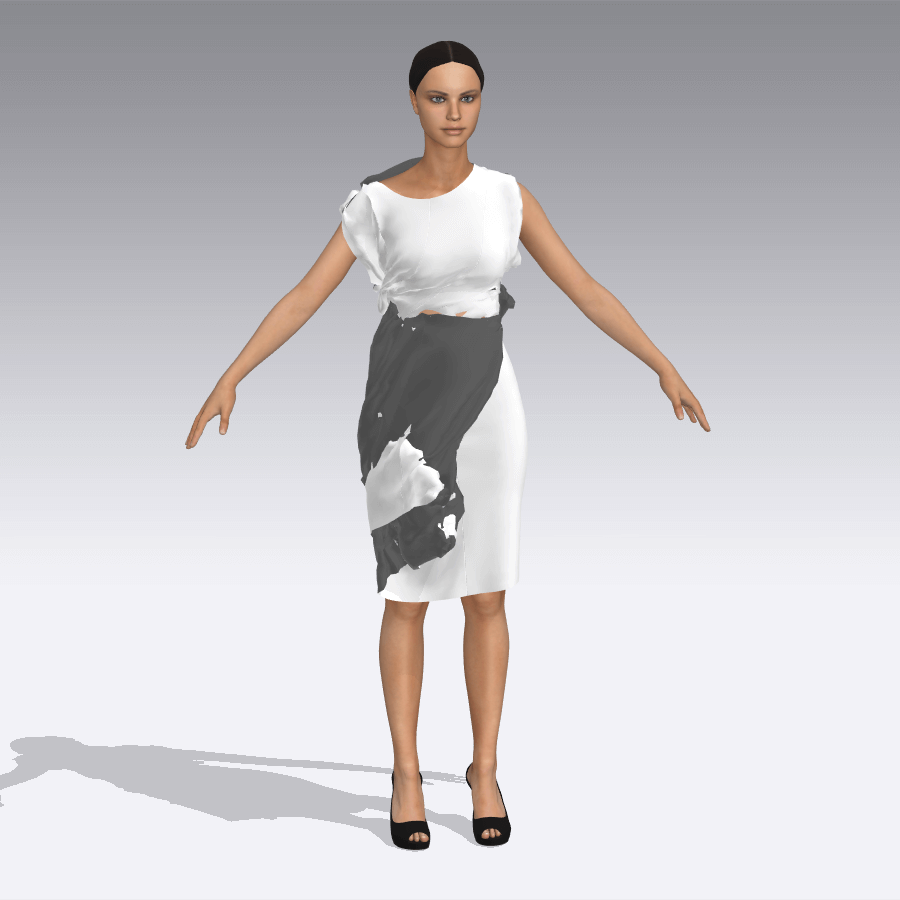
Okay, well... Clo3D is cool to discover! But there are so many little tips to know to be able to produce something that fits well to the avatar..! I first tried to create the Margiela dress after the first course. It was kind of a disaster.
Symmetry
Choose the Symmetry (with sewing). With this, your work will be divided by two! When you sew on a side, the other side is also sewn at the same time.
Also, it will prevent you from mixing up the results.
Easing the preparation of the pattern
You can use the arrangements points which are making the preparation of the pattern easier, since it adapts the parts of the pattern directly onto the body, and allows us to skip the "turning every piece in every direction in 3D setup" step. Remember to sew after you made this preparation, it will avoid you the situation presented above.
Darts and side sewing
BE CAREFUL! Darts on the Margiela dress gave me a headache... It's not that difficult, but:
- Use the tool "Segment Sewing" to sew the dart.
- Then (and also now) you can sew the sides using the "Free Sewing" tool. Don't resew the dart! Press "shift" while clicking on the different points of your side segment. Start with the piece that has no dart, and then
BE CAREFUL! The direction of your sewing means really something in your design. If you choose to counter-sew something, it will twist your fabric on the sewing.
BUGS

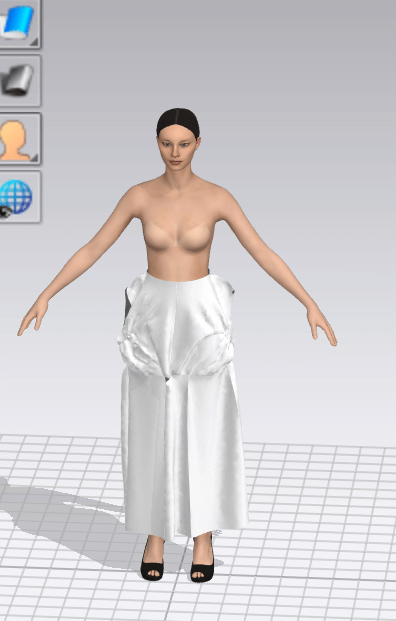
Mutant dress
That happens when you have some troubles with one of some of your stitches.
Don't panic! You'll be able to fix this, but take some time to experiment, and more important, to follow the tutorial on replay. It's true that sometimes, if you block on some step, you can easily be lost into the huge amount of control tools and information that we are given, but remember that you can come back on it and understand some subtleties.
That is sooooo frustrating when you have to redo the same dress 10 times in a row!!
But great news, I feel capable of doing it with my eyes closed.
Avatar
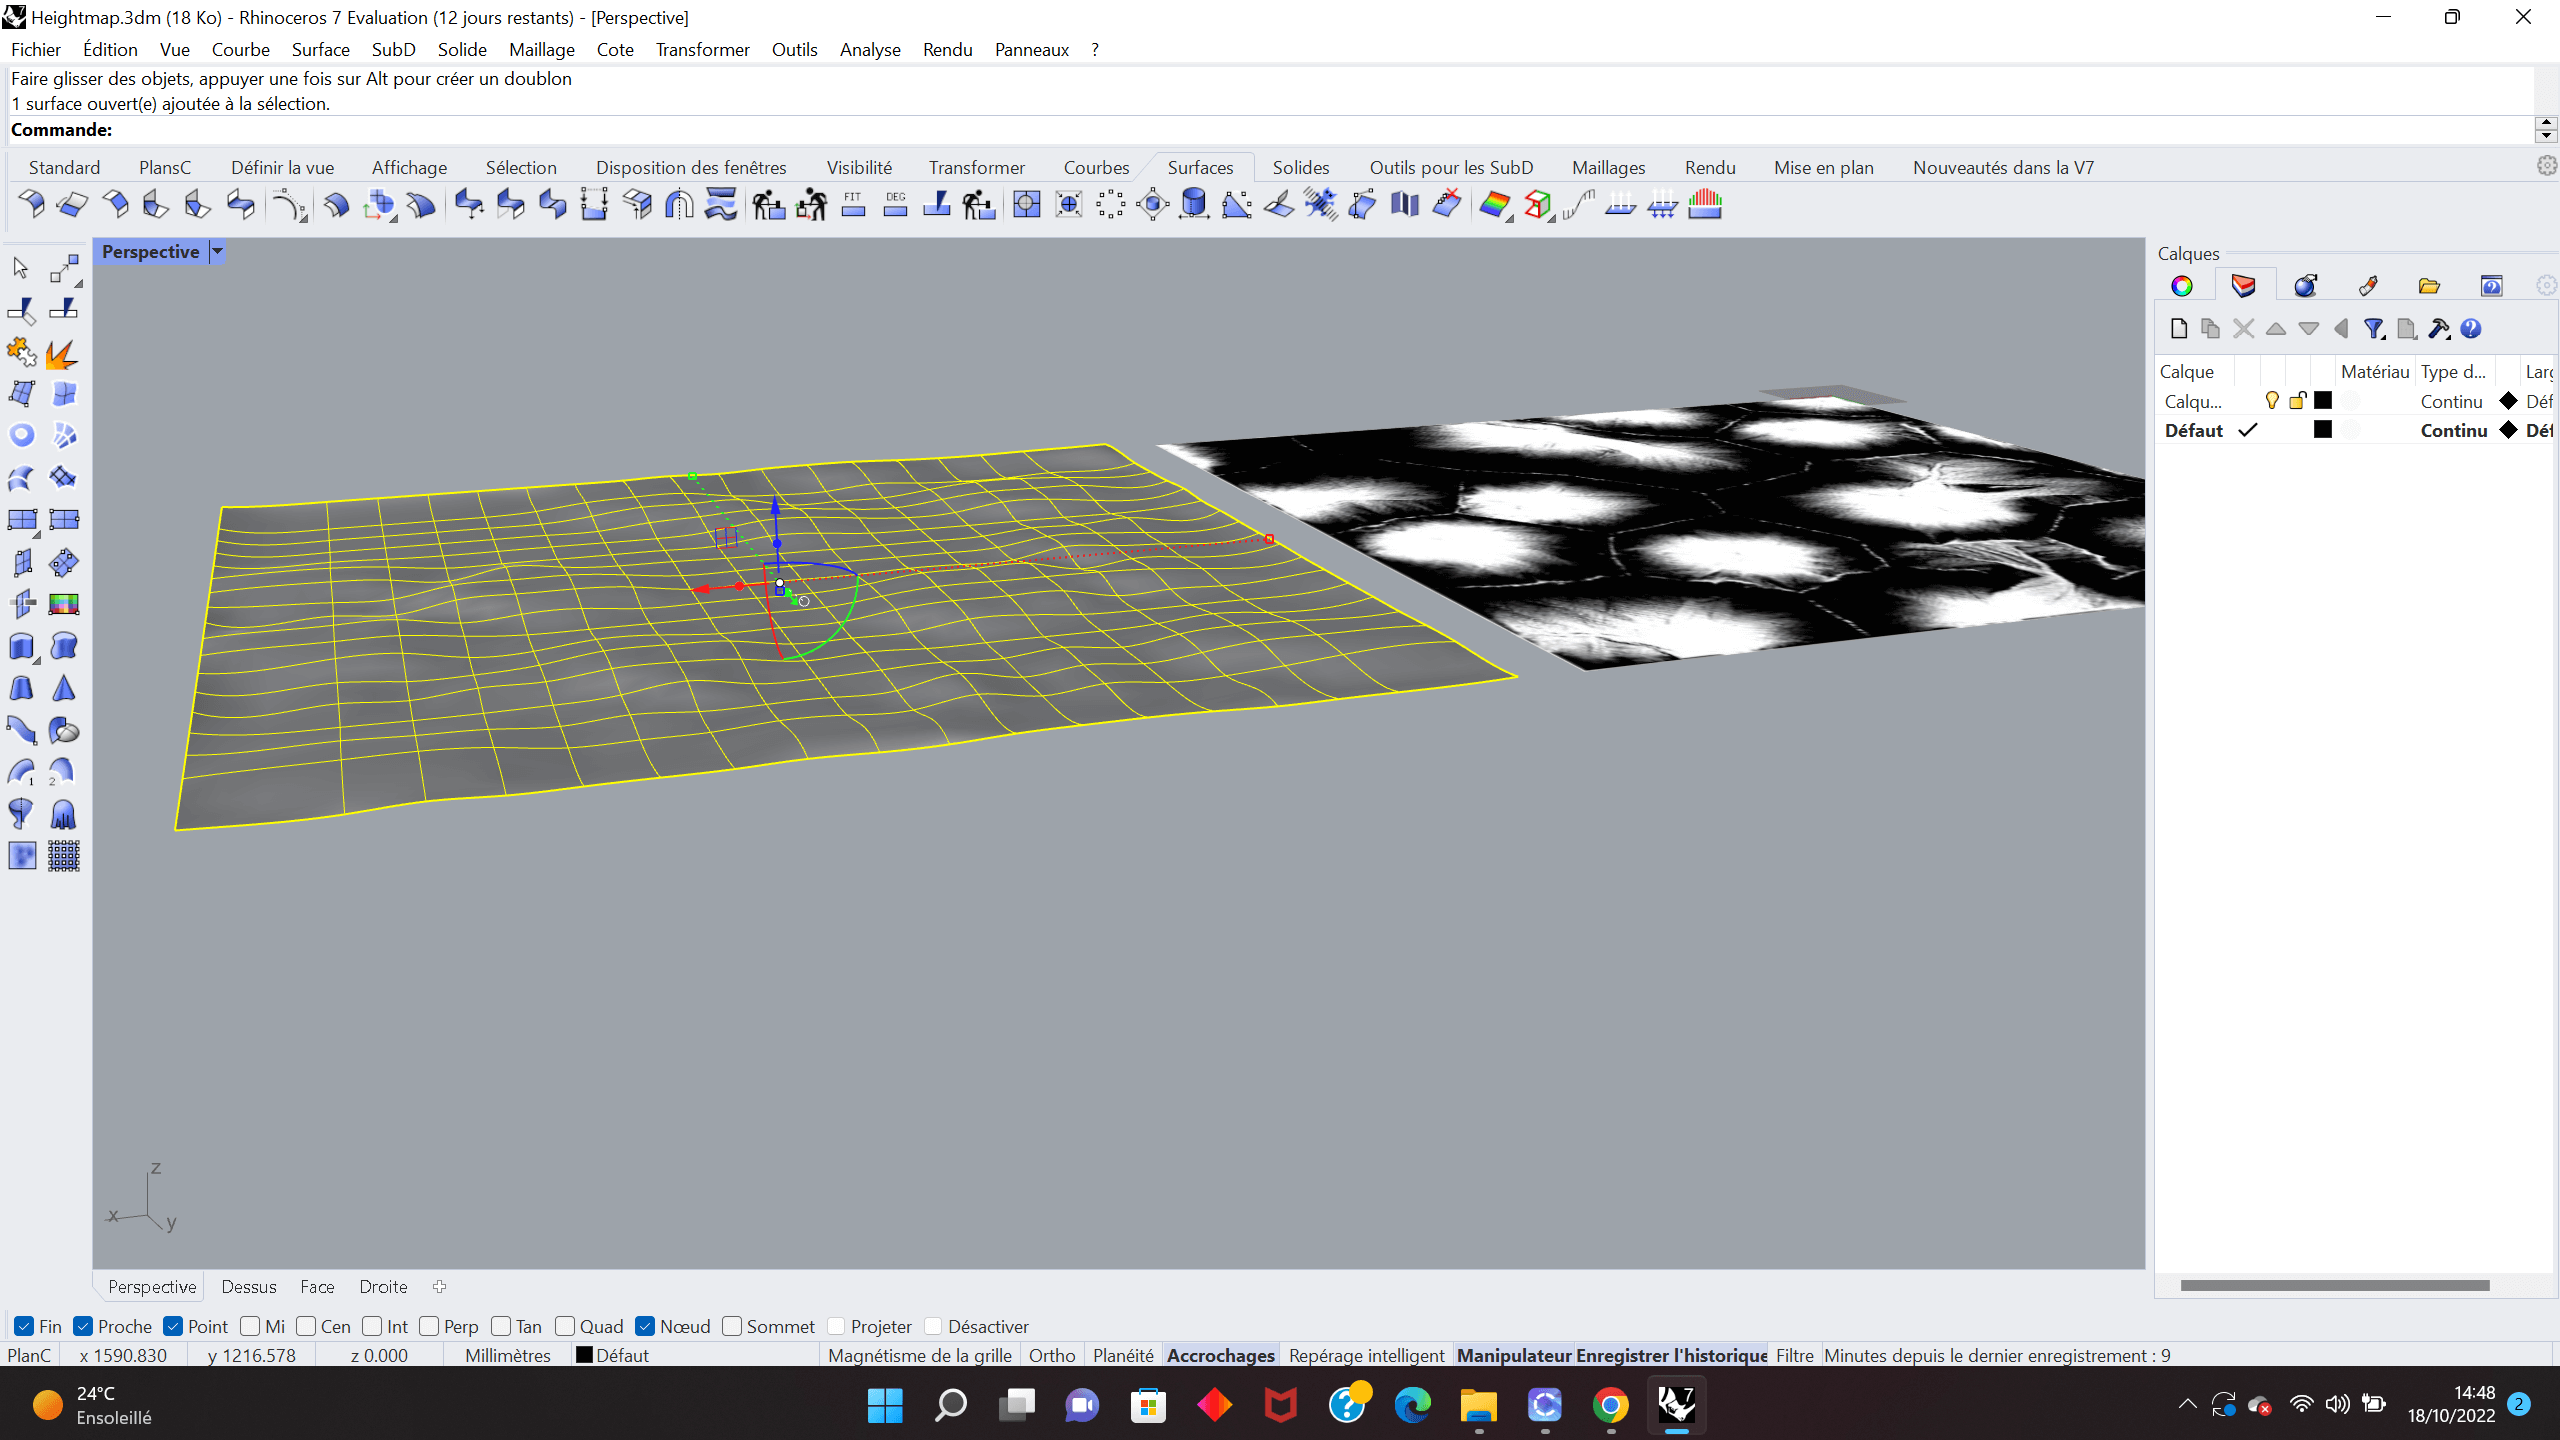
You can also create your own avatar. I don't know why, but it seems that my Clo3D is missing some elements in term of changing.
But I could experiment otherwise, with materials and measurements properties.
![]()
![]()
---
Rhinoceros 3D
I have to admit that the very first Rhino tutorial was hard to follow and a bit discouraging.
But, passed the first surprise effect, I decided to follow the Rhino courses no matter what, because it opens paths that I could'nt even imagine. And that is so cool!!
Words sheet, English to French commands.
If, like me, you downloaded Rhino in French (because it's easier to get what tool does what effect), here is a site where the commands are listed.
Second tutorial
I was really pleased to see what we were meant to do during the second tutorial.
I followed it two week after it was done by Rodrigo Aguirre, and I realized that it was actually really linked to what I had done during the "Digital Bodies" week.

To remember
-
Surfaces are impacted by directionality, and react according to it.
-
To grow a line into a surface:
- Draw a line
- Select one arrow in the moving circle of the line
- Drag it holding the mouse's left button
-
While holding the button; press ctrl (or command for Mac), and release the mouse's button.
-
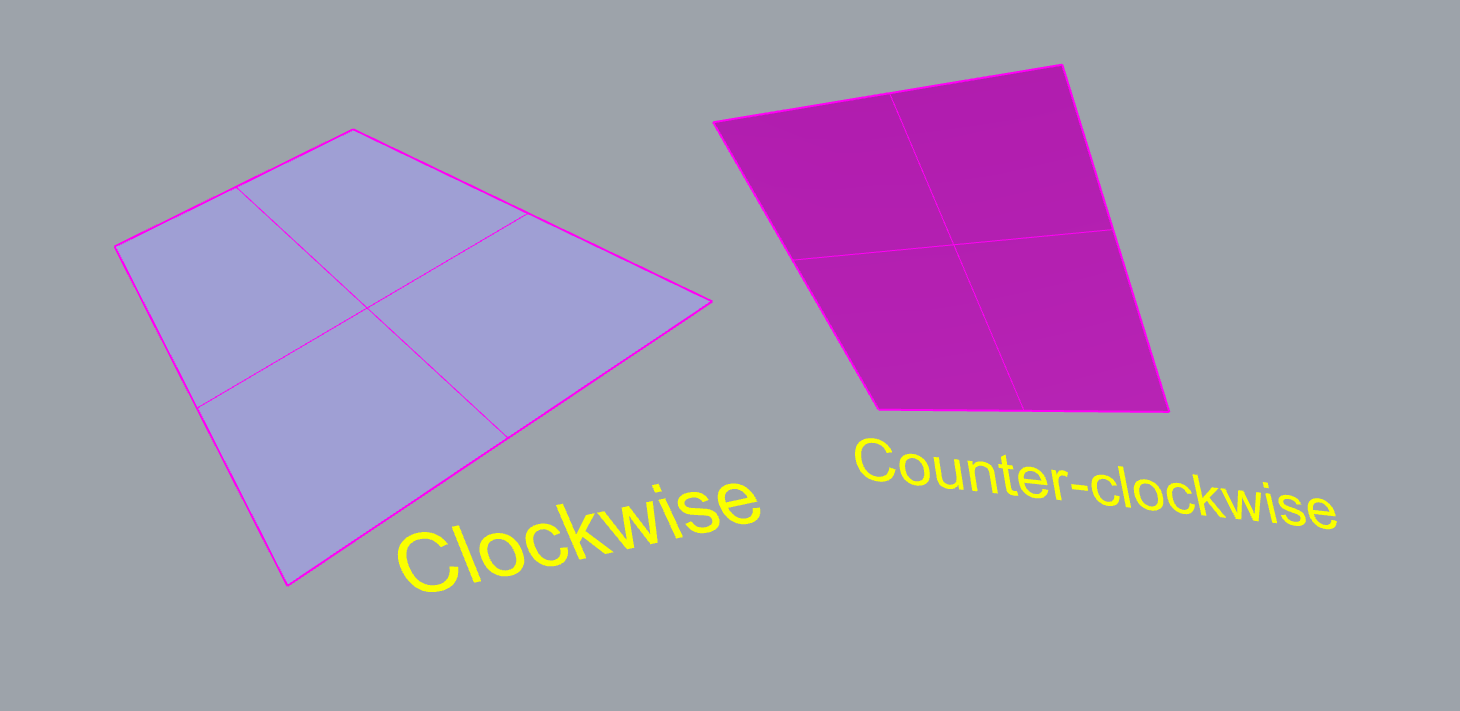
To create a shape facing us, create it counter-clockwise.
Important basis
Make sure to read what happens into the command box.
Les éléments en bas de l'écran sont importants:
- Ortho makes your grid fixe.
- For the laser cutting, it is interesting to use the "Osnap" function?
- Selection frame:
- from left to right, your object has to be entirely into it to be selected.
- from right to left, if you just touch your object, it is selected.
Useful for Week07
Trace a line
ExtrudeCurve
Boucher
Command trim, as seen during the week02.
Garder les étapes de construction.
Outil miroir pratique aussi.
Outil "array" ("matrice")
"Change layer" pour changer un objet de calque!!