THE COLLABORATIVE MAP, HOW-TOS
To create this collaborative map, I used the open source street map Umap. It allows you to create your own map. You can choose either to let anyone modify your map, or you can restrain the modifications to the people who has the secret link of your map.
I chose to let anyone modify it, to add their own workshop and pictures to the collaborative map !
Adding a pin with your workshop or the place of your cairn

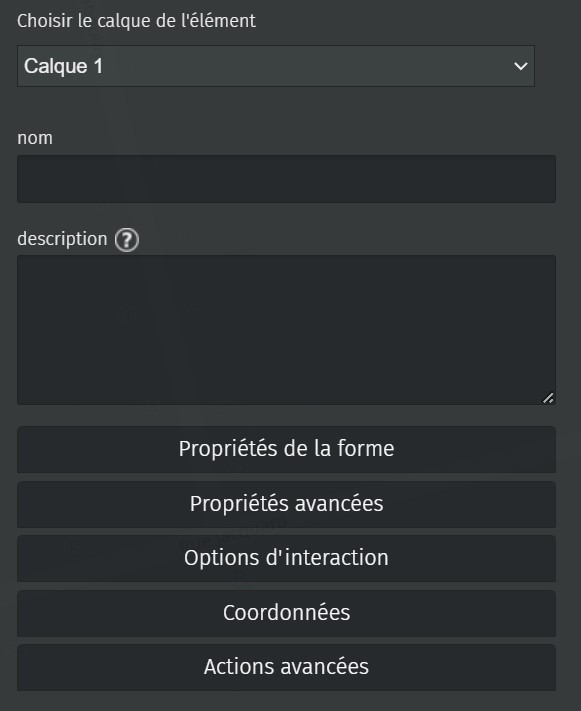
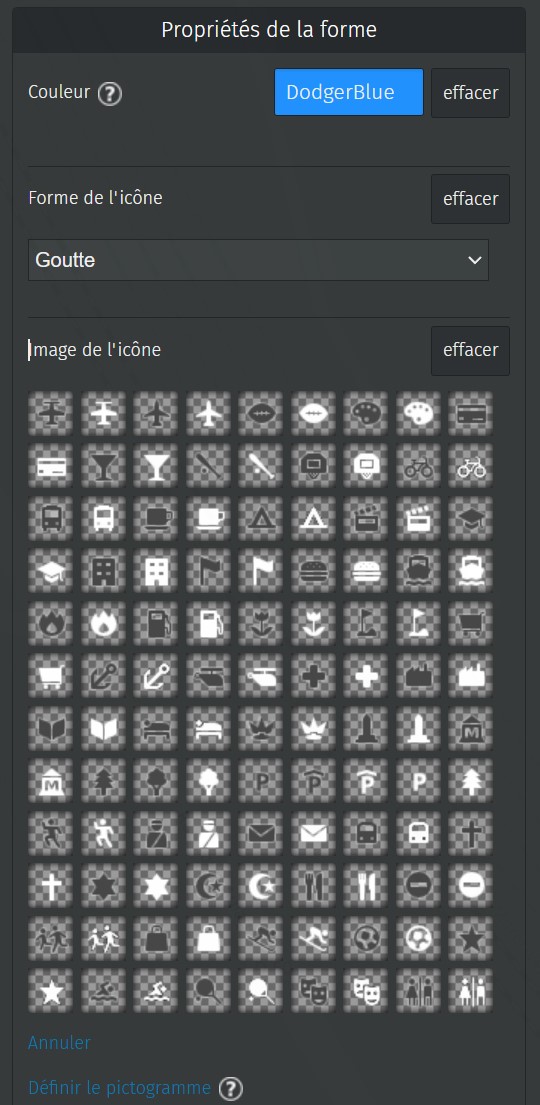
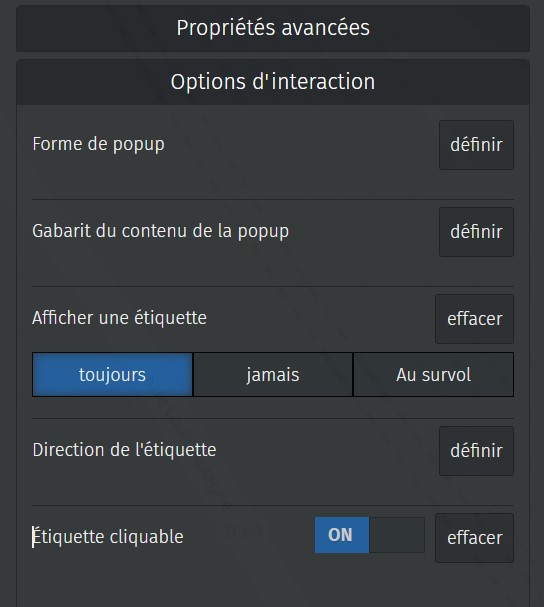
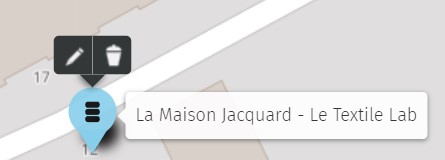
How to modify the icon of the pin ?
Some icons are suggested by Umap, but they don't mean anything regarding the workshop.
You can choose other pictograms, other icons on the site of https://icones.js.org/
Choose the needed icon on the site, then copy the URL link of the icon, and paste it into the "Define the pictogram" tab of Umap.
Click on the check ; you've changed it !
Bravo, you created your own pin !
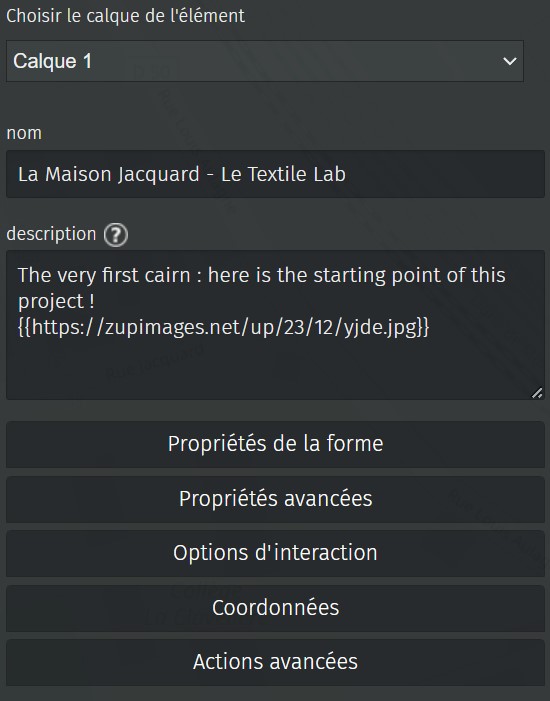
Adding the picture of your cairn
For anyone to be able to see the cairn you produced, here is a little tutorial to add your own picture of it on the corresponding pin.
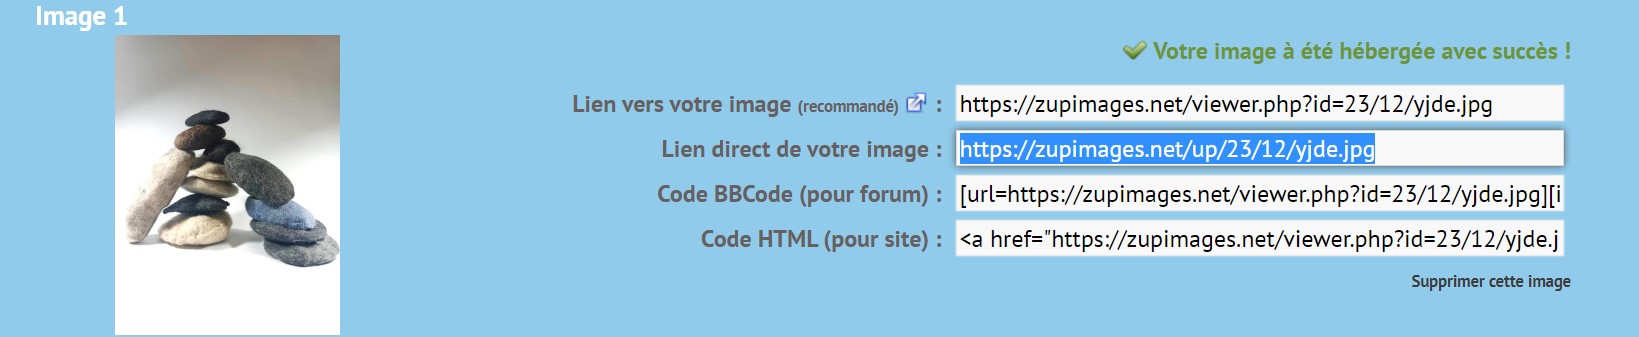
Go to a picture web host to download the chosen picture.
I worked with Zupimages to host my pictures on the web.
The final result
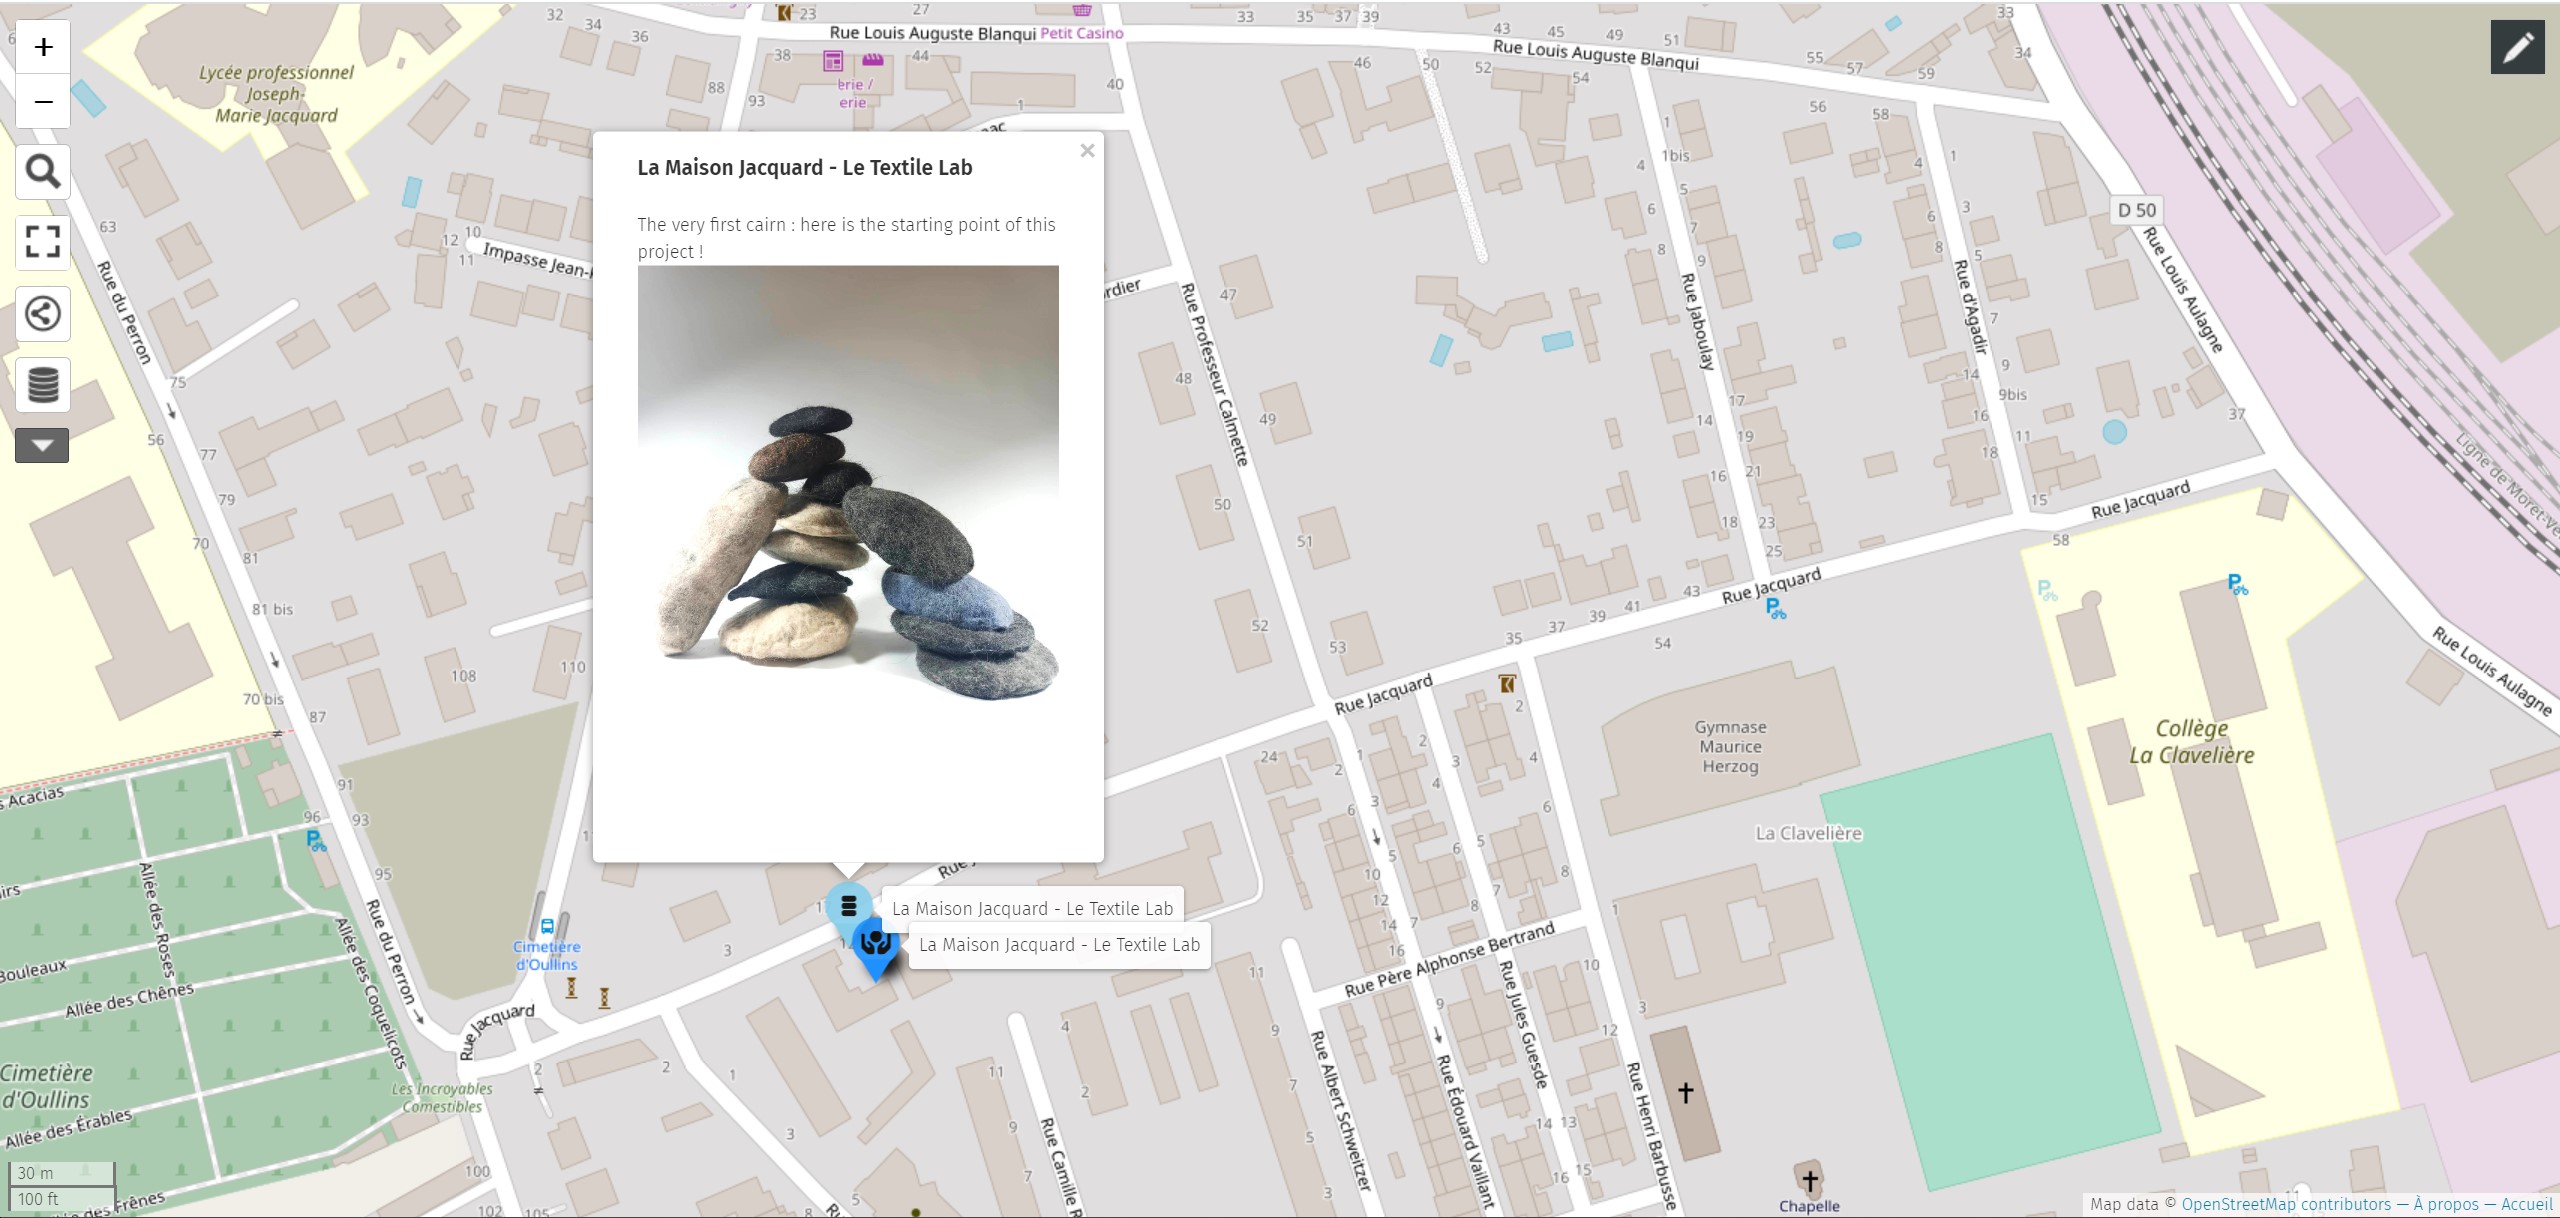
Bravo, you added your picture !