9. Soft Robotics
weekly assignment
Check out the weekly assignment here or login to your NuEval progress and evaluation page.
get inspired!
Check out and research alumni pages to betetr understand how to document and get inspired
- Lisa Boulton
- Betiana Pavon FabLab Barcelona 2019-20
- Saskia Helinska FabLab Barcelona 2021-22
- Dominique Vial TextileLab Lyon 2020-21
Soft Robotics Notes
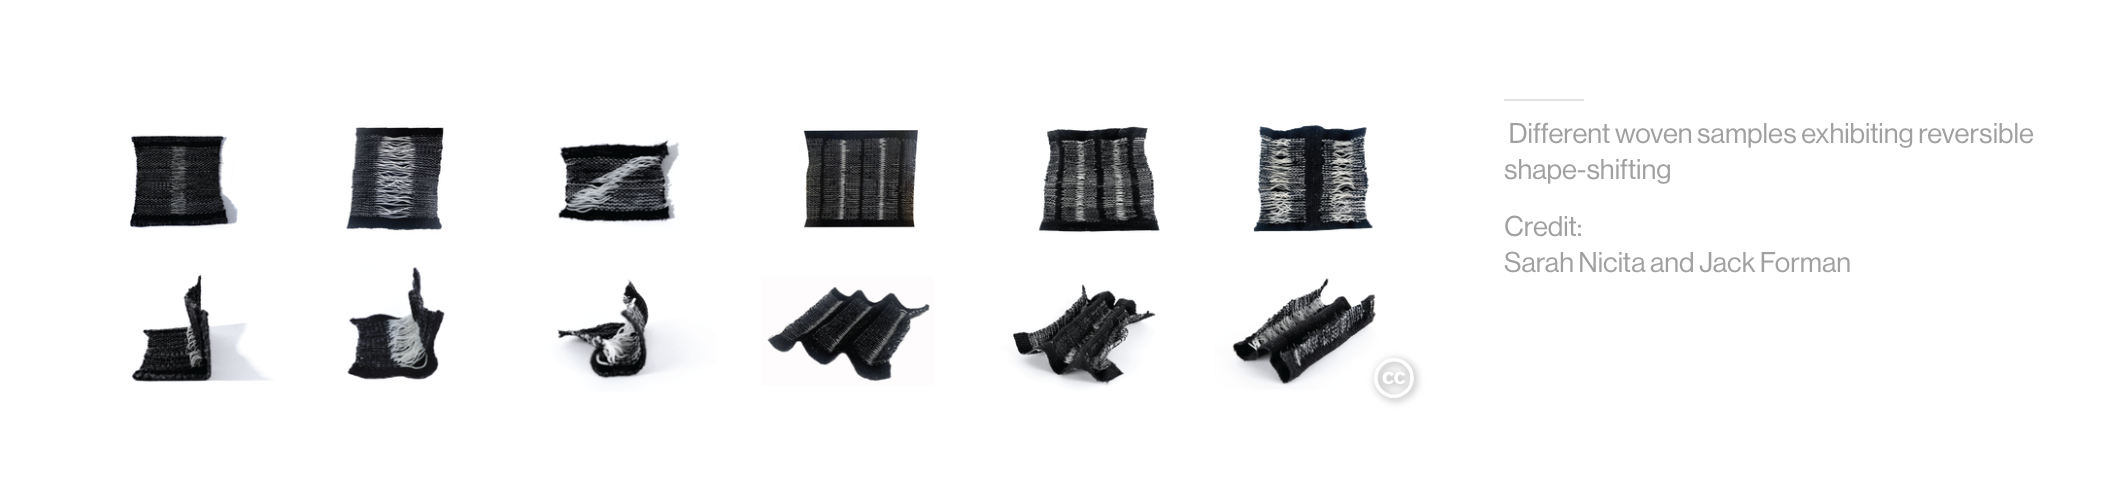
References & Inspiration

Construction Methods
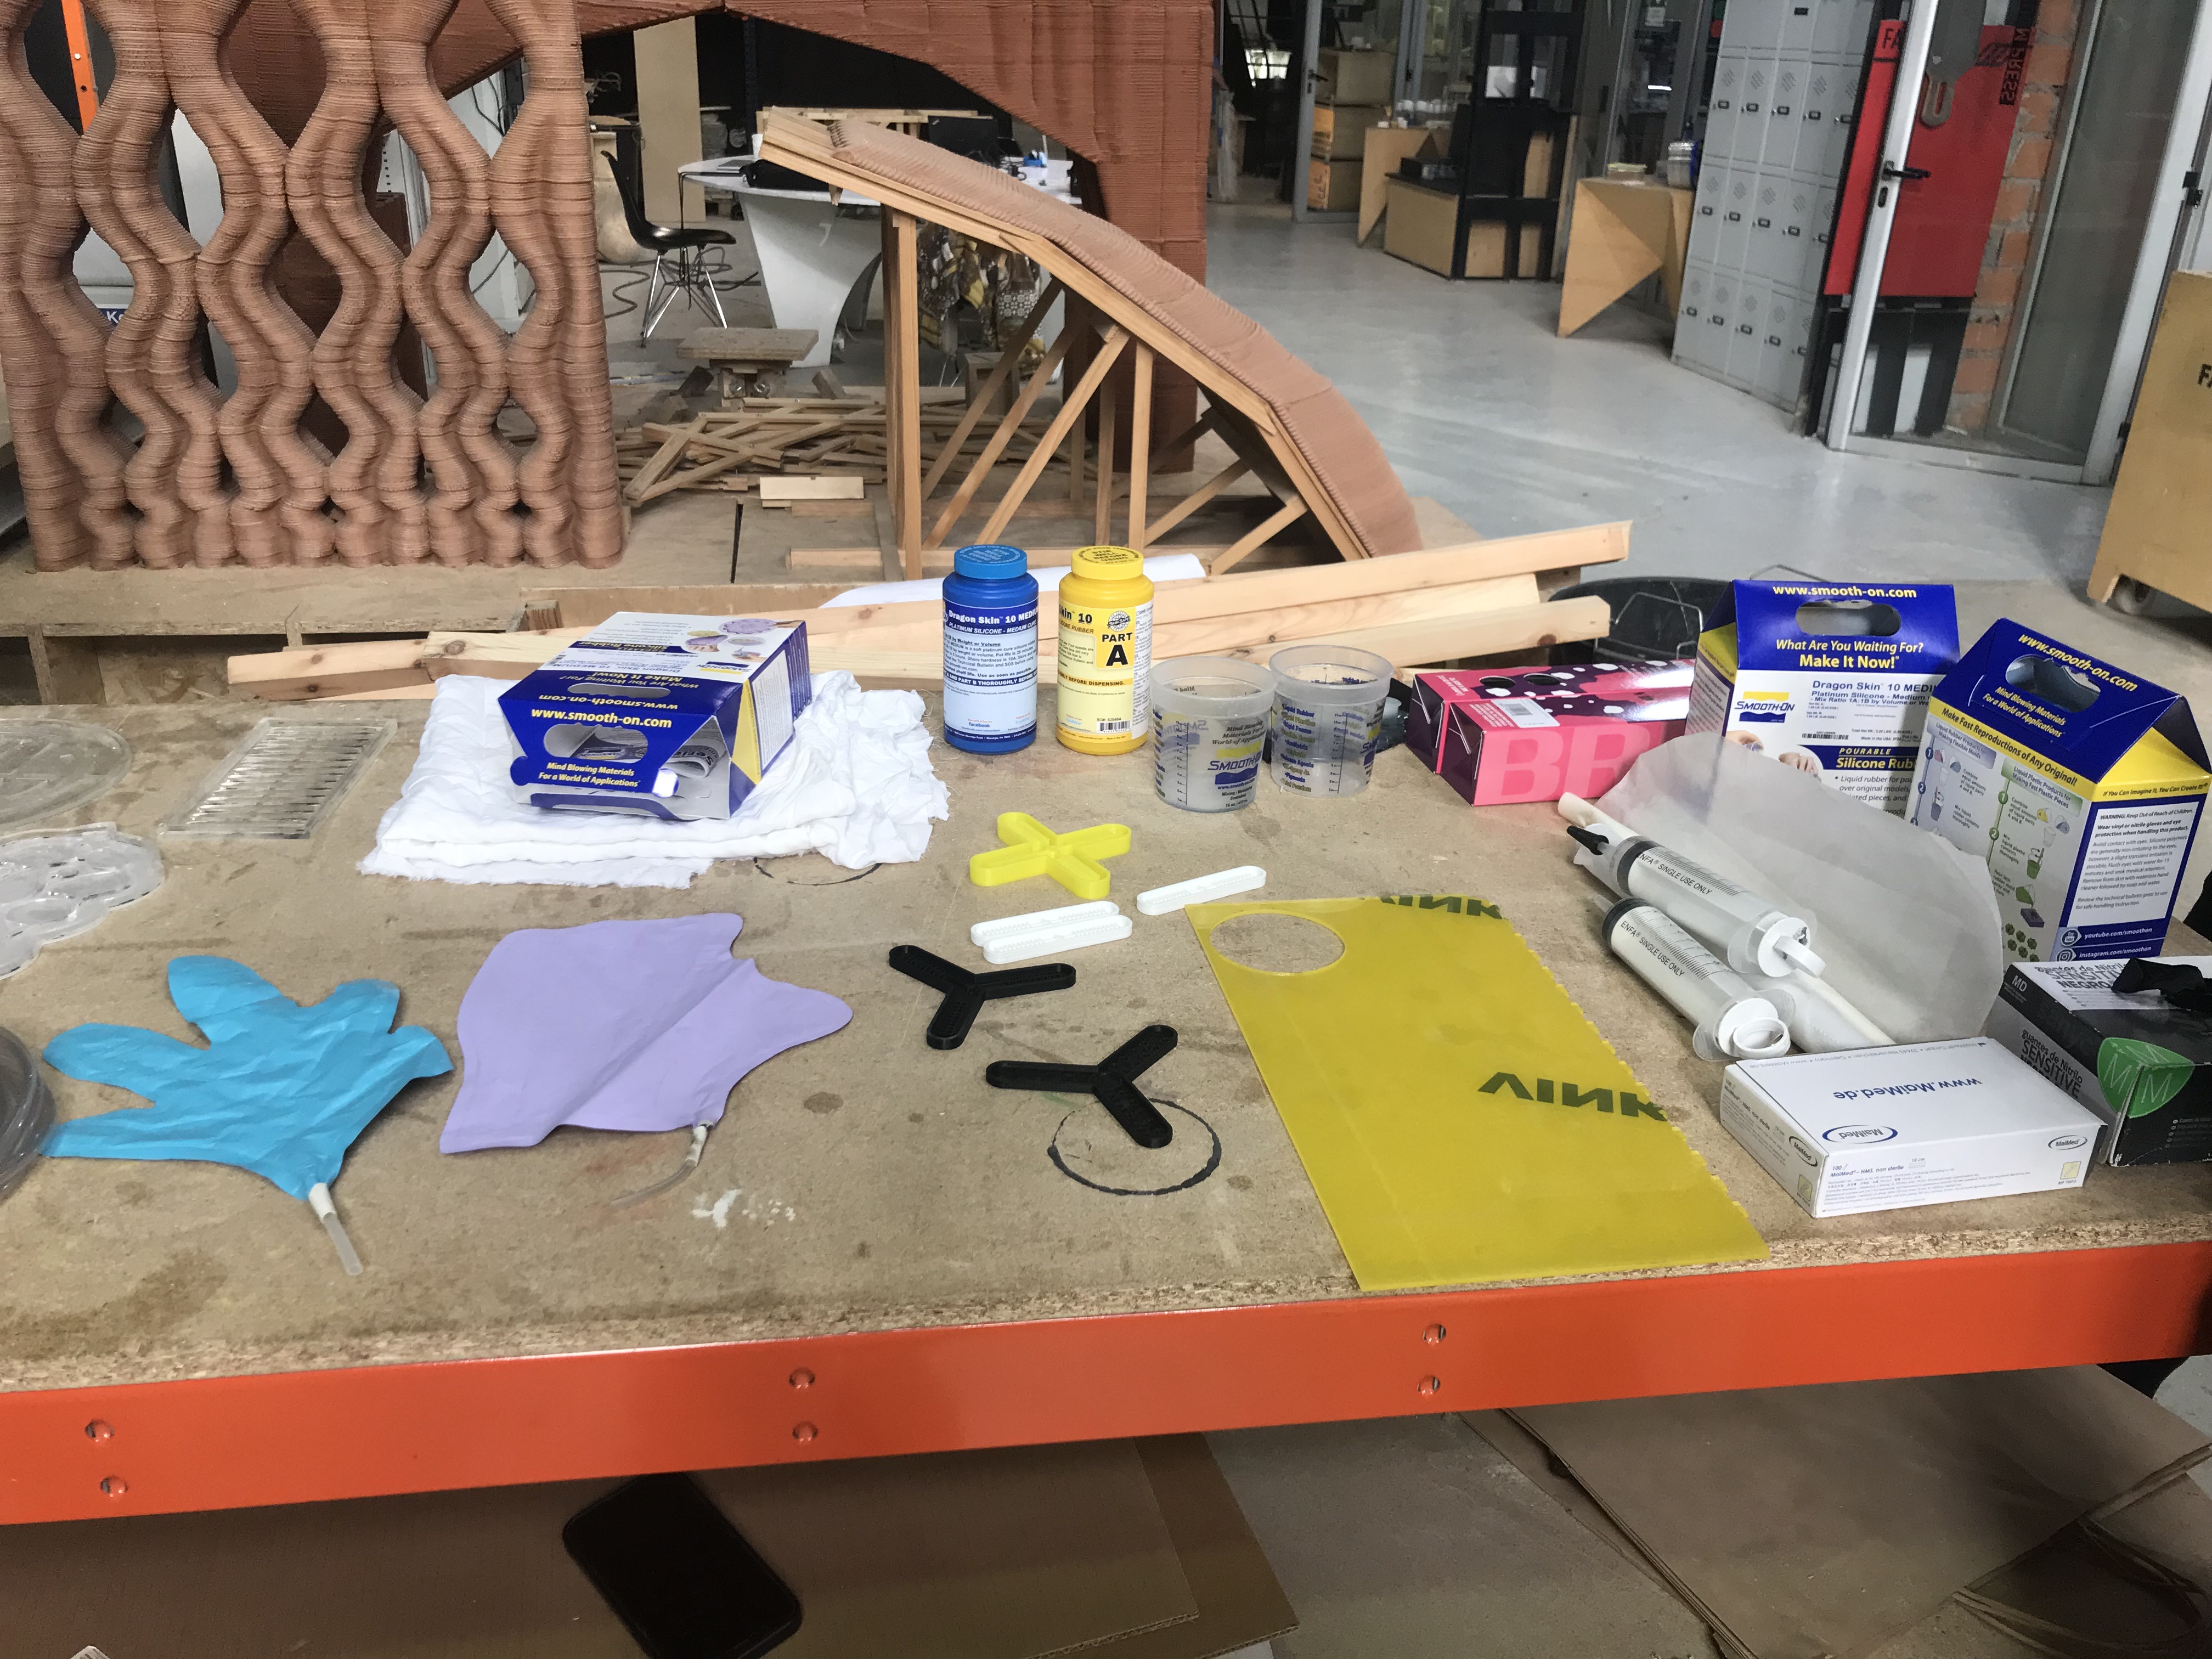
This week there were two main methods we explored for making the ‘robots’, these were 2d vinyl balloons and 3d silicone moulds. I found that vinyl was the easiest and most successful method and therefore I spent most of the week trialling this method. The basic instructions for each method are as follows:
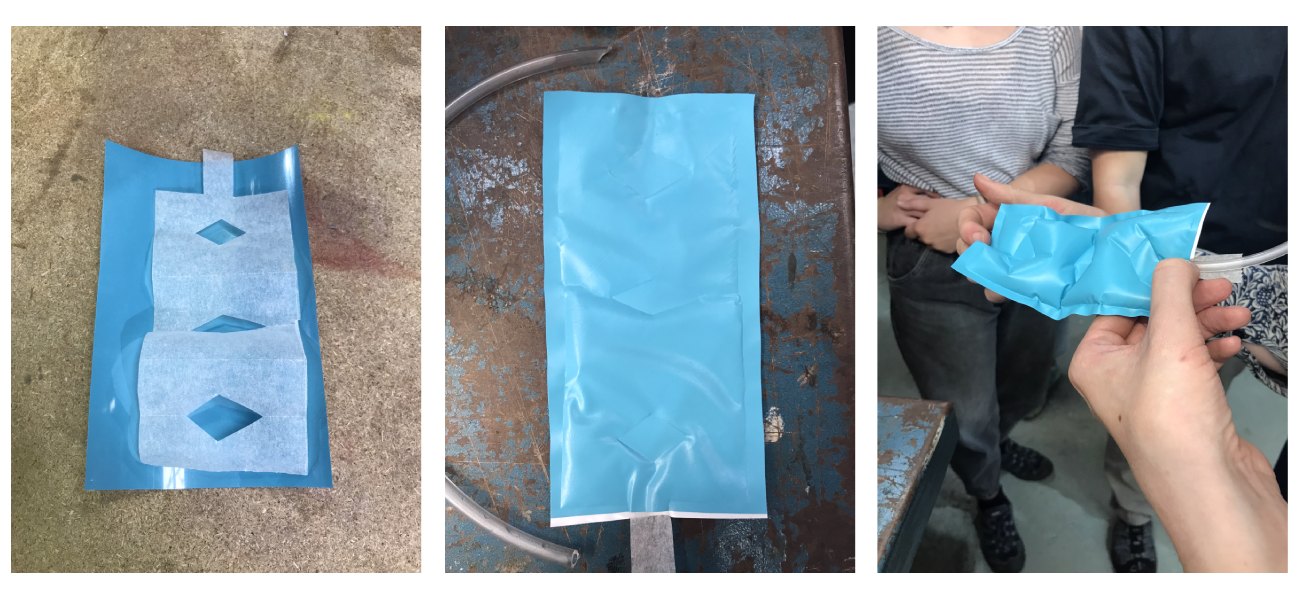
Vinyl Method:
-
Design the channel you want the air to go through in the balloon and cut this out of baking paper, make sure you have an extended channel on one edge of the patter to keep an opening for the air pump later.
-
Cut out 2 pieces of vinyl bigger than the piece of baking paper you have in the overall shape you want for the balloon.
-
Sandwich the baking paper between the vinyl with the film side of the vinyl on the outside, making sure that the baking paper is in the middle of the 2 pieces with the extended channel sticking out slightly.
-
Heat press or iron the sandwich until the vinyl has completely fused apart from the pattern of the baking paper.
-
Add a straw in the extended channel of the baking paper and blow air in to inflate.
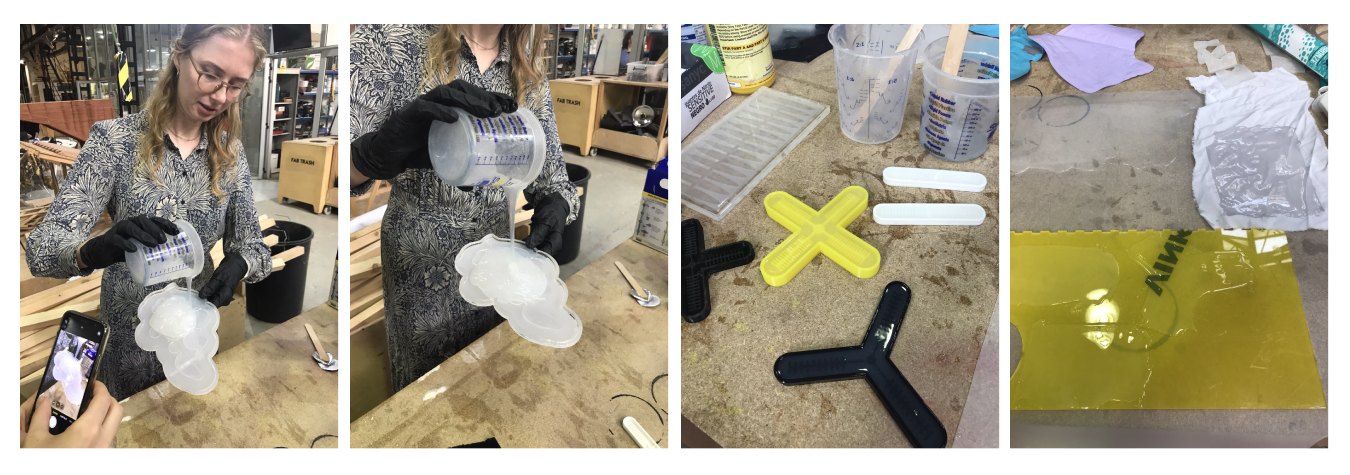
Silicone Method:
-
Design the mould for the silicone in 2 parts, one that is just a flat version of the overall shape of the inflatable and one that is the same but with a raised path for the channel you want the air to go through which is extended to the edge of the shape to keep a channel for the air pump later.
-
Laser cut in layers and assemble or 3D print the mould.
-
Mix the silicone 1:1 parts A and B and pour into the moulds slowly pouring onto itself not onto the empty mould where possible to minimize air bubbles.
-
Leave to dry for 5 hours.
-
Glue the 2 parts of the silicone together being careful not to close off the air channels.
-
Add and air pump in the channel left open and blow air in to inflate.
Vinyl Testing
As I had no idea how the balloons would move or how to control it, I wanted to have a go at making a few variations of the same basic shape for the inflatable to understand how scale and frequency would alter the movements.
I decided to do this with a strip of triangles as I saw in Saskia’s documentation that this would give a twisting motion. I also had a go at some other basic shapes, straight and curved lines.
Trialing basic shapes to get an understanding of how they move the balloon.
| Basic Triangle Strip | |
| Wide Triangle Strip | |
| Long Triangle Strip | |
| Outlined Triangle Strip | |
| 3 Prongs | |
| Spiral Section |
Multi-layered Balloons
Once I had a basic grasp of making the balloons I wanted to have a go at something that might resemble or imitate a textile in some way. I wasn’t sure how to do this really so I decided to try to make a ‘woven’ inflatable. To do this designed 2 different air channels, one with vertical lines cut out and one with horizontal. I wanted these to be separate channel that interacted a bit rather than one big checked channel so I needed to work out how to add multiple balloons in one.
I did this by using 4 layers of vinyl to sandwich the 2 piece of baking paper in this order from bottom up:
- Large piece of vinyl with film side down
- 1st baking paper piece in the middle with the air channel extending out slightly
- Small piece of vinyl with the film removed and this side up, covering the baking paper but in the middle of the large vinyl
- Small piece of vinyl with the film removed and this side down, in the same position of the piece below
- 2nd piece of baking paper in the middle of the small piece of vinyl below with the air channel extended out of the large vinyl slightly
- Large piece of vinyl with film side up in same position as the matching bottom piece

This didn’t really resemble a weave in the end but it worked very successfully and made a balloon that I could move in 2 different directions easily by switching between the 2 air pumps which was really cool.
Next, I did a few more experiments with different vinyls and sizes that combined some of the different shapes that I had explored earlier to see which movements combined nicely.
I also had a go at making a more organic shaped balloon with thin channels through it to see if how it would work with less overlap between the different balloons and less graphic shapes.
4 Layer Ballons
Finally, I tried to make some small samples with 4 different balloons in one. This proved quite tricky as keeping all the layer lined up correctly to press was a challenge and some of the paper shapes did not come out very clear.

Silicone Testing
I didnt have much time to experiment with silicone balloons this week but I did make one using a mould from a previous year. When I was combining the top and bottom layers of this, I accidentally closed of some of the air channel with the silicone I was using as a glue. This meant that the balloon didnt inflate very successfully and the movement was very limited.