Image: Reishi mycelium spawn closeup.
How to durably store the mycelium ?
Mycelium are a part of a living organism requiring permanent attention. It is also rapidly evolving and replating mycelium from agar plate to agar plate can lead to evolution of the mycelium and diminution of fitness parameters such as growth rate. In other words, the mycelium can get weaker by plating it over and over again and grow slowlier or in shapes we do not want.
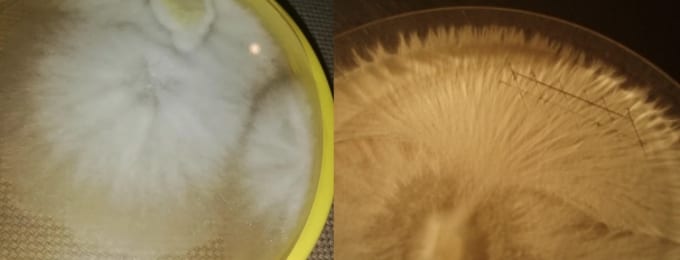
Image: fluffy growth Vs Rhizomorph growth. Images from Redditand glückspilze.
To maintain the mycelium strong and rhizomorph, we have to make the fungus achieve its life cycle. First, we want to grow it on a rich substrate to make it grow strong, then make it fruit and finally collect the spores produced by the fruiting body managing some aluminium foil to launch a new mycelium culture. The spores are the safest way to store the mycelium.
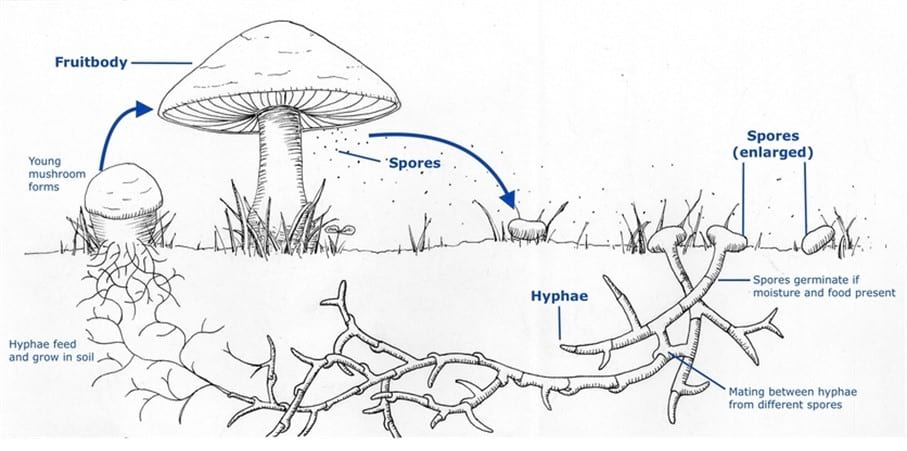
Image: filamentous fungi life cycle. Source : science learn.
To keep a strong mycelium, we will start off by preparing spawn. First we will take the mycelium we have and make it colonize some grain. Grain is rich in nutrients so the mycelium will grow strong.
Grain preparation
First question was, what grain am I going to use for the preparation of the spawn ? I consulted the Freshcap website and came to the conclusion that wheat was the most easily accessible and amongst the most efficient choices I could make. I decided to make spawn jars for all my strains so that I could have a stock backup for all of them. Ganoderma lucidium (Reishi) and Pleurotus ostreatus (Oyster) strains were kindly provided by Jessica Diaz from the biocentricdesign studio. Pestalotiopsis microspora and Omphalotus nidiformis strains were purchased from Mushbank. All strains were provided on malt agar plates.
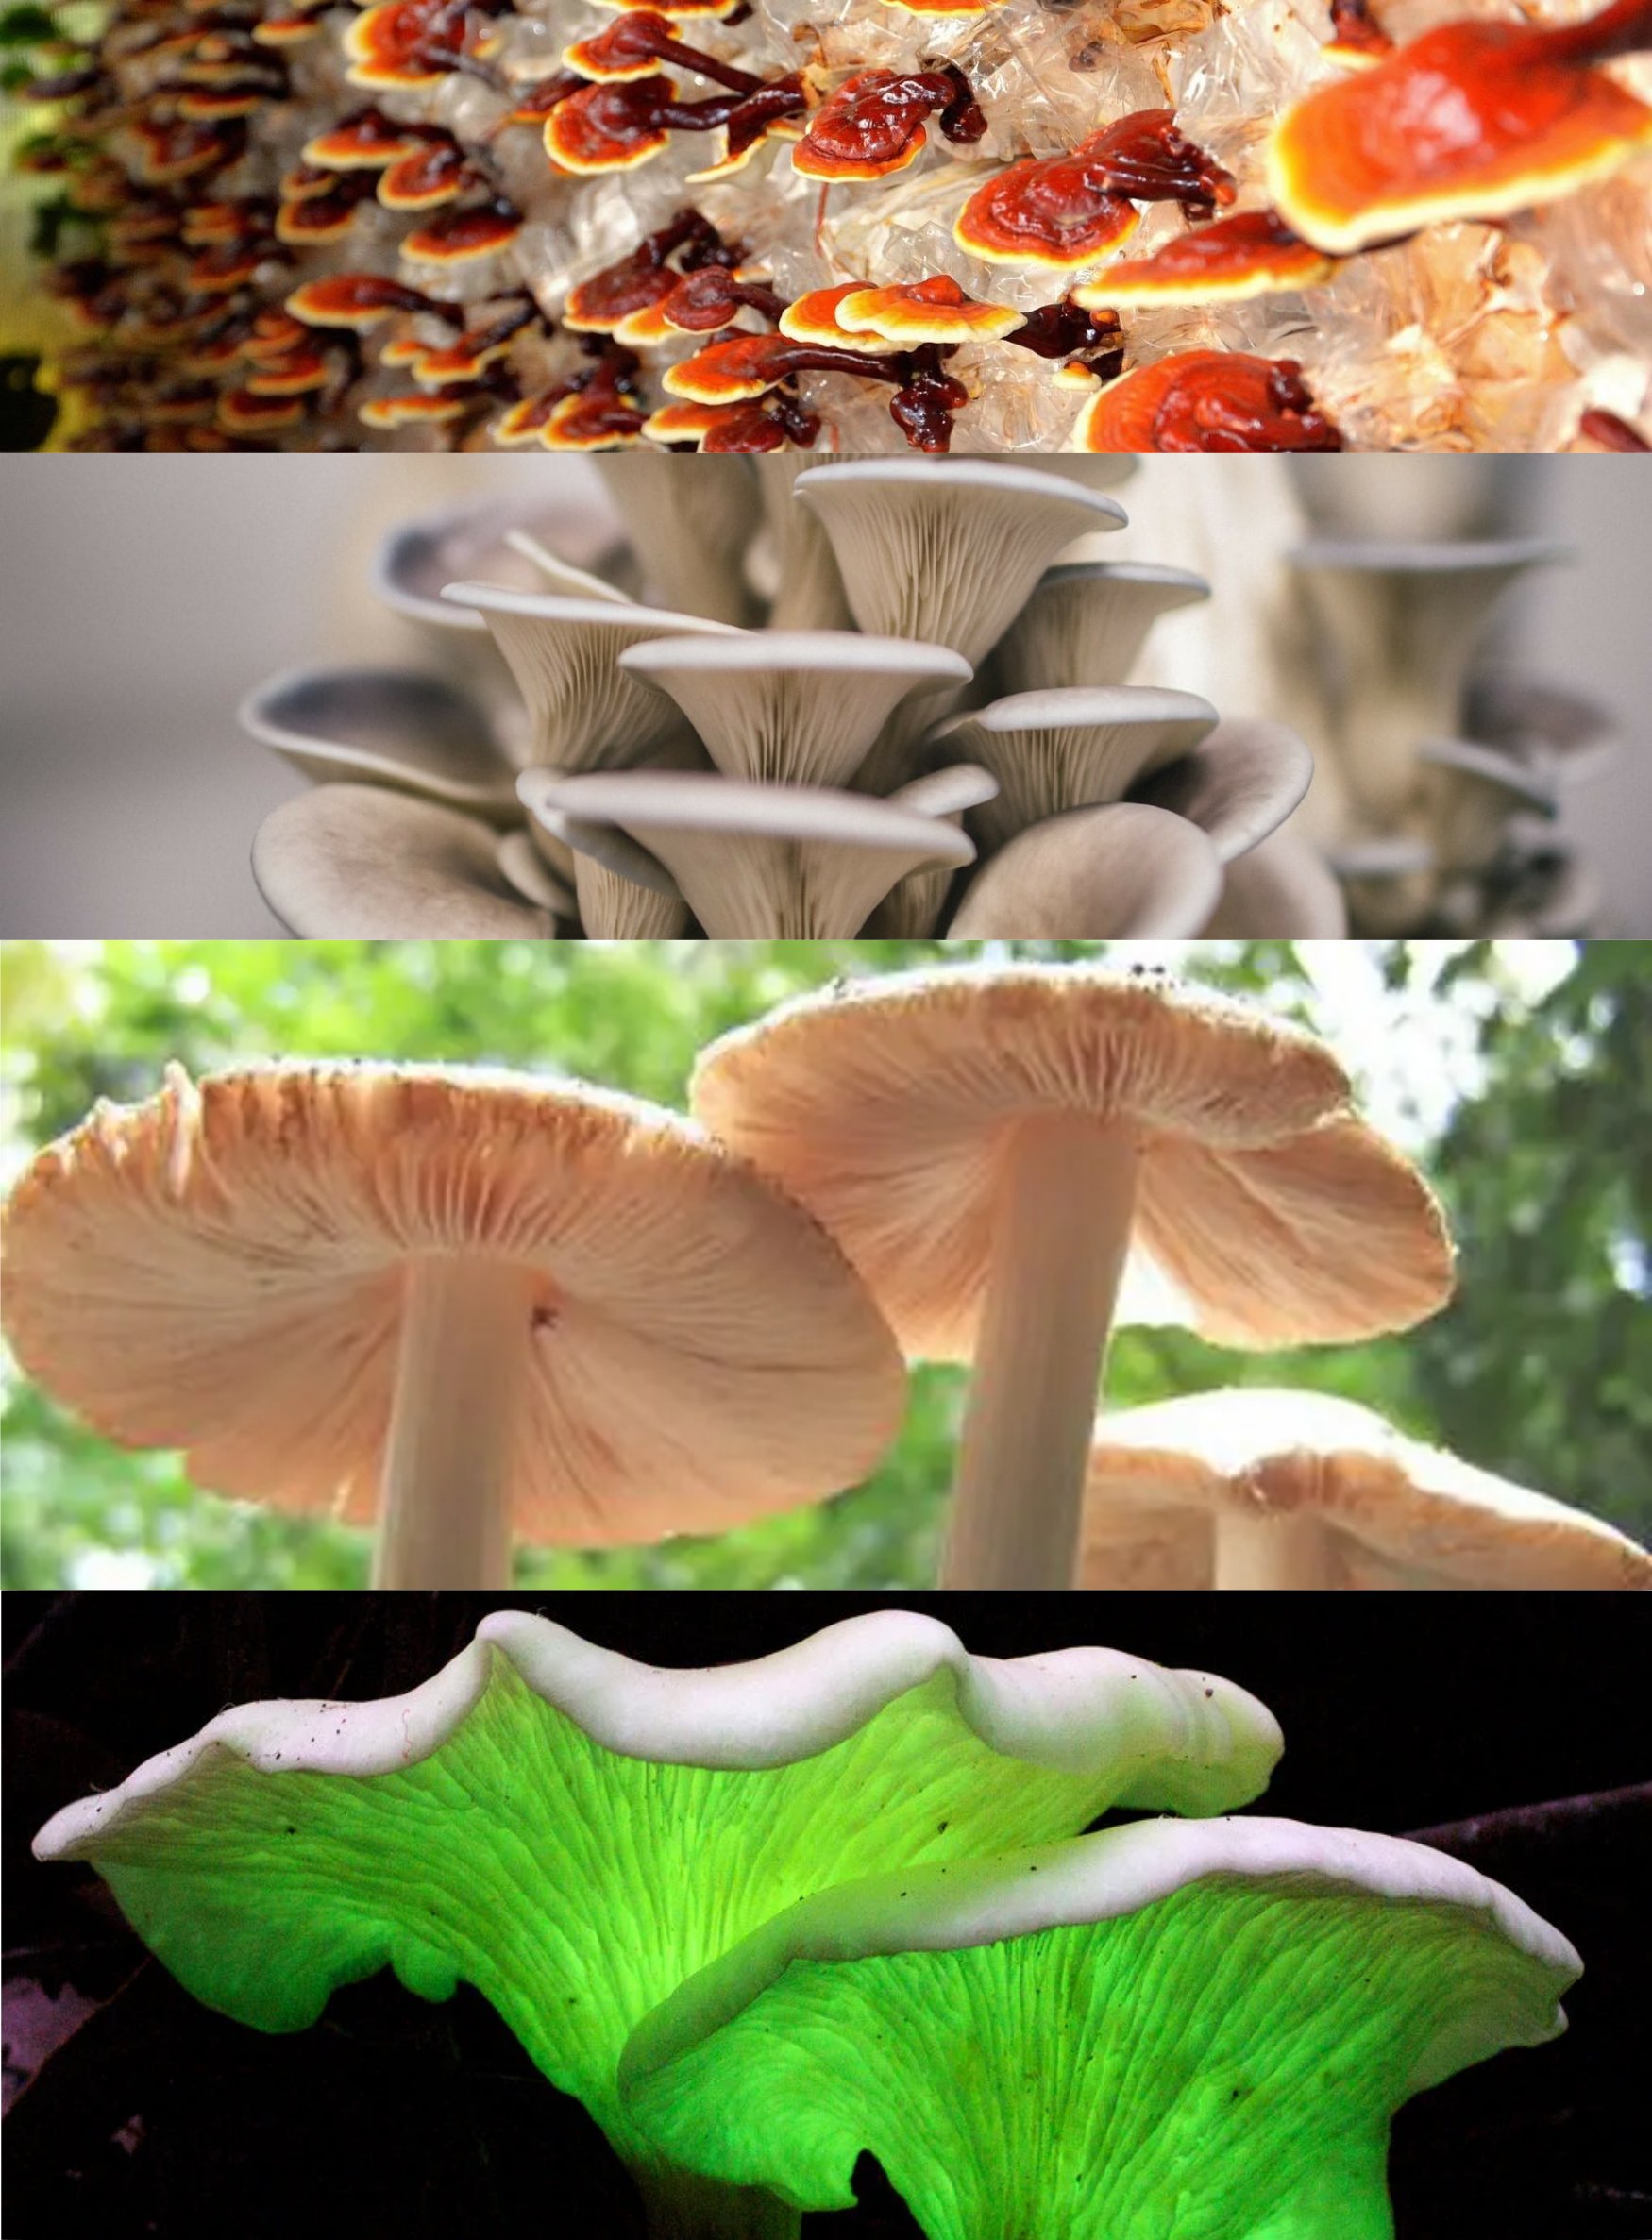
Image: Fungal species used during the trimester. From top to bottom: Ganoderma lucidum (Reishi), Pleurotus ostreatus (Oyster), Pestalotiopsis microspora and Omphalotus nidiformis.
Following different protocols and youtube videos I saw about DIY mushroom culture, I chose to make the mother culture spawn jars using cylindric glass jars of 8 cm diameter and 17 cm height with a metallic lid. Jars were either bought at local Bazar or recycled from being former food containers. Jars were mechanically cleaned with water, a sponge and detergent to eliminate any solid food remainings.

Image: Type of jars used for spawn cultuvation.
A 5,5 mm hole was drilled in each metallic lid. Sharp metallic edges were flattened using a mallet for more safety and to avoid cutting the filter it is supposed to contain. Filters were made using 4 layers of micropore surgical tape and a layer of 3 mm thick polyester foam.
Animation: making of the breathable jar lids.
For each jar of spawn, 200 g of organic wheat grains was measured. Wheat grains were supplied from local organic store. Wheat grains were prepared according to protocols of the National Institute of Open Schooling, the TNAU Agritech Portal and the Freshcap website. Grains were soaked in tap water overnight and half cooked for 25 mins. Half cooked grains were strained and left overnight in ambient temperature to let surface water evaporate. For each jar, 300 g of half cooked grain was measured. 1% calcium carbonate (3g) was added to the grain. According to the TNAU Agritech Portal, calcium carbonate allows to regulate the pH of the grain and neutralizes the extra humidity.
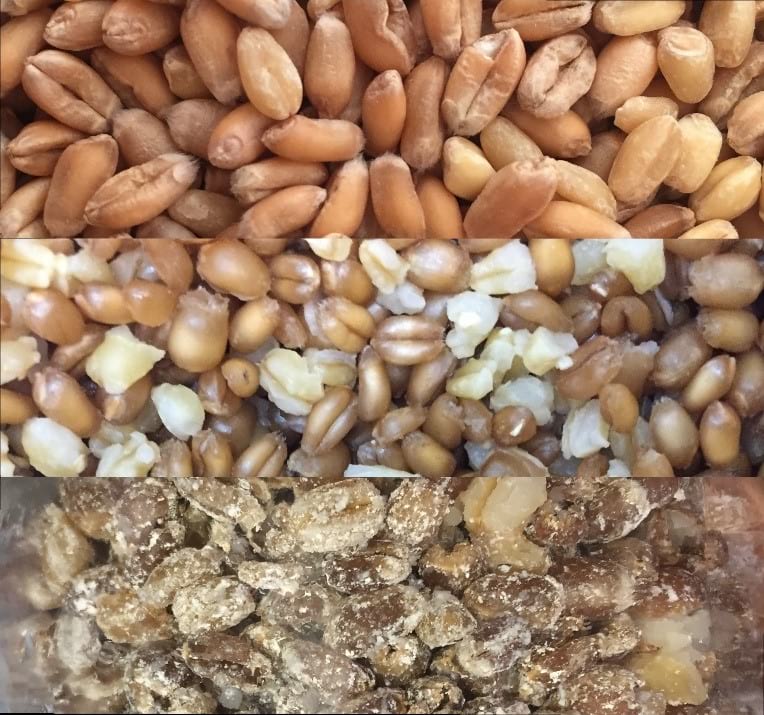
Image: Top: uncooked wheat grains. Middle: cooked wheat grains. Bottom: cooked wheat grains covered in calcium carbonate.
The mix was then put in the jars, closed with the lid previously prepared and covered with an aluminum sheet to avoid the filter to get too humid. The spawn jars were sterilized in a pressure cooker for 2.5 hours to eliminate any trace of bacteria, spores, or microorganisms. Once cooled down, jars were inoculated with a 2cm² chunk of mycelium on agar and incubated in a dark 20°C atmosphere. Since Ganoderma lucidium (Reishi) and Pleurotus ostreatus (Oyster) strains were the ones I would use the most, I decided to make two jars of spawn for each and only one jar of Pestalotiopsis microspora and Omphalotus nidiformis.

Image: Spawn jars on day 1. Right: Reishi, left: Oyster.
Spawn growth: how did the different species react?
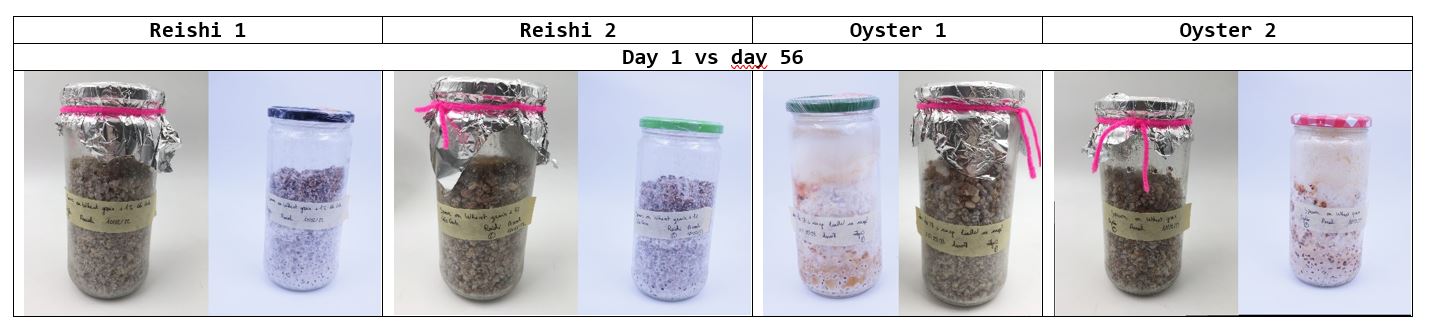
Table: Jars growth on day 1 vs day 56.
After the mycelium had colonized the entire spawn jar, I used coloniezed grain to inoculate my petri dishes and jars. Using mycelium grown on grain rather than agar allowed it to grow much stronger, no matter how restrictive the substrate was, showing the mycelium got "healthier".
Fruiting and collecting spores for long term storage
To be continued... The mycelium is still growing and this part will be achieved during the "textile tech incubation" program.