Video: DIY scientific tools developped during the project.
Making more machines !
During this trimester, some of my experiments required me specific scientific tools we did not have in the lab. So I made them, using 3D design, electronics and digital fabrication!
Magnetic stirrer
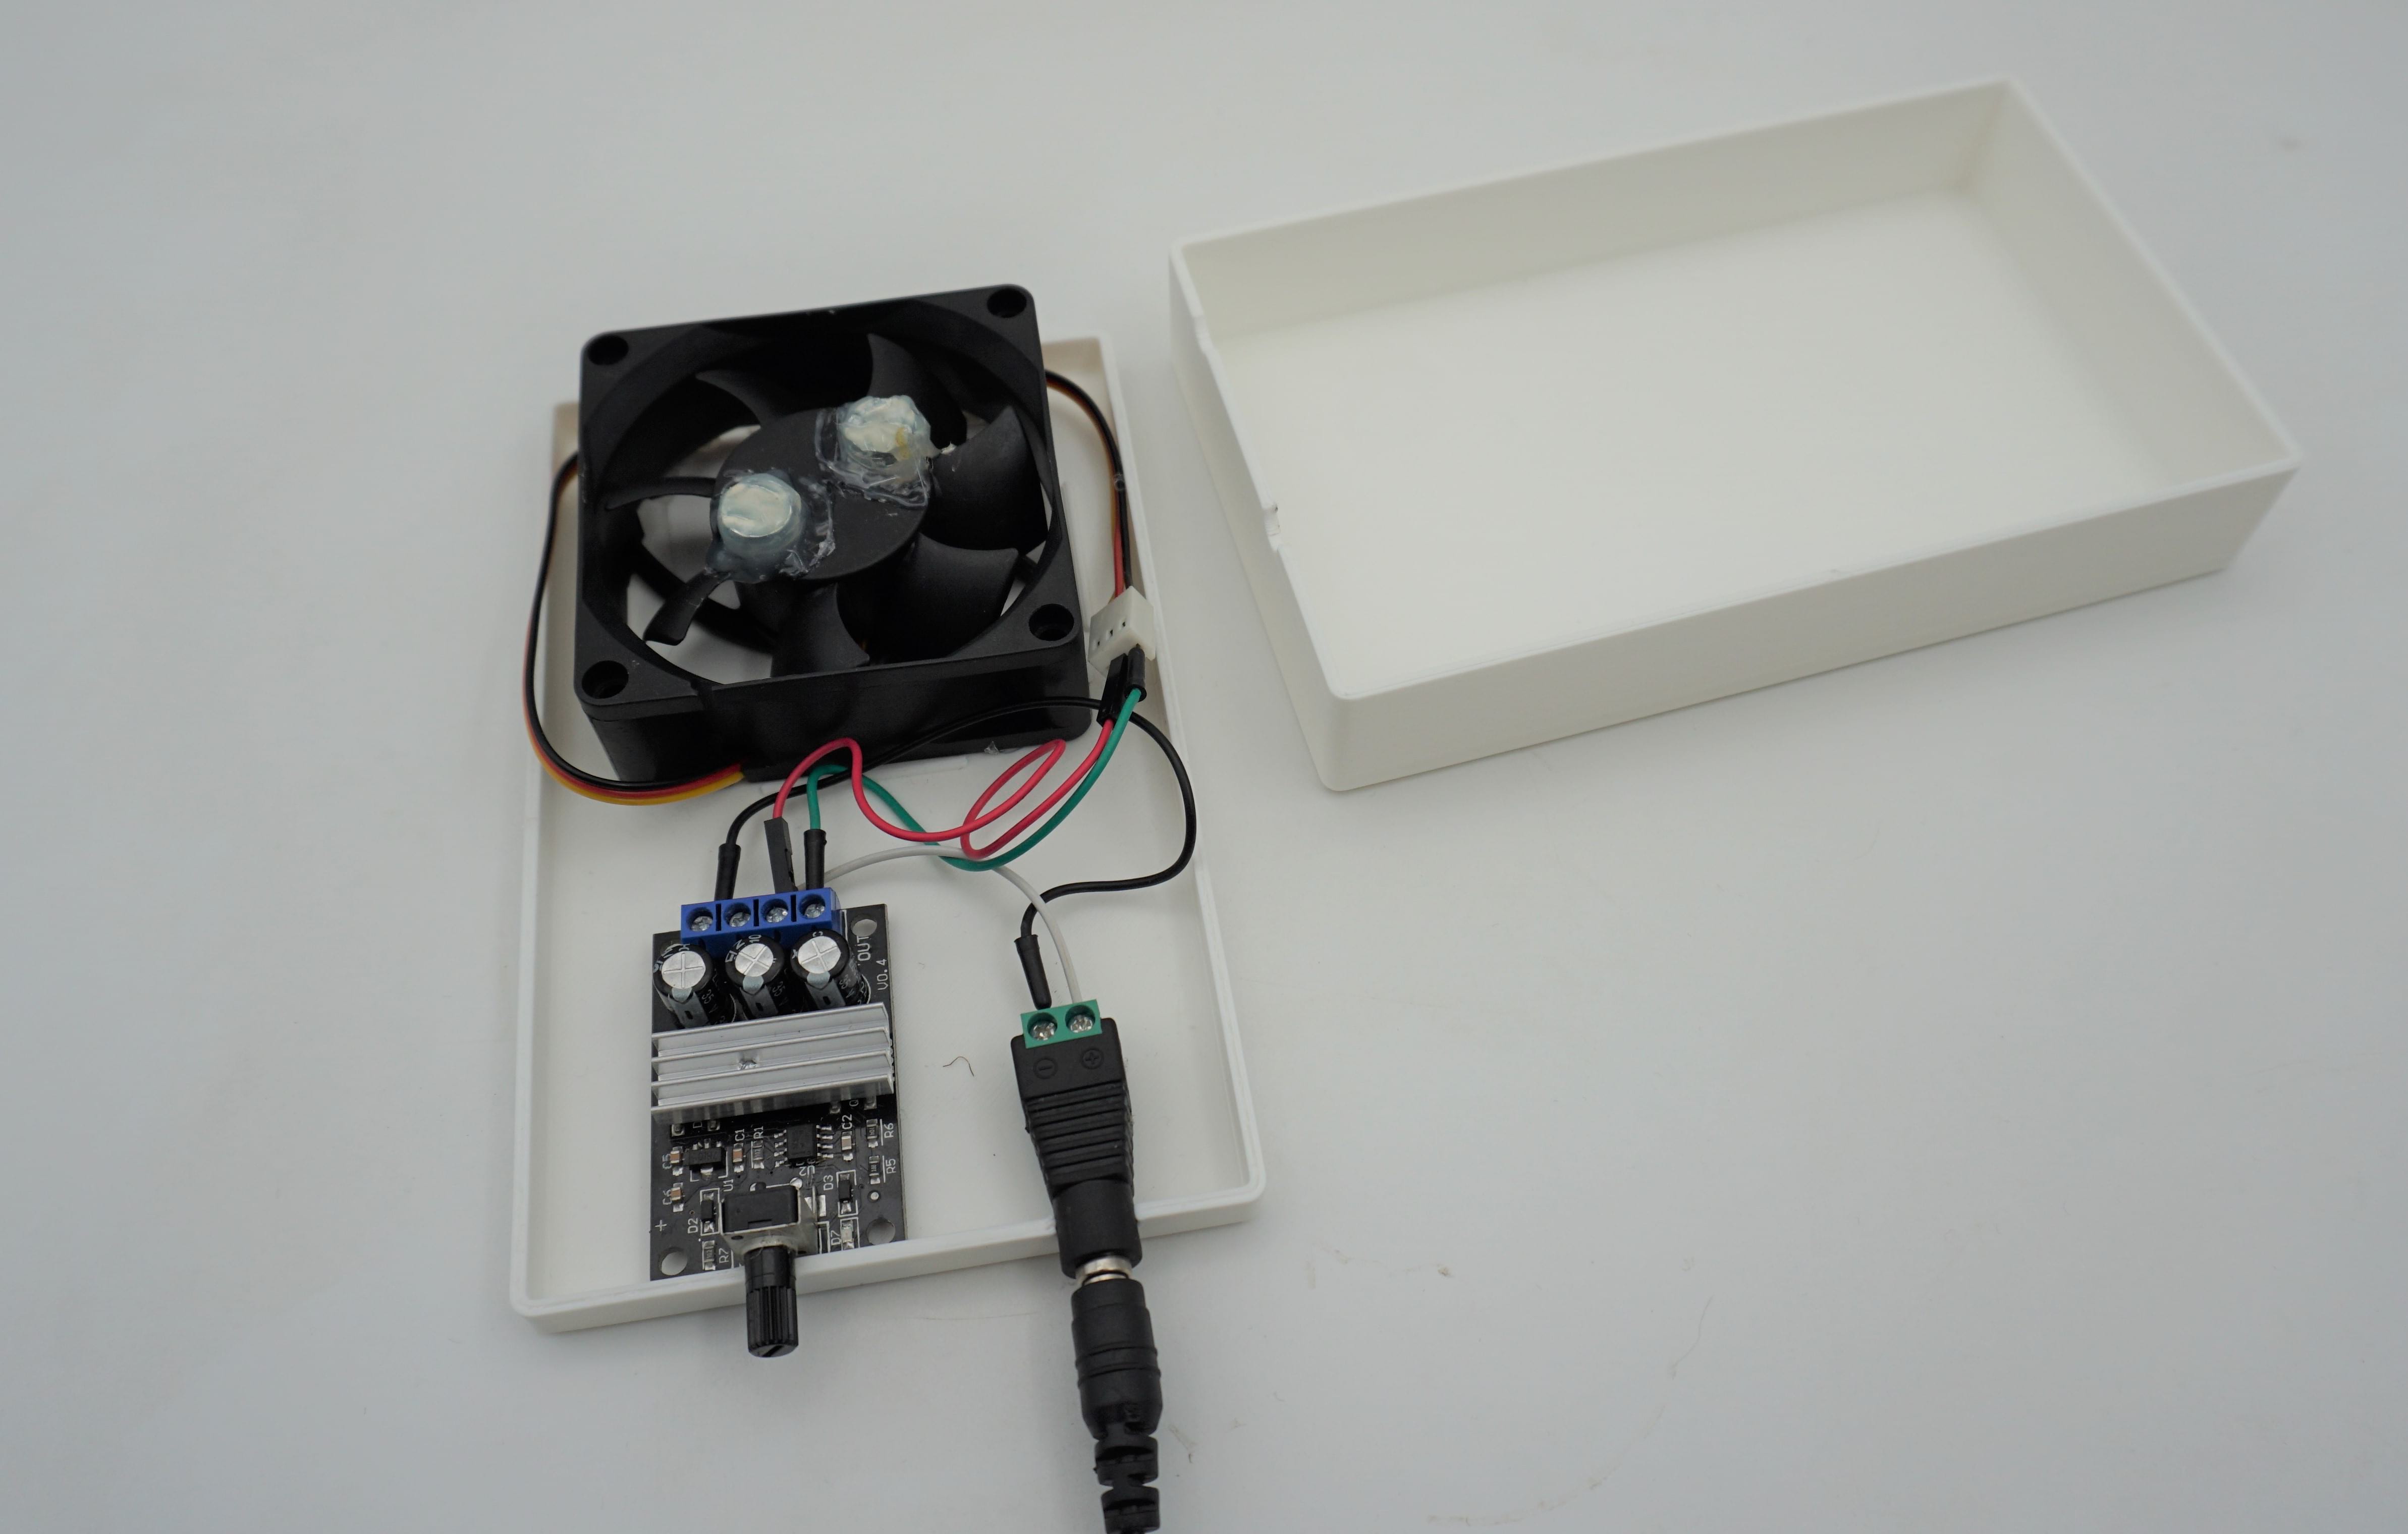
Image: DIY 3D printed magnetic stirrer.
During the liquid state fermentation experiments, I tried growing mycelium in liquid jars. This technique required agitation at some point, so I needed a magnetic stirrer. The lab already had one but as mycelium requires long time to grow, I decided to make another one myself to be able to use it whenever I wanted and left the second one to Petra for her experiments on keratin.
Making a magnetic stirrer is actually not very difficult and requires very few elements. I got the documentation on how to make a magnetic stirrer on the website of WAAG's biohack academy. To make it, I only needed:
- a potentiometer controller board
- a 12V fan
- 2 magnets
- a magnetic stirring bar
- a 3D printed box
- a 12 V power supply (I used a phone charger with an incorporated 12V transformator)
To make it, I only had to stick the two magnets to the fan using hot glue and assemble the circuit as represented on the picture. The potentiometer allows to approximately choose the speed of stirring !
Video: DIY magnetic stirrer in action.
Centrifuge
In order to centrifuge mycelium liquid culture wastes and use it to make castable mycelium leather (like a bioplastic), I nedded to find a way to centrifuge my samples. From looking at youtube videos, I found there were different ways to make a DIY centrifuge: using a twisted thread, using a drill as a rotor or even by hacking a fan.
Video: Simple centrifuge, by Ravindra Godbole.
However, I needed to centrifuge samples for a longer period of time (around 10 minutes) which meant I needed something very stable and that I did not need to hold by hand. I bumped onto that amazing video (I did not understand a word but I understood the concept) and figured that the best way to achieve what I wanted was to hack a food processor.
Video: How to make DIY centrifuge machine.. by MIRA TECH VLOG. Hacking of a food processor to make a DIY centrifuge.
We have a very powerful and heavy (important because it will rotate at high velocity) food processor in the lab (Princess High Speed Deluxe blender) so I proceeded to design the different pieces I would need.
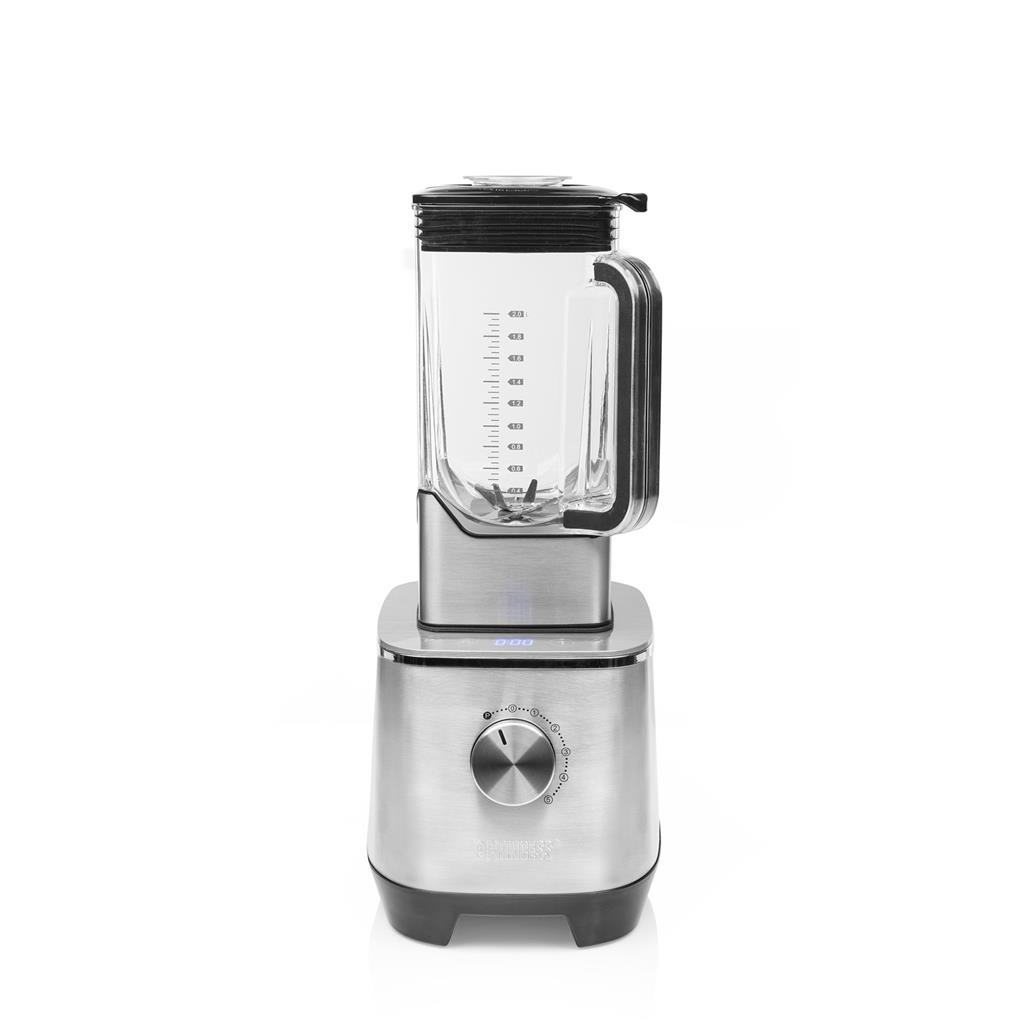
Image: Princess High Speed Deluxe blender.
Considering the shape of the food processor, I designed 2 pieces: a small cross shaped piece that would fit in the rotating element of the blender, and a big piece that would maintain the rotor in place and basically prevent it from flying away with the centrifuge force.
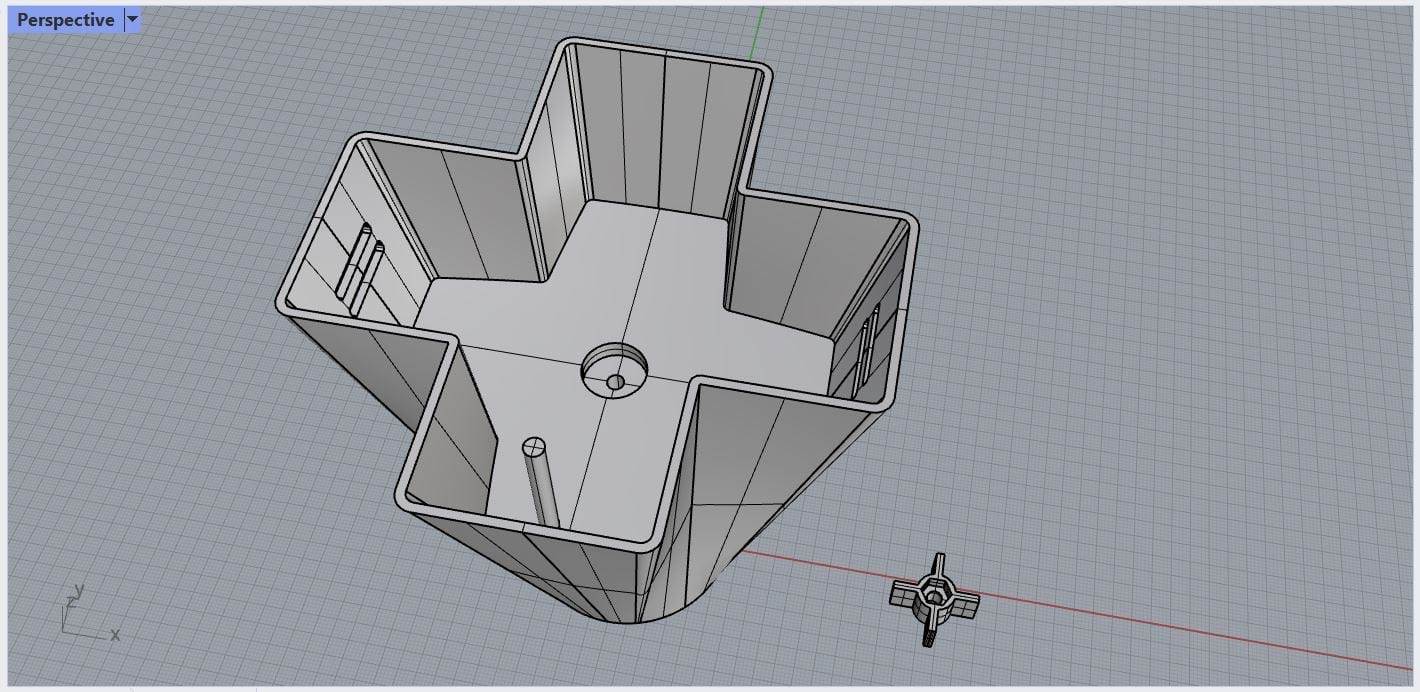
Image: Rhiniceros3D model of the centrifuge pieces.
There is a 15 cm tall and 4mm ⌀ metallic bar mainained inside the small cross shaped rotor by two bolts (using two bolts is important to avoid the rotor to unscrew from the bar, since it is doing a rotation movement too). The cross shaped rotor rotates the bar because the bolts are locked inside the hole of the piece. The axis of rotation of the bar is maintained stable by two bearings on the top and bottom of the big piece. A spacer is put between the rotating cross and the big maintaining piece.
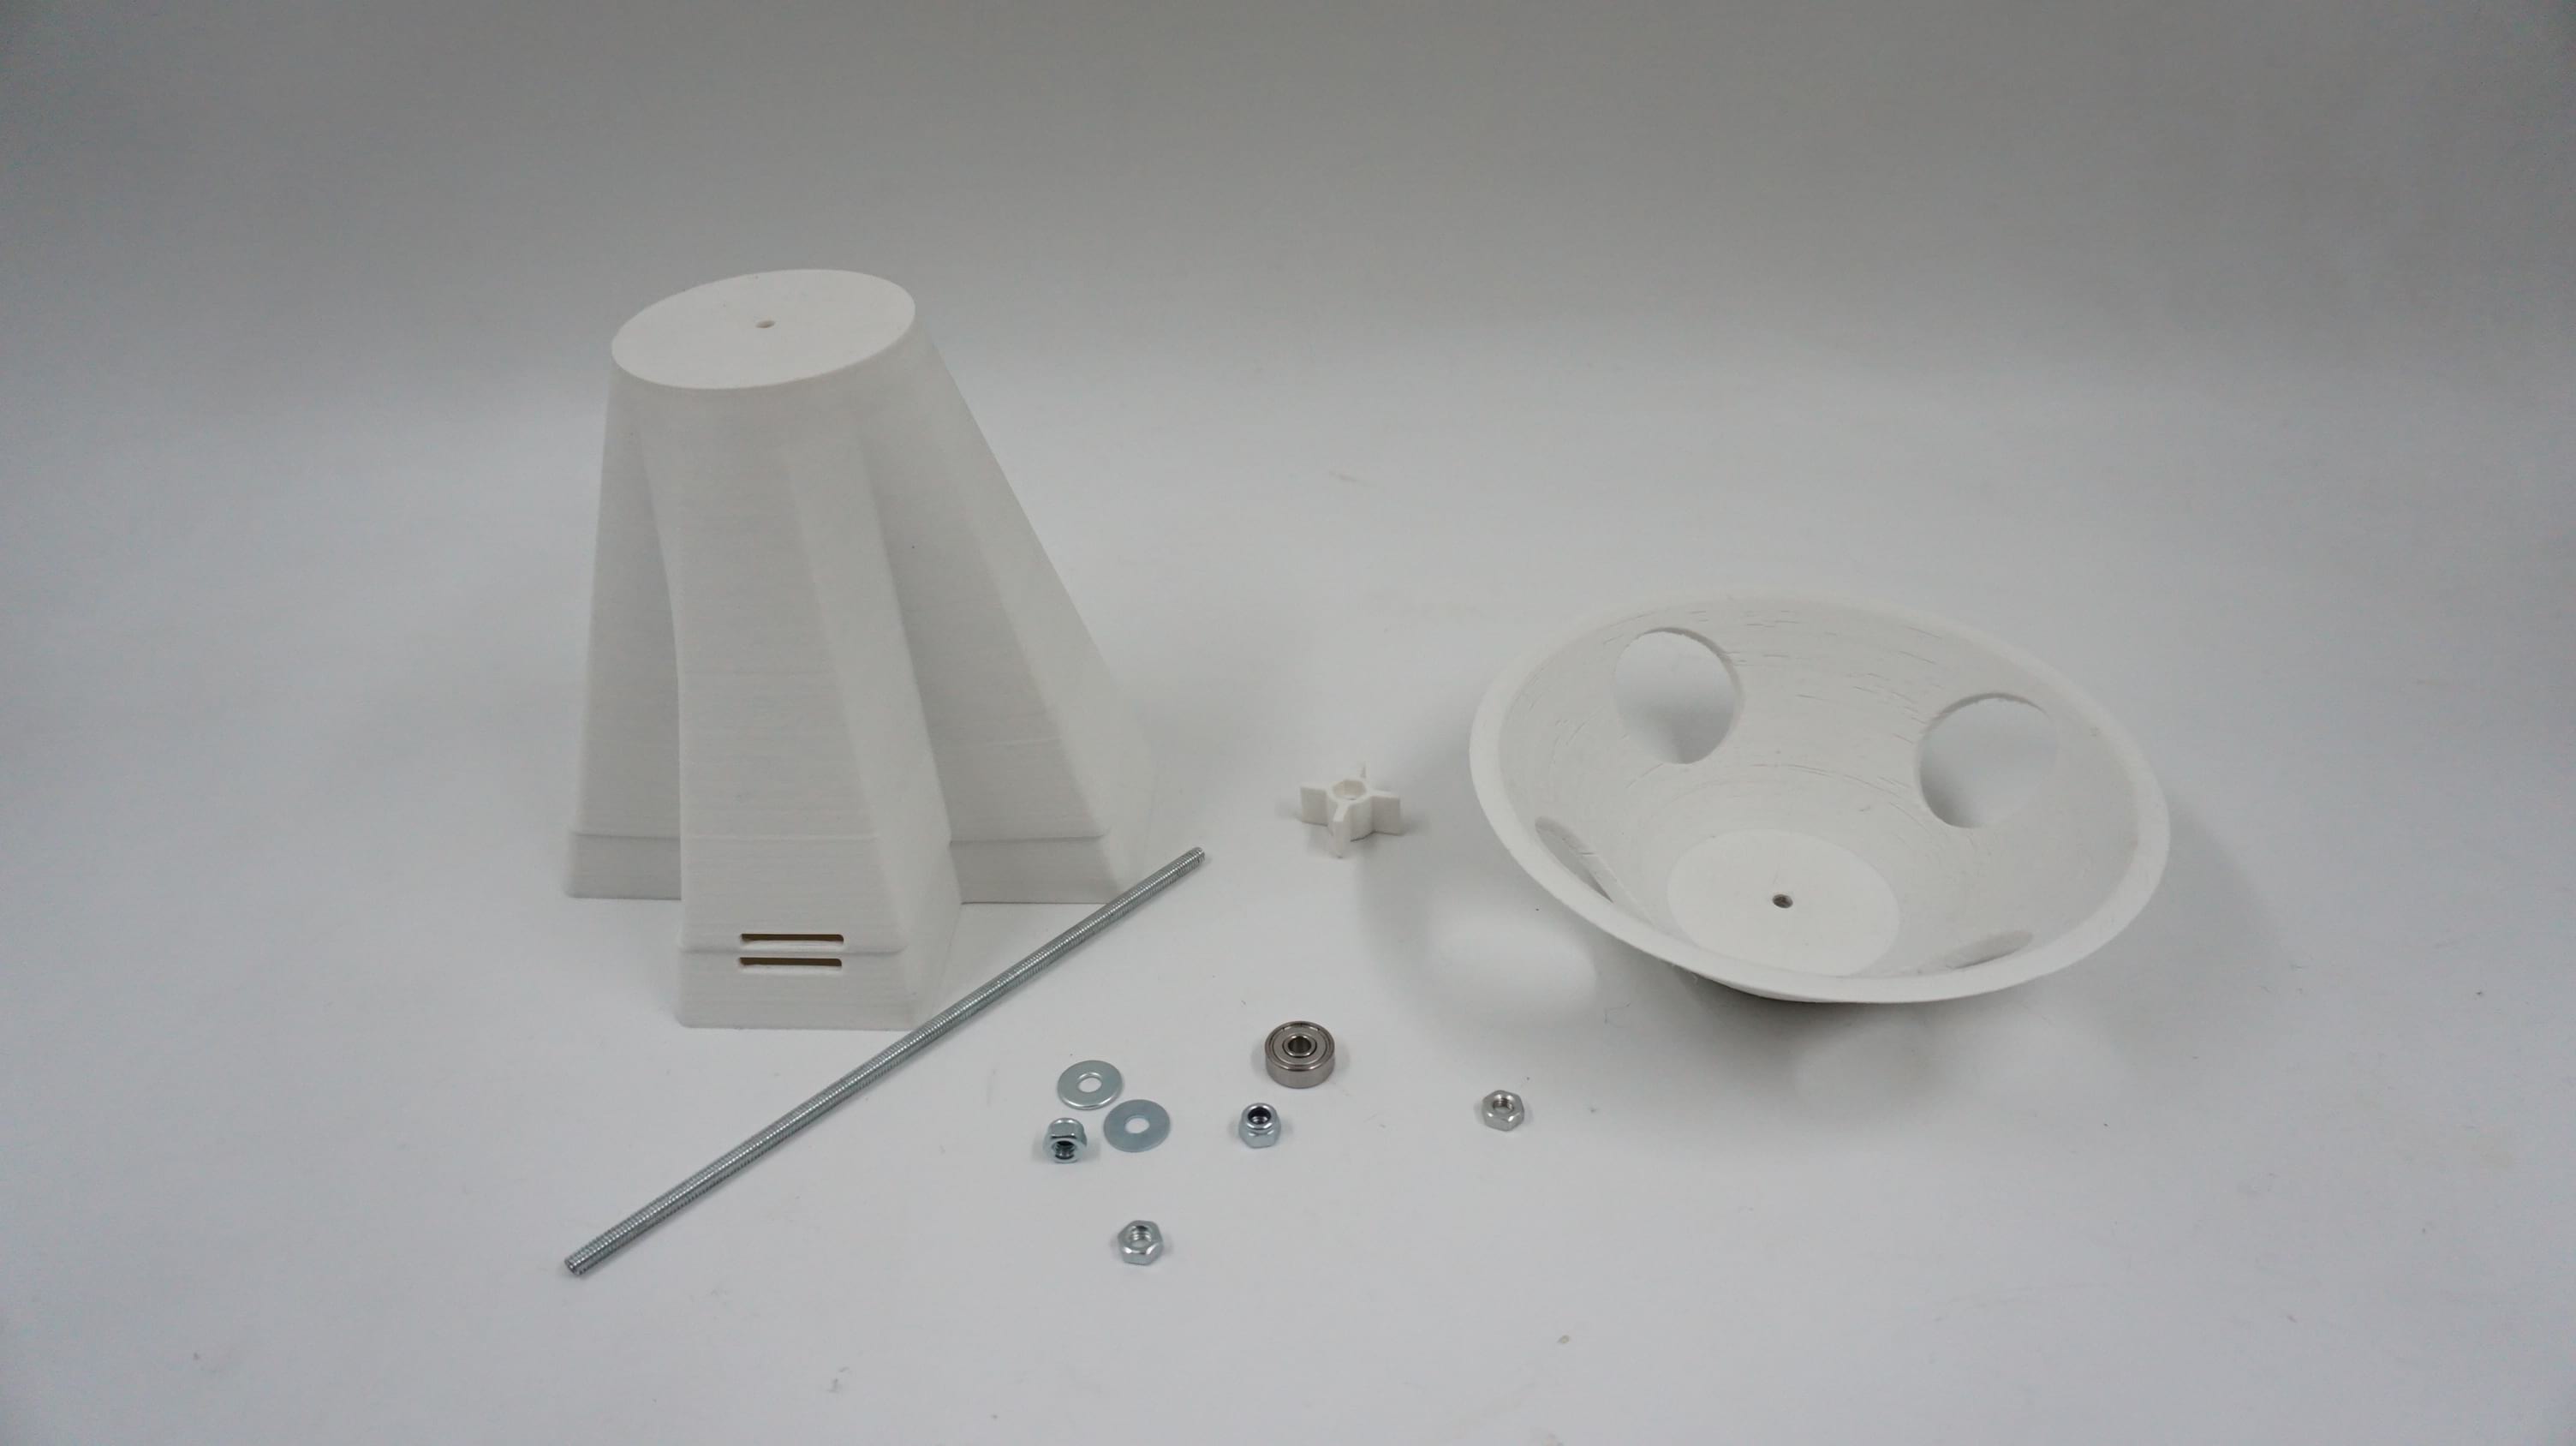
Image: 3D printed parts and metallic pieces required for the construction of the DIY centrifuge.
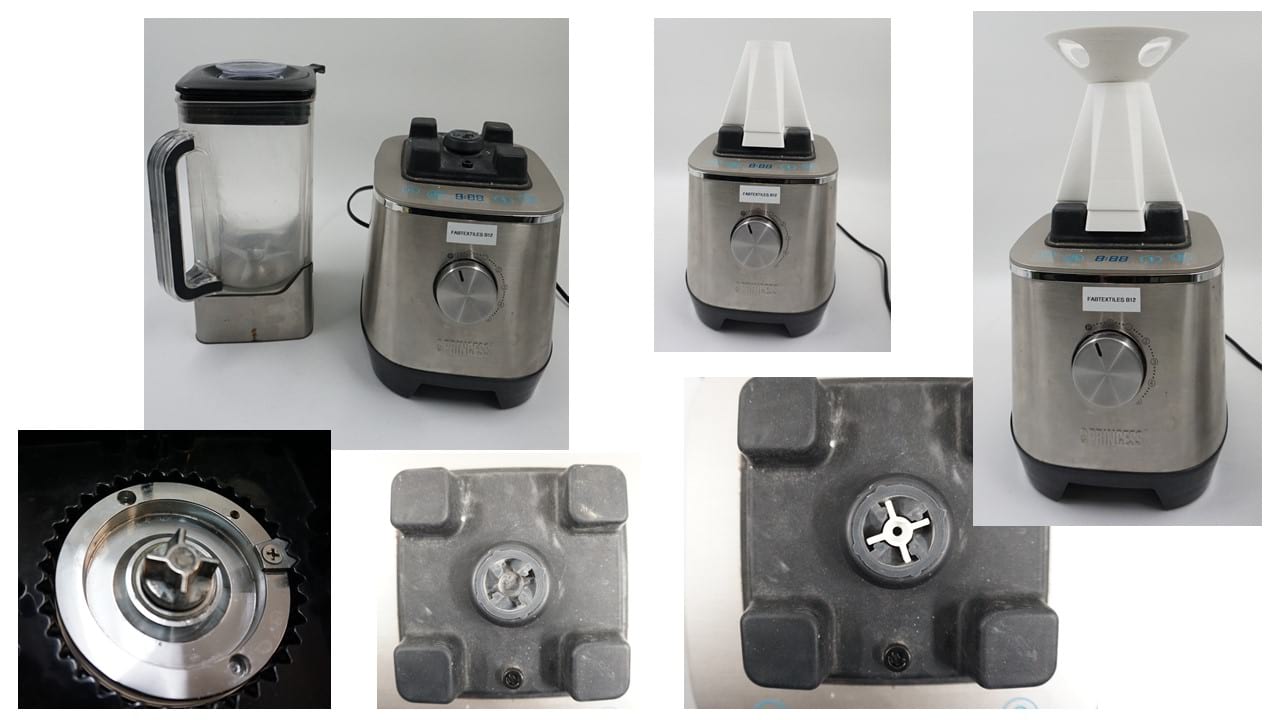
Image: details on the assembly of the centrifuge and close-ups of the rotating pieces.
For the piece holding the Falcon tubes, I used a piece I found on thingiverse that is suitable for the centrifugation of 50mL Falcon tubes and would allow me to centrifuge big volumes. This piece is maintained on the rotating bar using two bolts on each side. A spacer is put between the maintaining big piece and the tube-holder piece.
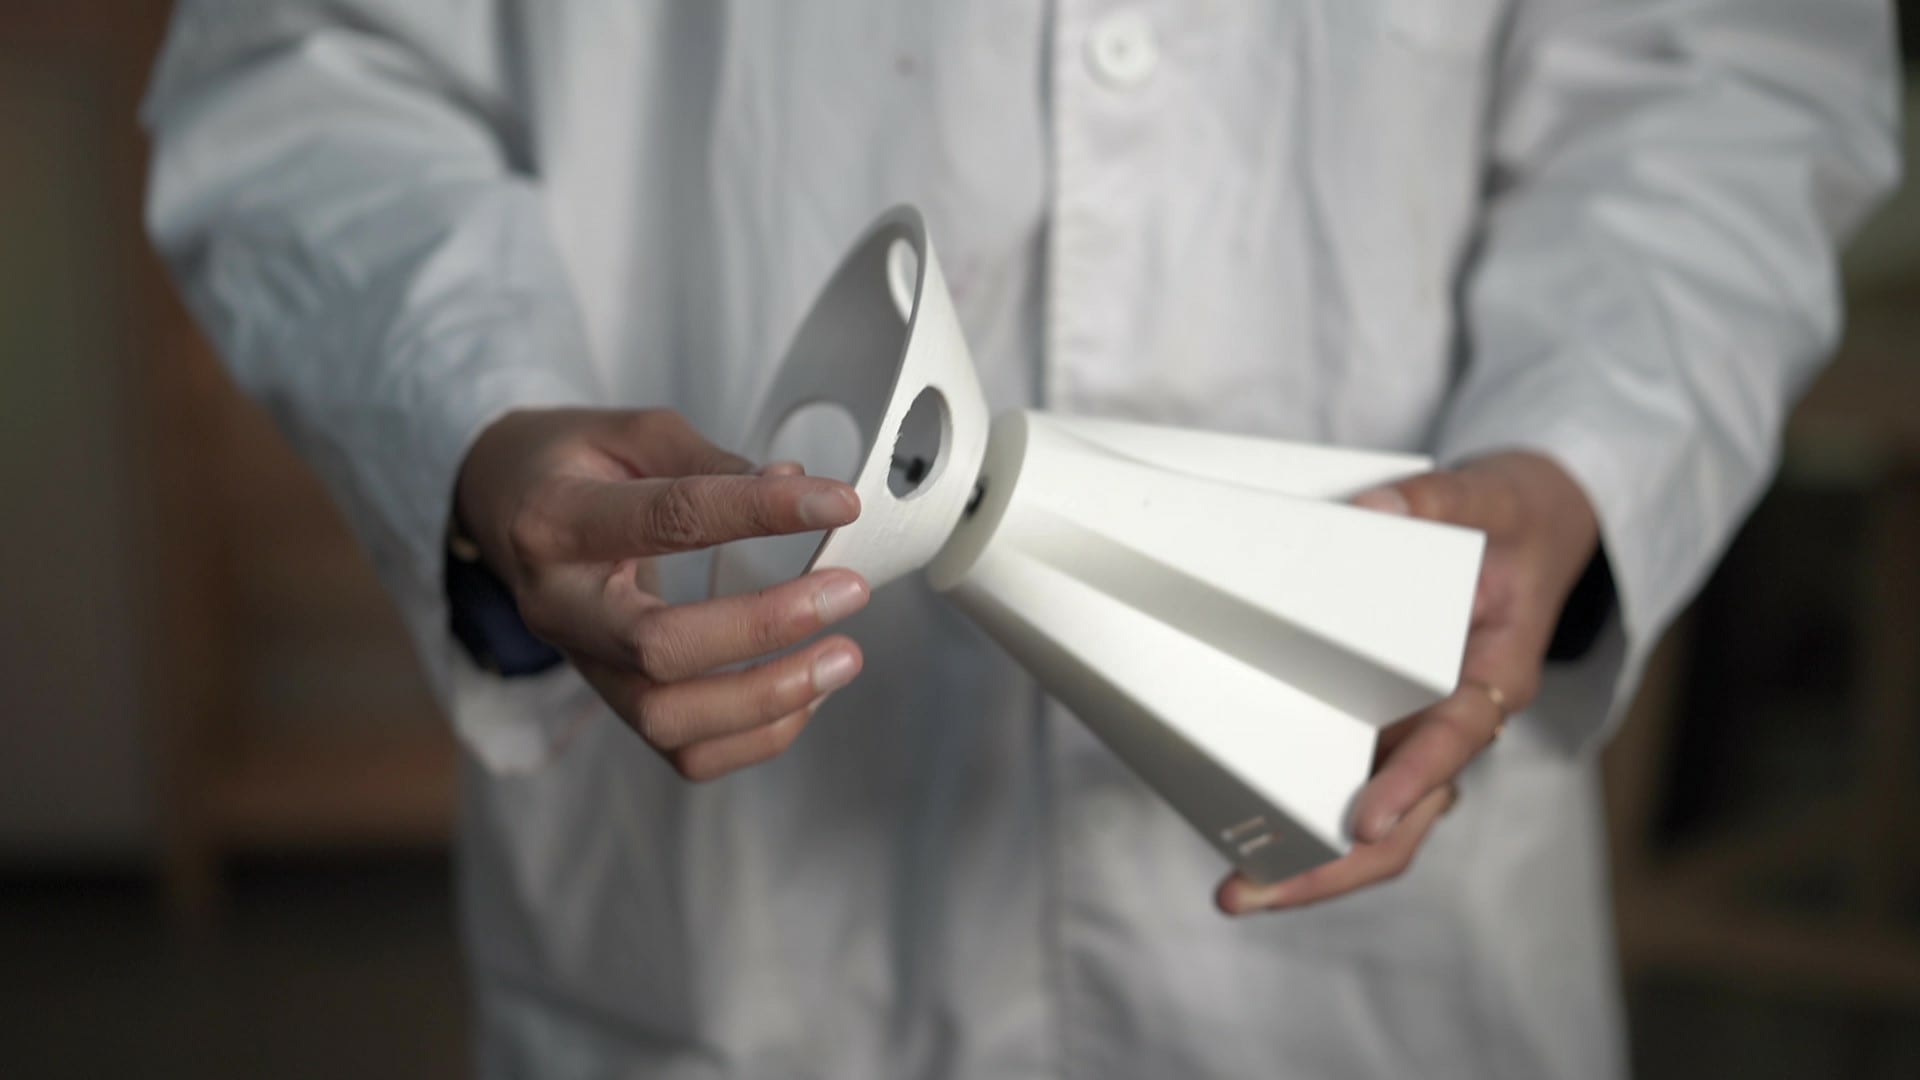
Image: Final 3D printed parts of the centrifuge after assembly.